Introduction
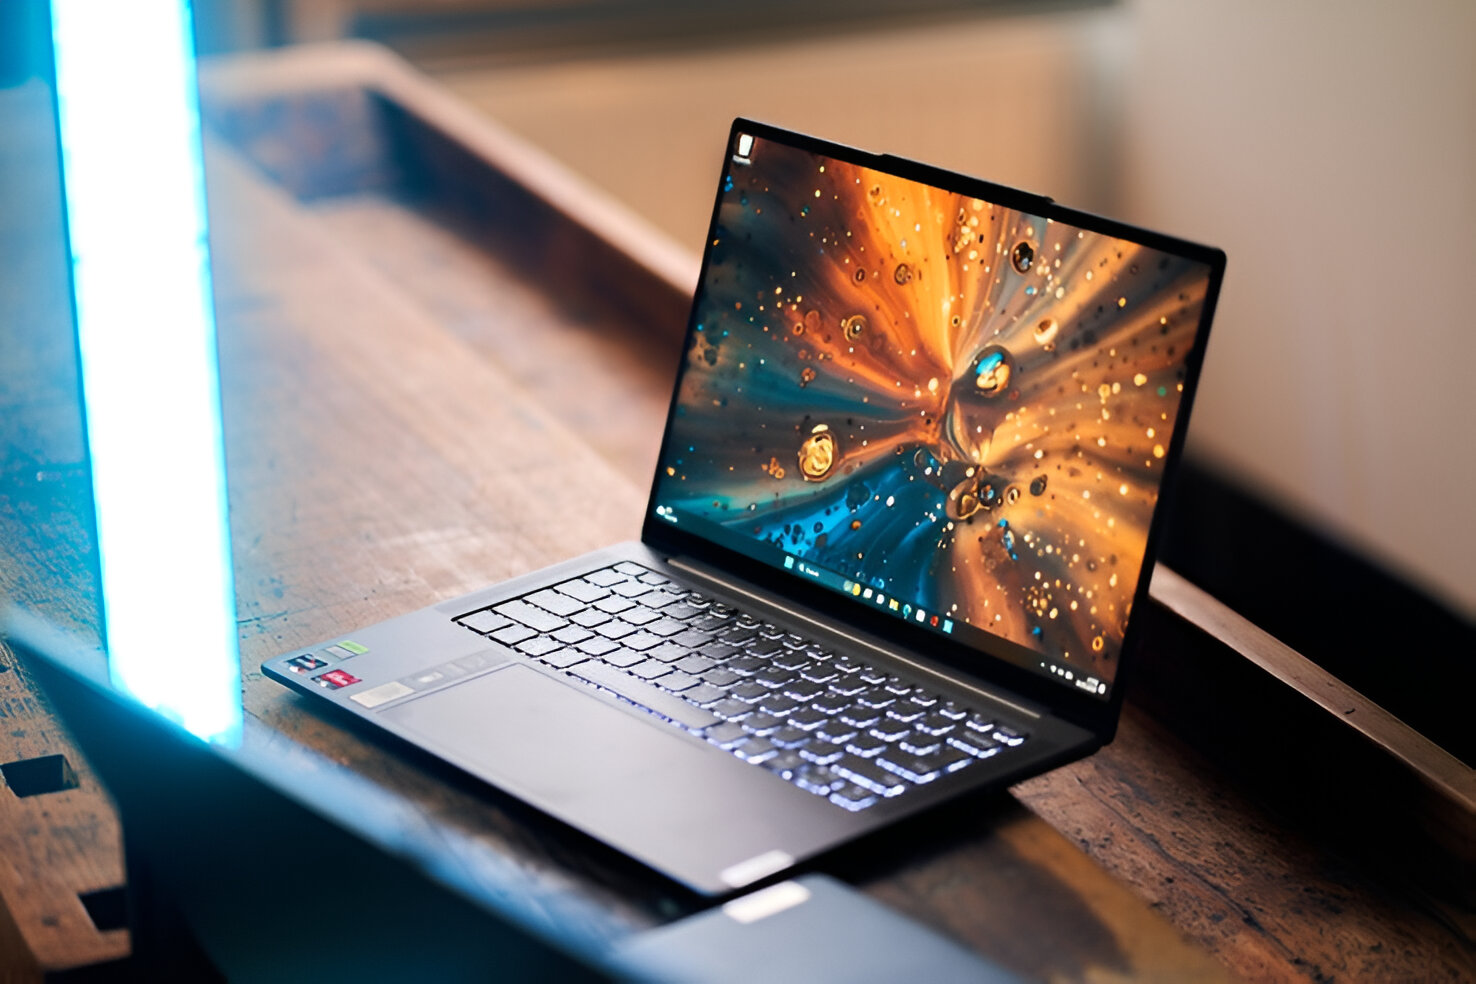
Setting up a fingerprint scanner on a Lenovo Ultrabook is a convenient way to enhance the security and accessibility of your device. With a fingerprint scanner, you can easily unlock your laptop with just a touch of your finger, eliminating the need for traditional passwords.
In this article, we will guide you through the step-by-step process of setting up the fingerprint scanner on your Lenovo Ultrabook. We will cover the prerequisites, enabling the fingerprint scanner, setting up Windows Hello, registering your fingerprint, and testing the scanner to ensure it is working effectively.
By following these instructions, you will be able to take advantage of this advanced security feature, ensuring that only you have access to your Ultrabook. Additionally, using your fingerprint to log in is not only more secure but also faster and more convenient than typing in a password every time.
So, if you’re ready to simplify your login process while improving the security of your Lenovo Ultrabook, let’s get started with setting up the fingerprint scanner.
Step 1: Prerequisites
Before you can set up the fingerprint scanner on your Lenovo Ultrabook, make sure you have the following prerequisites:
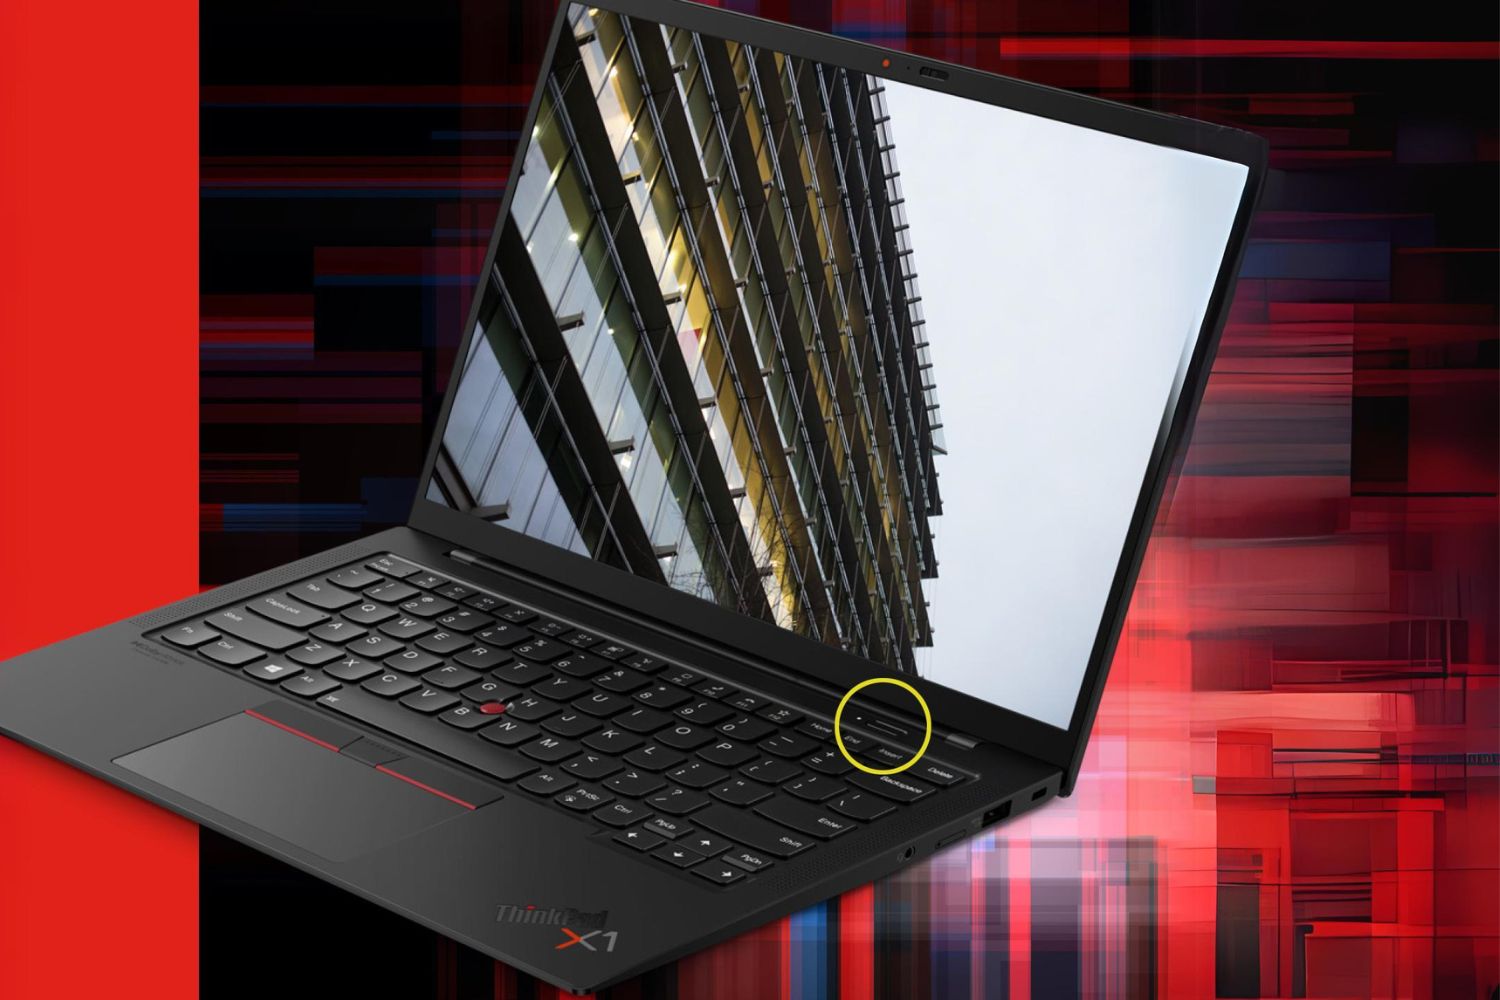
- Compatible Lenovo Ultrabook: Ensure that your Lenovo Ultrabook model supports a built-in fingerprint scanner. Check the manufacturer’s website or your device’s specifications to confirm this.
- Installed Fingerprint Scanner Driver: Verify that the necessary fingerprint scanner driver is installed on your device. If not, you can download and install it from the Lenovo support website or use the driver installation CD that came with your device.
- Protective Clean Hands: It is important to have clean and dry hands when using the fingerprint scanner. Ensure that your fingers are free from any dirt, oils, or moisture to avoid any potential scanning issues.
- Administrative Privileges: You will need administrative privileges on your Lenovo Ultrabook to enable and configure the fingerprint scanner settings.
Once you have confirmed that you meet these prerequisites, you are ready to move on to the next step of enabling the fingerprint scanner on your Lenovo Ultrabook.
Step 2: Enabling the Fingerprint Scanner
To enable the fingerprint scanner on your Lenovo Ultrabook, follow these steps:
- Open the “Settings” on your Lenovo Ultrabook. You can do this by clicking on the Windows start button and selecting the gear icon or by pressing the Windows key + I.
- In the Settings menu, click on “Accounts.”
- Under the “Accounts” section, select “Sign-in options” from the left-hand side menu.
- Scroll down until you find the “Windows Hello Fingerprint” option.
- Click on the “Set up” button to start the fingerprint setup process.
- You may be prompted to enter your Windows account password to proceed with the setup.
- Follow the on-screen instructions to complete the setup process. You will likely need to place your finger on the fingerprint scanner multiple times for it to accurately capture your fingerprint.
- Once the setup process is complete, you can choose to require your fingerprint to sign in by toggling the “Require Windows Hello sign-in for Microsoft accounts” and “Require Windows Hello sign-in for local accounts” options.
- Click on the “Close” button to exit the Sign-in options menu.
After following these steps, you have successfully enabled the fingerprint scanner on your Lenovo Ultrabook. Now it’s time to proceed to the next step, which is setting up Windows Hello.
Step 3: Setting Up Windows Hello
Windows Hello is a built-in feature in Windows 10 that allows you to securely sign in to your device using biometric authentication, such as your fingerprint. To set up Windows Hello with your fingerprint on your Lenovo Ultrabook, follow these steps:
- Open the “Settings” on your Lenovo Ultrabook.
- Click on “Accounts” and select “Sign-in options.”
- Scroll down to the “Windows Hello” section and click on the “Set up” button under “Fingerprint.”
- You may be prompted to enter your Windows account password to proceed with the setup.
- Follow the on-screen instructions to position your finger on the fingerprint scanner and allow it to capture your fingerprint. Make sure to cover the entire fingerprint scanner area with your finger.
- Continue lifting and placing your finger on the scanner as instructed until the progress bar reaches 100% and your fingerprint is successfully registered.
- After the setup is complete, you can choose whether to enable “Enhanced anti-spoofing” for an added layer of security. This feature helps protect against fake fingerprints and photos.
- Once you have configured your preferences, close the Settings window.
With Windows Hello now set up on your Lenovo Ultrabook, you can conveniently sign in by simply placing your finger on the fingerprint scanner. Now, let’s move on to the next step of registering your fingerprint.
Step 4: Registering your Fingerprint
Registering your fingerprint is a crucial step in ensuring that the fingerprint scanner on your Lenovo Ultrabook accurately recognizes and authenticates your fingerprint. Follow the steps below to register your fingerprint:
- Open the Windows Start menu and select the “Settings” gear icon.
- Click on “Accounts” and then select “Sign-in options.”
- Scroll down to the “Windows Hello” section and click on “Manage” under “Fingerprint.”
- If prompted, enter your Windows account password to authenticate.
- In the Fingerprint management screen, click on the “Add fingerprint” button.
- Follow the on-screen instructions to place your finger on the fingerprint scanner multiple times, lifting and repositioning it as prompted. This will help the scanner capture different angles and sections of your fingerprint.
- Continue the process until all the necessary fingerprint data has been captured and the progress reaches 100%.
- Once successfully registered, you can give a name to your fingerprint profile, which can be helpful if you plan to register multiple fingerprints (e.g., index finger, thumb).
- Click on the “Save” button to store your fingerprint profile.
After completing these steps, your fingerprint will be registered and associated with your Windows account on your Lenovo Ultrabook. This will enable you to conveniently and securely log in by using your fingerprint. Now, let’s move on to the final step of testing and verifying the fingerprint scanner.
Step 5: Testing and Verifying the Fingerprint Scanner
Once you have registered your fingerprint, it’s time to test and verify that the fingerprint scanner on your Lenovo Ultrabook is functioning correctly. Follow these steps to ensure everything is working as expected:
- Lock your Lenovo Ultrabook by pressing the Windows key + L or by clicking on the Start button and selecting “Lock.”
- On the login screen, you should see the option to sign in using Windows Hello.
- Place your registered finger on the fingerprint scanner and keep it there until the scanner successfully recognizes your fingerprint and unlocks your device.
- If the fingerprint scanner fails to recognize your fingerprint, make sure your finger is clean and dry, and try again. You may need to reposition your finger slightly for optimal scanning accuracy.
- If the scanner consistently fails to recognize your fingerprint, you can go back to the Fingerprint management screen and re-register your fingerprint, ensuring you follow the instructions carefully.
- Repeat this login process a few times to ensure consistent and accurate fingerprint recognition.
By successfully logging in using your fingerprint, you have verified that the fingerprint scanner on your Lenovo Ultrabook is properly set up and functioning. Enjoy the convenience and added security of unlocking your device with just a touch.
If you ever need to remove or manage your registered fingerprints, you can do so by going back to the Fingerprint management screen in the Sign-in options and making the necessary changes.
And there you have it! You have completed the process of setting up and testing the fingerprint scanner on your Lenovo Ultrabook. Enjoy the seamless and secure experience of logging in with your fingerprint.
Conclusion
Setting up the fingerprint scanner on your Lenovo Ultrabook is a simple and effective way to enhance the security and convenience of your device. By following the steps outlined in this guide, you can enable and configure the fingerprint scanner, register your fingerprint, and ensure that it works accurately.
With the fingerprint scanner enabled, you can enjoy effortless and secure login experiences. No more fussing with passwords or worrying about unauthorized access to your Ultrabook. Your fingerprint serves as the key to unlocking your device with a simple touch.
Remember to keep your fingers clean and dry when using the fingerprint scanner to ensure optimal performance. If you ever need to manage or remove registered fingerprints, you can easily do so in the Sign-in options settings.
Utilizing the fingerprint scanner on your Lenovo Ultrabook not only provides an added layer of security but also offers a faster and more convenient way to access your device. Say goodbye to password hassles and embrace the future of biometric authentication.
We hope this guide has been helpful in assisting you with setting up the fingerprint scanner on your Lenovo Ultrabook. Enjoy the seamless login experience and the peace of mind that comes with enhanced security.
Now, go ahead and unlock your Lenovo Ultrabook with just a touch of your finger!