Introduction
Welcome to the world of Chromecast! Setting up your Chromecast to the Wi-Fi network is the first step towards enjoying your favorite streaming services on the big screen. Whether you want to binge-watch your favorite shows or stream the latest movies, the process of setting up Chromecast is straightforward and can be done in a few simple steps.
In this guide, we will walk you through the process of setting up Chromecast to Wi-Fi, from unboxing the device to completing the setup process. So, grab your Chromecast, follow along, and get ready to enhance your entertainment experience!
Before we begin, it’s important to note that Chromecast requires a stable internet connection to connect to your Wi-Fi network. So, make sure you have a reliable Wi-Fi network available before proceeding with the setup.
Now, let’s dive into the step-by-step process of setting up Chromecast to Wi-Fi.
Step 1: Unboxing your Chromecast
The first step in setting up your Chromecast is unboxing the device. Here’s what you need to do:
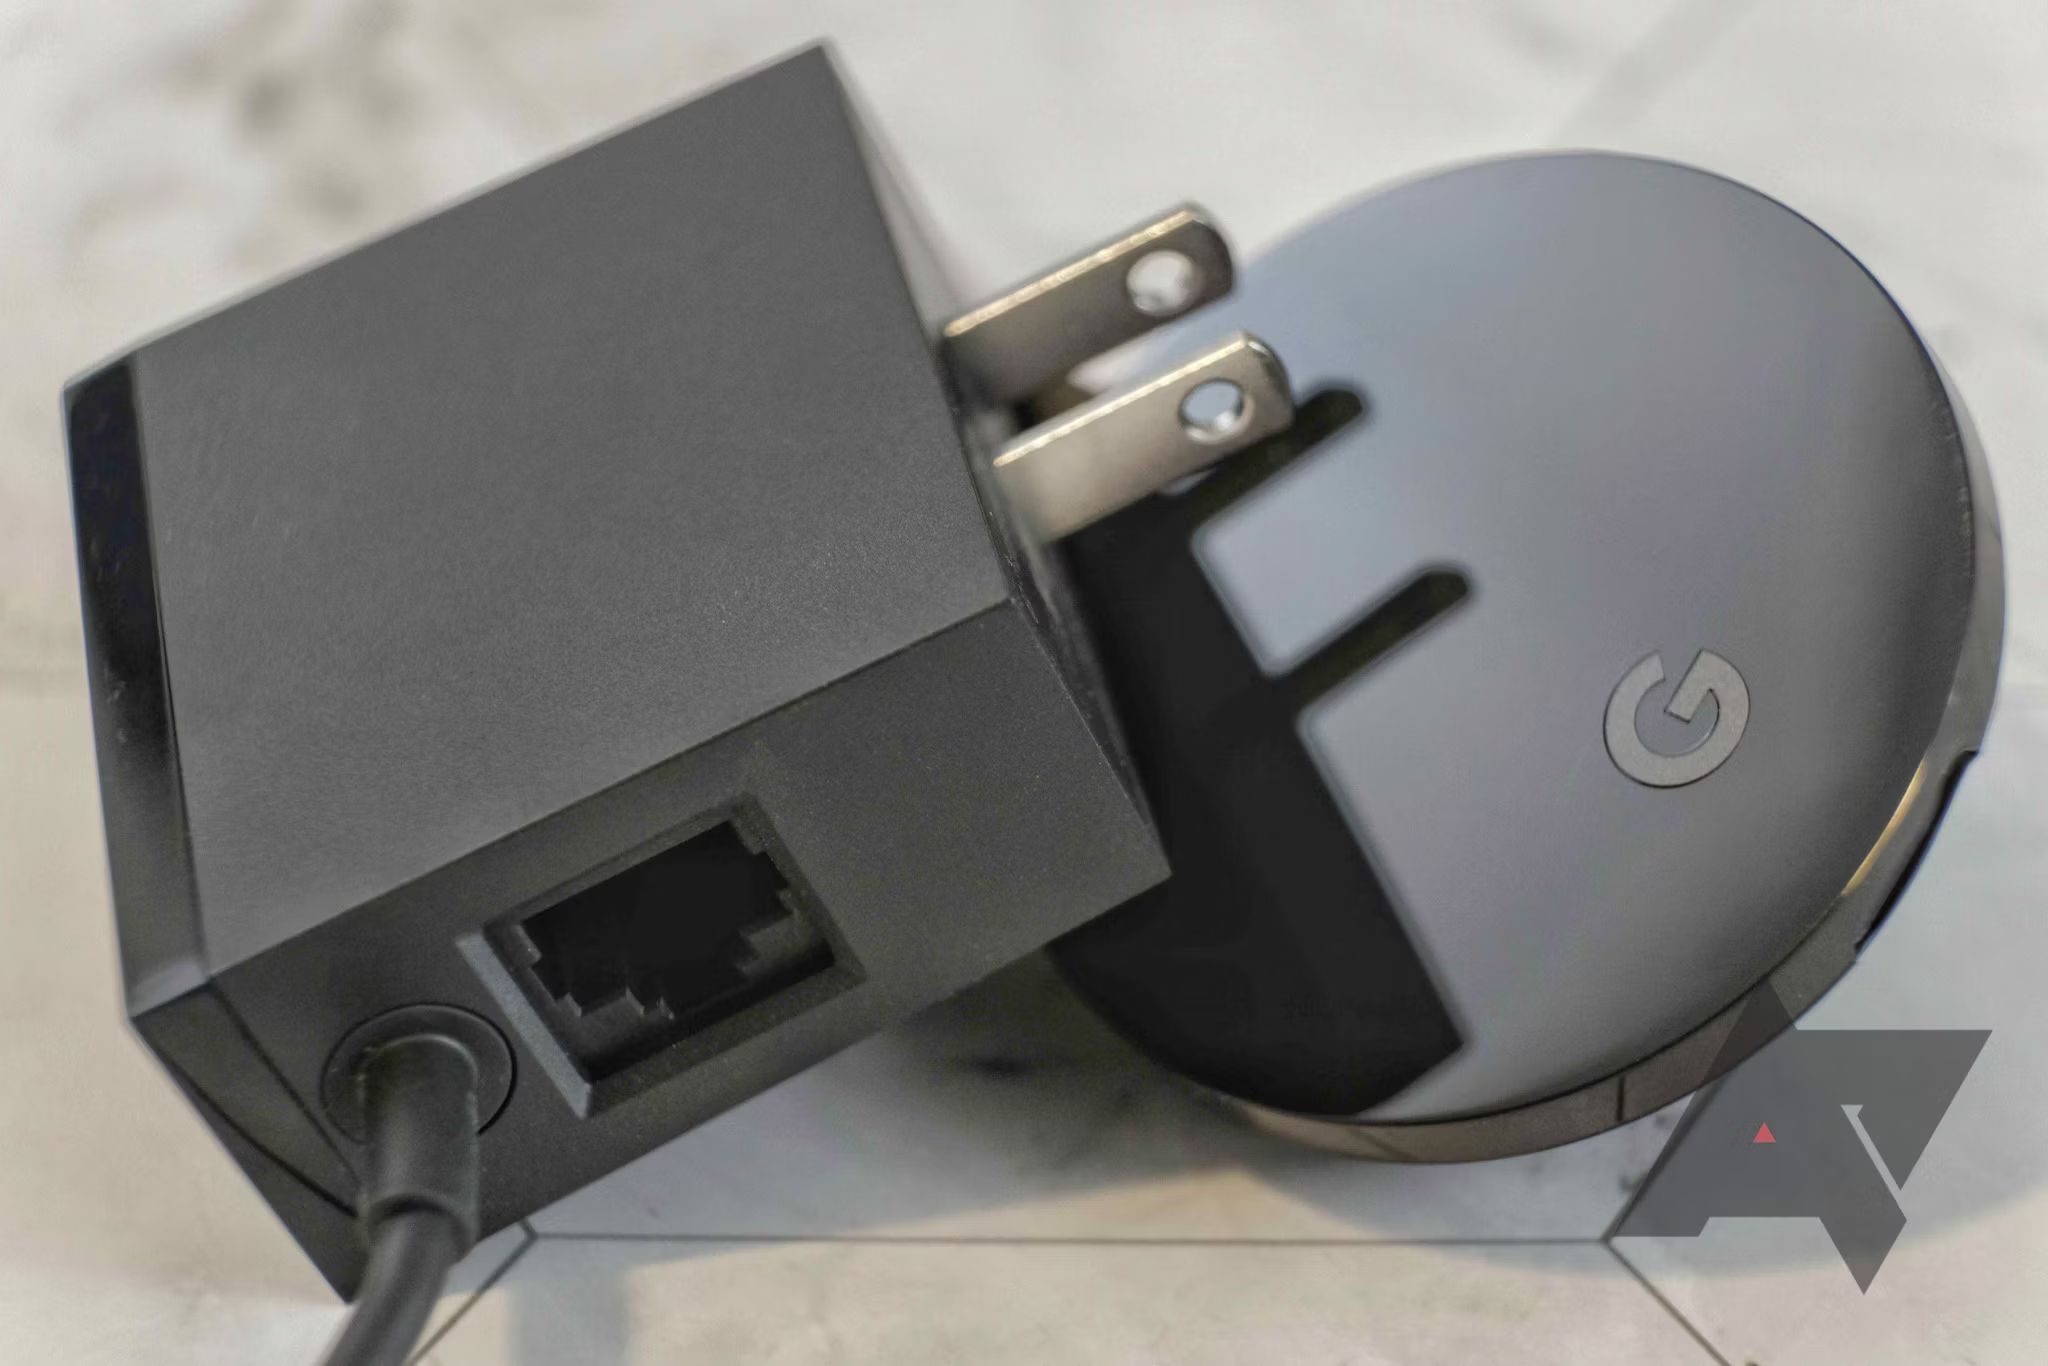
- Open the package: Carefully remove the outer packaging material to reveal the Chromecast device.
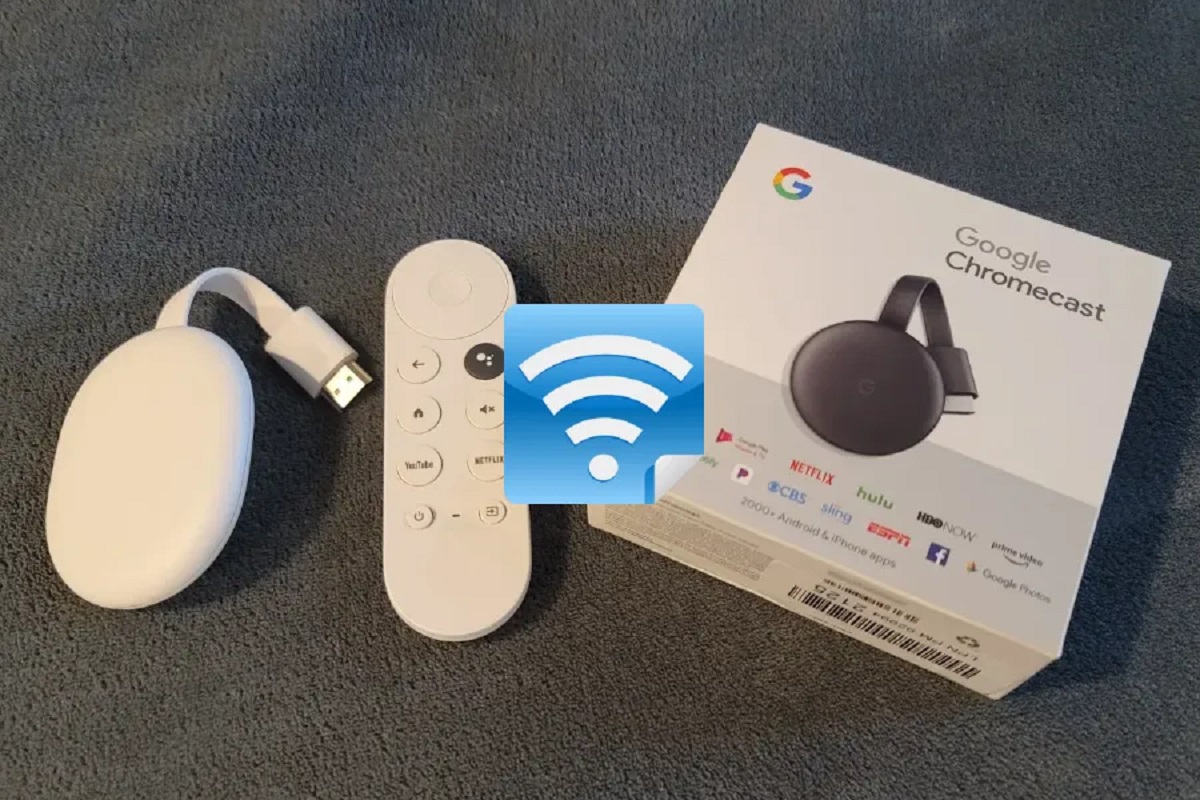
- Inspect the contents: Inside the package, you will find the Chromecast dongle, a USB power cable, and a power adapter (if included).
- Connect the power cable: Take the USB power cable and connect one end to the Chromecast dongle and the other end to either a USB port on your TV or the power adapter. If your TV doesn’t provide enough power through its USB port, it’s recommended to use the power adapter.
- Plug in the Chromecast: Once the power cable is connected, plug the Chromecast dongle into an available HDMI port on your TV.
- Switch input: Use your TV remote to switch the input source to the HDMI port where you connected the Chromecast. Make sure to note the HDMI port number for later use.
That’s it! You have successfully unboxed your Chromecast and prepared it for the setup process. Now, it’s time to move on to the next step – connecting your Chromecast to your TV.
Step 2: Connecting your Chromecast to your TV
Now that you have unboxed your Chromecast, it’s time to connect it to your TV. Follow these simple steps:
- Locate the HDMI port: Look at the back or side of your TV for the HDMI port where you plugged in the Chromecast dongle in the previous step. Take note of the corresponding input label (e.g., HDMI 1, HDMI 2, etc.).
- Select the input source: Using your TV remote, navigate to the input or source selection menu. Choose the HDMI input that corresponds to the port where you plugged in the Chromecast.
- Power on the Chromecast: Once you have selected the correct input, power on your Chromecast by connecting the USB power cable to a power source or the USB port on your TV.
- Check for the setup screen: After powering on your Chromecast, your TV screen should display a setup screen with the Chromecast logo. If you don’t see the setup screen, make sure you have selected the correct input source and that the Chromecast is properly powered.
That’s it! Your Chromecast is now successfully connected to your TV. In the next step, we will guide you through the process of installing the Google Home app, which is essential for setting up and managing your Chromecast.
Step 3: Installing the Google Home app
In order to set up and control your Chromecast, you will need to install the Google Home app on your smartphone or tablet. Here’s how to do it:
- Open your device’s app store: Whether you have an Android device or an iPhone/iPad, open the respective app store (Google Play Store for Android or App Store for iOS).
- Search for Google Home app: In the app store’s search bar, type “Google Home” and hit enter. Look for the official Google Home app, developed by Google LLC.
- Install the app: Once you have located the Google Home app, tap on the Install or Get button to download and install it on your device. The app is free to download.
- Launch the Google Home app: After the installation is complete, tap on the app’s icon to launch it. Note: Make sure your device is connected to the Wi-Fi network you want to set up your Chromecast with.
- Sign in to your Google account: Upon launching the Google Home app, you will be prompted to sign in with your Google account. If you don’t have a Google account, you can create one within the app.
- Grant necessary permissions: Follow the on-screen instructions to grant the app the necessary permissions to access your location, microphone, and other relevant settings. These permissions are required for the app to function properly.
Great! You have now successfully installed the Google Home app on your mobile device. In the next step, we will guide you through the process of powering on your Chromecast and connecting it to your Wi-Fi network for seamless streaming.
Step 4: Powering on your Chromecast and connecting to Wi-Fi
Now that you have the Google Home app installed on your device, it’s time to power on your Chromecast and connect it to your Wi-Fi network. Follow these steps:
- Ensure your TV is turned on: Make sure your TV is powered on and set to the HDMI input where you connected the Chromecast.
- Launch the Google Home app: Open the Google Home app on your mobile device. If prompted, sign in with your Google account.
- Add a device: Tap on the “+” button in the top-left corner of the Google Home app to add a new device.
- Set up a new device: Select “Set up device” from the options presented, and then choose “Set up new devices” to begin the setup process for your Chromecast.
- Confirm your Google account: Verify that the Google account displayed on your device matches the one you want to use with your Chromecast. If not, select the correct account or sign in with the appropriate credentials.
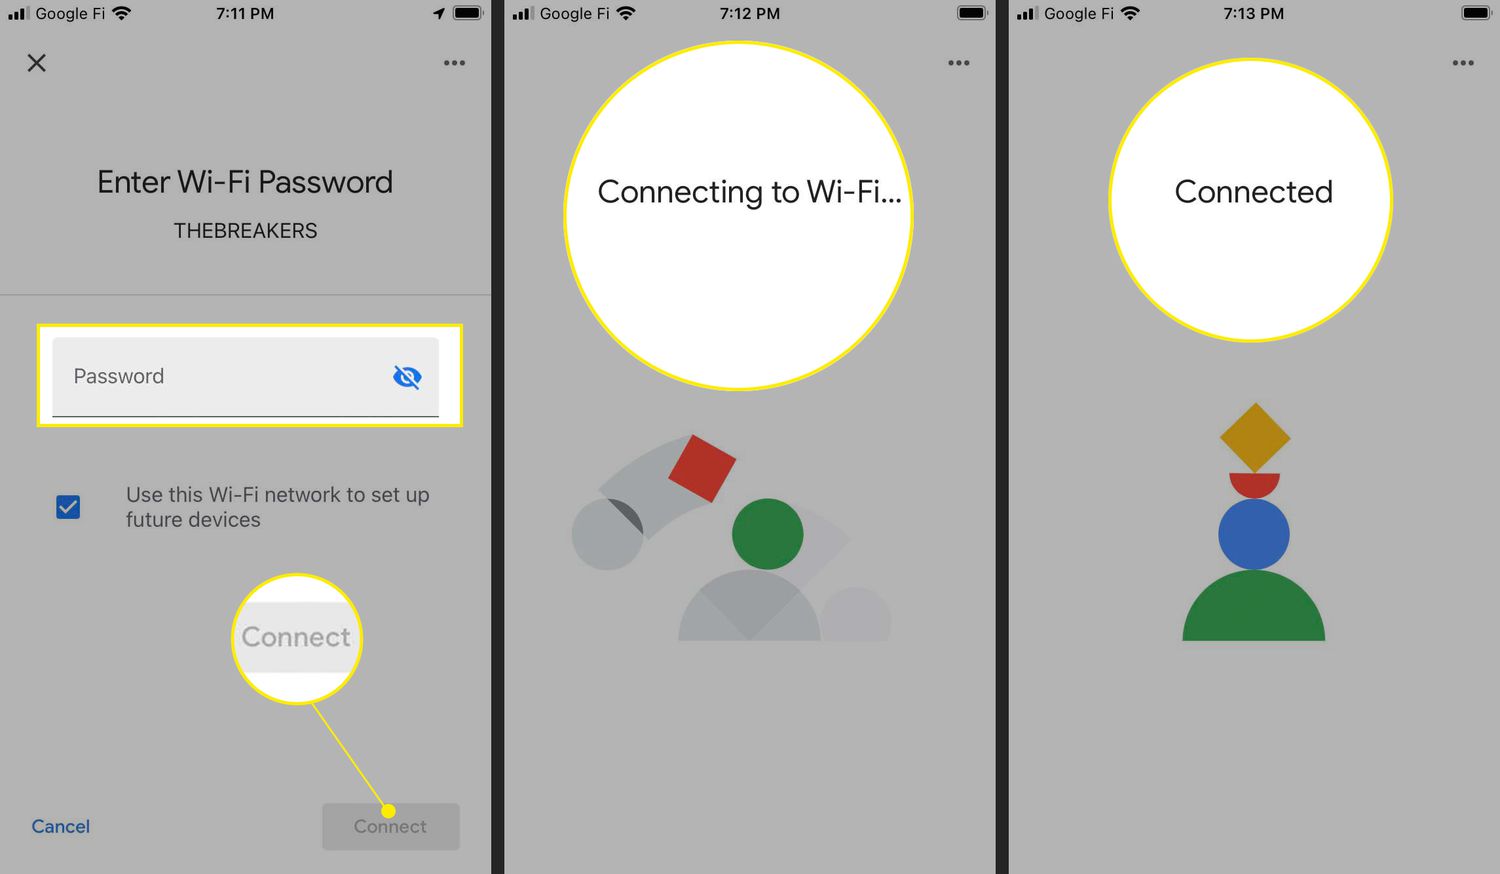
- Connect to Wi-Fi: Follow the on-screen instructions in the Google Home app to connect your Chromecast to your Wi-Fi network. Make sure to select the correct Wi-Fi network and enter the password if prompted. The app will guide you through the process.
- Wait for the connection: Once you have entered the Wi-Fi credentials, the Google Home app will establish a connection between your Chromecast and your Wi-Fi network. This process may take a few moments.
- Success! You will receive a confirmation message once your Chromecast is successfully connected to your Wi-Fi network. You can now proceed to the final step of the setup process.
Congratulations! Your Chromecast is now connected to your Wi-Fi network, allowing you to stream your favorite content directly to your TV. In the next step, we will cover the final steps of the setup process to ensure everything works seamlessly.
Step 5: Completing the setup process
You’re almost there! In this final step, we will guide you through the process of completing the setup for your Chromecast. Follow these simple steps:
- Choose a device name: Once your Chromecast is connected to your Wi-Fi network, the Google Home app will prompt you to choose a name for your device. This name will be used to identify your Chromecast when casting content.
- Review settings: The Google Home app will display some default settings for your Chromecast, such as Ambient Mode and Guest Mode. Take a moment to review these settings and make any desired adjustments.
- Customize backdrop: If you wish, you can customize the backdrop that appears on your TV when your Chromecast is idle. The Google Home app offers various options, including your own photos, artwork, and news headlines.
- Add streaming services: To fully enjoy your Chromecast, consider adding your favorite streaming services to the Google Home app. This will allow you to easily cast content from these services directly to your TV.
- Explore additional features: The Google Home app offers various additional features and settings that you can explore at your convenience. These include screen mirroring, device groups, and more.
That’s it! You have successfully completed the setup process for your Chromecast. Now you can start casting your favorite movies, TV shows, music, and more onto your TV screen.
If you ever need to make changes to your Chromecast settings or connect it to a different Wi-Fi network, you can do so through the Google Home app. Simply navigate to the device settings for your Chromecast within the app.
Enjoy your Chromecast experience and happy streaming!
Conclusion
Congratulations on successfully setting up your Chromecast to your Wi-Fi network! With just a few simple steps, you can now enjoy seamless streaming of your favorite content on the big screen. Here’s a quick recap of the setup process:
- Unbox your Chromecast and connect it to your TV.
- Install the Google Home app on your mobile device.
- Power on your Chromecast and connect it to your Wi-Fi network through the Google Home app.
- Complete the setup process by customizing settings and adding streaming services.
Remember, the Google Home app is not just for setting up your Chromecast but also for managing and controlling it. You can use the app to cast content, adjust settings, customize the backdrop, and explore additional features.
With your Chromecast connected to Wi-Fi, you can now enjoy endless entertainment possibilities. Stream your favorite movies, TV shows, music, and more directly to your TV screen, all controlled from the convenience of your mobile device.
If you ever need to make changes or troubleshoot issues with your Chromecast, the Google Home app is your go-to resource. It provides a user-friendly interface to manage your Chromecast and ensure an optimal streaming experience.
So, kick back, relax, and immerse yourself in a world of entertainment with your Chromecast. Enjoy the convenience and versatility it brings to your home theater setup. Happy streaming!