Introduction
Welcome to this guide on how to fix issues with your AT&T Wi-Fi connection. Having a stable and reliable internet connection is crucial in today’s digital age, and when your Wi-Fi isn’t working properly, it can be frustrating and disruptive. Whether you’re experiencing slow speeds, intermittent disconnects, or no connection at all, we’re here to help.
Before we dive into the troubleshooting steps, it’s important to understand that Wi-Fi issues can stem from a variety of factors. It could be a problem with your router, network settings, device firmware, or interference from neighboring devices. By following these steps, you’ll be able to diagnose and resolve the most common Wi-Fi issues.
So, if you’re tired of dealing with Wi-Fi problems and ready to get back to seamless browsing, streaming, and online gaming, let’s get started with the troubleshooting process. You don’t need to be a tech expert to fix most Wi-Fi issues – just a little patience and willingness to try these steps.
Restarting your Router
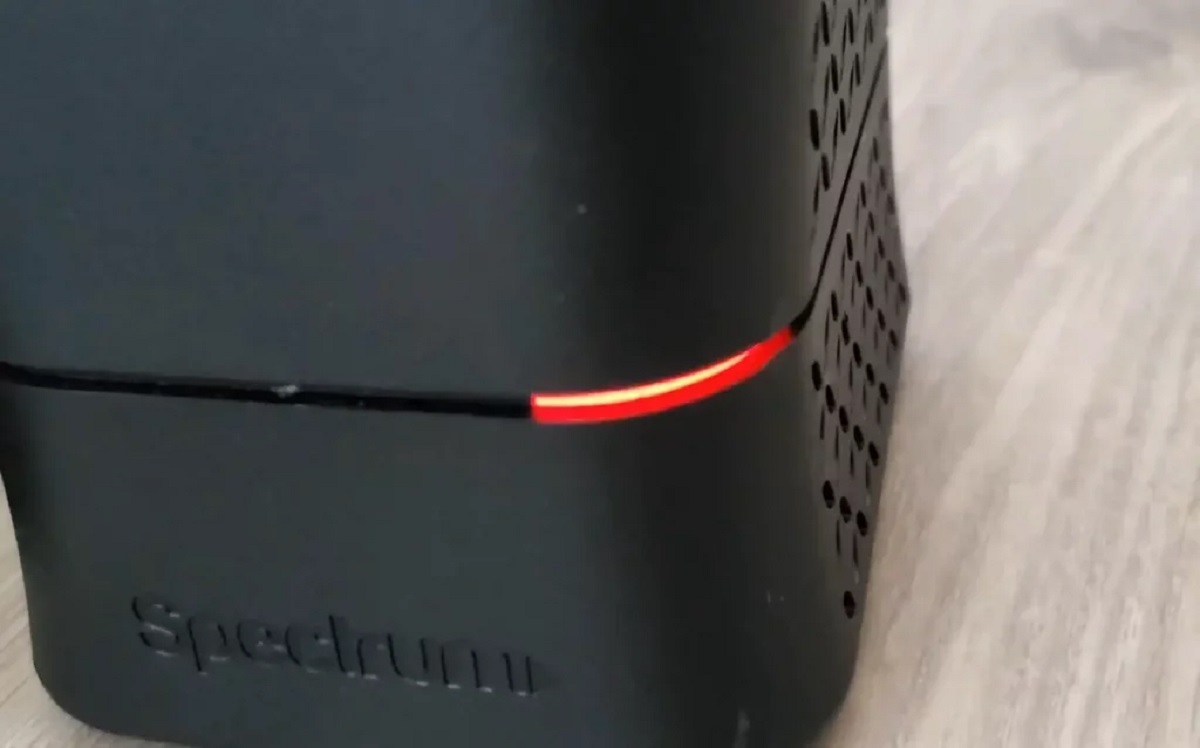
One of the simplest and most effective troubleshooting steps you can take is to restart your router. Over time, routers can encounter various issues that negatively impact their performance. Restarting your router helps in clearing out any temporary glitches and can often restore your Wi-Fi connection to normal.
To restart your router, follow these steps:
- Locate the power button on the back or bottom of your router.
- Press and hold the power button for about 10 seconds until the lights on the router turn off.
- Wait for a few seconds, then press the power button again to turn the router back on.
Allow your router a few minutes to fully restart and establish a connection with your devices. Once it has restarted, check if your Wi-Fi connection is working properly.
If restarting your router doesn’t resolve the issue, you can also try unplugging the power cable from your router, waiting for about 30 seconds, and then plugging it back in. This process, known as power cycling, can sometimes be more effective in resolving persistent connectivity problems.
Remember, restarting your router is a quick and simple step that can often resolve Wi-Fi issues. Give it a try before moving on to more advanced troubleshooting methods.
Checking Your Network Connection
When experiencing Wi-Fi issues, it’s important to first determine whether the problem lies with your network connection. Sometimes, the issue may be caused by a temporary disruption in your internet service provider’s network or a problem with your modem.
Here are a few steps you can take to check your network connection:
- Verify that other devices can connect to the internet: Test whether other devices, such as smartphones or tablets, are able to connect to the internet using the same Wi-Fi network. If other devices are also experiencing connectivity issues, the problem may be with your network service provider. In this case, contact your provider for assistance.
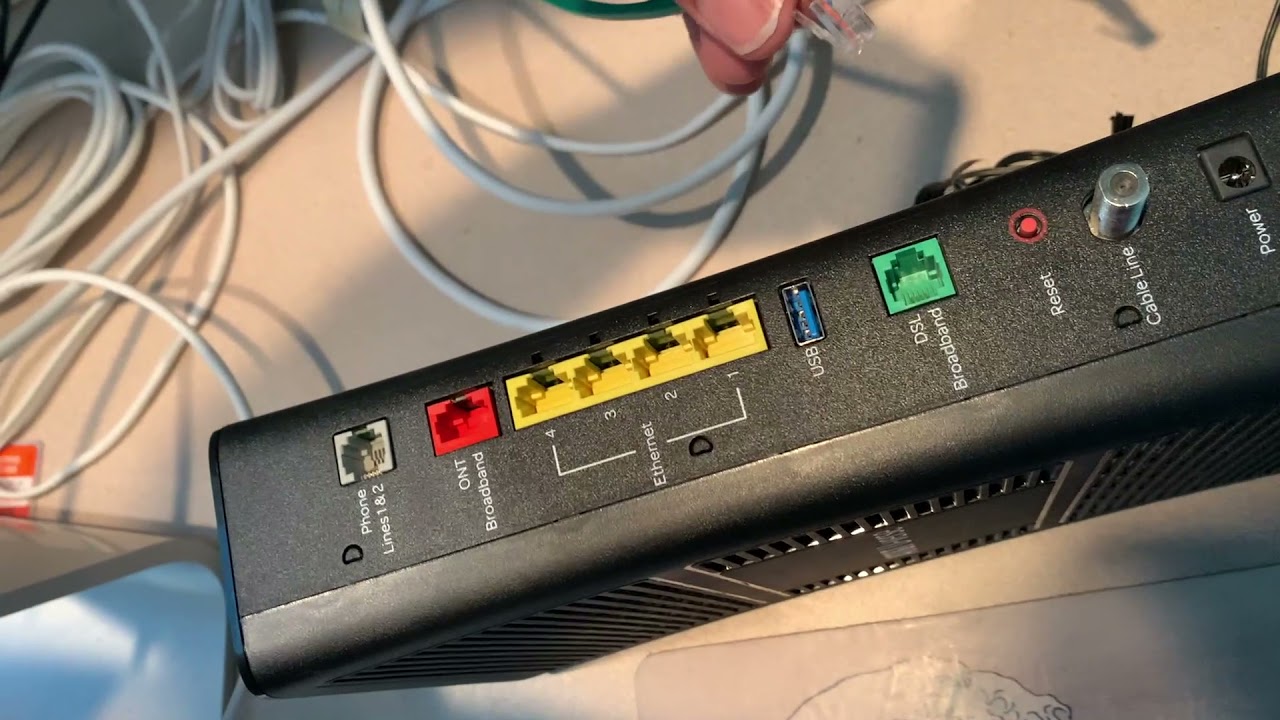
- Ensure the modem is properly connected: Check that all cables connecting your modem are securely plugged in. Sometimes, a loose or disconnected cable can cause Wi-Fi connection problems.
- Power cycle your modem: Similar to restarting your router, power cycling your modem can help resolve network connection issues. Unplug the power cable from your modem, wait for about 30 seconds, and then plug it back in. Allow the modem a few minutes to restart and reconnect to the network.
- Check for service outage notifications: Visit your internet service provider’s website or contact their customer support to see if there are any reported outages in your area. If there is a service disruption, you may need to wait until the issue is resolved.
By conducting these checks, you can determine whether the problem lies with your network connection or if it’s specific to your Wi-Fi setup. If your network connection is stable, proceed to the next troubleshooting steps to address possible issues within your Wi-Fi network.
Resetting Your Modem
If your network connection is stable but you’re still experiencing Wi-Fi issues, resetting your modem may help resolve the problem. Resetting the modem will restore it to its default factory settings and can often fix connectivity issues caused by configuration errors or conflicts.
Here are the steps to reset your modem:
- Locate the reset button on the back or bottom of your modem.
- Using a paperclip or a small, pointed object, press and hold the reset button for about 10-15 seconds.
- Release the reset button and wait for the modem to restart. This process may take a few minutes.
Once the modem has restarted, it will be restored to its default settings. You’ll need to reconfigure your Wi-Fi network and any custom settings, such as network name (SSID) and password.
Keep in mind that resetting your modem will disconnect all devices from the network, so you’ll need to reconnect them once the reset is complete. Additionally, any custom configurations or settings you had previously made will be lost, so make sure you have them documented or saved before proceeding with the reset.
If resetting your modem doesn’t improve your Wi-Fi connection, you may need to contact your internet service provider for further assistance. They can help diagnose any underlying issues with your modem or provide additional troubleshooting steps specific to their network.
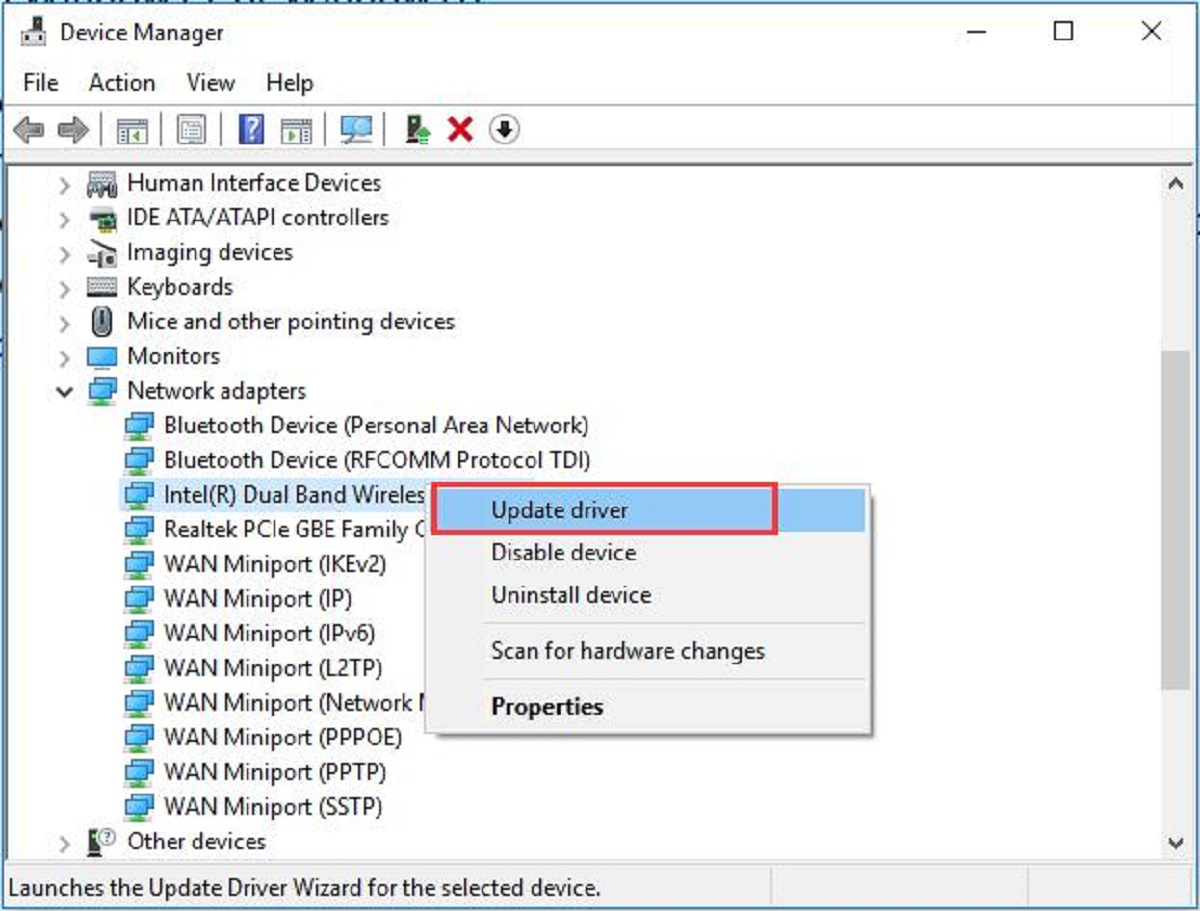
Updating Your Device’s Firmware
If you’re still encountering Wi-Fi issues after trying the previous troubleshooting steps, it’s worth considering updating your device’s firmware. Firmware is the software embedded in your router that controls its functionality and performance. Outdated firmware can sometimes be the cause of connectivity problems.
Here’s how you can update your device’s firmware:
- Access your router’s admin panel: Open a web browser and enter your router’s IP address in the address bar. Typically, the router’s IP address is printed on a label on the device itself or mentioned in the router’s manual. Enter your admin username and password to log in.
- Check for firmware updates: Once you’re logged into the admin panel, look for a section or tab labeled “Firmware Update” or similar. This section will allow you to check for and install the latest firmware update for your router.
- Download and install the firmware update: If there is a new firmware version available, download it from the manufacturer’s website. Follow the instructions provided by the manufacturer to install the update onto your router. Be patient as the update process may take a few minutes.
- Restart your router: After the firmware update has been successfully installed, restart your router. This step ensures that the new firmware is properly applied and takes effect.
Updating your device’s firmware can improve the stability, security, and performance of your Wi-Fi connection. It’s always recommended to keep your firmware up to date to ensure optimal functionality.
If you’re unsure about updating your device’s firmware or unable to find the necessary information, you can reach out to the manufacturer’s customer support for guidance. They will be able to assist you with the firmware update process specific to your router model.
Changing Your Router’s Channel
Another common cause of Wi-Fi issues is congestion on a specific Wi-Fi channel. Wi-Fi channels are like different lanes on a highway, and if too many devices are using the same channel, it can result in interference and reduced performance. By changing the channel on your router, you can potentially improve your Wi-Fi connection.
To change your router’s channel, follow these steps:
- Access your router’s admin panel: Open a web browser and enter your router’s IP address in the address bar. Log in with your admin username and password.
- Navigate to the wireless settings: Look for a section or tab labeled “Wireless Settings” or something similar. Within this section, you should find options to change the channel.
- Select a different channel: Depending on your router, you may have different channel options, such as 1, 6, or 11. Experiment with different channels to find the one that provides the best performance. The recommended channels are usually 1, 6, or 11, as they have the least overlapping interference.
- Save the changes: Once you’ve selected a new channel, save the changes and restart your router. This will apply the new channel settings and allow devices to reconnect to the Wi-Fi network.
It’s important to note that the process for changing the channel may vary depending on your router’s make and model. If you’re unsure about how to change the channel or unable to find the necessary options, refer to your router’s manual or contact the manufacturer’s customer support for guidance.
By changing your router’s channel, you can minimize interference from other nearby Wi-Fi networks and potentially improve the performance and stability of your Wi-Fi connection.
Placing Your Router in a Central Location
The placement of your router plays a crucial role in the strength and reach of your Wi-Fi signal. If your router is tucked away in a corner of your home or hidden behind thick walls, you may experience weak or inconsistent Wi-Fi connections in certain areas. To optimize your Wi-Fi coverage, consider placing your router in a central location within your home.
Here are some guidelines to help you find the ideal spot for your router:
- Avoid obstructions: Place your router in an area that is free from obstructions such as walls, furniture, appliances, or metal objects. These obstructions can weaken and block the Wi-Fi signal, leading to poor connectivity.
- Elevate your router: Position your router on a higher surface, such as a shelf or a table. Having the router elevated can help improve signal propagation and coverage, as the Wi-Fi waves can spread more efficiently.
- Consider the range: Try to place your router in a location that allows for optimal range coverage throughout your home. This may require some experimentation to find the best spot that balances coverage and performance.
- Adjust antenna position: If your router has adjustable antennas, consider pointing them in different directions to achieve better signal distribution. Positioning the antennas at a 45-degree angle or perpendicular to each other can help maximize coverage.
Remember that every home is unique, and the ideal placement for your router may vary based on the layout and construction materials. Spend some time testing different locations to find the one that provides the strongest and most reliable Wi-Fi signal throughout your home.
By placing your router in a central location and optimizing its position, you can improve the coverage and performance of your Wi-Fi network, ensuring a stable and strong connection for all your devices.
Using a Wi-Fi Extender
If you have areas in your home where the Wi-Fi signal is weak or non-existent, using a Wi-Fi extender can help bridge the gap and extend the range of your wireless network. A Wi-Fi extender, also known as a range extender or repeater, receives the existing Wi-Fi signal from your router and amplifies it to reach areas with poor coverage.
Here’s how you can use a Wi-Fi extender to improve your Wi-Fi signal:
- Choose the right Wi-Fi extender: There are various types of Wi-Fi extenders available on the market, so it’s essential to select one that is compatible with your router and meets your specific needs. Some extenders require a wired connection, while others can be connected wirelessly.
- Select the optimal location: Find a location for the Wi-Fi extender that is within range of your router’s Wi-Fi signal but also covers the area where you need improved coverage. Plug in the extender and wait for it to establish a connection with your router.
- Perform the extender setup: Most Wi-Fi extenders come with a setup wizard that guides you through the installation process. Follow the on-screen instructions to configure the extender and connect it to your existing Wi-Fi network.
- Test the extended network: Once the extender is set up, check the signal strength in the areas where you previously had weak coverage. Confirm that you now have a reliable and stable Wi-Fi connection in those areas.
Keep in mind that a Wi-Fi extender does not increase the overall internet speed but rather extends the coverage of your existing Wi-Fi network. Also, note that the Wi-Fi extender should be placed within a reasonable range of the router to ensure a stable connection.
If you continue to experience Wi-Fi connectivity issues even after using a Wi-Fi extender, it’s recommended to explore other troubleshooting steps or consider upgrading your internet plan for faster speeds.
By using a Wi-Fi extender, you can significantly improve the coverage and strength of your Wi-Fi signal, ensuring a reliable connection in areas that were previously out of range.
Placing Your Router Away from Interference
Interference from other electronic devices can significantly impact the performance and range of your Wi-Fi signal. To optimize your Wi-Fi connection, it’s important to place your router away from sources of interference that can disrupt the wireless signal.
Here are some tips for placing your router away from interference:
- Avoid proximity to other electronic devices: Keep your router away from other electronic devices that emit wireless signals or electromagnetic interference. Devices such as cordless phones, microwave ovens, baby monitors, and Bluetooth devices can interfere with Wi-Fi signals. Place your router away from these devices to minimize interference.
- Reduce physical barriers: Thick walls, metal objects, and mirrors can obstruct and weaken Wi-Fi signals. Try not to position your router near these physical barriers. Ideally, place it in an open area or use a Wi-Fi range extender to overcome these obstacles.
- Stay away from signal-blocking materials: Certain materials, like concrete, brick, and metal, can absorb or block Wi-Fi signals. Avoid placing your router near large metal objects or architectural features made from these materials. If it’s unavoidable, consider using a Wi-Fi extender or router positioning techniques to mitigate the signal loss.
- Adjust wireless channel: Even if you have minimized interference from other devices, neighboring Wi-Fi networks can still cause signal congestion. Access your router’s admin panel and adjust the wireless channel to one that has less interference from nearby networks. This can help improve the performance and decrease interference from neighboring networks.
By placing your router away from potential sources of interference, you can minimize signal disruption and achieve a stronger and more reliable Wi-Fi connection throughout your home.
Remember to test your Wi-Fi signal strength after repositioning the router to ensure optimal performance. If you still experience Wi-Fi issues, consider exploring additional troubleshooting steps or seeking assistance from your router’s manufacturer or internet service provider.
Contacting AT&T Customer Support
If you have tried all the troubleshooting methods mentioned above and are still experiencing persistent Wi-Fi issues with your AT&T connection, it may be time to contact their customer support for further assistance. AT&T provides dedicated support to help you resolve any technical problems you may encounter.
Here’s how you can get in touch with AT&T customer support:
- AT&T Website: Visit the AT&T website and navigate to their customer support section. Look for the contact information or a live chat option to connect with a representative online.
- Phone Support: Call AT&T’s customer support hotline to speak with a representative. They will guide you through troubleshooting steps, perform diagnostics, and escalate the issue if necessary.
- Social Media: Reach out to AT&T’s official social media accounts, such as Twitter or Facebook, and send a direct message explaining your Wi-Fi issues. The social media team may be able to provide assistance or direct you to the appropriate support channels.
When contacting AT&T customer support, it’s helpful to provide them with specific details about the issues you are facing, the troubleshooting steps you have already taken, and any error messages or error codes you have encountered. This information will help them better understand and diagnose the problem.
Keep in mind that AT&T customer support representatives are trained to assist with a wide range of technical issues, including Wi-Fi connectivity problems. They will work with you to resolve the identified problem or escalate it to a higher level of support if needed.
Remember to be patient and polite when communicating with customer support as they strive to resolve your issue as quickly and efficiently as possible.
By reaching out to AT&T customer support, you can benefit from their expertise and guidance to resolve complex Wi-Fi issues that require specialized assistance beyond the basic troubleshooting steps.
Conclusion
Having a stable and reliable Wi-Fi connection is essential for our daily activities, and when issues arise, it can be frustrating. However, by following the troubleshooting steps outlined in this guide, you can effectively address common Wi-Fi problems and improve your connection.
We started by suggesting simple steps, such as restarting your router and checking your network connection, to rule out common issues. If those steps didn’t resolve the problem, we explored more advanced solutions like resetting your modem, updating your device’s firmware, changing your router’s channel, and placing your router in a central location.
We also discussed using a Wi-Fi extender to extend the range of your network, positioning your router away from interference, and the importance of contacting AT&T customer support for specialized assistance if necessary.
Remember, every home and network setup is unique, so don’t hesitate to try different solutions and experiment with router placement and settings to find what works best for you. Keep in mind that technology is constantly advancing, and newer routers and devices may offer additional features and improvements to enhance your Wi-Fi experience.
If you find that you are still experiencing issues despite following these steps, reaching out to AT&T customer support is a helpful next step. They have dedicated technicians who can provide further guidance and ensure that your Wi-Fi issues are resolved effectively.
We hope this guide has been informative and has empowered you with the knowledge and tools to troubleshoot and resolve Wi-Fi issues with your AT&T connection. Remember, a reliable Wi-Fi connection is within your reach, and by implementing these steps, you can enjoy uninterrupted browsing, streaming, and online activities.