Introduction
Welcome to the world of AT&T Wi-Fi! Setting up your AT&T Wi-Fi Gateway is the first step towards a seamless and reliable internet experience. Whether you’re a new AT&T customer or upgrading your existing equipment, this guide will walk you through the process, ensuring that you can connect your devices and enjoy a fast and secure Wi-Fi network.
Your AT&T Wi-Fi Gateway serves as the central hub for all your wireless and wired internet connections. It provides a gateway between your devices and the internet, allowing you to access the web, stream movies, play games, and connect with friends and family.
In this guide, we will cover the step-by-step process of setting up your AT&T Wi-Fi Gateway, from unboxing to troubleshooting common issues. By following these instructions, you’ll have your Wi-Fi network up and running in no time.
Before we dive into the setup process, it’s important to note that AT&T provides different types of Wi-Fi Gateways, depending on your specific plan and location. The steps outlined in this guide are designed to cover the general setup and configuration process. If you have a specific AT&T Gateway model, you may need to consult the user manual provided by AT&T for any model-specific instructions.
Let’s get started with unboxing the AT&T Wi-Fi Gateway and begin the setup process!
Step 1: Unboxing the AT&T Wi-Fi Gateway
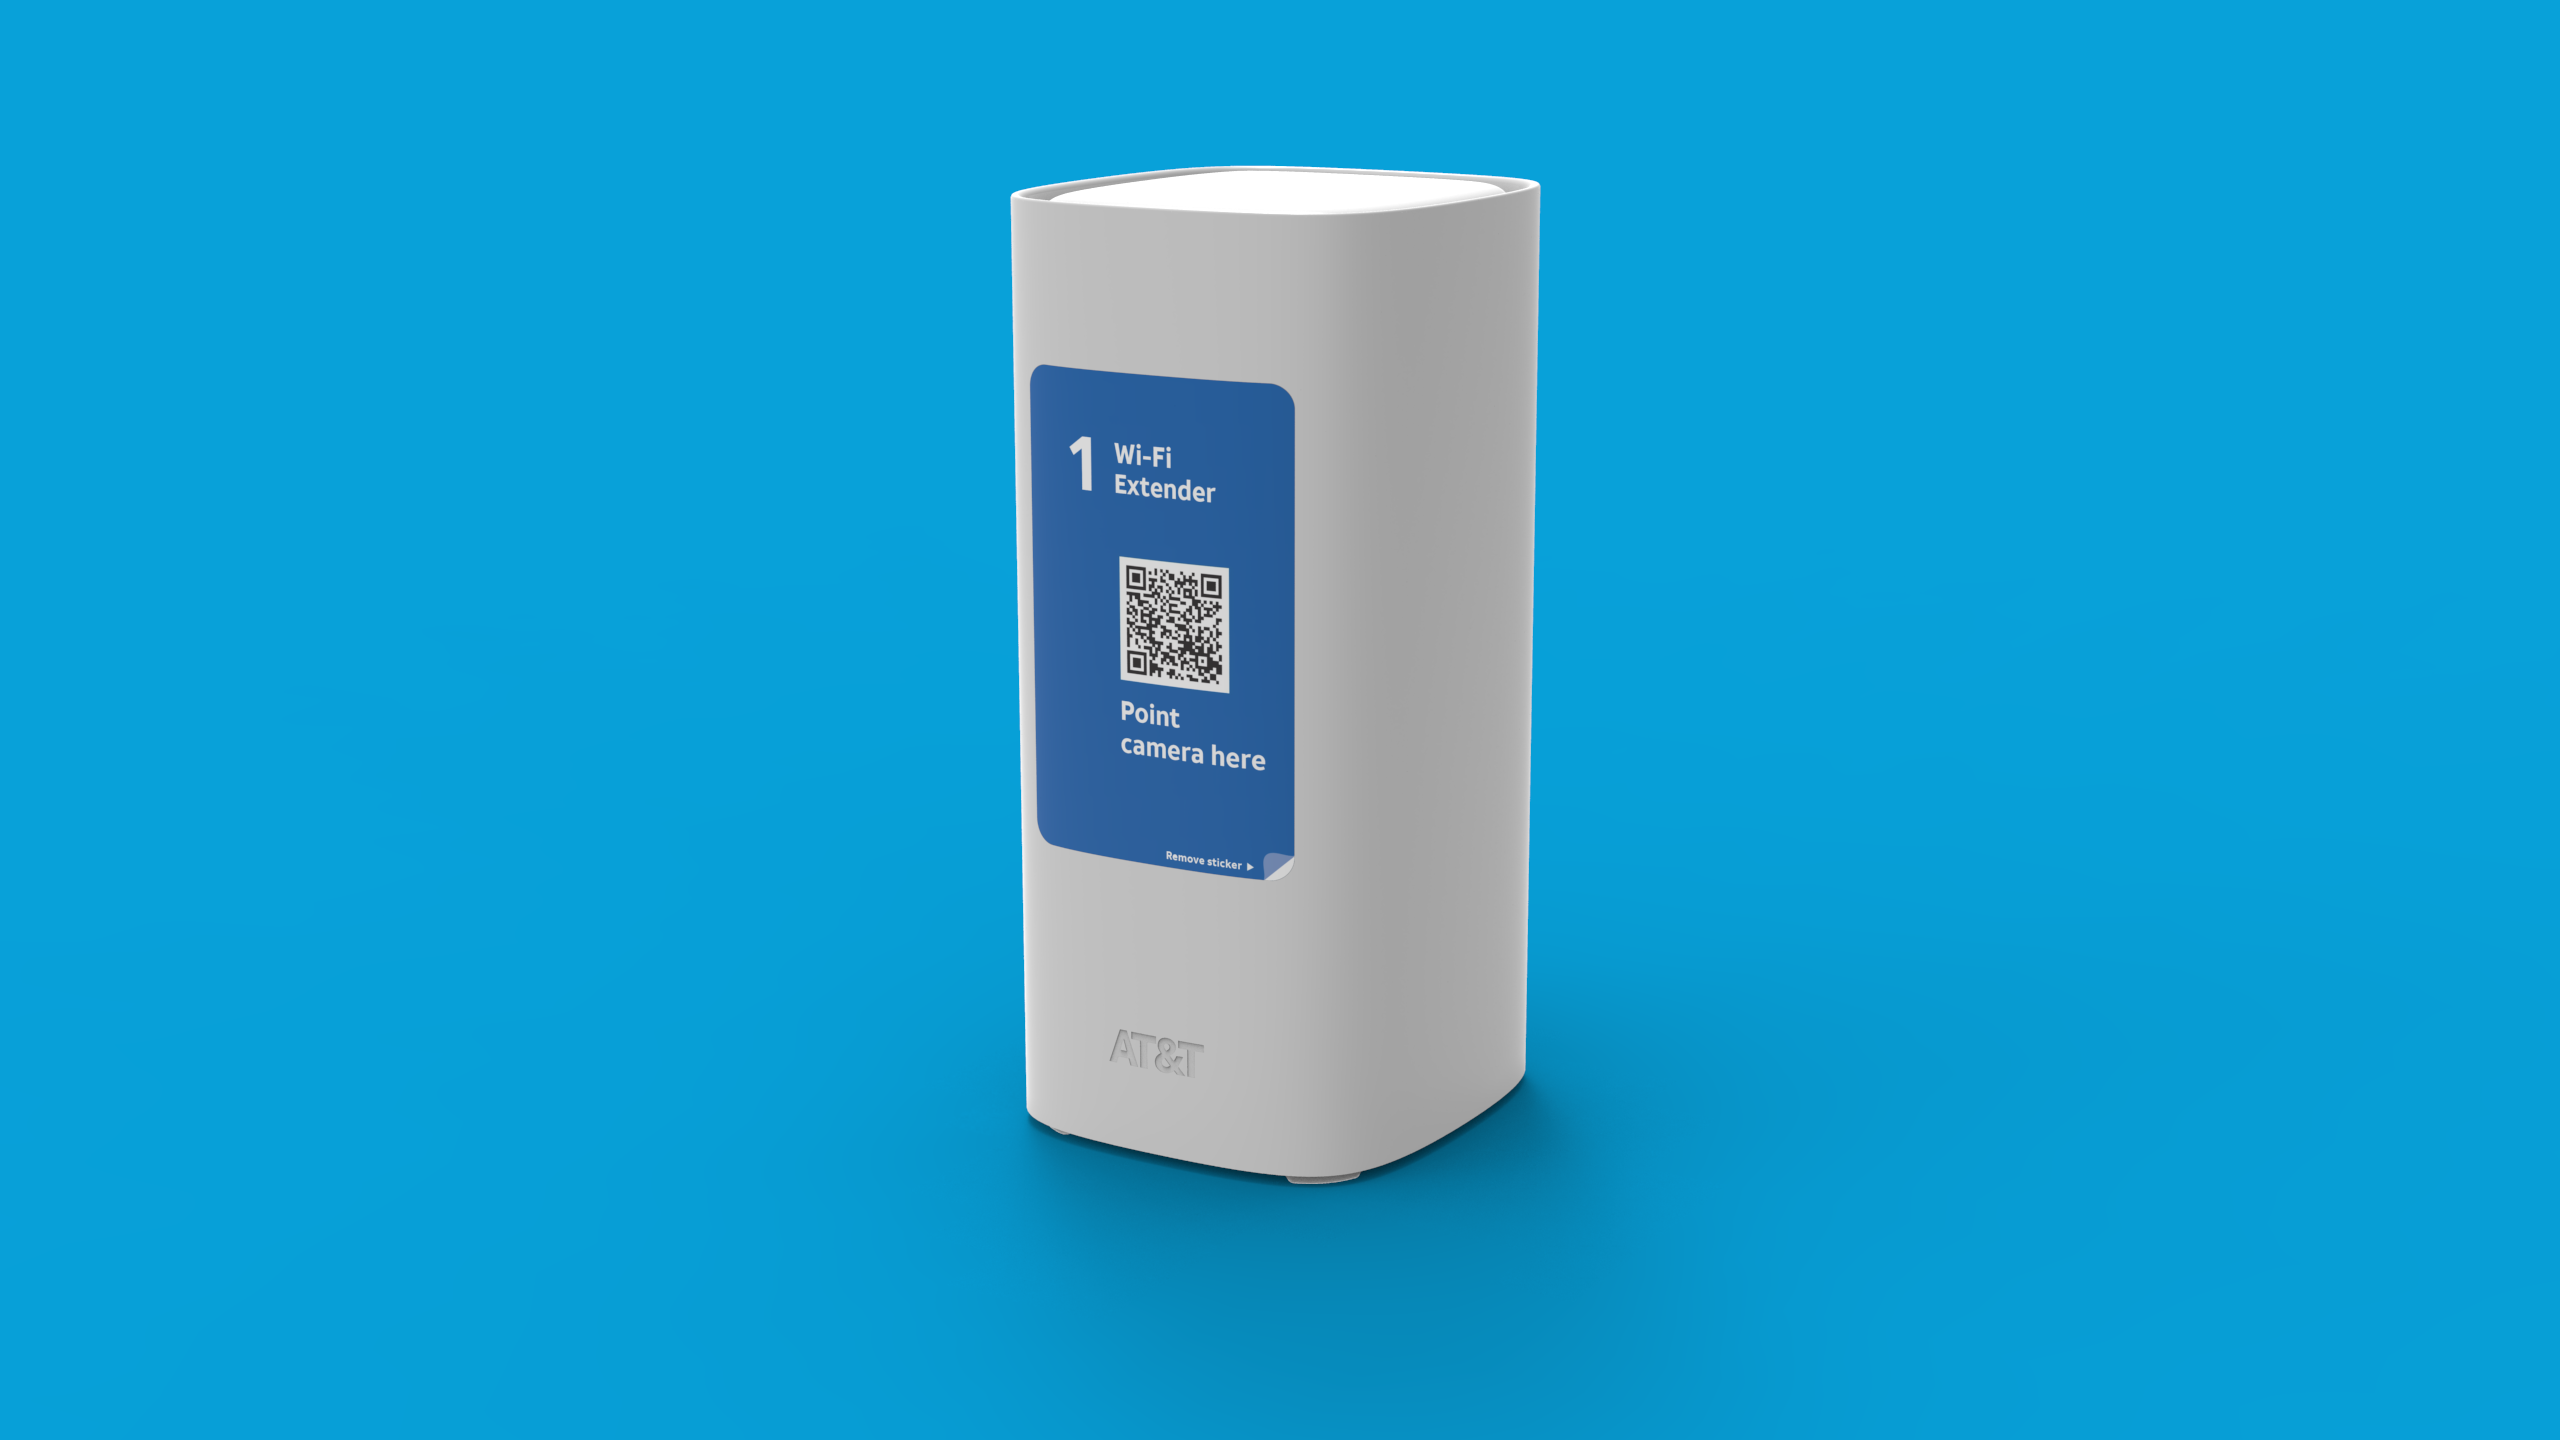
Before you can begin setting up your AT&T Wi-Fi Gateway, you’ll need to unbox it and have all the necessary components ready. Here’s what you can expect to find in the box:
- AT&T Wi-Fi Gateway
- Power Adapter
- Ethernet Cable
- Quick Start Guide
Once you have all the components handy, follow these steps to unbox your AT&T Wi-Fi Gateway:
- Locate the box containing your AT&T Wi-Fi Gateway.
- Gently open the box, taking care not to damage any of the contents.
- Remove the AT&T Wi-Fi Gateway from the packaging.
- Take out the power adapter and the Ethernet cable.
- Locate the Quick Start Guide and keep it handy for reference throughout the setup process.
It’s important to inspect the AT&T Wi-Fi Gateway for any visible damage during the unboxing process. If you notice any significant damage, contact AT&T customer support for assistance.
Once you’ve successfully unboxed the AT&T Wi-Fi Gateway and have all the components ready, you’re now prepared to move on to the next step: connecting the gateway to the power source.
Step 2: Connecting the Gateway to the Power Source
Now that you’ve unboxed your AT&T Wi-Fi Gateway, it’s time to connect it to a power source. This step will provide the necessary power for your gateway to function and begin the setup process. Follow these steps to connect the gateway to the power source:
- Locate a suitable power outlet near the desired location for your gateway.
- Take the power adapter provided in the box and plug it into the power outlet.
- Connect the other end of the power adapter to the power port on the back of the AT&T Wi-Fi Gateway.
- Ensure that the power connection is secure and that the LED indicators on the front of the gateway light up, indicating power supply.
It’s important to find a stable power outlet that is easily accessible and free from any potential obstructions. Avoid using extension cords or power strips, as they can cause power fluctuations and affect the performance of your AT&T Wi-Fi Gateway.
After connecting the gateway to the power source, allow it a few moments to boot up. The LED indicators on the front of the gateway will blink during the startup process. Once the blinking stops and the LED indicators remain steady, the gateway is ready for the next step: connecting it to the internet.
In the next step, we will guide you through connecting the AT&T Wi-Fi Gateway to the internet, establishing a connection that will allow you to browse and stream seamlessly. So let’s move on!
Step 3: Connecting the Gateway to the Internet
Once you have successfully connected your AT&T Wi-Fi Gateway to the power source, the next step is to establish a connection between the gateway and the internet. This step is crucial as it allows your devices to access the internet through the gateway. Follow these steps to connect the gateway to the internet:
- Locate the Ethernet cable provided in the box.
- Connect one end of the Ethernet cable to the Ethernet port on the back of the AT&T Wi-Fi Gateway.
- Take the other end of the Ethernet cable and connect it to the modem or the internet source provided by your internet service provider (ISP).
- Ensure that the Ethernet cable is securely connected to both the gateway and the modem or internet source.
By establishing this wired connection between the gateway and the internet source, you are ensuring a stable and reliable connection for your Wi-Fi network. It is important to note that the specific port and connection method may vary depending on the model of your AT&T Wi-Fi Gateway.
Once the gateway is connected to the internet, give it a few moments to establish the connection. During this time, the LED indicators on the front of the gateway may blink or change colors. Consult the user manual or the quick start guide for your specific AT&T Wi-Fi Gateway model to understand the meaning of these LED indicators.
With the gateway successfully connected to the internet, you’re now ready to move on to the next step: configuring the gateway settings. This will enable you to customize your Wi-Fi network and ensure optimal performance. So, let’s proceed to the next step!
Step 4: Configuring the Gateway Settings
Now that your AT&T Wi-Fi Gateway is connected to the internet, it’s time to configure the gateway settings. This step will allow you to personalize your Wi-Fi network and optimize its performance. Follow these steps to configure the gateway settings:
- Open a web browser on a device connected to the AT&T Wi-Fi network.
- In the address bar, enter the default gateway IP address provided in the user manual or quick start guide. This is typically something like “192.168.1.1”.
- You’ll be prompted to enter the gateway’s default login credentials. Consult the user manual or quick start guide for the default username and password.
- Once logged in, you’ll have access to the gateway’s settings page. Here, you can customize various aspects of your Wi-Fi network, such as the network name (SSID) and password.
- Make the desired changes to the settings, ensuring that you choose a strong and memorable password for your Wi-Fi network.
- After making the changes, save the settings and wait for the gateway to apply the new configurations.
It’s important to note that the exact steps and options may vary depending on the model of your AT&T Wi-Fi Gateway. Refer to the user manual or quick start guide for your specific model for detailed instructions on configuring the gateway settings.
Once the gateway has applied the new configurations, your personalized Wi-Fi network will be ready to use. Remember to update the Wi-Fi settings on all your devices to connect to the newly configured network.
With the gateway settings configured, you’re one step closer to enjoying a fully functional and secure Wi-Fi network. In the next step, we’ll guide you through connecting your devices to the Wi-Fi network. So, let’s proceed to the next step!
Step 5: Connecting Devices to the Wi-Fi Network
Now that you’ve successfully configured your AT&T Wi-Fi Gateway settings, it’s time to connect your devices to the Wi-Fi network. This step will allow you to enjoy wireless internet connectivity on your smartphones, tablets, laptops, and other devices. Follow these steps to connect your devices to the Wi-Fi network:
- On the device you want to connect to the Wi-Fi network, navigate to the network settings.
- Search for available Wi-Fi networks and select your newly configured network from the list.
- Enter the Wi-Fi network password you set during the gateway configuration process.
- Wait for the device to connect to the Wi-Fi network. Once connected, you’ll see the Wi-Fi icon on your device’s screen.
Repeat the above steps for all the devices you want to connect to the Wi-Fi network. Ensure that you are within range of the AT&T Wi-Fi Gateway to ensure a strong and stable connection.
If you are facing any issues while connecting to the Wi-Fi network, make sure that the Wi-Fi network name (SSID) and password are entered correctly. Consult the user manual or quick start guide for your AT&T Wi-Fi Gateway model for troubleshooting tips and additional assistance.
With your devices successfully connected to the Wi-Fi network, you can now enjoy uninterrupted internet access from anywhere within the network’s range.
In the final step, we’ll explore some common troubleshooting tips to help you resolve any issues you may encounter with your AT&T Wi-Fi Gateway or Wi-Fi network. So, let’s proceed to the next step!
Step 6: Troubleshooting Common Issues
While setting up and configuring your AT&T Wi-Fi Gateway, you may encounter some common issues. Don’t worry, as these issues can usually be resolved with a few simple troubleshooting steps. Here are some common issues you may encounter and steps to troubleshoot them:
1. No Internet Connection: If you’re not able to connect to the internet via the Wi-Fi network, ensure that the gateway is properly connected to the internet source and that all cables are securely plugged in. Restarting the gateway and your devices can also help resolve connection issues.
2. Weak Wi-Fi Signal: If you’re experiencing a weak Wi-Fi signal or limited coverage, try relocating the gateway to a central location in your home or office. Avoid placing it in areas with obstructions such as walls or furniture that may interfere with the signal. Additionally, consider adjusting the Wi-Fi channel settings on the gateway to minimize interference from other nearby networks.
3. Forgotten Network Password: If you’ve forgotten the Wi-Fi network password, you can usually find it in the settings of the AT&T Wi-Fi Gateway. Refer to the user manual or quick start guide for instructions on retrieving or resetting the network password.
4. Slow Internet Speed: If you’re experiencing slow internet speeds, ensure that there are no bandwidth-intensive tasks or downloads taking place on your network. Try optimizing your Wi-Fi network by reducing the number of connected devices or adjusting the Wi-Fi channel settings for better performance.
5. Router Reset: If none of the above troubleshooting steps help resolve your issue, you can try resetting your AT&T Wi-Fi Gateway to its default settings. Keep in mind that this will erase any customized settings you’ve made, so it’s recommended to consult the user manual or contact AT&T customer support for guidance before proceeding with a reset.
If you’re still experiencing issues or need further assistance, don’t hesitate to contact AT&T customer support. They have a dedicated team to help you troubleshoot and resolve any technical issues related to your AT&T Wi-Fi Gateway.
By following these troubleshooting steps, you’ll be able to resolve common issues and ensure smooth and uninterrupted internet connectivity through your AT&T Wi-Fi Gateway.
With this, we have come to the end of our step-by-step guide on setting up and troubleshooting your AT&T Wi-Fi Gateway. You should now have a fully functional Wi-Fi network that allows you to enjoy fast and reliable internet access on all your devices.
We hope this guide has been helpful to you. If you have any further questions or need additional assistance, feel free to reach out to AT&T customer support.
Conclusion
Congratulations! You have successfully set up your AT&T Wi-Fi Gateway and configured it to provide a fast and secure internet connection. By following the step-by-step instructions in this guide, you have gained the knowledge to unbox the gateway, connect it to the power source, establish an internet connection, configure the gateway settings, connect devices to the Wi-Fi network, and troubleshoot common issues.
With your AT&T Wi-Fi Gateway up and running, you can now enjoy seamless connectivity, whether it’s for browsing the web, streaming your favorite shows, playing online games, or staying connected with friends and family.
Remember to always refer to the user manual or quick start guide specific to your AT&T Wi-Fi Gateway model for any model-specific instructions or troubleshooting tips.
Should you encounter any difficulties or have unanswered questions, don’t hesitate to reach out to AT&T customer support for assistance. Their dedicated team is available to help resolve any technical issues and provide the support you need.
Thank you for choosing AT&T for your internet needs. We hope this guide has been informative and helpful in setting up your AT&T Wi-Fi Gateway. We wish you an uninterrupted and enjoyable internet experience!