To set up a separate IoT network, you create a dedicated Wi-Fi network or VLAN that isolates your smart home devices from your main network. This prevents a compromised smart plug or camera from reaching your personal computer, phone, or files, which is why understanding the main parts of IoT systems helps you identify every device that belongs on this isolated network. The simplest method is to enable the guest network feature on your router, give it a unique name, and connect all IoT devices to that network instead of your primary one.
Why You Need a Separate IoT Network
Your smart bulb or thermostat is a tiny computer, but it often lacks the security updates and strong passwords of your laptop. If a hacker exploits a vulnerability in that smart plug, they can use it as a foothold to scan your main network for file shares, banking sessions, or other sensitive data. A separate IoT network acts as a containment zone: even if an attacker takes over the plug, they are trapped on an isolated network with no route to your personal devices. This is the single most effective step you can take to protect your data from the growing number of internet-connected gadgets in your home.
How to Access Your Router to Create the Network
To begin, you need to open your router’s administration panel. The most reliable method is to use a web browser on a computer or phone that is connected to your main Wi-Fi network. Type your router’s LAN IP address into the address bar, common addresses are 192.168.1.1 or 192.168.0.1. Alternatively, some router manufacturers provide a URL like http://www.asusrouter.com or http://tplinkwifi.net, but check your router's documentation to confirm the correct address. If neither works, check the sticker on the back of your router or the manual. Many internet providers also offer a mobile app (e.g., Xfinity, AT&T, or Verizon) that lets you manage your router settings. Log in with the admin username and password, if you never changed it, look for the default credentials printed on the router. Once logged in, you will land on the main settings dashboard.
Setting Up the IoT Wi-Fi or Guest Network
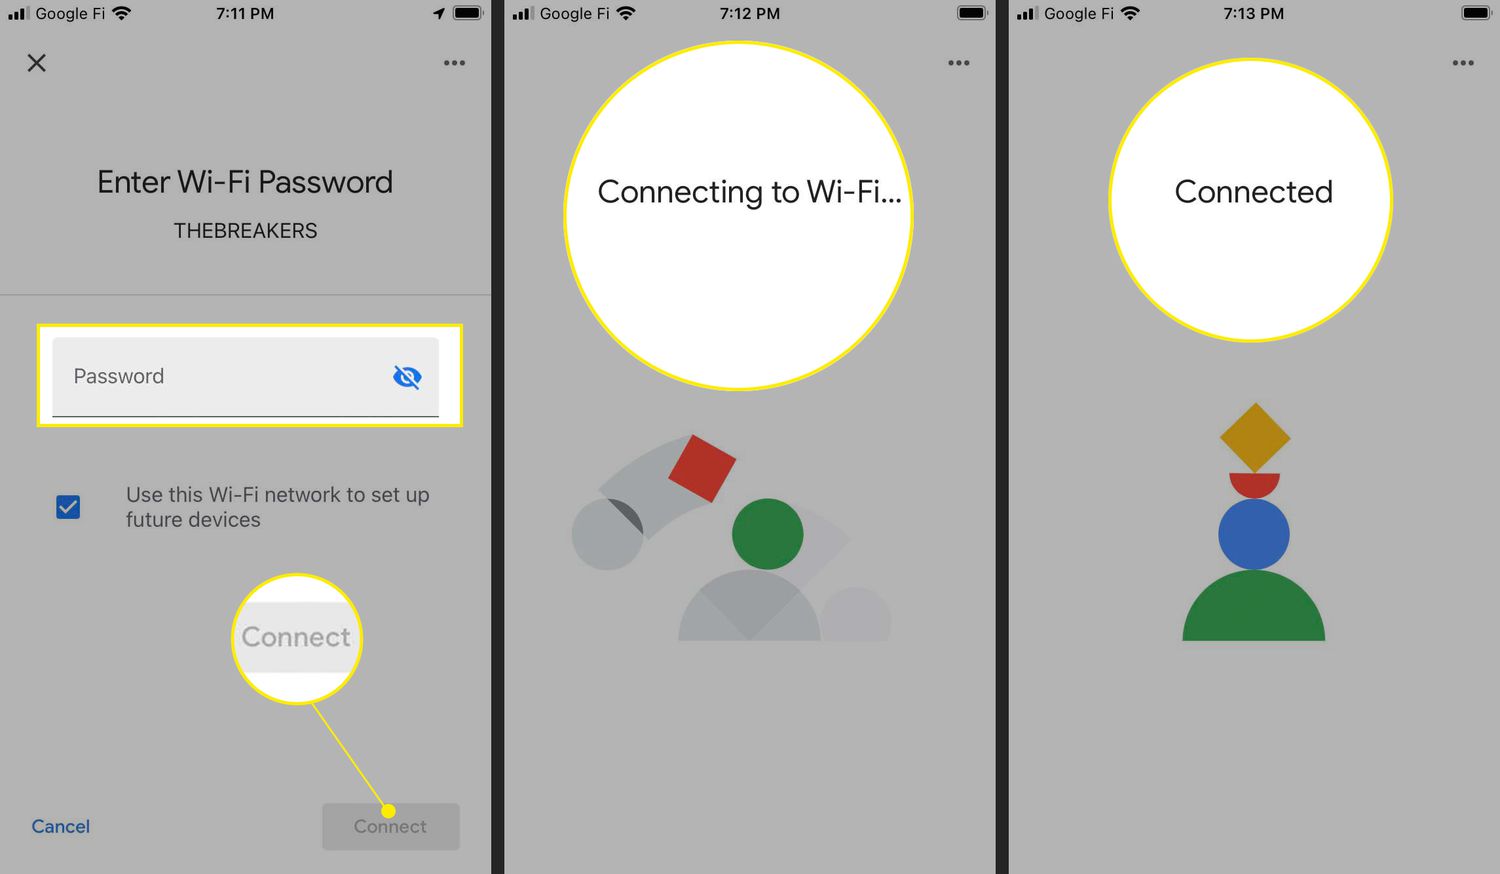
Most modern routers include a guest network feature, which is perfect for a separate IoT network. Navigate to the wireless settings section, often labeled “Guest Network,” “Guest Wi-Fi,” or “Multi-SSID.” Enable the guest network option. You will need to set a new network name (SSID) that clearly identifies it as your IoT network, such as “IoT_2.4GHz” or “SmartHome_Devices.” Choose WPA2-PSK (or WPA3 if all your devices support it) for encryption, and create a strong password that is different from your main Wi-Fi password. This ensures that IoT devices can reach the internet but cannot communicate with your main network devices. Save the settings, and your new separate IoT network will appear in the Wi-Fi list. Connect each smart device to this new SSID, not your primary one.
Sub-step: Verify the Guest Network Isolation
After enabling the guest network, double-check that isolation is active. This step is critical because without it, the guest network might still allow IoT devices to see your main network. If your router lacks this setting, consider the VLAN approach below.
VLAN Segmentation for Advanced Users
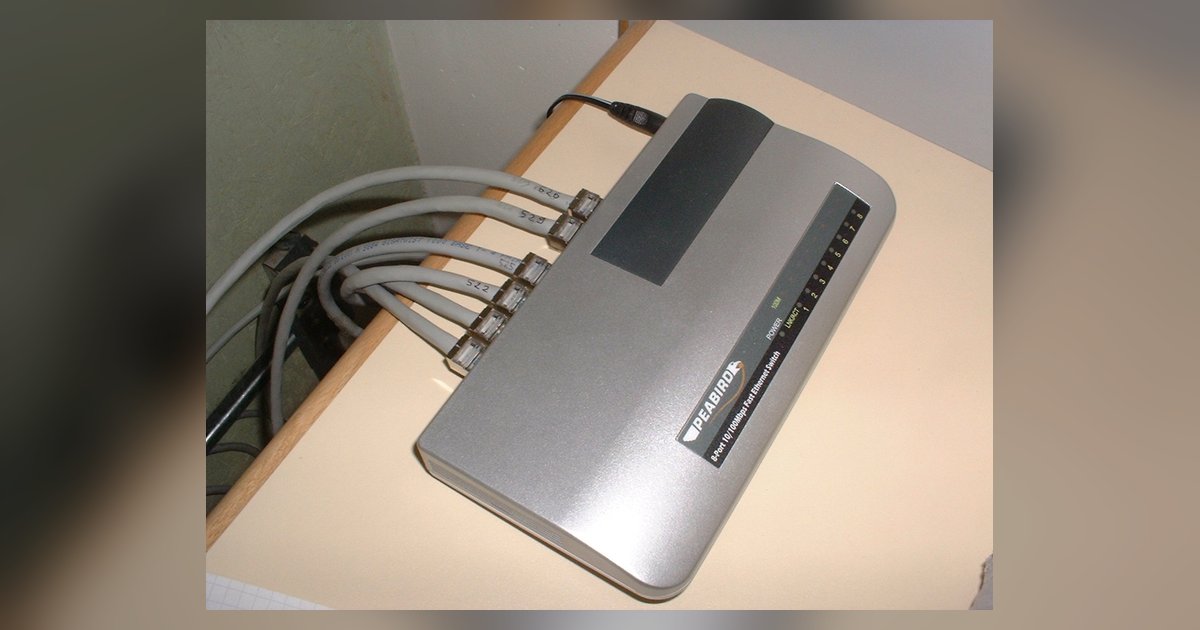
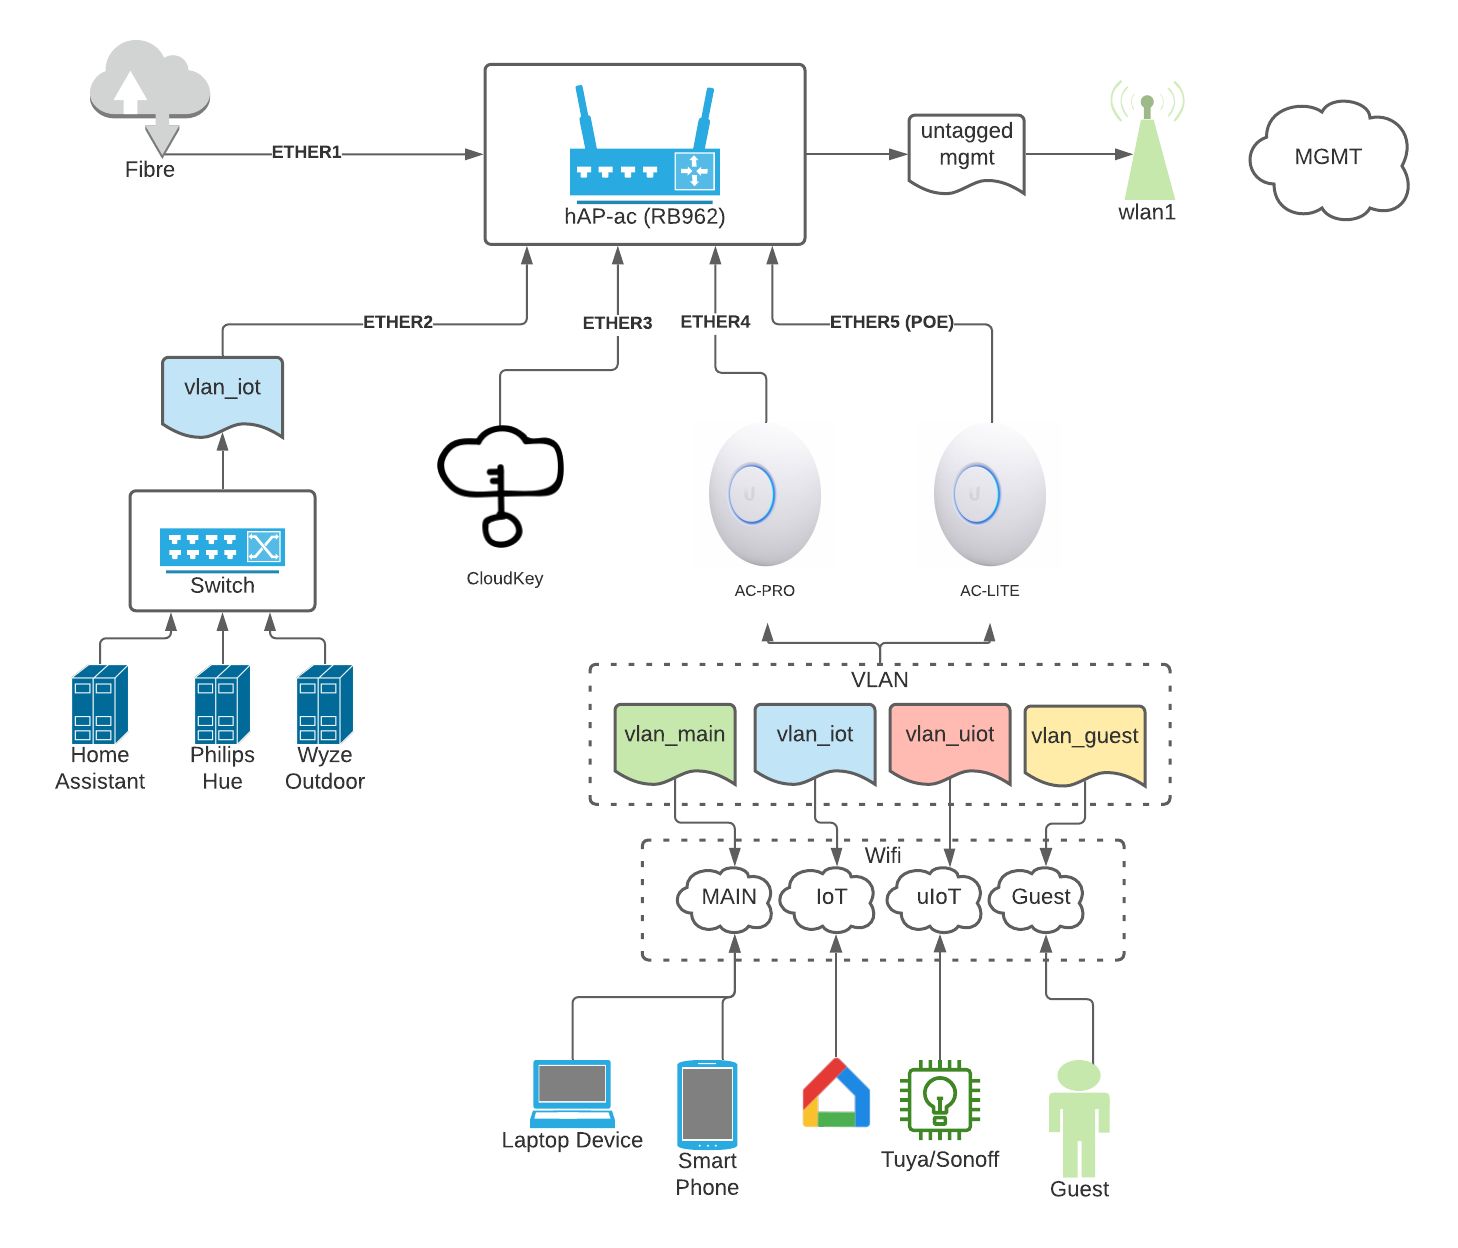
If you have a managed switch or a router that supports VLANs (Virtual Local Area Networks), you can achieve stricter traffic isolation than a typical guest network. Then, configure your router’s firewall rules to block all traffic from the IoT VLAN to the main VLAN, allowing only outbound internet access. The exact steps vary by router model; consult your device's documentation. Associate each IoT device’s port or Wi-Fi SSID with this VLAN. This method gives you granular control, for example, you can allow your smart hub to talk to the main network while isolating your light bulbs. Finally, test that an IoT device on VLAN 10 cannot ping a computer on VLAN 1. This setup requires more technical knowledge but provides the strongest security, which is exactly why you’d want it if you have many devices or strict privacy needs, especially as IoT effects on daily life bring more connected appliances into your home. For cloud-managed devices, you can streamline this by registering them with azure IoT hub to handle authentication and provisioning securely.
Security Hardening and Final Checks
After creating your separate IoT network, take a few extra steps to lock it down. Change the default admin password on your router to a long, unique passphrase, do not reuse any existing passwords. Disable WPS (Wi-Fi Protected Setup) entirely, as it is a known security hole that can allow brute-force attacks. Update your router’s firmware to the latest version, and enable automatic updates if available. Next, verify that your IoT devices are actually on the correct network: check each device’s Wi-Fi settings or the router’s client list to confirm they are connected to the new SSID or VLAN, not your main network. Perform a final isolation test, connect a laptop to the main network and try to ping an IoT device’s IP address; it should fail. Also, from the IoT network, try to access your computer’s shared folders; this should be blocked. If both tests fail, your separation is working. Finally, consider changing the default passwords on your IoT devices themselves, especially for cameras and hubs, and disable any remote access features you don’t use. These checks ensure your separate IoT network is truly secure and that a compromised smart device cannot reach your personal data.