Introduction
Looking to capture a screenshot on your Samsung Galaxy Tab A? Whether you want to save a memorable moment from a video, share an interesting article with a friend, or showcase a new app or feature, taking a screenshot is a quick and convenient way to capture and share the information on your device’s screen. The Samsung Galaxy Tab A offers various methods for capturing screenshots, from using physical buttons to utilizing intuitive gestures and feature-rich apps.
In this article, we will explore multiple methods to capture screenshots on your Samsung Galaxy Tab A. Whether you have the latest model with an S Pen or the regular version, there is a suitable method for everyone. So, let’s dive into the various options available and find the one that works best for you.
Note: The methods explained here are specifically for the Samsung Galaxy Tab A, but they may also work for other Samsung Galaxy tablets with similar features and running on the same or a similar version of the Android operating system.
Method 1: Using the Physical Buttons
One of the most straightforward and common methods to take a screenshot on your Samsung Galaxy Tab A is to use the physical buttons on the device. Here are the steps:
- Position the screen: Ensure that you have the screen you want to capture ready and visible on your Samsung Galaxy Tab A.
- Press the buttons: Simultaneously press and hold the Power button located on the right side of the device and the Volume Down button positioned on the left side. Hold them for a few seconds.
- Confirmation and access: You will see a visual indication on the screen, and in some cases, you may hear a sound or feel a vibration, indicating that the screenshot has been captured. The screenshot will be saved to your device’s gallery.
This method works on almost all Samsung Galaxy devices and is a reliable way to capture a screenshot quickly. It is particularly useful when you need to capture something during a game, a video, or an app where using gestures or other methods might be challenging.
Remember to press and hold the buttons simultaneously; otherwise, you may trigger a different action, such as powering off your device or adjusting the volume.
Method 2: Using Palm Swipe Gesture
If you find using physical buttons a bit cumbersome, you can take advantage of the palm swipe gesture feature available on your Samsung Galaxy Tab A. Here’s how to use this method:
- Enable the feature: Go to the Settings menu on your device and scroll down to find “Advanced features.” Tap on it and look for “Palm swipe to capture.” Make sure the toggle switch is turned on to enable the feature.
- Position your hand: Position your hand in a way that your palm covers the screen, from one side to the other. Make sure your hand makes contact with the screen.
- Swipe gesture: With your palm still in contact with the screen, swipe horizontally from one side to the other. You don’t need to apply much pressure; a gentle swipe should be sufficient.
- Confirmation and access: Similar to the physical buttons method, you will receive visual, auditory, or haptic feedback to indicate that the screenshot has been captured. The screenshot will be saved to your device’s gallery.
Using the palm swipe gesture offers a convenient and hands-free way to capture screenshots on your Samsung Galaxy Tab A. It is especially useful when you are unable to use both hands to press buttons or when your device is placed on a stand or dock, making button access difficult. However, it may take a few tries to get the swipe motion right, so don’t get discouraged if it doesn’t work perfectly on the first attempt.
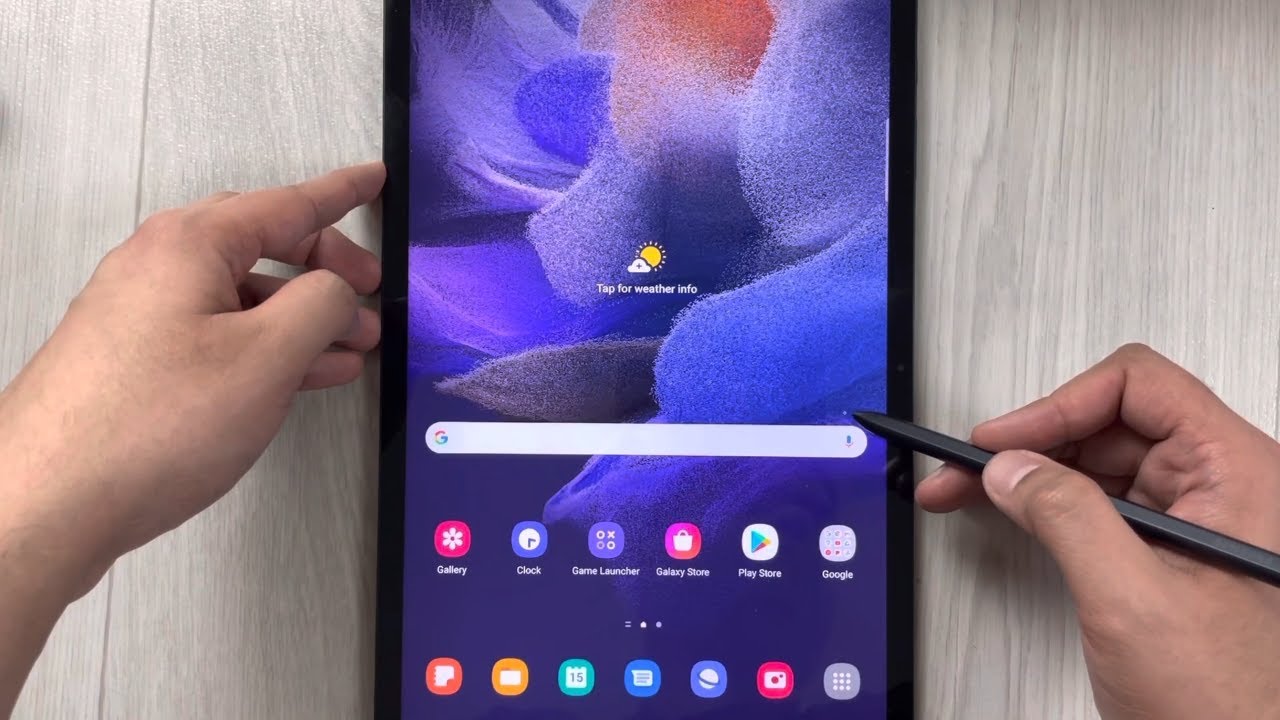
Method 3: Using the S Pen (For S Pen Edition Only)
If you have the S Pen edition of the Samsung Galaxy Tab A, you have an additional method available for capturing screenshots. The S Pen provides a more precise and controlled way to capture your screen. Follow these steps to use the S Pen:
- Remove the S Pen: Take out the S Pen from its slot on your Samsung Galaxy Tab A if it’s not already out.
- Hover the S Pen: Hover the S Pen over the area of the screen you want to capture. The screen will display a circular cursor indicating the spot where the screenshot will be taken.
- Click the S Pen button: Press and hold the button on the S Pen while hovering over the desired area. You will hear a sound and see an animation indicating that the screenshot has been captured.
- Confirmation and access: Once the screenshot is taken, it will be saved to your device’s gallery, and you can access it later for sharing or editing.
The S Pen offers precise control and is especially useful if you need to capture a specific portion of the screen, such as a small image or text snippet. The hovering feature allows you to preview the area you will capture before clicking the button, ensuring you capture exactly what you want. If you have the S Pen edition of the Samsung Galaxy Tab A, make the most of this convenient method.
Method 4: Using Smart Select Feature
Samsung Galaxy Tab A comes with a helpful feature called Smart Select, which allows you to capture screenshots with added functionality. With Smart Select, you can create GIFs, extract text, and capture specific shapes or sections of your screen. Here’s how you can use this feature:
- Activate Smart Select: Open the Air Command menu by detaching the S Pen or by pressing and holding the S Pen button while hovering near the screen. Locate and select the Smart Select option from the menu.
- Select the capture method: Once the Smart Select feature is activated, you will see options for different types of captures, such as rectangular selection, oval selection, freeform selection, or even GIF creation. Choose the desired capture method depending on your requirements.
- Customize the capture area: Resize and position the capture area according to the content you want to capture. You can adjust the size, shape, and location of the selection by dragging the edges or corners.
- Take the screenshot: Once you have set the capture area, tap the “Done” or “Capture” button to capture the selected portion of the screen.
- Perform additional actions: After capturing the screenshot, you may have additional options available based on the capture method you chose. For example, creating a GIF allows you to customize the animation duration or add text annotations.
- Save and access the screenshot: The screenshot or any other type of capture will be automatically saved to your device’s gallery. You can find and access it from the gallery app whenever you need.
The Smart Select feature provides added flexibility and creative options for capturing screenshots on your Samsung Galaxy Tab A. Whether you want to capture a specific area, create a GIF, or extract text, this method allows you to do so with ease. Explore the different capture methods and make use of this versatile feature to enhance your screenshot-taking experience.
Method 5: Using Bixby Voice Command
Another convenient way to capture screenshots on your Samsung Galaxy Tab A is by using Bixby, Samsung’s virtual assistant. With Bixby’s voice command capability, you can take a screenshot hands-free using simple voice instructions. Here’s how:
- Activate Bixby: Open the Bixby app on your Samsung Galaxy Tab A or use the dedicated Bixby button (if available) to summon Bixby, the virtual assistant.
- Give the command: Once Bixby is activated, simply speak the command, “Take a screenshot” or “Capture the screen.”
- Confirmation and access: Bixby will instantly capture the screenshot and provide confirmation either audibly or visually. The screenshot will be saved to your device’s gallery where you can access and share it as needed.
This method offers a hands-free and voice-controlled approach to capturing screenshots on your Samsung Galaxy Tab A. It is particularly useful when your hands are occupied or when you prefer the convenience of voice commands. Bixby’s voice command capability makes it easy to capture your screen without the need to use physical buttons or gestures.
Note: Bixby’s voice command feature may vary depending on your device’s configuration and the version of Bixby installed. Make sure Bixby is enabled and that your device recognizes your voice commands.
Method 6: Using Third-Party Screenshot Apps
If you prefer more advanced screenshot functionalities or additional features, you can explore third-party screenshot apps available for your Samsung Galaxy Tab A. These apps offer a wide range of options, such as capturing scrolling screenshots, annotating images, or even recording screen videos. Here’s how you can use third-party screenshot apps:
- Select a screenshot app: Visit the Google Play Store and search for screenshot apps compatible with your Samsung Galaxy Tab A. Some popular options include Screenshot Easy, Super Screenshot, and Screen Master.
- Install and open the app: Download and install the app of your choice, then open it on your device.
- Explore app settings: Familiarize yourself with the app’s settings and options. Some apps may allow you to customize screenshot behaviors, file formats, or choose different capture methods.
- Capture the screenshot: Use the app’s built-in capture functionality to take a screenshot. The process may vary depending on the app you choose, but it usually involves tapping a capture button or using a specific gesture.
- Access and manage screenshots: Once captured, the screenshots will be saved within the app itself or in a designated folder. You can access them from the app’s gallery or from your device’s file manager.
- Utilize additional features: Many third-party screenshot apps offer additional features, such as image editing, annotating, or sharing options. Take advantage of these features to enhance and customize your screenshots.
By using third-party screenshot apps, you can expand the capabilities of your Samsung Galaxy Tab A and tailor your screenshot experience to your preferences. Explore different apps, read user reviews, and choose one that best suits your needs and preferences.
Note: Some third-party screenshot apps may display ads or offer in-app purchases for premium features. Make sure to review the app details and user feedback to ensure it meets your requirements.
Conclusion
Capturing screenshots on your Samsung Galaxy Tab A is a simple and versatile process with multiple methods to suit your preferences and needs. Whether you choose to use the physical buttons, palm swipe gesture, S Pen, Smart Select feature, Bixby voice command, or third-party screenshot apps, you have a range of options at your disposal.
The physical buttons method offers a reliable and universal way to take a screenshot, while the palm swipe gesture provides a hands-free alternative. If you have the S Pen edition, you can take advantage of the precise control it offers. The Smart Select feature expands your screenshot capabilities with additional functionalities like GIF creation and text extraction.
Bixby voice command allows you to capture screenshots with simple voice instructions, and third-party screenshot apps provide advanced features and customization options.
Remember to explore the different methods and choose the one that best suits your preferences and specific requirements. Some methods may vary depending on your device model and the version of the operating system installed. It’s also a good idea to experiment with different methods and find your preferred one.
With these various screenshot options, you can effortlessly capture and share important information, memorable moments, or interesting content on your Samsung Galaxy Tab A. Enjoy the versatility and convenience of capturing and sharing screenshots with ease.