Introduction
Welcome to our guide on how to screenshot on the Galaxy A14 5G! Taking screenshots is a valuable skill that every smartphone user should know. Whether you want to capture a funny conversation, save an important document, or share a memorable moment with your friends, knowing how to take a screenshot on your device is essential.
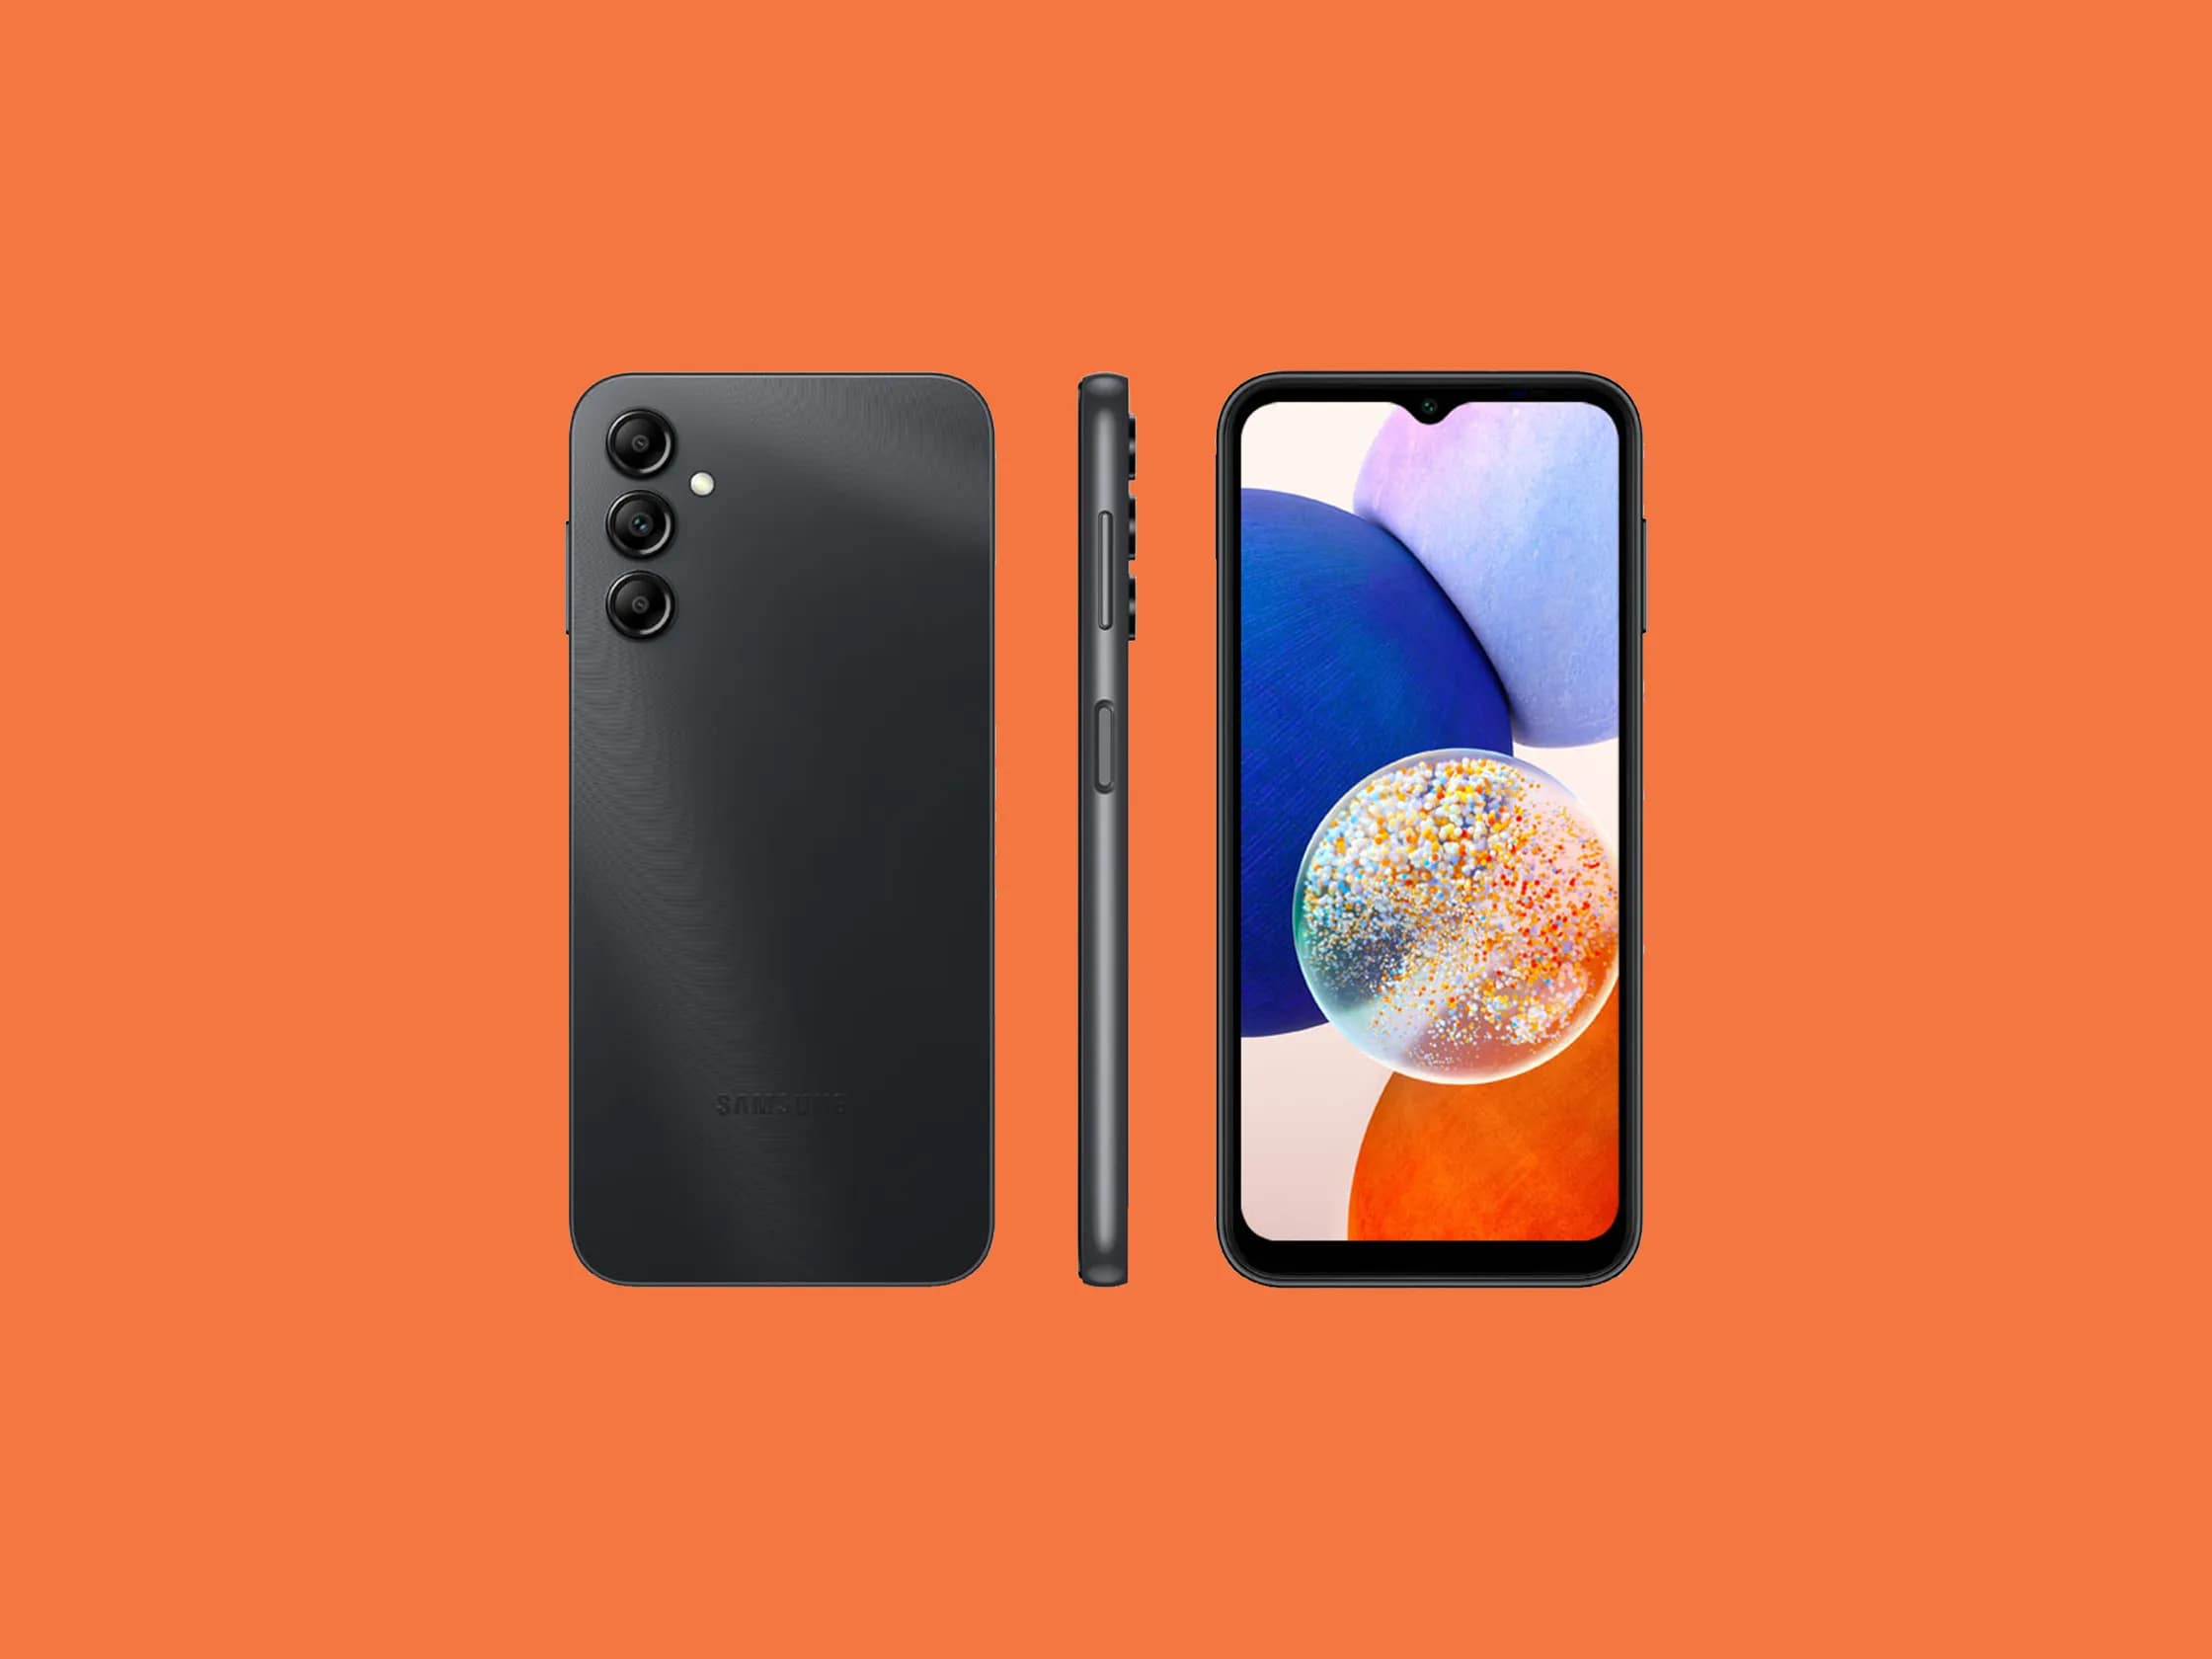
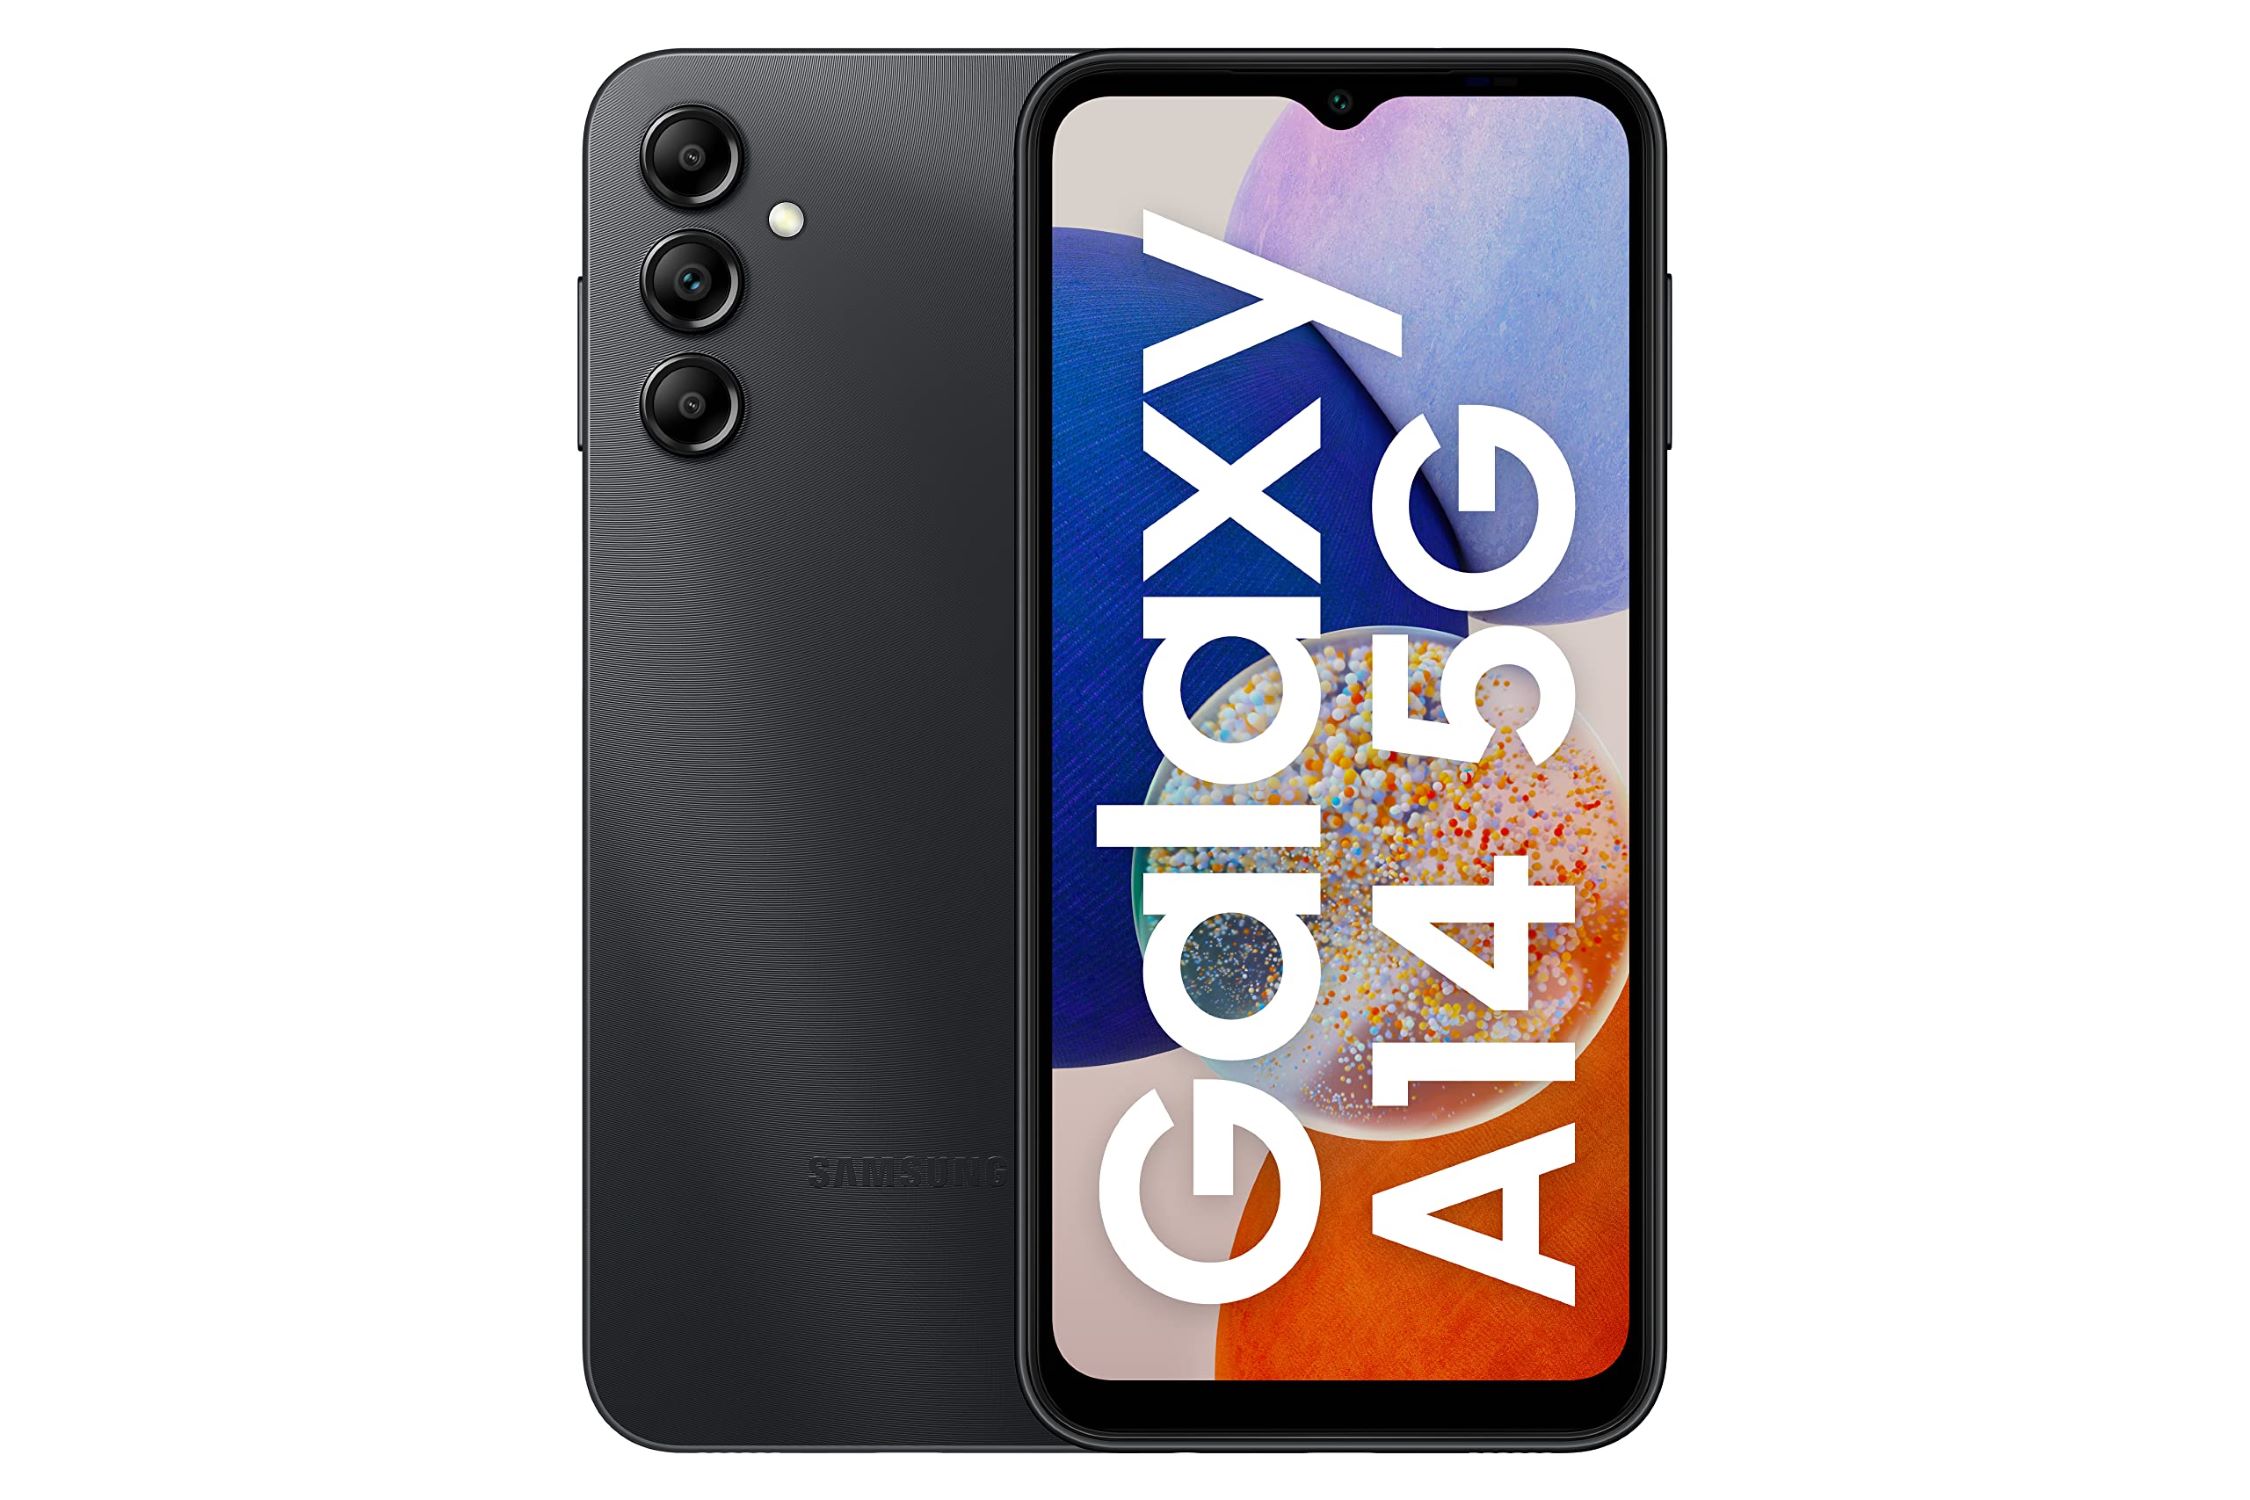
The Samsung Galaxy A14 5G is a feature-packed smartphone that offers a range of capabilities, including a powerful camera system. With its stunning display and advanced features, capturing and sharing screenshots has never been easier.
In this guide, we will explore four different methods to capture screenshots on your Galaxy A14 5G. These methods include using hardware buttons, utilizing the palm swipe gesture, accessing the quick settings panel, and leveraging the Bixby voice assistant.
Whether you are a new Galaxy user or a seasoned smartphone veteran, this guide will provide step-by-step instructions to help you master the art of screenshotting on your Galaxy A14 5G. So, let’s dive in and discover how to capture that perfect screenshot!
Method 1: Using Hardware Buttons
One of the easiest and most commonly used methods to capture a screenshot on the Galaxy A14 5G is by using the hardware buttons. Follow these simple steps:
- Navigate to the screen that you want to capture.
- Locate the Volume Down button and the Power button on your device. The Volume Down button is usually positioned on the left side, while the Power button is on the right side.
- Simultaneously press and hold the Volume Down button and the Power button. Make sure to press them at the same time and hold them for a few seconds.
- You will see a flash on the screen and hear a camera shutter sound, indicating that the screenshot has been captured successfully.
The screenshot will be saved in your device’s gallery or in the “Screenshots” folder. To access the screenshot, open the Gallery app or any file manager app, and navigate to the Screenshots folder.
This method is quick and convenient, making it ideal for capturing screenshots on the go. Whether you want to capture a funny meme, save an important message, or document an error message, the hardware button method is reliable and easy to use.
Now that you know how to capture a screenshot using hardware buttons, let’s explore another method to capture screenshots on your Galaxy A14 5G.
Method 2: Using Palm Swipe Gesture
If you prefer a hands-free approach to taking screenshots on your Galaxy A14 5G, you can make use of the palm swipe gesture feature. Follow these steps to capture a screenshot using the palm swipe gesture:
- Ensure that the palm swipe gesture feature is enabled on your device. To do this, go to the Settings app and search for “Advanced features.” Tap on it and locate the “Palm swipe to capture” option. Make sure the toggle switch is turned on.
- Navigate to the screen you wish to capture.
- Hold your hand vertically and place the edge of your palm on one side of the screen. Ensure that your hand covers the entire width of the screen.
- Swipe your hand horizontally across the screen, from one side to the other, in a single smooth motion.
If successful, you will see a flash animation and hear a shutter sound, indicating that the screenshot has been captured.
The captured screenshot can be accessed in the same way as the hardware button method, through the Gallery app or a file manager app in the Screenshots folder.
Using the palm swipe gesture is a convenient way to capture screenshots without having to press any buttons. It allows for quick and effortless capturing, making it ideal for situations where you have limited dexterity or want a seamless capturing experience.
Now that you know how to use the palm swipe gesture to capture screenshots, let’s explore another method that involves the quick settings panel.
Method 3: Using Quick Settings Panel
The Galaxy A14 5G offers a convenient method to capture screenshots through the quick settings panel. This method allows you to access the screenshot feature with just a few taps. Here’s how to do it:
- Navigate to the screen you want to capture.
- Swipe down from the top of the screen to open the notification panel.
- Swipe down again to expand the quick settings panel.
- Look for the “Screenshot” icon among the available quick settings options. It is usually represented by a small preview image of a screen with an outline of a phone.
- Tap on the “Screenshot” icon to capture the screenshot. You might see a quick animation or flash to indicate that the screenshot has been taken.
The captured screenshot will be saved in the same manner as the previous methods, in the Screenshots folder of your device’s Gallery or file manager app.
The quick settings method provides a convenient way to capture screenshots without needing to use hardware buttons or gestures. It offers quick access to the screenshot feature and is especially useful when you need to capture multiple screenshots in a short period.
Now that you know how to capture screenshots using the quick settings panel, let’s explore our final method using the Bixby voice assistant.
Method 4: Using Bixby Voice Assistant
If you enjoy hands-free control and want to utilize the power of voice commands, you can use the Bixby voice assistant to capture screenshots on your Galaxy A14 5G. Follow these steps:
- Activate the Bixby voice assistant by pressing and holding the Bixby button on the left side of your device or by saying “Hey Bixby” if you have voice wake-up enabled.
- Once Bixby is active, give the command “Take a screenshot” or a similar phrase that Bixby recognizes for capturing screenshots.
- Bixby will instantly capture a screenshot of your current screen and save it to your device’s gallery or the Screenshots folder.
Using Bixby to take screenshots provides a hands-free and convenient approach, especially when your hands are occupied or you prefer voice control. It’s a great option for capturing screenshots while cooking, working out, or when you simply want a hassle-free method.
With these four methods at your disposal – hardware buttons, palm swipe gesture, quick settings panel, and Bixby voice assistant – you can easily capture and save screenshots of important information, funny moments, or anything else you want to keep as an image on your Galaxy A14 5G.
Experiment with each method and find the one that suits your preferences and needs the best. Capture and share memorable moments, important information, or amusing conversations with ease.
Conclusion
Congratulations! You have now mastered the art of capturing screenshots on your Galaxy A14 5G. Whether you prefer using hardware buttons, the palm swipe gesture, the quick settings panel, or the Bixby voice assistant, you have a range of options at your disposal to capture and save screenshots with ease.
Remember, screenshots are a handy way to document important information, share funny moments, or capture memorable conversations. With the Galaxy A14 5G’s advanced features and high-quality display, your captured screenshots will showcase stunning clarity and detail.
Feel free to explore the different methods mentioned in this guide and choose the one that suits your preference and situation. Whether you prefer the tactile response of the hardware buttons, the seamless nature of the palm swipe gesture, the quick accessibility of the quick settings panel, or the hands-free convenience of the Bixby voice assistant, you can effortlessly capture screenshots to enhance your mobile experience.
So, go ahead and start screenshotting on your Galaxy A14 5G. Capture and share your favorite moments, important information, or even amusing conversations. Make the most out of your device’s capabilities and enjoy the versatility that screenshots bring to your smartphone usage.
Now that you are equipped with this knowledge, you can confidently capture and save screenshots on your Galaxy A14 5G whenever you need them. Keep exploring the possibilities, and make the most out of your device’s functionality!