Introduction
Screen casting has become increasingly popular as a way to enjoy multimedia content on larger screens. One popular device for screen casting is the Chromecast, a small digital media player developed by Google. With Chromecast, you can wirelessly stream or mirror the display of your smartphone, tablet, or computer to your TV.
With the ability to cast videos, photos, presentations, and even games onto the big screen, Chromecast offers an immersive and convenient viewing experience for both entertainment and productivity purposes. Whether you want to share a hilarious video with friends, showcase a presentation in a meeting, or simply enjoy your favorite movies on a bigger screen, screen casting to Chromecast is a versatile and simple way to do so.
In this article, we will guide you through the process of how to screen cast to Chromecast. We will cover the requirements, step-by-step instructions, and troubleshooting tips to ensure a smooth casting experience. By the end of this article, you will have all the knowledge you need to start enjoying the benefits of screen casting with Chromecast.
What is Chromecast?
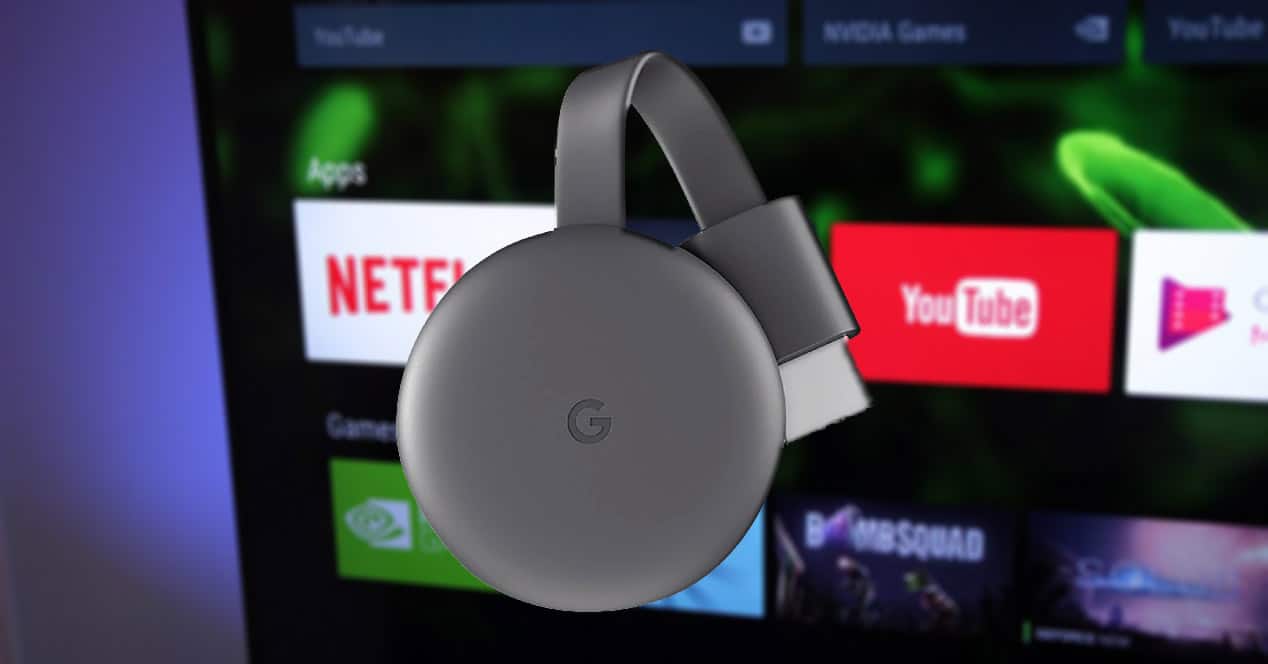
Chromecast is a popular media streaming device developed by Google. It is a small dongle that plugs into the HDMI port of your television, allowing you to stream or cast media content from your smartphone, tablet, or computer. Instead of relying on traditional remote controls or a built-in interface, Chromecast relies on your mobile device or computer to control and stream content to your TV.
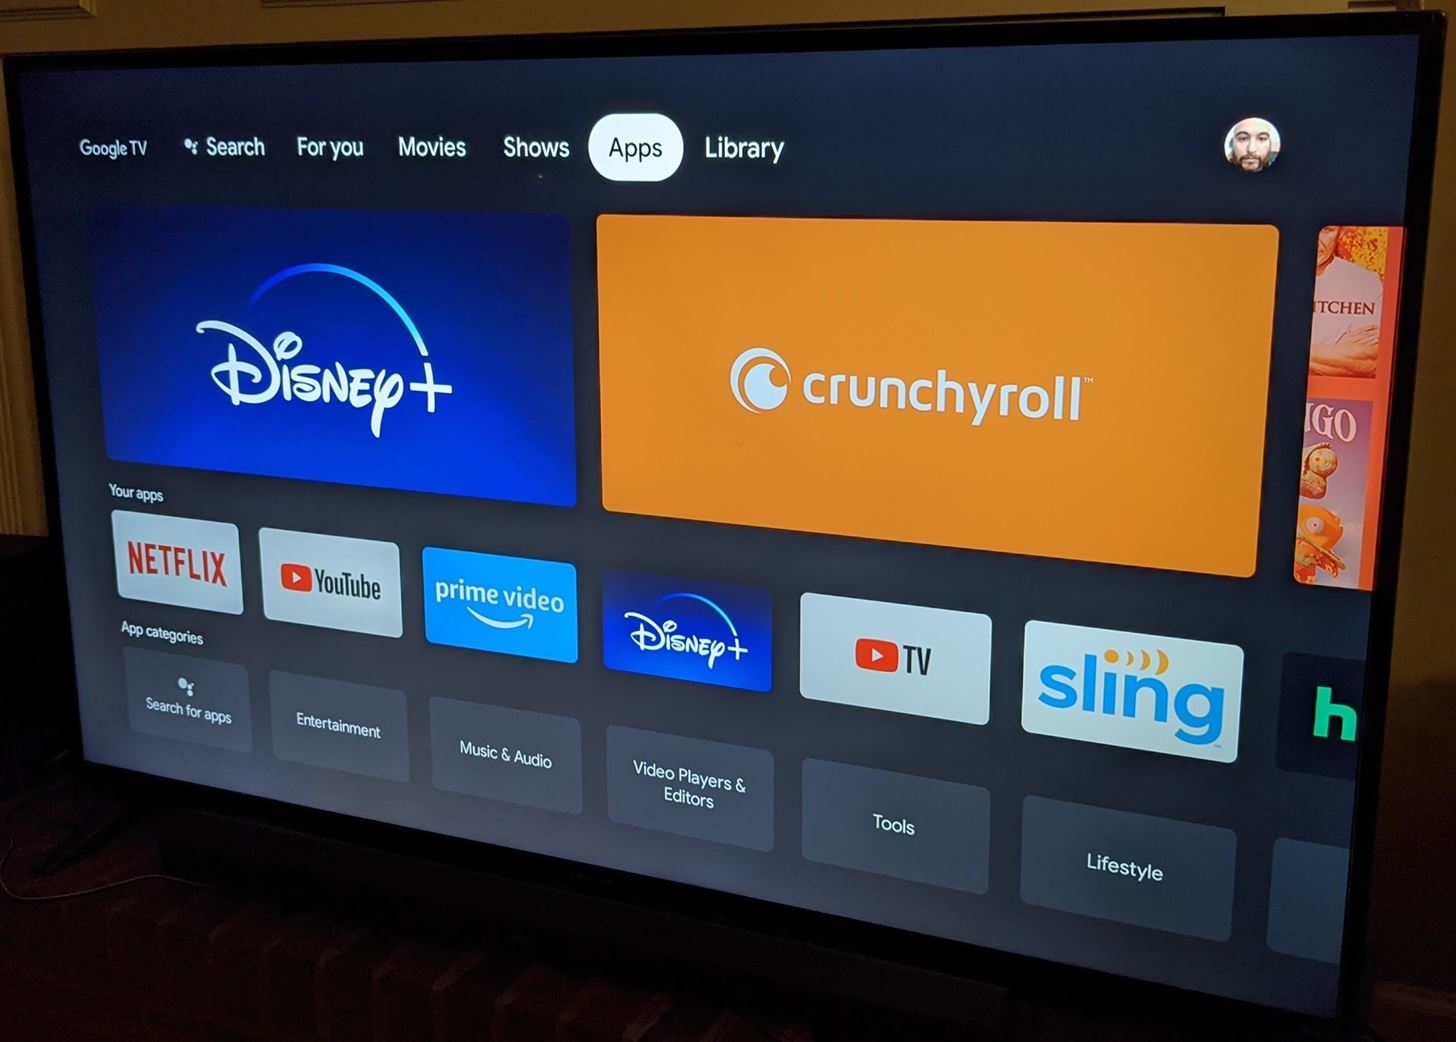
One of the key features of Chromecast is its ability to support a wide range of streaming services and apps. Whether it’s popular video streaming platforms like Netflix, Hulu, or YouTube, or music streaming apps like Spotify or Pandora, Chromecast allows you to access and enjoy your favorite content directly on the big screen.
Another advantage of Chromecast is its compatibility with multiple operating systems. Whether you are using an Android device, an iOS device, or a computer running on Windows or macOS, you can easily connect and cast content to your Chromecast. This makes it a versatile device that can cater to a wide range of users.
Furthermore, Chromecast supports high-definition streaming, allowing you to enjoy your favorite movies, TV shows, and videos in stunning detail on your television. With support for resolutions up to 1080p, and in some cases even 4K, Chromecast ensures a high-quality viewing experience.
Chromecast also offers a unique feature called “Backdrop” that transforms your TV screen into a digital photo frame or displays useful information such as the time, weather updates, and news headlines when it is not actively casting content. This feature adds a touch of personalization and utility to your TV when it is not in use.
In summary, Chromecast is a powerful and versatile media streaming device that enhances your TV viewing experience by allowing you to cast and enjoy content from your mobile devices or computer directly on your television. With its wide compatibility, support for popular streaming services, and high-definition streaming capabilities, Chromecast is a must-have device for anyone looking to elevate their home entertainment options.
What is screen casting?
Screen casting, also known as screen mirroring or screen sharing, is the process of wirelessly displaying the content from your device’s screen onto a larger screen, such as a television or a projector. It allows you to stream or mirror the exact replica of your device’s screen onto the external display, providing a seamless and immersive viewing experience.
Screen casting is a versatile technology that enables you to share a wide range of content with others, including videos, photos, presentations, games, and even live video calls. Whether you want to share a funny video with your friends, give a presentation in a meeting, or enjoy a gaming session on a bigger screen, screen casting allows you to do so with ease.
One of the main advantages of screen casting is its convenience. Instead of gathering around a small device and trying to view content on a limited screen, screen casting allows everyone in the room to comfortably view the content on a larger screen. This is especially useful for group activities, presentations, or family gatherings.
Screen casting is supported by a variety of devices and platforms. For example, with Chromecast, you can easily screen cast from an Android or iOS device, as well as from a computer running on Windows or macOS. Other devices and platforms, such as Apple AirPlay, Miracast, or smart TVs with built-in screen casting capabilities, offer similar functionality.
Screen casting technology utilizes your existing Wi-Fi network to establish a connection between the casting device and the receiving device, such as a TV. Once connected, the content from your device’s screen is transmitted in real-time to the receiving device, providing a smooth and lag-free casting experience.
It’s important to note that screen casting does not simply duplicate your device’s screen onto the receiving device; it also allows you to use your device as a remote control. This means that you can interact with the content on the larger screen using your device, whether it’s playing, pausing, adjusting volume, or navigating through menus.
In summary, screen casting is a convenient and versatile technology that allows you to wirelessly display the content from your device’s screen onto a larger screen. It provides a seamless and immersive viewing experience, eliminating the limitations of small screens and enabling you to share a wide range of content with others. Whether for entertainment or professional purposes, screen casting is a valuable tool that enhances the way we consume and share content.
Requirements for screen casting to Chromecast
In order to successfully screen cast to your Chromecast device, there are a few requirements that need to be met. Here are the key requirements:
- A Chromecast device: You will need a Chromecast dongle or a Chromecast built-in TV or speaker in order to cast content to your TV. Chromecast devices can be purchased online or at electronics retailers.
- A compatible device: You will need a compatible device to initiate the screen casting process. This can be a smartphone, tablet, or computer running on Android, iOS, Windows, or macOS. Ensure that your device is updated to the latest software version for optimal compatibility.
- A stable Wi-Fi network: Both your casting device and your Chromecast device need to be connected to the same Wi-Fi network. Make sure you have a stable internet connection to ensure smooth streaming and casting.
- A streaming app or web browser: Depending on the content you want to cast, you will need a compatible streaming app or a web browser that supports screen casting. Popular video streaming apps like YouTube, Netflix, and Hulu have built-in casting functionality. Alternatively, you can use the Google Chrome browser to cast content from websites.
- An HDMI-capable TV: To view the casted content, you will need a television with an HDMI port. The Chromecast device connects to the HDMI port on your TV to transmit the content.
- A power source for Chromecast: The Chromecast device needs to be powered in order to function. It can be powered using the included USB cable and a power adapter plugged into an outlet or, in some cases, through a USB port on your TV itself.
It’s worth mentioning that there may be additional requirements or specific instructions depending on the specific model of your Chromecast device or the device you are using to cast. It’s always a good idea to consult the user manual or online resources provided by Google for your particular setup.
By ensuring that you have the necessary requirements in place, you will be ready to start screen casting to your Chromecast and enjoy the benefits of wirelessly streaming content to your TV.
Step 1: Set up your Chromecast
Before you can start screen casting to your Chromecast, you need to set it up. Follow these steps to get your Chromecast up and running:
- Connect the Chromecast to your TV: Plug the Chromecast into an available HDMI port on your television. Make sure to note which HDMI port you have connected the Chromecast to as you will need to select that input on your TV later.
- Power the Chromecast: Connect the power cable to the Chromecast and plug it into a power source. You can use the included USB cable and connect it to a power outlet using the provided adapter or, in some cases, plug it directly into a USB port on your TV.
- Select the input on your TV: Use your TV remote to select the input or source that matches the HDMI port you connected the Chromecast to. This will allow you to see the Chromecast setup screen on your TV.
- Download the Google Home app: On your casting device, download and install the Google Home app from the App Store (iOS) or Google Play Store (Android). This app will help you set up and manage your Chromecast.
- Open the Google Home app: Launch the Google Home app on your casting device. Follow the on-screen instructions to set up your Chromecast. This will involve selecting your Chromecast device from the list of available devices and connecting it to your Wi-Fi network.
- Customize your Chromecast settings (optional): Once your Chromecast is set up, you have the option to customize certain settings, such as the device name and backdrop preferences, through the Google Home app.
- Wait for the setup to complete: The setup process may take a few minutes. Once the setup is complete, you will see a confirmation screen on both your casting device and your TV.
After completing the setup process, you can proceed to the next step and start screen casting to your Chromecast. It’s important to note that the exact setup process may vary slightly depending on the model of your Chromecast device. If you encounter any difficulties, consult the user manual or online resources provided by Google for detailed instructions.
Now that your Chromecast is set up and ready to go, you can move on to the next steps to connect your casting device and start enjoying the benefits of screen casting to your TV.
Step 2: Connect your device to the same Wi-Fi network as the Chromecast
In order to successfully screen cast to your Chromecast, your casting device and Chromecast need to be connected to the same Wi-Fi network. This ensures that they can communicate with each other and facilitate the seamless streaming of content from your device to the TV. Follow these steps to connect your device to the same Wi-Fi network as your Chromecast:
- Ensure that your casting device is connected to a Wi-Fi network: Before you can connect to the same Wi-Fi network as your Chromecast, make sure that your casting device, whether it’s a smartphone, tablet, or computer, is already connected to a stable Wi-Fi network. Check the Wi-Fi settings on your device and connect to the desired network if necessary.
- Verify if your Chromecast is connected to the same Wi-Fi network: On your TV screen, you should see the backdrop or default screen of your Chromecast. Look for the Wi-Fi icon or the name of the Wi-Fi network that the Chromecast is connected to. Ensure that it matches the Wi-Fi network that your casting device is connected to.
- Change Wi-Fi network if needed: If your casting device is connected to a different Wi-Fi network than your Chromecast, you will need to adjust the network settings. Open the Google Home app on your casting device and select your Chromecast device. From the device settings, you can choose to connect your Chromecast to a different Wi-Fi network. Follow the on-screen instructions to complete the process.
- Confirm the connection: Once you have connected your Chromecast to the same Wi-Fi network as your casting device, wait a moment for the connection to establish. You should see a confirmation message on your casting device or in the Google Home app indicating that the connection has been successfully established.
It’s important to note that the specific steps to connect your device to the Wi-Fi network may vary slightly depending on the operating system of your casting device and the version of the Google Home app. Make sure to consult the user manual or online resources provided by Google for the most accurate and up-to-date instructions.
By ensuring that both your casting device and Chromecast are connected to the same Wi-Fi network, you have completed an essential step in the screen casting process. Now, you are ready to move on to the next step and install a screen casting app on your device.
Step 3: Install a screen casting app on your device
In order to cast your device’s screen to your Chromecast, you will need to install a screen casting app on your casting device. A screen casting app acts as a bridge between your device’s screen and the Chromecast, allowing you to stream or mirror the content to your TV. Here are the steps to install a screen casting app on your device:
- Open the app store on your casting device: Depending on the operating system of your device, open either the App Store (iOS) or Google Play Store (Android) on your smartphone or tablet. If you are using a computer, skip to step 4.
- Search for a screen casting app: In the app store, search for a screen casting app that is compatible with your device and the Chromecast. Some popular screen casting apps include Google Home, AllCast, and AirScreen. Look for apps that have good user ratings and positive reviews to ensure a reliable casting experience.
- Select and install the app: From the search results, choose the screen casting app that best suits your needs. Tap on the app to view its details and reviews. If you are satisfied with the app, tap the “Install” or “Get” button to download and install it on your device.
- Install the Google Cast extension (for computers): If you are using a computer, you will need to install the Google Cast extension for the Google Chrome browser. Open the Chrome web browser on your computer and search for “Google Cast extension”. Click on the search result that corresponds to the official Google Cast extension and follow the on-screen instructions to install it.
- Allow necessary permissions: Once the screen casting app is installed, you may be prompted to grant certain permissions, such as access to your device’s screen or media files. Follow the on-screen prompts and allow the necessary permissions for the app to function properly.
After you have successfully installed a screen casting app on your device, you are one step closer to casting your device’s screen to your Chromecast. In the next step, we will guide you through the process of opening the screen casting app and selecting your Chromecast device.
Step 4: Open the screen casting app and select your Chromecast device
Now that you have installed a screen casting app on your casting device, it’s time to open the app and connect to your Chromecast device. Follow these steps to open the screen casting app and select your Chromecast device:
- Locate the screen casting app on your device: Look for the app icon on your home screen or in the app drawer of your casting device. The app may have a name like “Screen Mirroring,” “Cast,” or “Screen Cast.”
- Open the screen casting app: Tap on the app icon to open the screen casting app. Depending on the app, you may be greeted with a welcome screen or directly taken to the main screen of the app.
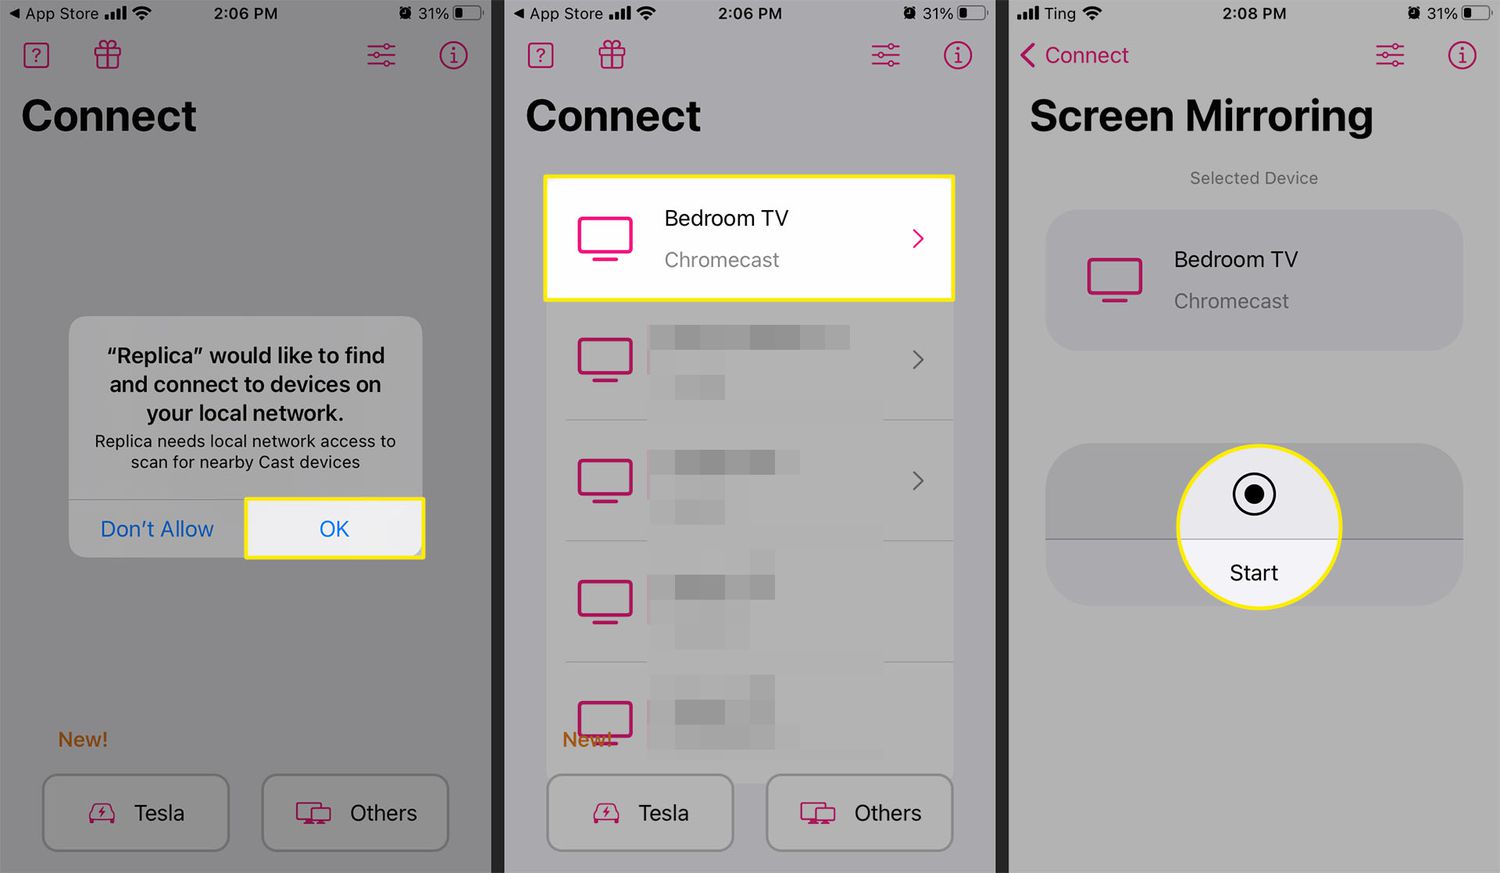
- Select your Chromecast device: Look for an option or icon within the screen casting app that allows you to select a device to cast to. In most apps, you will find an icon that resembles a display or a casting symbol. Tap on this icon to search for available Chromecast devices.
- Wait for the app to discover your Chromecast: The screen casting app will scan for available Chromecast devices that are connected to the same Wi-Fi network. This process may take a few seconds. Once your Chromecast device is detected, it will appear on the screen casting app as an available device.
- Select your Chromecast device: Tap on the name or icon of your Chromecast device within the screen casting app. This will establish a connection between your casting device and the Chromecast.
- Confirm the connection: After selecting your Chromecast device, you may be prompted to confirm the casting connection. Follow the on-screen prompts to confirm the connection between your casting device and the Chromecast.
Once the connection is established, your casting device’s screen will be mirrored or streamed to your Chromecast device. You can now enjoy your favorite content, such as videos, photos, or presentations, on the larger screen of your TV.
It’s worth noting that the specific steps and options within the screen casting app may vary depending on the app you are using. If you encounter any difficulties during the process, consult the app’s user guide or online support resources for more information.
In the next step, we will guide you through the process of starting the screen casting session from your casting device.
Step 5: Start casting your screen to Chromecast
After successfully connecting your casting device to your Chromecast, it’s time to start casting your screen. Follow these steps to begin casting your device’s screen to your Chromecast:
- Launch the app or content you want to cast: Open the app or navigate to the specific content you want to cast on your casting device. This can be a video streaming app, a photo gallery, a presentation, or any other content that is compatible with the screen casting app you are using.
- Look for the cast icon: Within the app or content, look for the cast icon. This can usually be found as an icon resembling a display or casting symbol. The location of the cast icon may vary depending on the app, but it is commonly located near the playback controls.
- Tap the cast icon: Once you have located the cast icon, tap on it to initiate the casting process. This will bring up a list of available devices to cast to.
- Select your Chromecast device: From the list of available devices, select your Chromecast device. It will be listed by the name you assigned during the setup process, or by the default name if you haven’t changed it.
- Wait for the casting to start: After selecting your Chromecast device, the screen casting app will establish a connection and start casting your device’s screen to the TV. It may take a moment for the casting to start, so be patient.
- Control playback on your casting device: Once the screen casting session has started, you can control the playback, volume, and other settings using your casting device. This includes playing, pausing, seeking, adjusting the volume, and navigating through menus or slides.
Now, you can enjoy your device’s screen content on the larger display of your TV through the Chromecast. Whether it’s streaming videos, sharing photos, or delivering presentations, you can seamlessly cast and view the content on the big screen with ease.
Remember that the specific steps and options for casting may vary depending on the app or content you are using. If you encounter any issues or need further assistance, refer to the user guide or support resources for the specific app or content.
In the next section, we will discuss some common troubleshooting tips to help you resolve any issues you may encounter during the screen casting process.
Troubleshooting common issues
While screen casting to Chromecast is generally a smooth and seamless experience, you may encounter some common issues along the way. Here are a few troubleshooting tips to help you resolve these issues and ensure a successful screen casting session:
- Ensure that your Chromecast and casting device are connected to the same Wi-Fi network: Double-check that both your Chromecast and casting device are connected to the same Wi-Fi network. If they are connected to different networks, they won’t be able to communicate with each other. Reconnect and make sure they are on the same network.
- Restart your casting device and Chromecast: Sometimes, a simple restart can fix connectivity issues. Try unplugging your Chromecast from the power source, restarting your casting device, and then plugging the Chromecast back in. This can help refresh the connection and resolve any temporary glitches.
- Update your device and apps: Ensure that both your casting device and screen casting apps are running on the latest software versions. Outdated software can sometimes lead to compatibility issues or bugs. Check for updates in your device’s settings or the app store to ensure you have the latest updates installed.
- Check your internet connection: A stable internet connection is crucial for smooth screen casting. Make sure that your Wi-Fi network is working properly and that you have a strong and reliable internet connection. Poor network connectivity can cause interruptions or buffering during the casting process.
- Close unnecessary apps or processes: Background apps or processes on your casting device can sometimes interfere with the screen casting performance. Try closing unnecessary apps or processes that are consuming resources and see if it improves the casting experience.
- Reset your Chromecast: If you continue to encounter issues, you can try resetting your Chromecast to its factory settings. This will remove any custom settings and configurations. Consult the user manual or online resources for instructions on how to perform a factory reset on your specific Chromecast model.
- Check for device compatibility: Ensure that your casting device and screen casting app are compatible with your Chromecast. Different devices and apps may have different compatibility levels. Verify the compatibility details before attempting to cast.
If you have tried these troubleshooting steps and are still experiencing issues with screen casting to Chromecast, it may be helpful to consult the official support resources provided by Google or the app developers. They will have more specific guidance and tailored solutions for any technical issues you may encounter.
By following these troubleshooting tips, you can overcome common issues and enjoy the seamless and immersive screen casting experience that Chromecast offers.
Conclusion
Screen casting to Chromecast offers a convenient and immersive way to enjoy your favorite content on the big screen. By following the steps outlined in this guide, you can easily set up your Chromecast, connect your device to the same Wi-Fi network, install a screen casting app, and start casting your device’s screen to your TV.
With Chromecast, you can stream or mirror a wide range of content, including videos, photos, presentations, and even games. Whether you’re sharing moments with friends and family, delivering a professional presentation, or simply relaxing with your favorite movies and shows, Chromecast enhances your viewing experience by bringing it to a larger display.
Remember to ensure that your casting device and Chromecast are on the same Wi-Fi network and that you have a stable internet connection for optimal performance. Additionally, if you encounter any issues during the screen casting process, refer to the troubleshooting tips provided to help resolve common problems.
Screen casting to Chromecast opens up a world of possibilities for entertainment, productivity, and sharing experiences. So, grab your Chromecast, follow the steps outlined in this guide, and start enjoying the benefits of casting your device’s screen to your TV today!