Introduction
Nowadays, our smartphones have become powerful multitasking devices that can handle a multitude of tasks. From communication to entertainment, there seems to be no limit to what our Android phones can do. One of the lesser-known but incredibly useful features of Android phones is their ability to scan documents and QR codes.
Scanning documents on the go can be incredibly convenient and save you valuable time. Whether you need to quickly digitize a receipt, scan a business card, or even capture important notes from a meeting, your Android phone’s camera can serve as a portable scanner.
In addition to document scanning, Android phones are also equipped with the capability to scan QR codes. QR codes are those square-shaped codes that contain a wealth of information and can be found almost everywhere, from product packaging to advertisements.
This article will guide you through the process of scanning documents and QR codes using the camera on your Android phone. We will also explore some of the best scanning apps available for Android and share tips to ensure you get the best scan results possible.
So, whether you’re a student, a professional, or just someone who likes to stay organized, read on to discover how to unleash the scanning powers of your Android phone!
Why would you want to scan on your Android phone?
Scanning documents on your Android phone can offer numerous benefits and conveniences in various aspects of your life. Here are some reasons why you might find it useful to scan on your Android phone:
- Digitize paper documents: Scanning allows you to convert physical paper documents into digital format, making it easier to store, organize, and access important information. Whether it’s receipts, contracts, or handwritten notes, having digital copies ensures you never lose or misplace them.
- Share and collaborate: Scanning documents enables you to easily share them with others. Whether you need to send important paperwork to colleagues, share notes with classmates, or collaborate on a project remotely, scanning on your Android phone provides a quick and convenient way to do so.
- Save space and reduce clutter: By digitizing your documents, you can free up physical space that would otherwise be occupied by stacks of paper. This can be particularly helpful for those who work in small or cluttered environments, or for individuals who prefer a more minimalist approach to organization.
- Convenience at your fingertips: Carrying a portable scanner or finding access to one can be inconvenient. With the scanning capabilities of your Android phone, you have a portable scanning device with you wherever you go. This means you can quickly scan documents on the spot without the need for any additional equipment.
- Extract information from QR codes: QR codes are becoming increasingly prevalent and can contain various types of information such as website URLs, contact details, or product information. By scanning QR codes with your Android phone, you can effortlessly access the information they hold, saving you time and effort.
These are just a few examples of why scanning on your Android phone can be beneficial. It offers convenience, flexibility, and the ability to manage and access information easily. Now that you understand the advantages, let’s explore how you can scan documents and QR codes using the camera on your Android phone.
How to scan a document using the camera on your Android phone
Thanks to advancements in smartphone camera technology, scanning documents with your Android phone is a breeze. Here’s a step-by-step guide on how to scan a document using the camera on your Android phone:
- Prepare the document: Start by ensuring that the document you want to scan is flat and well-lit. Remove any wrinkles or folds that may affect the scanning quality. If the document is too large, consider breaking it down into smaller sections for better results.
- Open the camera app: Locate and open the camera app on your Android phone. Depending on the phone model, you may find the camera app on the home screen, in the app drawer, or in the quick access panel.
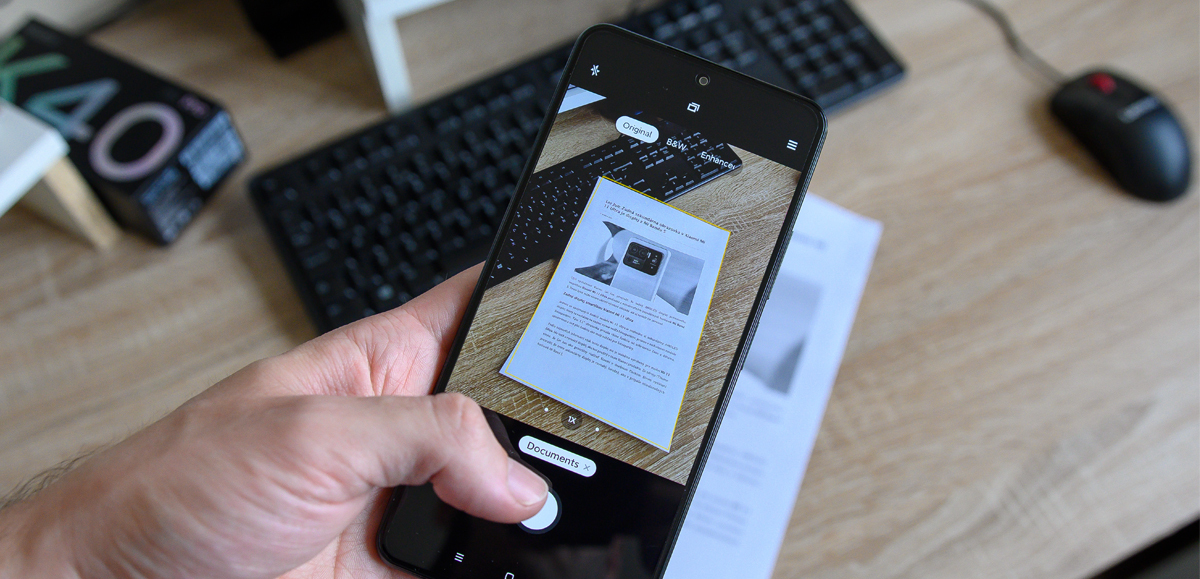
- Switch to the document scanning mode: Many Android camera apps offer a dedicated document scanning mode. Look for an option that resembles a document or has a reference to scanning. Tap on it to switch to this mode, which optimizes camera settings for document scanning.
- Align the document: Place the document you want to scan within the camera’s viewfinder. Make sure all corners of the document are visible, and adjust the angle if necessary.
- Capture the scan: Once you have the document properly aligned, tap the capture button to capture the scan. Some camera apps may automatically detect the document and capture the scan without the need for pressing a separate button.
- Review and adjust: After capturing the scan, review the image to ensure clarity. Many camera apps allow you to make adjustments such as cropping, rotating, or enhancing the image quality. Take advantage of these tools to optimize the scanned document.
- Save or share the scan: Once you’re satisfied with the resulting scan, save it to your device or upload it to cloud storage for safekeeping. You can also share the scan directly through various communication apps or email for easy sharing with others.
Remember, practice makes perfect when it comes to scanning documents with your Android phone. It may take a few tries to master the positioning and alignment, but with a little patience, you’ll be able to effortlessly scan documents and enjoy the benefits of digital organization.
How to scan a QR code using your Android phone
Scanning QR codes with your Android phone is a simple process that allows you to quickly access information or perform certain actions. Follow these steps to scan a QR code using your Android phone:
- Open the camera app: Start by opening the camera app on your Android phone. Look for the camera icon on your home screen, app drawer, or quick access panel.
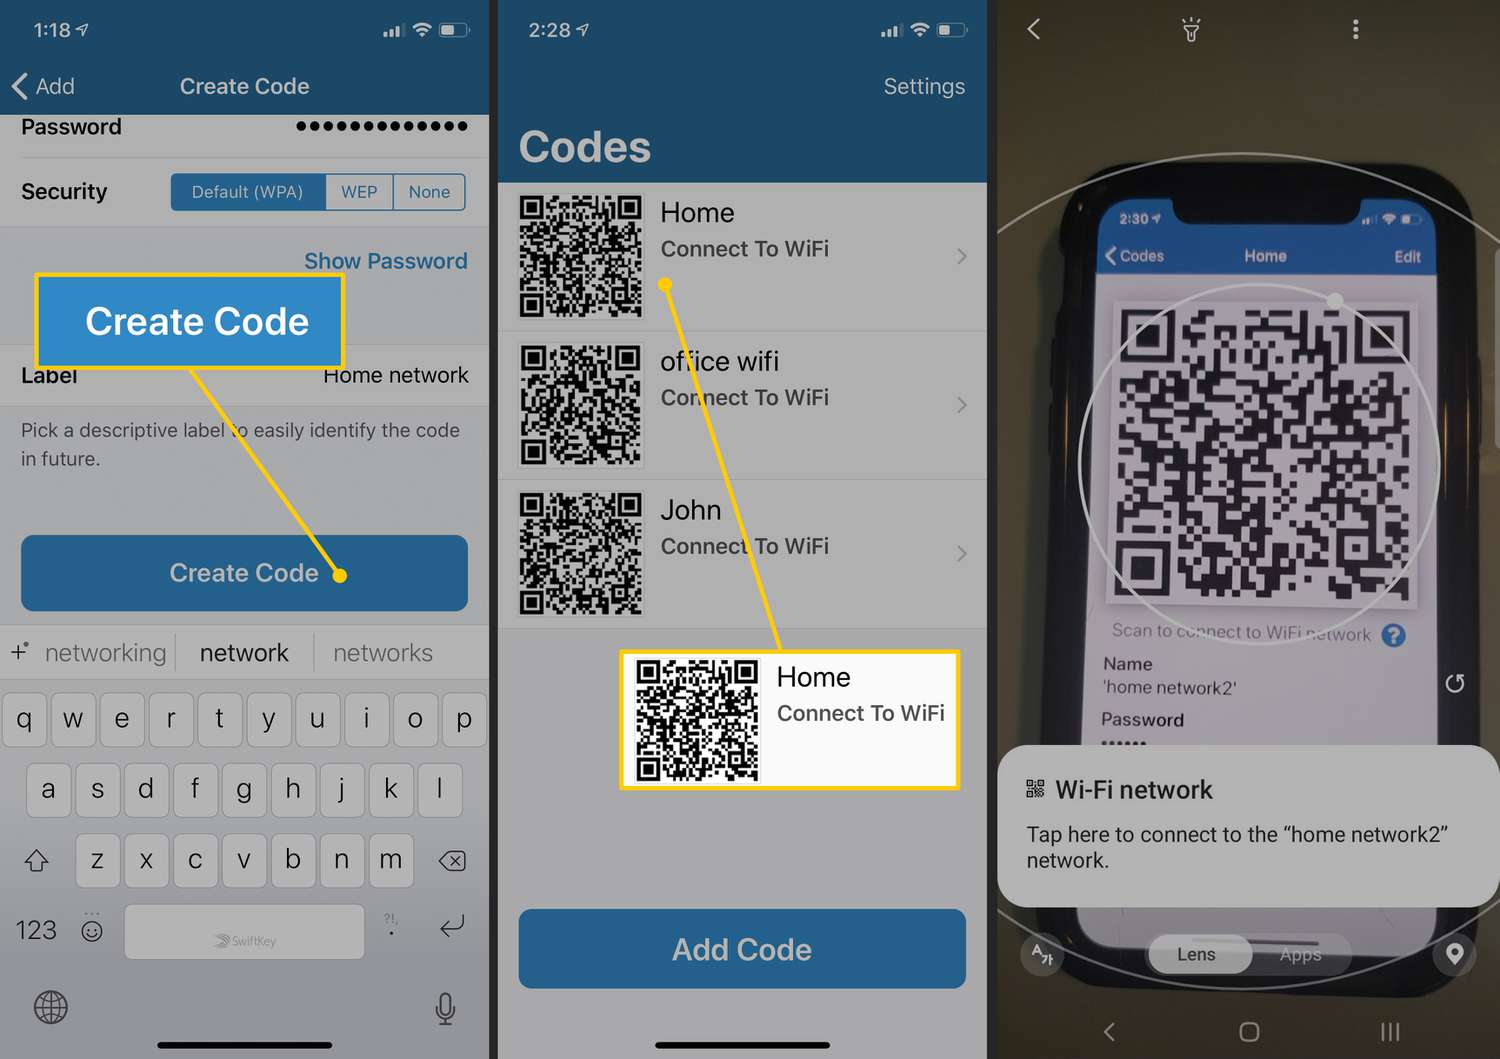
- Point the camera at the QR code: Once the camera app is open, aim it at the QR code you want to scan. Make sure the QR code is in clear view and well-lit, and position the camera so that the entire QR code fits within the screen.
- Wait for the QR code to be detected: Depending on your phone’s camera app, it may automatically detect the QR code and display a notification or a pop-up with the scanned information. If this doesn’t happen, continue to the next step.
- Tap on the QR code: If the camera app doesn’t automatically detect the QR code, tap on the screen where the QR code is located. This will trigger the camera app to focus on the QR code and start scanning it.
- Interact with the scanned information: Once the QR code is successfully scanned, your Android phone will display the information or prompt you with various options based on the type of QR code. For example, it could open a website, display contact details, or provide a prompt to download an app.
- Take action: Based on the information provided by the QR code, you can choose to take appropriate action. This could include visiting a website, saving contact details to your phonebook, or downloading a recommended app from the app store.
Scanning QR codes using your Android phone is a convenient way to extract information or perform actions quickly without the need to manually type or search for it. Keep in mind that not all QR codes are safe, so exercise caution when scanning codes from unfamiliar or suspicious sources.
Now that you know how to scan documents and QR codes using your Android phone’s camera, let’s explore some of the best scanning apps available for Android in the next section.
The best scanning apps for Android phones
While the default camera app on your Android phone can handle basic scanning tasks, there are several dedicated scanning apps available that offer additional features and functionality. Here are some of the best scanning apps for Android phones:
- Adobe Scan: Adobe Scan is a powerful scanning app that can automatically detect and enhance documents, receipts, business cards, and more. It also offers OCR (Optical Character Recognition) capabilities, allowing you to extract text from scanned documents.
- CamScanner: CamScanner is one of the most popular scanning apps for Android, offering features like document cropping, auto-enhancement, and cloud backup. It also has collaboration tools, allowing you to work on scanned documents with others.
- Google Drive: If you’re already using Google Drive for cloud storage, you’ll be pleased to know that it includes a built-in scanning feature. Simply open the Drive app, tap on the “+” icon, and select “Scan” to capture and save high-quality scans directly to your Drive.
- Microsoft Office Lens: Office Lens is a scanning app developed by Microsoft, offering seamless integration with other Microsoft tools like OneNote and Microsoft Teams. It includes features like document trimming, image optimization, and OCR support.
- Scanbot: Scanbot is a feature-rich scanning app that allows you to scan documents, QR codes, and barcodes. It offers automatic edge detection, cloud integration, and the ability to create multi-page PDFs from scanned documents.
These scanning apps provide a range of features, allowing you to scan documents with ease and improve the overall quality of your scans. Experiment with a few different apps to find the one that best suits your needs and preferences.
Now that you have a selection of scanning apps to choose from, let’s explore some tips to help you get the best scan results on your Android phone.
Tips for getting the best scan results on your Android phone
Getting high-quality scan results on your Android phone requires a combination of technique and settings. Here are some tips to help you achieve the best scan results:
- Ensure proper lighting: Adequate lighting is essential for clear and legible scans. Make sure the area is well-lit, either with natural light or by using artificial lighting.
- Keep the camera steady: To avoid blurry scans, hold your Android phone steady or use a tripod if available. This will help capture sharper images with better clarity.
- Maintain a straight angle: Position your Android phone parallel to the document or QR code you’re scanning. This will help prevent distortion and ensure the resulting scan is accurate.
- Use the right scanning mode: Familiarize yourself with the scanning modes offered by your camera app. Some apps have dedicated document scanning or QR code scanning modes that optimize camera settings for better results.
- Clean your camera lens: Dust or smudges on your camera lens can affect the quality of your scans. Regularly clean the lens with a soft cloth to ensure clear and sharp images.
- Make use of editing tools: Many scanning apps offer editing tools to enhance the scanned documents. Take advantage of these tools to adjust brightness, contrast, or cropping for better readability.
- Choose the right file format: Before saving your scanned documents, consider the file format you want to use. PDF is a popular choice as it maintains the formatting and can be easily shared.
- Organize your scans: Take the time to create a system for organizing your scanned documents. Use folders or tags within your scanning app or cloud storage to keep everything neatly categorized and easily accessible.
- Regularly back up your scans: It’s important to back up your scanned documents to prevent any loss in case of device failure or accidental deletion. Save your scans to a secure cloud storage or regularly transfer them to a computer or external storage.
By following these tips, you’ll be able to consistently achieve high-quality scan results on your Android phone and make the most out of its scanning capabilities.
Now that you’re equipped with the knowledge and tips for scanning on your Android phone, you can enjoy the convenience of digitizing documents and effortlessly scanning QR codes. Whether for personal or professional use, scanning on your Android phone is a valuable tool for staying organized and efficient.
Conclusion
Scanning documents and QR codes with your Android phone has never been easier. The advancements in smartphone camera technology and the availability of dedicated scanning apps have made it convenient to digitize documents, access information, and stay organized on the go.
In this article, we explored how to scan documents using the camera on your Android phone, providing step-by-step instructions to capture high-quality scans. We also learned how to scan QR codes and quickly access information or perform actions with a simple scan.
Additionally, we discussed some of the best scanning apps for Android phones, including Adobe Scan, CamScanner, Google Drive, Microsoft Office Lens, and Scanbot. These apps offer various features and functionalities to enhance your scanning experience and improve the quality of your scans.
To ensure the best scan results, we provided helpful tips such as maintaining proper lighting, keeping the camera steady, using the right scanning mode, and utilizing editing tools. We also emphasized the importance of organizing and backing up your scanned documents for easy access and peace of mind.
Whether you’re a student, professional, or simply looking to streamline your document management, scanning on your Android phone provides a convenient and efficient solution. By integrating scanning into your routine, you can save time, space, and effort, all while accessing information effortlessly.
So, grab your Android phone, unleash its scanning powers, and embrace the digital world of document scanning and QR code decoding. Say goodbye to cluttered paper documents and welcome the simplicity and convenience of scanning on your Android phone!