Introduction
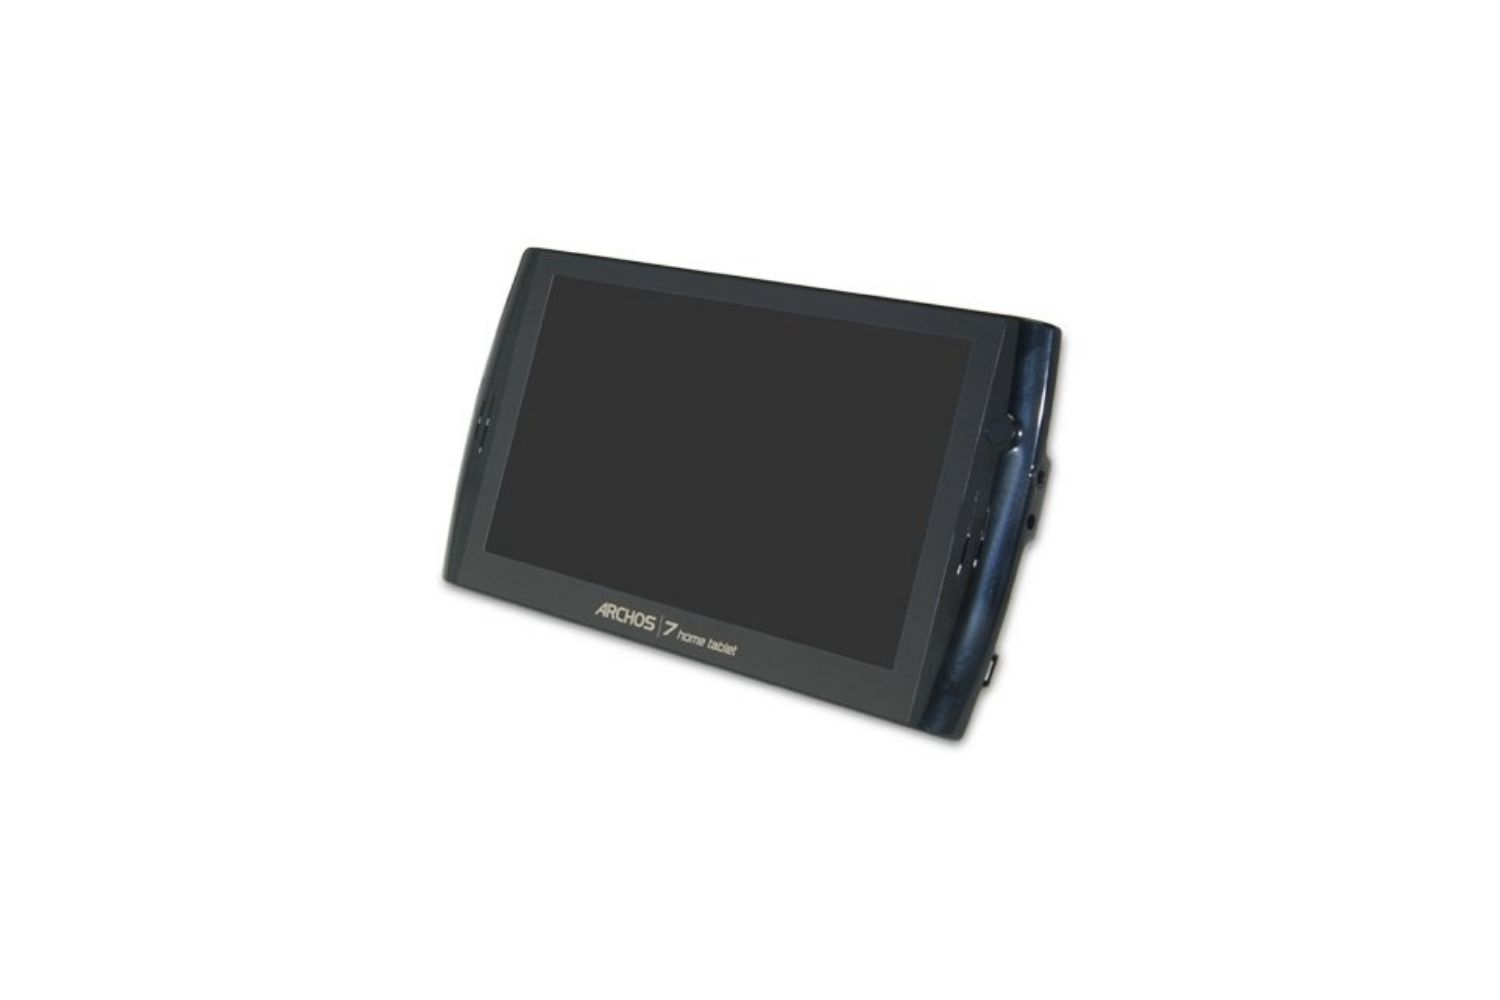
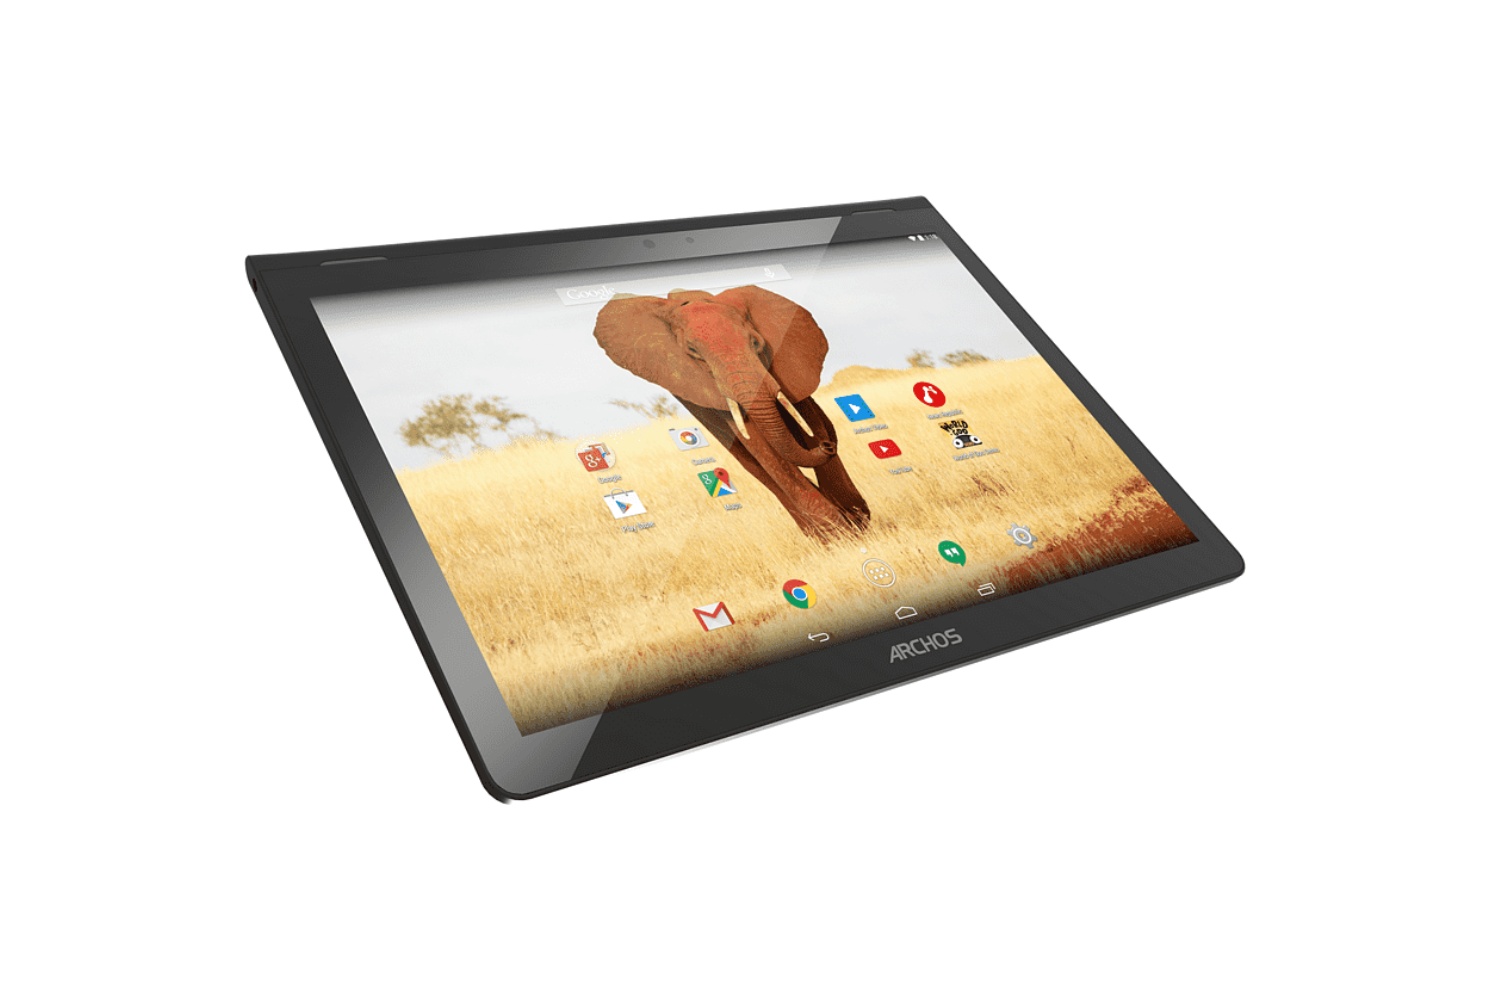
Welcome to the comprehensive guide on how to root your Archos 101 Internet Tablet. Rooting your device not only enables you to gain full control over your tablet’s operating system but also allows you to customize it to your liking. By following the steps outlined in this guide, you will be able to successfully root your Archos 101 Internet Tablet and unlock its full potential.
The Archos 101 Internet Tablet is a versatile device that offers a range of features and functionalities. However, by rooting it, you can take advantage of advanced customization options, install powerful apps that require root access, and even enhance the overall performance of your tablet. But before we dive into the rooting process, it’s important to understand the prerequisites and steps involved.
In this guide, we will walk you through each step, ensuring that you have a smooth and successful rooting experience. We will cover essential preparations, such as enabling USB debugging and installing the necessary drivers, before proceeding with the actual rooting process. Additionally, we will provide a detailed explanation of how to download and extract the required files and connect your Archos 101 Internet Tablet to your computer.
To assist you throughout the rooting process, we will also introduce you to reliable rooting software that simplifies the task and minimizes the chance of errors. Once the rooting process is complete, we will guide you through rebooting your tablet to ensure that the changes take effect seamlessly.
It’s important to note that rooting your device may void the manufacturer’s warranty, and there is a risk involved if not performed correctly. However, when done properly, rooting can open up a whole new world of possibilities for your Archos 101 Internet Tablet. So, if you’re ready to unleash the full potential of your device, let’s get started on the journey of rooting your Archos 101 Internet Tablet.
Before You Begin
Before you embark on the root process for your Archos 101 Internet Tablet, there are a few important things to keep in mind. By taking these preparatory steps, you can ensure a smoother and hassle-free rooting experience. Let’s delve into the essential considerations before you begin rooting your device.
1. Backup Your Data: Rooting your tablet involves making changes to the system files, which can potentially lead to data loss. It is crucial to create a backup of all your important files, photos, videos, and documents. You can use cloud storage services or connect your tablet to your computer to transfer the data.
2. Charge Your Tablet: Ensure that your Archos 101 Internet Tablet has sufficient battery charge before proceeding with the rooting process. A fully charged device will prevent any unexpected power interruptions during the root procedure, which could potentially harm your tablet or render it unusable. Ideally, keep your tablet charged above 50% before commencing the root process.
3. Check for Compatibility: Verify that your specific model of Archos 101 Internet Tablet is compatible with the rooting process. Different versions of the tablet may have varying software configurations, so it’s crucial to ensure that the rooting method you choose is compatible with your device model.
4. Research and Understand the Risks: Rooting your Archos 101 Internet Tablet gives you more control over its software and settings. However, keep in mind that there are certain risks associated with rooting, such as voiding your warranty or potentially bricking your device if not done correctly. Take the time to research and understand the risks involved before proceeding.
5. Familiarize Yourself with Rooting Terminology: Rooting involves technical terminology such as custom recoveries, ROMs, and bootloaders. Familiarize yourself with these terms to have a better understanding of the rooting process and any troubleshooting steps that may be required along the way.
By considering these factors and being well-prepared, you can minimize the chances of encountering issues during the rooting process. It’s important to be patient and follow the instructions carefully to ensure a successful root and an enhanced user experience with your Archos 101 Internet Tablet.
Step 1: Enable USB Debugging
Before you can begin the root process for your Archos 101 Internet Tablet, you need to enable USB debugging mode on your device. USB debugging allows your computer to communicate with and send commands to your tablet. Here’s how you can enable USB debugging:
1. Locate the Developer Options: Go to the “Settings” menu on your Archos 101 Internet Tablet. Scroll down and look for the “About Tablet” option. Tap on it to access the device information.
2. Tap on Build Number: In the “About Tablet” menu, find the “Build Number” option. Tap on it repeatedly, around seven times, until you see a message that says “You are now a developer!”
3. Enable Developer Options: Now, go back to the main “Settings” menu. You should see a new option called “Developer Options” appear. Tap on it to access the developer settings.
4. Enable USB Debugging: In the “Developer Options” menu, scroll down until you find the “USB Debugging” option. Toggle the switch to enable USB debugging. A warning message may appear; simply confirm by tapping “OK.”
Congratulations! You have successfully enabled USB debugging on your Archos 101 Internet Tablet. This will allow your computer to recognize and communicate with your device, which is essential for the rooting process.
Keep in mind that the steps to enable USB debugging may vary slightly depending on the Android version installed on your tablet. However, the general process remains the same. Once you have enabled USB debugging, you can proceed to the next step in the rooting process – installing the necessary drivers.
Step 2: Install the Necessary Drivers
To ensure a successful connection between your Archos 101 Internet Tablet and your computer during the rooting process, it is vital to install the necessary drivers. These drivers allow your computer to recognize and communicate with your tablet effectively. Follow these steps to install the drivers:
1. Connect Your Tablet to Your Computer: Use a USB cable to connect your Archos 101 Internet Tablet to your computer. Ensure that both devices are powered on and that the USB cable is functional.
2. Enable File Transfer Mode: On your Archos 101 Internet Tablet, you should see a notification that says “Connected as a media device” or “Connected for charging.” Swipe down from the top of your device’s screen to access the notification panel, then tap on the notification itself. A menu will pop up—choose “Transfer files” or “File transfer” mode.
3. Locate the Driver Installation Wizard: On your computer, open the file explorer and navigate to the location where you downloaded the rooting software. Look for a folder named “Drivers” or something similar.
4. Run the Driver Installation Wizard: Within the “Drivers” folder, you should find an executable file that starts the driver installation process. Double-click on this file to run the installation wizard.
5. Follow the On-Screen Instructions: The driver installation wizard will guide you through the installation process. Simply follow the on-screen instructions, and if prompted, choose the default or recommended settings.
Once the installation is complete, your computer should recognize your Archos 101 Internet Tablet without any issues. You can verify this by checking the device manager on your computer or by ensuring that your tablet appears as a connected device in the file explorer.
Remember, having the correct drivers installed is crucial for a successful rooting process. If you encounter any issues during the installation or if your computer fails to recognize your tablet, ensure that you have downloaded the correct drivers for your device model and repeat the installation process.
With the necessary drivers installed, you are now ready to proceed to the next step: downloading and extracting the required rooting files.
Step 3: Download and Extract the Required Files
To root your Archos 101 Internet Tablet successfully, you need to download and extract the necessary files onto your computer. These files will be used in the later steps of the rooting process. Follow these steps to download and extract the required files:
1. Find a Reliable Source: Look for a reputable website or forum that offers the required rooting files specific to your Archos 101 Internet Tablet model. It’s important to ensure that the files are from a trusted source to avoid any potential security risks or compatibility issues.
2. Download the Rooting Package: Once you have found a reliable source, download the rooting package that corresponds to your device model. This package usually comes in the form of a compressed ZIP file.
3. Extract the ZIP File: Locate the downloaded ZIP file on your computer and right-click on it. Choose the “Extract” or “Extract All” option to unzip the contents of the file. Select a suitable location on your computer where you want to extract the files.
4. Verify the Extracted Files: After the extraction is complete, open the extracted folder and ensure that all the required files are present. These files might include a custom recovery image, the rooting tool, or any other specific files necessary for the root process. Make note of the file locations, as you will need them in the later steps.
By following these steps, you have successfully downloaded and extracted the required rooting files for your Archos 101 Internet Tablet. It’s essential to keep these files organized and easily accessible for the next steps in the rooting process.
Remember, if you encounter any issues during the download or extraction process, double-check that you have downloaded the correct files for your device model and try again. Be cautious of any warnings or prompts from your computer’s antivirus software, as some rooting files may be flagged as potentially harmful. Use reliable sources and proceed with caution to ensure the integrity and safety of your device.
Now that you have the necessary files extracted, you are ready to move on to the next step: connecting your Archos 101 Internet Tablet to your computer.
Step 4: Connect Your Archos 101 Internet Tablet to Your Computer
Now that you have downloaded and extracted the required rooting files, it’s time to connect your Archos 101 Internet Tablet to your computer. This connection is crucial for transferring files, executing commands, and facilitating the rooting process. Follow these steps to establish a successful connection:
1. Power Off Your Tablet: Make sure your Archos 101 Internet Tablet is powered off before connecting it to your computer. This ensures a stable connection and prevents any possible interference during the process.
2. Use a USB Cable: Connect one end of a USB cable to your computer’s USB port and the other end to the Micro USB port on your Archos 101 Internet Tablet. Ensure that the cable is securely connected on both ends.
3. Enable File Transfer Mode: On your tablet, locate the notification panel by swiping down from the top of the screen. Look for the USB connection notification and tap on it. Choose “File transfer” or “Transfer files” mode to enable the file transfer functionality.
4. Establish a Connection: Once your tablet is in file transfer mode, your computer should recognize the device. It may take a few seconds for the connection to establish automatically. If prompted on your tablet to allow access to your computer, tap “Allow” or “OK.”
5. Check the Connection Status: To ensure that your tablet is successfully connected to your computer, navigate to the file explorer on your computer. Look for your Archos 101 Internet Tablet under the list of connected devices. If your tablet is recognized, you can proceed to the next step.
By following these steps, you have established a connection between your Archos 101 Internet Tablet and your computer. This connection is vital for transferring files and executing commands during the rooting process. It also enables your computer to communicate with the tablet effectively.
If you encounter any issues with the connection, ensure that your USB cable is functioning correctly and that the drivers are installed correctly. You may also try using a different USB port on your computer or restarting both devices to troubleshoot the connection issue.
Now that your device is connected to your computer, you are ready to move on to the next step: launching the rooting software and initiating the root process.
Step 5: Launch the Rooting Software
With your Archos 101 Internet Tablet successfully connected to your computer, you are now ready to launch the rooting software. The rooting software will guide you through the process of rooting your device and making the necessary changes to gain full control over your tablet’s operating system. Follow these steps to launch the rooting software:
1. Locate the Rooting Software: Open the folder where you extracted the required files in Step 3. Look for the rooting software executable file, typically with a name like “RootTool.exe” or something similar.
2. Run the Rooting Software: Double-click on the rooting software executable file to launch the program. Depending on the software, you may see a welcome screen or a user interface with various options.
3. Read the Instructions: Once the rooting software is launched, take a moment to read any on-screen instructions or prompts that appear. Familiarize yourself with the software interface and the options available.
4. Follow the Software’s Steps: The rooting software will guide you through the rooting process, providing step-by-step instructions on what actions to take. This may include selecting the correct device model, confirming the connection, and initiating the root process.
5. Wait for the Rooting Process to Finish: After initiating the root process, the rooting software will execute a series of commands to root your Archos 101 Internet Tablet. It is important to be patient and wait for the process to complete. Avoid disconnecting your tablet or interrupting the process, as it could lead to errors or incomplete rooting.
By launching the rooting software, you are taking a significant step towards unlocking the full potential of your Archos 101 Internet Tablet. The software will handle the complex tasks involved in the rooting process, making it easier for you to successfully root your device.
It’s important to note that different rooting software tools may have slightly different interfaces and options. However, the general process remains the same: launch the software, follow the instructions, and allow the software to complete the rooting process.
Once the rooting process is complete, you can proceed to the next step, which is to reboot your tablet to ensure that the changes take effect.
Step 6: Root Your Archos 101 Internet Tablet
Now that you have launched the rooting software and followed the necessary steps, it’s time to initiate the root process and gain full control over your Archos 101 Internet Tablet’s operating system. In this step, we will guide you through the process of rooting your device. Follow these steps carefully:
1. Confirm Device Compatibility: Ensure that the rooting software you are using supports your specific model of the Archos 101 Internet Tablet. Using incompatible software can lead to complications and potential damage to your device.
2. Follow Software Instructions: The rooting software will guide you through the rooting process. This may involve clicking a “Root” button or selecting specific options related to the root process. Carefully read and follow the instructions provided by the software.
3. Allow Superuser Access: During the rooting process, you will be prompted to grant “Superuser” access to the rooting software. Superuser access gives the software elevated privileges to modify system files and settings. Grant the necessary permissions to proceed with the root process.
4. Be Patient: The root process may take a few minutes to complete, depending on your device and the rooting software being used. It is essential to be patient and avoid interrupting the process or disconnecting your device during this time.
5. Confirm Root Access: Once the rooting process is complete, the rooting software will display a message indicating successful root access. You can also verify root access by downloading a root-checking app from the Google Play Store or any trusted source and running it on your device.
It’s important to note that rooting your Archos 101 Internet Tablet may void the manufacturer’s warranty. Additionally, incorrect rooting procedures can lead to device malfunction or “bricking,” rendering your tablet unusable. Therefore, it is crucial to only use trusted rooting software, follow instructions carefully, and understand the risks associated with rooting before proceeding.
By successfully rooting your Archos 101 Internet Tablet, you will gain the ability to customize your device’s software, install powerful root-specific apps, and access advanced settings that were previously restricted. However, exercise caution when making changes to system files and settings, as improper modifications can potentially harm your device’s functionality.
Now that you have successfully rooted your Archos 101 Internet Tablet, it’s time to proceed to the final step: rebooting your tablet to ensure the changes take effect and enjoy the benefits of a rooted device!
Step 7: Reboot Your Tablet
After successfully rooting your Archos 101 Internet Tablet, it’s important to reboot your device to ensure that the changes take effect and that your tablet is fully optimized for the rooted system. Rebooting your tablet is a simple yet crucial step in the rooting process. Follow these steps to reboot your device:
1. Save and Close any Open Applications: Before rebooting your tablet, it’s crucial to save any open files or documents and close any running applications. This ensures that you don’t lose any unsaved data or encounter any issues during the reboot process.
2. Press and Hold the Power Button: Locate the power button on your Archos 101 Internet Tablet. Press and hold the power button until a menu appears on the screen. This menu is known as the power menu or the reboot menu.
3. Select Restart or Reboot: In the power menu, you should see various options such as Restart, Reboot, or Power off. Tap on the Restart or Reboot option to initiate the reboot process.
4. Wait for Your Tablet to Restart: After selecting the Restart or Reboot option, your Archos 101 Internet Tablet will shut down and begin the reboot process. It may take a few moments for the tablet to completely power off and restart.
5. Set Up Your Tablet: Once your tablet has finished rebooting, you will be brought to the lock screen or the home screen. Depending on your tablet’s settings, you may need to enter your password or unlock pattern to access the home screen. Follow the on-screen instructions to set up your tablet if prompted.
By rebooting your tablet after rooting, you allow the changes made during the root process to take effect. This ensures that your Archos 101 Internet Tablet runs smoothly with the newly installed root-access privileges and any customizations you have made.
It’s important to remember that after rebooting, you may notice some changes in the user interface or settings. You now have the ability to install and use root-specific applications, modify system files, and access advanced features that were previously restricted.
Congratulations! You have successfully rooted your Archos 101 Internet Tablet and rebooted your device. Enjoy the freedom and customization options that a rooted device provides. Make sure to explore the wide range of root-only applications and features available to truly make the most of your newly rooted tablet.
Conclusion
Congratulations! You have reached the end of this comprehensive guide on how to root your Archos 101 Internet Tablet. By following the steps outlined in this guide, you have successfully gained full control over your tablet’s operating system and unlocked its true potential.
Rooting your device allows you to customize your Archos 101 Internet Tablet to suit your preferences and needs. You can install powerful root-specific applications, tweak system settings, and enjoy a more personalized user experience. However, it’s important to remember a few key points:
1. Understand the Risks: Rooting your device may void the manufacturer’s warranty and can potentially lead to device malfunction if not done correctly. It’s important to research and understand the risks involved before proceeding.
2. Use Trustworthy Sources: When downloading rooting software and files, only use reputable sources to minimize the risk of malware or other security threats. Double-check the compatibility of the software with your specific Archos 101 Internet Tablet model.
3. Stay Updated: Rooted devices typically don’t receive official software updates. It’s important to stay updated on the latest security patches and system improvements to ensure the ongoing functionality and security of your device.
4. Backup Your Data: Rooting involves making changes to the system files, which can potentially lead to data loss. Always back up your important data before proceeding with any modifications to your device. This ensures that you have a copy of your data in case anything goes wrong.
By taking these precautions and following the steps in this guide, you can confidently root your Archos 101 Internet Tablet and tailor it to suit your unique needs and preferences.
We hope this guide has provided you with the necessary knowledge and steps to successfully root your device. Remember to always exercise caution and perform thorough research before making any modifications to your device’s software or settings.
Enjoy exploring the world of possibilities that rooting your Archos 101 Internet Tablet has unlocked. Customize, optimize, and elevate your tablet experience to new heights!