Introduction
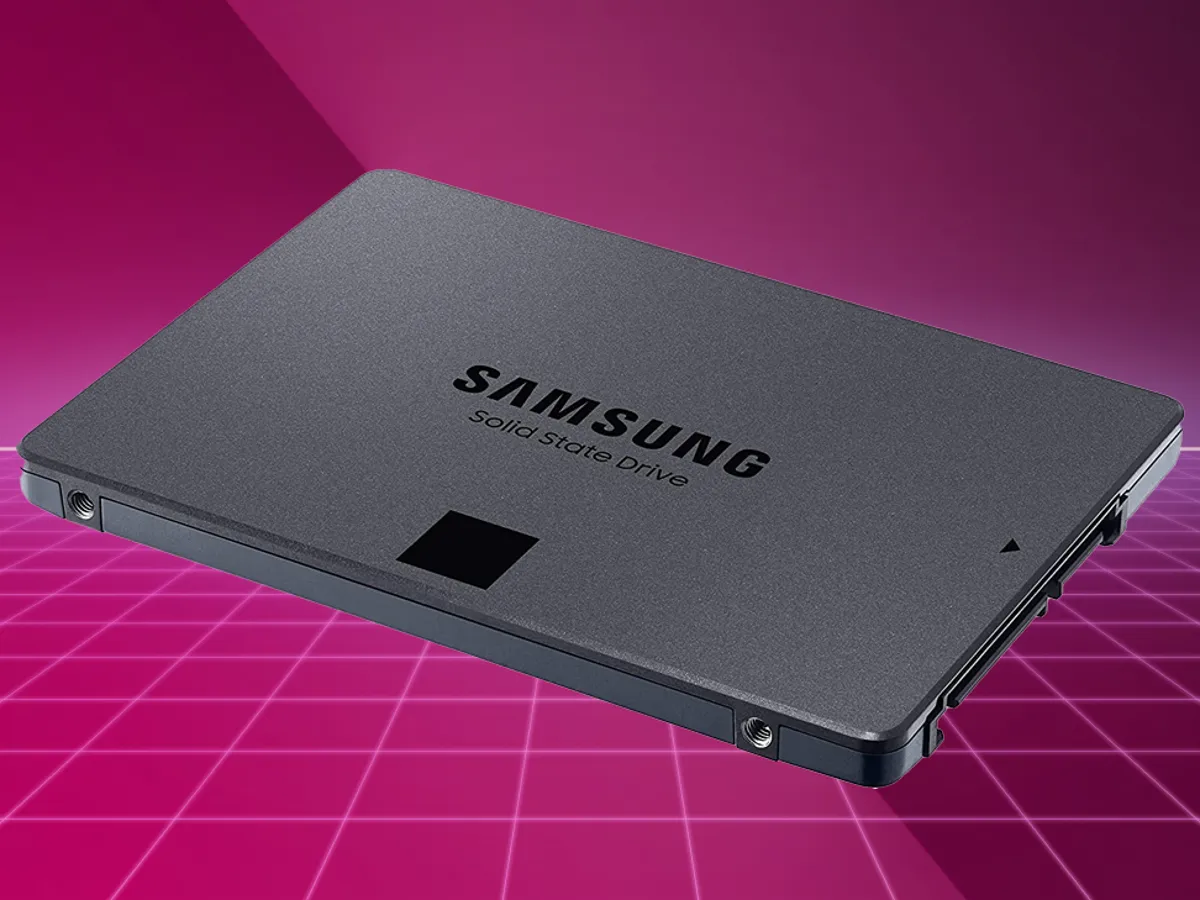
Welcome to our guide on how to reset a Samsung SSD to factory settings. Samsung Solid State Drives (SSDs) are known for their high performance and reliability. However, there may come a time when you need to restore your SSD to its original factory state. This could be due to various reasons, such as selling or donating the SSD, resolving performance issues, or starting fresh with a clean slate.
In this article, we will explore different methods to reset your Samsung SSD to factory settings. These methods include utilizing Samsung Magician software, using the diskpart command line utility, updating the firmware, using Samsung’s SSD Secure Erase USB tool, and contacting Samsung support for assistance.
It’s important to note that resetting your SSD to factory settings will erase all data stored on the drive. Therefore, it is essential to back up any important files or data before proceeding. Additionally, it’s recommended to disconnect any other hard drives or SSDs connected to your system to avoid any accidental data loss during the reset process.
Whether you are an experienced computer user or a novice, there is a reset method in this guide that will suit your needs. With that in mind, let’s dive into the various methods to reset your Samsung SSD back to its factory state.
Reasons to Reset a Samsung SSD to Factory
There are several reasons why you might want to reset a Samsung SSD to its factory settings. Let’s explore some of the common scenarios where a reset can be beneficial:
- Resolving Performance Issues: Over time, an SSD may accumulate temporary files, fragmented data, or corrupted system files, leading to a decrease in its performance. Resetting the SSD to factory settings can help resolve these issues and restore its original performance.
- Selling or Donating the SSD: If you are planning to sell or donate your Samsung SSD, it’s crucial to ensure that all your personal data is securely erased. Resetting the SSD to its factory state removes all traces of your data, providing peace of mind that your sensitive information won’t fall into the wrong hands.
- Starting Fresh: Sometimes, you may simply want to start fresh with your SSD, removing all files and configurations. This can be useful if you want to create a clean installation of your operating system or if you want to optimize your SSD for a specific use case, such as gaming or video editing.
- Reverting to Original Settings: If you have made changes to the firmware or settings of your Samsung SSD, resetting it to factory defaults allows you to revert back to the original settings. This can be helpful if you encountered compatibility issues or if you want to undo any modifications you made.
Regardless of the reason, resetting your Samsung SSD to its factory settings ensures that you have a clean slate to work with. Just remember to back up any data you want to keep before initiating the reset process.
Before You Begin: Backup Your Data
Before you proceed with resetting your Samsung SSD to factory settings, it is crucial to backup any important data that you want to keep. Resetting your SSD will erase all data stored on the drive, so it’s necessary to take precautions to avoid permanent data loss. Here are some important steps to follow before initiating the reset process:
- Identify Important Files: Make a list of the files and folders that contain important data. This includes documents, photos, videos, music, and any other files that you want to preserve. Take note of their locations on the SSD for easy retrieval after the reset.
- Create a Backup: Copy the identified files to an external storage device such as an external hard drive, USB flash drive, or cloud storage service. Ensure that the backup is accurate and complete before proceeding.
- Verify the Backup: After creating the backup, take some time to verify its integrity. Check that all the files and folders are present, and make sure that they are accessible and can be opened without any issues or errors.
- Store Backup Securely: Keep the backup in a safe and secure location, preferably in a separate physical location from your computer. This will protect your data from unforeseen events such as theft, fire, or hardware failure.
- Double-Check the Backup: Before proceeding with the reset, double-check that you have all the necessary files backed up. It’s better to be safe than sorry, so take the time to ensure that no important data has been overlooked.
By following these steps, you can safeguard your valuable data and minimize the risk of permanent loss during the reset process. Remember, once you reset your Samsung SSD to factory settings, the data will be permanently erased, so it’s crucial to have a reliable backup in place.
Method 1: Secure Erase via Samsung Magician Software
Samsung Magician is a software utility specifically designed to manage and optimize Samsung SSDs. It provides various features, including the ability to perform a secure erase to reset your SSD to factory settings. Follow the steps below to use Samsung Magician for secure erasing:
- Download and Install Samsung Magician: Visit the official Samsung website and download the latest version of Samsung Magician. Install the software on your computer and launch it.
- Connect and Identify Your SSD: Ensure that your Samsung SSD is properly connected to your computer. Launch Samsung Magician, and it should automatically detect and display your SSD on the main screen.
- Select Secure Erase: In the Samsung Magician interface, navigate to the “Data Security” tab. Locate the “Secure Erase” option and click on it to initiate the process.
- Confirm the Secure Erase: A warning message will be displayed, informing you that the secure erase process will erase all data on the SSD. Carefully read the message and make sure you have a backup of your important data. Click “Yes” to confirm and proceed with the secure erase.
- Perform Secure Erase: Once you have confirmed, Samsung Magician will start the secure erase process. This process may take some time depending on the size of your SSD. It’s important to keep your computer powered on and avoid interrupting the process.
- Completion and Verification: After the secure erase is complete, Samsung Magician will display a confirmation message. You can now close the software and proceed with reinstalling the operating system or utilizing your SSD as desired.
Using Samsung Magician to perform a secure erase is a straightforward method for resetting your Samsung SSD to its factory settings. The software ensures that all data on the drive is securely erased, providing a clean slate for your SSD to start fresh.
Method 2: Diskpart Command Line Utility
If you prefer using the command line interface, you can utilize the Diskpart utility, a built-in Windows tool, to reset your Samsung SSD to factory settings. Follow the steps below to reset your SSD using the Diskpart command line utility:
- Open Command Prompt as Administrator: Press the Windows key, type “Command Prompt,” right-click on the Command Prompt app, and select “Run as administrator.” This will open the Command Prompt with administrative privileges.
- Launch Diskpart: In the Command Prompt window, type “diskpart” and press Enter. This will launch the Diskpart utility.
- Identify Your Samsung SSD: Type “list disk” and press Enter to view the list of disks connected to your system. Identify your Samsung SSD based on its size and other characteristics. Take note of the disk number.
- Select Your Samsung SSD: Type “select disk [disk number]” and press Enter. Replace “[disk number]” with the corresponding number of your Samsung SSD.
- Clean the Disk: Type “clean” and press Enter to wipe the SSD and remove all partitions and data on it. This command will erase all data on the selected disk, so ensure that you have backed up any important files before proceeding.
- Create a New Partition: Once the disk is clean, type “create partition primary” and press Enter to create a new primary partition on the SSD.
- Format the Partition: To prepare the partition for use, type “format fs=ntfs quick” and press Enter. This command will format the partition with the NTFS file system.
After completing these steps, your Samsung SSD will be reset to its factory settings. You can now close the Command Prompt and proceed with reinstalling the operating system or using your SSD as desired.
Using the Diskpart command line utility allows for greater control and flexibility in resetting your Samsung SSD to factory settings. However, it’s essential to exercise caution and ensure that you select the correct disk to avoid accidentally erasing data from the wrong drive.
Method 3: Using Samsung SSD’s Firmware
Samsung provides firmware updates for their SSDs, and in some cases, you can use this firmware to reset your SSD to factory settings. This method can vary depending on the specific model and firmware version of your Samsung SSD. Follow the general steps below to reset your SSD using the firmware:
- Visit the Samsung Website: Go to the official Samsung website and navigate to the support section. Enter the model number of your Samsung SSD to access the firmware downloads available for your specific model.
- Download and Install the Firmware: Locate the appropriate firmware version for your SSD and download it. Follow the instructions provided by Samsung to install the firmware update on your computer.
- Launch the Firmware Update Tool: After installing the firmware, launch the firmware update tool provided by Samsung. This tool may have a different name depending on the specific model of your SSD.
- Reset to Factory Settings: Within the firmware update tool, look for an option to reset the SSD to factory settings or restore defaults. The exact location and labeling of this option may vary, so refer to the user manual or documentation provided by Samsung.
- Follow the On-Screen Instructions: Once you have found the reset option, carefully follow the on-screen instructions provided by the firmware update tool. Confirm your decision to reset the SSD, and the firmware will initiate the process.
- Completion and Verification: After the firmware reset is complete, the tool will display a confirmation message. You can now exit the firmware update tool and proceed with reinstalling the operating system or utilizing your SSD as desired.
It’s important to note that not all Samsung SSD models offer a firmware reset option. Additionally, the specific steps and options within the firmware update tool may vary. Refer to the documentation provided by Samsung or their customer support for detailed instructions specific to your SSD model.
Using the firmware update tool provided by Samsung can be an effective method to reset your SSD to factory settings, ensuring a clean slate for your device.
Method 4: Using Samsung SSD Secure Erase USB Tool
Samsung provides a dedicated tool called the Samsung SSD Secure Erase USB Tool, which allows you to reset your Samsung SSD to factory settings using a bootable USB drive. Follow the steps below to use the Samsung SSD Secure Erase USB Tool:
- Visit the Samsung Website: Go to the official Samsung website and navigate to the support section. Look for the Samsung SSD Secure Erase USB Tool and download it onto your computer.
- Create a Bootable USB Drive: Insert a USB drive into your computer and ensure it is empty, as all data on the drive will be erased during the process. Launch the Samsung SSD Secure Erase USB Tool and follow the instructions to create a bootable USB drive.
- Boot from the USB Drive: Restart your computer and enter the BIOS setup by pressing the appropriate key (usually F2, F10, or Del) during the startup process. Configure the BIOS settings to boot from the USB drive you created in the previous step.
- Start the Secure Erase: Save the BIOS settings and restart your computer. The computer should now boot from the USB drive. Follow the instructions provided by the Samsung SSD Secure Erase USB Tool to start the secure erase process.
- Confirm the Secure Erase: The tool will display a warning message, notifying you that all data on the SSD will be permanently erased. Carefully read and understand the message before confirming your decision to proceed.
- Perform Secure Erase: Once you have confirmed, the Samsung SSD Secure Erase USB Tool will initiate the secure erase process. This process may take some time depending on the size of your SSD. Ensure that your computer remains powered on and avoid interrupting the process.
- Completion and Verification: After the secure erase is complete, the tool will display a confirmation message. You can now remove the USB drive, restart your computer, and proceed with reinstalling the operating system or utilizing your SSD as desired.
Using the Samsung SSD Secure Erase USB Tool provides a convenient and reliable method to reset your Samsung SSD to factory settings. This ensures a thorough erasure of all data, leaving your SSD in a clean state for future use.
Method 5: Contacting Samsung Support
If you encounter any difficulties or are unsure about resetting your Samsung SSD to factory settings, you can always reach out to Samsung support for assistance. Their technical support team is knowledgeable and can guide you through the process. Here’s how you can contact Samsung support for help:
- Visit the Samsung Website: Go to the official Samsung website and navigate to the support section. Look for the contact or support page where you can find the necessary contact information.
- Find the Right Support Channel: Samsung offers various support channels, including phone, email, live chat, and community forums. Choose the channel that is most convenient for you.
- Explain Your Issue: When contacting Samsung support, provide a detailed explanation of your problem and the specific assistance you require. Mention that you need help in resetting your Samsung SSD to factory settings.
- Follow Support’s Instructions: The Samsung support representative will provide you with step-by-step instructions tailored to your specific situation. Follow their guidance closely to ensure a successful reset of your SSD.
- Ask for Clarification: If you have any doubts or questions during the process, do not hesitate to ask for clarification from the support representative. They are there to assist you and ensure that you understand each step.
- Verify Completion and Functionality: After following the instructions provided by Samsung support, check if the reset process was successful and if your SSD is functioning as expected. If any issues persist, don’t hesitate to reach out to support again for further assistance.
Contacting Samsung support is a reliable option if you need personalized assistance or encounter any problems while attempting to reset your Samsung SSD to factory settings. They have the expertise to address your concerns and help you through the process effectively.
Conclusion
Resetting your Samsung SSD to factory settings can be a useful solution in various scenarios. Whether you are looking to resolve performance issues, prepare your SSD for sale or donation, start fresh with a clean slate, or revert back to the original settings, there are multiple methods available to achieve this.
In this guide, we explored five different methods to reset your Samsung SSD to factory settings. These methods included using Samsung Magician software, utilizing the Diskpart command line utility, updating the firmware, using the Samsung SSD Secure Erase USB tool, and contacting Samsung support for assistance.
Before initiating the reset process, it is crucial to backup any important data that you want to keep. This ensures that you have a secure copy of your files and minimizes the risk of permanent data loss during the reset.
Each method has its own pros and cons, so it’s important to choose the one that suits your needs and technical expertise. Some methods offer more control and flexibility, while others provide a user-friendly interface for a simpler experience.
Remember to carefully follow the instructions provided in this guide and take necessary precautions to avoid any accidental data loss or damage to your SSD. If you face any difficulties or have questions, don’t hesitate to contact Samsung support for personalized assistance.
By resetting your Samsung SSD to factory settings, you can restore its performance, ensure the secure erasure of your data, and start fresh with confidence. With the information provided in this guide, you can now proceed with resetting your Samsung SSD and enjoy its optimal performance and reliability once again.


