Introduction
Welcome to our guide on how to reset a home security system. In today’s world, homeowners are becoming increasingly concerned about the safety and security of their homes. Home security systems provide peace of mind by monitoring and protecting our homes against burglaries, fires, and other emergencies.
However, there may be situations where you need to reset your home security system. This could be due to a malfunction, a change in the system configuration, or simply the need to start fresh. Whatever the reason, knowing how to properly reset your home security system is essential.
In this article, we will provide you with a step-by-step guide on how to reset different types of home security systems. It is important to note that the specific steps may vary depending on the make and model of your system, so always consult the user manual for detailed instructions. Our aim is to provide a general overview of the reset process to help you get started.
Whether you have a basic DIY system or a sophisticated professionally installed system, understanding how to reset it can save you time, money, and unnecessary headaches. Resetting your home security system can often resolve minor issues and restore it to its optimal functioning state. It can also be helpful if you are moving to a new house or if you simply want to refresh your system’s settings.
So, without further ado, let’s dive into the world of home security systems and discover how to reset them effectively.
Understanding Home Security Systems
Before we delve into the process of resetting a home security system, it is important to have a basic understanding of how these systems work. A home security system is a network of devices and sensors designed to detect and alert homeowners of potential security breaches. These systems act as a deterrent to intruders and provide homeowners with a sense of safety and protection.
A typical home security system includes various components such as door and window sensors, motion detectors, surveillance cameras, control panels, and alarms. These devices are interconnected and communicate with each other to monitor and protect your home.
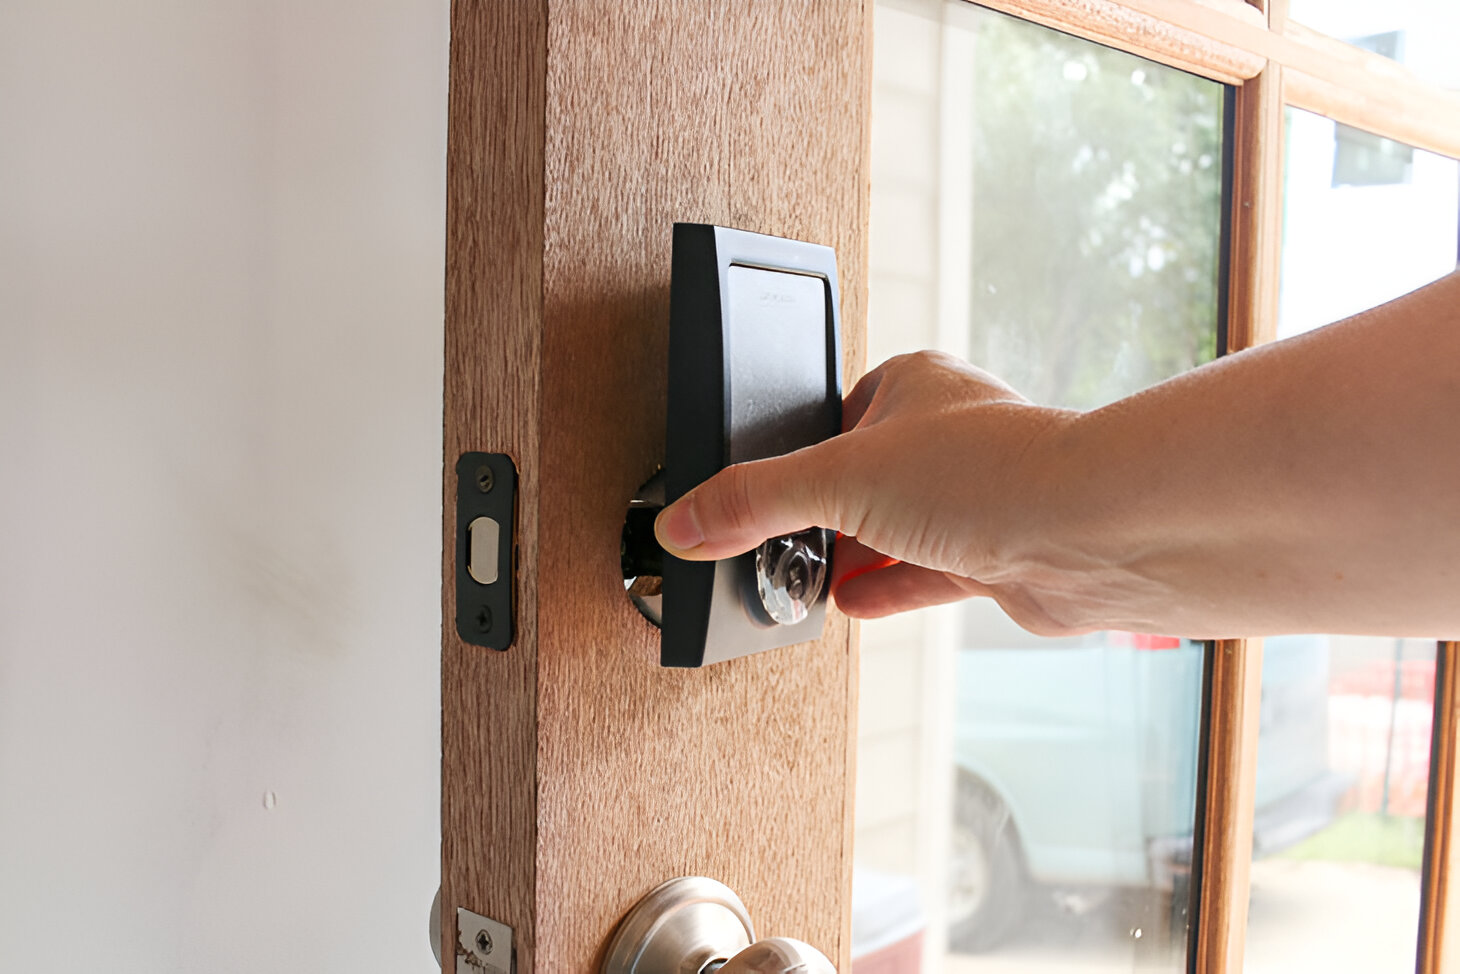
Door and window sensors are usually placed on entry points and trigger an alarm if someone tries to force their way into your home. Motion detectors use infrared technology to detect movement and can be installed in different rooms or outdoor areas. Surveillance cameras provide live video feeds and recordings, allowing you to monitor your property from anywhere.
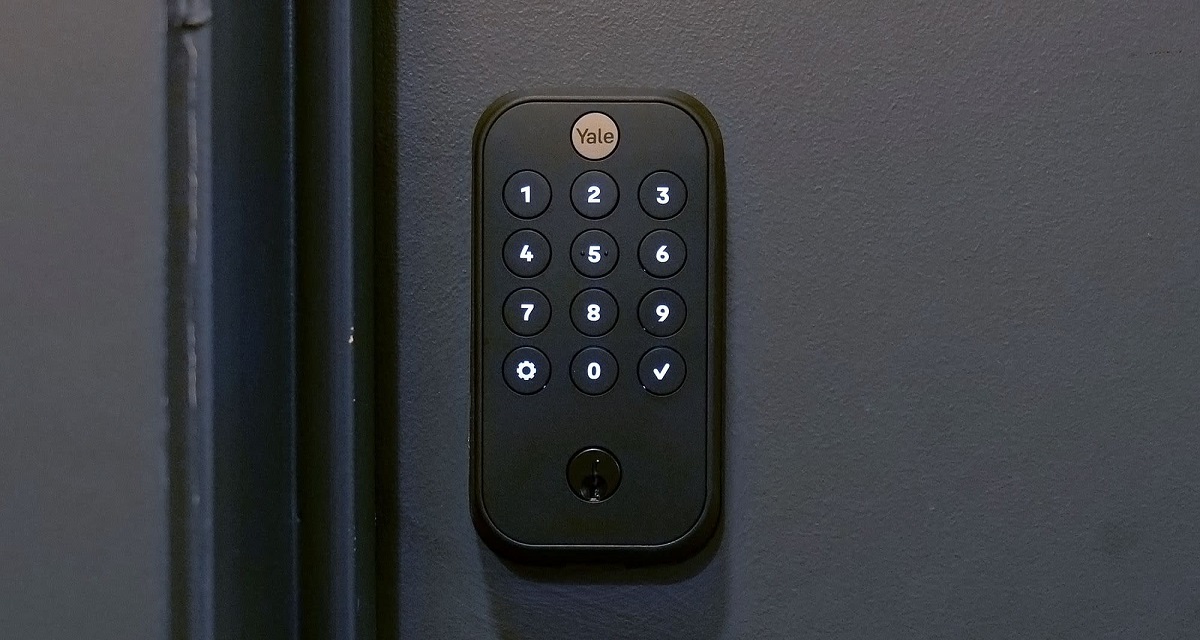
The control panel is the “brain” of the system and allows you to arm or disarm the security system, set up alarm codes, and adjust various settings. Alarms are triggered when a security breach is detected, alerting both homeowners and the monitoring company, if applicable.
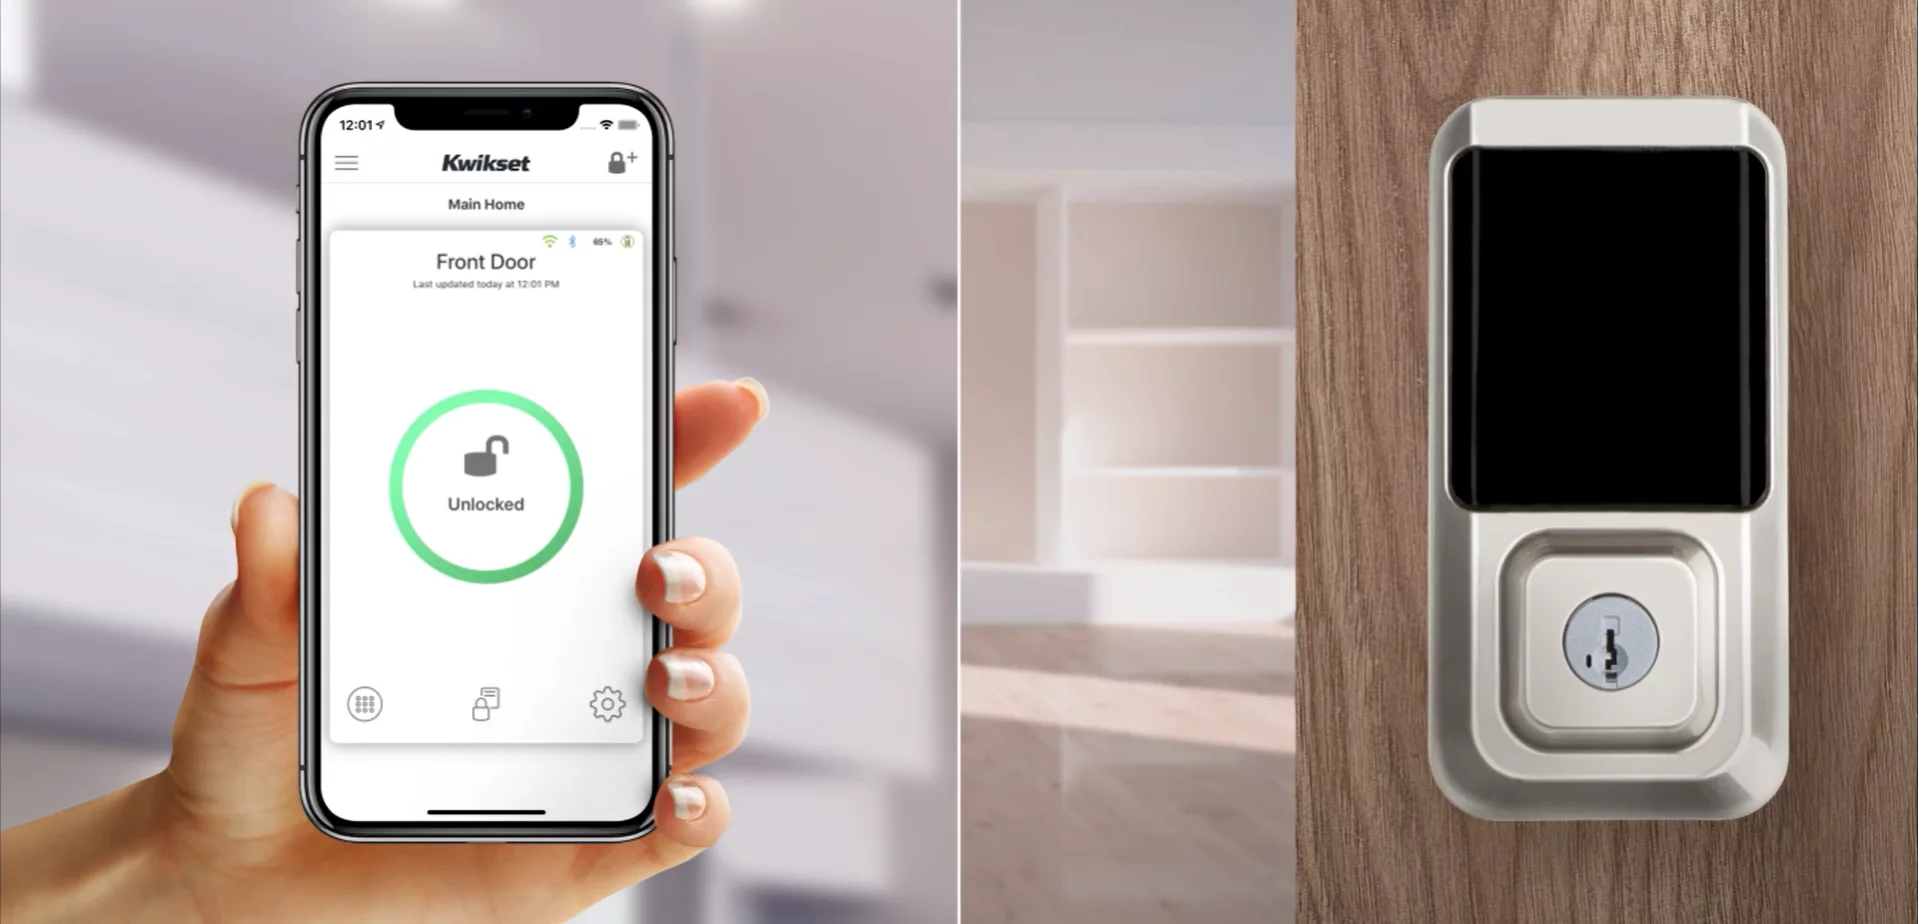
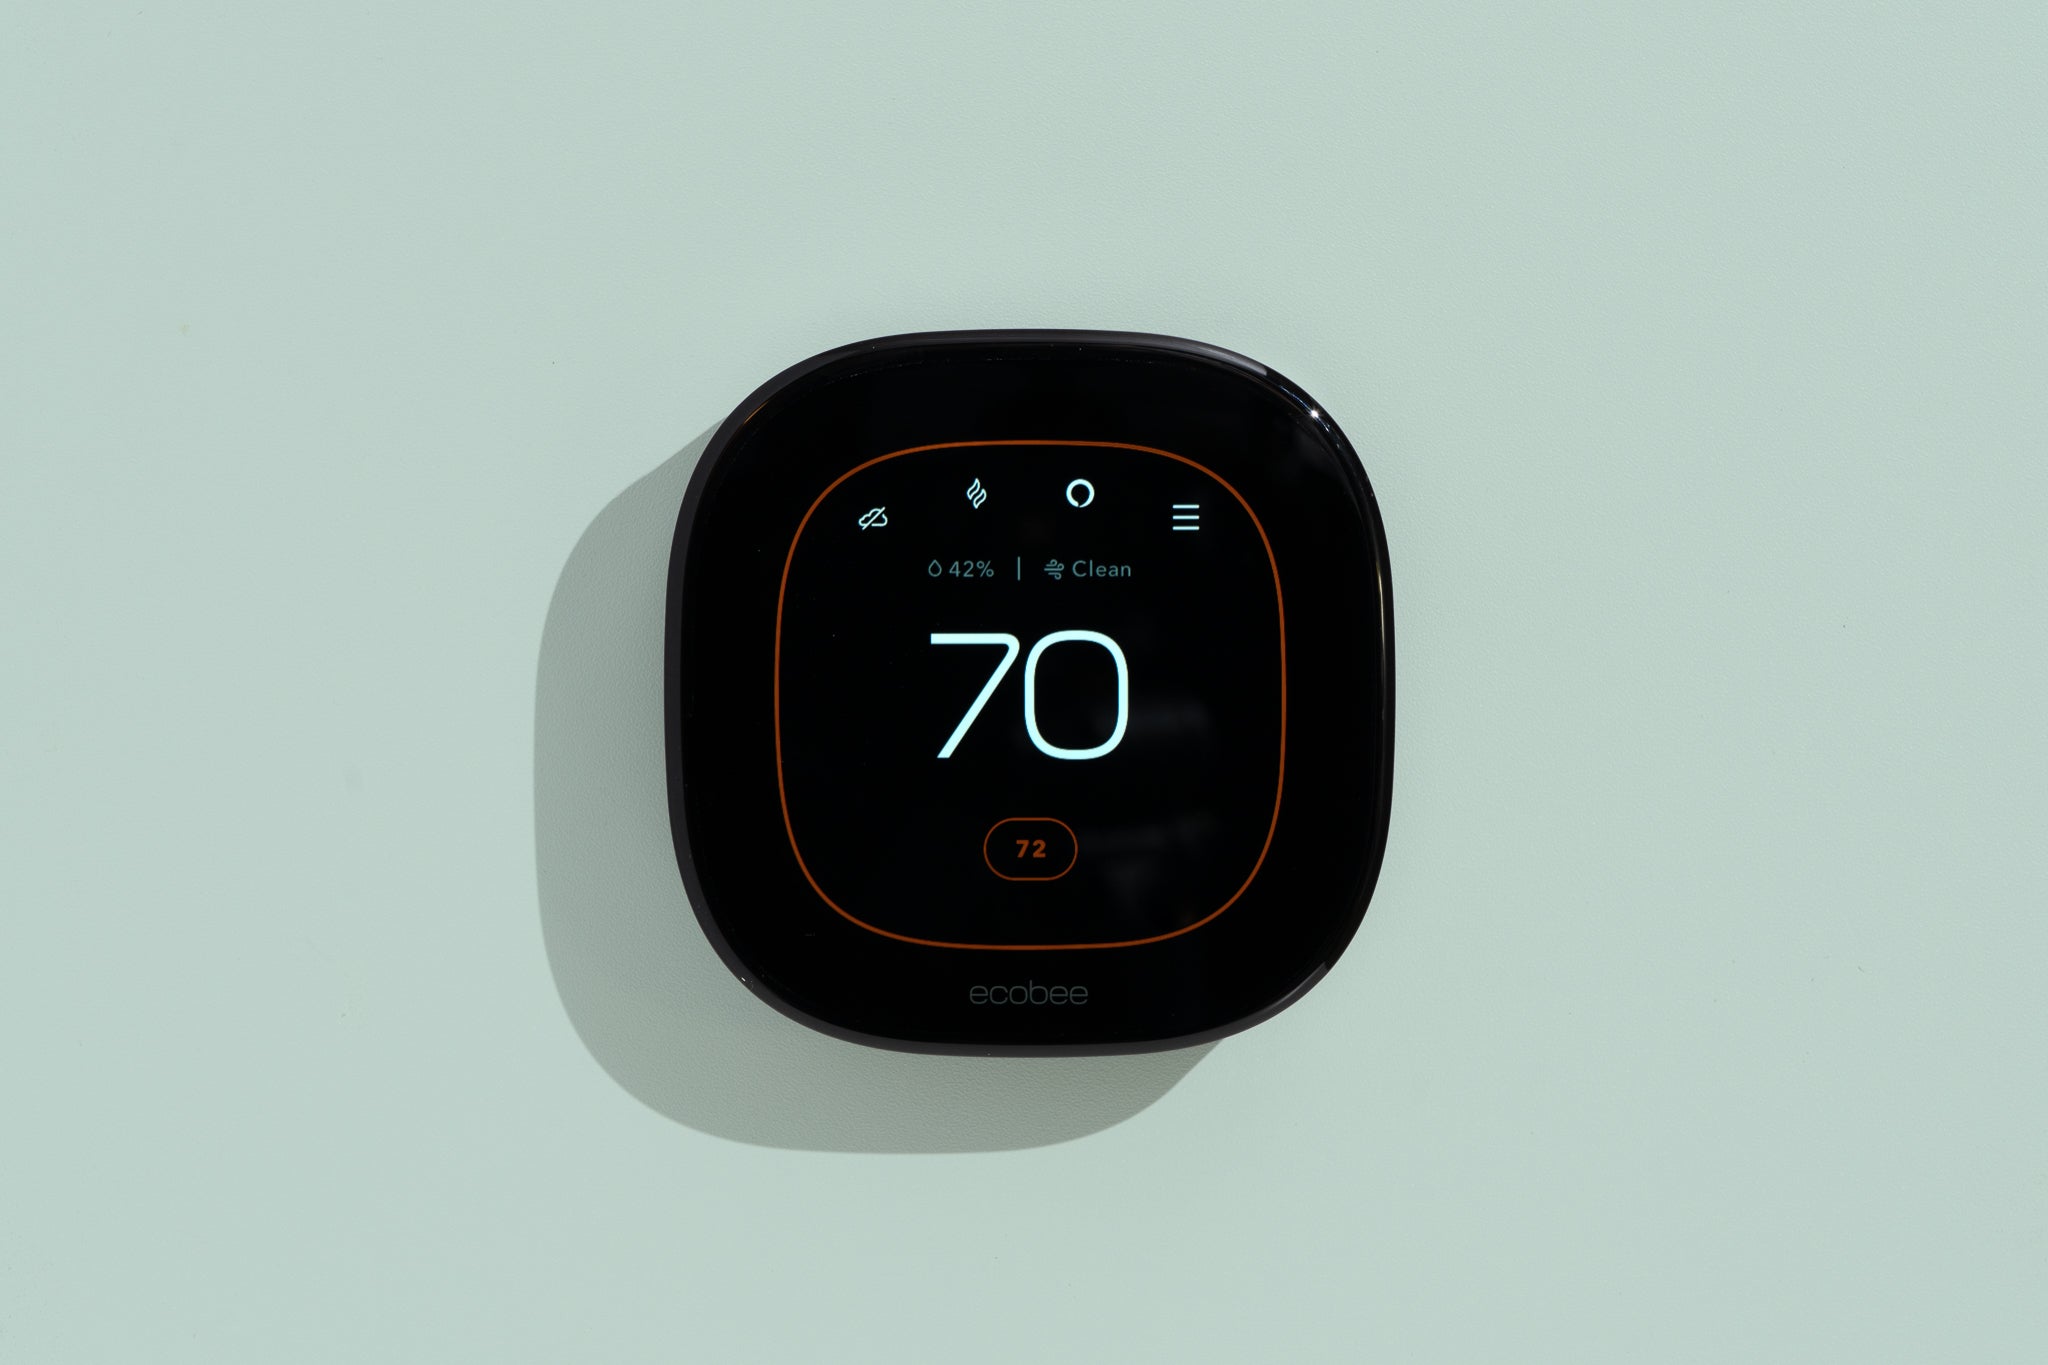
Some home security systems also come with advanced features like remote access through mobile apps, home automation integration, and 24/7 professional monitoring services. These additional features enhance the functionality and convenience of the system, providing you with even greater control and peace of mind.
Understanding the components and features of your home security system is crucial when it comes to resetting it. Different systems may have varying methods and procedures for resetting, and familiarizing yourself with your specific system will make the process smoother and more efficient.
Now that we have a basic understanding of home security systems, let’s move on to exploring the reasons why you may need to reset your system.
Reasons to Reset a Home Security System
There are several reasons why you may need to reset your home security system. It’s important to identify the underlying issue before proceeding with the reset process to ensure that it is necessary. Here are some common reasons why a reset may be required:
- System Malfunction: Over time, electronic devices may experience malfunctions or glitches. If you notice that your home security system is not functioning properly, such as false alarms, frequent error messages, or connectivity issues, resetting the system can often resolve these problems.
- System Error: Occasionally, your home security system may encounter errors that prevent it from operating smoothly. A reset can help clear any temporary errors or software bugs that may be affecting the system’s functionality.
- Change in System Configuration: If you have made changes to your home security system, such as adding or removing devices, modifying settings, or updating firmware, resetting the system may be necessary to ensure that the changes are implemented correctly.
- New Home: If you have recently moved into a new home with an existing security system, you may need to reset it to remove any old user information and establish new credentials for added security.
- Loss of Access: In some cases, you may have forgotten your security system’s password or lost access to your control panel. Resetting the system allows you to regain access and set up new credentials.
- System Upgrade: If you are upgrading your home security system or replacing certain components, resetting the system may be necessary to ensure that the new devices are properly integrated and functioning with the existing system.
It is important to note that before initiating a reset, make sure to consult the user manual or contact the manufacturer for specific instructions related to your system. They may provide additional guidance or precautions tailored to your particular system model.
Now that you understand the various reasons to reset your home security system, let’s explore the different types of home security systems that you may encounter.
Types of Home Security Systems
When it comes to home security systems, there are several types available, each with its own set of features and capabilities. Understanding the different types of systems will help you determine the specific steps required to reset your particular system. Here are the most common types of home security systems:
- Wired Systems: Wired home security systems are connected through physical wires that run throughout your home. These systems typically require professional installation due to the complexity of wiring. Resetting a wired system may involve disconnecting power sources and resetting control panels.
- Wireless Systems: Wireless home security systems use wireless communication technology to connect the various components. This type of system is easier to install and can often be a DIY project. Resetting a wireless system typically involves restarting or restoring the control panel’s factory settings.
- Hybrid Systems: Hybrid home security systems combine wired and wireless components, offering the advantages of both. For example, a hybrid system may have wired control panels and wireless sensors. Resetting a hybrid system may involve a combination of steps related to both wired and wireless components.
- Self-Monitoring Systems: Self-monitoring systems allow homeowners to directly monitor their security system through mobile apps or web interfaces. These systems may include features like live video streaming, notifications on mobile devices, and remote arming/disarming. Resetting a self-monitoring system typically involves logging into the associated account and resetting user credentials.
- Professionally Monitored Systems: Professionally monitored systems are connected to a monitoring service that receives alerts and dispatches authorities in case of a security breach. These systems usually require a subscription and provide an added layer of security. Resetting a professionally monitored system may involve contacting the monitoring service and following their instructions.
It’s important to note that the steps to reset your home security system will vary depending on the type and brand of your specific system. Always consult the user manual or contact the manufacturer for accurate instructions tailored to your system’s model.
Now that we have covered the various types of home security systems, let’s move on to the step-by-step process of resetting your system.
Steps to Reset a Home Security System
Resetting a home security system may seem like a daunting task, but with the right knowledge and guidance, it can be a straightforward process. The specific steps to reset your system will depend on the type and model you have, so always refer to the user manual for detailed instructions. However, here are some general steps that can help guide you through the reset process:
- Step 1: Check the User Manual: The user manual is your go-to resource for understanding how to reset your home security system. Locate the manual and review the section related to system reset procedures.
- Step 2: Disconnect Power: Start by disconnecting the power source for your security system. This may involve unplugging the power adapter from the outlet or turning off the circuit breaker that supplies power to the system.
- Step 3: Remove Batteries (if applicable): If your system uses batteries as a backup power source, remove them as well to completely cut off power.
- Step 4: Wait for a Certain Time Period: Give your system some time to fully power down and discharge any residual energy. The duration may vary, so consult your user manual for the recommended waiting time.
- Step 5: Reconnect Power: After the waiting period, reconnect the power source to your system. Plug the power adapter back in or turn on the circuit breaker. If your system uses batteries, skip this step for now. The power restoration should initiate the reset process.
- Step 6: Restore Batteries (if applicable): If your system relies on batteries, reinsert them after restoring power. Ensure the batteries are properly aligned and securely placed.
- Step 7: Test the System: Once the power is restored, follow the instructions in your user manual to test the system. This may involve arming and disarming the system, checking sensor functionality, and ensuring communication with the control panel.
It is crucial to note that these steps are general guidelines, and the specific instructions may differ for your home security system. Always consult the user manual for accurate and tailored instructions.
By following these steps, you should be able to successfully reset your home security system and resolve any issues you were experiencing. If problems persist after the reset, consider contacting customer support or a professional technician for further assistance.
Now that you have a basic understanding of the reset process, you can confidently tackle the reset procedure for your specific home security system. Remember to always refer to the user manual and take the necessary precautions to ensure a safe and successful reset.
Check the User Manual
When it comes to resetting your home security system, the first step is to consult the user manual. The user manual is a comprehensive guide provided by the manufacturer that contains valuable information about your specific system, including instructions on how to reset it.
The user manual is typically included in the packaging when you purchase a home security system, but if you can’t find it, you can often find a digital copy on the manufacturer’s website. It is important to have the correct manual for your specific make and model, as different systems may have different reset procedures.
Once you have located the user manual, find the section that covers system reset procedures. In this section, you will find detailed instructions on how to initiate a reset and any specific steps or precautions you need to follow.
Some user manuals may include troubleshooting guides that can help you identify the issue you’re experiencing and determine if a reset is necessary. This can save you time and effort by ensuring that a reset is indeed the solution to your problem.
Additionally, the user manual may provide information on how to back up or restore your system’s settings or configurations. This can be helpful if you want to preserve certain settings before performing a reset, or if you need to restore your previous configurations once the reset is complete.
It is important to read the user manual thoroughly and familiarize yourself with the specific instructions provided. Pay close attention to any warnings or precautions mentioned to ensure your safety and the proper functioning of your system.
If you cannot locate the user manual or have trouble understanding the instructions, you can contact the manufacturer’s customer support for assistance. They will be able to provide you with the necessary guidance and clarification to help you successfully reset your home security system.
Remember, the user manual is your best resource when it comes to understanding how to reset your home security system. By following the instructions provided, you can ensure a smooth and successful reset process.
Disconnect Power
Once you have consulted the user manual and familiarized yourself with the reset procedure, the next step is to disconnect the power source to your home security system. This step is essential to ensure a safe and effective reset process.
The power source for your system may vary depending on the type of system you have. It could be a power adapter that plugs into a wall outlet or a circuit breaker that supplies power to the system. Refer to your user manual for specific instructions on how to disconnect the power source for your particular system.
If your home security system has a power adapter, unplug it from the wall outlet. This will cut off the power supply and prevent any electrical currents from running through the system during the reset process. Ensure that the power adapter is completely removed from the outlet to ensure a complete disconnection.
If your system is connected to a circuit breaker, locate the circuit breaker panel in your home. Identify the circuit breaker that controls the power supply to your home security system. Switch off the corresponding circuit breaker to cut off the power. It is important to exercise caution when working with electrical components and follow proper safety procedures.
By disconnecting the power to your home security system, you are effectively shutting it down and preparing it for the reset process. This step ensures that the system is not actively running during the reset, allowing any residual energy to dissipate and creating a clean start for the reset.
It is important to note that while your home security system is disconnected from power, it will not be operational. This means that during the reset process, your home will not be monitored for security breaches. If this is a concern, you may want to consider taking extra precautions, such as activating backup security measures or notifying your monitoring service, if applicable.
Once you have successfully disconnected the power to your home security system, you can proceed to the next step in the reset process. Ensure that the power remains disconnected until instructed otherwise in the following steps.
Continue following the remaining steps in the reset process as outlined in your user manual, and remember to exercise caution and follow proper safety guidelines throughout the process.
Remove Batteries (if applicable)
If your home security system includes a battery backup feature, the next step in the reset process is to remove the batteries. This step ensures a complete power outage within the system and allows for a thorough reset.
Not all home security systems have battery backup capabilities, so it is important to refer to your user manual to determine if this step is applicable to your specific system.
To remove the batteries, follow these general steps:
- Refer to the user manual for the specific location and type of batteries used in your system.
- Identify the battery compartment or housing within the system. It is usually located near the control panel or in a separate device, such as a keypad or sensor.
- Open the battery compartment by sliding, lifting, or removing the cover, depending on the design of your system.
- Locate the batteries and carefully remove them one by one. Pay attention to the correct polarity and ensure that you have a firm grip on the batteries to avoid dropping or damaging them.
- Set the batteries aside in a safe place.
By removing the batteries, you ensure that there is no power supply to the system, even if the main power source is still connected. This step helps in achieving a complete power disruption and allows for a more effective reset of the system.
It is important to handle the batteries with care and follow any instructions provided in the user manual regarding the proper removal and handling of batteries. Some systems may require the use of specific battery types or brands, so it is crucial to adhere to any guidelines outlined in the manual.
Once you have successfully removed the batteries, proceed to the next step in the reset process as provided in your user manual. Keep the batteries in a safe place as you may need to reinsert them later in the reset process, if applicable.
Remember to consult the user manual for your specific home security system to ensure that you are following the correct steps for your system’s battery removal and reset process.
Wait for a Certain Time Period
After disconnecting the power source and removing the batteries (if applicable), the next step in resetting your home security system is to wait for a certain period of time. This waiting period allows for the system to fully power down and discharge any residual energy before proceeding with the reset process.
The duration of the waiting period may vary depending on the specific requirements of your home security system. It is essential to consult the user manual for your system to determine the recommended waiting time.
During this waiting period, it is important to avoid reconnecting the power or inserting the batteries back into the system. Keeping the system completely powered down will help ensure a clean start for the reset process.
The waiting period provides ample time for any capacitors or circuits within the system to discharge and reset themselves. This is particularly crucial for systems that have built-in memory or require a longer time to clear any residual energy.
While you are waiting, you can use this time to review the upcoming steps in the reset process and ensure that you have a clear understanding of what needs to be done.
It is worth mentioning that the waiting period may vary depending on the specific circumstances and recommendations provided by the manufacturer. Take note of any additional instructions or precautions mentioned in the user manual during this waiting time.
Once the waiting period has passed, you can proceed to the next step of the reset process. Consult your user manual for the specific instructions on what to do after the waiting period.
By allowing the system to power down and discharge any residual energy during the waiting period, you are ensuring a more effective and successful reset of your home security system. Patience during this time is crucial to achieve the desired results.
Reconnect Power
After the designated waiting period has elapsed, the next step in resetting your home security system is to reconnect the power source. This step involves restoring the power supply to your system, allowing it to restart and begin the reset process.
The method for reconnecting power will depend on the type of home security system you have. Here are some general guidelines for reconnecting power:
- Refer to your user manual to determine the specific power source for your system. It may be a power adapter that needs to be plugged into an outlet or a circuit breaker that needs to be switched back on.
- If your system uses a power adapter, make sure to plug it securely into the appropriate outlet.
- If your system is connected to a circuit breaker, locate the corresponding circuit breaker switch and flip it back to the “On” position. Take caution not to accidentally switch off any other circuits in the process.
- Ensure that the power source is providing a stable and uninterrupted flow of electricity to the system.
Reconnecting the power source re-energizes your home security system, allowing it to boot up and initiate the reset process. The system will start by going through a power-on self-test (POST) and then proceed to the reset sequence.
Depending on your system, there may be specific steps or indicators provided in the user manual to confirm that the power has been successfully restored. This could include LED lights or display messages that indicate the system is actively running.
Keep in mind that some systems may require a specific order or timing for reconnecting the power source. Carefully follow the instructions provided in your user manual to ensure a smooth and successful power restoration.
Once the power is successfully reconnected, proceed to the next step in the reset process as outlined in your user manual. This typically involves additional steps to restore the system to its default settings or perform a specific reset procedure.
By reconnecting the power source, you are providing the necessary energy for your home security system to initiate the reset process. This step marks a significant milestone in restoring your system to its optimal functioning state.
Restore Batteries (if applicable)
If your home security system utilizes battery backup power, the next step in the reset process is to restore the batteries. This step ensures that the system has a reliable power source and can operate effectively during and after the reset.
Before restoring the batteries, refer to your user manual for specific instructions on the type and placement of batteries used in your system. Make sure to have the correct batteries available and follow any guidelines provided in the manual.
To restore the batteries, follow these general steps:
- Locate the battery compartment or housing within your home security system. It is typically located near the control panel, keypad, or other handheld devices.
- Open the battery compartment by sliding, lifting, or removing the cover, depending on the design of your system.
- Check the polarity markings within the compartment and ensure proper alignment while inserting the batteries. Make sure to follow the correct polarity (+/-) indicated on the batteries and in the compartment.
- Insert each battery one at a time, paying attention to firm insertion and secure placement.
- Close the battery compartment by sliding, snapping, or reattaching the cover, ensuring a secure fit.
By restoring the batteries, you are providing a backup power source to your home security system. This backup power can help maintain the system’s functionality during power outages or if the main power source is temporarily disrupted.
It is important to note that not all home security systems have battery backup capabilities. If your system does not come with battery backup, you can skip this step and move on to the next step in the reset process.
After restoring the batteries, ensure that the batteries are properly aligned and securely placed. Consult your user manual for any additional steps or instructions related to the restoration of batteries specific to your system.
Now that the batteries have been restored (if applicable), you can proceed to the next step in the reset process as outlined in your user manual. This will typically involve additional steps to finalize the reset and complete the system restoration.
By restoring the batteries (if applicable), you are ensuring that your home security system has a reliable and backup power source, allowing for its optimal functionality and performance.
Test the System
Once you have completed the necessary steps to reset your home security system, it is crucial to thoroughly test the system to ensure that it is functioning correctly. Testing is a critical part of the reset process as it allows you to validate the successful restoration of your system’s functionality and ensure that it is ready to provide the desired level of security.
Here are some key steps to follow when testing your home security system:
- Refer to your user manual for instructions on how to test your specific system. It may outline specific procedures and recommendations for a comprehensive system test.
- Arm the system by setting it to the desired security mode (e.g., home, away, stay). Activate the system following the prescribed method, such as entering a code or using a key fob.
- Move throughout your home, ensuring that each sensor and component is functioning as intended. Test door and window sensors by opening and closing them, and test motion detectors by walking in front of them.
- Check that your control panel is displaying the correct information and that you can navigate through the menu options without encountering any errors.
- If your system includes surveillance cameras, verify that the live video feeds and recordings are working properly. Test the remote access features, if applicable, to ensure you can view the cameras from a mobile device or computer.
- Monitor for any alerts, including alarm sounds, notification messages, or indications on the control panel that signify a breach or an emergency.
- Perform a periodic communication test if your system has this capability. This test verifies that your system can successfully communicate with the monitoring service, if applicable.
It is important to note that testing your system may require you to simulate an alarm or contact your monitoring service. Before conducting any testing, inform your monitoring service to prevent any unnecessary dispatches of emergency personnel.
If, during the testing process, you notice any abnormalities or problems with your system, consult your user manual for troubleshooting steps or contact customer support for assistance. They can provide guidance on resolving any issues and ensuring the optimal functionality of your home security system.
By thoroughly testing your home security system after the reset, you can have confidence in its ability to protect your home and loved ones. Regular testing, even outside the reset process, is recommended to ensure the ongoing effectiveness of your security measures.
Once you have successfully completed the system testing, you can rest assured that your home security system is reset and ready to provide the desired level of protection for your home.
Conclusion
Resetting a home security system can be a necessary step to resolve issues, make changes, or ensure optimal functionality. By following the appropriate steps and guidelines outlined in your user manual, you can successfully reset your home security system and restore it to its desired state.
Throughout this guide, we have discussed the importance of understanding your home security system, the reasons why a reset may be needed, the different types of systems you may encounter, and the step-by-step process for resetting your system.
Remember to always consult your user manual for accurate and specific instructions tailored to your particular system. Each system may have unique requirements and procedures, and it is crucial to follow the manufacturer’s guidelines.
By taking the time to check the user manual, disconnect the power source, remove batteries (if applicable), wait for a certain time period, reconnect power, restore batteries (if applicable), and test the system, you can ensure a successful reset and maintain the optimal functionality of your home security system.
If you encounter any difficulties during the reset process or have questions about your specific system, don’t hesitate to reach out to customer support or consult a professional technician for assistance. They can provide the necessary guidance to help you navigate the reset process smoothly.
Regular maintenance and testing of your home security system are essential for its long-term effectiveness. Remember to perform routine checks and follow the manufacturer’s recommendations for system maintenance to keep your home and loved ones safe and secure.
With the knowledge and understanding gained from this guide, you can confidently tackle the reset process for your home security system and ensure the continued protection of your home.