Introduction
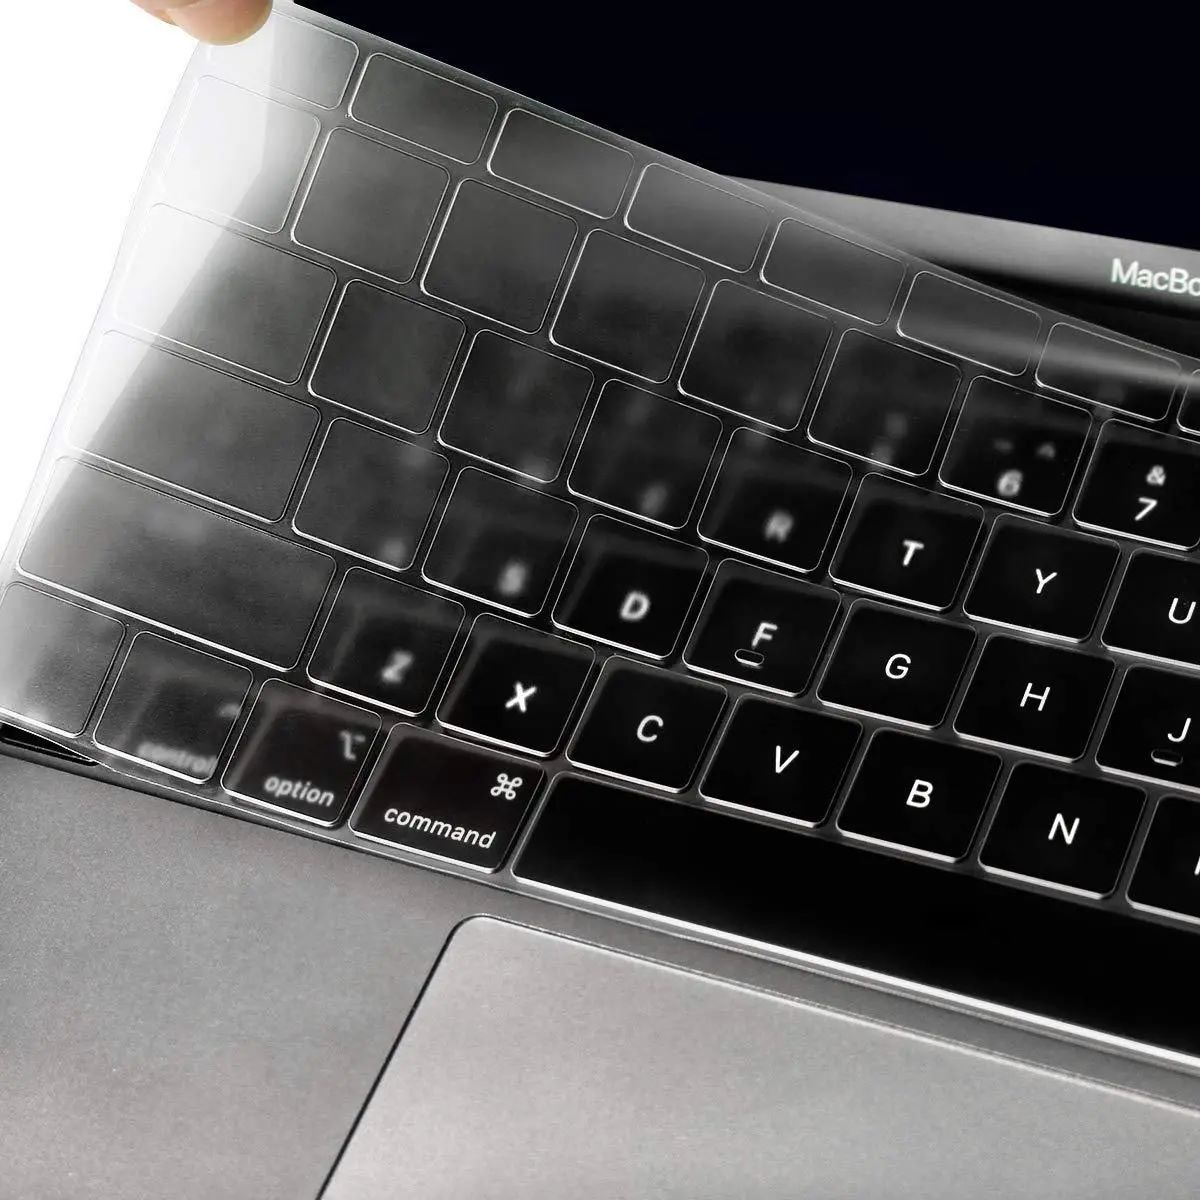
Are you experiencing any issues with your MacBook Pro’s keyboard? Perhaps a key is not responding or is sticking, making typing a frustrating experience. In such cases, you may need to remove the keys to clean or replace them. While it may seem intimidating at first, removing MacBook Pro keys is a relatively simple process that you can do yourself.
In this guide, we will walk you through the step-by-step process of removing MacBook Pro keys. You’ll learn how to safely disassemble your keyboard, clean the keys, and put everything back together without causing any damage. With the right tools and a little patience, you can restore your MacBook Pro keyboard to its optimal functioning state.
Before we begin, it’s important to note that this guide is specifically tailored for MacBook Pro keyboards. The process may vary slightly for different MacBook models, so make sure you consult the appropriate resources or seek professional assistance if you have a different MacBook model.
Now let’s gather the required tools and get started with removing your MacBook Pro keys!
Required Tools
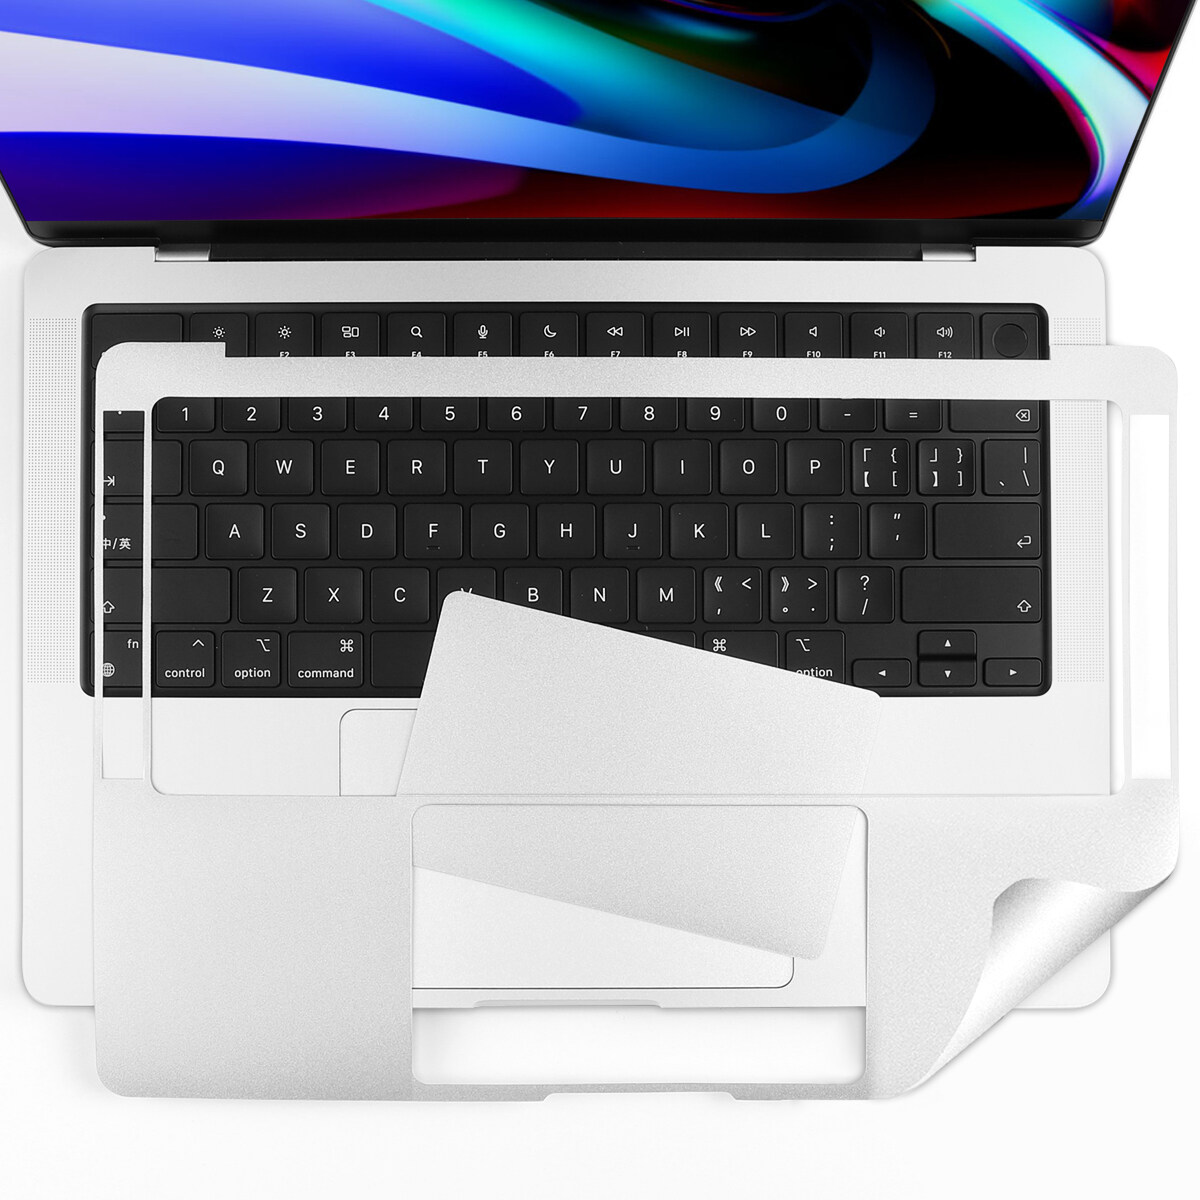
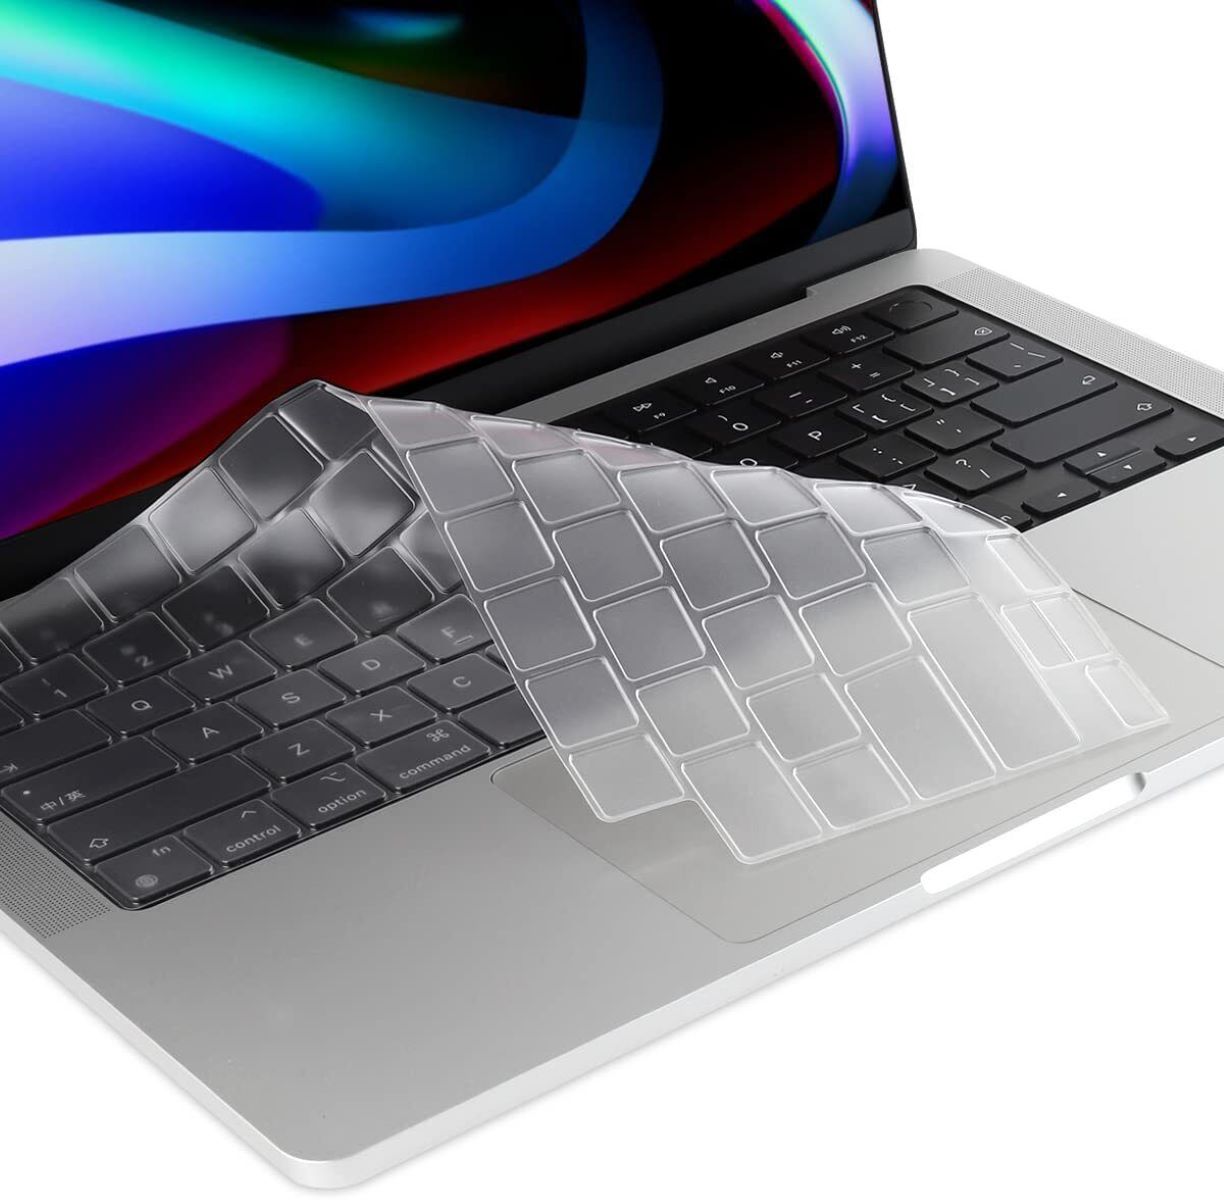
Before you can start removing the keys from your MacBook Pro keyboard, you’ll need to gather a few essential tools. Here’s a list of what you’ll need:
- Tweezers or a small flat-head screwdriver: These tools will help you pry off the key caps and remove the scissor clips.
- Cotton swabs or a soft cloth: You’ll use these to clean the key caps and surrounding areas.
- Isopropyl alcohol: This will help remove any dirt, debris, or sticky substances from the keys.
- Compressed air: This is useful for blowing away any dust or particles that may be trapped under the keys.
- A small container or tray: Use this to hold the key caps and scissor clips as you remove them.
- A flat, clean surface: It’s important to work on a stable, clutter-free surface to avoid losing or damaging any of the small components.
It’s worth noting that when working with electronic devices like your MacBook Pro, it’s always a good idea to take precautionary measures. Make sure to power off your laptop and disconnect it from any power sources before starting the process. This will help prevent any accidental damage or electrostatic discharge.
Now that you have all the necessary tools ready, let’s move on to the step-by-step process of removing your MacBook Pro keys.
Step 1: Turn off and Disconnect your Keyboard
Before you begin removing the keys from your MacBook Pro keyboard, it’s crucial to turn off your laptop and disconnect it from any power sources. By doing this, you’ll minimize the risk of accidental damage and ensure your safety during the process.
To start, shut down your MacBook Pro by clicking on the Apple menu in the top-left corner of your screen and selecting “Shut Down.” Once your laptop is completely powered off, unplug the power adapter and remove any other connected accessories.
Next, close the lid of your MacBook Pro and turn it over. Locate the battery release latch on the bottom case and slide it to release the battery. Carefully remove the battery from your laptop to ensure there is no electrical current running through the keyboard.
If you have a MacBook Pro with a non-removable battery, make sure it is fully charged and unplugged from the power source. Additionally, make sure you’re working on a clean and stable surface to avoid any damage or loss of small components.
With your MacBook Pro turned off and disconnected from any power sources, you’re now ready to move on to the next step: removing the key caps.
Step 2: Remove the Key Cap
Now that your MacBook Pro is turned off and disconnected, it’s time to remove the key cap. The key cap is the visible part of the key that you press down when typing. Here’s how you can do it:
- Position yourself in a well-lit area and locate the key you want to remove.
- Using a pair of tweezers or a small flat-head screwdriver, gently insert the tool under the edge of the key cap.
- Apply gentle upward pressure to lift the key cap. Be careful not to use too much force to avoid damaging the key or the keyboard.
- The key cap should pop off easily. If there’s any resistance, double-check that you’re inserting the tool correctly and not forcing it.
- Set the removed key cap aside in a safe place or in a container to prevent it from getting lost.
Repeat these steps for each key you wish to remove. Take your time and be patient to avoid any accidental damage to the delicate key mechanisms.
It’s important to note that some MacBook Pro models may have a different mechanism for removing the key caps. If you’re unsure, please consult the documentation specific to your laptop model or seek professional assistance.
With the key cap removed, you can now move on to the next step: removing the scissor clip.
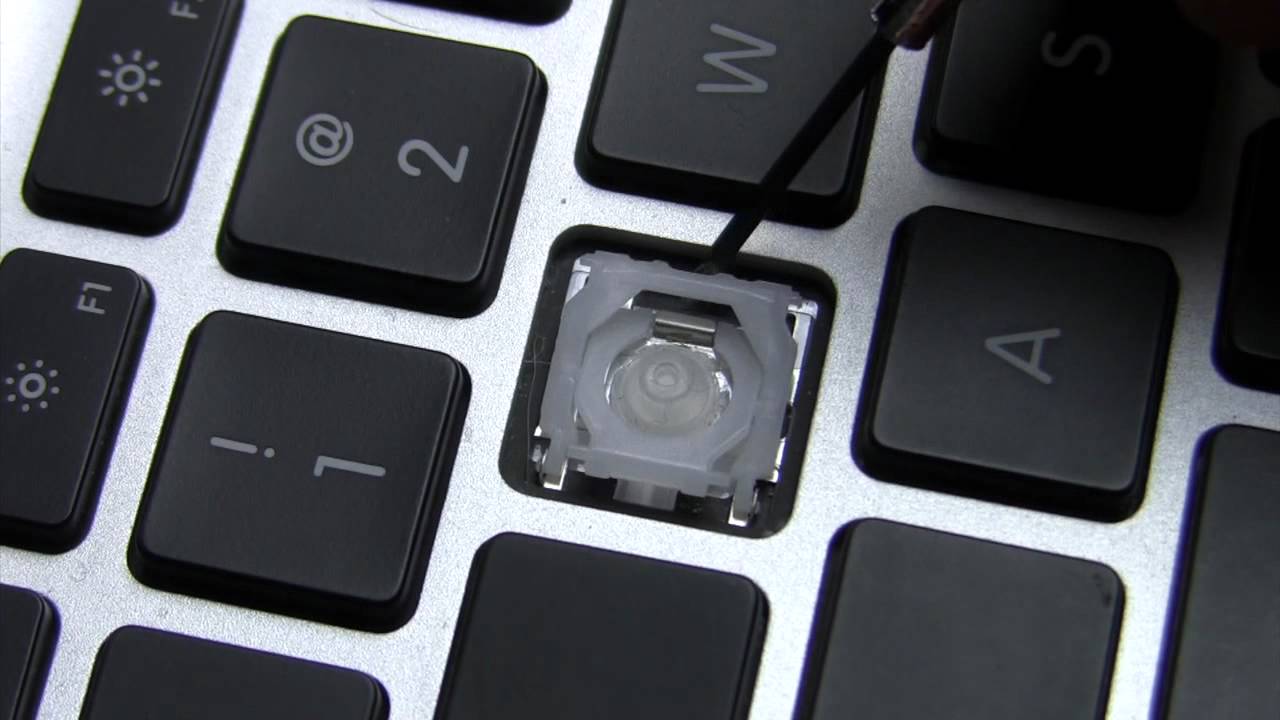
Step 3: Remove the Scissor Clip
After successfully removing the key cap in the previous step, you’ll now need to remove the scissor clip. The scissor clip is the small plastic structure that holds the key cap in place and helps provide stability when typing. Follow these steps to remove it:
- Take a closer look at the exposed area beneath the key cap. You should see the scissor clip, which resembles a small “X” or “H” shape.
- Insert your tweezers or small flat-head screwdriver under the scissor clip, close to one of the corners.
- Gently lift the scissor clip upwards, applying equal pressure to each corner. The clip should come off easily, revealing the underlying mechanism.
- Set the scissor clip aside in a designated container to avoid misplacing it.
Continue this process for each key you’re working on. Take care not to bend or damage the scissor clips, as they are essential for the proper functioning of the keyboard.
It’s worth noting that some scissor clips may have a different design or configuration, depending on the MacBook Pro model. If you encounter any difficulties or are uncertain about the removal process, refer to the manufacturer’s documentation or seek professional assistance.
Now that the scissor clip has been successfully removed, you can proceed to the next step: cleaning the key and its surrounding area.
Step 4: Clean the Key and Surrounding Area
Now that the key cap and scissor clip have been removed, it’s time to clean the key and its surrounding area. Over time, dust, debris, and even spills can accumulate, affecting the performance of your MacBook Pro keyboard. Follow these steps to ensure a thorough cleaning:
- Dampen a cotton swab or a soft cloth with isopropyl alcohol.
- Gently rub the key cap and the exposed area beneath it, removing any dirt or buildup. Be cautious not to use excessive force or allow the alcohol to seep beneath the key mechanism.
- If there are any stubborn stains or stickiness, use a gentle, rubbing motion to clean the affected areas.
- For the surrounding areas, use the cotton swab or cloth to wipe away any dust or debris. Focus particularly on the area where the key cap sits, as this is where dirt tends to accumulate.
- Allow the key and surrounding area to dry thoroughly. This typically takes a minute or two.
It’s important to note that alcohol is an effective cleaning agent for removing dirt and disinfecting the keyboard, but it’s important to use it sparingly and avoid excessive moisture. Too much liquid can damage the internal components of the keyboard.
Once the key and surrounding area are dry, you can move on to the final step: reassembling the key components.
Step 5: Reassemble the Key Components
With the key cap and surrounding area cleaned and dried, it’s time to reassemble the key components back onto your MacBook Pro keyboard. Follow these steps to ensure a proper reassembly:
- Take the scissor clip and align it with the designated slots on the keyboard mechanism. Make sure it is positioned correctly and fits securely.
- Gently press down on the scissor clip, ensuring that each corner is securely in place. The clip should feel stable and not move around.
- Take the key cap and position it over the scissor clip, aligning it with the underlying mechanism.
- Press down firmly on the key cap until it clicks or snaps into place. Ensure that all edges are flush with the surrounding keys.
- Repeat this process for each key you have removed, taking care to align the scissor clips and key caps correctly.
Once you have reassembled all the key components, take a moment to test each key’s functionality. Press down on each key to ensure it registers your input correctly and does not stick or feel loose. If you encounter any issues, double-check the alignment of the scissor clip and key cap, and make any necessary adjustments.
Now that all the keys are reassembled and functioning properly, you can turn on your MacBook Pro and put it back to regular use. Enjoy your refreshed and clean keyboard!
Remember, if you encounter any difficulties during the reassembly process or are unsure about any steps, it’s always best to consult the manufacturer’s documentation or seek professional assistance.
Conclusion
Removing and cleaning the keys on your MacBook Pro keyboard can help resolve issues such as unresponsive or sticky keys, improving your overall typing experience. By following the step-by-step guide provided in this article, you can safely remove the key caps, scissor clips, clean the keys and surrounding areas, and reassemble everything correctly.
Remember to gather all the necessary tools beforehand and exercise caution throughout the process to avoid any damage to your MacBook Pro. Take your time, be gentle, and ensure that each component is properly aligned and securely in place.
Regularly cleaning your MacBook Pro keyboard is essential for maintaining its performance and longevity. It helps to prevent the buildup of dirt, dust, and debris, which can lead to keyboard malfunctions or reduced responsiveness over time.
If you encounter any difficulties during the process or are unsure about any steps, it’s always recommended to consult the manufacturer’s documentation or seek professional assistance. They can provide guidance specific to your MacBook Pro model and ensure a successful key removal and cleaning process.
With a clean and well-functioning keyboard, you can continue to use your MacBook Pro with ease and efficiency. So, don’t hesitate to give your keyboard some care and attention when needed!