Introduction
Welcome to this guide on how to remove the Cooler Master Hyper 212 Evo CPU cooler fan. Over time, CPU coolers can accumulate dust and debris, causing the fan to become less efficient or noisy. In such cases, it becomes necessary to remove the fan and clean it properly. This guide will take you through the step-by-step process of safely removing the Cooler Master Hyper 212 Evo CPU cooler fan.
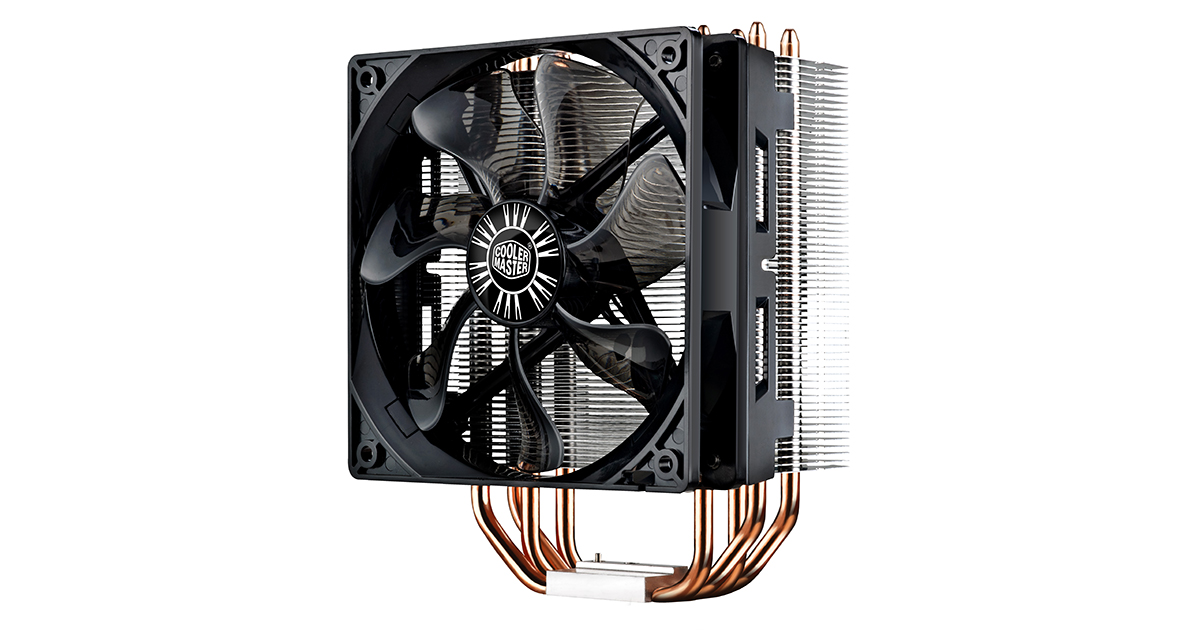
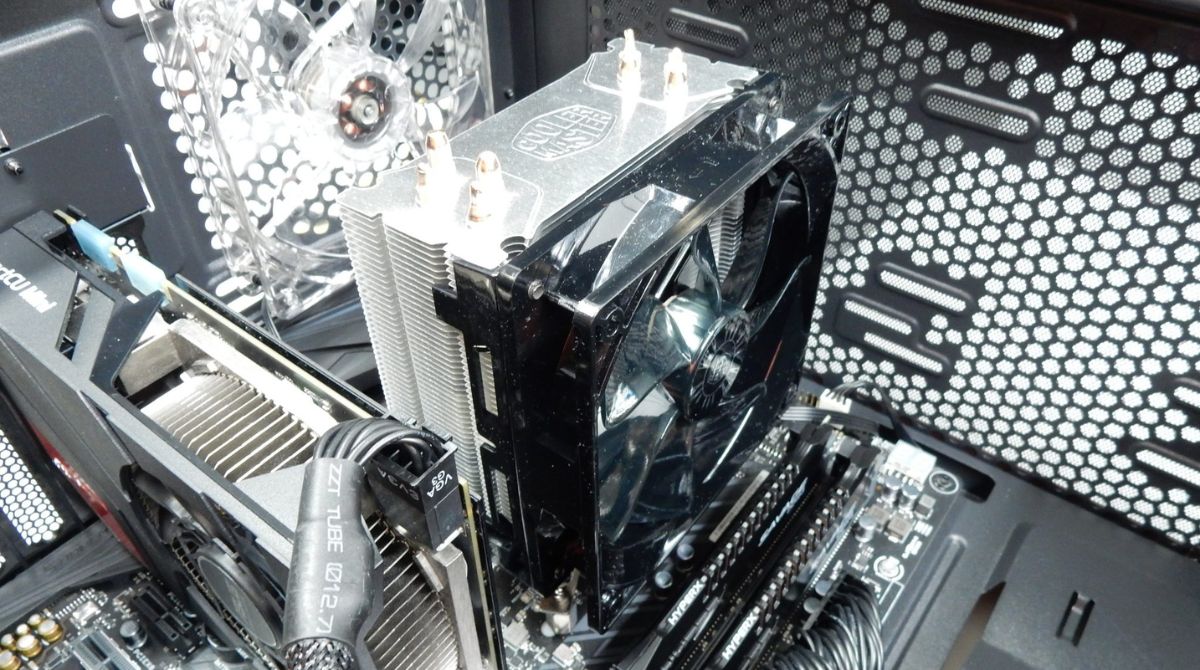
The Cooler Master Hyper 212 Evo is a popular choice among computer enthusiasts and gamers for its excellent cooling performance. However, just like any other cooling solution, it requires regular maintenance to ensure optimal performance. By following this guide, you will be able to remove the fan, clean it, and either reattach it or replace it with a new one if necessary.
Before we dive into the steps, make sure you have the necessary tools at hand. You’ll need a Phillips screwdriver, an antistatic wrist strap (optional but recommended), and a can of compressed air or a small brush for cleaning. It’s also a good idea to work on a clean and grounded surface to prevent any static discharge.
Remember to power down your computer and disconnect the power cable before starting any work inside the case. This will ensure your safety as well as prevent any potential damage to the hardware.
Now, let’s move on to the step-by-step process of removing the Cooler Master Hyper 212 Evo CPU cooler fan.
Tools Needed
Before you begin removing the Cooler Master Hyper 212 Evo CPU cooler fan, gather the following tools:
- Phillips screwdriver: This tool will be essential for unscrewing any screws holding the fan in place.
- Antistatic wrist strap (optional but recommended): This strap will help protect your computer’s components from any potential static discharge that could occur while working inside the case.
- Compressed air or small brush: You will need either a can of compressed air or a small brush to clean both the fan and the heat sink.
Having these tools ready will ensure that you have everything you need for a smooth and efficient removal process. The Phillips screwdriver will be especially handy for removing any screws that secure the fan to the heat sink.
The antistatic wrist strap is optional but highly recommended, as it can prevent any static electricity from damaging sensitive components while you’re working inside the computer case. If you don’t have a wrist strap, make sure to touch a grounded object, such as a metal part of the case, before touching any components to discharge any potential static buildup.
Lastly, the compressed air or small brush will be used to clean the fan and the heat sink. Over time, dust and debris can build up on these components, negatively affecting the fan’s performance. Using compressed air or a brush will help remove this buildup and ensure that the fan can function optimally.
With these tools at hand, you can proceed confidently with the removal of the Cooler Master Hyper 212 Evo CPU cooler fan.
Step 1: Power down your computer
The first step in removing the Cooler Master Hyper 212 Evo CPU cooler fan is to power down your computer completely. This is an essential precautionary measure to protect both yourself and the hardware.
To power down your computer, follow these steps:
- Save any open files or documents and close all running programs.
- Click on the Start menu, located at the bottom left corner of your screen.
- Click on the power icon, which is usually represented by a circle with a vertical line.
- Select “Shut Down” from the available options.
Wait for your computer to shut down completely. The power LED on the front of the case should turn off, indicating that it is fully powered down.
It is crucial to power down your computer before working on the internal components to prevent any electrical shock or accidental damage. Do not attempt to remove the cooler fan while the computer is still powered on.
Once your computer is completely powered down, you’re ready to proceed to the next step.
Step 2: Remove the side panel of your computer case
Now that your computer is powered down, it’s time to remove the side panel of the computer case. Removing the side panel will provide you with access to the internal components, including the CPU cooler fan.
To remove the side panel, follow the steps below:
- Place your computer on a stable surface, such as a desk or table.
- Locate the screws or fasteners that secure the side panel to the case. These are typically located on the rear of the case.
- Using a Phillips screwdriver, unscrew the screws or loosen the fasteners that hold the side panel in place. The number and location of these screws or fasteners will vary depending on the case model.
- Once the screws or fasteners are removed, gently slide or pull the side panel towards you. The panel should disengage from the case.
Be careful not to force the side panel or apply excessive pressure while removing it, as this may cause damage to the case or other components. If the panel doesn’t come off easily, double-check that you have removed all necessary screws or fasteners.
After removing the side panel, set it aside in a safe place. You may want to keep the screws or fasteners nearby to ensure they are not misplaced.
With the side panel out of the way, you now have clear access to the internal components of your computer, including the CPU cooler fan.
Proceed to the next step to continue removing the Cooler Master Hyper 212 Evo CPU cooler fan.
Step 3: Disconnect the power cable from the CPU cooler fan
Now that you have successfully removed the side panel of your computer case, it’s time to disconnect the power cable from the CPU cooler fan. This step is crucial to ensure the safety of your hardware and to allow for easy removal of the fan.
Follow these steps to disconnect the power cable:
- Locate the power cable that connects the CPU cooler fan to the motherboard. It is a small, usually black or white, cable coming from the fan motor.
- Gently hold the connector at the end of the power cable and carefully pull it away from the motherboard. If the connector is tight, you may need to wiggle it slightly to loosen it before pulling.
- Once the power cable is disconnected, take care not to tug on it forcefully to avoid damaging the connector or the motherboard.
Some CPU cooler fans may also have an additional connector for controlling fan speed. If your fan has this feature, make sure to disconnect both the power cable and the control cable from the motherboard.
By disconnecting the power cable, you are ensuring that the fan won’t accidentally spin or become energized while you are working on it. This step eliminates the risk of injury and protects your hardware from potential damage.
With the power cable safely disconnected, you are now ready to move on to the next step of removing the Cooler Master Hyper 212 Evo CPU cooler fan.
Step 4: Remove the CPU cooler fan from the heat sink
With the power cable disconnected, it’s time to remove the CPU cooler fan from the heat sink. This step will allow you to clean the fan and the heat sink separately.
Follow these steps to remove the CPU cooler fan:
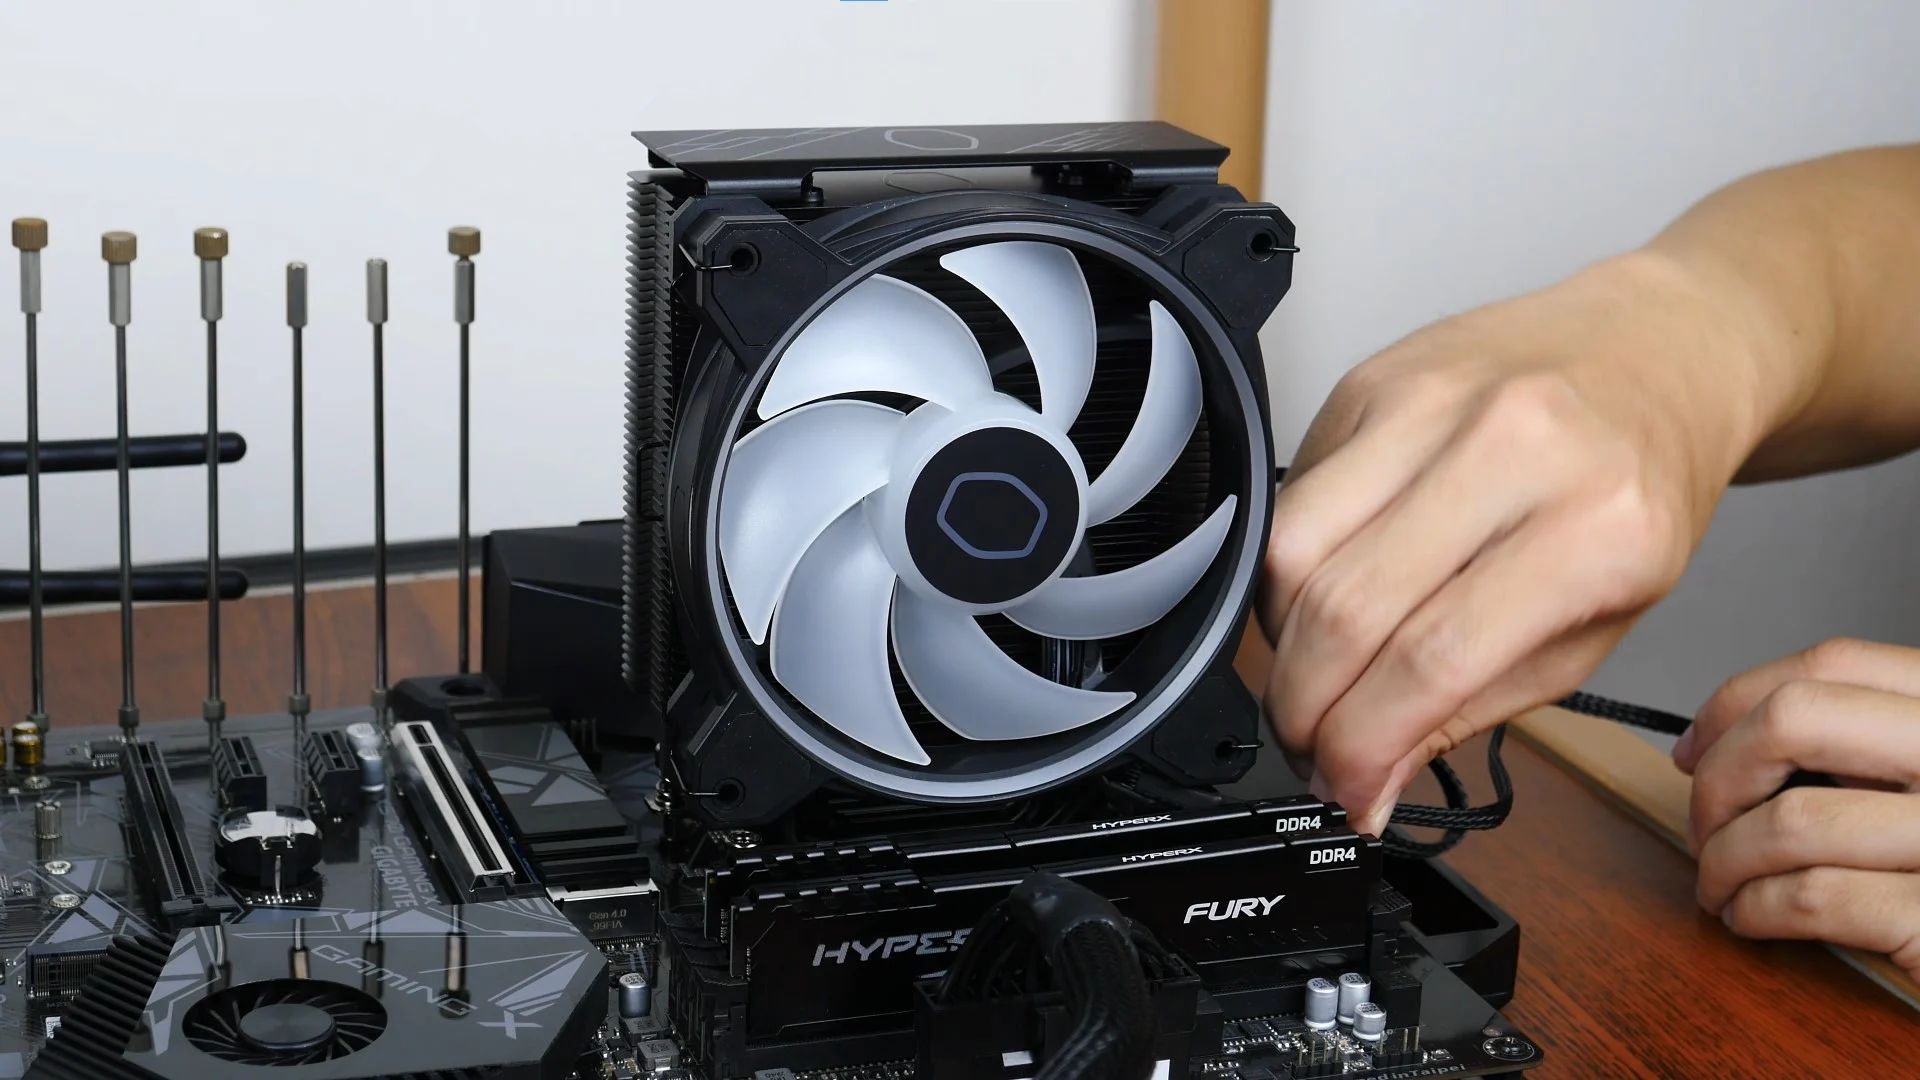
- Inspect the CPU cooler fan and locate the screws or clips that attach it to the heat sink. There are typically four screws or clips holding the fan in place, one at each corner.
- Using a Phillips screwdriver, carefully unscrew each screw in a diagonal pattern. Start with one corner and move diagonally to the opposite corner to ensure even pressure is applied.
- If your CPU cooler fan is secured with clips, gently press down on each clip and release it from the hooks on the heat sink.
- Once all screws or clips are released, carefully lift the CPU cooler fan away from the heat sink. Be cautious of any thermal paste that may be present between the fan and the heat sink.
While removing the fan, ensure that you lift it evenly and avoid putting excessive pressure on any one side. This will prevent any damage to the fan or the heat sink.
If you encounter any resistance while trying to detach the fan, double-check that all screws or clips have been removed. There may be additional securing mechanisms that need to be released before the fan can be lifted off.
Once the CPU cooler fan is successfully removed, place it in a secure location. You can clean it separately in the next step.
With the CPU cooler fan removed, you can now proceed to clean the heat sink and the fan individually.
Step 5: Clean the heat sink and fan
Now that you have removed the CPU cooler fan, it’s time to clean both the heat sink and the fan. Over time, dust and debris can accumulate, compromising the efficiency of the cooling system. Cleaning these components will help restore optimal airflow and cooling performance.
Follow these steps to clean the heat sink and fan:
- Start by cleaning the heat sink. Use a can of compressed air or a small brush to remove any dust or debris that has accumulated on the heatsink fins. Hold the can of compressed air upright and spray short bursts of air to dislodge the particles. If using a brush, gently brush away the dust, making sure not to bend the fins.
- Next, focus on cleaning the CPU cooler fan. Use the can of compressed air or a brush to remove any dust or debris from the fan blades. Direct the airflow or brush strokes towards the edge of the fan to prevent pushing the dirt further into the fan assembly.
- If the fan is particularly dirty, you may need to remove it from the fan housing for a more thorough clean. Refer to the manufacturer’s instructions for specific details on how to remove the fan from the assembly.
- After cleaning, examine the fan blades and heat sink for any stubborn dirt or residue. If necessary, dampen a soft cloth with isopropyl alcohol and gently wipe the affected areas. Ensure that no excess liquid drips onto the components.
- Allow the heat sink and fan to dry completely before reattaching the fan or installing a new one.
Cleaning the heat sink and fan will improve the cooling efficiency and airflow within your computer case. Regular maintenance ensures that your components operate at optimal conditions, extending their lifespan and reducing the risk of overheating.
Once the heat sink and fan are clean and dry, you can proceed to the next step, which involves installing a new CPU cooler fan or reattaching the existing one.
Step 6: Install a new CPU cooler fan or reattach the existing one
After cleaning the heat sink and fan, it’s time to install a new CPU cooler fan or reattach the existing one. This step is crucial to ensure proper cooling of your CPU and prevent any overheating issues.
Follow these steps to install a new CPU cooler fan or reattach the existing one:
- If you’re installing a new CPU cooler fan, ensure that it is compatible with your motherboard and CPU socket. Refer to the manufacturer’s instructions for specific details.
- Carefully align the screw holes or clips on the CPU cooler fan with the corresponding holes or hooks on the heat sink.
- If using screws, insert and tighten them in a diagonal pattern. Start with one corner and move diagonally to the opposite corner to ensure even pressure is applied. Be sure not to overtighten the screws, as this can damage the components.
- If using clips, press down on each clip to secure the fan onto the hooks of the heat sink. Make sure that the clips are properly locked in place.
- If you had removed the fan from the fan housing for cleaning, reattach it according to the manufacturer’s instructions.
Ensure that the CPU cooler fan is securely attached to the heat sink and doesn’t wobble or move excessively. This will ensure proper cooling efficiency without any vibrations or noise issues.
If you’re reattaching the existing fan, double-check that all screws or clips are properly tightened and secured. This will prevent any potential issues during operation.
Once the CPU cooler fan is installed or reattached, you can proceed to the next step, which involves reconnecting the power cable.
Step 7: Reconnect the power cable to the CPU cooler fan
Now that you have installed or reattached the CPU cooler fan, it’s time to reconnect the power cable. This step is essential to ensure that the fan receives power and can effectively cool your CPU.
Follow these steps to reconnect the power cable to the CPU cooler fan:
- Locate the power cable that you had previously disconnected from the motherboard.
- Gently align the connector at the end of the power cable with the corresponding fan header on the motherboard.
- Hold the connector firmly and push it onto the fan header until it clicks into place. Ensure that the connection is secure and snug.
If your CPU cooler fan has an additional control cable for adjusting fan speed, reconnect it to the appropriate header on the motherboard as well. This is usually labeled as “CPU_FAN” or “SYS_FAN.”
Double-check that both the power cable and the control cable, if applicable, are securely connected. A loose connection can lead to fan malfunctions or inadequate cooling.
Once the cables are connected, you can proceed to the next step, which involves replacing the side panel of your computer case.
Reconnecting the power cable ensures that the CPU cooler fan receives the necessary power supply to function optimally. It’s an essential step to maintain proper cooling for your CPU and prevent any potential overheating issues.
Step 8: Replace the side panel of your computer case
With the CPU cooler fan connected and in place, it’s time to securely replace the side panel of your computer case. Properly closing the case will ensure the components are protected and that the cooling system functions effectively.
Follow these steps to replace the side panel of your computer case:
- Hold the side panel in alignment with the case, ensuring that all edges and screw holes are properly aligned.
- Gently slide or push the side panel back onto the case until it fits snugly into place.
- Once the panel is in position, use the screws or fasteners you removed earlier to secure it to the case. Make sure to tighten them evenly to ensure a secure fit.
Take care not to overtighten the screws, as it may cause damage to the case or strip the screw threads. The goal is to have the side panel securely attached without putting excessive pressure on the components within.
After replacing the side panel, give it a gentle push to ensure it is properly seated. Check visually to make sure there are no gaps or misalignments.
By replacing the side panel, you protect the internal components from dust, foreign objects, and potential damage. Additionally, it maintains proper airflow and cooling efficiency by directing the airflow through the designated pathways within the case.
With the side panel securely in place, you are now ready to move on to the next step, which involves powering on your computer and testing the CPU cooler fan.
Step 9: Power on your computer and test the CPU cooler fan
Now that you have completed the installation and reattachment process, it’s time to power on your computer and test the CPU cooler fan. This step ensures that the fan is functioning correctly and providing adequate cooling to your CPU.
Follow these steps to power on your computer and test the CPU cooler fan:
- Double-check that all connections, including the power cable and control cable (if applicable), are securely attached to the CPU cooler fan and motherboard.
- Reconnect the power cable to your computer and plug it into a power outlet.
- Press the power button on your computer to turn it on.
- Observe the CPU cooler fan to see if it starts spinning. The fan should start spinning immediately after the computer powers on.
- Listen for any unusual noises such as rattling, grinding, or excessive vibration coming from the CPU cooler fan. If you notice any abnormal sounds, power down your computer immediately and double-check the installation process.
- Monitor the CPU temperature using appropriate software to ensure that the fan is effectively cooling the CPU. Higher temperatures may indicate an issue with the cooling system.
If the CPU cooler fan is spinning smoothly, providing proper cooling, and there are no abnormal sounds, you can consider the installation and testing process successful.
If you notice any issues during the test, power down the computer and inspect the installation once again. Make sure all connections are secure and that the fan is properly attached to the heat sink.
By testing the CPU cooler fan, you can ensure that your CPU is receiving adequate cooling, which in turn helps maintain its performance and longevity.
With the CPU cooler fan functioning efficiently, you have successfully completed the process of removing and cleaning the Cooler Master Hyper 212 Evo CPU cooler fan.
Conclusion
Congratulations! You have successfully completed the process of removing, cleaning, and reinstalling the Cooler Master Hyper 212 Evo CPU cooler fan. By following the steps outlined in this guide, you have taken an important maintenance step to ensure optimal cooling performance for your CPU.
Properly maintaining your CPU cooler fan helps prevent overheating, which can lead to performance issues and potential damage to your hardware. Regularly cleaning the fan and heat sink removes accumulated dust and debris, allowing for better airflow and cooling efficiency.
Remember to follow safety precautions such as powering down your computer and disconnecting the power cable before working inside the case. Take your time and be gentle with the components to avoid causing any unnecessary damage.
Inspecting and cleaning your CPU cooler fan periodically is essential for maintaining a stable and optimized computer system. It is recommended to repeat this process every few months or as needed, depending on your computer usage environment.
By properly caring for your CPU cooler fan, you can extend its lifespan and ensure your computer runs smoothly and efficiently. An effectively cooled CPU will contribute to better overall system performance, especially during demanding tasks such as gaming or content creation.
We hope this guide has been helpful in guiding you through the process of removing, cleaning, and reinstalling the Cooler Master Hyper 212 Evo CPU cooler fan. Following these steps will help you keep your CPU cool and running at its best.
Happy computing!