Introduction
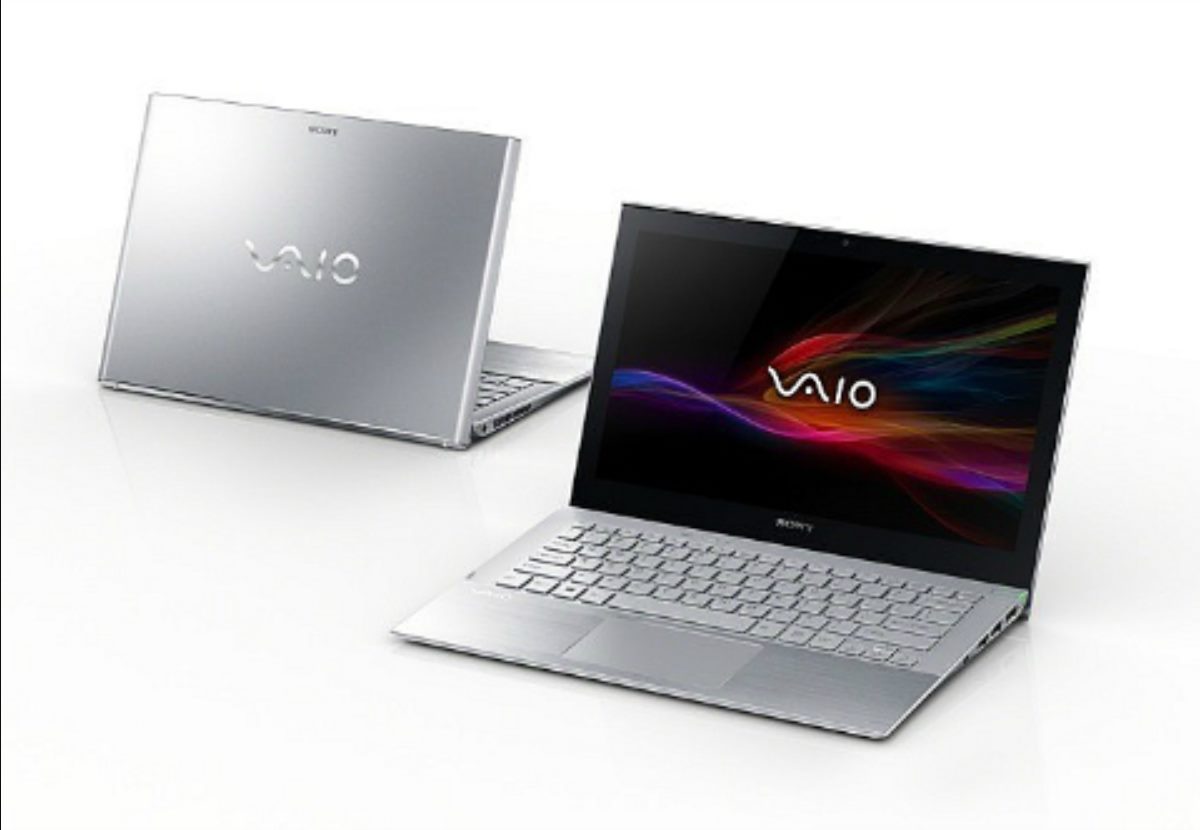
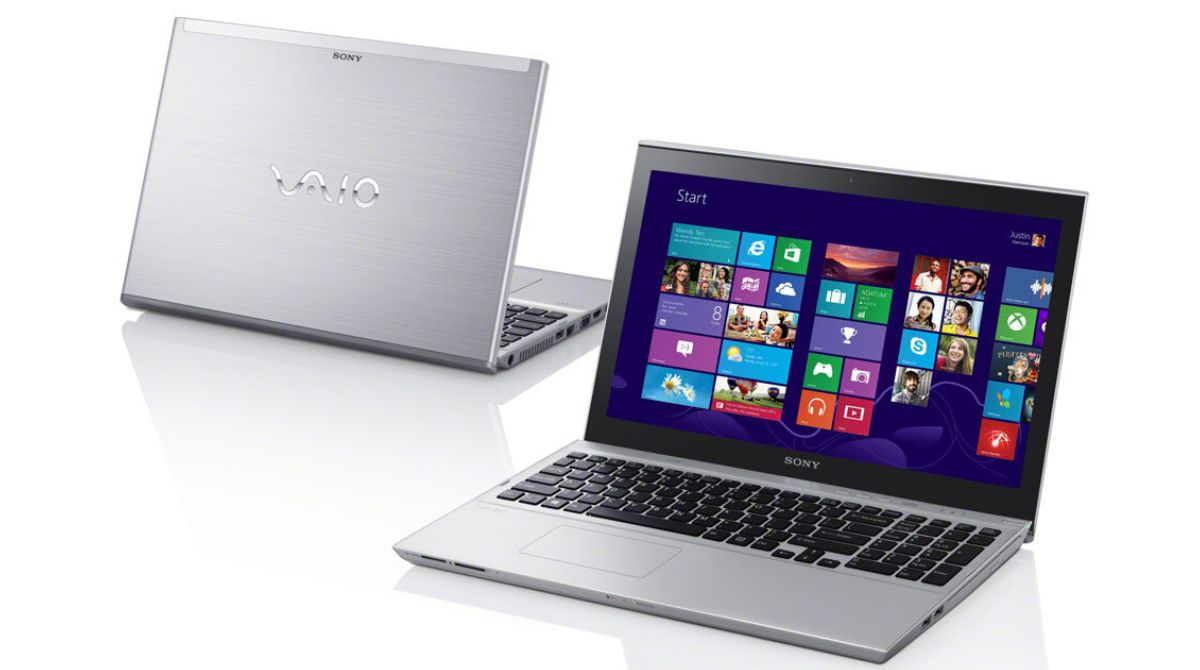
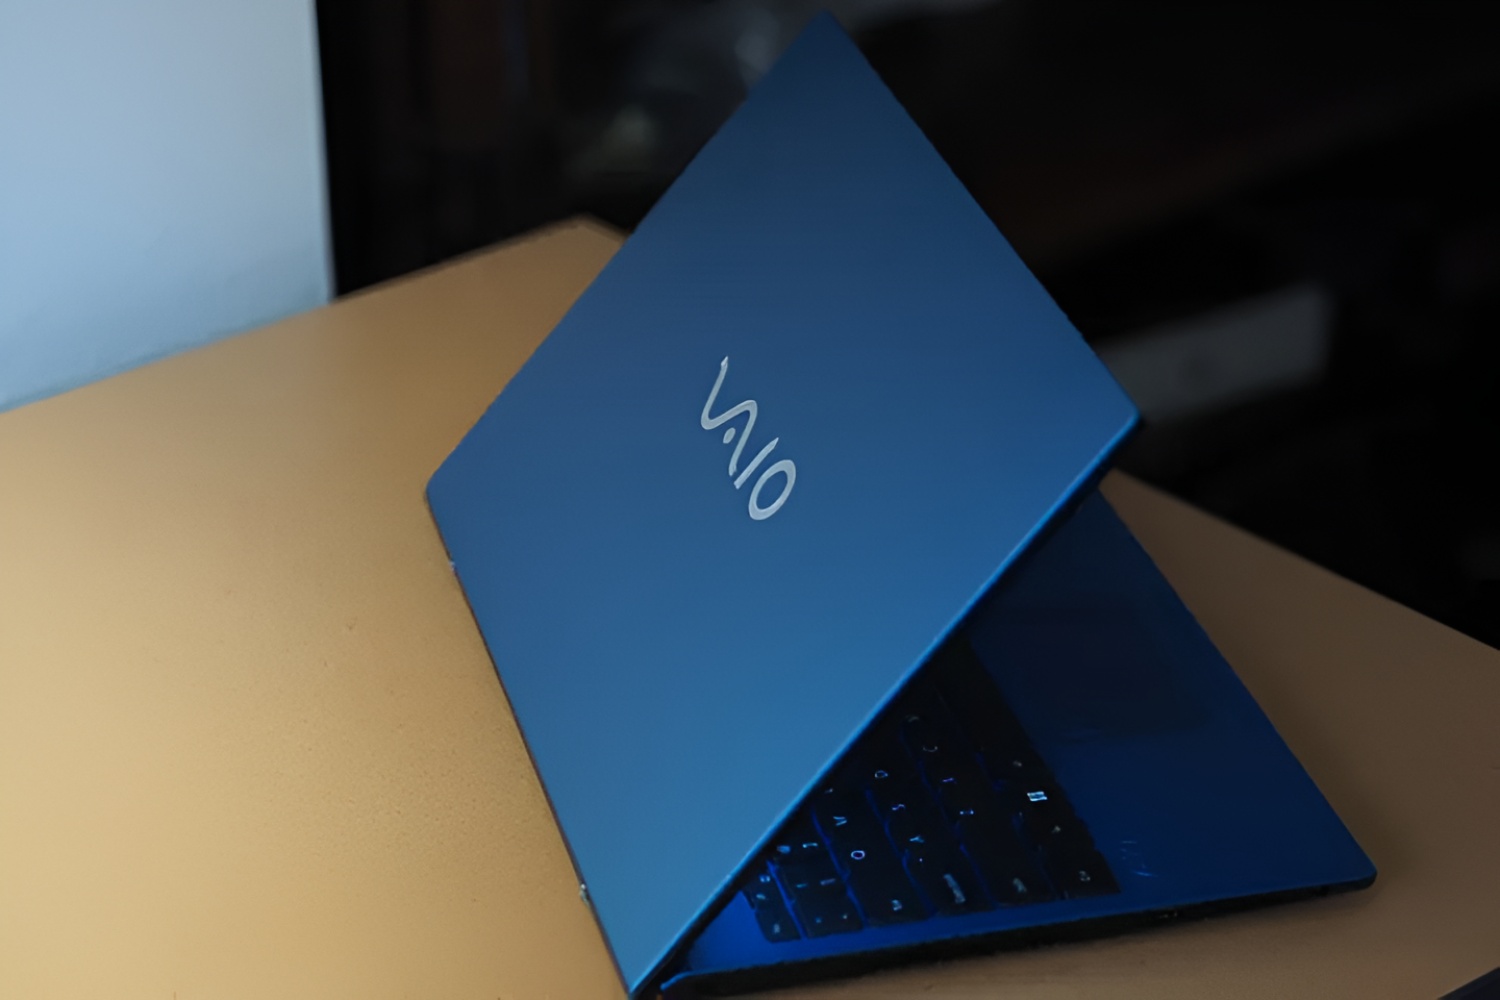
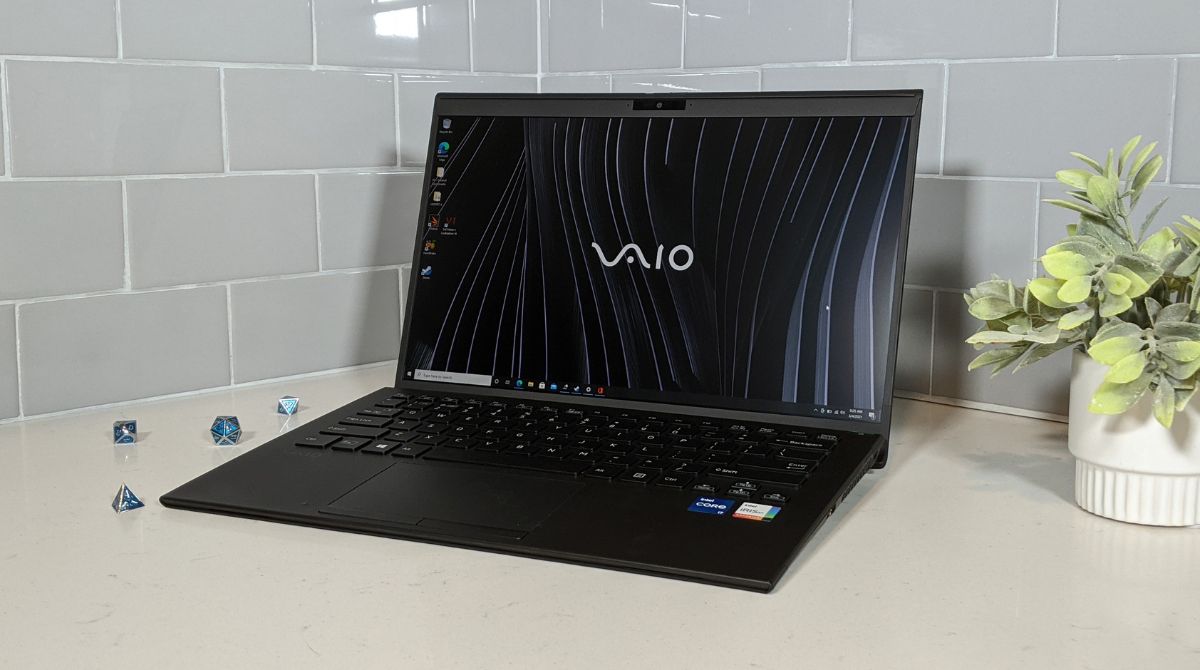
Welcome to this guide on how to remove the battery from your Sony VAIO Ultrabook. Whether you need to replace a faulty battery or simply want to remove it for storage purposes, this step-by-step tutorial will walk you through the process.
Sony VAIO Ultrabooks are known for their sleek design and high performance, but like any electronic device, their batteries may need to be replaced over time. Removing the battery is a relatively simple task that can be done safely with the right tools and instructions.
Before we proceed, it is important to note that removing the battery will require you to disassemble your Ultrabook to some extent. If you are not comfortable doing so or if your device is still under warranty, it is recommended to seek professional assistance or consult the user manual for specific instructions.
In this guide, we will provide you with step-by-step instructions accompanied by detailed illustrations to help you safely remove the battery from your Sony VAIO Ultrabook. By following these steps carefully, you can ensure a smooth battery removal process without causing any damage to your device.
Please note that the specific steps and processes may vary slightly depending on the model and generation of your Sony VAIO Ultrabook. It is always a good idea to consult the user manual provided by Sony or visit their official support website for model-specific instructions.
Once you have successfully removed the battery, you can either replace it with a new one or store it in a safe place until needed. Whether you are an experienced DIY enthusiast or a novice user, this guide will provide you with the necessary guidance to complete the battery removal process with ease.
Step 1: Prepare for Battery Removal
Before you begin the battery removal process, it is important to take a few precautions and gather the necessary tools. By preparing properly, you can ensure a smooth and hassle-free procedure. Here are the steps to follow:
- Gather the Required Tools: To remove the battery from your Sony VAIO Ultrabook, you will need a small Philips screwdriver, an anti-static wrist strap (optional but recommended), and a clean, flat surface to work on.
- Power Off Your Ultrabook: Ensure that your Ultrabook is completely powered off. Save all your work and shut it down properly before proceeding to prevent any data loss or potential damage to your device or battery.
- Disconnect External Devices: Unplug any connected peripherals or devices, such as USB drives or external hard drives, to avoid accidentally damaging them during the battery removal process.
- Work in a Static-Free Environment: Static electricity can be harmful to sensitive electronic components. If you have an anti-static wrist strap, securely fasten it around your wrist and connect the other end to a grounded metal surface. This will help dissipate any static charge and protect your Ultrabook from static electricity discharge.
- Find a Well-Lit Workspace: Choose a well-lit and clean workspace to perform the battery removal. Make sure you have enough room to comfortably work on your Ultrabook and place the removed components safely.
By following these initial steps, you are setting a solid foundation for effectively removing the battery from your Sony VAIO Ultrabook. Now that you have gathered the necessary tools and prepared your workspace, you are ready to move on to the next step of shutting down your Ultrabook.
Step 2: Shut Down the Ultrabook
Before proceeding with the battery removal process, it is crucial to shut down your Sony VAIO Ultrabook properly. This will ensure the safety of both your device and the components you will be handling. Follow these steps to shut down your Ultrabook:
- Save your Work: Before shutting down, save any open documents or files and close any running applications to prevent data loss.
- Close all Applications: Make sure all active applications are closed. This will prevent any errors or conflicts during the shutdown process.
- Click on the “Start” Menu: Look for the “Start” button located on the taskbar and click on it. A menu will appear.
- Select “Power”: In the “Start” menu, locate the “Power” option. Click on it to reveal a submenu.
- Choose “Shut Down”: From the submenu, select the “Shut Down” option. This will initiate the shutdown process for your Ultrabook.
- Wait for Shutdown: Your Ultrabook will now begin the shutdown process. Wait for it to completely power off before proceeding to the next step.
Ensuring that your Sony VAIO Ultrabook is properly shut down is vital when dealing with internal components such as the battery. It prevents any potential damage to the components and reduces the risk of electrical shock during the battery removal process.
Now that you have shut down your Ultrabook successfully, we can move on to the next step of disconnecting the power source.
Step 3: Disconnect the Power Source
Before you begin removing the battery from your Sony VAIO Ultrabook, it is important to disconnect the power source to prevent any potential electrical hazards. Follow these steps to safely disconnect the power source:
- Unplug the Charger: Locate the power adapter that is connected to your Ultrabook. Gently unplug it from the power outlet.
- Remove the Charging Cable: The other end of the power adapter is connected to your Ultrabook. Disconnect it by carefully removing the charging cable from the Ultrabook’s charging port.
- Confirm No Power Supply: Double-check to make sure that there are no other power sources connected to your Ultrabook, such as additional charging cables or docking stations.
- Press the Power Button (Optional): To ensure that there is no residual power left in the device, press and hold the power button for a few seconds. This will drain any remaining charge.
By disconnecting the power source, you are eliminating any potential electrical flow that could interfere with the battery removal process. It is important to take this step to ensure your safety and the integrity of your Ultrabook.
Now that you have successfully disconnected the power source, we can move on to the next step of locating the battery release switch.
Step 4: Locate the Battery Release Switch
Locating the battery release switch is a crucial step in removing the battery from your Sony VAIO Ultrabook. This switch is responsible for securing the battery in place and must be located before proceeding with the removal process. Follow these steps to find the battery release switch:
- Refer to the User Manual: The location of the battery release switch may vary depending on the model and generation of your Sony VAIO Ultrabook. Consult the user manual or refer to the manufacturer’s official support website for specific instructions.
- Inspect the Bottom Cover: Carefully turn your Ultrabook upside down and inspect the bottom cover. Look for any indications or labels that point to the location of the battery release switch.
- Look for Icons or Engravings: Manufacturers often mark the battery release switch with an icon or an engraving that resembles a lock or battery symbol. These markings will help you identify the location of the switch.
- Check Near the Battery Compartment: In most cases, the battery release switch is located near the battery compartment. Look for a small latch, slider, or button that corresponds to the battery release mechanism.
It is important to locate the battery release switch carefully to avoid any damage to your Ultrabook. Take your time and refer to the user manual or manufacturer’s instructions to ensure that you locate the switch accurately.
Now that you have successfully located the battery release switch, we can proceed to the next step of removing the bottom cover to access the battery.
Step 5: Remove the Bottom Cover
To access the battery and continue with the removal process, you will need to remove the bottom cover of your Sony VAIO Ultrabook. Follow these steps to safely detach the bottom cover:
- Flip the Ultrabook: Carefully turn your Ultrabook upside down, with the bottom side facing up. Place it on a soft surface to prevent any scratches or damage.
- Identify the Screws: Look for the screws that secure the bottom cover in place. These screws are usually located around the edges of the cover and may be marked with small icons or have a different color.
- Use the Correct Screwdriver: Select the appropriate screwdriver that fits the screws on the bottom cover. It is essential to use the right size to prevent any damage to the screws or the Ultrabook.
- Remove the Screws: Carefully unscrew each screw, starting from one corner and moving around the perimeter of the cover. Place the screws in a secure location to avoid misplacing them.
- Set Aside the Bottom Cover: Once all the screws are removed, gently lift the bottom cover to detach it from the Ultrabook’s main body. Set the cover aside in a safe place.
It is crucial to handle the bottom cover with care during removal to avoid damaging any internal components. Take your time and ensure that all screws are properly removed before attempting to lift the cover.
Now that you have successfully removed the bottom cover, we can move on to the next step of removing the battery from your Sony VAIO Ultrabook.
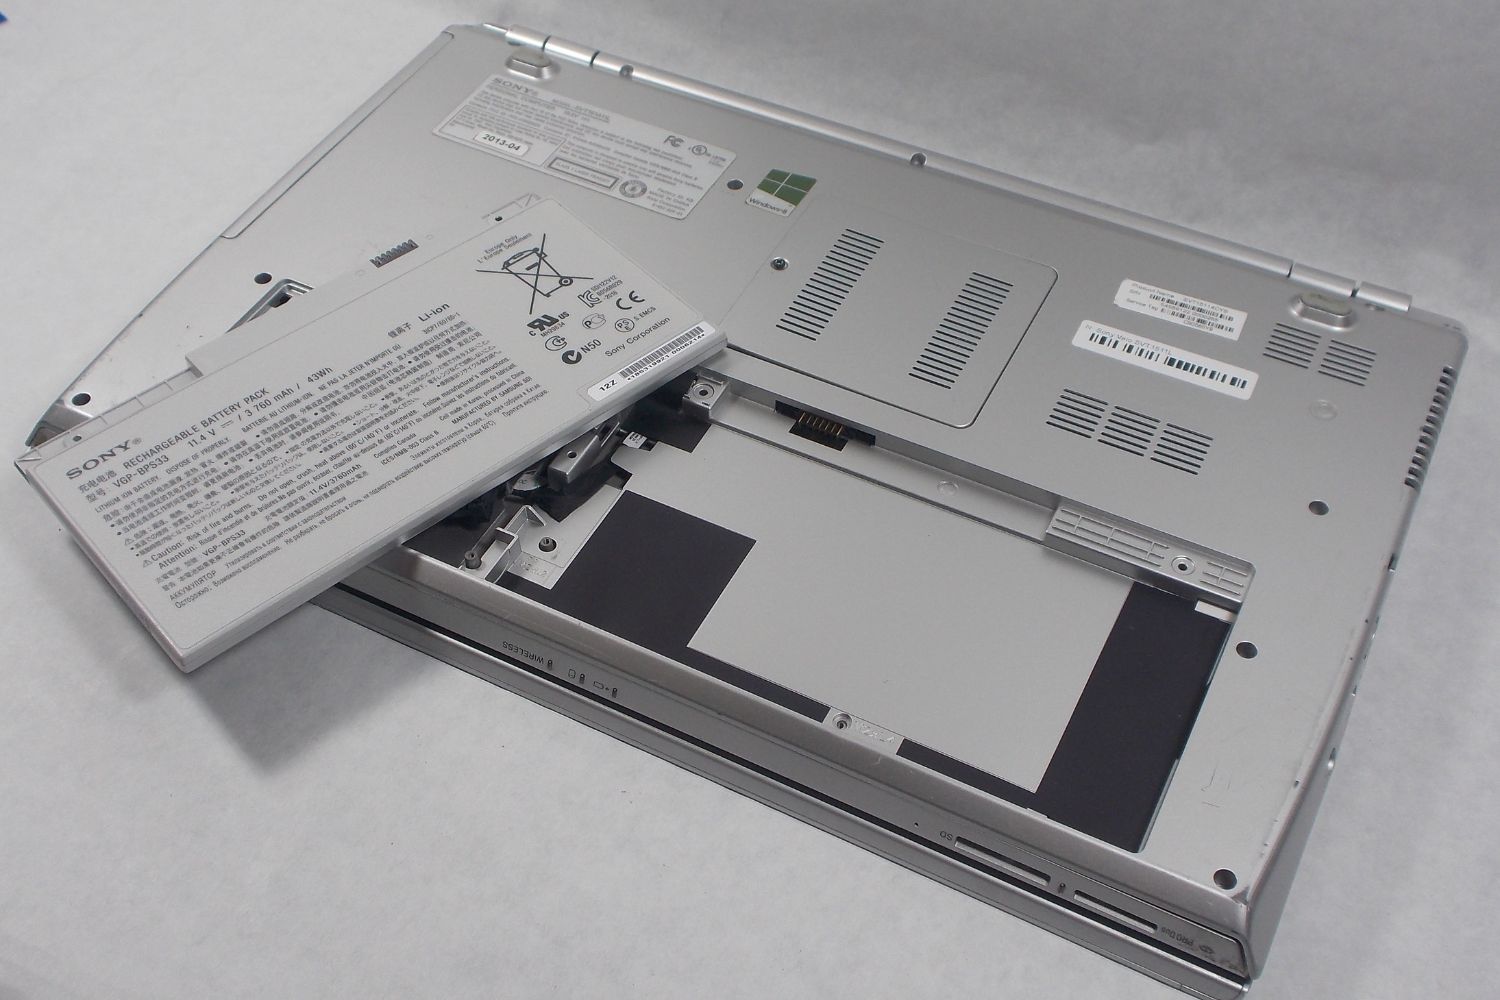
Step 6: Remove the Battery
Now that you have successfully accessed the internal components of your Sony VAIO Ultrabook by removing the bottom cover, it’s time to remove the battery itself. Follow these steps carefully to ensure a safe and smooth battery removal process:
- Locate the Battery: Look for the battery inside your Ultrabook. It is usually a rectangular-shaped component with wires connecting it to the motherboard.
- Identify the Battery Connector: Find the connector that attaches the battery to the motherboard. It is a small, plug-like connection that needs to be detached.
- Disconnect the Battery Connector: Gently and firmly pull the battery connector plug away from the motherboard. Use your fingers or a pair of small tweezers if necessary, being careful not to pull too forcefully.
- Remove the Battery: Once the battery connector is detached, carefully lift the battery out of its housing. Support it from all sides to ensure it does not drop or get damaged.
During the battery removal process, it is essential to handle the battery with care. Avoid exerting unnecessary pressure or bending the battery, as it can lead to damage or potential hazards. Make sure to keep a steady grip and maintain a firm but gentle touch when removing the battery.
Now that the battery has been successfully removed from your Sony VAIO Ultrabook, proceed to the next step to reassemble your device.
Step 7: Reassemble the Ultrabook
After removing the battery from your Sony VAIO Ultrabook, it is time to reassemble the device. Follow these steps to secure the bottom cover and restore your Ultrabook to its original state:
- Place the Bottom Cover: Take the bottom cover you set aside earlier and carefully align it with the edges of the Ultrabook’s main body. Ensure that all screw holes line up properly.
- Insert the Screws: Using the screwdriver, gently tighten each screw into its respective hole. Start with one corner and gradually work your way around, ensuring that all screws are securely in place.
- Tighten the Screws: Be careful not to overtighten the screws, as this may damage the screw threads or the bottom cover. Use a moderate amount of force to ensure the screws are snug.
- Confirm Proper Alignment: Double-check that the bottom cover is securely and evenly attached to the Ultrabook. Ensure that there are no gaps or loose areas.
By following these steps, you will successfully reassemble your Sony VAIO Ultrabook after removing the battery. It is important to ensure proper alignment and secure attachment of the bottom cover to maintain the structural integrity of the device.
Once you have reassembled your Ultrabook, you can proceed to reconnect the power source and power it on. Ensure that everything is functioning correctly before using the device.
Congratulations! You have successfully completed the process of removing and reassembling the battery in your Sony VAIO Ultrabook. Whether you replaced the battery or simply removed it for storage purposes, you can now enjoy using your Ultrabook with confidence.
Conclusion
Removing the battery from your Sony VAIO Ultrabook is a task that may be necessary for various reasons, such as battery replacement or storage. Following the step-by-step instructions provided in this guide, you can confidently perform the battery removal process with ease and safety.
Throughout the process, it is important to take necessary precautions, gather the required tools, and follow each step carefully to avoid any damage to your Ultrabook or its components. By preparing properly, shutting down the device, disconnecting the power source, locating the battery release switch, removing the bottom cover, and safely taking out the battery, you can ensure a smooth battery removal process.
Always refer to the user manual or consult the manufacturer’s official support resources for specific instructions that may be relevant to your particular Sony VAIO Ultrabook model.
Once you have successfully removed the battery, you can either replace it with a new one or safely store it until needed. Remember to reassemble your Ultrabook carefully by aligning and securing the bottom cover with the appropriate screws. Confirm the proper functioning of the device and ensure that all components are securely attached before using it again.
We hope this guide has provided you with valuable insights and guidance on how to remove the battery from your Sony VAIO Ultrabook. By following these steps, you can confidently perform this task yourself and extend the lifespan of your device.
Remember, if you are unsure or uncomfortable with performing the battery removal process, it is always best to seek professional assistance to avoid any potential damage or accidents. Your Ultrabook plays a crucial role in your daily life, and it is essential to handle it with care.
Thank you for choosing this guide, and we wish you the best of luck in removing and replacing the battery in your Sony VAIO Ultrabook!