Introduction
Registering your Fire Tablet is an essential step to unlock its full potential and access a wide range of features, content, and services from Amazon. By registering your device, you can enjoy seamless integration with your Amazon account, access to the vast library of e-books, music, movies, and TV shows, and even enable parental controls to customize the tablet for family use. In this article, we will guide you through the step-by-step process of registering your Fire Tablet.
Whether you have just purchased a new Fire Tablet or have an existing one that you haven’t registered yet, the registration process is straightforward and only takes a few minutes. All you need is an active internet connection and your Amazon account credentials. If you don’t have an Amazon account, don’t worry – we’ll show you how to create one along the way.
Once your Fire Tablet is registered, you’ll be able to personalize your device, download apps, games, and content, and customize it to suit your preferences. So let’s dive into the process and get your Fire Tablet registered so that you can start enjoying all that it has to offer!
Step 1: Gather the Required Information
Before you begin the registration process, it’s important to have the necessary information at hand. Having these details readily available will make the registration process smoother and faster. Here’s what you need:
- Device Serial Number: This is a unique identifier for your Fire Tablet. You can find the serial number in the Settings menu of your device. It may also be printed on the packaging or on the back of the tablet itself.
- Amazon Account Credentials: If you already have an Amazon account, make sure you have your email address or mobile number and password ready. If you don’t have an Amazon account, you’ll need to create one during the registration process.
- Active Wi-Fi Connection: To register your Fire Tablet, you need to connect to the internet. Ensure that you have access to a Wi-Fi network with a stable internet connection before proceeding.
By gathering these details beforehand, you can avoid any unnecessary delays or interruptions during the registration process. It’s always a good idea to double-check the serial number to ensure accuracy, as any mistakes can cause issues down the line. Once you have all the required information, you’re ready to move on to the next step.
Step 2: Connect to a Wi-Fi Network
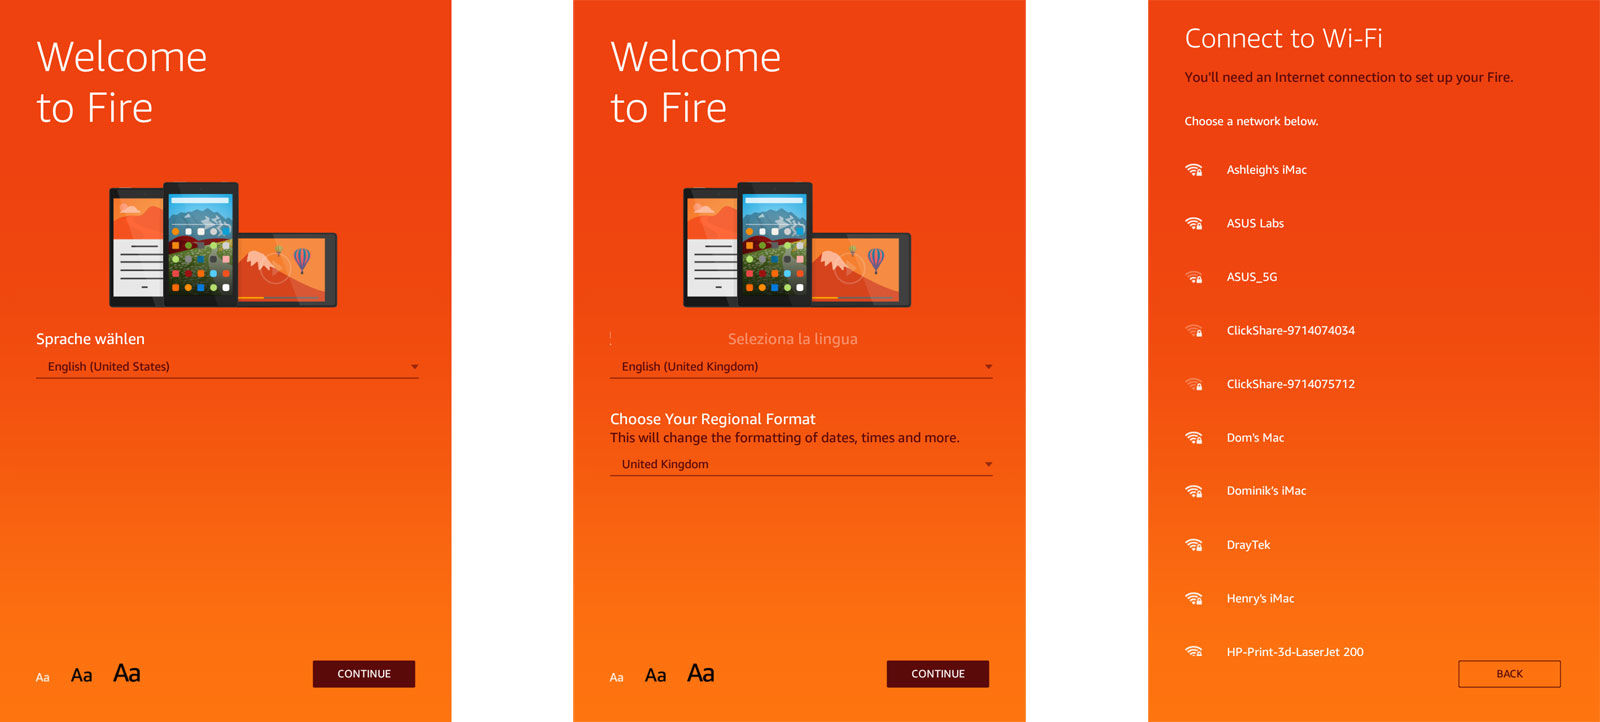
In order to register your Fire Tablet, you need to have an active internet connection. To do so, follow these simple steps to connect your device to a Wi-Fi network:
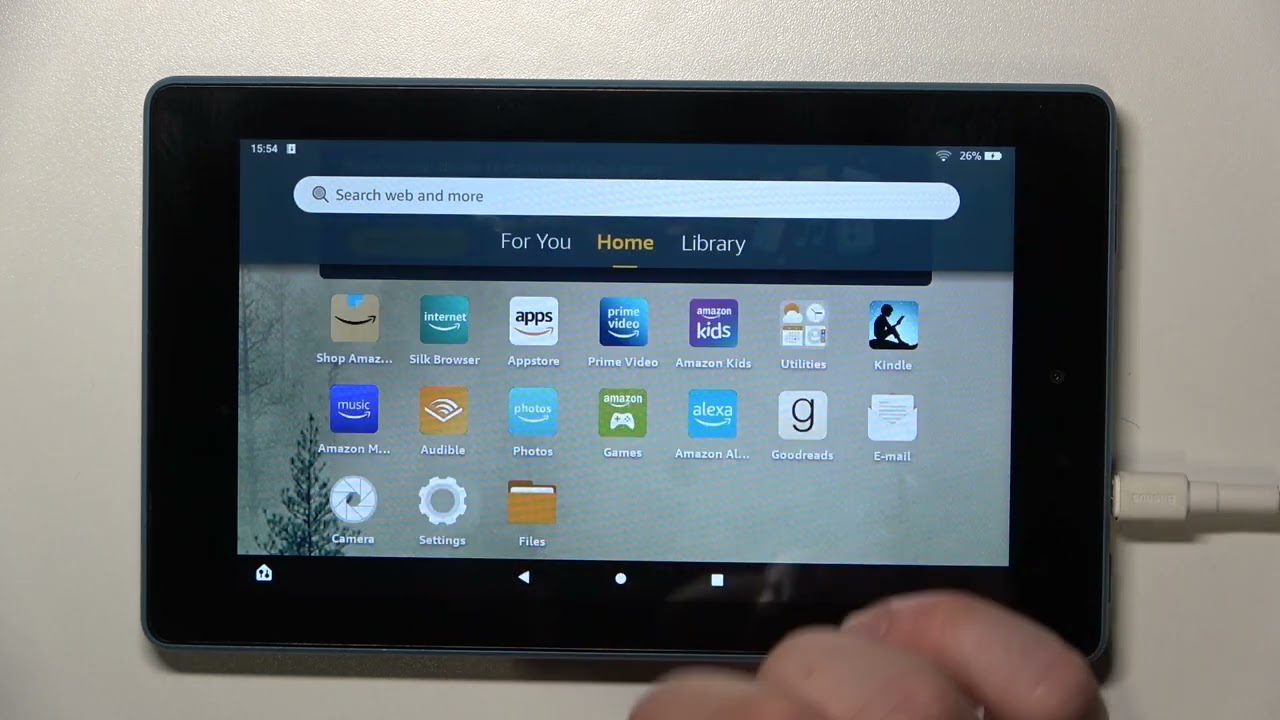
- Go to the home screen of your Fire Tablet by pressing the home button.
- Swipe down from the top of the screen to open the notification panel.
- Tap on the “Wi-Fi” icon to access the Wi-Fi settings.
- A list of available Wi-Fi networks will appear. Locate your preferred network and tap on its name to connect.
- If the network is password-protected, enter the Wi-Fi password when prompted.
- Once connected, a Wi-Fi symbol will appear in the top right corner of the screen, indicating a successful connection.
It’s important to ensure that your Wi-Fi connection is stable and reliable during the registration process. A poor or intermittent connection may result in errors or interruptions during the registration process. If you encounter difficulties connecting to a Wi-Fi network, try moving closer to the router or resetting the Wi-Fi settings on your device.
Once you have established a successful Wi-Fi connection, you’re ready to proceed with the registration process. Let’s move on to the next step and create or sign in to your Amazon account.
Step 3: Create an Amazon Account or Sign In
In order to register your Fire Tablet, you will need an Amazon account. If you don’t have an Amazon account yet, follow these steps to create one:
- On the home screen of your Fire Tablet, open the Amazon app or go to the Amazon website on a computer or mobile device.
- Click on the “Sign In” button or “Create Account” link.
- Fill in the required information, such as your name, email address, and password. Make sure to choose a strong password for account security.
- Follow the on-screen prompts to complete the account setup process.
- Once you have created your Amazon account, proceed to the next step.
If you already have an Amazon account, sign in using your email address or mobile number and password. This will ensure seamless integration between your Fire Tablet and your Amazon account.
Having an Amazon account allows you to access a wide range of features and services, including the ability to download apps, purchase and stream media content, and enjoy personalized recommendations. It also enables you to manage your device settings, payment methods, and access to customer support.
Once you have created an account or signed in to your existing account, you’re one step closer to registering your Fire Tablet. Let’s move on to the next step and register your device.
Step 4: Select “Register Your Device”
After connecting to a Wi-Fi network and signing in to your Amazon account, it’s time to register your Fire Tablet. To do this, follow these steps:
- On the home screen of your Fire Tablet, swipe down from the top of the screen to open the notification panel.
- Tap on the “Settings” icon, which resembles a gear or cogwheel.
- In the Settings menu, scroll down and tap on the “Device Options” or “Device” option.
- Select “Register Your Device” from the list of available options. This will initiate the registration process.
By selecting “Register Your Device,” you are indicating your intent to link your Fire Tablet with your Amazon account. This step ensures that you can access all the content, services, and features associated with your Amazon account on your tablet.
It’s worth noting that if your Fire Tablet was pre-registered or purchased directly from Amazon, it may already be registered to your account. In such cases, you will see a message indicating that your device is already registered.
If you encounter any issues or error messages during the registration process, ensure that you have a stable internet connection and double-check your Amazon account credentials. If the problem persists, try restarting your device and attempting the registration process again.
Once you have successfully selected “Register Your Device,” we can move on to the next step and enter the device’s serial number.
Step 5: Enter the Device’s Serial Number
Entering the device’s serial number is a crucial step in registering your Fire Tablet. The serial number serves as a unique identifier for your device and ensures that it is linked accurately to your Amazon account. Here’s how you can find and enter the device’s serial number:
- On the registration screen, you will be prompted to enter the device’s serial number.
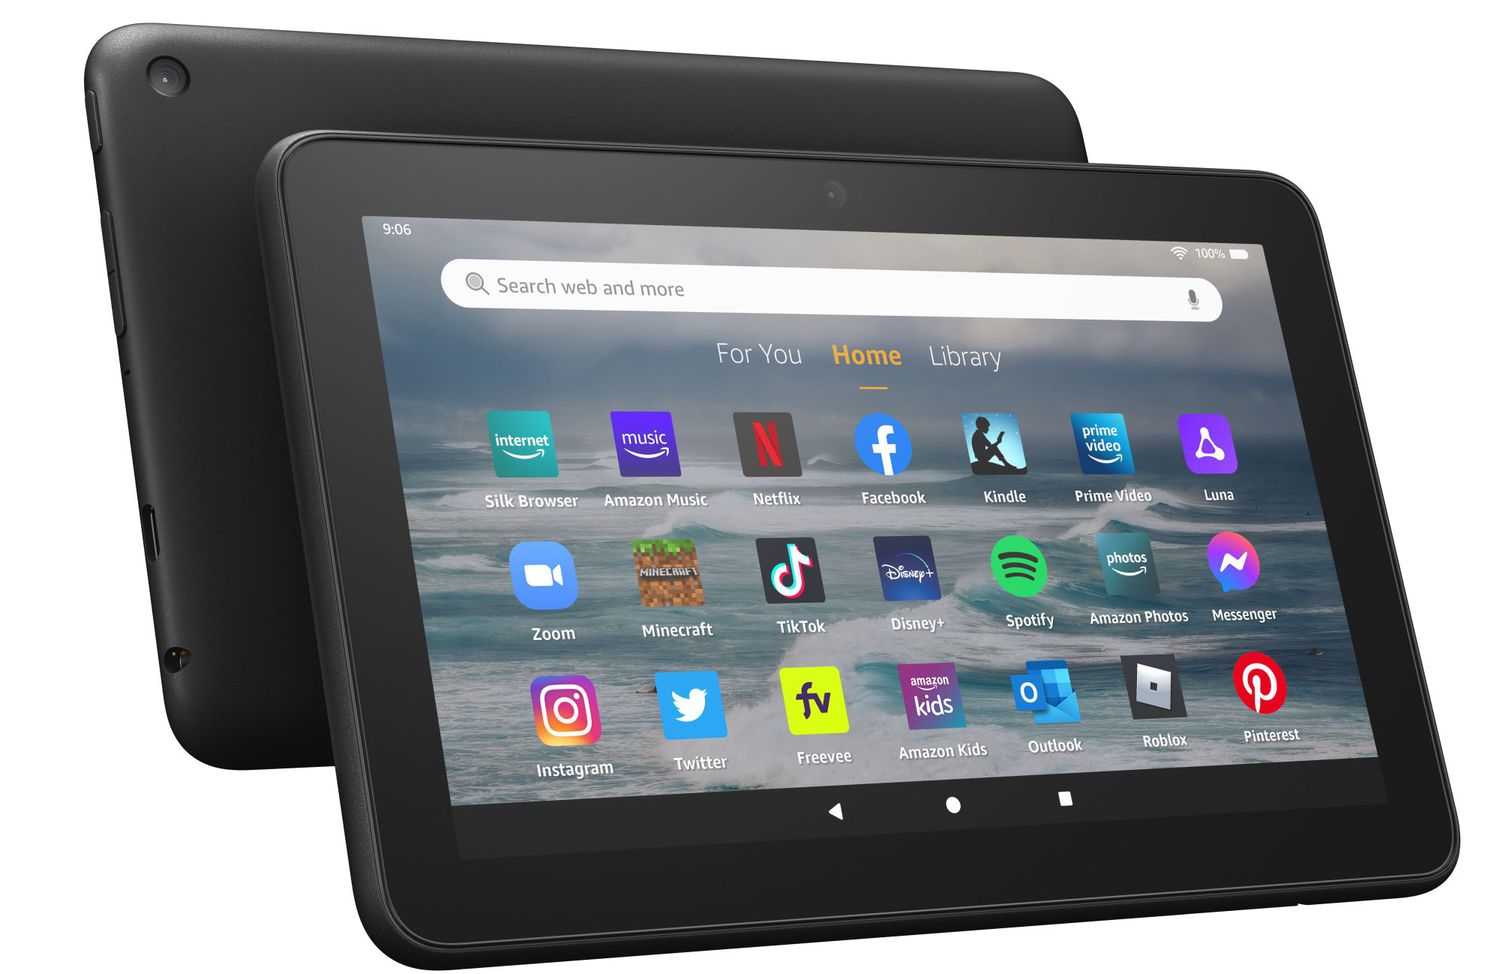
- Locate the serial number on the back of your Fire Tablet. It is usually found near the charging port or on the device packaging.
- Using the on-screen keyboard, carefully enter the serial number into the provided text field. Double-check the information for accuracy, as any mistakes can cause registration issues.
- Once you have entered the serial number, select “Continue” or a similar option to proceed with the registration process.
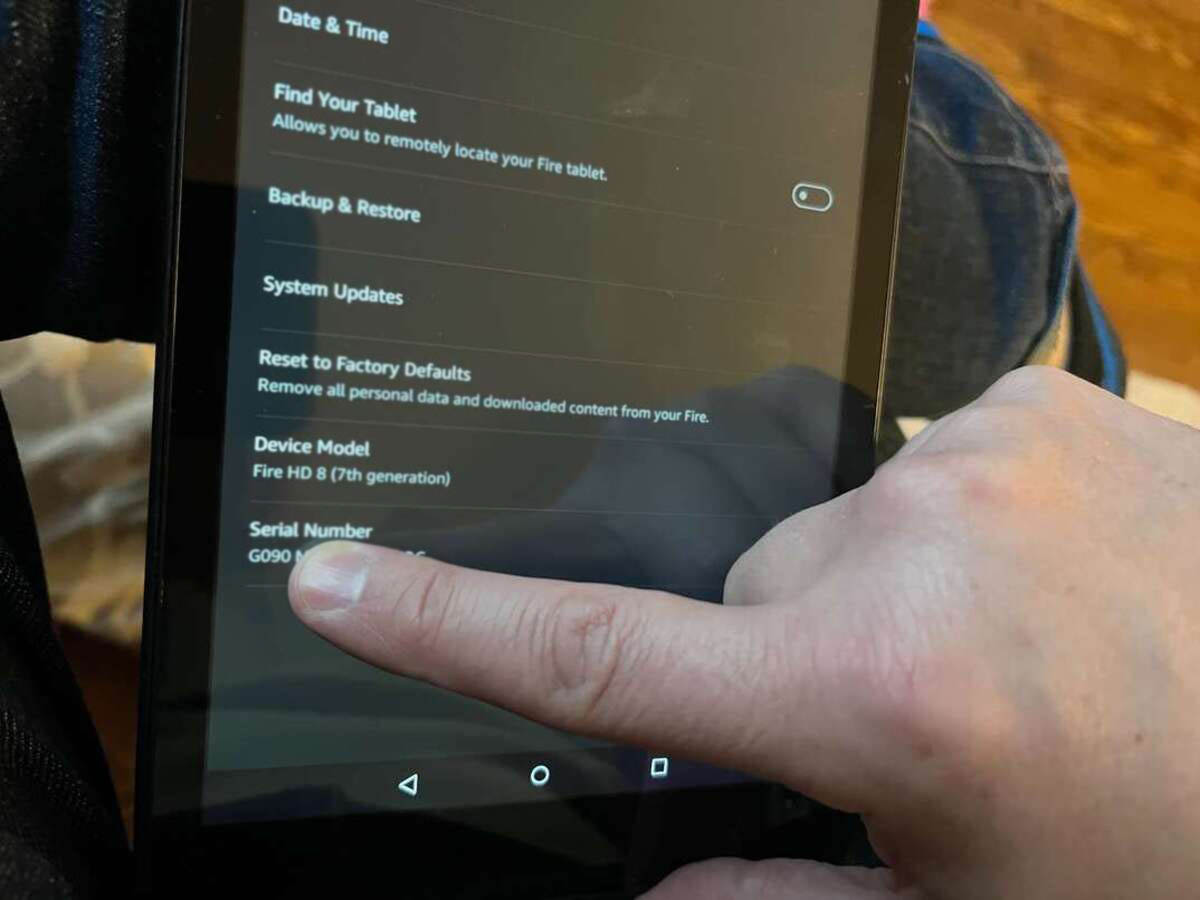
If you are unable to find the serial number physically, you can check the device settings to locate it. Follow these steps:
- On the home screen of your Fire Tablet, swipe down from the top of the screen to open the notification panel.
- Tap on the “Settings” icon, which resembles a gear or cogwheel.
- In the Settings menu, scroll down and tap on the “Device Options” or “Device” option.
- Select “About Device” or a similar option.
- Look for the serial number listed in the device information. It may be displayed as “Serial Number” or “Device Serial Number.”
Once you have successfully entered the device’s serial number into the registration screen, you’re one step closer to completing the process. In the next step, we will guide you through the final steps of the registration process.
Step 6: Complete the Registration Process
After entering the device’s serial number, you’re almost done with the registration process for your Fire Tablet. Follow these final steps to complete the registration:
- Once you have entered the serial number, select “Continue” or a similar option on the registration screen.
- If your device is not already registered to your Amazon account, you may be prompted to sign in again using your Amazon account credentials.
- Ensure that you are connected to a stable internet connection throughout this process to avoid any interruptions.
- Wait for the registration process to complete. This may take a few moments, depending on your device and internet speed.
- Once the registration is successful, you will receive a confirmation message on your screen.
After completing the registration process, your Fire Tablet is now linked to your Amazon account. This allows you to access and enjoy all the benefits and features available to registered users, such as access to the Amazon Appstore, personalized recommendations, and cloud storage for your digital content.
If you encounter any issues during the registration process or receive an error message, double-check your internet connection and try again. If the problem persists, you may need to contact Amazon customer support for further assistance.
Congratulations! You have successfully registered your Fire Tablet, and you’re now ready to explore and make the most of your device. In the next step, we will discuss optional parental control settings that you can set up to ensure a safe and secure environment for your family.
Step 7: Set Up Parental Controls (Optional)
Setting up parental controls on your Fire Tablet can be an effective way to manage and monitor your child’s activities. With parental controls, you can limit access to age-appropriate content, set time limits for device usage, and enforce safe browsing practices. If you wish to enable parental controls, follow these steps:
- On your Fire Tablet, go to the Settings menu by swiping down from the top of the screen and tapping on the “Settings” icon.
- Scroll down and select the “Parental Controls” or “Parental Options” section.
- Tap on “Set Up Parental Controls” or a similar option.
- You may be prompted to enter your Amazon account password or PIN to proceed.
- Follow the on-screen instructions to set up the desired parental control features.
- Customize the settings based on your preferences, such as limiting content, setting time restrictions, or enabling web filters.
- Once you have configured the desired parental control settings, select “Done” or a similar option to save your changes.
By enabling parental controls, you can ensure a safer digital environment for your children and have greater peace of mind while they use the Fire Tablet. It allows you to strike a balance between providing access to age-appropriate content and maintaining control over their device usage.
Keep in mind that parental controls are not foolproof, and it’s important to regularly monitor your child’s activities and have open conversations about responsible internet use. Additionally, it’s a good practice to periodically review and update the parental control settings as your child grows and their needs evolve.
Congratulations! You have successfully registered your Fire Tablet and have the option to set up parental controls if desired. Your tablet is now ready to be customized and personalized according to your preferences. Enjoy exploring the vast world of apps, games, books, and entertainment that await you!
Conclusion
Registering your Fire Tablet is a straightforward process that allows you to unlock its full potential and access a wealth of content and services offered by Amazon. By following the steps outlined in this guide, you can easily register your device, connect it to your Amazon account, and enjoy a personalized experience tailored to your preferences.
We started by emphasizing the importance of gathering the necessary information, such as the device’s serial number and your Amazon account credentials. We then walked you through connecting to a Wi-Fi network and creating or signing in to your Amazon account. Next, we covered the step-by-step process of selecting “Register Your Device” and entering the device’s serial number accurately.
After completing the registration process, your Fire Tablet is now linked to your Amazon account, providing you with access to a wide range of features and content. Additionally, we discussed the optional step of setting up parental controls to ensure a safe and age-appropriate digital environment for families.
Now that your Fire Tablet is registered, you can explore the Amazon Appstore, download your favorite apps, games, and e-books, stream movies and TV shows, and personalize your device to suit your needs. Remember to enjoy your device responsibly, encourage open conversations about digital citizenship, and regularly review your parental control settings to adapt to your family’s evolving needs.
We hope this guide has been helpful in assisting you with the registration process for your Fire Tablet. Happy exploring!