Introduction
Welcome to our guide on how to record on Apple TV. Apple TV is a popular streaming device that allows you to access a wide range of content from streaming services, such as Netflix, Hulu, and Disney+. While Apple TV does not have a built-in recording feature, there are several methods you can use to record your favorite TV shows, movies, or gameplay on Apple TV.
In this article, we will explore three different options for recording on Apple TV. We will discuss how to use the Apple TV remote, how to use your iPhone or iPad as a recording device, and how to utilize third-party apps for recording. Additionally, we will cover the built-in screen recording feature available on some newer models of Apple TV.
Whether you want to save a memorable moment from a streaming service or record your gaming sessions for YouTube, we’ve got you covered. Let’s dive in and explore the various ways you can record on Apple TV!
Getting Started
Before you begin recording on your Apple TV, there are a few things you’ll need to set up. Here’s what you’ll need:
- An Apple TV device (4th generation or later)
- A television or display connected to your Apple TV
- Access to the App Store on your Apple TV
- If you plan to use your iPhone or iPad for recording, make sure it is connected to the same Wi-Fi network as your Apple TV
Once you have these essentials in place, make sure your Apple TV is up to date. To check for software updates, follow these steps:
- Go to the Settings app on your Apple TV.
- Select “System” and then “Software Updates”.
- If an update is available, choose “Download and Install” to update your Apple TV.
It’s important to have the latest software installed to ensure smooth performance and access to all the features and functionalities.
Furthermore, if you plan to use a third-party app for recording, check if it is compatible with your Apple TV model. You can find this information in the app’s description in the App Store on your Apple TV.
Once you have taken care of these initial steps, you are ready to proceed with the recording methods we will discuss in the following sections. Whether you choose to use the Apple TV remote, your iPhone or iPad, or a third-party app, each option has its advantages and limitations. Let’s explore them in more detail!
Option 1: Using the Apple TV Remote
If you prefer a simple and straightforward method to record on your Apple TV, using the Apple TV remote is a convenient option. Here’s how you can do it:
- Start playing the content you want to record on your Apple TV.
- While the content is playing, press and hold the Menu button on your Apple TV remote.
- A pop-up menu will appear on your screen with the option to “Record” or “Take Screenshot”.
- To start recording, select the “Record” option. Your Apple TV will begin recording the screen along with the audio.
- To stop the recording, press the Menu button again or select the stop icon on the screen.
- The recorded video will be saved in the Photos app on your Apple TV.
Using the Apple TV remote to record is a convenient option as it doesn’t require any additional devices or apps. However, keep in mind that this method may not offer as many customization features as other options. The recorded video will include the entire screen, including the Apple TV interface, so consider this when selecting the content to record.
Furthermore, be aware that recording copyrighted content for distribution or commercial purposes may infringe upon copyright laws. Make sure to use this feature responsibly and only for personal use or with proper authorization.
Now that you know how to record using your Apple TV remote, let’s move on to another option: using your iPhone or iPad as a recording device.
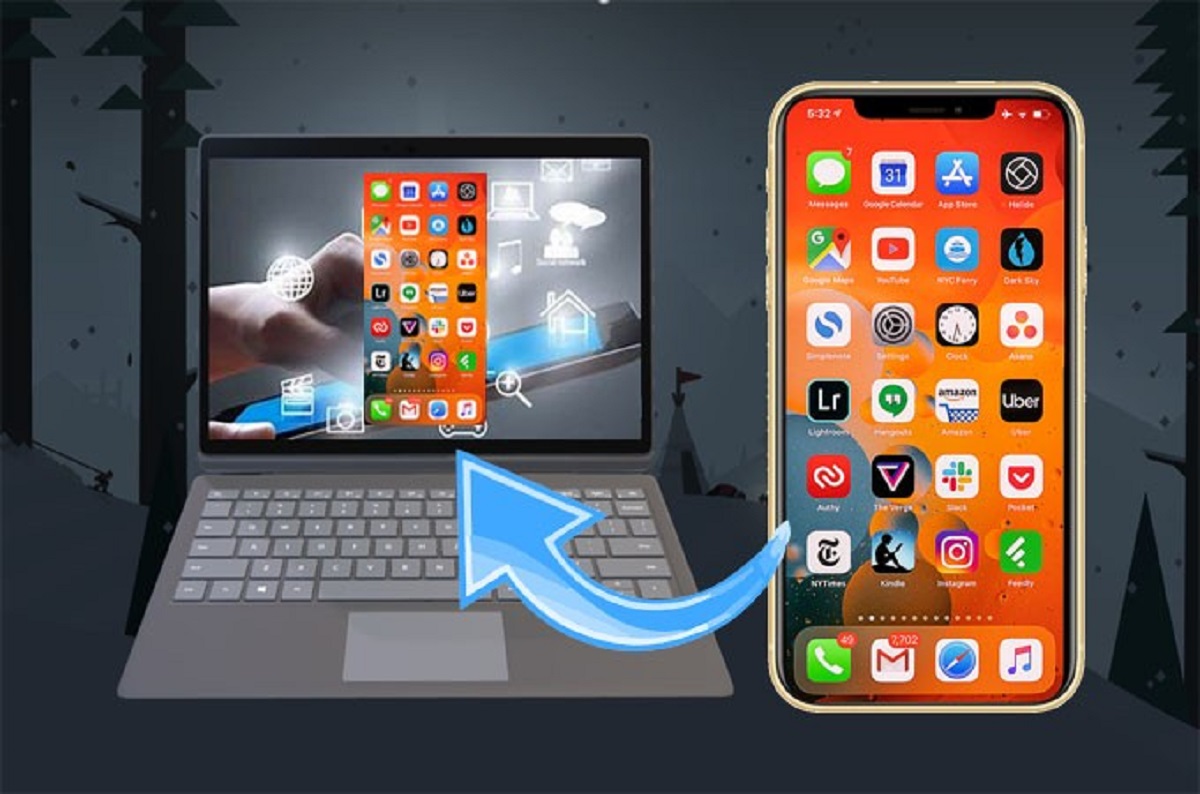
Option 2: Using Your iPhone or iPad
If you want more flexibility and control over your recordings, using your iPhone or iPad as a recording device for your Apple TV is a great option. Here’s how you can do it:
- Make sure that your iPhone or iPad is connected to the same Wi-Fi network as your Apple TV.
- On your iPhone or iPad, launch the Control Center by swiping down from the top-right corner (or bottom edge, depending on your device) of the screen.
- Tap on the “Screen Mirroring” or “AirPlay” button.
- Select your Apple TV from the list of available devices.
- Your iPhone or iPad screen will now mirror on your Apple TV.
- To start recording, use the built-in screen recording feature on your iPhone or iPad. Simply swipe down from the top-right corner of the screen to open the Control Center, then tap on the screen recording icon (a circle within a circle).
- A countdown will appear, indicating that the recording has started.
- Proceed to navigate and play the content you want to record on your Apple TV.
- To stop the recording, access the Control Center again and tap on the screen recording icon to end the recording.
- The recorded video will be saved to your Photos app on your iPhone or iPad.
Using your iPhone or iPad to record on Apple TV gives you the advantage of recording only the content on the screen, excluding the Apple TV interface. This allows for a cleaner and more focused recording. Additionally, the screen recording feature on iPhone and iPad offers various settings, such as microphone audio recording and video quality adjustments, giving you more control over the recording outcome.
Remember to check your device’s storage capacity when using this method, as recording high-quality videos can consume a significant amount of storage space.
Now that you know how to use your iPhone or iPad as a recording device for your Apple TV, let’s explore another option: using third-party apps.
Option 3: Using a Third-Party App
If you’re looking for more advanced features and customization options, using a third-party app to record on your Apple TV is an excellent choice. Here’s how you can do it:
- Open the App Store on your Apple TV.
- Search for and download a reputable screen recording app that is compatible with your Apple TV model.
- Launch the app once it is installed.
- Follow the app’s instructions to set up the recording settings and permissions.
- Start the app and navigate to the content you want to record on your Apple TV.
- Use the app’s recording feature to start capturing the screen and audio of your Apple TV.
- To stop the recording, follow the app’s instructions or use their designated stop recording button.
- Once the recording is complete, the app will usually provide options to save or export the video file.
Using a third-party app for recording on Apple TV gives you more control over the recording process. These apps often offer additional features such as video editing, trimming, and sharing options. Some popular screen recording apps for Apple TV include AirShou, ReplayKit, and Vidyo.
Before using a third-party app, make sure to read reviews and check the app’s compatibility with your specific Apple TV model. Additionally, keep in mind that some apps may require a subscription or offer in-app purchases for accessing their full range of features.
Now that you are familiar with the option of using third-party apps, let’s move on to another method: recording with the built-in screen recording feature available on some newer Apple TV models.
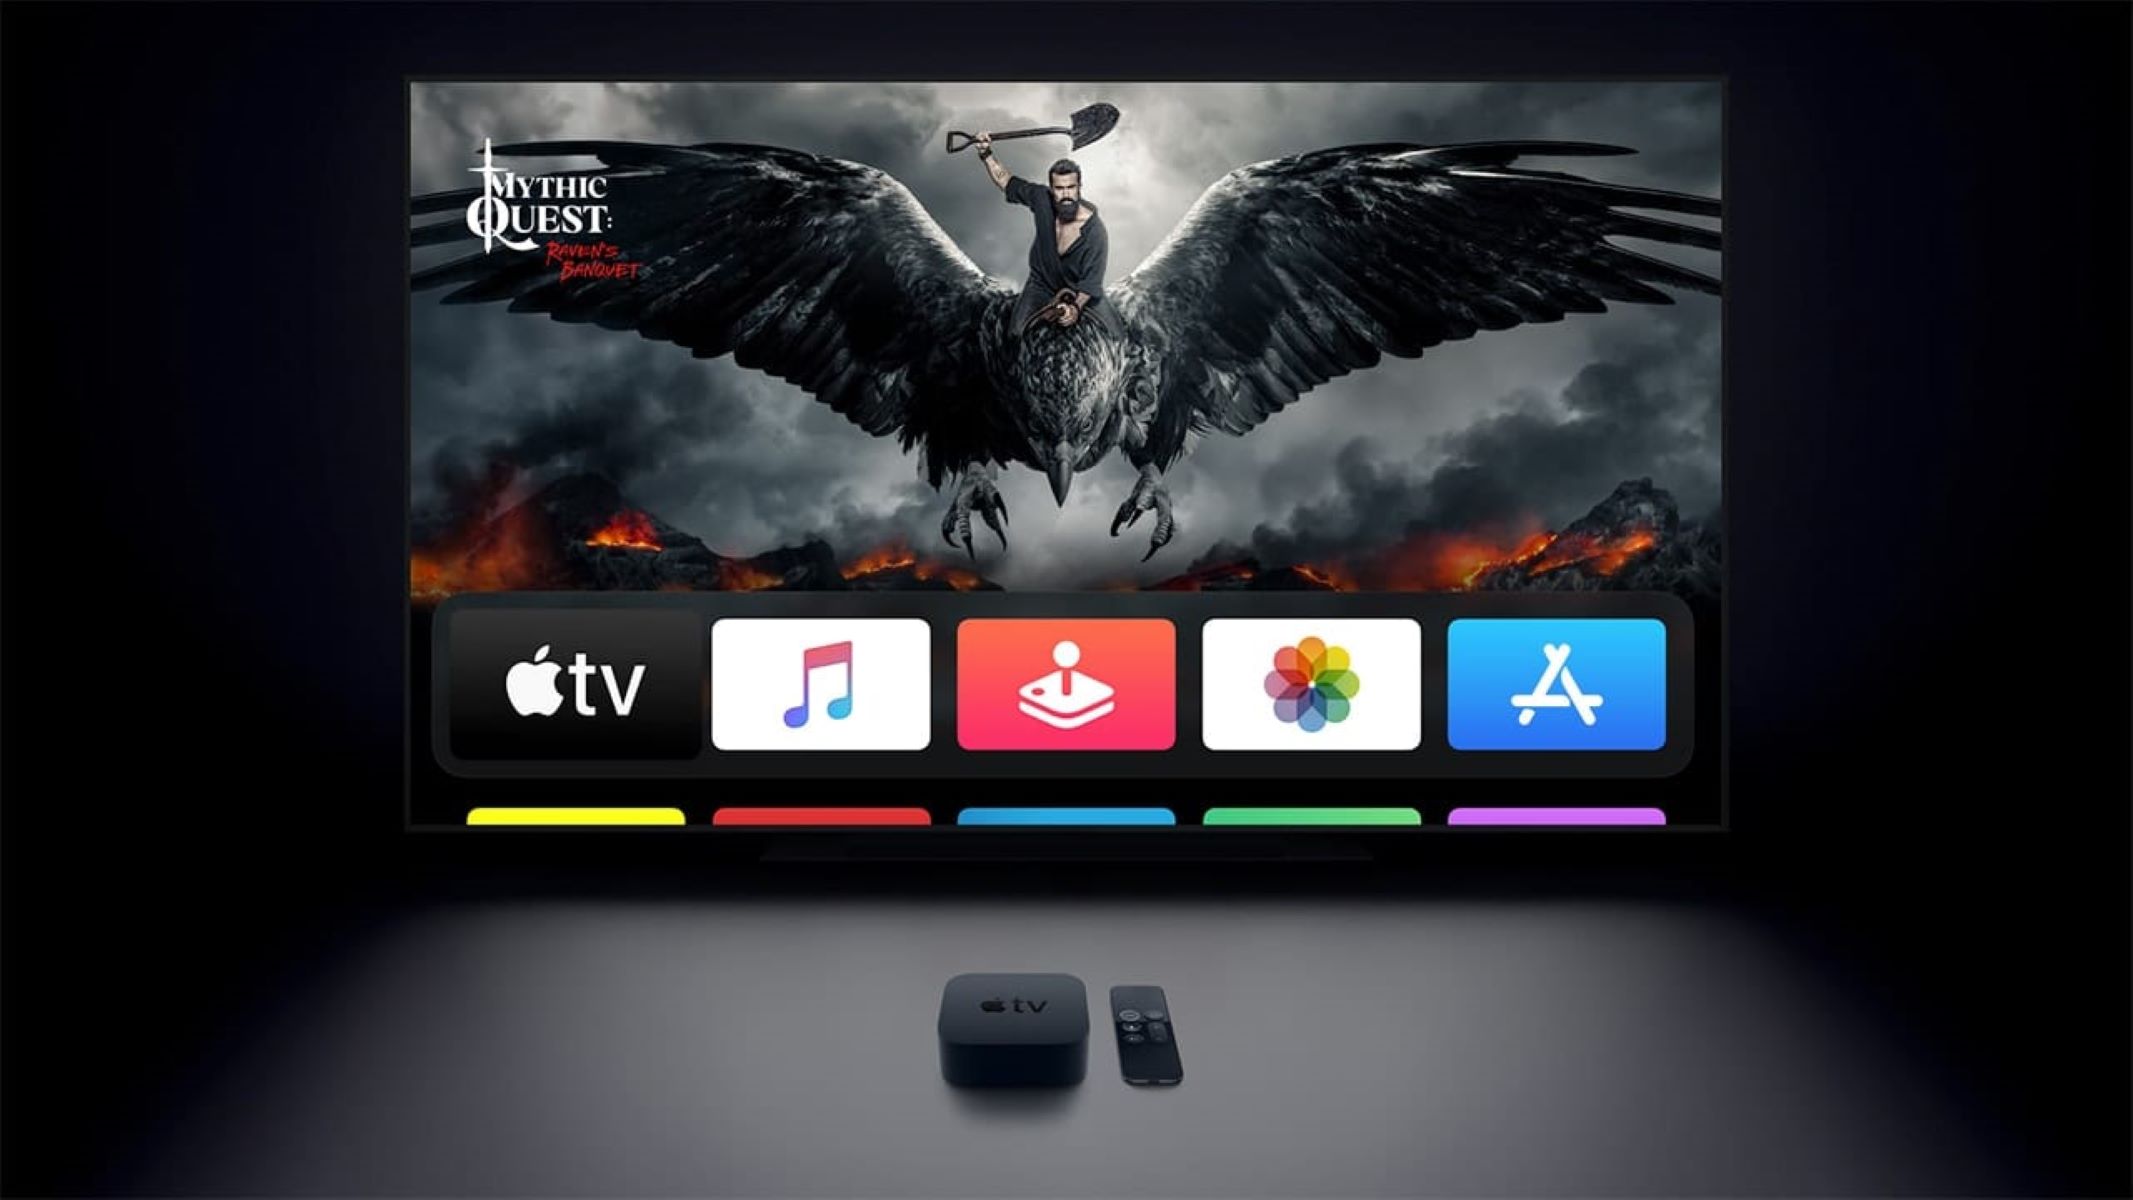
Recording with the Built-in Screen Recording Feature
If you own a newer model of Apple TV, you may have access to a built-in screen recording feature. Here’s how you can utilize this feature:
- Start playing the content you want to record on your Apple TV.
- On your Apple TV remote, press the Home button twice quickly to bring up the app switcher.
- Swipe left or right to locate the Screen Recording option.
- Tap on the Screen Recording option to start the recording.
- Proceed to navigate and play the desired content on your Apple TV.
- To stop the recording, press the Home button once to return to the app switcher, then tap on the Stop button for screen recording.
- The recorded video will be saved in the Photos app on your Apple TV.
Not all Apple TV models come with the built-in screen recording feature, so make sure to check your device specifications to see if this option is available to you.
Using the built-in screen recording feature offers a convenient and integrated solution for capturing your Apple TV screen. It eliminates the need for additional devices or apps, making it a straightforward option for quick recordings.
However, similar to other recording methods, be cautious about recording copyrighted content without proper authorization. Use this feature responsibly and for personal use only.
Now that you have explored various methods for recording on your Apple TV, let’s dive into some tips to ensure optimal recording quality.
Tips for Optimal Recording Quality
To capture the best possible recording quality on your Apple TV, consider following these tips:
- Choose a stable network connection: Ensure that your Apple TV and recording device (if applicable) are connected to a stable Wi-Fi network. A weak or intermittent connection can result in laggy recordings or dropped frames.
- Adjust video quality settings: If using a third-party app or the built-in screen recording feature, check if there are options to adjust the video quality settings. Higher quality settings will typically result in larger files, so consider your device’s storage capacity when making these adjustments.
- Optimize lighting conditions: If you are recording content from your television screen, make sure the room is properly lit to minimize reflections and glare. This will result in a clearer and more enjoyable viewing experience.
- Test different recording angles: Experiment with different camera angles or screen capture settings to find the optimal view for your recording. Consider factors such as visibility of on-screen details and minimizing any obstructions that could affect the recording quality.
- Record audio separately (if desired): If you want to include commentary or other audio in your recording, consider using a separate microphone or audio recording device. This will help ensure clear and high-quality audio without interference or background noise.
- Edit and trim recordings: After capturing your recording, take advantage of editing software or apps to trim or enhance the video. This allows you to remove any unnecessary parts, improve the overall quality, and add creative touches to your recording.
By implementing these tips, you can greatly enhance the overall recording quality of your Apple TV content. Remember to experiment with different settings and techniques to find what works best for your specific recording needs.
Now that you have a solid understanding of the recording options available for Apple TV users and tips for optimizing the recording quality, you are ready to start capturing your favorite moments and enjoying them anytime you want.
Conclusion
Recording on your Apple TV opens up a world of possibilities for preserving your favorite moments, capturing gameplay, or creating content for sharing. Whether you choose to use the Apple TV remote, your iPhone or iPad, a third-party app, or the built-in screen recording feature, each method offers its own unique advantages.
Using the Apple TV remote provides a quick and simple way to record, without the need for additional devices or apps. On the other hand, utilizing your iPhone or iPad as a recording device gives you more control over the recording process and allows for customization options. Using a third-party app adds advanced features and flexibility to your recording experience. And if you have a newer model of Apple TV, you may have access to the built-in screen recording feature, providing a seamless and integrated solution.
Remember to always use these recording methods responsibly and within the bounds of copyright laws. Ensure stable network connections, adjust video quality settings, optimize lighting conditions, and consider using separate audio recording devices for better audio quality. Editing and trimming your recordings can further enhance the final result.
With these various options and tips in mind, you can now confidently record and capture your favorite content on Apple TV. Enjoy reliving those memorable moments or sharing your creations with others. Get ready to unleash your creativity and make the most out of your Apple TV recording experience!