Introduction
Welcome to this step-by-step guide on how to put a SIM card in a tablet. Tablets have become an essential part of our daily lives, serving as portable devices for communication, productivity, and entertainment. While most tablets are equipped with Wi-Fi capabilities, some models also come with built-in SIM card slots to enable cellular connectivity.
Inserting a SIM card into your tablet allows you to access the internet on the go, make voice calls, and send text messages, just like you would with a smartphone. This is especially useful when you’re traveling or in an area with limited Wi-Fi access. In this guide, we will walk you through the process of inserting a SIM card into your tablet without any hassle.
It’s important to note that not all tablets have a SIM card slot. Before attempting to insert a SIM card, ensure that your tablet has this feature. If your tablet doesn’t have a SIM card slot, you can still use it over Wi-Fi or tether it to your smartphone for internet connectivity.
In this guide, we will cover the necessary tools you’ll need, how to locate the SIM card slot on your tablet, how to prepare your SIM card, and the process of inserting the SIM card into your tablet. Additionally, we’ll guide you on how to power on your tablet and configure the SIM card for optimal functionality.
Now, let’s get started with the first step: gathering the necessary tools for the SIM card insertion process.
Step 1: Gather the necessary tools
Before you begin inserting a SIM card into your tablet, it’s essential to gather the necessary tools to ensure a smooth and hassle-free process. Here are the tools you’ll need:
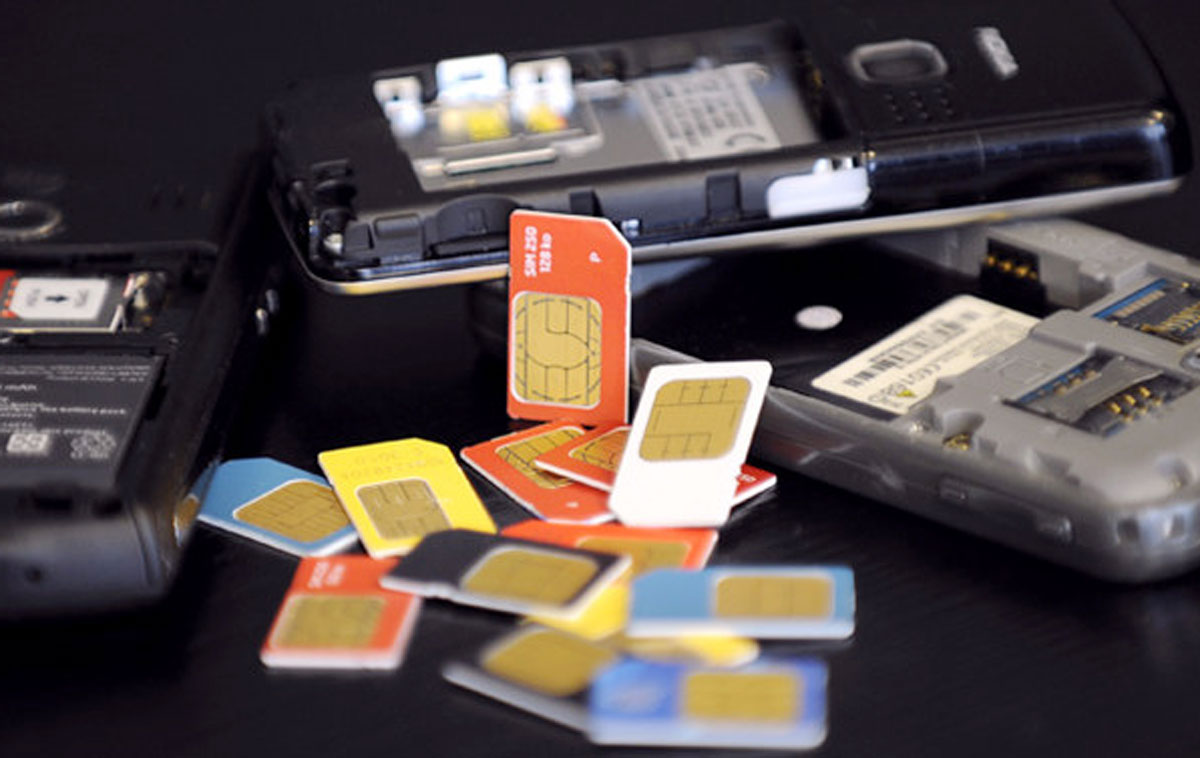
- A SIM card: Make sure you have an activated SIM card that is compatible with your tablet. The SIM card should also have a data plan activated if you wish to use cellular data.
- A SIM card ejector tool or a paperclip: Most tablets come with a SIM card ejector tool. If you don’t have one, you can use a small paperclip.
- A clean cloth or microfiber cloth: This will come in handy to wipe the SIM card and the tablet’s SIM card slot, ensuring there are no dust or debris particles that could hinder the insertion process.
Once you have gathered these tools, you are ready to move on to the next step: locating the SIM card slot on your tablet. It’s important to follow the manufacturer’s instructions and guidelines specific to your tablet model, as the location of the SIM card slot may vary.
Step 2: Locate the SIM card slot on your tablet
Finding the SIM card slot on your tablet is crucial for successfully inserting the SIM card. The location of the SIM card slot may vary depending on the tablet’s make and model, but here are some common places to look:
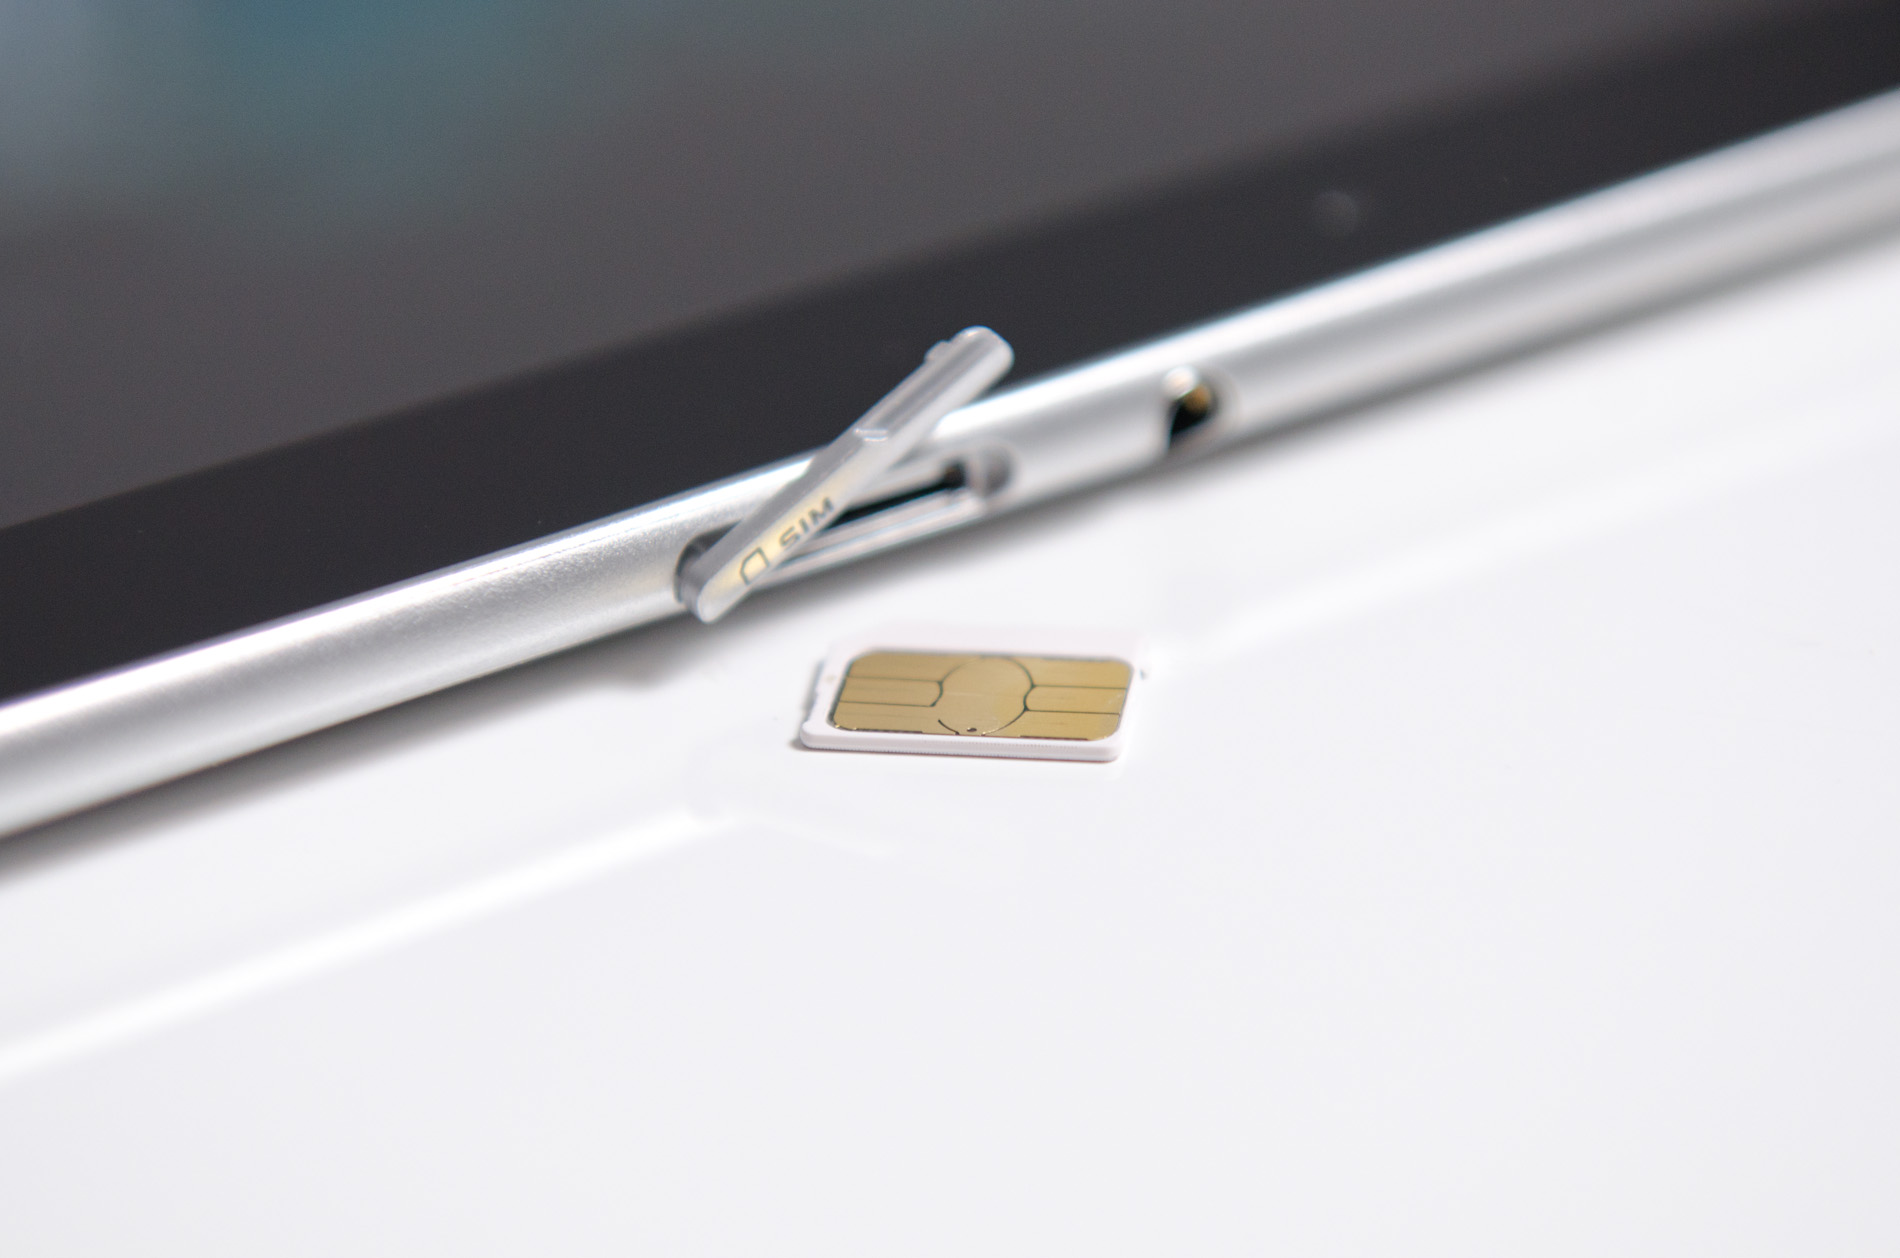
- Top edge: On some tablets, you might find the SIM card slot on the top edge, near the power button or headphone jack.
- Side panel: Many tablets have the SIM card slot on one of the side panels. Look for a small slot with a pinhole. This is where you’ll insert the SIM card.
- Back cover: In certain tablets, the SIM card slot is located under the back cover. You’ll need to remove the cover to access the slot.
To determine the exact location and method of accessing the SIM card slot, refer to the tablet’s user manual or the manufacturer’s website. These resources will provide specific instructions and illustrations for your particular tablet model.
Once you have located the SIM card slot, it’s time to prepare your SIM card for insertion. This will ensure a secure and snug fit, preventing any issues with connectivity or damage to the SIM card or tablet.
Step 3: Prepare your SIM card
Preparing your SIM card before inserting it into your tablet is an essential step to ensure a smooth and successful insertion process. Follow the steps below to prepare your SIM card:
- Turn off your tablet: Before handling the SIM card, power off your tablet to avoid any potential damage or interference.
- Locate the SIM card tray: Once your tablet is powered off, locate the SIM card tray or slot. The tray is usually a small rectangular or square-shaped opening where the SIM card will be placed.
- Retrieve the SIM card ejector tool: If your tablet came with a SIM card ejector tool, take it out of the box or packaging. If you don’t have one, a small paperclip can be used as an alternative.
- Insert the SIM card ejector tool/paperclip into the pinhole: Gently insert the SIM card ejector tool or the unfolded paperclip into the pinhole located near the SIM card tray. Apply a small amount of pressure until you feel a slight resistance.
- Push the tool/paperclip: Once you encounter resistance, carefully push the tool or paperclip inwards to release the SIM card tray. The tray should slide out partially or completely, exposing the SIM card slot.
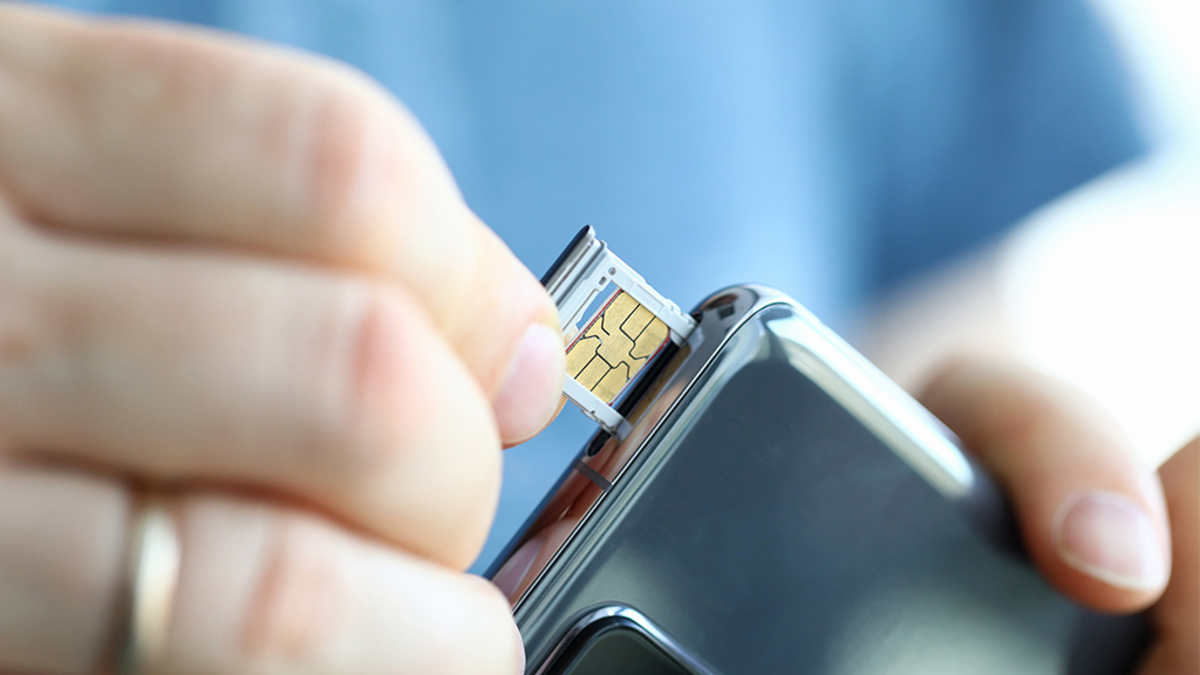
- Remove the SIM card tray: Using your fingers or the tool, gently pull the SIM card tray out of the tablet. Be cautious to avoid excessive force or damage to the tray or tablet.
- Place the SIM card in the tray: Take your SIM card and align it with the designated area on the SIM card tray. Ensure that the metal contacts on the SIM card are facing down or towards the tablet’s circuit board.
- Reinsert the SIM card tray: Once the SIM card is properly placed on the tray, carefully insert it back into the tablet. Make sure it fits securely and flush with the tablet’s body.
With your SIM card now prepared, it’s time to move on to the exciting part: inserting it into your tablet. Let’s proceed to the next step.
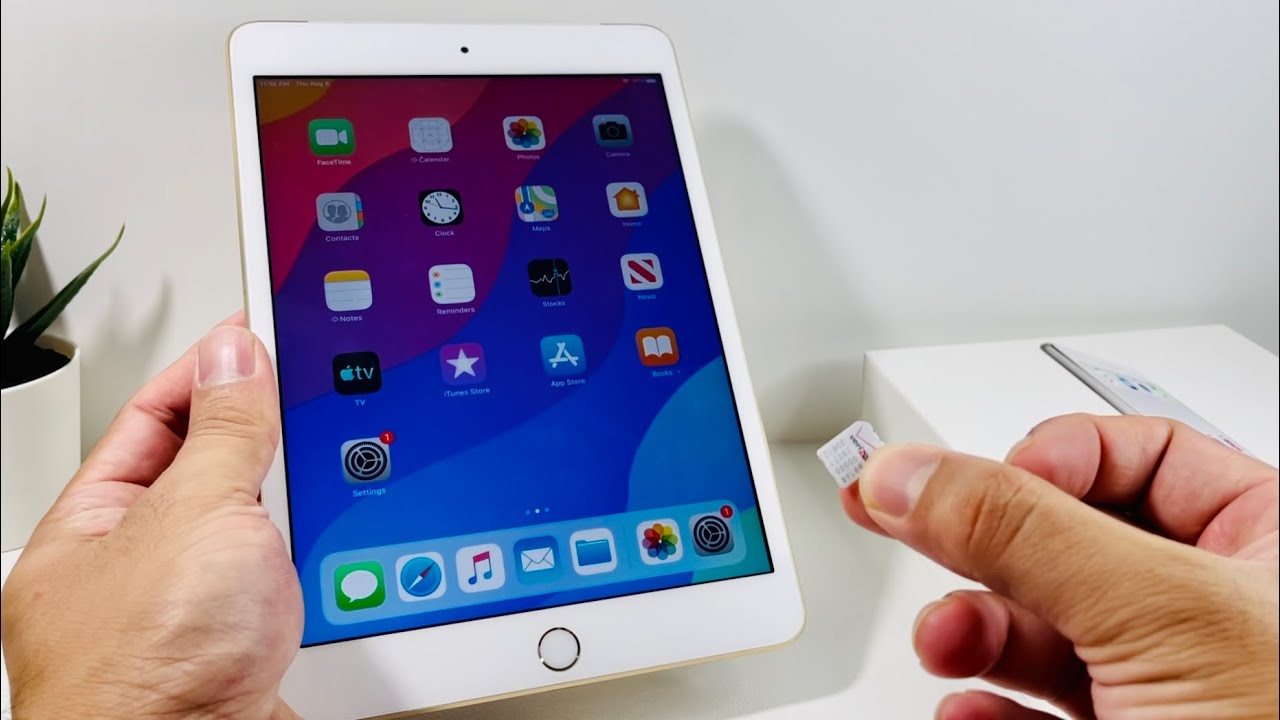
Step 4: Insert the SIM card into the tablet
With your SIM card prepared and the SIM card tray in hand, it’s time to insert the SIM card into your tablet. Follow the steps below to ensure a successful insertion:
- Power off your tablet: Before you begin, make sure your tablet is powered off to avoid any potential damage or interference.
- Locate the SIM card slot: Find the SIM card slot on your tablet. This is the area where the SIM card tray will be inserted.
- Align the SIM card tray: Take the SIM card tray, ensuring that it is in the proper orientation. Align the tray with the SIM card slot on your tablet.
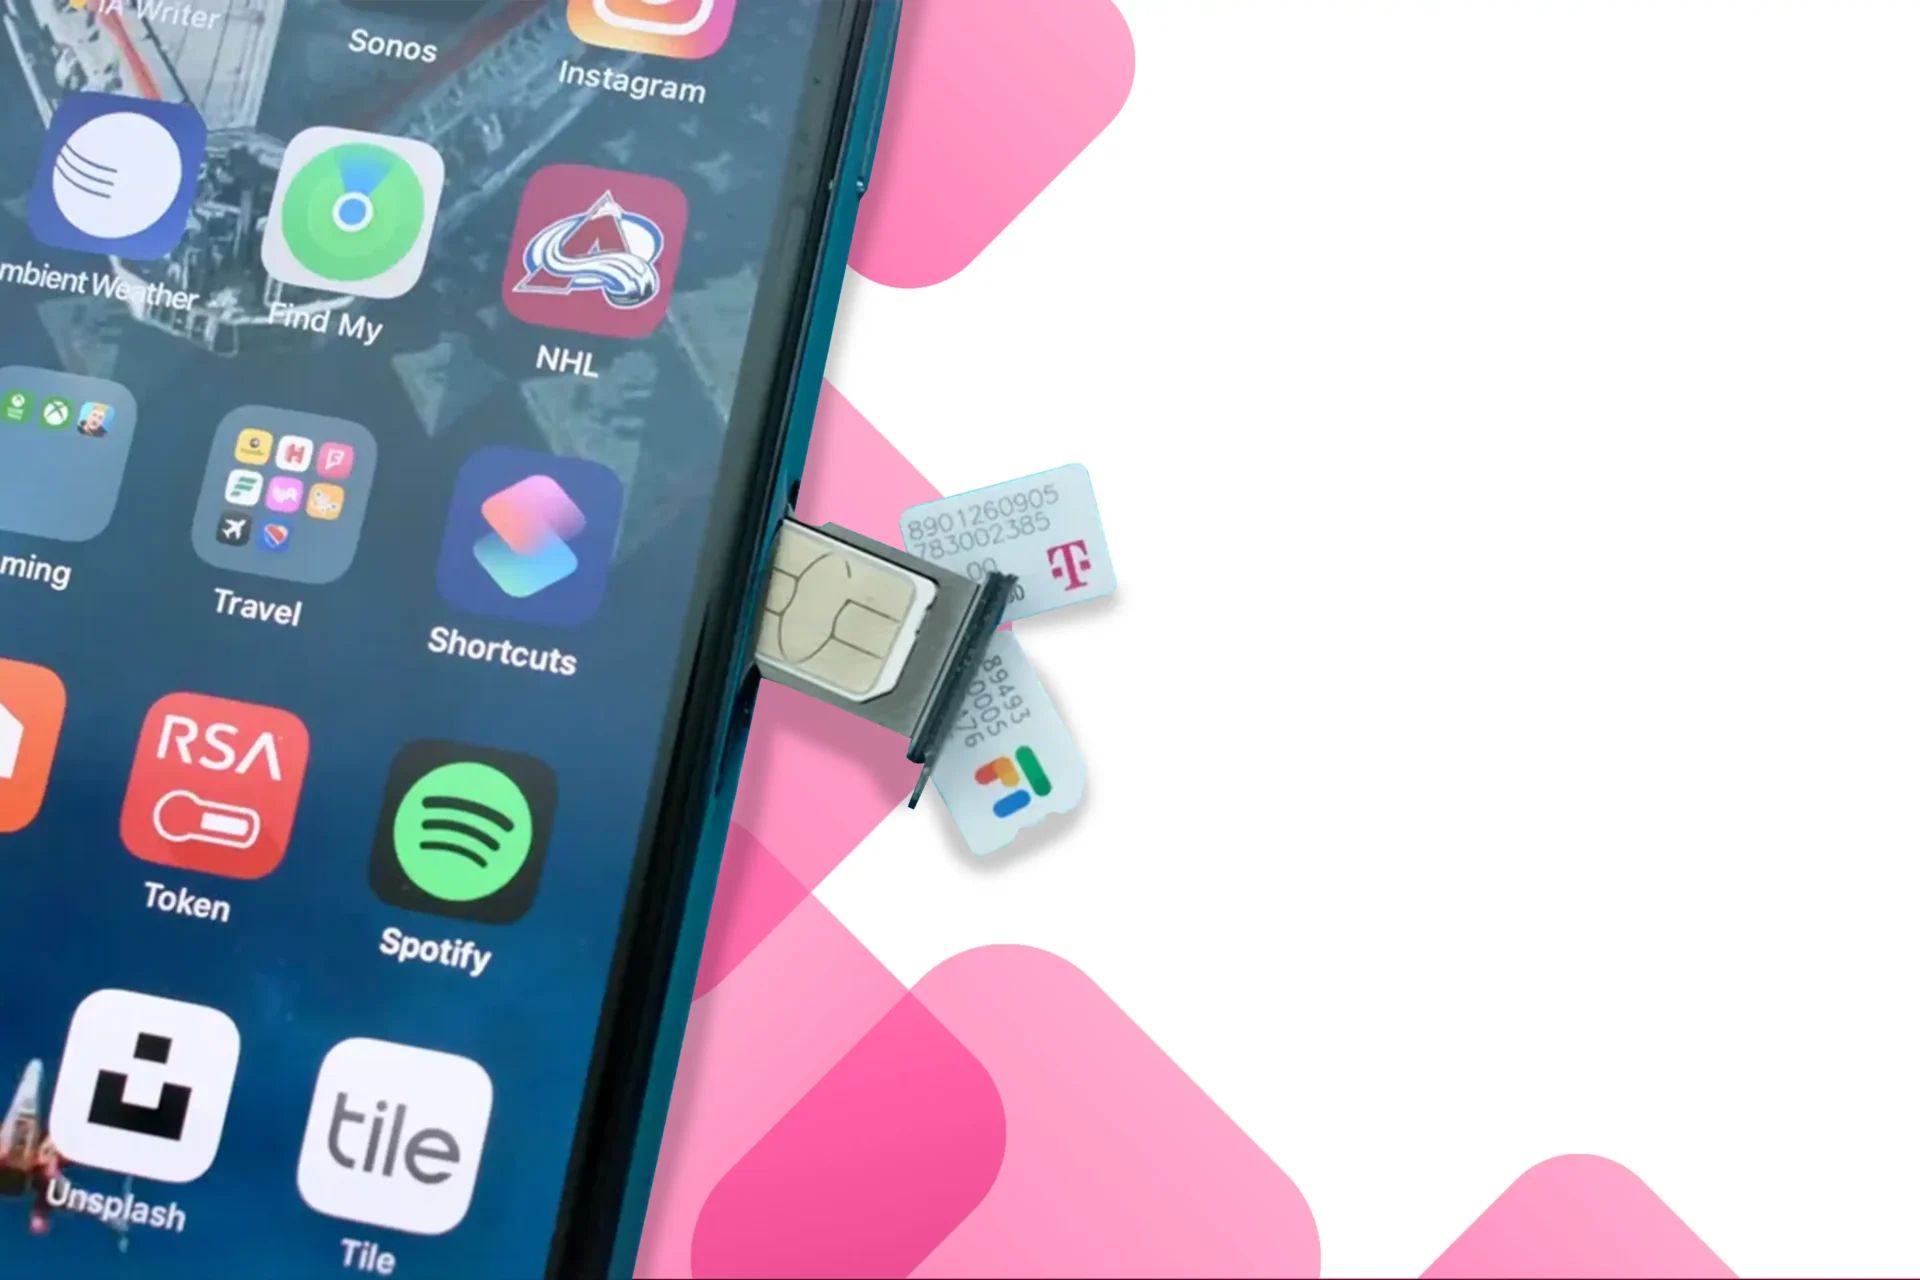
- Insert the SIM card tray: Carefully insert the SIM card tray into the slot, applying gentle pressure until it is fully seated.
- Secure the SIM card tray: Once inserted, make sure the SIM card tray is secure and flush with the tablet’s body.
- Power on your tablet: Power on your tablet and wait for it to boot up. The tablet will detect the SIM card and configure the necessary settings.
It’s important to note that the process of inserting a SIM card may vary depending on your tablet’s make and model. In some cases, the SIM card tray may be accessed from the side, while in others, it may be located under the back cover. Refer to the manufacturer’s instructions or your tablet’s user manual for specific guidance.
Once you have successfully inserted the SIM card, you’re just one step away from enjoying the benefits of cellular connectivity on your tablet. In the next step, we’ll guide you through the process of powering on your tablet and configuring the SIM card for optimal functionality.
Step 5: Power on your tablet and configure the SIM card
After inserting the SIM card into your tablet, it’s time to power on your device and configure the SIM card settings. Follow the steps below to ensure a seamless setup:
- Press and hold the power button: Locate the power button on your tablet and press and hold it until you see the device powering on. This may take a few seconds.
- Wait for the tablet to boot up: Allow your tablet to fully boot up. This process may take a few minutes as the device initializes the operating system and detects the inserted SIM card.
- Configure the SIM card settings: Once your tablet is powered on, you’ll be prompted to configure the SIM card settings. Follow the on-screen instructions, which may include selecting a language, connecting to a Wi-Fi network, and setting up your preferred communication options.
- Activate the SIM card: If your SIM card requires activation, you may be prompted to enter activation details or contact your cellular service provider for assistance. Follow the necessary steps and provide the required information to activate your SIM card.
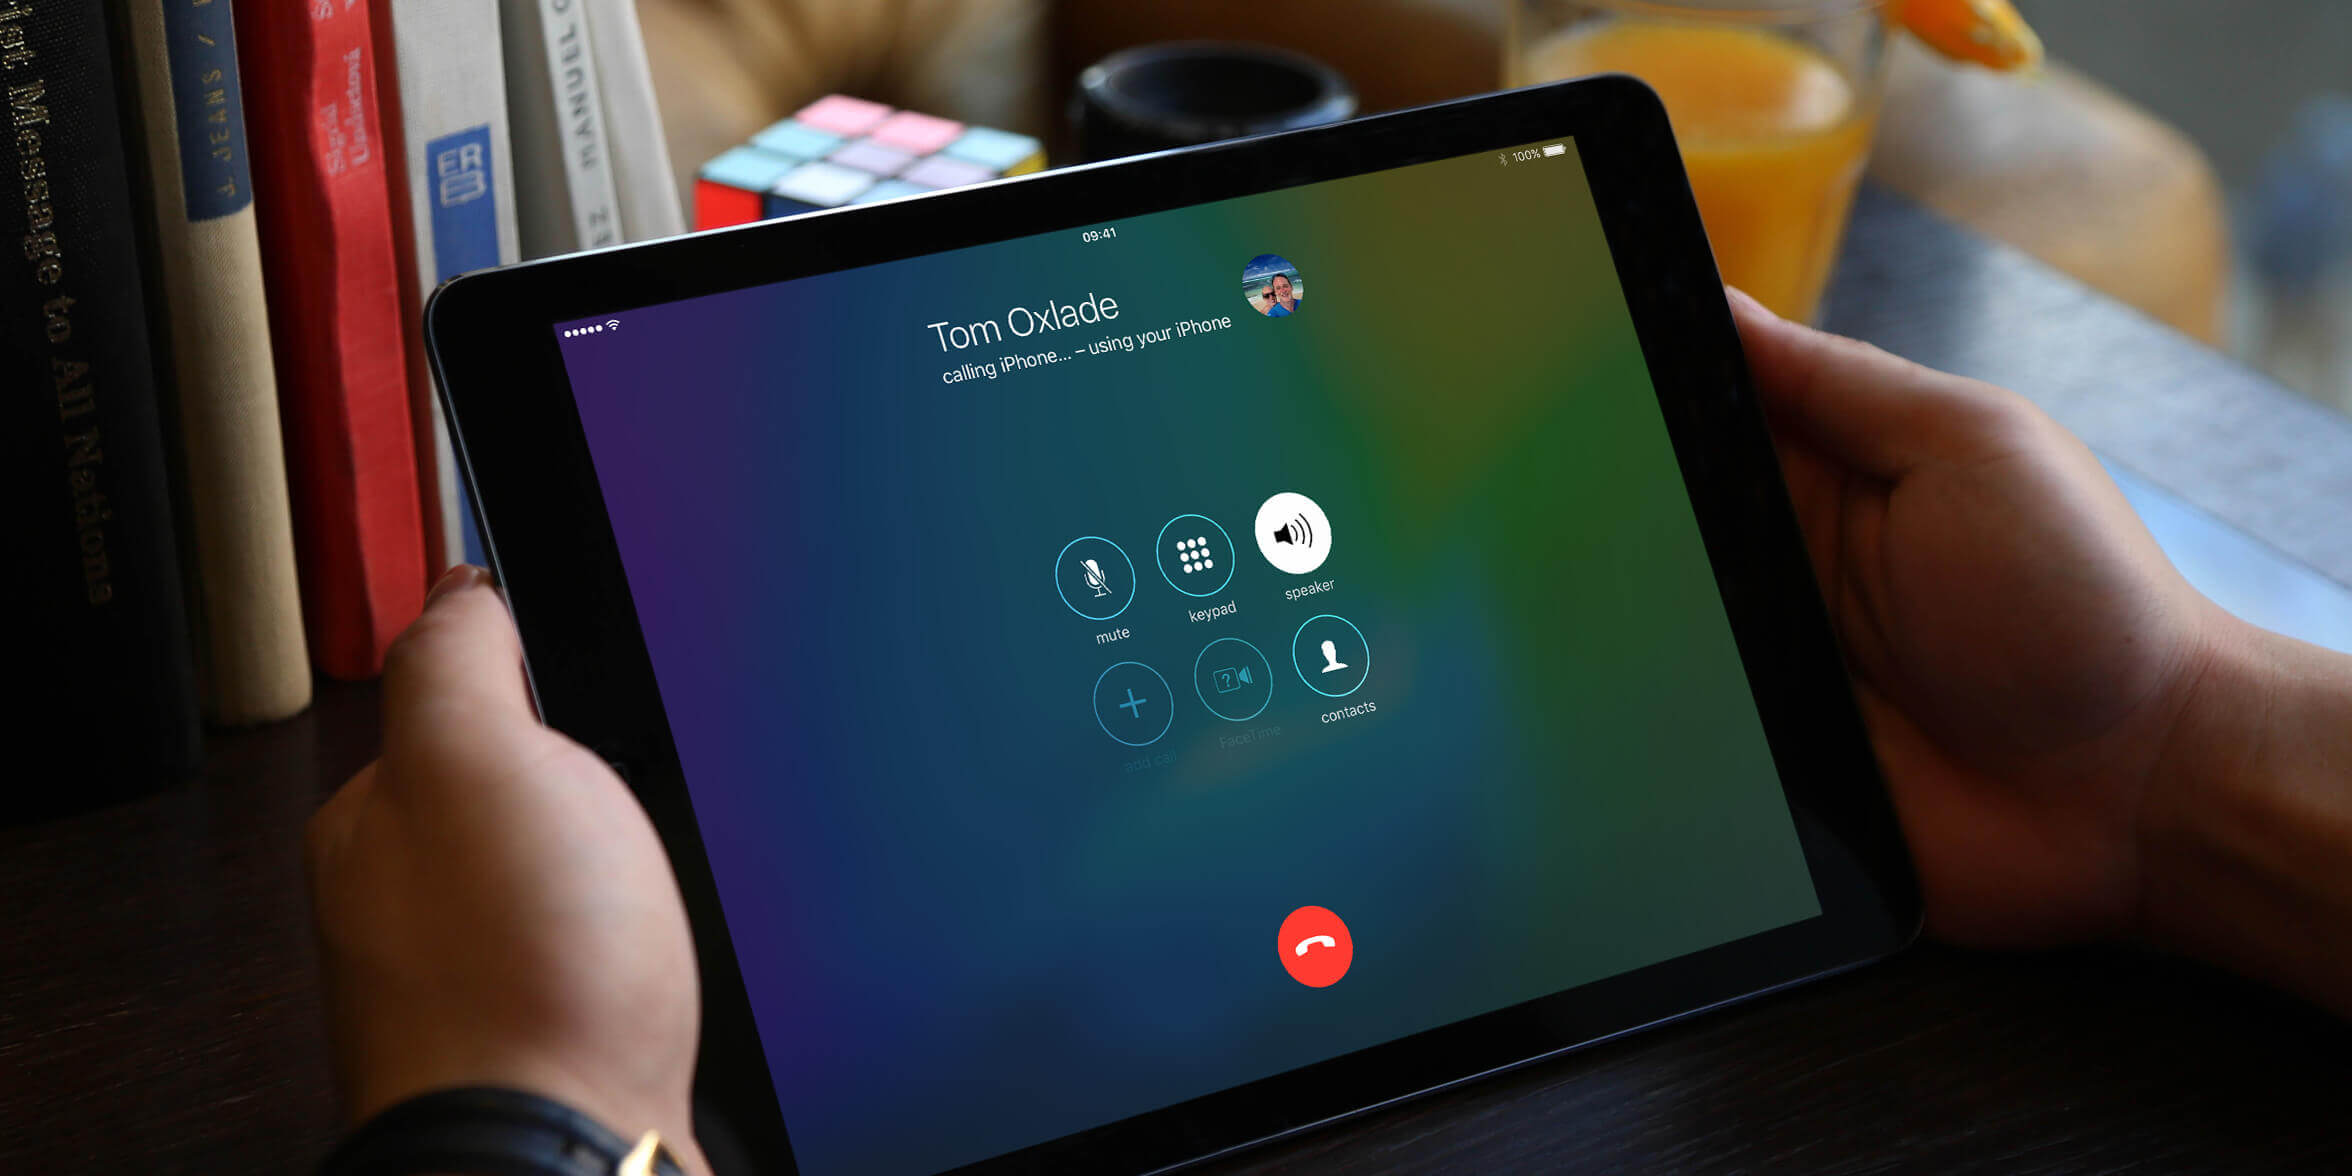
- Test the SIM card functionality: Once the SIM card settings are configured, test the functionality by accessing the internet, making a phone call, or sending a text message. Ensure that the SIM card is working properly and that you have a stable cellular connection.
It’s important to note that the configuration process may vary depending on your tablet’s operating system and the specific SIM card provider. If you encounter any issues or have difficulties setting up your SIM card, refer to the tablet’s user manual or contact the customer support of your cellular service provider for further assistance.
Congratulations! You have successfully inserted a SIM card into your tablet and configured the necessary settings. Now you can enjoy the benefits of cellular connectivity on the go, including internet access, voice calls, and text messaging. Make sure to keep your SIM card and tablet in a safe place to avoid loss or damage.
Conclusion
In this guide, we have walked you through the process of inserting a SIM card into your tablet. By following the steps outlined, you can enjoy the convenience of cellular connectivity on your device, allowing you to browse the internet, make calls, and send text messages wherever you are.
Remember to gather the necessary tools, including a SIM card, SIM card ejector tool or paperclip, and a clean cloth, before starting. Locate the SIM card slot on your tablet, which can be found on the top edge, side panel, or under the back cover, depending on the model.
Prepare your SIM card by turning off the tablet, using the ejector tool or paperclip to release the SIM card tray, and align the SIM card with the designated area on the tray. Insert the tray back into the tablet securely and power on your device.
During the setup process, configure the SIM card settings, including language selection, Wi-Fi network connection, and activation if required. Test the functionality of the SIM card by accessing the internet, making calls, and sending messages.
If you encounter any difficulties, refer to the tablet’s user manual or reach out to your cellular service provider for assistance. Always ensure that you follow the manufacturer’s instructions and guidelines specific to your tablet model.
Now that you have successfully inserted a SIM card into your tablet, you can take advantage of the benefits of on-the-go connectivity. Stay connected, productive, and entertained wherever you are with your tablet’s cellular capabilities.
Enjoy your newly connected tablet and make the most out of the endless possibilities it offers!