Introduction
Port forwarding is a crucial aspect of networking that allows you to redirect incoming network traffic to a specific device or service on your local network. It enables you to access devices, such as web servers, gaming consoles, or IP cameras, from outside your network.
While port forwarding can typically be done using a single router, there are instances where using two routers becomes necessary. This could be due to factors such as limited port availability, the need for separate networks, or the desire for enhanced security.
In this article, we will guide you through the process of port forwarding with two routers. We’ll explain the reasons why you might need to use two routers and provide step-by-step instructions on how to set them up to ensure smooth and efficient port forwarding.
If you find yourself in a situation that requires port forwarding with two routers, this comprehensive guide will assist you in configuring your network effectively. By following these steps, you’ll be able to optimize your network’s functionality and achieve seamless connectivity for your devices and services.
What is port forwarding?
Port forwarding is a fundamental networking technique that allows you to direct incoming network traffic to a specific device or service on your local network. It acts as a bridge between devices on your network and the internet, enabling you to access services from outside your network.
Every device connected to a network has an Internet Protocol (IP) address, which acts as its unique identifier. Additionally, services and applications running on these devices listen on specific numbered ports. For example, a web server typically listens on port 80, while an email server listens on port 25.
When a device on the internet wants to communicate with a specific device or service on your local network, it needs to know the public IP address of your router and the corresponding port number. Port forwarding allows you to map incoming connections from the internet to a specific device and port on your local network.
By configuring port forwarding, you can redirect incoming traffic destined for a particular port on your public IP address to the specific device and port number on your local network. This enables you to establish connections to services hosted on your devices, such as web servers, gaming consoles, or IP cameras, from anywhere in the world.
For example, if you have a web server running on a computer in your local network behind a router, port forwarding allows you to redirect incoming HTTP requests on port 80 to that computer, allowing users to access your website. Without port forwarding, the router wouldn’t know which device on your network to send the incoming requests to, rendering the web server inaccessible from the internet.
Port forwarding is an essential technique for various applications, including remote access, gaming, video surveillance, and running servers. Understanding how to configure port forwarding correctly is crucial for anyone who wants to make their local network services accessible from outside their network.
Why use 2 routers?
While port forwarding can typically be accomplished with a single router, there are certain scenarios where using two routers becomes necessary or beneficial. Here are some reasons why you might need to use 2 routers for port forwarding:
- Limited port availability: In some cases, a single router may not have enough available ports to satisfy your port forwarding needs. This can happen if you have multiple services or devices that require their own dedicated ports. By using two routers, you can effectively double the number of available ports and ensure each service or device has its own designated port.
- Separate networks: Using two routers allows you to create separate and isolated networks within your home or office. This can be useful if you want to segregate devices or services for security or management purposes. For example, you may want to keep your IoT devices on a separate network from your main devices to enhance security and prevent potential vulnerabilities.
- Improved security: Having two routers can provide an additional layer of security for your network. By placing an additional router behind your main router, you create a double NAT (Network Address Translation) configuration. This can help protect your internal devices from certain types of attacks, as the external network only sees the IP address of the second router, making it harder for attackers to directly target your devices.
- Enhanced performance: In some cases, using two routers can help distribute network traffic more efficiently. By utilizing load balancing techniques, you can divide incoming and outgoing traffic across the two routers, reducing congestion and improving overall network performance.
- Extended coverage: If you have a large home or office space that requires extended Wi-Fi coverage, using two routers can help achieve this. By connecting the second router as an access point, you can create a Wi-Fi mesh network, ensuring a strong and stable Wi-Fi signal throughout the entire area.
While using two routers for port forwarding can provide additional flexibility and benefits, it’s important to carefully plan and configure your network to ensure proper functionality and compatibility between the routers.
Scenario: Why you might need 2 routers for port forwarding
There are various scenarios where using two routers for port forwarding becomes necessary or advantageous. Let’s explore some common situations:
- Multiple public IP addresses: If your internet service provider (ISP) assigns you multiple public IP addresses, you may need to use two routers to utilize all of them effectively. This can be useful if you want to host multiple services, such as web servers or game servers, each requiring a unique public IP address.
- Separate network segments: In larger organizations or businesses, there may be a need to divide the network into different segments due to security or administrative requirements. By using two routers, you can create separate subnet networks, each with its own set of devices and services, while still allowing communication between them when necessary.
- Remote office or branch locations: If you have multiple office locations or branch offices, you may want to set up port forwarding for services hosted in each location. Using two routers, you can configure port forwarding at each site independently, allowing external access to specific services or devices in each branch office.
- Guest network and main network separation: If you want to provide guest access to your network while keeping your main network secure, using two routers can be beneficial. The primary router can handle your main network, while the secondary router can be dedicated to the guest network, ensuring that guest devices are segregated from your main devices and minimizing the risk of unauthorized access.
- Hardware limitations: Certain older routers may have limitations on the number of port forwarding rules they can support, or they may lack advanced features required for specific applications. In such cases, using an additional router with more advanced capabilities can help overcome these limitations and provide a more robust and flexible port forwarding solution.
These scenarios illustrate the diverse situations where using two routers for port forwarding can be advantageous. Ensuring that you have the necessary hardware and understanding the requirements of your network setup are crucial for successfully implementing port forwarding with multiple routers.
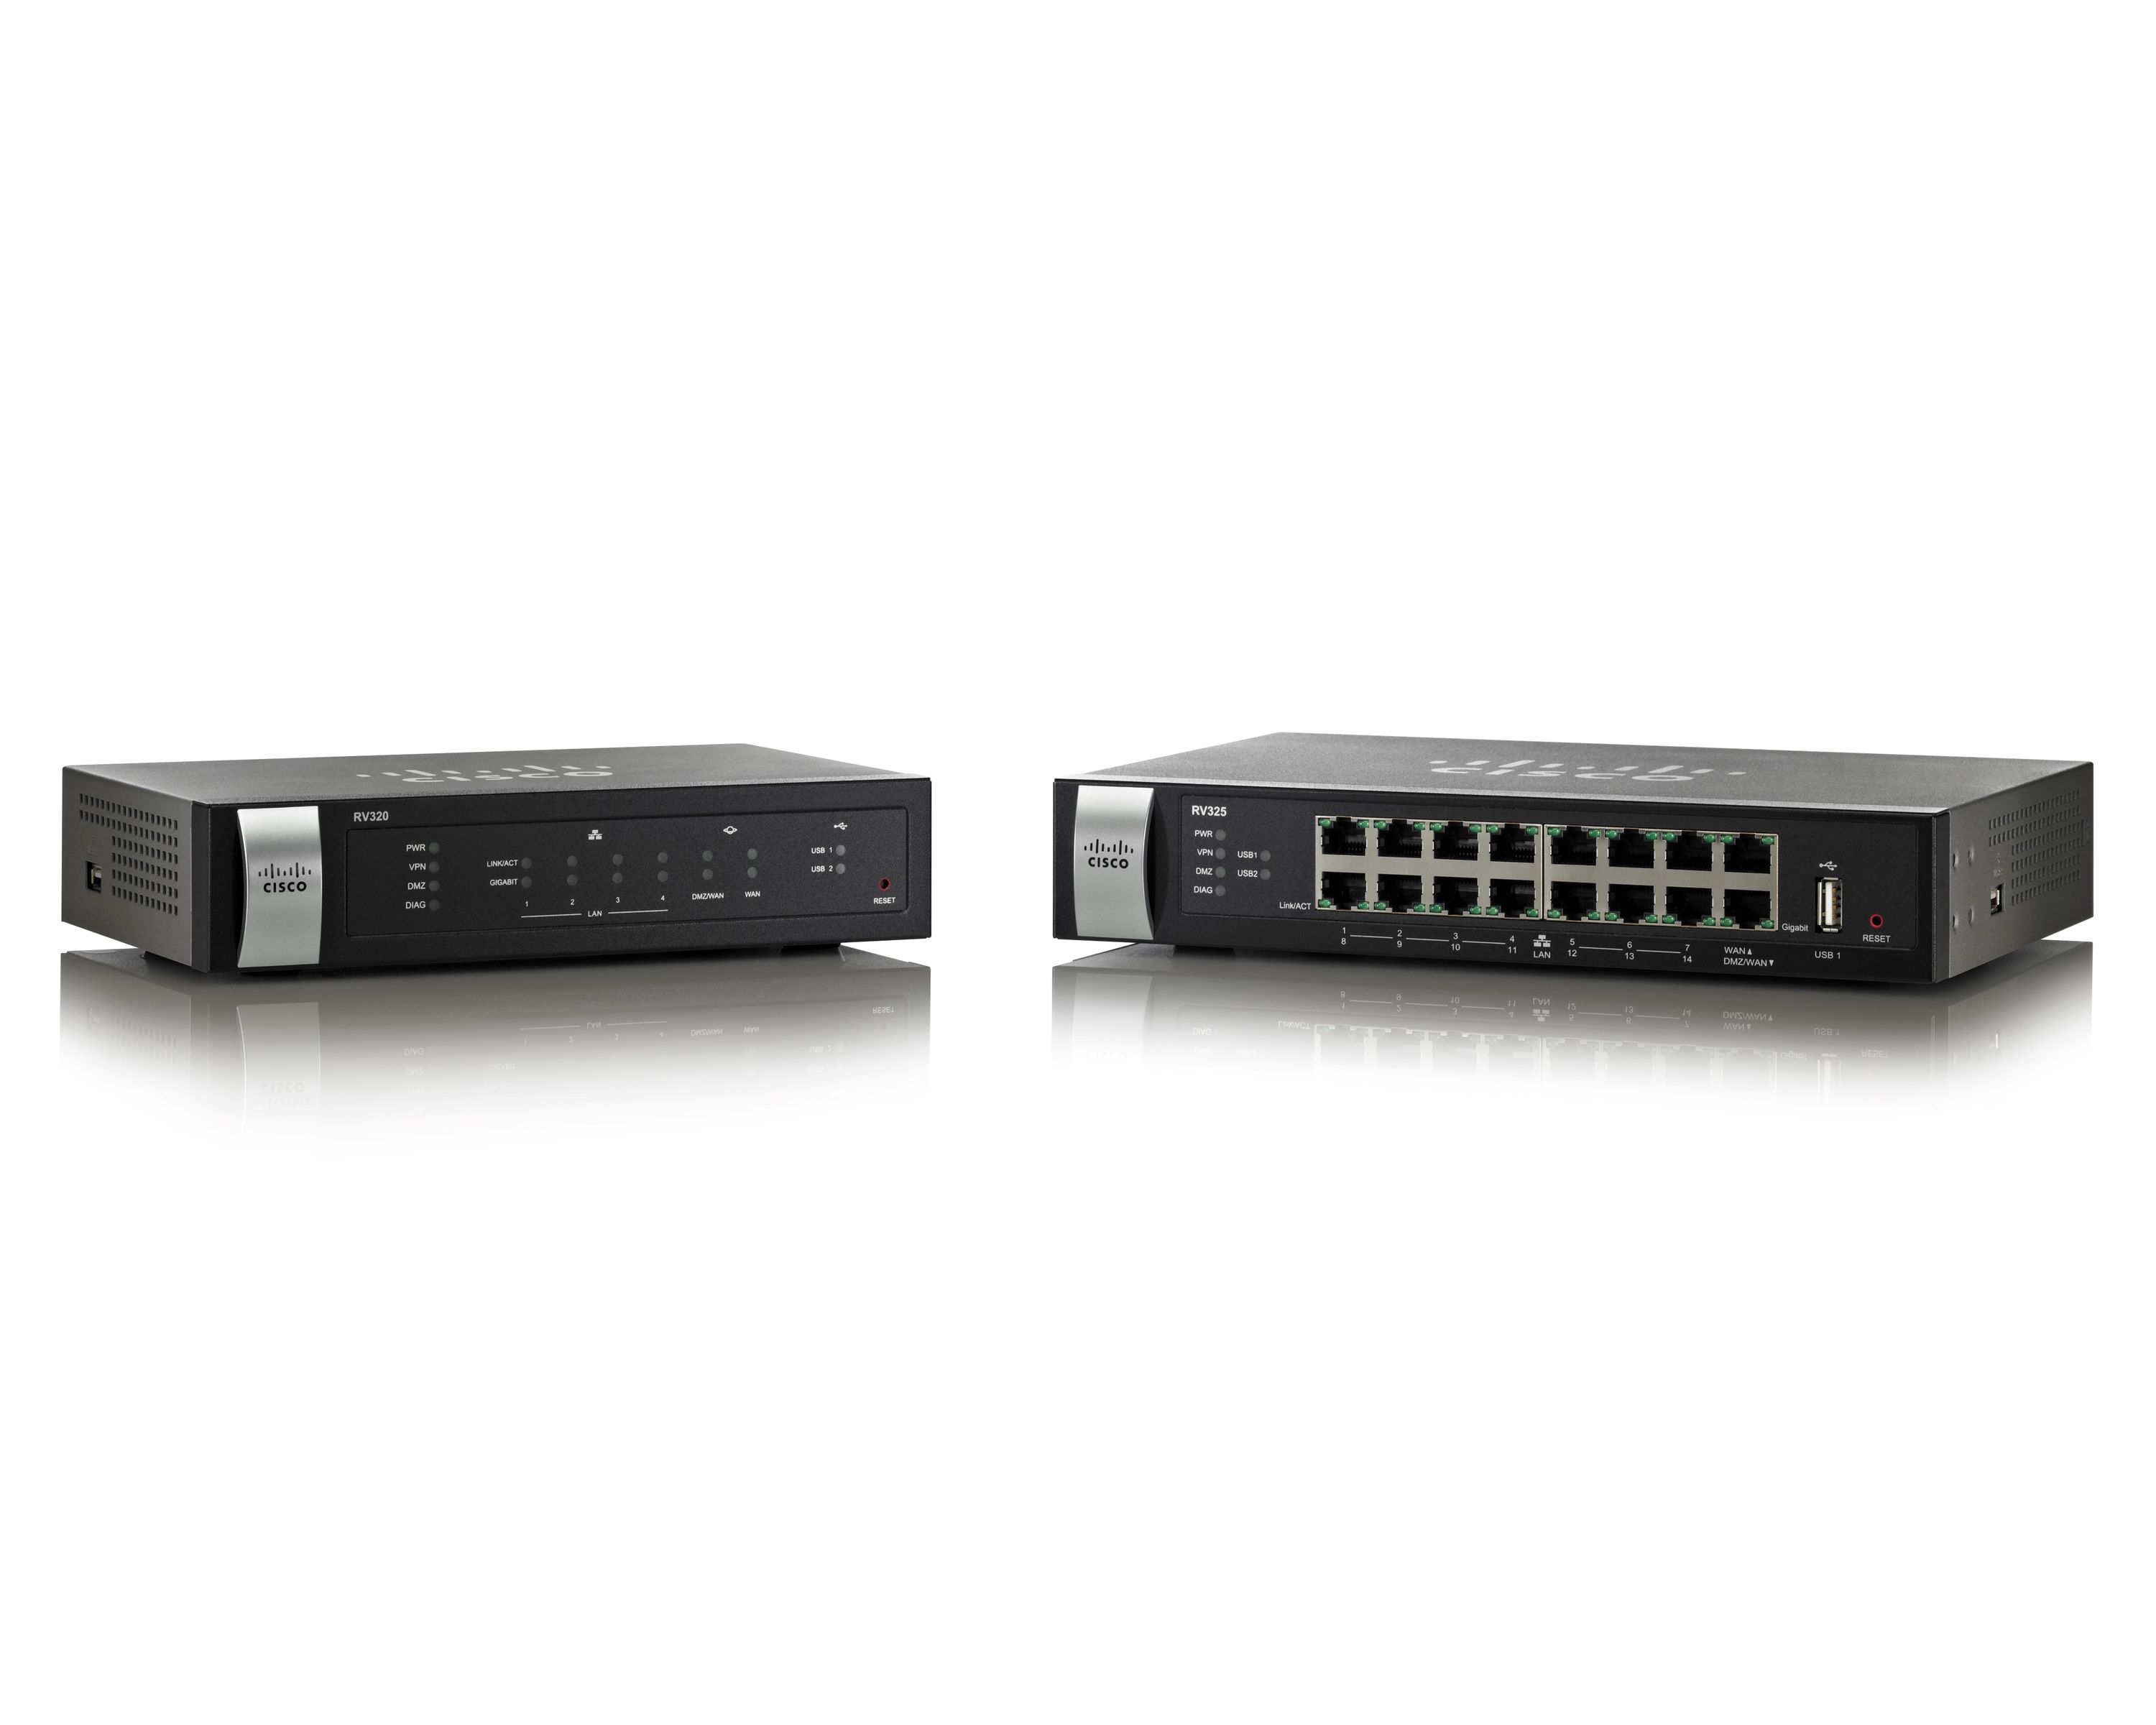
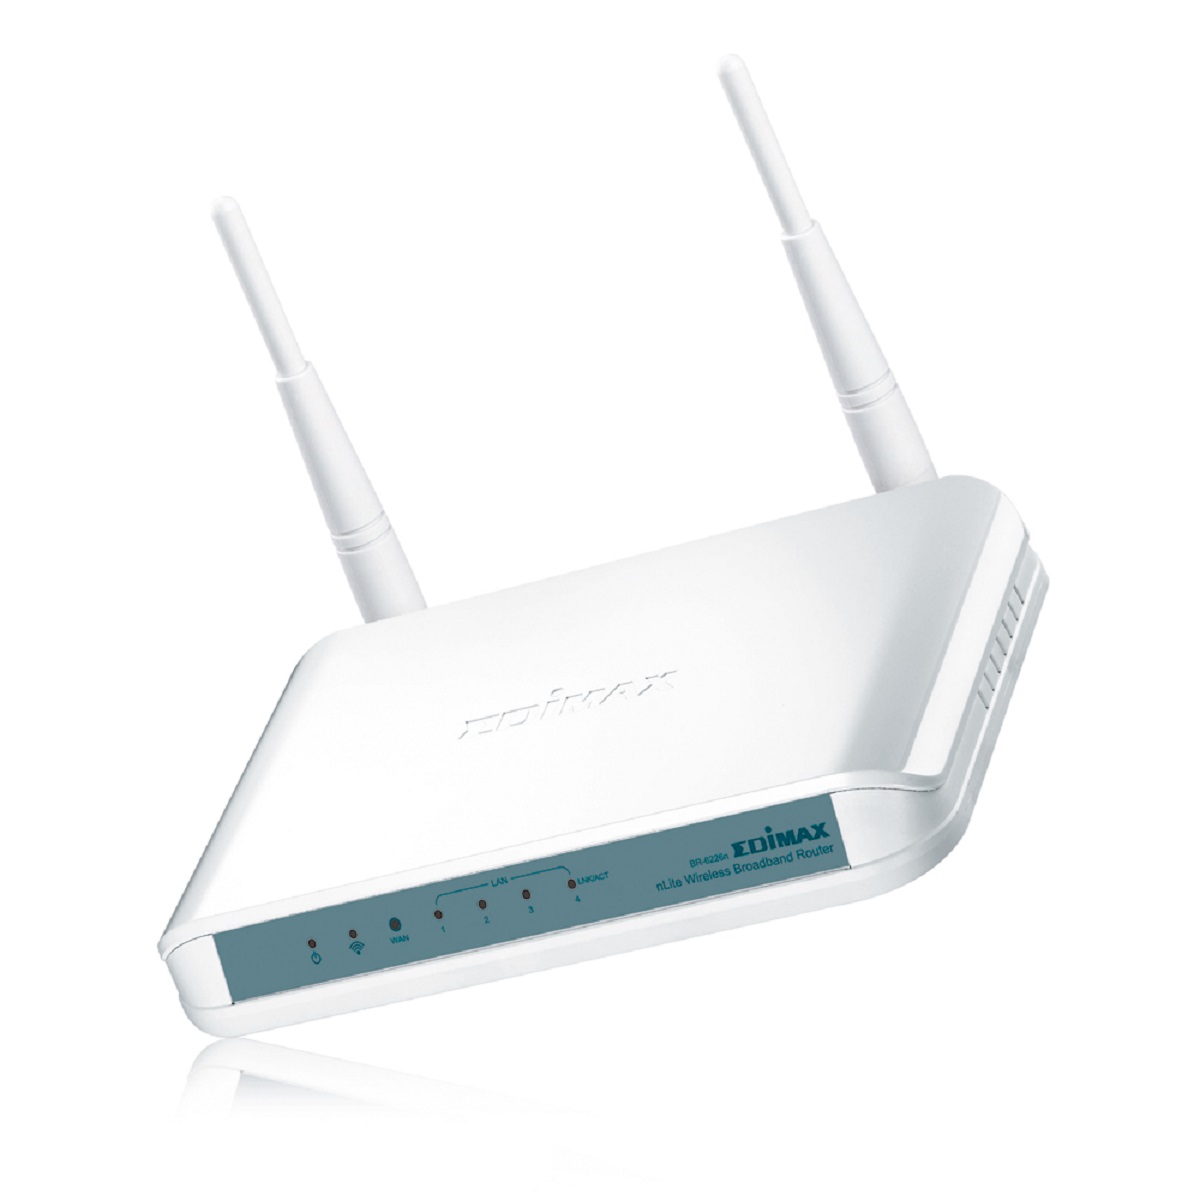
Step 1: Setting up the main router
The first step in port forwarding with two routers is to set up the main router. This router will be connected directly to your internet service provider (ISP) and will act as the primary gateway for your network. Follow these steps to set up your main router:
- Connect the main router: Connect your main router to the modem provided by your ISP using an Ethernet cable. Ensure that the connection is secure and that the modem is powered on.
- Access the router’s configuration page: Open a web browser on a device connected to the main router’s network and enter the default IP address of the router in the address bar. This is typically “192.168.1.1” or “192.168.0.1”, but it may vary depending on the router model. Refer to the router’s user manual or check the manufacturer’s website for more information.
- Login to the router: Enter the administrator username and password to access the router’s configuration settings. If you haven’t changed these credentials before, refer to the manufacturer’s documentation for the default login information.
- Configure network settings: In the router’s configuration interface, navigate to the network settings section. Assign a unique name (SSID) to your Wi-Fi network and set a strong password to secure it. Configure other network settings as desired, such as DHCP and DNS.
- Update firmware: Check for any available firmware updates for your router and apply them if necessary. Keeping the router’s firmware up to date ensures optimal performance, stability, and security.
- Enable UPnP: Universal Plug and Play (UPnP) allows devices on your network to automatically establish port forwarding rules when needed. Enable UPnP in your router’s settings to simplify the port forwarding process for some applications and devices.
Once you have completed these steps, your main router is configured and ready to go. The next step is to set up the secondary router to work in conjunction with the main router for port forwarding.
Step 2: Configuring the secondary router
After setting up the main router, the next step in port forwarding with two routers is configuring the secondary router. This router will be connected to the main router and will serve as an additional layer of network management. Follow these steps to configure the secondary router:
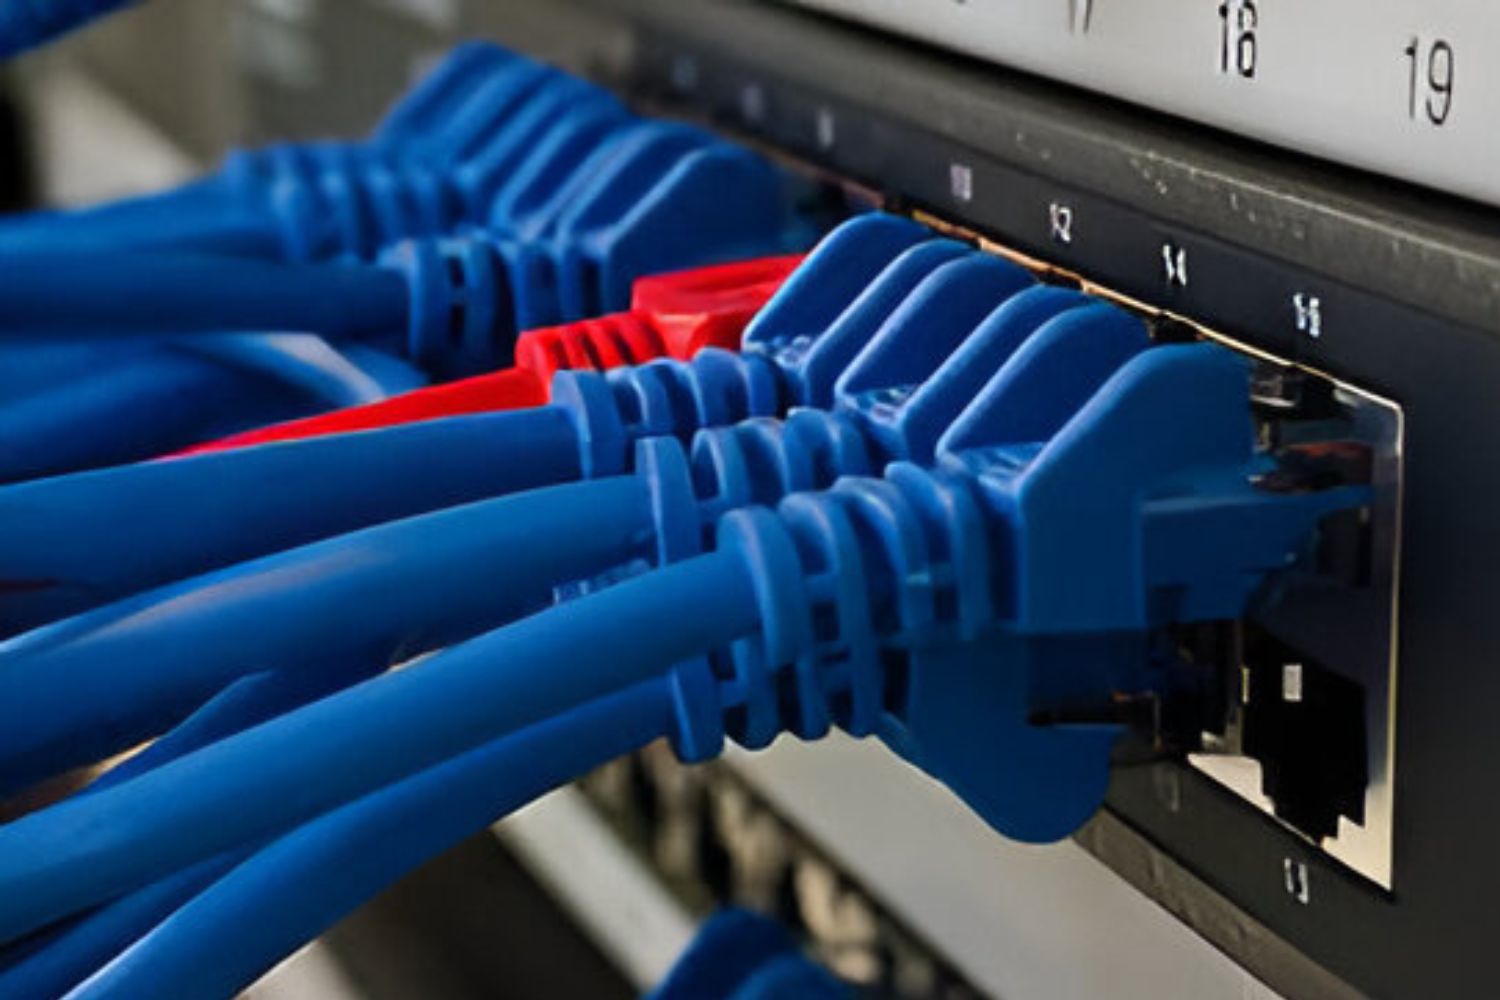
- Connect the secondary router: Connect one end of an Ethernet cable to the LAN port of the main router and the other end to the WAN (Internet) port of the secondary router. Make sure the connection is secure.
- Access the secondary router’s configuration page: Similar to the main router, open a web browser on a device connected to the secondary router’s network and enter the default IP address of the router in the address bar. The default IP address is usually “192.168.1.1” or “192.168.0.1”, but it may vary depending on the router model. Check the router’s user manual or manufacturer’s website for accurate information.
- Login to the secondary router: Enter the administrator username and password to access the secondary router’s configuration settings. If you have not changed these credentials before, check the manufacturer’s documentation for the default login information.
- Configure network settings: In the configuration interface of the secondary router, navigate to the network settings section. Assign a unique name (SSID) to the Wi-Fi network and set a strong password to secure it. Ensure that the DHCP server on the secondary router is enabled.
- Disable DHCP on the secondary router: To avoid conflicts on the network, disable the DHCP server on the secondary router. This will prevent it from assigning IP addresses to devices on the network.
- Set a static IP address for the secondary router: It is important to assign a static IP address to the secondary router so that it does not change when the DHCP lease expires. Configure a static IP address within the same subnet as the main router, but outside its DHCP range. This will ensure that the routers can communicate with each other.
- Save and apply the settings: Once you have made the necessary configuration changes, save the settings and apply them. The secondary router will restart with the new settings.
By completing these steps, you have successfully configured the secondary router to work in conjunction with the main router. The next steps involve configuring port forwarding on both routers to ensure the proper redirection of incoming network traffic.
Step 3: Configuring port forwarding on the main router
Once you have set up both the main and secondary routers, the next step in port forwarding with two routers is to configure port forwarding on the main router. This process allows you to redirect incoming network traffic to specific devices or services within your local network. Follow these steps to configure port forwarding on the main router:
- Access the main router’s configuration page: Open a web browser on a device connected to the main router’s network and enter the IP address of the main router in the address bar. This is typically “192.168.1.1” or “192.168.0.1”, but it may differ based on the router model. Refer to the router’s documentation or manufacturer’s website for accurate information.
- Login to the main router: Enter the administrator username and password to access the main router’s configuration settings. If you haven’t changed these credentials before, check the manufacturer’s documentation for the default login information.
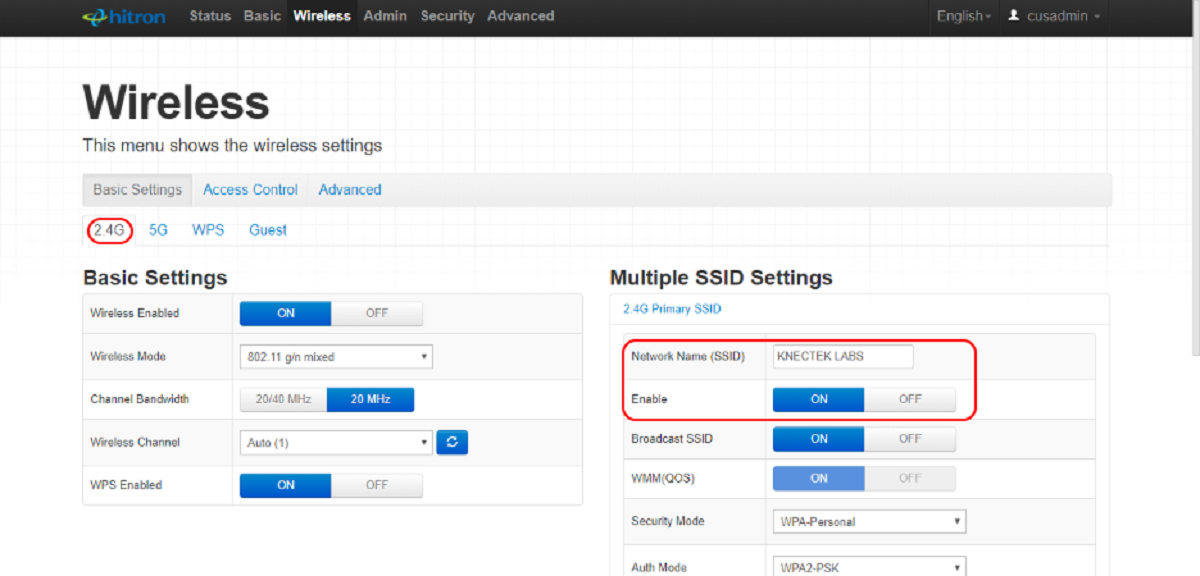
- Locate the port forwarding settings: Navigate to the port forwarding or virtual servers section within the main router’s configuration interface. The exact location and naming may vary depending on your router’s firmware. Look for options related to port forwarding, virtual servers, or NAT (Network Address Translation).
- Add a port forwarding rule: Click on the option to add a new port forwarding rule. Provide a name or description for the rule, specify the port number or range you want to forward, and enter the IP address of the device within your local network that will be receiving the forwarded traffic.
- Choose the protocol: Select the protocol associated with the port you are forwarding, such as TCP, UDP, or both. Some routers may prompt you to choose a protocol or provide separate options for each.
- Save and apply the settings: Once you have configured the port forwarding rule, save the settings and apply them. The main router will then update its configuration and start redirecting incoming traffic to the specified device or service.
- Repeat for additional port forwarding rules: If you have multiple devices or services that require port forwarding, repeat the previous steps to add additional port forwarding rules.
By completing these steps, you have successfully configured port forwarding on the main router. The next step is to configure port forwarding on the secondary router to ensure the proper forwarding of network traffic between the two routers.
Step 4: Configuring port forwarding on the secondary router
After configuring port forwarding on the main router, the next step in port forwarding with two routers is to set up port forwarding on the secondary router. This will allow the secondary router to forward incoming network traffic to specific devices or services within its network. Follow these steps to configure port forwarding on the secondary router:
- Access the configuration page of the secondary router: Open a web browser on a device connected to the secondary router’s network and enter the IP address of the secondary router in the address bar. The default IP address is usually “192.168.1.1” or “192.168.0.1”, but it may vary depending on the router model. Refer to the router’s documentation or the manufacturer’s website for accurate information.
- Login to the secondary router: Enter the administrator username and password to access the configuration settings of the secondary router. If you haven’t changed these credentials before, consult the manufacturer’s documentation for the default login information.
- Locate the port forwarding settings: Navigate to the port forwarding or virtual servers section within the configuration interface of the secondary router. The location and naming may vary depending on the router’s firmware. Look for options related to port forwarding, virtual servers, or NAT (Network Address Translation).
- Add a port forwarding rule: Click on the option to add a new port forwarding rule. Provide a name or description for the rule, specify the port number or range to be forwarded, and enter the IP address of the device within the secondary router’s network that will receive the forwarded traffic.
- Choose the protocol: Select the protocol associated with the port you are forwarding, such as TCP, UDP, or both. Some routers may prompt you to choose a protocol or provide separate options for each.
- Save and apply the settings: After configuring the port forwarding rule on the secondary router, save the settings and apply them. The router will then update its configuration and start forwarding incoming traffic to the specified device or service.
- Repeat for additional port forwarding rules: If you have multiple devices or services that require port forwarding on the secondary router, repeat the previous steps to add additional port forwarding rules.
By following these steps, you have successfully configured port forwarding on the secondary router. With both routers configured for port forwarding, you can now test the port forwarding to ensure that incoming network traffic is being correctly and securely directed to the intended devices or services in your network.
Step 5: Testing the port forwarding
After configuring port forwarding on both the main and secondary routers, the final step is to test the port forwarding to ensure that incoming network traffic is properly directed to the intended devices or services in your network. Follow these steps to test the port forwarding:
- Determine the external IP address: To test the port forwarding, you need to know your external IP address. You can find this information by performing a web search for “what is my IP address”. Note down the IP address displayed in the search results.
- Access the device or service: On a device outside of your local network, open a web browser or application relevant to the device or service you are testing. Enter the external IP address of your network followed by the port number you configured for port forwarding (e.g.,
http://external_ip_address:port_number). - Check for successful connection: If the port forwarding has been set up correctly, you should be able to establish a connection to the device or service. For example, if you configured port forwarding for a web server on port 80, you should see the web server’s page load in your browser.
- Verify functionality: Test the functionality of the device or service being accessed through the port forwarding. Ensure that all features and services are working as expected.
- Repeat the test for each port forwarding rule: If you have multiple port forwarding rules set up, repeat the testing process for each rule to verify that all devices or services are accessible from outside your network.
Testing the port forwarding ensures that your devices or services are accessible from the internet and confirms the effectiveness of your port forwarding configuration. If the port forwarding is not functioning correctly, make sure to double-check your configurations and troubleshoot any issues that may arise. By successfully testing the port forwarding, you have completed the process of setting up and verifying the functionality of port forwarding with two routers.
Conclusion
In conclusion, configuring port forwarding with two routers can provide additional flexibility and benefits for your network setup. By following the steps outlined in this guide, you can successfully set up port forwarding on both the main and secondary routers, allowing you to redirect incoming network traffic to specific devices or services within your local network.
We started by understanding the concept of port forwarding and why using two routers might be necessary in certain scenarios. We explored reasons such as limited port availability, the need for separate networks, enhanced security, improved performance, and extended coverage.
We then walked through the step-by-step process of setting up the main router, configuring the secondary router, and establishing port forwarding rules on both routers. This involved accessing the router’s configuration pages, configuring network settings, enabling UPnP, and setting up static IP addresses. We also covered the essential steps for configuring port forwarding, including adding port forwarding rules, specifying protocols, and applying the settings.
Finally, we discussed the importance of testing the port forwarding to ensure its functionality. By verifying external connectivity and checking the accessibility and functionality of the devices or services being forwarded, you can confirm that the port forwarding is working as intended.
By understanding and implementing port forwarding with two routers, you can optimize your network’s functionality, improve security, and enable access to services hosted within your local network from outside locations. Remember to regularly review and update your port forwarding configurations as needed to accommodate changes in your network environment or require additional services to be accessed remotely.