Introduction
Welcome to the world of over-the-air (OTA) television! With today’s advancements in technology, it’s now easier than ever to access high-quality TV channels without the need for a cable or satellite subscription. All you need is a TV antenna. TV antennas have regained popularity in recent years, providing viewers with a wide range of free-to-air channels, including local news, sports, and entertainment.
In this guide, we will walk you through the process of pointing your TV antenna in the right direction to ensure optimal reception. Whether you’re a cord-cutter looking to save money or simply want to add more channels to your current lineup, knowing how to point your antenna correctly is crucial.
Before we dive into the details, it’s important to understand how TV antennas work. These devices receive radio frequency signals transmitted by TV stations and convert them into audiovisual content that you can watch on your television. The quality of reception depends on several factors, such as the distance to the broadcasting towers, obstacles like buildings or trees, and the type of antenna you’re using.
By following the steps outlined in this guide, you’ll be able to pinpoint the optimal direction for your antenna, adjust its angle, and fine-tune the reception to enjoy crisp and clear television programming. So, let’s get started on pointing your TV antenna in the right direction!
Understanding TV Antennas
Before diving into the intricacies of pointing your TV antenna, it’s important to have a basic understanding of how these devices work. TV antennas come in various types and designs, but their primary function remains the same – to capture broadcast signals and deliver them to your television.
One of the most common types of TV antennas is the unidirectional antenna. As the name suggests, these antennas are designed to receive signals from a specific direction. They are ideal for areas where the broadcasting towers are all located in a similar direction. Unidirectional antennas offer focused reception, maximizing signal strength from a particular point.
On the other hand, multidirectional antennas are designed to receive signals from multiple directions. These antennas are perfect for locations with broadcasting towers spread out in different directions. Multidirectional antennas have a wider reception range, allowing you to capture signals from various angles. They are often recommended for urban areas with high signal interference.
When choosing a TV antenna, it’s crucial to consider the frequency band you want to receive. Over-the-air television signals are transmitted in either VHF (Very High Frequency) or UHF (Ultra High Frequency) bands. VHF signals have a longer wavelength and are better at penetrating obstacles, making them ideal for rural areas. UHF signals, with their shorter wavelength, are better at avoiding interference from buildings and are commonly used in urban areas.
Now that you have a better understanding of the different types of TV antennas and the frequency bands, let’s move on to the next step – choosing the right antenna for your specific needs and location.
Choosing the Right Antenna
When it comes to choosing the right TV antenna, there are several factors to consider. The type of antenna you select will depend on your location, the distance from the broadcasting towers, and the terrain surrounding your area. Here are some key points to keep in mind:
- Research your location: Start by finding out where the nearest broadcasting towers are located. You can use online tools or smartphone apps to locate them. Knowing the direction and distance of the towers will help determine the type of antenna you will need.
- Antenna range: Consider the range of the antenna and match it with the distance to the broadcasting towers. An antenna with a longer range is ideal for areas far from the towers, while a shorter-range antenna is suitable for those in close proximity.
- Signal amplification: Some antennas come with built-in signal amplifiers to enhance reception in areas with weak signals or high interference. If you live in a location with challenging reception conditions, consider an antenna with signal amplification capabilities.
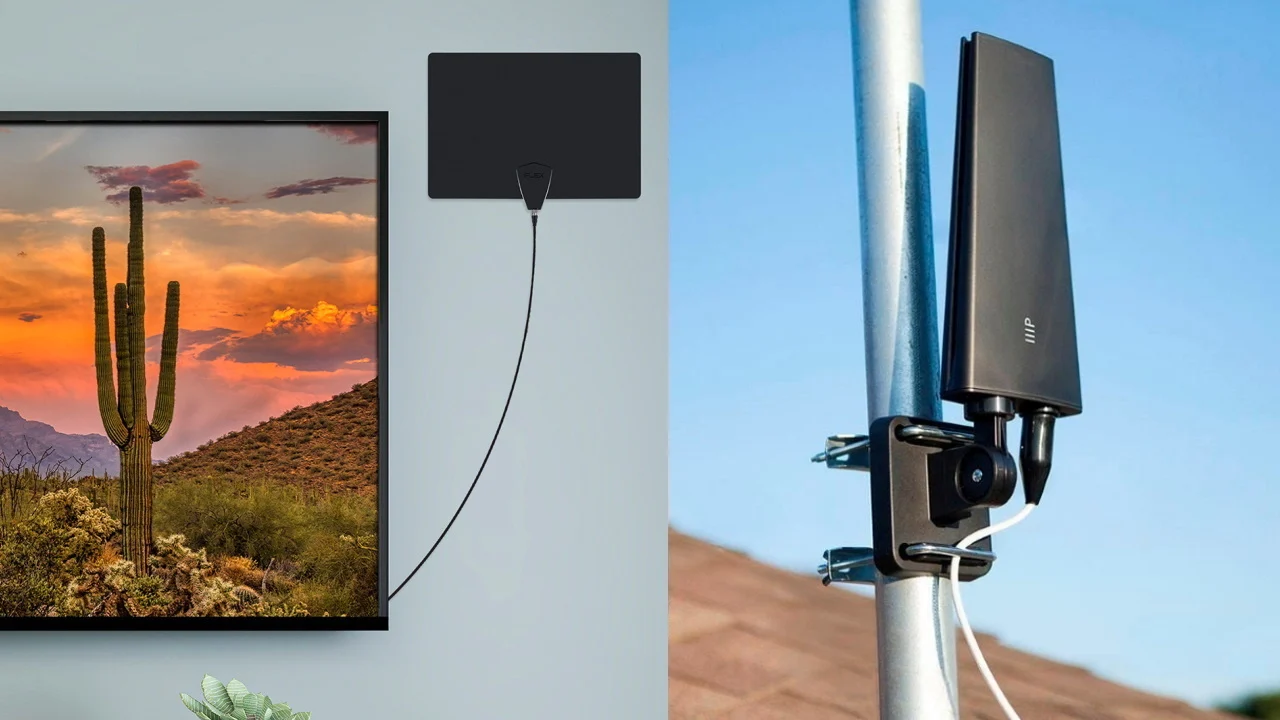
- Outdoor or indoor antenna: Determine whether you need an outdoor or indoor antenna. Outdoor antennas generally offer better reception but require installation and weatherproofing. Indoor antennas are simpler to set up but may have shorter range and weaker signal reception.
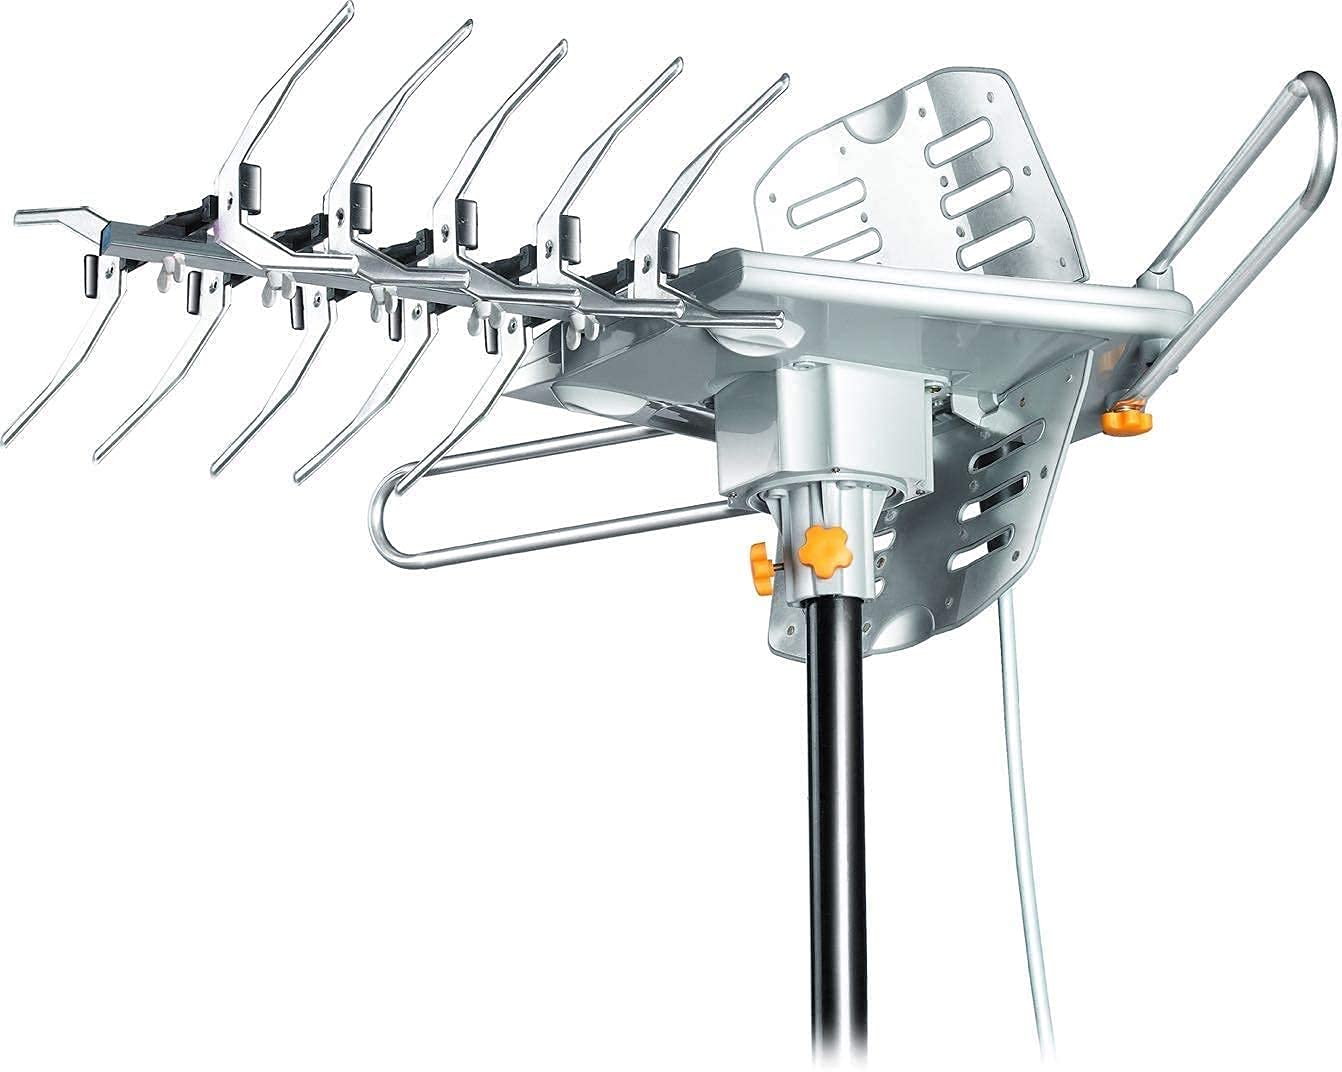
- Consider antenna design: There are various antenna designs available, including the traditional Yagi-style, flat antennas, and even discreet paintable options. Depending on your aesthetic preferences and the location where you plan to install the antenna, choose a design that suits your needs.
Take the time to research different antenna options and read reviews from other users in your area. Consider consulting with an antenna specialist who can provide personalized recommendations based on your specific situation. By choosing the right antenna for your needs, you’ll set yourself up for success in pointing your TV antenna towards optimal reception.
Finding the Correct Direction
Once you have selected the right TV antenna, the next step is to find the correct direction to point it towards the broadcasting towers. This step is crucial for maximizing your reception and ensuring the best possible signal quality. Here’s how you can find the correct direction:
- Use online tools: Utilize online tools or smartphone apps that provide information about the locations of broadcasting towers in your area. These tools often include a compass feature to help you determine the general direction of the towers.
- Consult a signal map: Look for signal maps or coverage maps provided by your local TV stations or antenna manufacturers. These maps typically indicate the coverage areas and broadcasting tower locations. By referencing these maps, you can get a better idea of the direction to point your antenna.
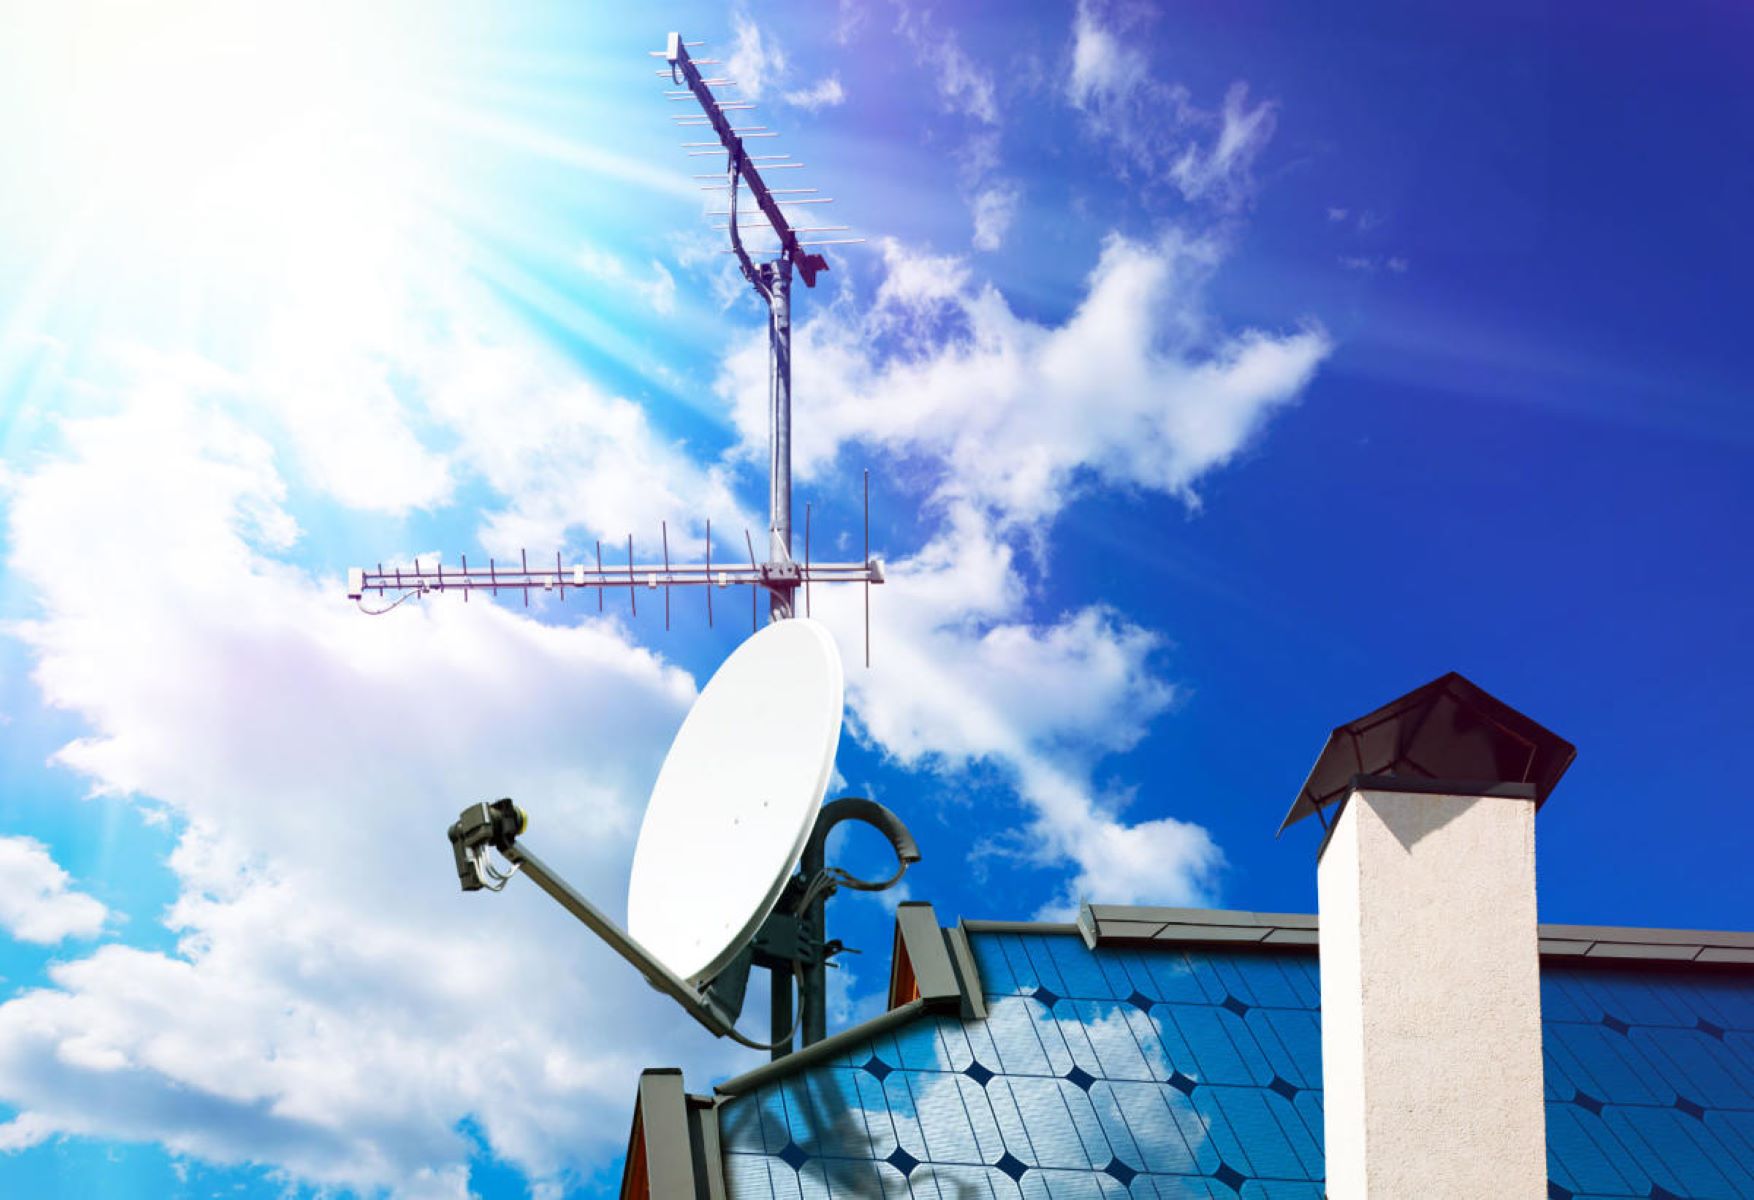
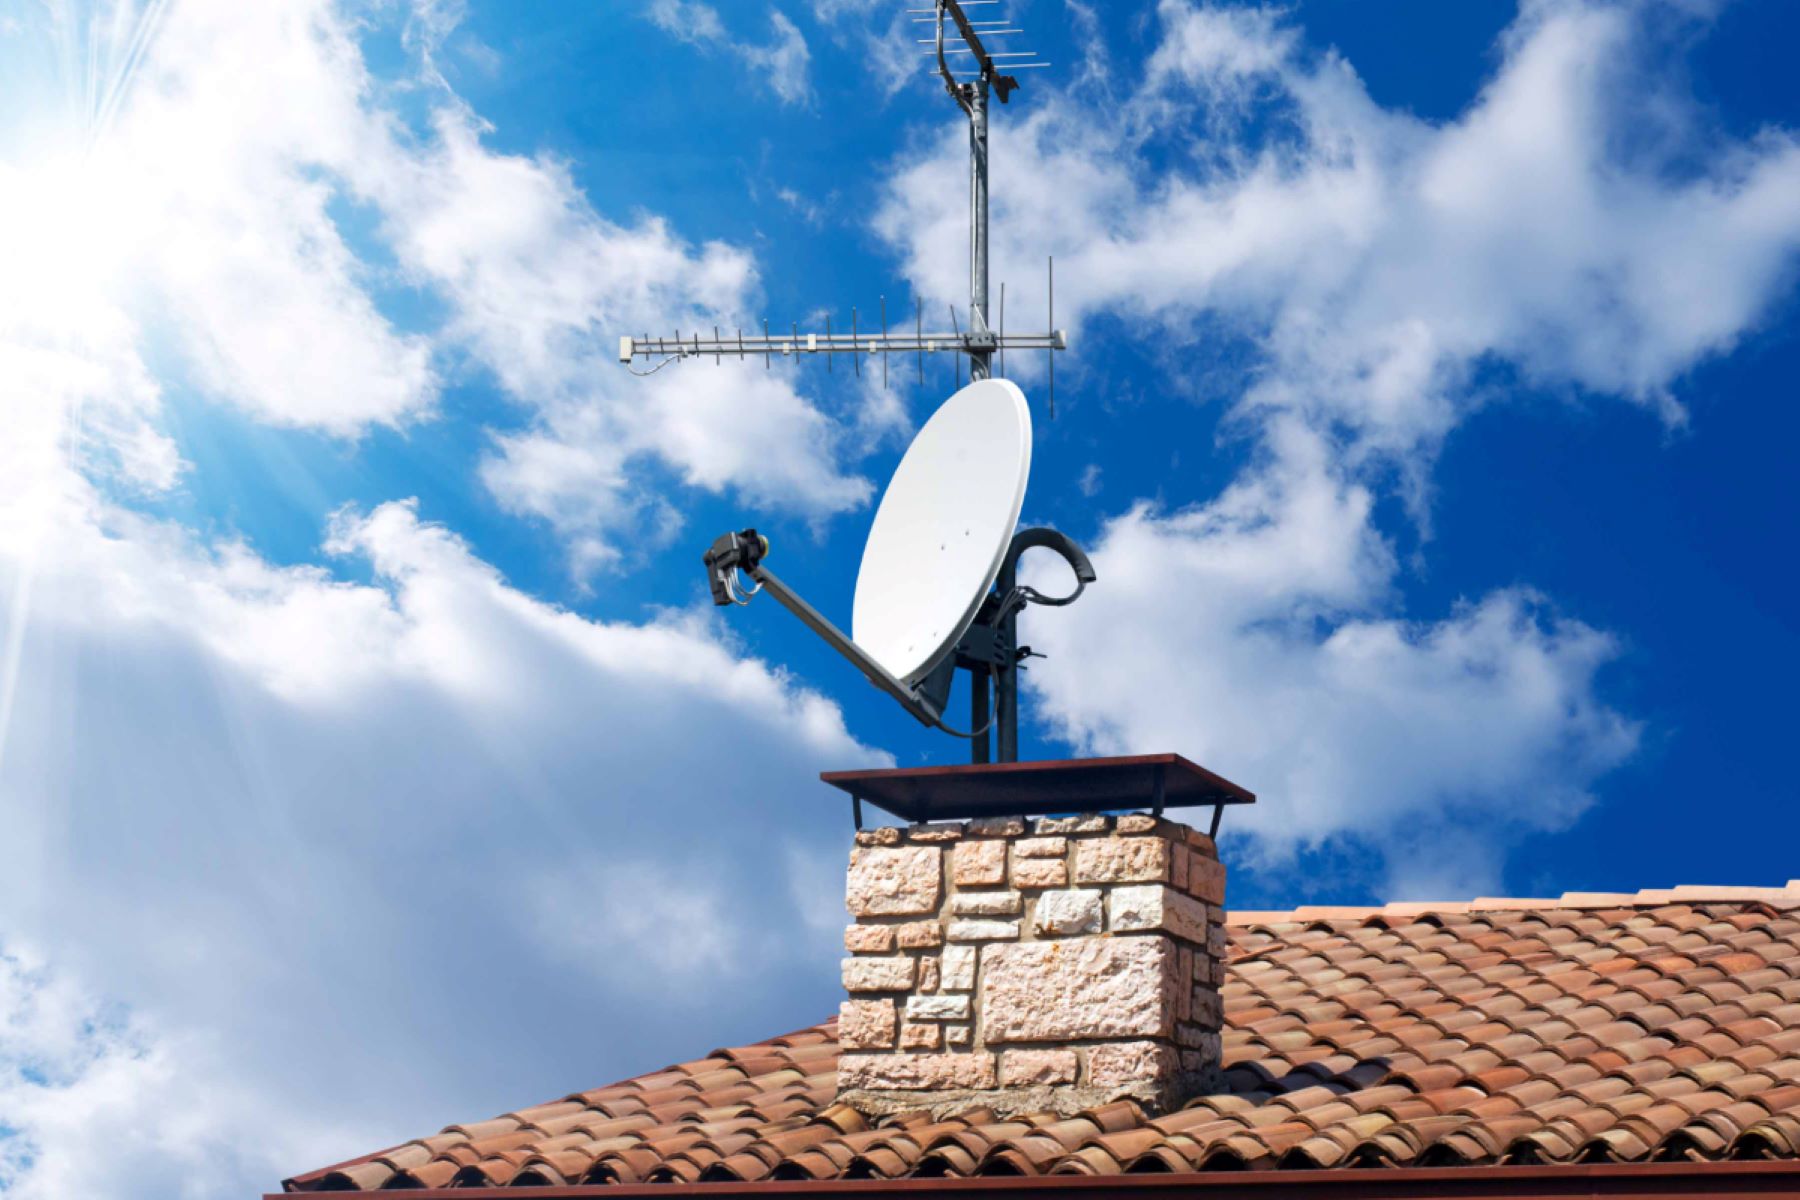
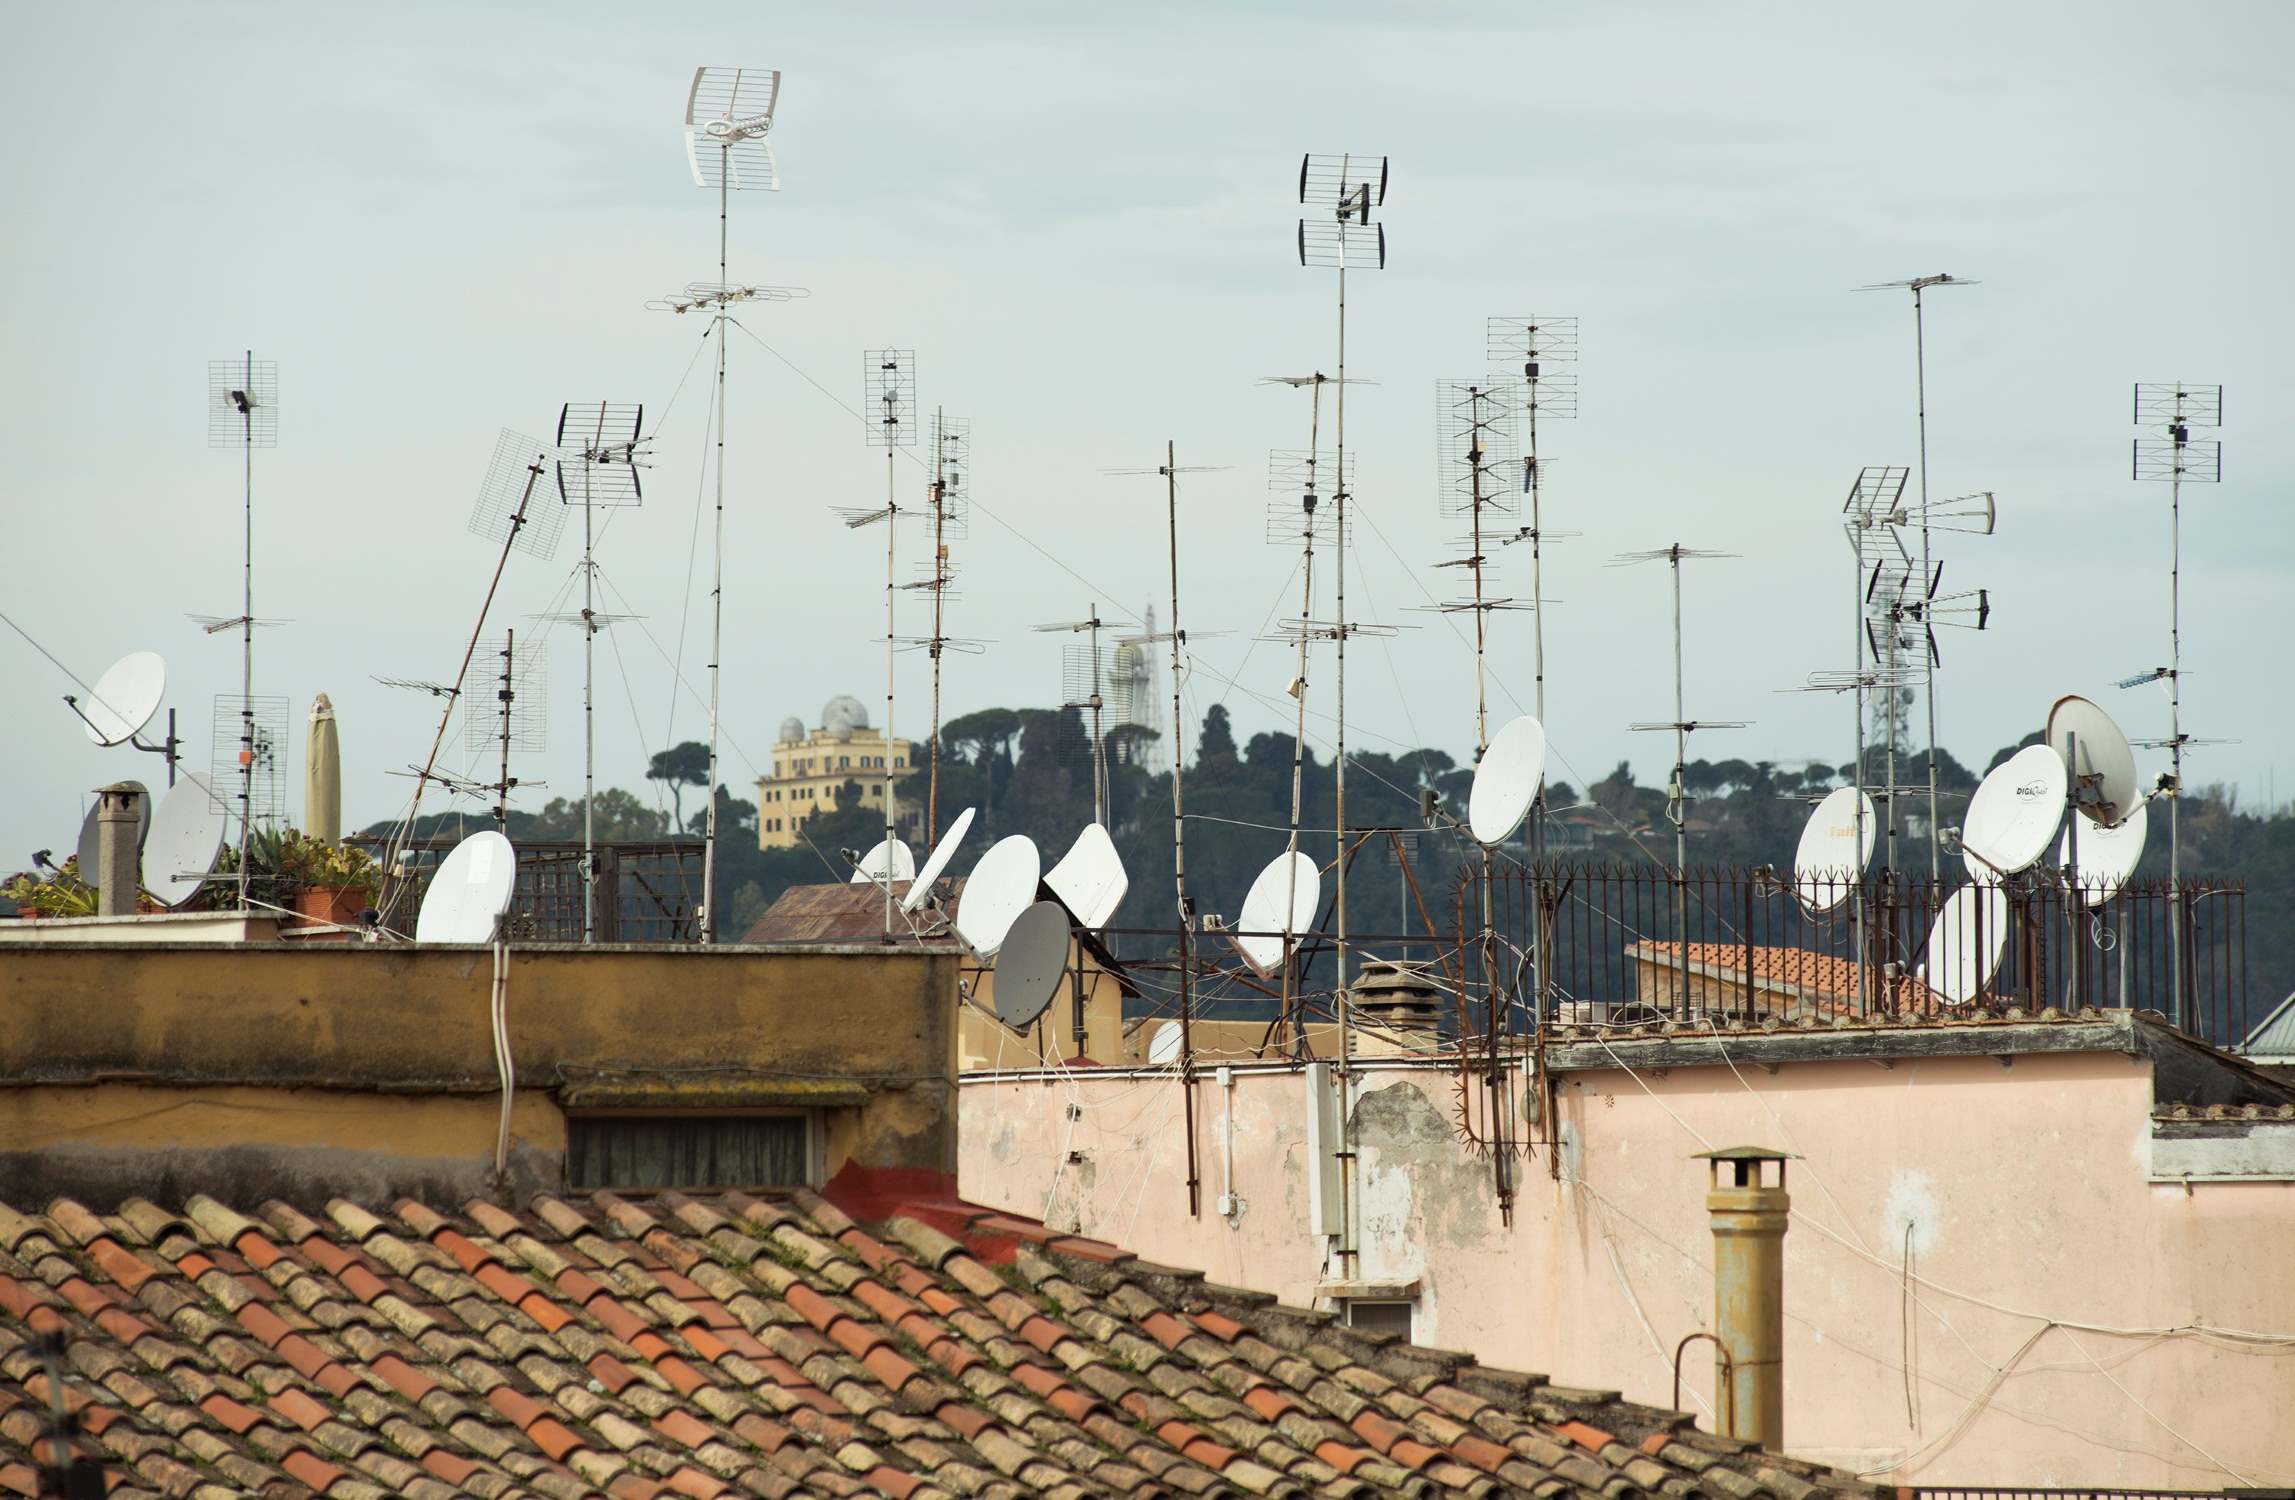
- Look for visual cues: Observe the surrounding environment for any visible signs of antennas, such as on nearby rooftops or tall structures. If you see antennas pointing in a particular direction, it’s a good indication that there are broadcasting towers in that direction as well.
- Seek advice: Reach out to friends or neighbors in your area who have successfully set up their TV antennas. They may be able to provide insights or recommendations regarding the correct direction to point your antenna.
Take your time in finding the correct direction, as it will greatly impact the quality and reliability of the signals you receive. Keep in mind that factors such as terrain, buildings, and obstructions can affect signal strength. Adjustments may be necessary to find the optimal direction for your specific location.
Once you have a general idea of the direction, proceed to the next step – mounting and positioning the antenna for optimal reception.
Mounting and Positioning the Antenna
Now that you have determined the correct direction to point your TV antenna, it’s time to mount and position it for optimal reception. Follow these steps to ensure the best possible signal quality:
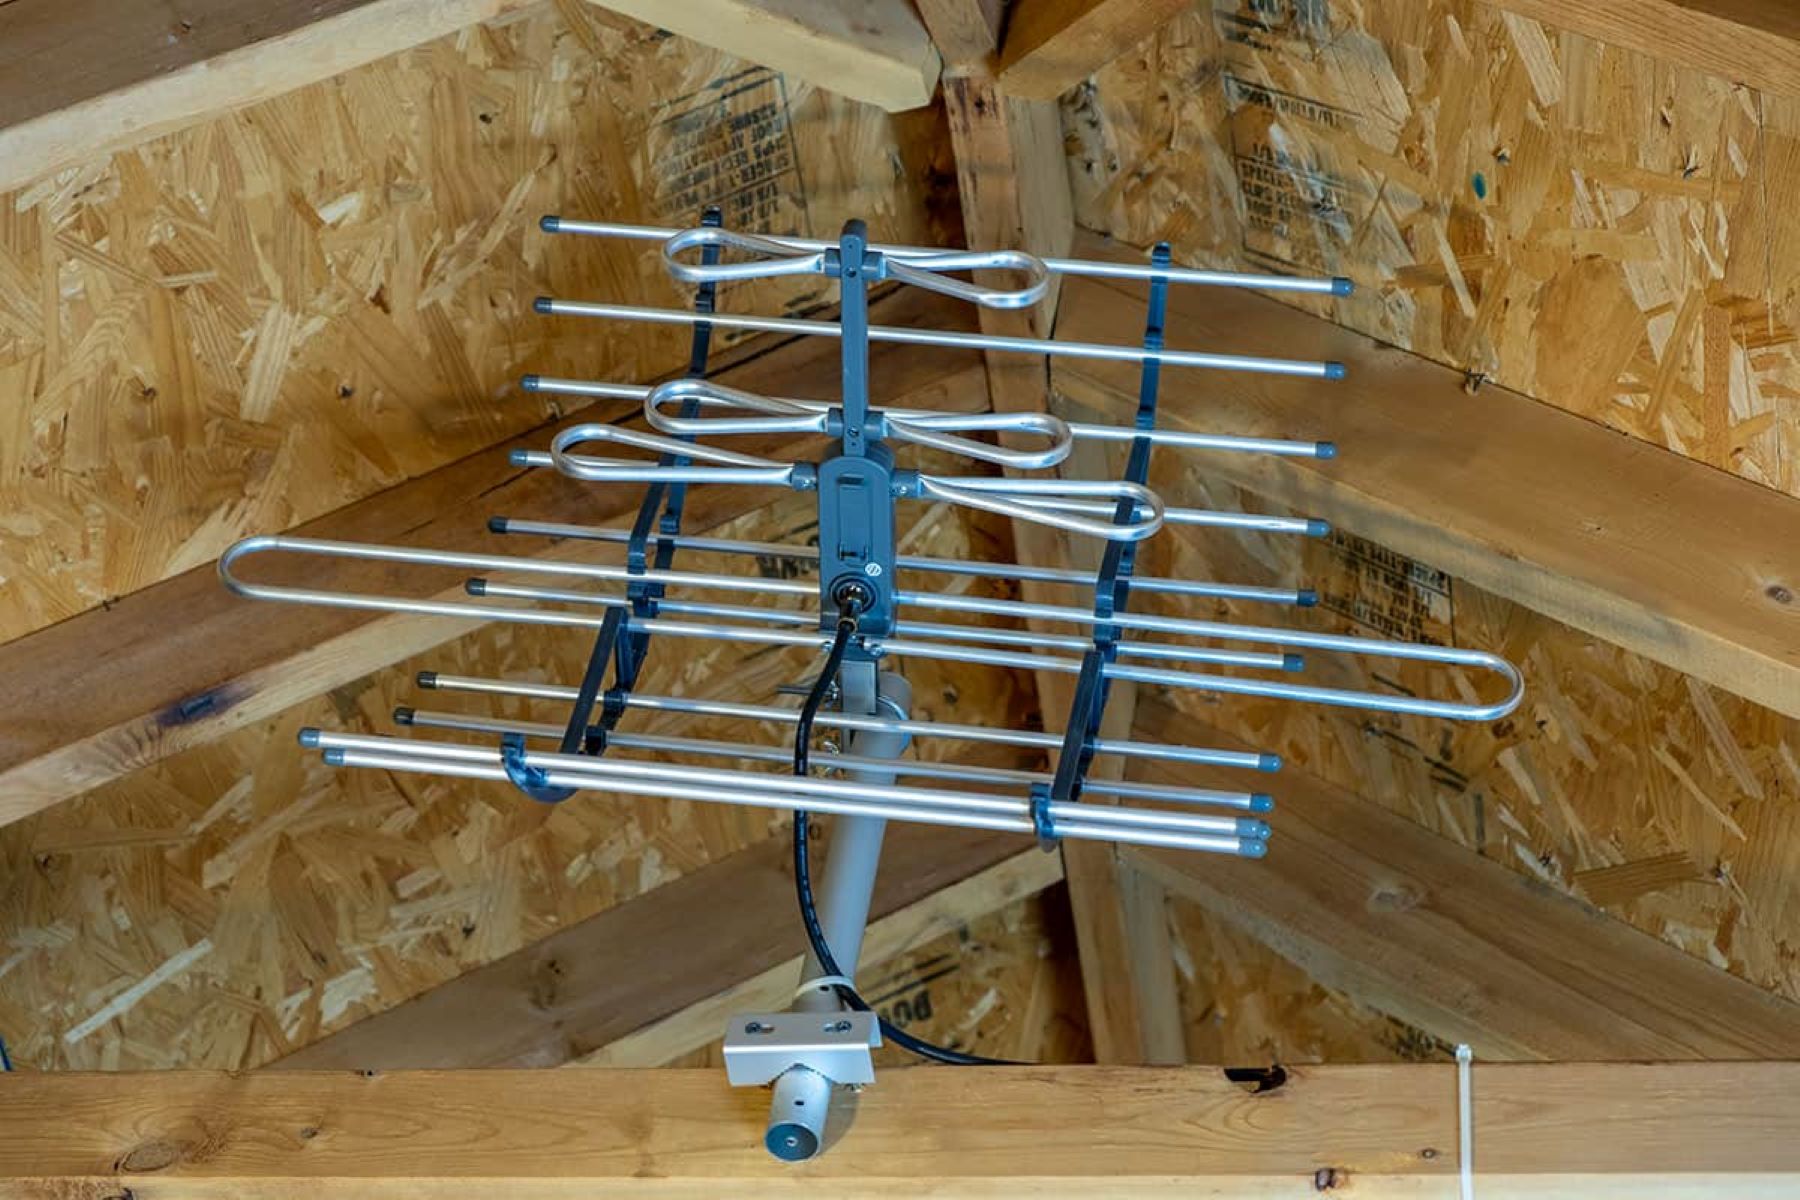
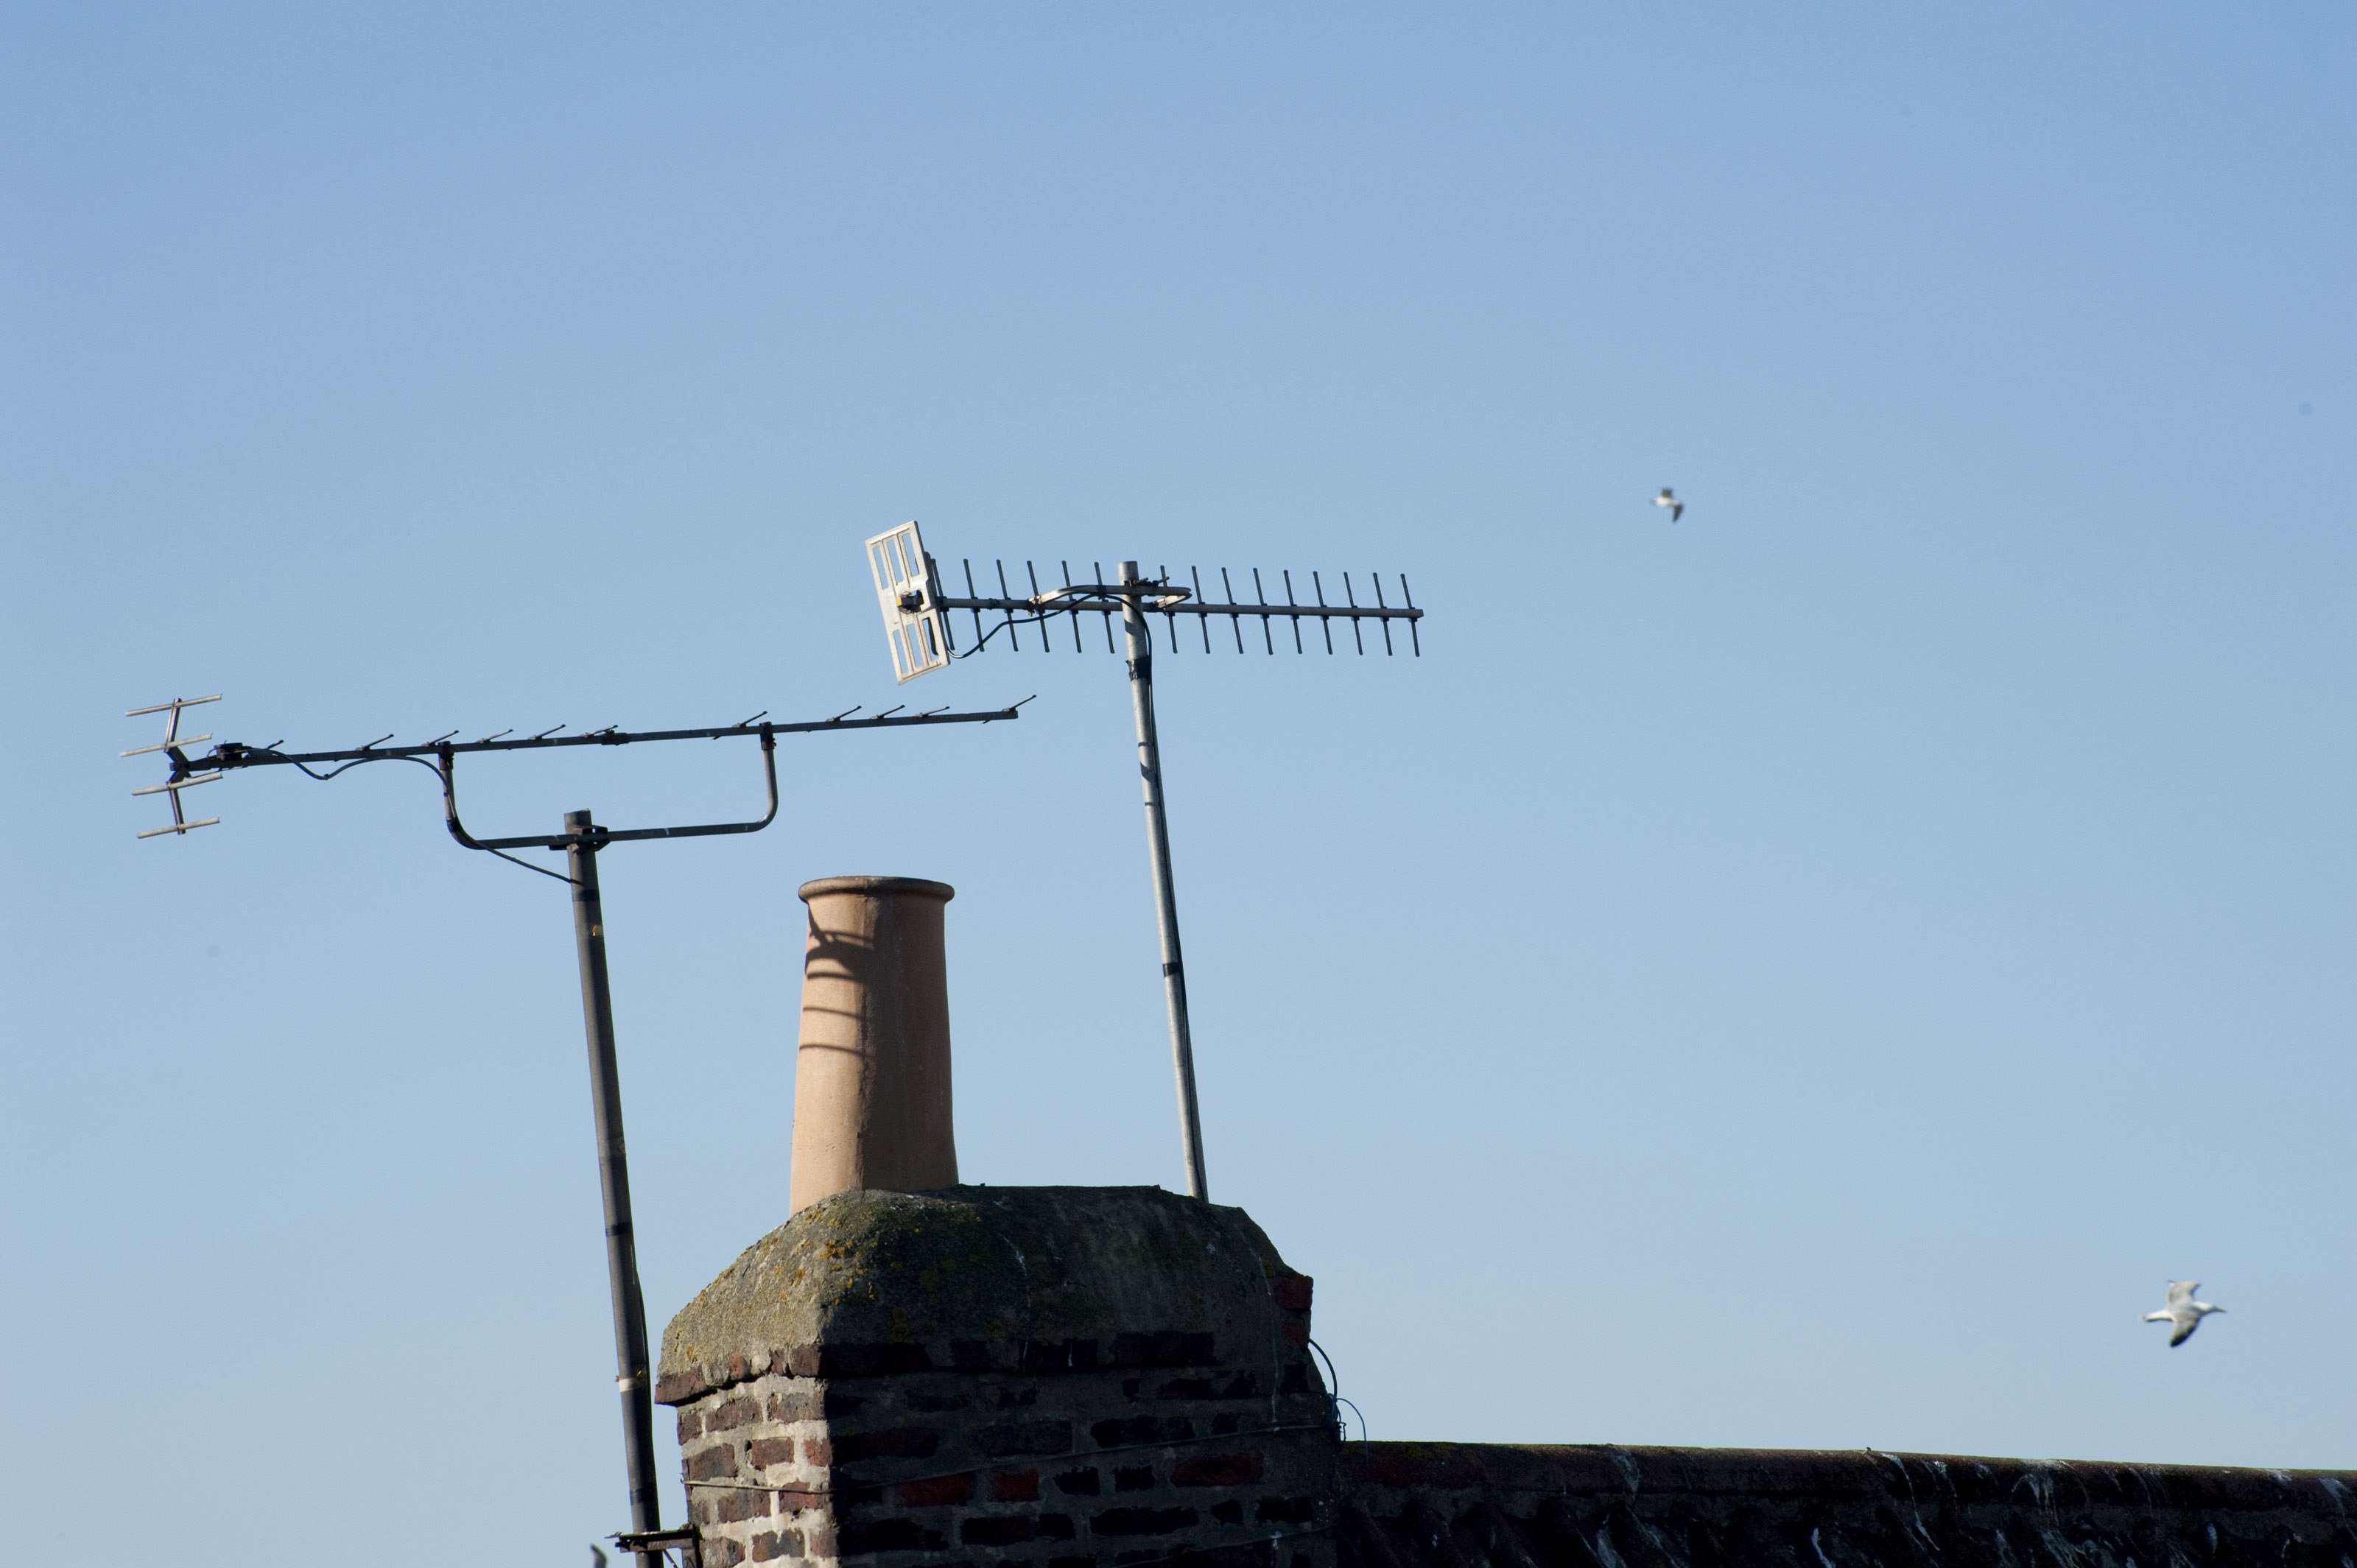
- Choose the mounting location: Select a location that provides a clear line of sight towards the broadcasting towers. The higher the mounting location, the better the chances of receiving strong signals. Common mounting options include rooftops, attics, or outdoor poles.
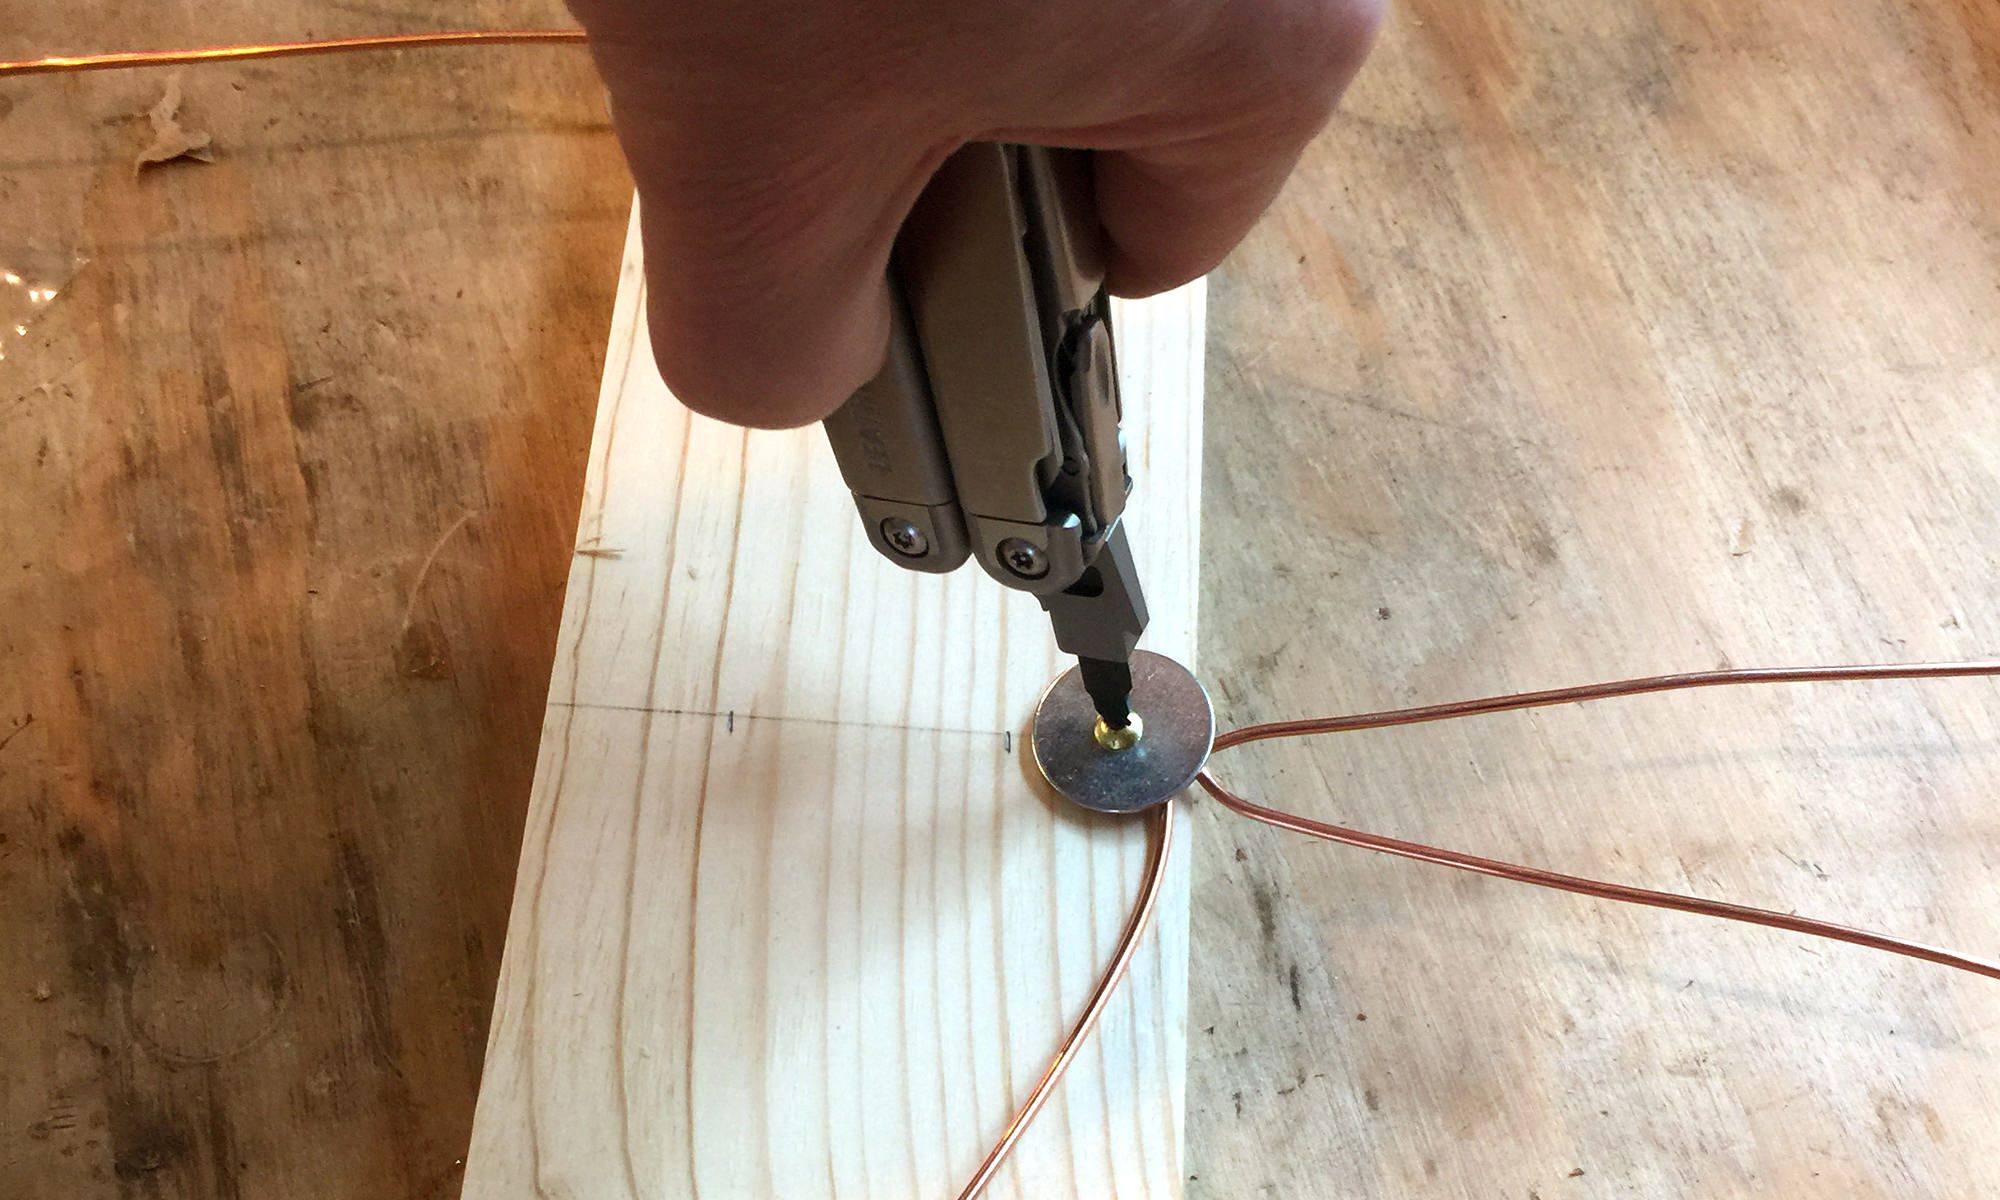
- Secure the antenna: Depending on the type of antenna you have, follow the manufacturer’s instructions for proper mounting. Ensure that the antenna is securely fastened and stable to withstand weather conditions.
- Avoid obstructions: Position the antenna away from any potential obstructions such as trees, tall buildings, or other structures that may block or interfere with the signals. Clearing the path will improve reception.
- Orientation and tilt: Orient the antenna according to the determined direction of the broadcasting towers. Adjust the angle or tilt of the antenna to match the expected signal path. Refer to the antenna’s user manual for specific instructions on how to fine-tune the tilt angle.
- Consider signal amplifiers: If you live in an area with weak signals or significant interference, you may benefit from utilizing a signal amplifier or a signal booster. These devices can enhance the signal strength and improve reception.
Keep in mind that every location is unique, and some trial and error may be required to find the best mounting and positioning for your specific circumstances. Take your time and be patient during this process, as it will directly impact the quality of the signals you receive.
With the antenna securely mounted and properly positioned, the next step is to adjust the angle of the antenna for optimal reception. We’ll cover this in the next section.
Adjusting the Angle of the Antenna
After mounting and positioning your TV antenna, the next step is to adjust the angle of the antenna to ensure optimal reception. Fine-tuning the angle will help improve signal strength and minimize interference. Here’s how you can adjust the angle of your antenna:
- Refer to the antenna’s user manual: Consult the user manual that came with your antenna for specific instructions on how to adjust the angle. Different antenna models may have different mechanisms for adjusting the angle.
- Use a signal strength meter: If available, use a signal strength meter to measure the signal strength while adjusting the angle. This can help you find the optimal position that provides the best signal quality.
- Make small adjustments: Start by making small adjustments to the angle of the antenna. Gradually rotate the antenna in small increments, then check the signal strength using your TV’s signal meter or a signal strength app on your smartphone.
- Scan for channels: As you adjust the angle of the antenna, periodically perform a channel scan on your TV to search for available channels. This will help you determine if the current angle is providing satisfactory reception or if further adjustments are needed.
- Consider outdoor antenna rotators: If you have an outdoor antenna and need to adjust the angle frequently, you may want to consider investing in an outdoor antenna rotator. These devices allow you to control the antenna’s rotation remotely, making it easier to find the optimal position.
Remember, fine-tuning the angle of the antenna is a process that requires patience and experimentation. It may take a few adjustments to find the sweet spot that delivers the best signal quality. Take note of the signal strength and the number of channels you receive at each angle adjustment to help determine the optimum position.
Once you’ve found the optimal angle, you can move on to the next step – fine-tuning the reception to ensure the best possible picture and sound quality.
Fine-Tuning the Reception
Now that you have adjusted the angle of your TV antenna, it’s time to fine-tune the reception to ensure the best possible picture and sound quality. Here are some tips to help you fine-tune the reception:
- Rescan for channels: Perform a channel scan on your TV to search for available channels after adjusting the angle of the antenna. This will help you identify any new channels that may have become available or existing channels that have improved in quality.
- Adjust antenna position: If you notice specific channels are displaying weak signals or experiencing interference, you may need to make minor adjustments to the position or orientation of the antenna. Experiment with small movements to find the best reception for individual channels.
- Check for interference: Be mindful of potential sources of interference that could affect your TV reception. Common culprits include electronic devices, appliances, or even neighboring buildings. Try turning off or relocating these devices to minimize the interference and improve reception.
- Consider a signal amplifier: If you’re still facing issues with weak signals, you may want to consider using a signal amplifier or booster. These devices can help boost the signal strength and improve reception, especially in areas with distant broadcasting towers or significant signal interference.
- Inspect cables and connections: Ensure that all cables and connections between your TV and the antenna are properly connected and in good condition. Loose or damaged cables can result in signal loss or degradation. If necessary, replace any old or faulty cables for optimal performance.
- Reposition the TV: Sometimes, the placement of your TV itself can affect reception quality. Try repositioning the TV or adjusting its height to achieve better signal reception. Avoid placing the TV near metallic objects or other electronic devices that could interfere with the signal.
Remember, fine-tuning the reception is an ongoing process, especially if you live in an area with varying signal conditions. Regularly monitor your available channels, signal strength, and overall reception quality to make any necessary adjustments. This will ensure that you enjoy the best possible TV viewing experience with your antenna.
Next, we’ll cover how to test the signal strength to further optimize your antenna setup.
Testing the Signal Strength
Testing the signal strength of your TV antenna is a crucial step in optimizing your antenna setup and ensuring a reliable television viewing experience. Here’s how you can test the signal strength:
- Access the signal strength meter: Most modern TVs have a built-in signal strength meter that can be accessed from the settings menu. Find the option to check signal strength or signal quality.
- Check signal indicators: Some TVs display signal strength using signal indicators, such as bars or a percentage. These indicators provide a visual representation of the signal strength received by the antenna.
- Schedule automatic channel scans: Set up your TV to automatically scan for channels periodically. This will help you track any changes in signal strength or the addition of new channels.
- Monitor signal quality during different times: Signal conditions can vary throughout the day. Monitor the signal strength at different times, especially during peak viewing hours, to identify any patterns or fluctuations.
- Check individual channels: Test the signal strength for each channel individually. This can help you identify weak or problematic channels that may require further adjustments to improve reception.
- Seek professional assistance: If you’re experiencing persistent signal issues or uncertainty about the signal strength, consider contacting a professional antenna installer. They have specialized equipment and knowledge to accurately measure the signal strength and provide expert advice.
By regularly testing the signal strength, you can identify any weaknesses in your antenna setup and make necessary adjustments to enhance reception quality. It’s important to remember that signal conditions can be affected by various external factors, such as weather conditions or changes to broadcasting stations, so periodic signal testing is essential.
Now that you have tested the signal strength and optimized your antenna setup, we can move on to troubleshooting common issues that may arise during the antenna setup process.
Troubleshooting Common Issues
While setting up your TV antenna, you may encounter some common issues that can affect signal reception. Here are a few troubleshooting steps to help you resolve these issues:
- No or weak signal: If you’re not receiving any signal or the signal is weak, double-check the antenna connections. Ensure that the antenna is properly connected to the TV or antenna amplifier. You may also need to adjust the position or angle of the antenna to improve reception.
- Poor picture quality: If you’re experiencing poor picture quality with pixelation or ghosting, check the signal strength and quality using your TV’s signal meter. If the signal is weak, consider adding a signal amplifier or repositioning the antenna for a clearer line of sight to the broadcasting towers.
- Interference or channel dropout: Interference from nearby electronic devices or obstacles can cause channel dropouts. Move electronic devices away from the TV or antenna, or use shielded cables to reduce interference. Additionally, check for any physical obstructions that may be blocking the antenna’s line of sight.
- Multiple TV reception: If you have multiple TVs connected to the same antenna, ensure that you’re using a signal splitter and high-quality coaxial cables. Poor-quality cables or an insufficient splitter can cause signal loss and deteriorate reception on all connected TVs.
- Obstructions: Obstructions such as trees, tall buildings, or terrain features can block the signal path and reduce reception quality. Consider repositioning the antenna or using a higher mounting location to clear these obstructions.
- Signal interference: In some cases, nearby radio stations, cellular towers, or other strong transmitters can interfere with TV signals. If you suspect interference, consult an antenna specialist who can recommend filters or suggest other solutions to mitigate the interference.
Remember, troubleshooting common issues with your TV antenna may require some trial and error. Be patient and willing to make adjustments to ensure the best possible reception. If you’re unable to resolve the issues on your own, consider reaching out to an antenna installation specialist who can provide further guidance or assistance.
With these troubleshooting steps in mind, you’re now equipped to overcome common issues and enjoy a reliable and high-quality TV viewing experience with your antenna.
Conclusion
Setting up and pointing your TV antenna correctly is essential for enjoying free over-the-air television channels. By understanding the basics of TV antennas, choosing the right one for your location, finding the correct direction, and fine-tuning the reception, you can optimize your antenna setup for the best possible signal quality.
Start by researching your location and selecting an antenna that matches your needs, considering factors like range, frequency bands, and design. Use online tools, signal maps, and visual cues to find the correct direction to point your antenna. Mount and position the antenna, taking care to avoid obstructions and adjust the angle based on the signal path.
Fine-tuning the reception involves rescanning for channels, making minor adjustments to the antenna position, and checking for interference. Test the signal strength using your TV’s signal meter and monitor individual channels for any weak signals or interference. Troubleshoot common issues that may arise, such as no signal or poor picture quality, by ensuring proper connections, reducing interference, and positioning the antenna correctly.
Remember that achieving optimal reception may require some experimentation and adjustments. Regularly test the signal strength, monitor for changes, and consider seeking professional assistance if needed.
With a well-pointed TV antenna, you can enjoy a wide variety of free-to-air channels, including local news, sports, and entertainment. Say goodbye to costly cable or satellite subscriptions and embrace the convenience and affordability of over-the-air TV.