Introduction
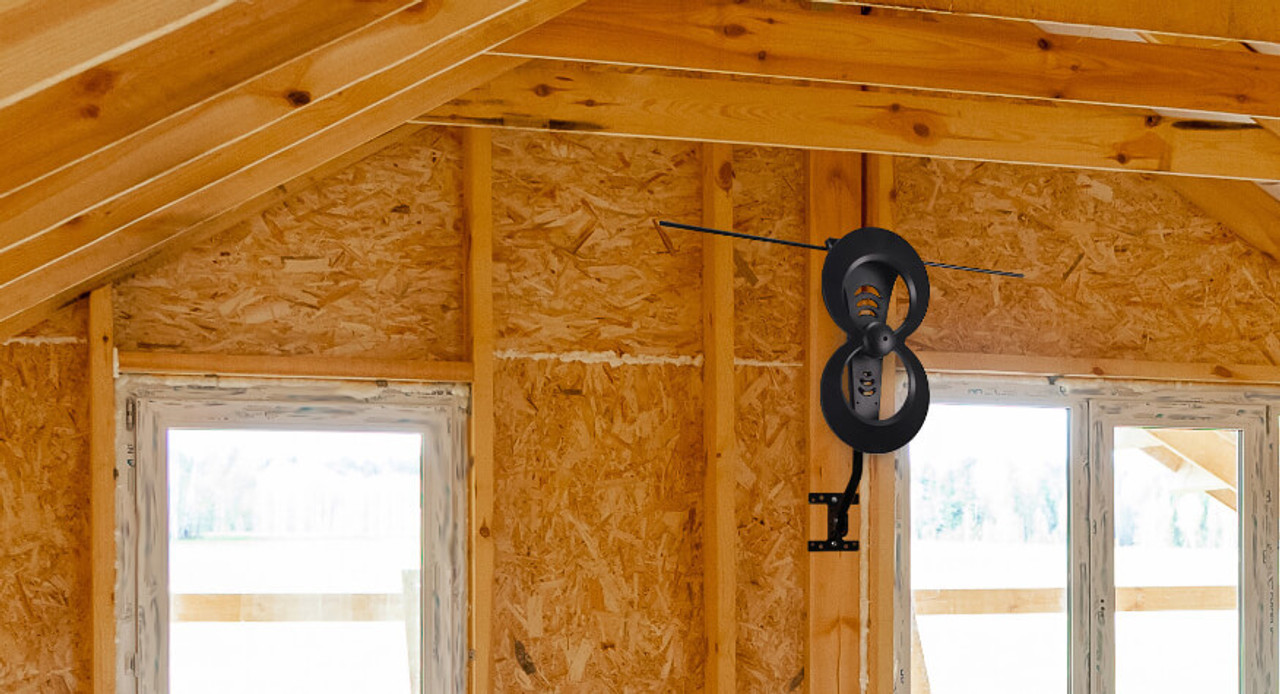
Installing a TV antenna in your attic is a great way to enjoy your favorite television shows while keeping your home looking sleek and clutter-free. Whether you’re trying to cut the cord and save on cable bills, or simply want to have access to local channels and broadcast networks, a TV antenna in the attic can provide a reliable and high-quality signal. Plus, it’s a relatively simple and cost-effective solution that anyone can do with a little bit of guidance.
In this article, we will guide you through the step-by-step process of installing a TV antenna in your attic. We will discuss the tools and materials you’ll need, offer tips on choosing the right antenna for your needs, provide instructions on measuring signal strength, and guide you through the process of mounting the antenna and connecting the coaxial cable. We’ll also cover important steps such as grounding the antenna and testing the signal strength to ensure optimum performance.
By the end of this guide, you’ll have all the necessary knowledge and skills to install a TV antenna in your attic and enjoy an array of free over-the-air channels. So let’s get started by gathering the necessary tools and materials to begin our antenna installation project.
Step 1: Gather the Necessary Tools and Materials
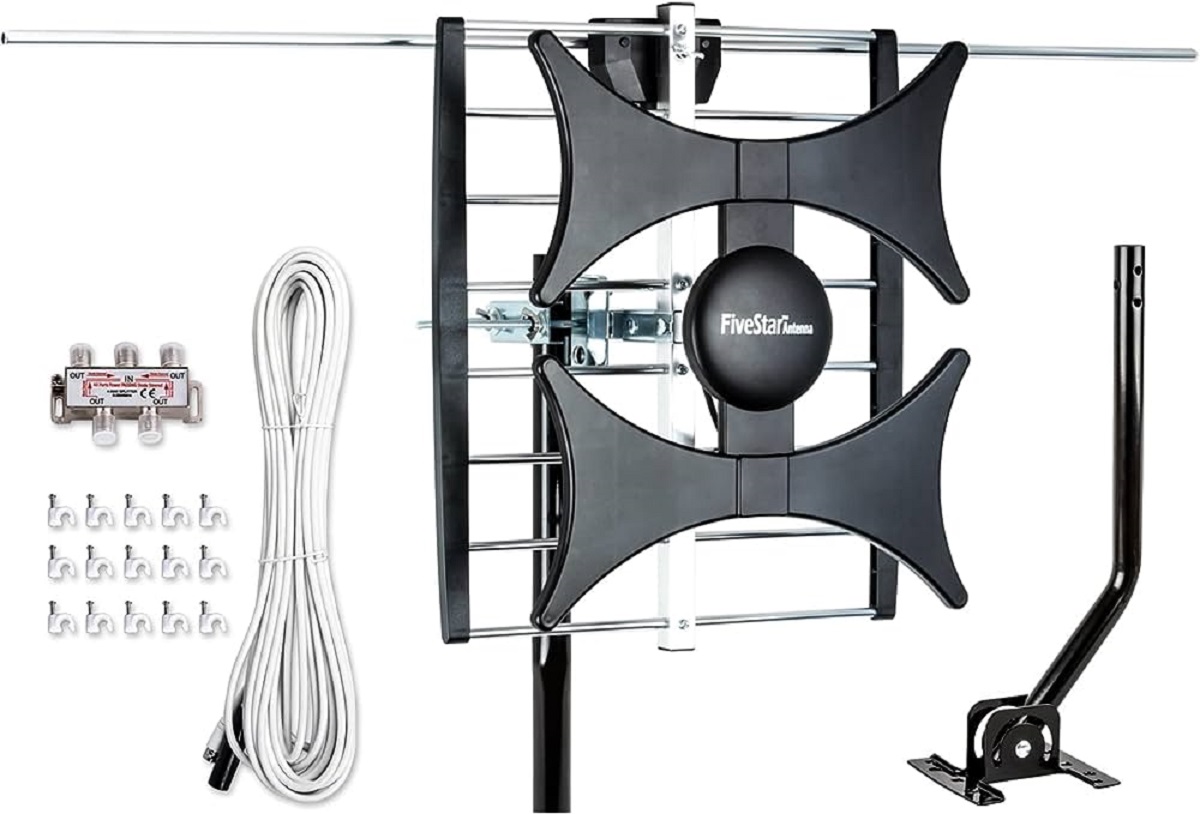
Before you begin installing a TV antenna in your attic, it’s important to gather all the necessary tools and materials. Having these items on hand will ensure a smooth and efficient installation process. Here are the essential items you’ll need:
- Screwdriver: A screwdriver will be needed to tighten screws and bolts during the antenna installation.
- Tape Measure: You’ll need a tape measure to measure the dimensions of your attic space and calculate the optimal placement for the antenna.
- Coaxial Cable: Ensure you have enough coaxial cable to run from the attic to your TV. Measure the distance to determine the length required.
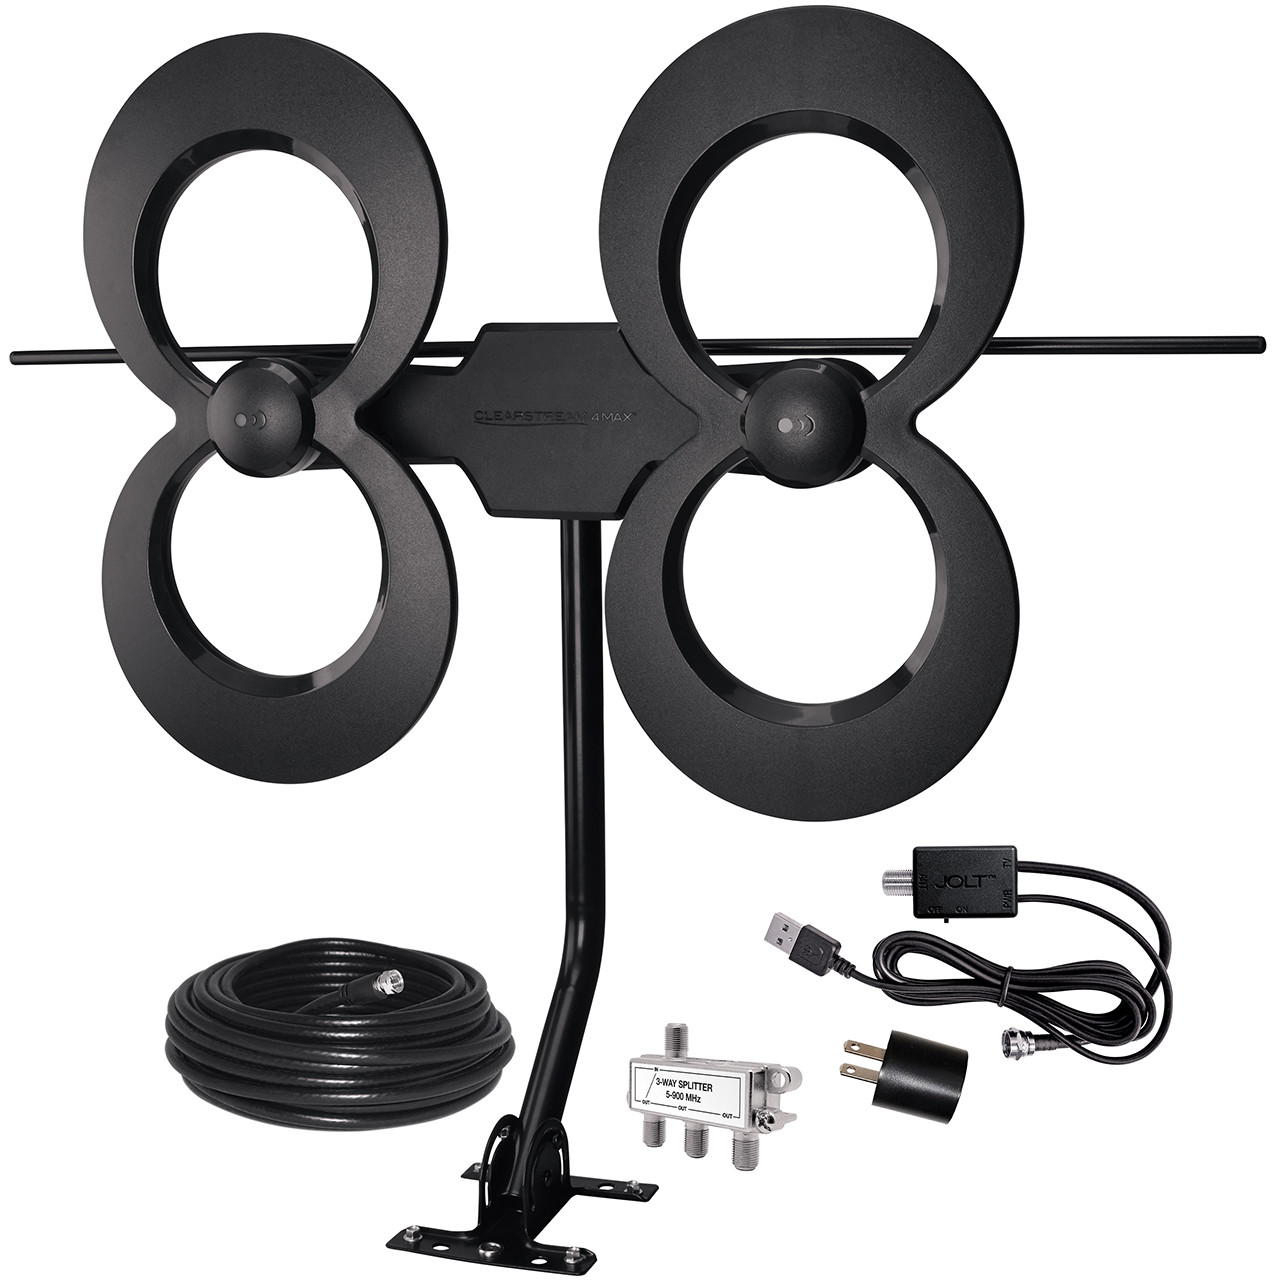
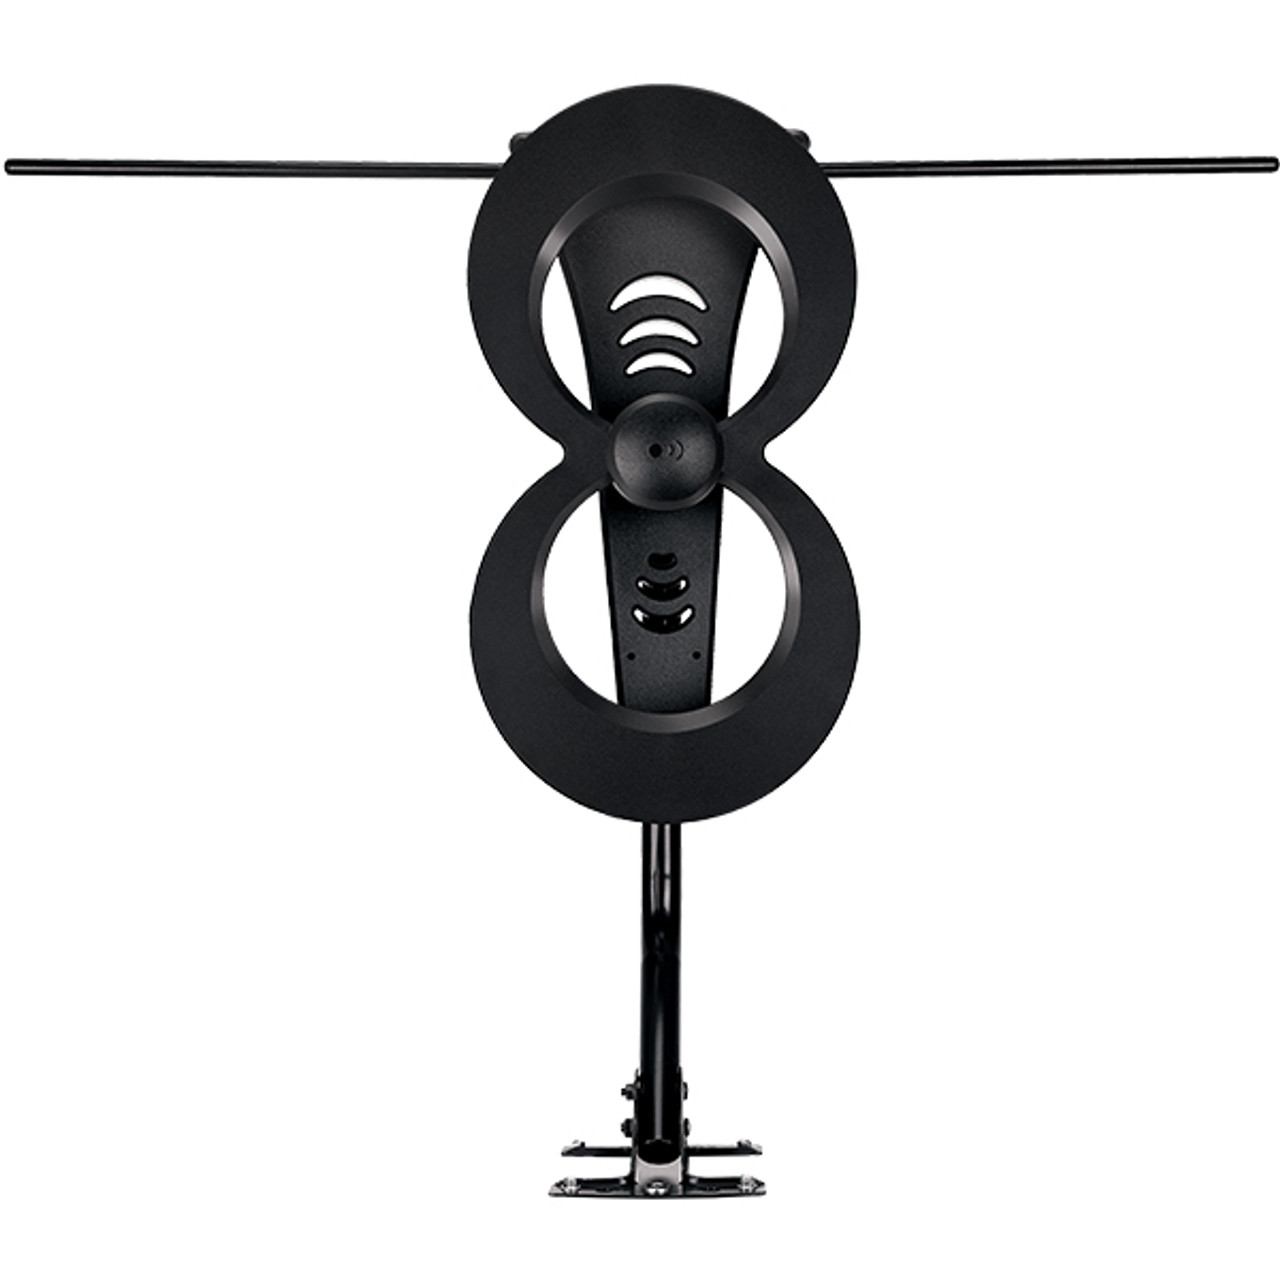
- Antenna: Choose a TV antenna that suits your needs, such as a directional or multidirectional antenna, depending on the signal strength in your area.
- Grounding Wire: It’s essential to ground the antenna to protect against power surges and potential damage. Obtain a grounding wire suitable for outdoor use.
- Attic Access: Make sure you have easy access to your attic. This may involve having a ladder or stairs in place to safely reach the attic space.
- Safety Equipment: It’s always important to prioritize safety. Consider wearing gloves, safety glasses, and suitable clothing to protect yourself during the installation process.
By gathering these tools and materials beforehand, you’ll have everything you need to complete the installation smoothly. Now that you’re equipped with the necessary items, it’s time to move on to the next step: choosing the right antenna for your attic installation.
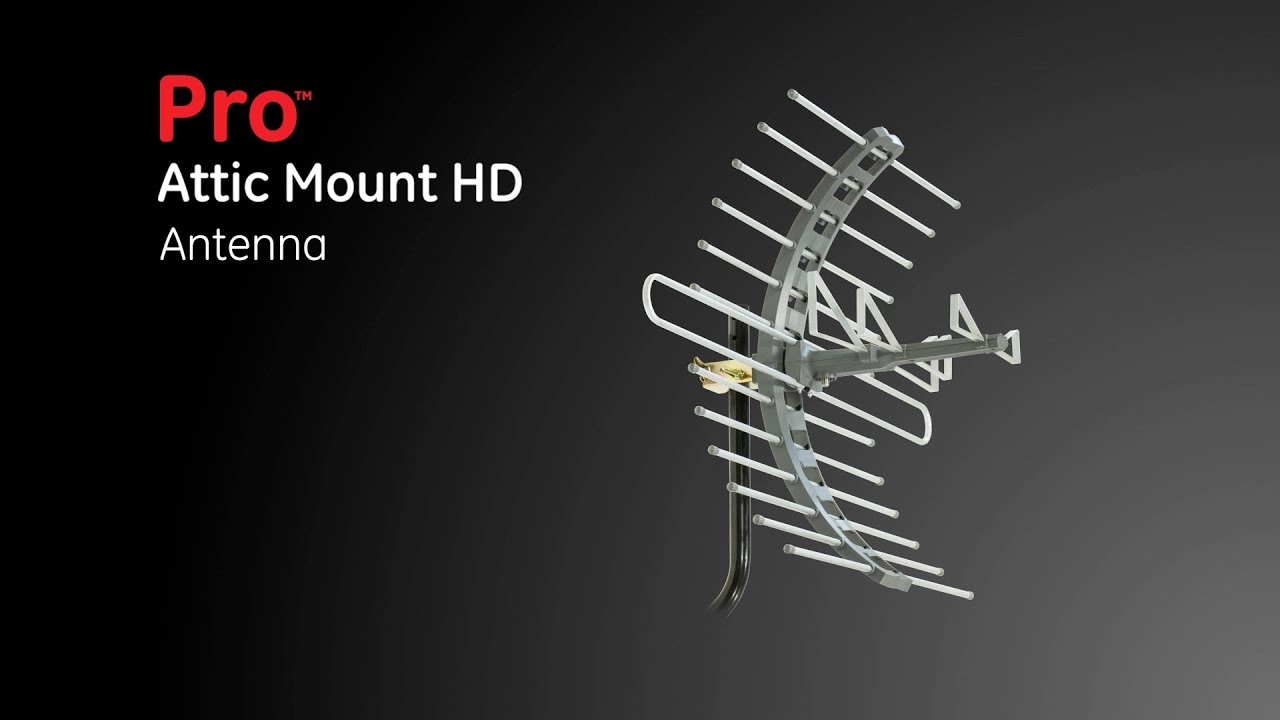
Step 2: Choose the Right Antenna
Choosing the right TV antenna is crucial to ensure optimal reception and performance. There are various factors to consider when selecting an antenna for your attic installation. Here are some key points to keep in mind:
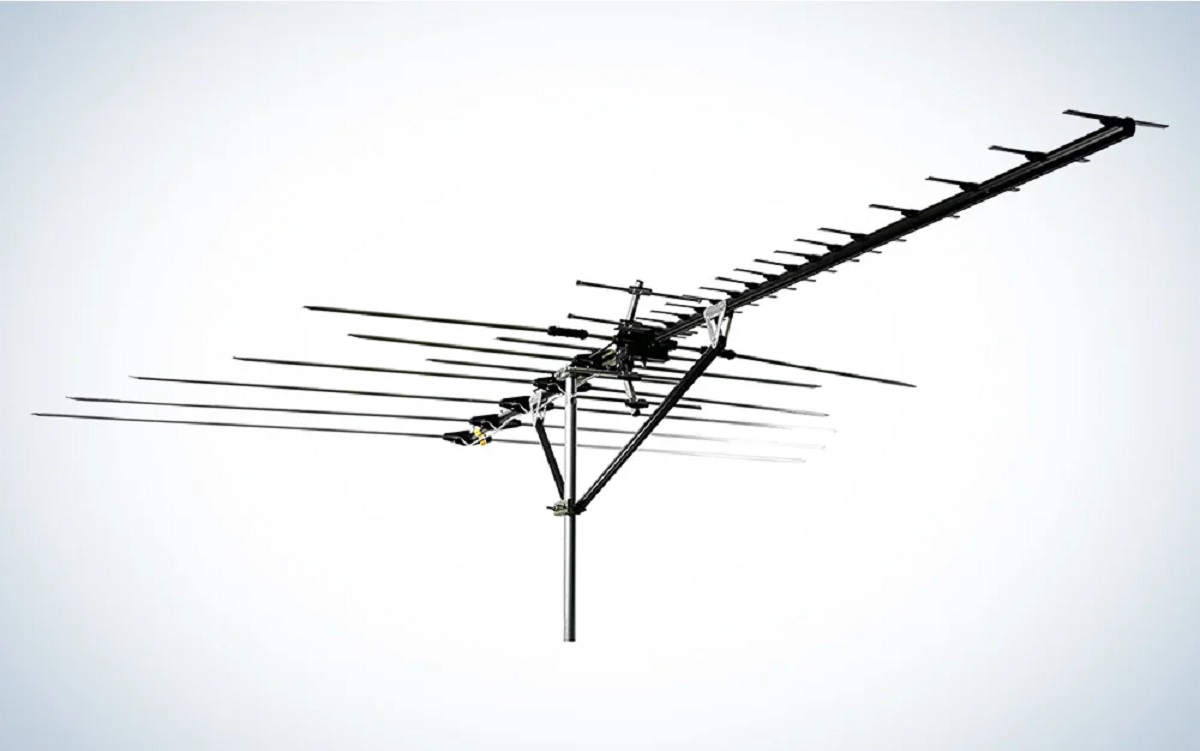
- Antenna Type: Determine whether you need a directional or multidirectional antenna. If most of the broadcast towers are in the same direction, a directional antenna can provide stronger signals. If the towers are spread out, a multidirectional antenna may be more suitable.
- Signal Strength: Assess the signal strength in your area by using online tools or mobile apps. This will help you choose an antenna with the appropriate range and amplification capabilities to receive signals effectively.
- Size and Design: Consider the size and design of the antenna, as it needs to fit comfortably within your attic space. Measure the available area and choose an antenna that can be accommodated without obstructing other objects.
- UHF and VHF Capabilities: Some channels broadcast in the UHF frequency band, while others use VHF. Ensure that the antenna you choose is capable of receiving both UHF and VHF signals to cover a wide range of channels.
- Budget: Set a budget for your antenna installation and choose one that fits within your financial means. There are antennas available at various price points, so be sure to compare options and select the best value for your money.
It’s also worth checking user reviews and recommendations to determine the reliability and performance of different antenna models. Ultimately, selecting the right antenna is crucial for receiving optimal signal strength and ensuring a smooth viewing experience. Once you have chosen the ideal antenna, it’s time to move on to the next step: measuring the signal strength in your attic.
Step 3: Measure Signal Strength
Before installing the TV antenna, it’s important to assess the signal strength in your attic to ensure optimal reception. Follow these steps to measure the signal strength:
- Locate Broadcast Towers: Use online tools or mobile apps to identify the locations of the nearest broadcast towers. This information will help you determine the direction to aim your antenna.
- Position the Antenna: Temporarily position the antenna in different spots within your attic, starting with the direction indicated by the broadcast towers. Use a compass or smartphone app to ensure accurate positioning.
- Use Signal Meter or TV Tuner: Connect a signal meter or TV tuner to the coaxial cable and scan for available channels. This will provide real-time data on the signal strength of each channel.
- Monitor Signal Strength: As you scan for channels, pay attention to the signal strength readings. Aim for channels with higher signal strength, as they will provide a clearer and more reliable picture.
- Adjust Antenna Placement: Experiment with different antenna positions and angles to maximize signal strength. Small adjustments can have a significant impact, so take your time to find the best placement within your attic.
- Record Results: Make note of the channels with the strongest signal strength. This information will come in handy when positioning the antenna permanently.
By measuring the signal strength in your attic, you can optimize the placement of your TV antenna for the best possible reception. Keep in mind that signal strength can be influenced by various factors, such as obstacles and interference. Adjustments may be needed during the installation process to improve signal quality. Once you have measured the signal strength, you are ready to move on to the next step: preparing the attic space for the antenna installation.
Step 4: Prepare the Attic Space
Preparing the attic space is an essential step in installing a TV antenna. This involves creating a clean and organized area to facilitate the mounting process. Here’s what you need to do:
- Clean the Attic: Clear out any clutter or debris from the designated installation area. This includes removing any obstructions that could interfere with the antenna’s reception.
- Secure Attic Flooring: Ensure that the attic flooring is sturdy and can support the weight of the antenna and mounting hardware. Reinforce any weak areas and repair any damaged floorboards to create a stable surface.
- Provide Adequate Lighting: Make sure the attic is well-lit to ensure safe and accurate installation. Install additional lighting or use portable lights to make the area easily visible during the installation process.
- Consider Weatherproofing: If your attic is prone to temperature extremes or moisture, consider weatherproofing measures to protect your antenna and cables. This can include using cable conduits or sealing any gaps or openings in the attic space.
- Plan Cable Routing: Determine the most efficient route for running the coaxial cable from the antenna to your TV. Avoid any sharp bends or tight corners that could affect signal quality. Measure the required length to avoid excess cable that may clutter the attic space.
By carefully preparing the attic space, you’ll create a suitable environment for the antenna installation. A clean and organized area will not only streamline the mounting process but also contribute to optimal signal reception. Once the attic is prepared, you’re ready to move on to the next step: mounting the TV antenna in the attic.
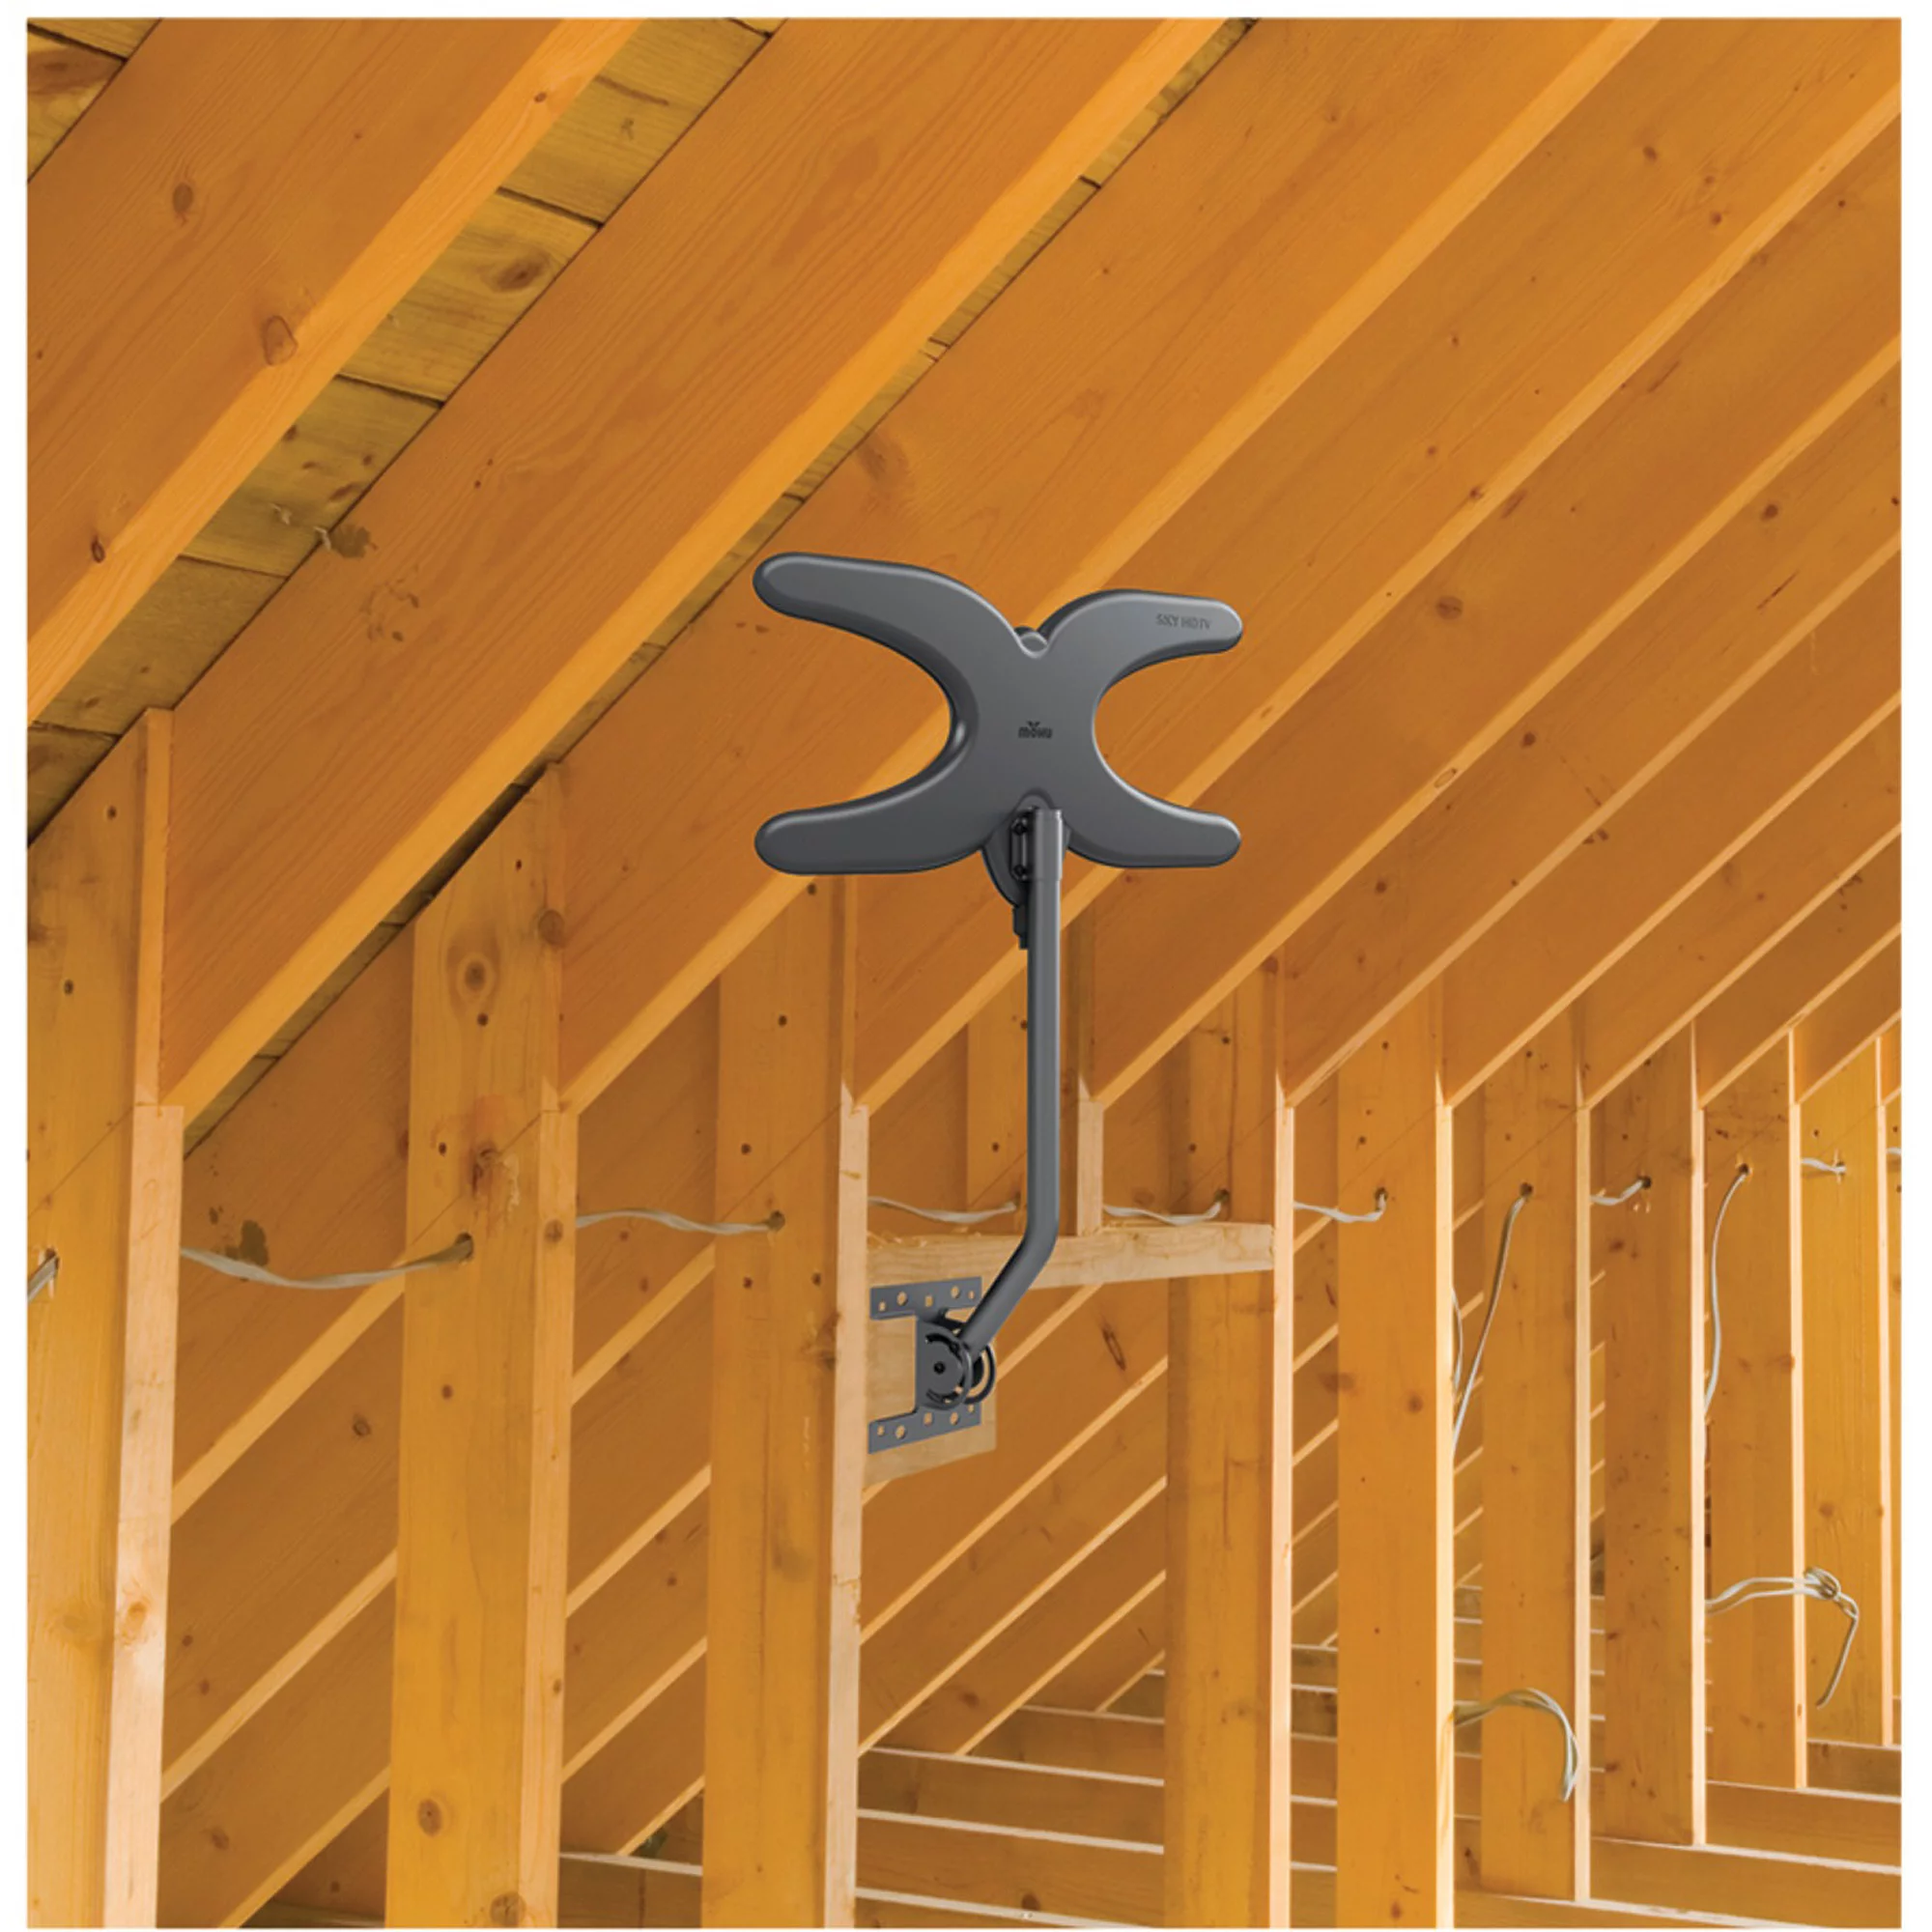
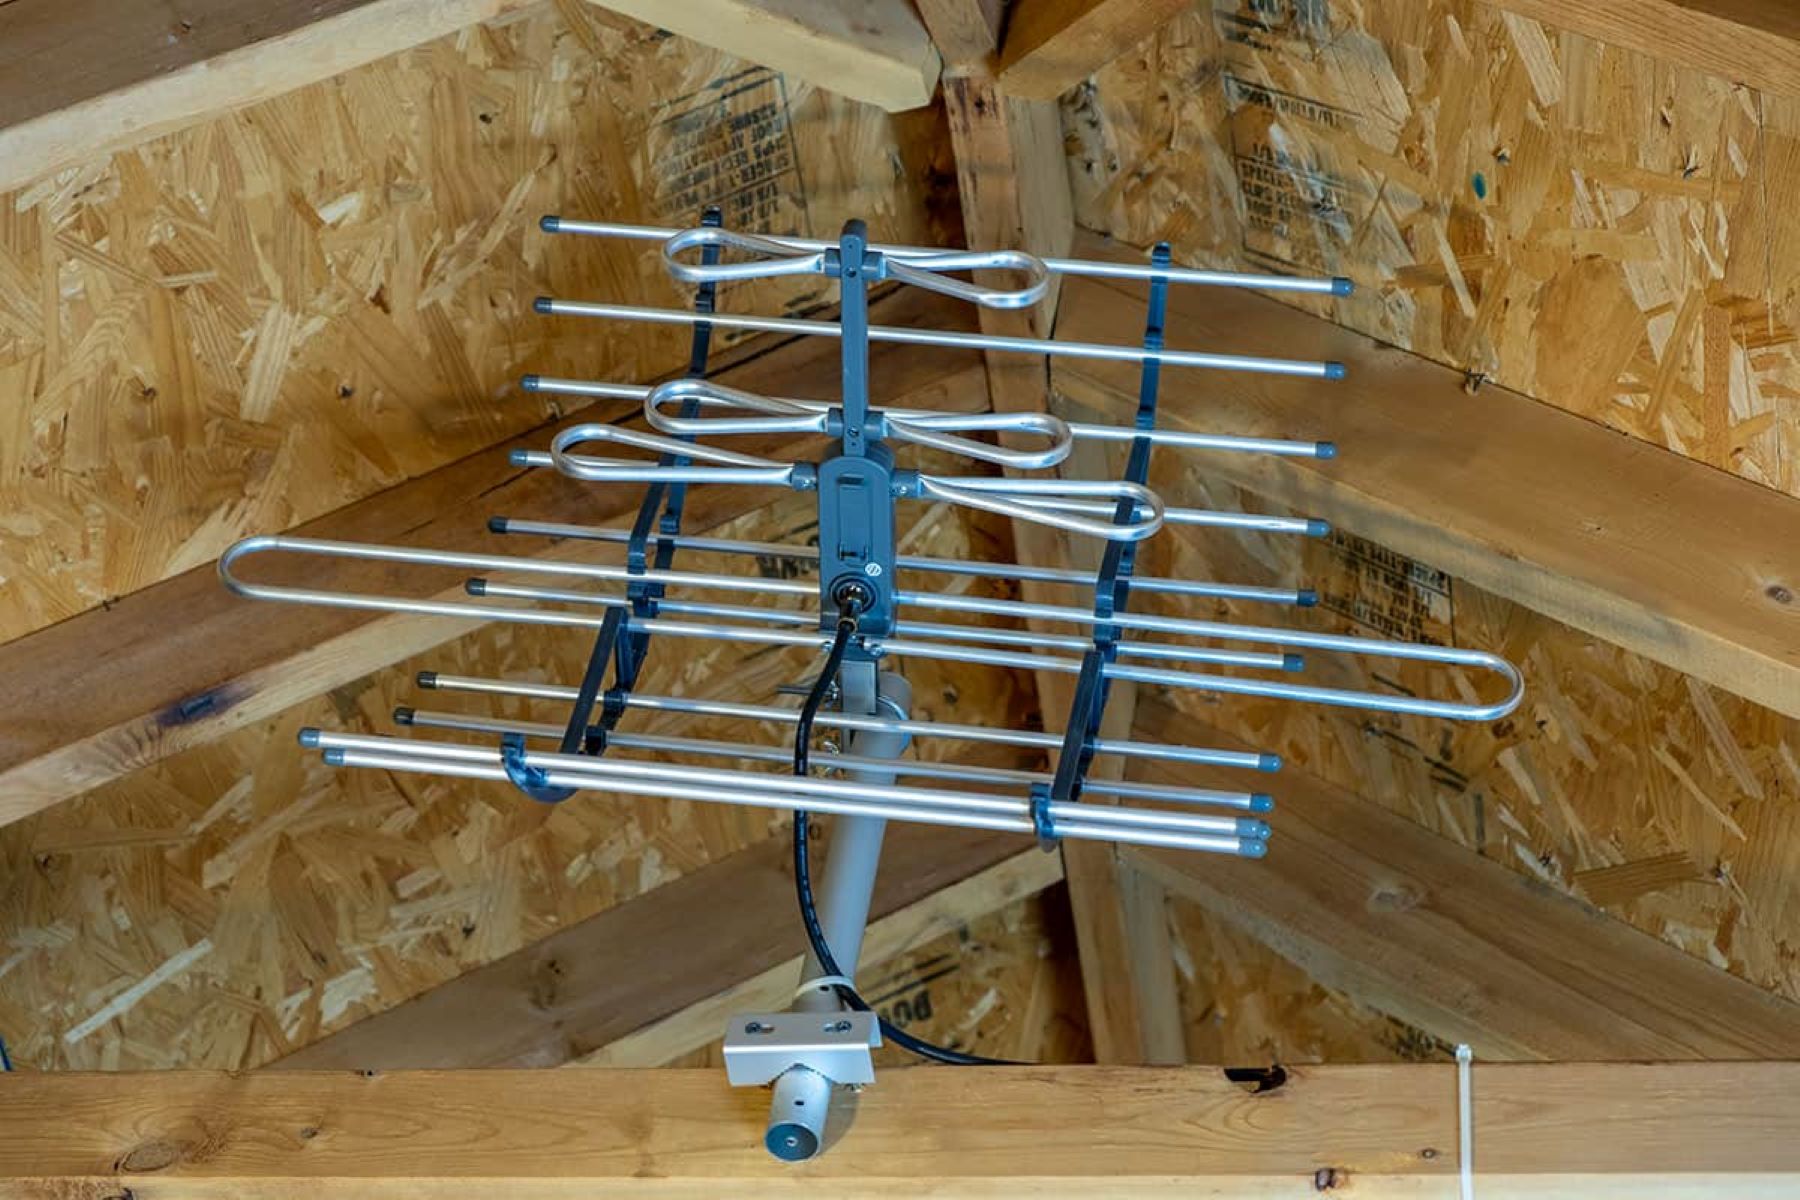
Step 5: Mount the Antenna
Now that the attic space is prepared, it’s time to mount the TV antenna. Proper mounting is crucial for achieving the best signal reception. Follow these steps to mount the antenna securely:
- Locate Mounting Spot: Choose a suitable spot in your attic for mounting the antenna. Ensure it is clear of obstructions and has a direct line of sight towards the broadcast towers identified earlier.
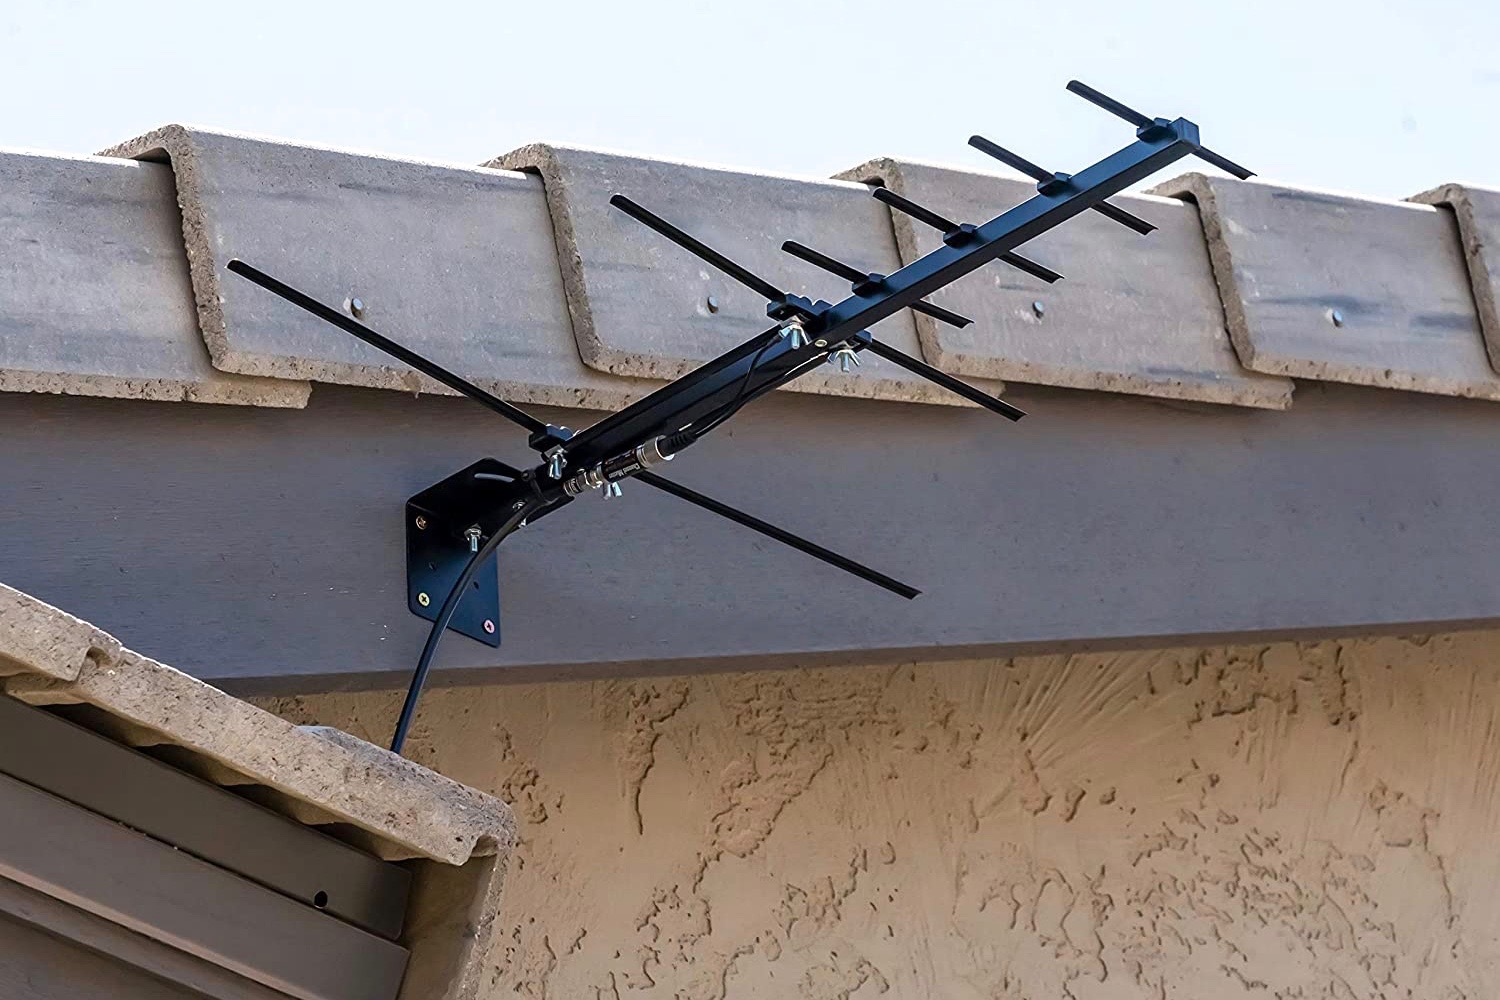
- Attach Mounting Bracket: Use a sturdy mounting bracket designed for attic installations. Secure the bracket to a stable surface, such as a wall or wooden beam, using appropriate screws or bolts.
- Assemble the Antenna: Follow the manufacturer’s instructions to assemble the antenna. This may involve attaching elements, reflectors, and the mounting pole as per the specific antenna design.
- Attach Antenna to the Mounting Bracket: Carefully attach the antenna to the mounting bracket using the provided hardware. Ensure it is tightly secured to prevent any movement or instability.
- Align the Antenna: Adjust the angle and direction of the antenna to align it with the broadcast towers. Refer to the signal strength measurements obtained earlier to determine the optimal alignment.
- Fasten Antenna Cables: Use zip ties or cable clips to secure the coaxial cable from the antenna along the mounting bracket or nearby structures. This will help keep the cables organized and prevent any accidental damage.
- Check Mounting Stability: Give the antenna a gentle shake to ensure it is firmly mounted and stable. If there is any wobbling or instability, make necessary adjustments or reinforce the mounting bracket as needed.
By following these steps, you’ll be able to mount the TV antenna securely in your attic. The precise positioning and stability of the antenna are essential for optimal signal reception. Once the antenna is securely mounted, you can move on to the next step: connecting the coaxial cable.
Step 6: Connect Coaxial Cable
With the TV antenna securely mounted, it’s time to connect the coaxial cable to ensure signal transmission from the antenna to your TV. Follow these steps to connect the coaxial cable correctly:
- Locate the Antenna Output: Find the antenna’s output port or connector. It is usually located on the back or side of the antenna. Ensure the antenna is powered off before making any connections.
- Prepare the Coaxial Cable: Trim any excess shielding and insulation from the end of the coaxial cable using a cable stripper. This will expose the inner conductor and ensure a clean connection.
- Attach the Cable to the Antenna: Insert the exposed end of the coaxial cable into the antenna’s output port. Twist it gently until it is securely connected. Avoid using excessive force, as it may damage the connector.
- Tighten the Connector: Use a wrench or pliers to tighten the connector on the cable. Be careful not to overtighten, as it may cause damage. Ensure a snug and secure connection to prevent signal loss or interference.
- Route the Cable: Determine the most efficient and least obstructive route for running the coaxial cable from the antenna to your TV. Secure the cable along walls, beams, or other structures using cable clips or adhesive mounts. Avoid sharp bends or kinks that could affect signal quality.
- Connect to the TV: Locate the input port on your TV labeled “ANT” or “ANTENNA”. Insert the other end of the coaxial cable into this port. Make sure it is firmly connected.
- Scan for Channels: Power on your TV and access the TV’s menu or settings. Scan for available channels using the TV’s built-in tuner. This will allow your TV to detect and store the available channels received from the TV antenna.
By following these steps, your TV antenna will be properly connected to the coaxial cable, allowing for signal transmission to your TV. A secure and clean connection is essential to ensure reliable and high-quality reception. With the cable connected, you can now proceed to the next step: grounding the antenna for added safety and protection.
Step 7: Ground the Antenna
Grounding the TV antenna is an important safety measure that helps protect against power surges and potential damage caused by lightning strikes. Follow these steps to properly ground your antenna:
- Locate a Grounding Point: Identify a suitable grounding point in your attic or near the TV antenna. This can be a metal water pipe, metal grounding rod, or an existing grounding system in your home.
- Prepare the Grounding Wire: Cut a length of copper grounding wire, approximately 10-12 gauge, long enough to reach from the antenna to the grounding point. Strip about 1 inch of insulation from each end of the wire.
- Connect the Grounding Wire: Attach one end of the grounding wire to the grounding lug or grounding screw on the antenna. Ensure it is securely fastened. If the antenna doesn’t have a designated grounding point, consult the manufacturer’s instructions for alternative grounding methods.
- Connect the Other End of the Wire: Connect the other end of the grounding wire to the chosen grounding point. If using a metal water pipe, wrap the wire tightly around the pipe and secure it with a grounding clamp. If using a grounding rod, drive the rod into the ground and attach the wire to the grounding lug on the rod.
- Avoid Sharp Bends: Ensure that the grounding wire has a smooth and continuous path from the antenna to the grounding point. Avoid sharp bends or kinks that may compromise the effectiveness of the grounding.
- Ensure Proper Contact: Check that the grounding wire has good contact with the grounding point. Tighten any grounding clamps or connections to ensure a secure and reliable grounding.
- Verify Grounding: Test the grounding connection using a multimeter or a continuity tester. This will confirm that there is a low electrical resistance and proper grounding in place.
By properly grounding the TV antenna, you ensure the safety of your equipment and protect against potential damage. A solid grounding connection provides a pathway for electrical discharge, minimizing the risk of power surges. With the antenna securely grounded, you can move on to the next step: testing the signal strength to ensure optimal reception.
Step 8: Test the Signal
Once you have installed and connected the TV antenna in your attic, it’s time to test the signal to ensure optimal reception. Follow these steps to test the signal strength:
- Power on the TV: Turn on your TV and navigate to the menu or settings.
- Access the Antenna Settings: Look for the option to access the antenna settings or channel setup in the TV’s menu or settings.
- Scan for Channels: Start the channel scan process from the antenna settings. This will allow your TV to search for available channels received from the TV antenna.
- Wait for Scanning to Complete: Wait for the scanning process to complete. This may take a few minutes as your TV searches for and saves the available channels.
- Review Channel List: Once the scanning is complete, review the channel list to see the channels that have been detected and saved. Take note of any channels that have weak or no reception.
- Check Signal Strength: Navigate to a channel with weak reception and monitor the signal strength indicator on your TV. This can be represented by bars or percentage. A higher signal strength indicates a stronger and more reliable signal.
- Adjust Antenna Position: If a particular channel has weak reception, try adjusting the position and angle of the antenna to improve the signal strength. Make small adjustments and monitor the signal strength as you go.
- Re-scan if Necessary: If you’ve made adjustments to the antenna position, you may need to re-scan for channels to detect any changes in signal availability.
By testing the signal in your attic, you can ensure that you’re receiving the best possible reception. If you’re experiencing persistent weak signal or missing channels, it may be necessary to make further adjustments to the antenna position or consider investing in a signal amplifier for improved performance. Once you’re satisfied with the signal quality, you can proceed to the final step: making adjustments if necessary to fine-tune your TV antenna installation.
Step 9: Make Adjustments if Necessary
After testing the signal and reviewing the channel reception, you may need to make additional adjustments to optimize your TV antenna installation. Here are some adjustments you can consider:
- Reposition the Antenna: If you’re experiencing weak signal or missing channels, try repositioning the antenna in different areas of the attic. Experiment with angles and heights to find the optimal position for better signal reception.
- Change Direction: If the antenna is directional, try pointing it towards different broadcast towers to improve signal strength. Use a compass or online tools to locate the direction of the broadcast towers and adjust the antenna accordingly.
- Consider Signal Amplification: If you’re still encountering weak signals, consider adding a signal amplifier or booster to your installation. These devices can enhance the incoming signals and improve the signal strength and reception.
- Check Cable Connections: Ensure that all coaxial cable connections are secure and properly tightened. Loose or faulty connections can lead to signal loss or interference. If necessary, replace any damaged cables or connectors.
- Remove Obstructions: Check for any objects or obstacles in or around your attic that may be blocking the antenna’s line of sight to the broadcast towers. Remove or reposition any obstructions to allow for clearer reception.
- Consult a Professional: If you’re still experiencing difficulties or are unsure about making adjustments on your own, consider seeking help from a professional antenna installer. They can provide expert advice and assistance in fine-tuning your installation for optimal performance.
Remember, the success of your TV antenna installation depends on various factors such as signal strength, antenna type, and your specific location. Don’t be discouraged if you encounter some challenges along the way. Making necessary adjustments and seeking professional help when needed can greatly improve the performance of your TV antenna system.
Conclusion
Installing a TV antenna in your attic can provide a cost-effective and reliable solution for accessing a variety of free over-the-air channels. By following the step-by-step guide outlined in this article, you can successfully install a TV antenna and enjoy high-quality television broadcasts.
Throughout the installation process, we have covered important steps such as gathering the necessary tools and materials, choosing the right antenna, measuring signal strength, preparing the attic space, mounting the antenna securely, connecting the coaxial cable, grounding the antenna for safety, testing the signal, and making adjustments if necessary.
By carefully selecting the right antenna, ensuring a proper connection, and optimizing the positioning of the antenna based on signal strength, you can achieve optimum reception. Regularly testing the signal and making minor adjustments when needed will help maintain optimal performance.
Remember that every installation may have unique challenges based on your location and the specific features of your attic. Be patient and willing to make adjustments as necessary to achieve the best results. If you encounter difficulties, don’t hesitate to seek professional assistance.
Installing a TV antenna in your attic not only allows you to enjoy a wide range of free channels but also offers the flexibility to cut the cord and save on cable bills. It’s a great way to enhance your home entertainment experience while maintaining a sleek and clutter-free environment.
Now that you have all the knowledge and guidance required, it’s time to embark on your TV antenna installation journey. Enjoy the benefits of free over-the-air television and bid farewell to those monthly cable bills!