Introduction
When it comes to effectively cooling your PC, a top-mounted radiator can be a game-changer. By installing your radiator at the top of your computer case, you can optimize the airflow and keep your components running at optimal temperatures. In this guide, we will explore the benefits of a top-mounted radiator and provide step-by-step instructions on how to place one in your PC case.
A top-mounted radiator allows for efficient heat dissipation as hot air naturally rises. By positioning the radiator at the top of your case, you can take advantage of this natural process and ensure that the hot air from your cooling component is quickly expelled out of your PC. This avoids the recirculation of warm air, preventing unnecessary heat buildup that could potentially impact the performance and lifespan of your components.
Choosing the right case is crucial when planning to mount a radiator at the top. Look for cases with sufficient clearance and support for the radiator size you intend to install. Additionally, ensure that the case has proper ventilation, with fan mounting options and dust filters to maintain a clean and cool internal environment.
Before you embark on the installation process, gather the necessary tools and components. You will need a screwdriver, thermal paste, mounting brackets or screws, and, of course, the radiator and fans. It’s also essential to have access to the user manual or online documentation for your specific case and radiator to ensure a smooth installation process.
Preparing the case involves removing any unnecessary components, such as drive cages or HDD brackets, that may obstruct the installation of the radiator. Clean the case thoroughly and make sure there is adequate space at the top for the radiator without interfering with other components.
Mounting the radiator is a careful process, as you want to ensure a secure and stable installation. Follow the specific instructions provided with your case and radiator for attaching the mounting brackets or screws. Take your time to align the radiator properly and fasten it securely to avoid any movement or vibration that could impact the cooling performance.
Benefits of a Top-Mounted Radiator
A top-mounted radiator in your PC case offers several advantages that can greatly enhance your system’s cooling efficiency and overall performance. By understanding these benefits, you can make an informed decision when it comes to choosing the right cooling solution for your PC.
1. Improved Heat Dissipation: Mounting a radiator at the top of your case takes advantage of the natural process of hot air rising. As the heat generated by your CPU or GPU is expelled, it naturally rises to the top of the case. With a top-mounted radiator, this hot air is quickly dissipated, preventing it from being recirculated and potentially affecting the temperatures of other components. This efficient heat dissipation results in lower overall temperatures and improved system stability.
2. Enhanced Airflow: When a radiator is placed at the top, it allows for better airflow within the case. The positioning of the radiator doesn’t obstruct the intake of cool air from the front of the case, ensuring a steady flow of fresh air to cool the components. This balanced airflow helps to maintain consistent temperatures and prevents hot spots within the case. Additionally, it enables the exhaust fans at the rear and top of the case to expel the hot air efficiently.
3. Increased Compatibility: Top-mounted radiators offer better compatibility with large CPU coolers and tall RAM modules. With the radiator placed at the top, there is typically more clearance for larger CPU coolers to fit within the case without interfering with the radiator or creating unwanted obstructions. Similarly, RAM modules with taller heatsinks can be accommodated without any clearance issues, providing greater flexibility for component choices.
4. Less Noise: Placing the radiator at the top can contribute to a quieter system operation. As the hot air is quickly expelled through the radiator, the overall airflow within the case is improved, reducing the need for the case fans to run at higher speeds. Lower fan speeds result in reduced noise levels, creating a more peaceful computing environment without compromising on cooling performance.
5. Easy Maintenance: With a top-mounted radiator, the cleaning and maintenance of the system become more convenient. Dust tends to accumulate at the bottom of the case, and a top-mounted radiator ensures that it remains away from the radiator fins. This helps to keep the radiator clean and maintains its efficiency over time. Additionally, most top-mounted radiators are easily accessible, allowing for straightforward removal and cleaning when necessary.
In summary, a top-mounted radiator offers improved heat dissipation, enhanced airflow, increased compatibility, reduced noise levels, and easy maintenance. These benefits make it an excellent cooling solution for gamers, enthusiasts, and professionals seeking optimal performance and longevity for their PC components.
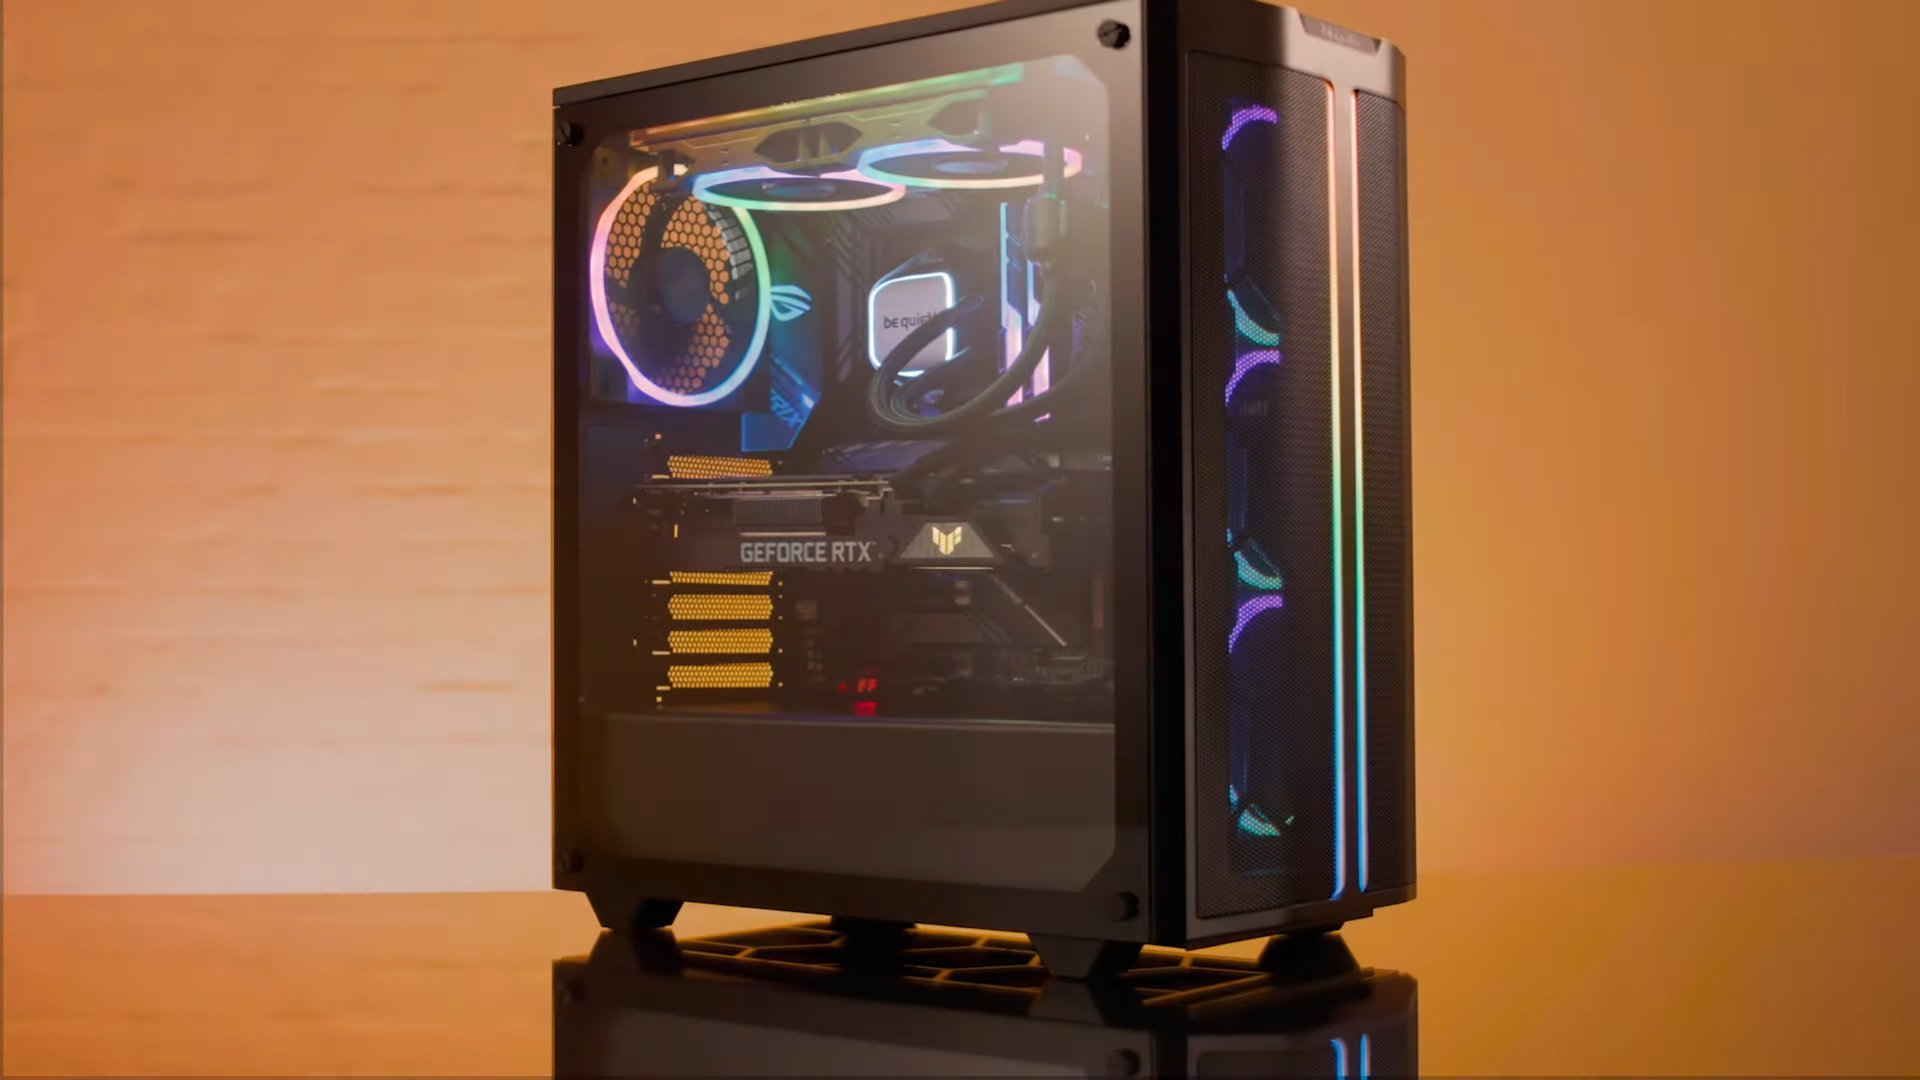
Choosing the Right Case
When it comes to mounting a top-mounted radiator, selecting the appropriate PC case is crucial for a successful installation. Here are some key factors to consider when choosing the right case for your needs:
1. Size and Compatibility: Start by determining the size of the radiator you plan to install. Radiator sizes typically range from 120mm to 360mm or larger. Ensure that the case you choose has sufficient clearance at the top to accommodate your radiator size without obstructing other components. It’s also essential to check if the case supports the fan size required for the radiator.
2. Ventilation and Airflow: Look for a case with good ventilation and airflow. Optimal airflow is crucial for efficient cooling, so choose a case that provides adequate intake and exhaust options. Look for cases with fan mounting locations at the front, top, and rear to support a balanced airflow configuration. Additionally, consider the presence of dust filters to prevent dust accumulation and maintain clean internals.
3. Cable Management: A well-designed case should offer sufficient space and routing options for cable management. Proper cable management not only improves the aesthetics of your build but also enhances airflow by keeping cables organized and out of the way of the radiator and other components.
4. Expansion and Component Support: Take into account the number and type of components you plan to install in your PC. Consider factors such as the number of storage drives, expansion card slots, and the ability to accommodate large CPU coolers or tall RAM modules. Ensure that the case has enough room to fit your components comfortably and supports future upgrades.
5. Design and Aesthetics: While aesthetics may not directly impact performance, they contribute to the overall look and feel of your system. Choose a case with a design that appeals to you and matches your personal style and preferences. Whether you prefer a sleek and minimalist look or a more eye-catching design, there are numerous options available to suit your taste.
6. Budget Considerations: Finally, consider your budget when selecting a case. High-end cases may offer additional features and premium build quality, but they may also come with a higher price tag. Determine your budget range and look for cases that strike a balance between affordability and the features you require.
By carefully evaluating these factors, you can choose a case that provides the necessary clearance, supports proper airflow, offers cable management options, accommodates your components, aligns with your aesthetic preferences, and fits within your budget. A well-chosen case will ensure a seamless installation and optimal performance for your top-mounted radiator setup.
Gathering the Necessary Tools and Components
Before you begin the process of installing a top-mounted radiator in your PC case, it’s essential to gather all the necessary tools and components. Having everything prepared beforehand will ensure a smooth and hassle-free installation. Here are the essential items you’ll need:
1. Screwdriver: A standard Phillips screwdriver is typically required to mount the radiator and fans onto the case. Make sure you have a screwdriver that is compatible with the screws used in your case and radiator.
2. Thermal Paste: Thermal paste is a crucial component in ensuring efficient heat transfer between the CPU or GPU and the radiator. Check the user manual or documentation for your cooling component to determine the appropriate thermal paste application method.
3. Mounting Brackets or Screws: Depending on the design of your case and radiator, you may need mounting brackets or screws to secure the radiator in place. Refer to the documentation that comes with your case and radiator to identify the specific mounting hardware required.
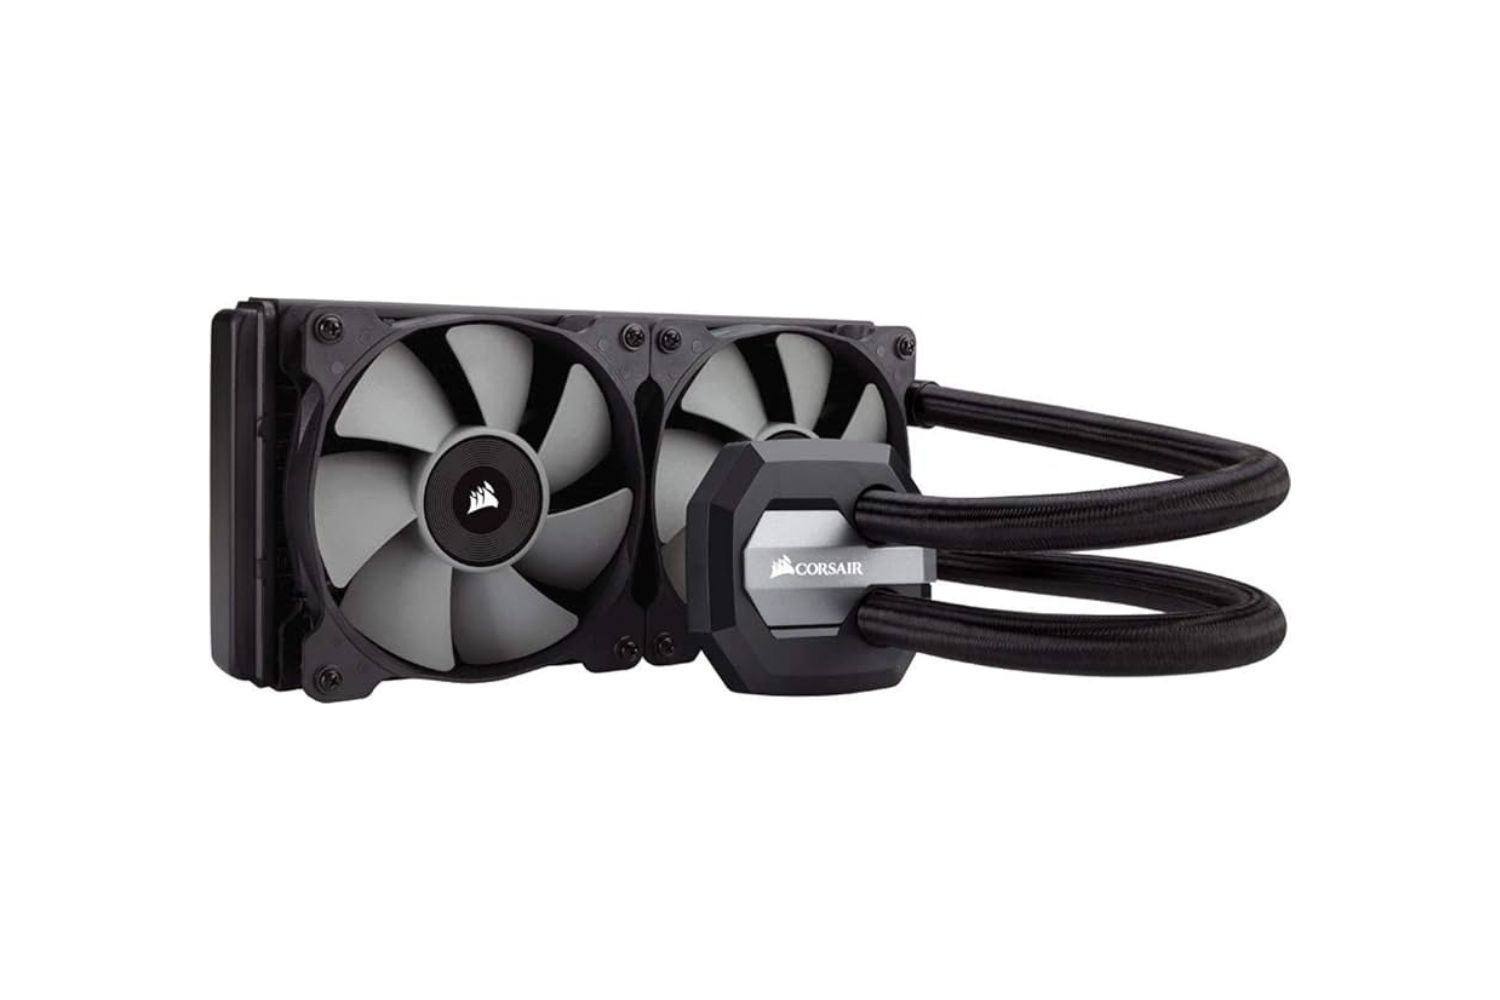
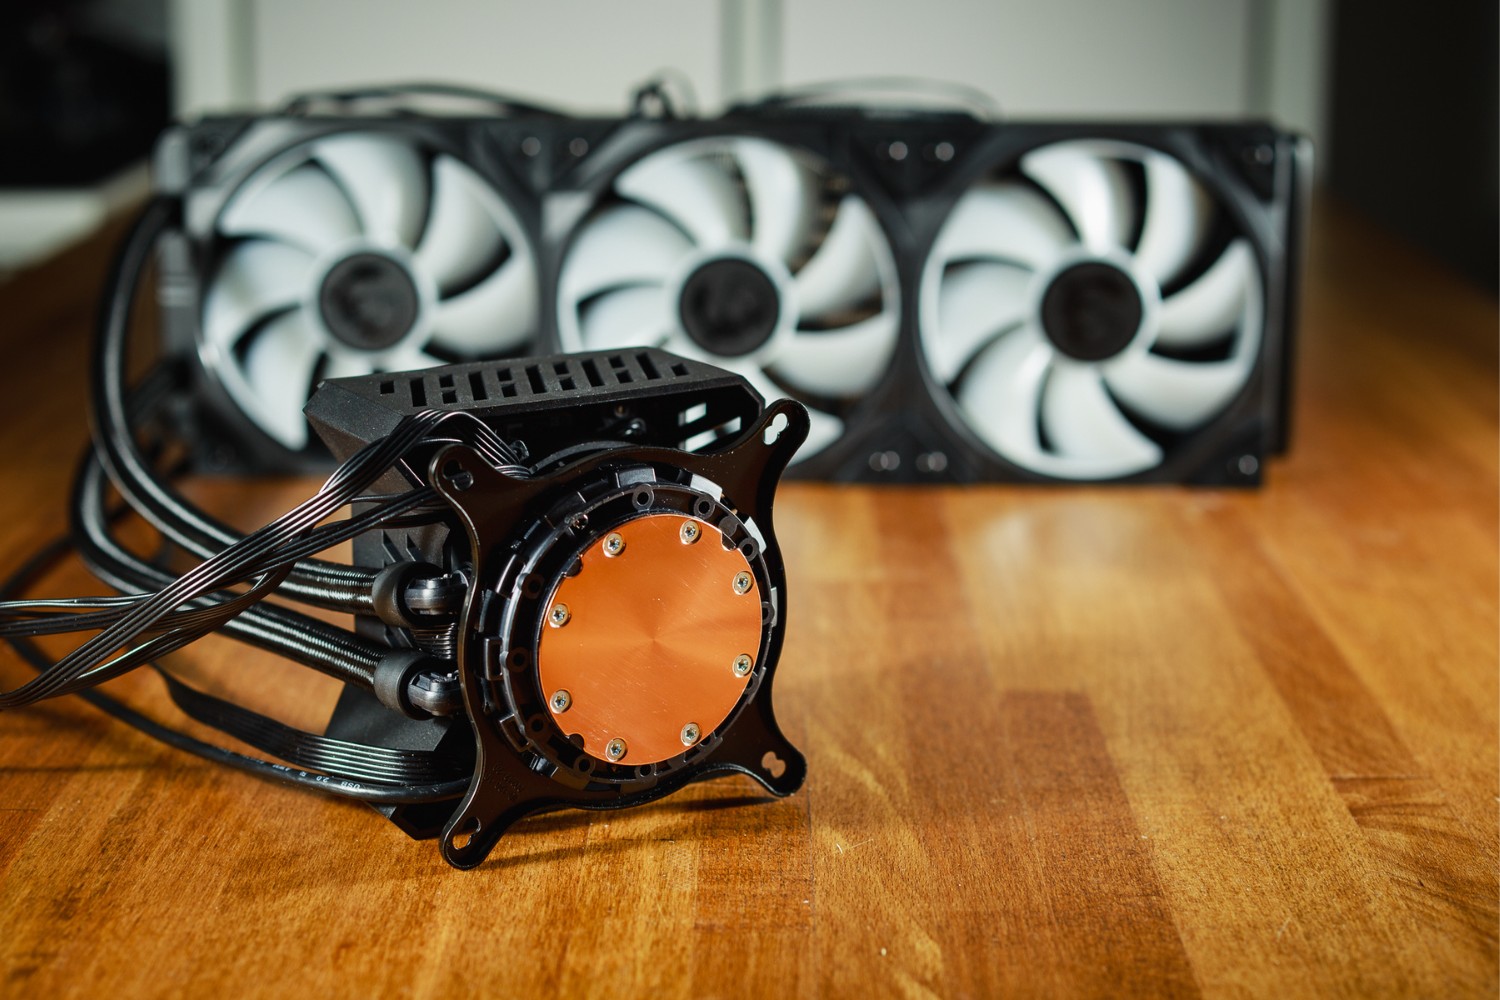
4. Radiator and Fans: Of course, you’ll need the radiator itself, along with the corresponding fans. Ensure that the radiator and fans are compatible in terms of size and mounting methods. Consider the radiator’s cooling capacity and the number of fans required for optimal performance.
5. User Manual or Documentation: It is essential to have access to the user manual or online documentation for your specific case and radiator. These resources will provide detailed instructions on the installation process, any specific requirements, and troubleshooting tips.
Before you start the installation, take the time to familiarize yourself with the user manual and ensure that you have all the necessary tools and components readily available. This preparation will help you avoid any last-minute delays or frustrations during the installation process.
It’s worth noting that some cases may have specific requirements or additional tools needed for mounting a top-mounted radiator. For example, some cases may have proprietary mounting systems that require specific adapters or brackets. Be sure to consult the documentation provided by the case manufacturer to confirm any additional requirements.
Remember, proper preparation is key to a successful installation. By gathering all the necessary tools and components beforehand, you’ll save time, minimize frustration, and ensure that the installation process proceeds smoothly and efficiently.
Preparing the Case
Before you begin the installation of a top-mounted radiator, it is essential to prepare your PC case. Proper preparation ensures a clean and unobstructed mounting space for the radiator and prevents any potential issues during the installation process. Here are the necessary steps to prepare your case:
1. Remove Unnecessary Components: Take a thorough look inside your case and identify any components that may obstruct the installation of the radiator. This can include drive cages, HDD brackets, or any other components that may impede the placement of the radiator at the top of the case. Remove these components carefully, ensuring that any screws or fasteners are safely stored for future use if needed.
2. Clean the Interior: Dust and debris can accumulate inside your case over time, hindering proper airflow and potentially affecting cooling performance. Use compressed air or a soft cloth to remove any dust or particles from the interior of the case. Pay close attention to areas that may come into direct contact with the radiator, such as the top panel and any fan mounts.
3. Ensure Adequate Space: Verify that there is sufficient space at the top of your case to accommodate the radiator and fans. Check for any obstructions, such as motherboard components, cables, or other peripherals, that may interfere with the installation. Clear away any unnecessary cables or items to create a clean and organized workspace for the radiator installation.
4. Check Mounting Options: Take a close look at the mounting options available in your case for the top-mounted radiator. Identify the appropriate mounting points or mounting holes on the case’s top panel or fan mounts. Refer to the user manual or documentation for your case to ensure you are familiar with the specific mounting mechanisms and requirements.
5. Plan for Cable Management: Proper cable management is essential for maintaining good airflow and aesthetics inside your case. Take a moment to plan how you will route and manage your cables to prevent them from obstructing the radiator or interfering with the fans. Consider using cable ties or Velcro straps to secure and organize the cables, ensuring they are neatly tucked away.
By preparing your case thoroughly, you create an ideal environment for the installation of a top-mounted radiator. Removing unnecessary components, cleaning the interior, ensuring adequate space, checking mounting options, and planning for cable management will contribute to a successful and hassle-free installation process.
Remember, different cases may have specific considerations and requirements for preparing the case. Consult the user manual or online documentation provided by the case manufacturer to ensure you are following any specific instructions or precautions.
With the case properly prepared, you are now ready to move on to the next step: mounting the radiator in your PC case.
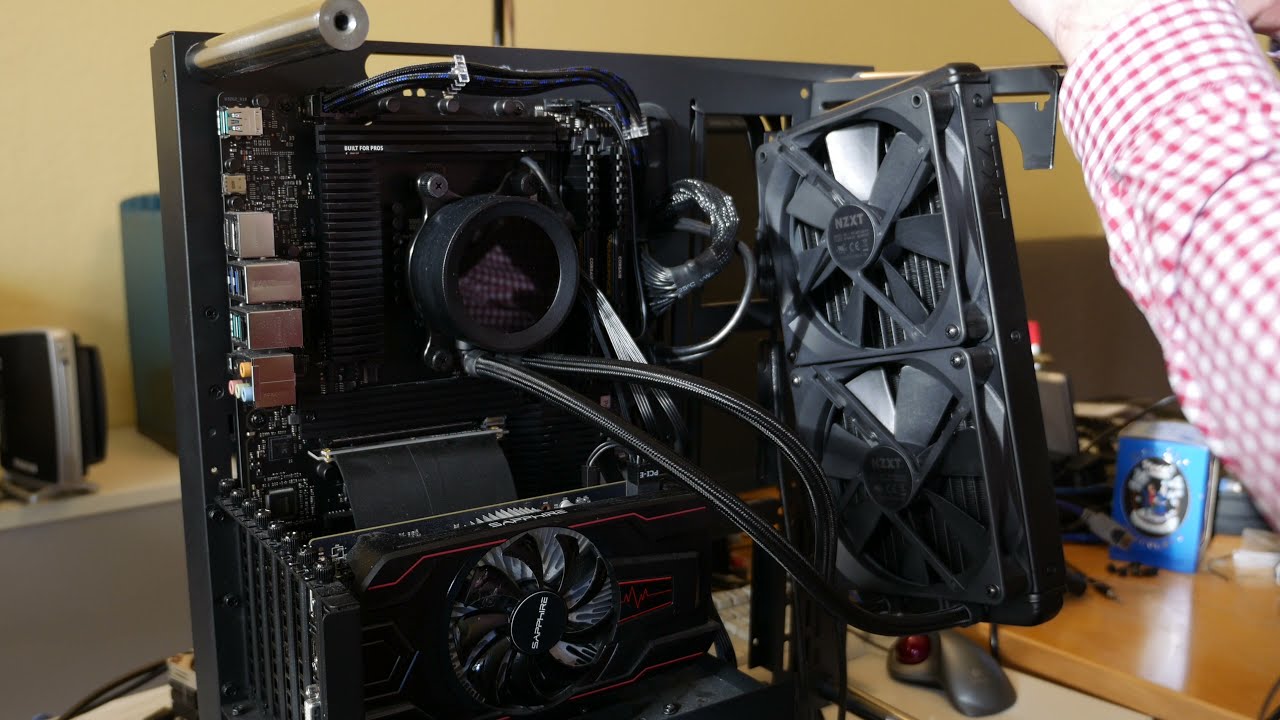
Mounting the Radiator
Mounting the radiator is a critical step in the installation process of a top-mounted radiator in your PC case. Properly securing the radiator ensures stability and efficient heat dissipation. Follow these step-by-step instructions to ensure a secure installation:
1. Refer to the User Manual: Carefully review the user manual or documentation provided with your case and radiator. Familiarize yourself with the specific instructions and any recommended mounting methods or tools mentioned. This will help you understand the best approach for your particular case and radiator combination.
2. Attach Mounting Brackets or Screws: Depending on your case and radiator design, you may need to attach the provided mounting brackets or screws onto the radiator. Ensure that the brackets or screws are securely fastened and properly aligned with the mounting points on the radiator. Refer to the user manual for guidance on the exact placement method for your specific radiator model.
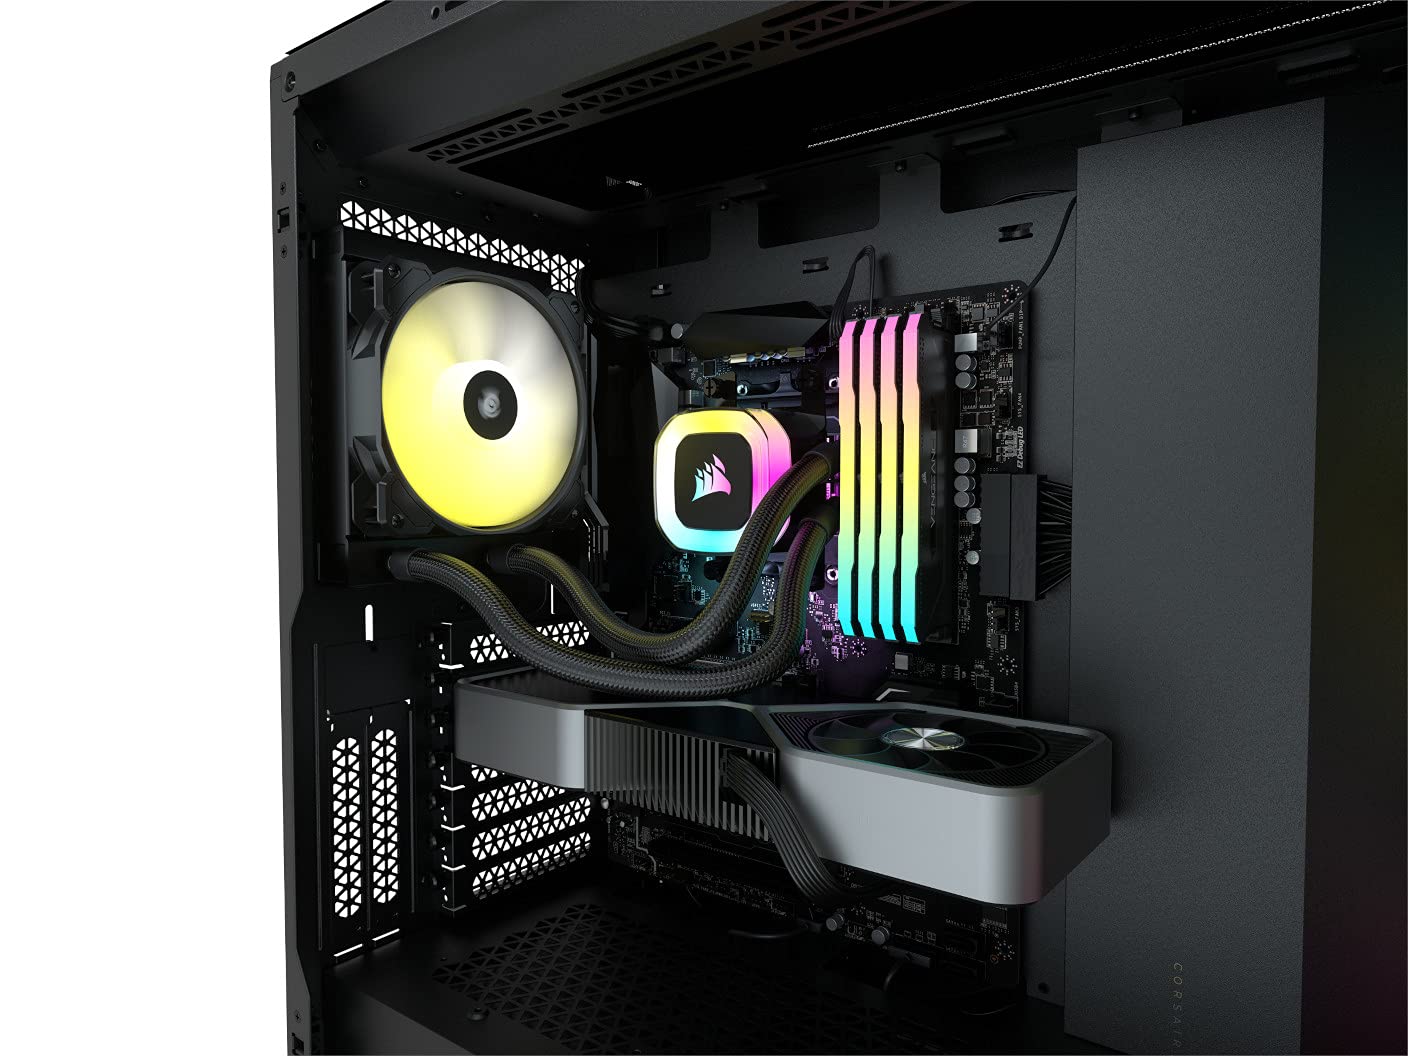
3. Position the Radiator: Carefully position the radiator at the top of your case, aligning it with the designated mounting points or holes. Take care to ensure that the radiator is centered and sits flush against the top panel or fan mounts of the case. This will promote optimal airflow and cooling performance.
4. Secure the Radiator: Using the appropriate screws or fasteners, begin securing the radiator to the case. Start by loosely tightening the screws in a diagonal pattern to maintain even pressure distribution. Once all screws are evenly inserted, tighten them fully, ensuring that the radiator is securely fastened to the case. Avoid over-tightening, as it may damage the radiator or case threads.
5. Check for Stability: After mounting the radiator, gently shake the case or give it a light tap to check for any movement or wobbling. The radiator should be firmly secured, with no noticeable shaking or rattling. If you detect any instability, go back and double-check the tightness of the screws or consult the user manual for further guidance.
6. Consider Fan Placement: Depending on your setup, you may need to mount fans on the radiator for optimal cooling. Consult the user manual for your radiator to determine the recommended fan orientation and installation method. Typically, fans are mounted on the side of the radiator that faces the interior of the case, pulling cool air through the radiator fins.
By following these steps, you will ensure a secure and stable mounting of your top-mounted radiator. Remember to refer to the user manual or documentation provided by your case and radiator manufacturers for any specific instructions or precautions that may apply to your setup.
With the radiator successfully mounted, you can now proceed to the next step: installing the fans to further enhance the cooling performance of your PC.
Installing the Fans
Installing fans on your top-mounted radiator is an essential step to maximize the cooling efficiency of your PC. The fans work in conjunction with the radiator to expel hot air and bring in cool air, ensuring optimal temperatures for your components. Follow these steps to properly install the fans:
1. Determine Fan Placement: Refer to the user manual or documentation provided with your radiator to identify the recommended fan placement. Typically, fans are mounted on the side of the radiator that faces the interior of the case. This configuration allows the fans to pull cool air through the radiator fins, assisting in heat dissipation.
2. Align the Fans: Once you have determined the fan placement, align the fans with the mounting holes or brackets on the radiator. Ensure that the fan cables are positioned in a way that allows for easy cable management and connection to the appropriate fan headers on the motherboard.
3. Secure the Fans: Use the provided screws or fasteners to secure the fans onto the radiator. Insert the screws through the fan mounting holes and into the corresponding holes or brackets on the radiator. Tighten the screws evenly, using a diagonal pattern, to ensure balanced pressure and a secure fit.
4. Connect the Fan Cables: After securing the fans, connect the fan cables to the appropriate fan headers on the motherboard. Refer to the motherboard’s manual to identify the correct headers designated for CPU or case fans. Ensure a secure connection, making sure the cables are not blocking any other components or obstructing the airflow.
5. Cable Management: Take a moment to organize and manage the fan cables to optimize airflow and maintain a tidy interior. Use cable ties or Velcro straps to gather and secure the cables, routing them along designated cable management channels or tie-down points in your case. This will help prevent any cables from obstructing the fans or creating unnecessary clutter.
6. Test the Fan Operation: Before concluding the installation, turn on your PC and verify that the fans are spinning and operating smoothly. Check the fan speeds in the BIOS or with monitoring software to ensure that they are functioning optimally. If any issues arise, double-check the fan connections and consult the motherboard manual for troubleshooting tips.
With the fans properly installed on the top-mounted radiator, you have taken an important step toward achieving effective and efficient cooling for your PC. Remember to refer to the user manual or documentation provided with your radiator and motherboard for any specific instructions or recommendations that may apply to your particular setup.
Next, we will move on to connecting the top-mounted radiator to the cooling component of your choice.
Connecting the Radiator to the Cooling Component
Once you have successfully installed the top-mounted radiator and fans in your PC case, the next step is to connect the radiator to the cooling component, such as the CPU or GPU. This connection allows for the transfer of heat from the component to the radiator for efficient cooling. Follow these steps to properly connect the radiator to the cooling component:
1. Apply Thermal Paste: Before connecting the radiator, apply a small amount of thermal paste to the surface of the cooling component (e.g., CPU or GPU). This paste helps to improve heat transfer between the component and the radiator. Be sure to use an appropriate thermal paste and follow the recommended application method outlined in the component’s user manual or documentation.
2. Position the Cooling Component: Carefully position the cooling component (e.g., CPU or GPU) in its socket or slot according to the manufacturer’s instructions. Take care not to apply excessive force or pressure during installation to avoid damaging the component or socket.
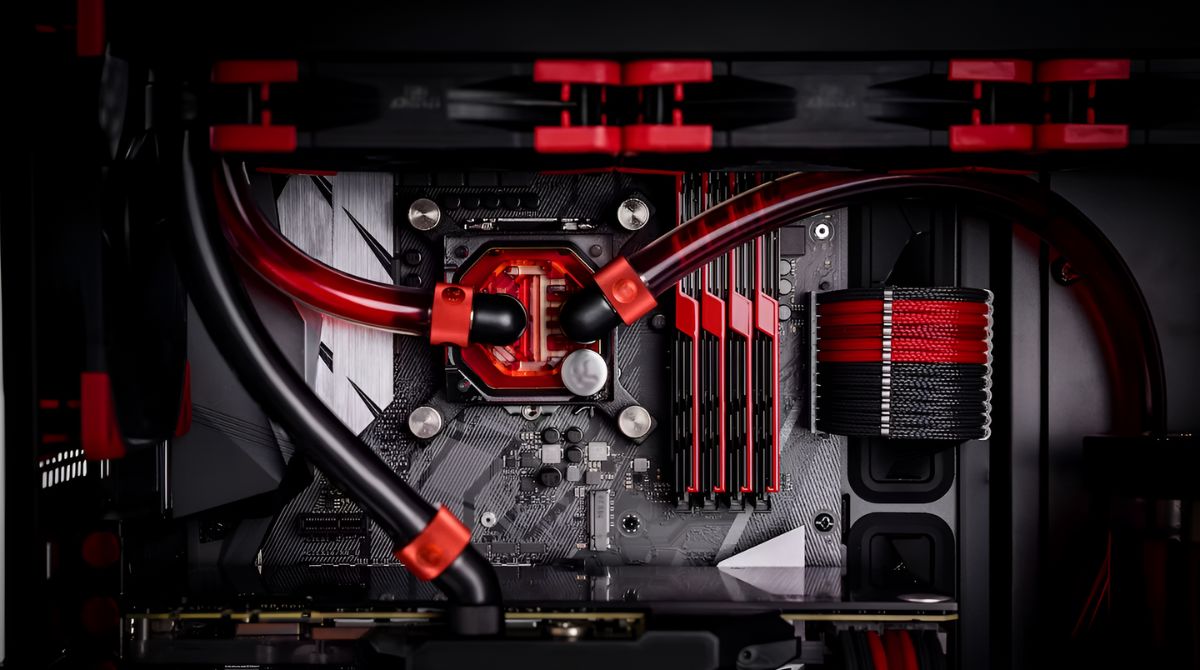
3. Align the Waterblock or Cooling Plate: Align the waterblock (for liquid cooling systems) or the cooling plate (for all-in-one or air cooling systems) of the radiator with the cooling component. Ensure that the waterblock or cooling plate is aligned properly with the component’s integrated heat spreader or cooling surface to maximize heat transfer efficiency. Refer to the radiator’s user manual or documentation for specific instructions on aligning and installing the waterblock or cooling plate.
4. Secure the Connection: Once aligned, gently lower the waterblock or cooling plate onto the cooling component. Secure the connection using the appropriate fastening mechanism provided with your cooling system. This could involve tightening screws or latches to ensure a secure and stable connection between the radiator and the cooling component.
5. Check for Proper Contact: After securing the connection, carefully inspect the contact between the waterblock or cooling plate and the cooling component. Ensure that there is even contact across the entire surface area. This step is crucial to ensure optimal heat transfer and efficient cooling performance.
6. Connect Pump/Fan Cables: If your radiator includes a pump for liquid cooling or additional fans, connect the corresponding cables to the appropriate headers or connectors on the motherboard. Refer to the motherboard’s manual or the radiator’s documentation for guidance on the proper connection of these cables. Make sure the cables are neatly routed and secured to avoid interference with other components or airflow.
With the radiator successfully connected to the cooling component, you have established the vital link necessary for effective heat dissipation. Always refer to the user manual or documentation provided with your cooling system for specific instructions and recommendations on connecting the radiator to your chosen cooling component.
Now that everything is properly connected, you are ready to move on to the final step: testing and troubleshooting the system to ensure optimal cooling performance.
Testing and Troubleshooting
After installing the top-mounted radiator, fans, and connecting it to the cooling component, it’s essential to test and troubleshoot the system to ensure everything is functioning optimally. By following these steps, you can verify the cooling performance and address any potential issues:
1. Boot Up and Monitor Temperatures: Power on your PC and monitor the temperatures of your cooling component using monitoring software or the BIOS. Keep an eye on the temperatures to ensure that they are within the acceptable range for your particular hardware. If temperatures are excessively high, it might indicate an issue with the cooling setup or an improper connection.
2. Check Fan Speeds: Verify that the fans connected to the radiator are spinning at the expected speeds. Use monitoring software or the BIOS to check the fan speeds and ensure they are operating correctly. If any fans are not spinning or running at unusually low speeds, check the fan connections and ensure that they are properly connected to the appropriate fan headers on the motherboard.
3. Assess Noise Levels: Listen for any unusual noises coming from the fans or radiator. An excessively loud or abnormal noise could indicate an issue, such as a loose screw, fan obstruction, or fan failure. If you hear any unusual noises, investigate and address the source of the problem to ensure proper fan performance and a quieter system operation.
4. Monitor Cooling Efficiency: Run intensive tasks or stress tests on your system to evaluate its cooling efficiency. During these tests, you can monitor the temperatures to ensure they remain within the acceptable range and don’t exceed the component’s recommended operating temperatures. If temperatures are too high or if you notice a significant increase in temperature over time, it may indicate an issue with the radiator installation or cooling setup.
5. Check for Leaks (for Liquid Cooling): If you have a liquid cooling system, monitor for any signs of leaks. Carefully inspect the fittings, tubes, and connections for any visible leaks or moisture. If you notice any leaks, immediately power down your system and address the issue. Leaks can be damaging to your components and require immediate attention to prevent any further damage.
6. Troubleshoot and Address Issues: If any issues arise during testing, carefully review the installation steps and double-check all connections. Ensure that the radiator is securely mounted, the fans are functioning correctly, and there are no obstructions or airflow restrictions. Consult the user manuals and online resources for troubleshooting specific to your cooling system or seek assistance from forums or support communities for further guidance.
By conducting thorough testing and troubleshooting, you can identify any potential issues early on, providing an opportunity to address them promptly. Regular monitoring and maintenance of your cooling setup will help ensure long-term stability and optimal performance for your PC.
With proper testing and troubleshooting completed, you can now enjoy the benefits of a top-mounted radiator and confidently rely on efficient cooling for your PC.
Conclusion
Mounting a top-mounted radiator in your PC case can significantly enhance cooling performance and maintain optimal temperatures for your components. By carefully selecting the right case, gathering the necessary tools and components, and following the step-by-step installation process, you can achieve efficient heat dissipation and improve the overall performance of your PC.
A top-mounted radiator offers several benefits, including improved heat dissipation, enhanced airflow, increased compatibility, reduced noise levels, and easy maintenance. These advantages make it a popular choice for gamers, enthusiasts, and professionals looking to maximize the cooling capabilities of their systems.
Proper preparation of the case, mounting the radiator securely, installing fans, connecting the radiator to the cooling component, and conducting thorough testing and troubleshooting are vital steps to ensure successful and effective cooling performance. Following these steps, along with consulting the user manuals and documentation provided with your case, radiator, and cooling system, will help you achieve optimal results.
Regular monitoring of temperatures, fan speeds, and noise levels, as well as addressing any issues that arise, will help maintain the efficiency and longevity of your cooling setup. Remember to keep an eye on any potential leaks in liquid cooling systems, as leaks can cause damage to your components.
By investing time and effort into the installation and maintenance of a top-mounted radiator, you can enjoy the benefits of a cooler and more stable system. Whether you are a gamer seeking to push your hardware to the limits or a professional requiring excellent performance for resource-intensive tasks, a top-mounted radiator can make a significant difference in keeping your PC running smoothly.
With the information provided in this guide, you are now equipped to embark on the installation of a top-mounted radiator and confidently enjoy improved cooling performance for your PC.