Introduction
Welcome to the world of art photography! Whether you’re an artist, collector, or curator, being able to capture the beauty and essence of artwork through photographs is crucial. With the advancements in digital cameras, it has become easier than ever to document and share art in all its forms. However, photographing art requires specific skills and techniques to ensure accurate representation and showcase the artist’s vision.
In this guide, we will explore the fundamentals of photographing art with a digital camera. From choosing the right camera to understanding lighting, setting up the artwork, capturing the image, and post-processing, we will cover every step to help you produce stunning and professional art photographs.
Photographing art is not simply point-and-shoot; it requires attention to detail, patience, and an understanding of both technical aspects and artistic vision. By following the tips and techniques discussed in this guide, you will be able to capture the nuances, textures, and colors of artwork, preserving its delicate details and conveying its soul.
Whether you are photographing paintings, sculptures, or mixed media installations, understanding the unique challenges and approaches for each type of art will help you create compelling and accurate representations. We will also address common mistakes to avoid, ensuring that your art photographs are free from distracting elements and accurately represent the original piece.
So, let’s dive in and discover the fascinating world of art photography, where the digital camera becomes a powerful tool to showcase and celebrate the beauty of artistic creations.
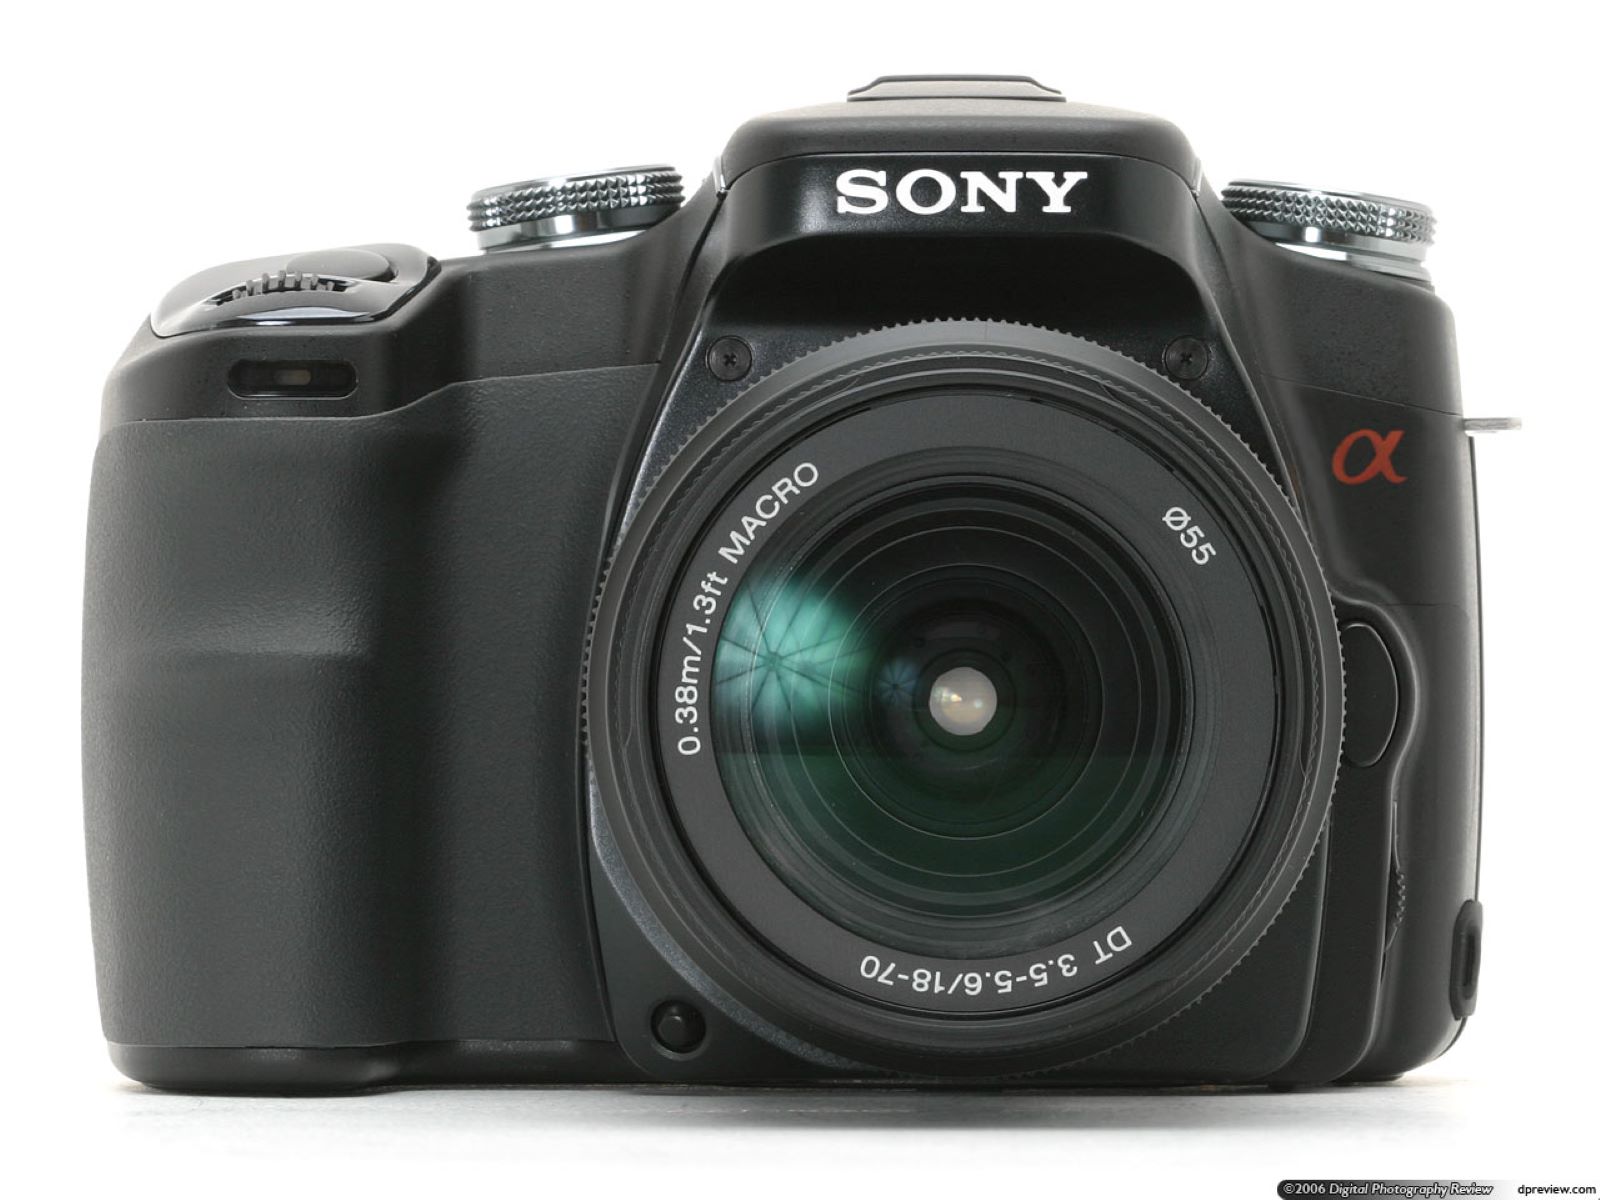
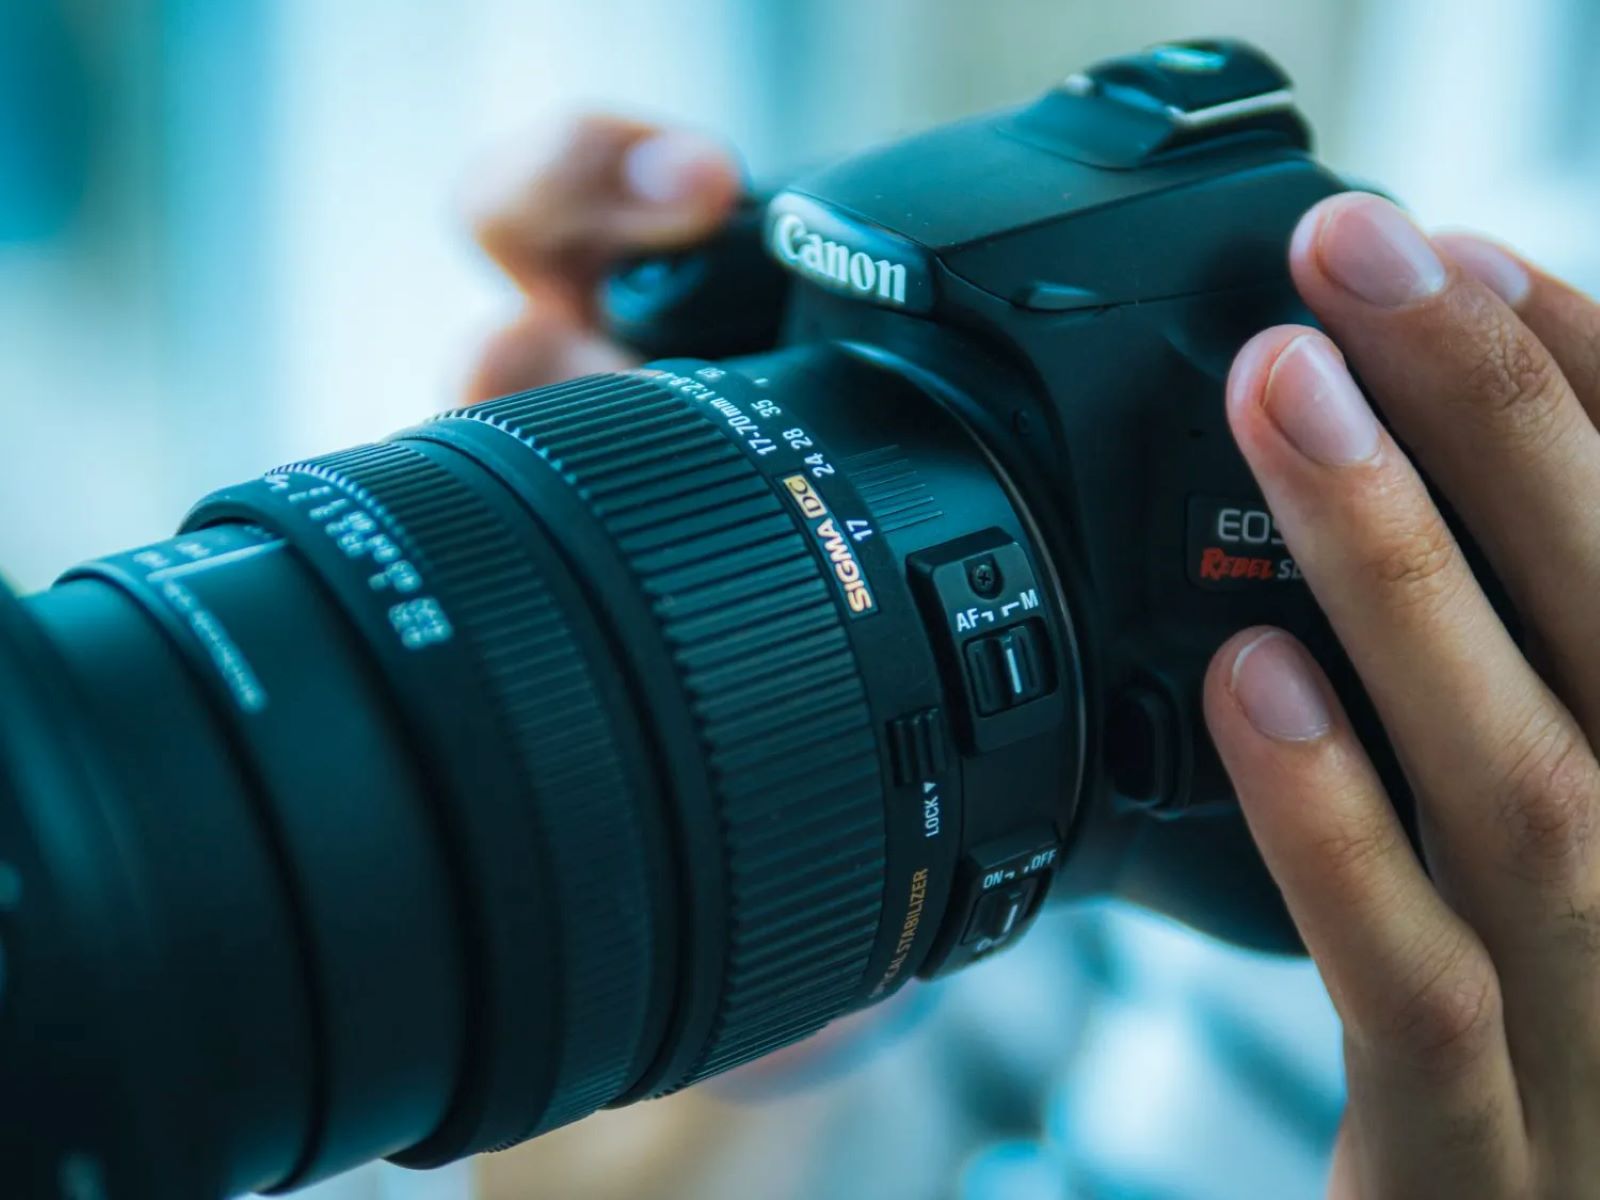
Choosing the right camera for photographing art
When it comes to photographing art, having the right camera is essential. It is crucial to choose a camera that can capture the finest details, accurately represent colors, and provide the necessary control over settings to achieve the desired results. Here are some key factors to consider when selecting a camera for art photography:
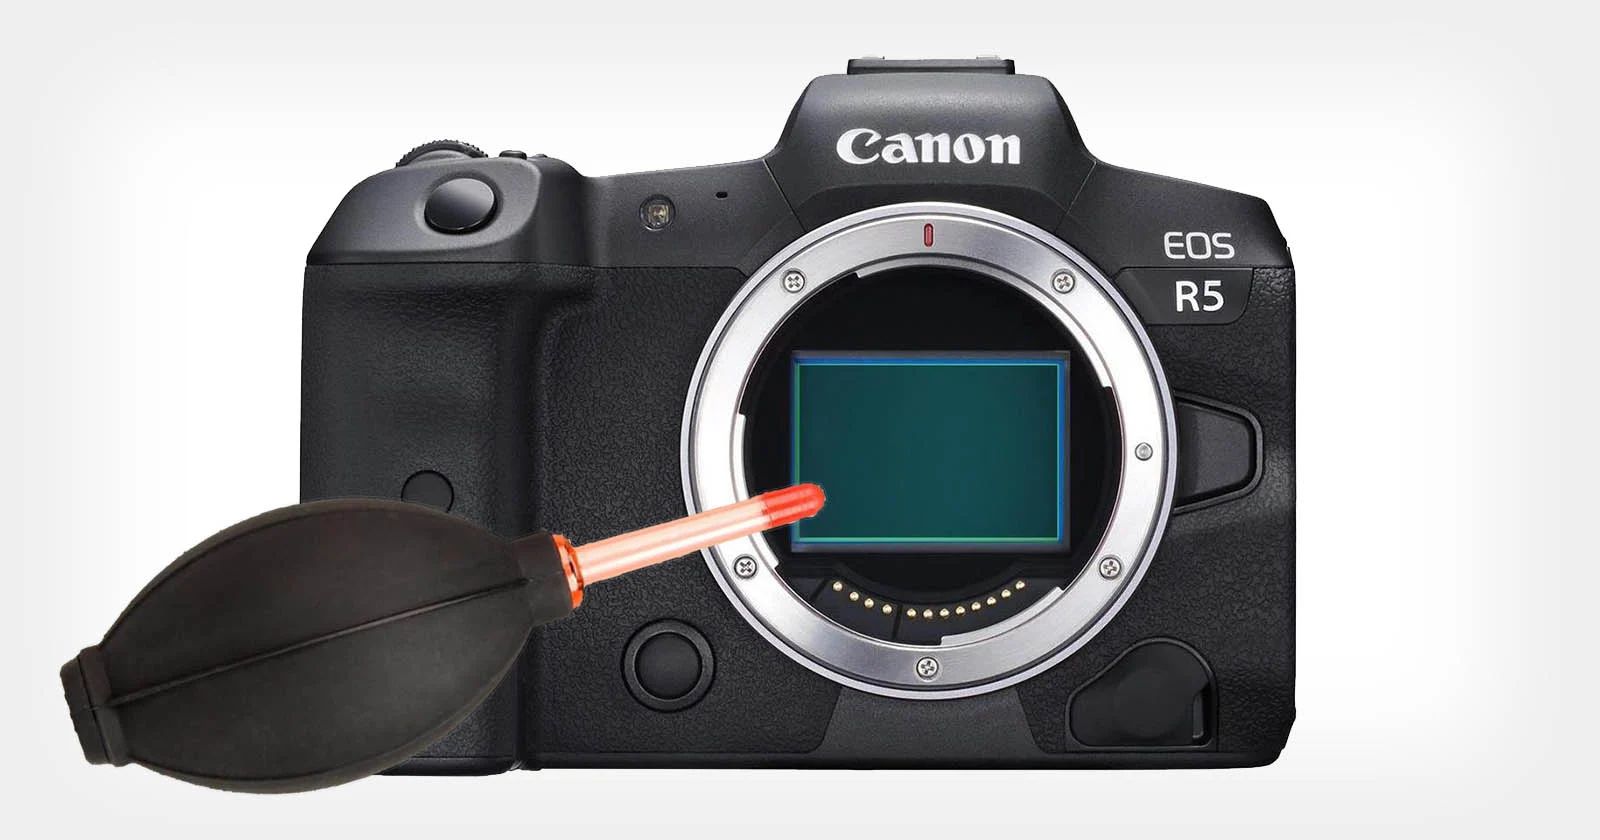
- Resolution and sensor size: Opt for a camera with a high-resolution sensor to capture the intricate details of artworks. A larger sensor size will also contribute to better image quality and reduced noise, especially in low-light conditions.
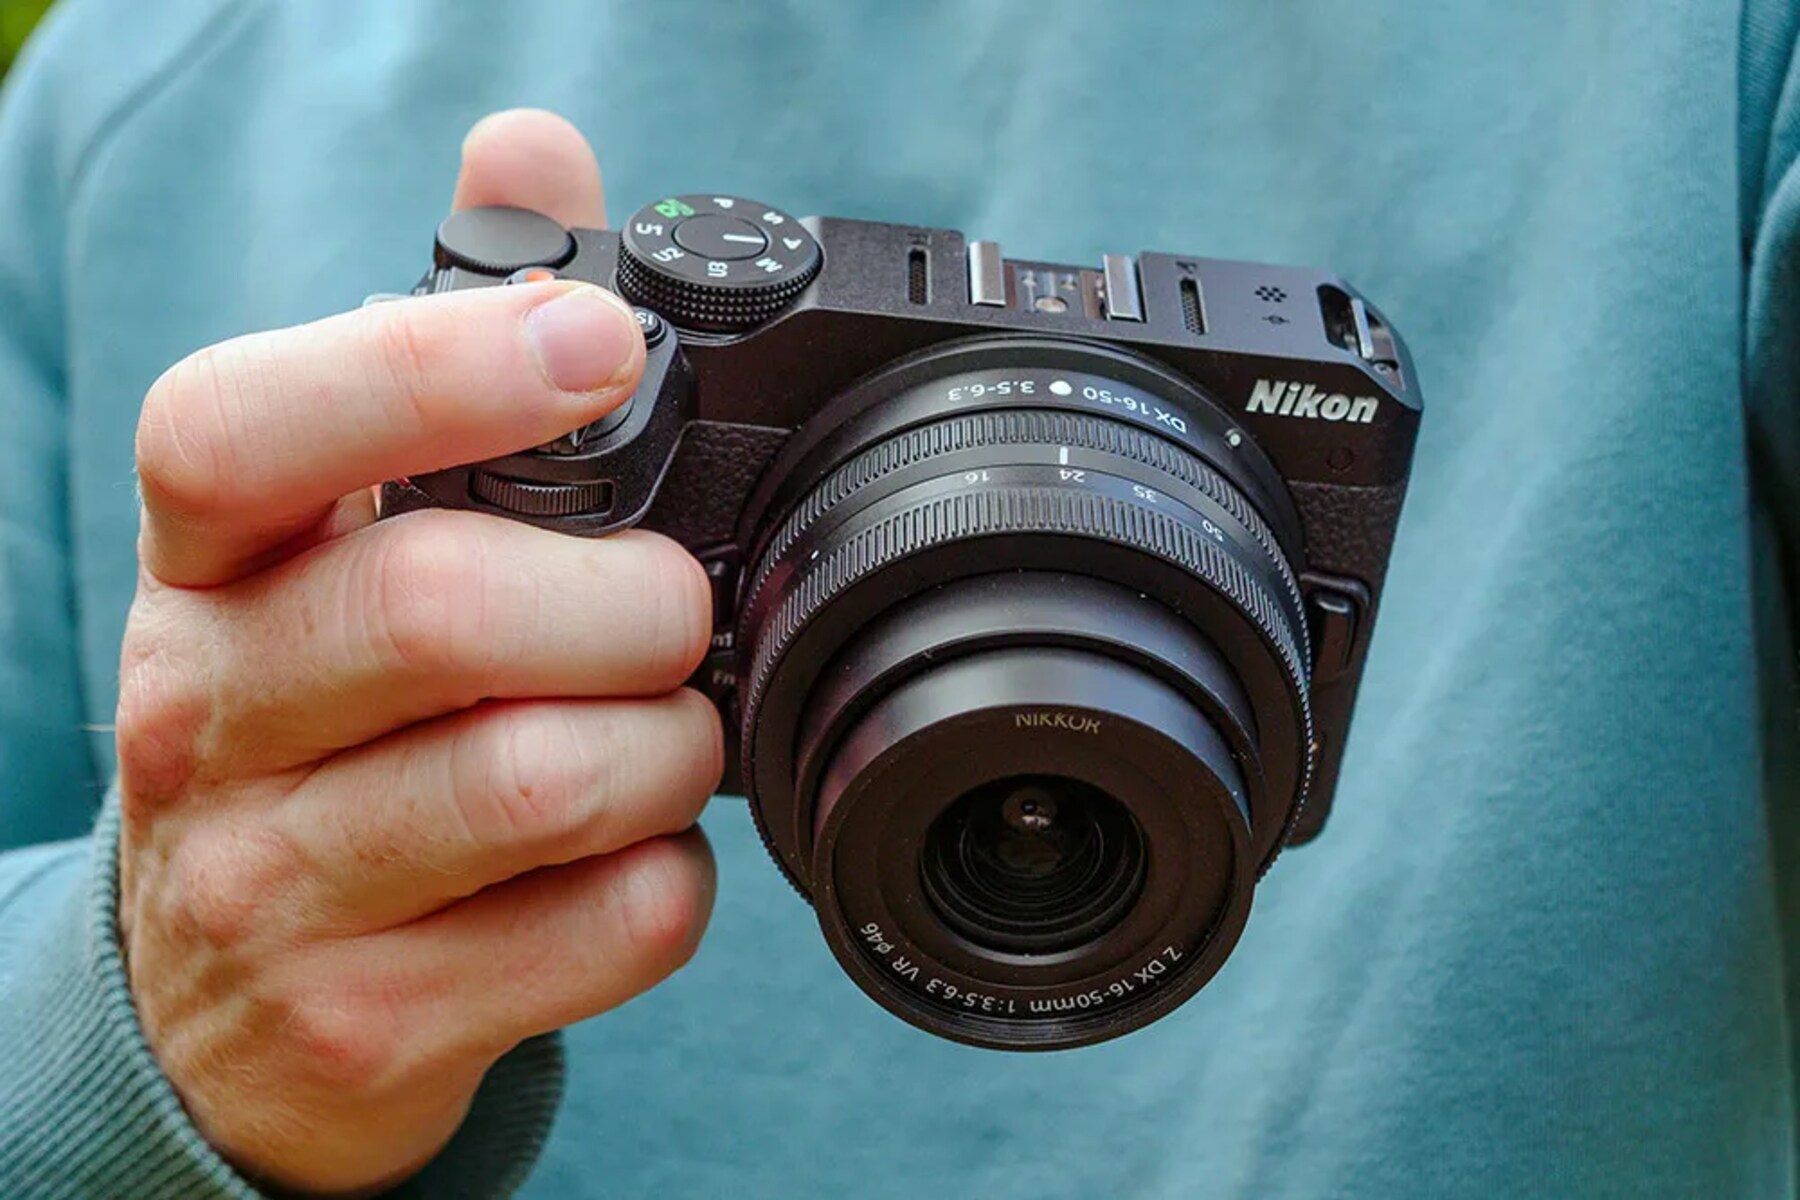
- Camera type: Both DSLR and mirrorless cameras are suitable for art photography. DSLRs offer versatile lens options and robust image quality, while mirrorless cameras are more compact and offer features like electronic viewfinders and in-body image stabilization.
- Lens compatibility: Consider the availability and compatibility of lenses for the camera system you choose. Different types of art may require different focal lengths, so having a range of lens options is important.
- Color accuracy: Look for a camera with accurate color reproduction capabilities. This will ensure that the photographs accurately represent the original artwork and its color nuances.
- Manual controls: Manual control over settings such as aperture, shutter speed, and ISO is crucial in art photography. It allows you to have complete creative control over the image and achieve the desired depth of field, sharpness, and exposure.
Additionally, it is essential to invest in good quality lenses for your camera. Prime lenses with a fixed focal length tend to offer better image quality and sharper results compared to zoom lenses. Choose lenses with a wide aperture range to capture more light and achieve shallow depth of field, creating a beautiful and focused image while blurring the background.
While high-end cameras can provide excellent image quality and advanced features, it is important to note that the skill of the photographer plays a significant role in capturing stunning art photographs. Regardless of the camera you choose, understanding its capabilities and practicing various techniques will help you maximize its potential and enhance your art photography skills.
Understanding lighting for art photography
Lighting is one of the most critical aspects of art photography. It can significantly impact how the artwork appears in the photograph, influencing its colors, textures, and overall mood. Understanding how to manipulate and use lighting effectively will help you capture art in its truest form. Here are some key factors to consider when it comes to lighting for art photography:
- Natural light vs. artificial light: Natural light can produce beautiful, soft, and diffused illumination, especially during the golden hours of sunrise and sunset. It is best for capturing vibrant colors and minimizing unwanted reflections. However, when natural light is not available or insufficient, artificial light sources such as studio lights or continuous LED lights can be used to provide consistent and controllable lighting.
- Direction of light: The direction of light has a significant impact on the appearance of artwork. Side lighting can bring out textures and create depth, while front lighting can evenly illuminate the piece. Experiment with different angles and positions to find the most flattering way to highlight the artwork’s unique features.
- Diffusing light: Harsh and direct light can create unwanted reflections and shadows. To achieve even lighting, consider using diffusers and reflectors to soften and redirect the light. Diffusion materials like umbrellas, softboxes, or even simple white sheets can help create a more diffused and flattering light for photographing artwork.
- Color temperature: The color temperature of the light source affects the overall color rendition of the photograph. Pay attention to the color temperature of both natural light and artificial light sources to ensure accurate color reproduction. Use white balance settings on your camera or adjust it during post-processing to achieve the desired color balance.
It is important to note that different types of art may require different lighting techniques. For example, sculptures may benefit from more dramatic lighting to emphasize the texture and form, while delicate watercolor paintings might require softer and more evenly distributed lighting. Take the time to experiment with different lighting setups to find the one that best enhances the art’s visual impact.
Moreover, don’t be afraid to incorporate creative lighting techniques to add depth and visual interest to your art photographs. Consider using backlighting to create a halo effect, or experiment with colored gels to infuse the artwork with a unique and atmospheric ambiance.
By understanding the nuances of lighting and how it interacts with different types of art, you can capture stunning photographs that not only showcase the artwork’s beauty but also evoke the desired emotions and captivate the viewer’s attention.
Setting up the artwork for the perfect shot
Once you have chosen the right camera and understood the importance of lighting, it’s time to set up the artwork for the perfect shot. Properly preparing the artwork ensures that it is presented in the best possible way and allows you to capture the essence of the piece accurately. Here are some key considerations when setting up artwork for photography:
- Clean and prepare the artwork: Before photographing the artwork, ensure that it is clean and free from dust, fingerprints, or any other imperfections. Use a soft microfiber cloth or a camel hairbrush to gently remove any dirt or debris. If necessary, consult a professional art conservator for guidance on safely cleaning and handling the specific artwork.
- Choose an appropriate backdrop: Select a clean, neutral-colored backdrop that enhances the artwork and minimizes distractions. This could be a plain white or black background or a colored material that complements the artwork’s color palette. Avoid busy patterns or textures that may detract attention from the art.
- Properly frame and position the artwork: If the artwork is framed, ensure that it is securely mounted and straight. Align the artwork parallel to the camera to avoid perspective distortions. Use a level to ensure the artwork is perfectly horizontal or vertical, depending on its orientation.
- Consider the framing and composition: Determine the desired framing and composition for the photograph. Use the rule of thirds or other compositional techniques to create visual balance and interest. Experiment with different angles, close-ups, or full shots to find the most effective way to capture the artwork’s essence.
- Use mounting materials and supports: Depending on the size and type of artwork, you may need to use supports or mounting materials to ensure stability during the photoshoot. Artwork stands, easels, or custom-made supports can be used to prop up the artwork and maintain its position throughout the shoot.
It is also important to consider the scale and size of the artwork when setting up the shot. Larger pieces may require more space and possibly a wider-angle lens, while smaller pieces may require close-up shots to capture the intricate details.
Take the time to experiment and review the setup from different perspectives, ensuring that the framing, lighting, and overall presentation of the artwork are visually pleasing and accurate. Small adjustments can make a big difference in capturing the art in its best light.
Remember that the goal is to showcase the artwork faithfully and create images that resonate with the viewer. By carefully setting up the artwork and considering composition and framing, you can capture the essence of the art with precision and create impactful photographs.
Capturing the artwork with precision and clarity
Now that you have prepared the artwork and set up the perfect shot, it’s time to capture the image with precision and clarity. The goal is to create photographs that accurately represent the artwork’s colors, details, and textures while showcasing the artist’s vision. Here are some essential tips for capturing art with precision:
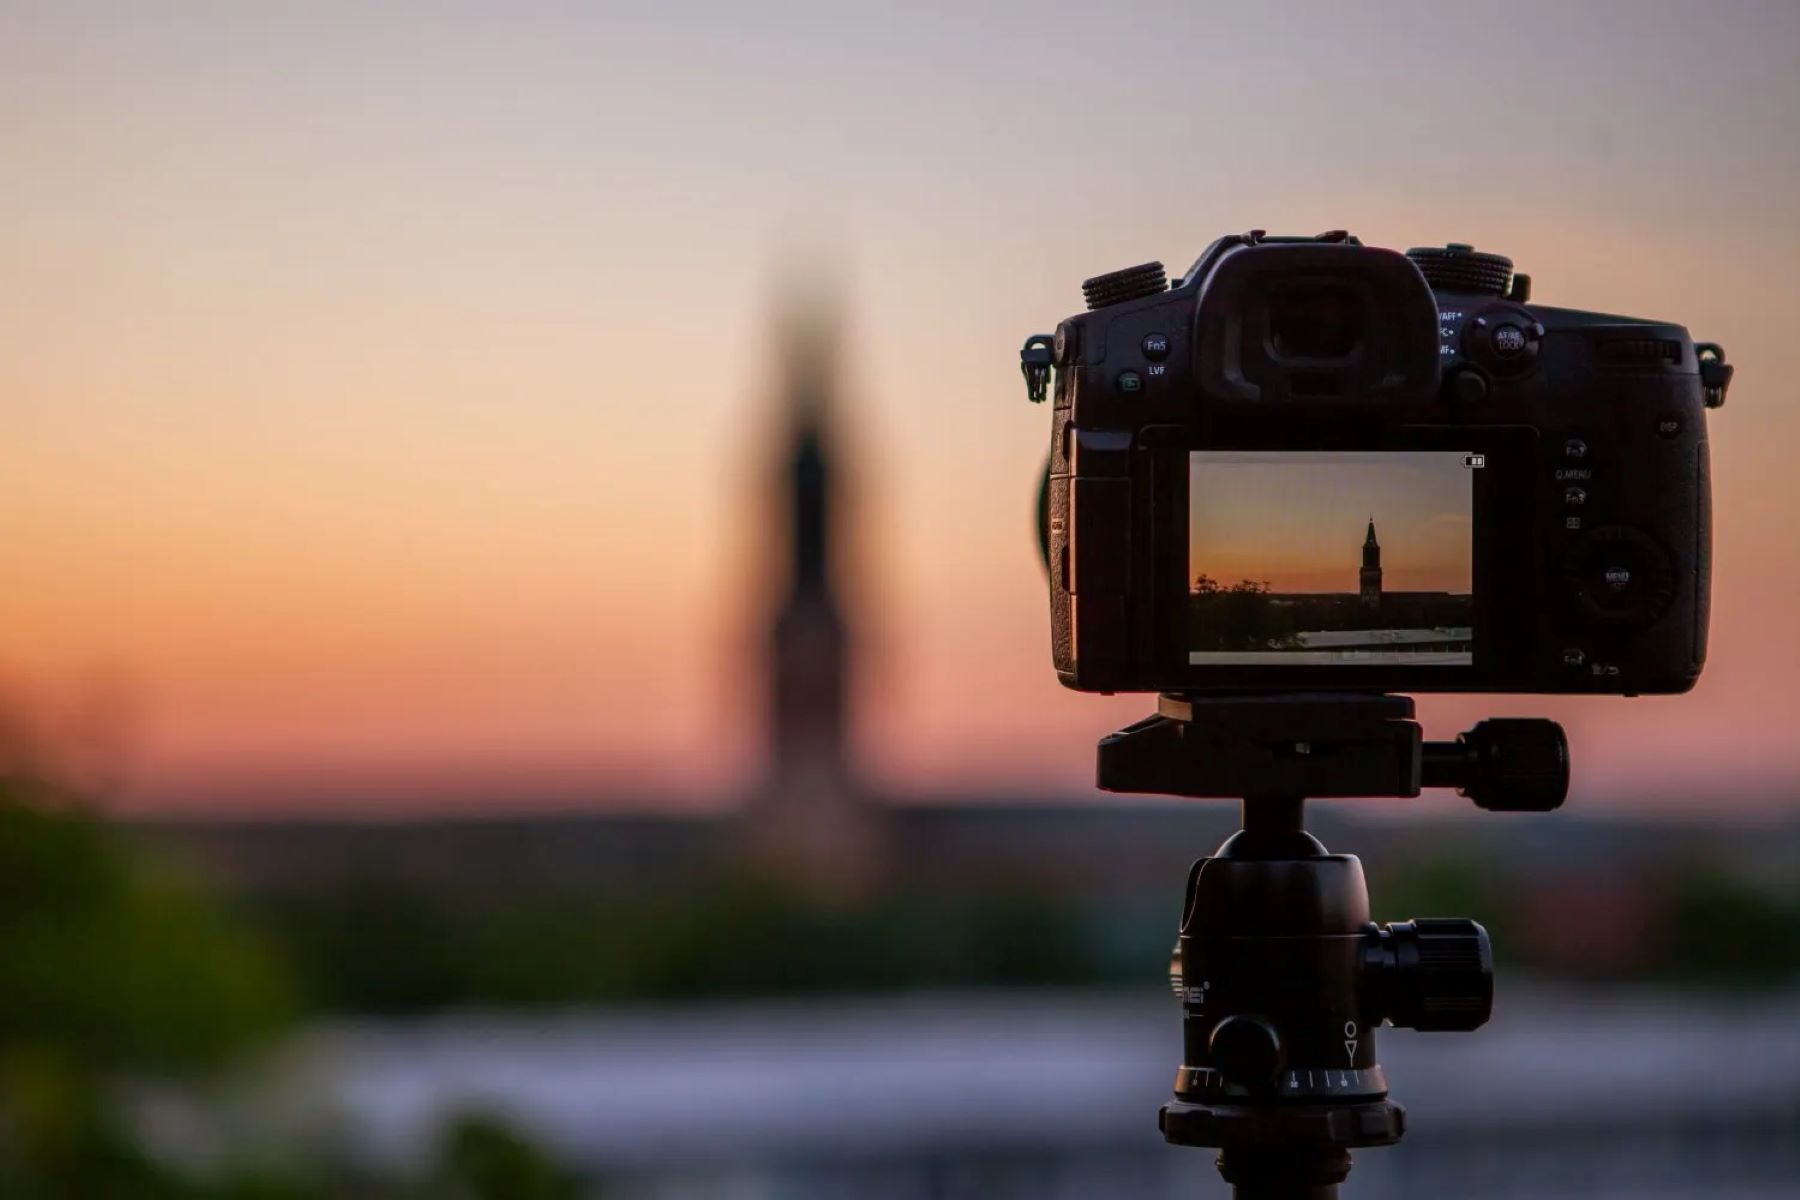
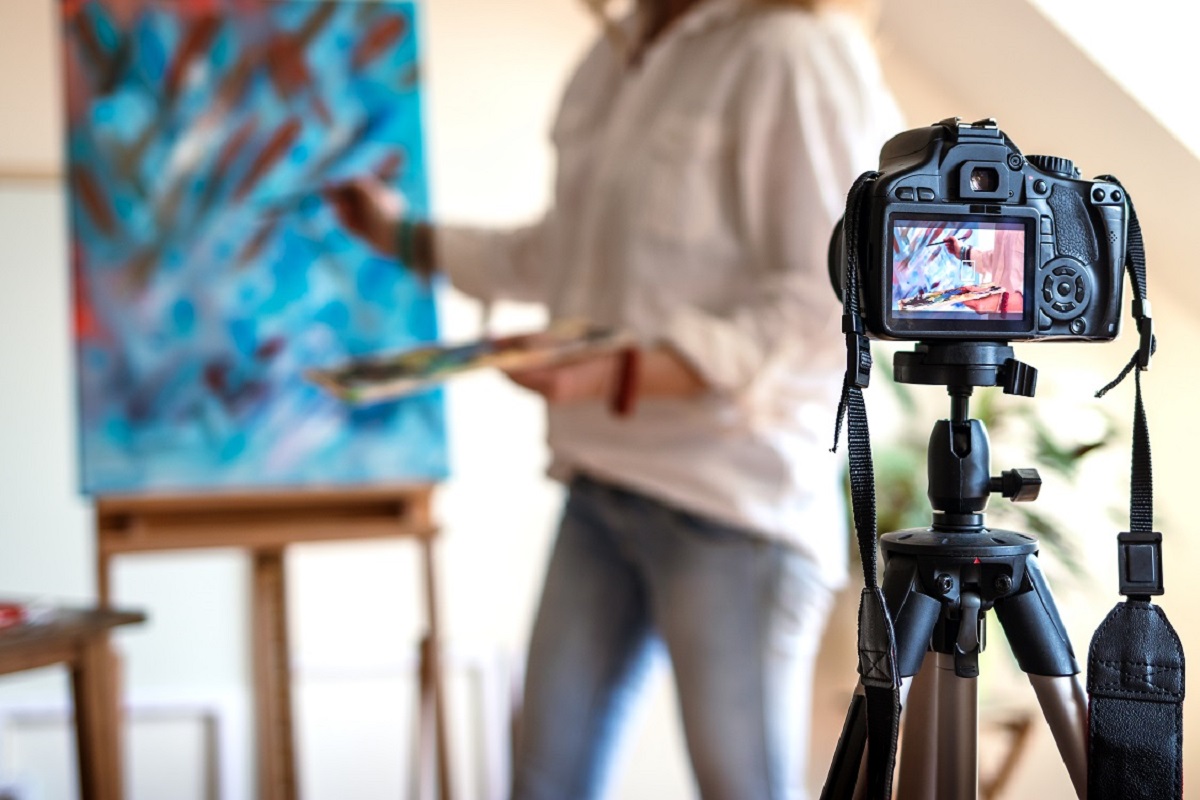
- Use a tripod: A tripod is an invaluable tool to ensure sharpness and avoid camera shake. It allows you to keep the camera steady and eliminate blur caused by hand movements. Use a sturdy tripod and adjust its height and position to frame the artwork accurately.
- Utilize the camera’s gridlines and focus tools: Most digital cameras have gridline features that can help you align and compose the shot accurately. Additionally, use autofocus or manual focus to ensure that the artwork is in sharp focus. Zoom in on the LCD screen or use the camera’s focus peaking feature to confirm focus precision.
- Choose the appropriate aperture: The aperture setting determines the depth of field in your photographs. For capturing sharp details throughout the artwork, use a smaller aperture (higher f-stop value) like f/8 or f/11. However, keep in mind that smaller apertures require longer exposure times, so proper lighting and stability are crucial to avoid camera shake.
- Check for unwanted reflections and glares: Monitor the artwork’s surface for any reflections or glares caused by ambient light sources or your camera’s flash. Adjust the lighting setup, use polarizing filters, or change angles to minimize or eliminate these distractions. Taking test shots and reviewing them on the camera’s LCD screen can help identify and correct any issues.
- Shoot in RAW format: Shooting in RAW format allows you to capture more data and provides greater flexibility during post-processing. RAW files retain more detail and enable you to fine-tune exposure, white balance, and other settings without sacrificing image quality.
As you capture the artwork, take multiple shots from different angles and distances. Vary the perspective, framing, and exposure settings to provide a range of options when selecting the final image. Use a remote shutter release or the camera’s self-timer function to further reduce camera shake and ensure sharpness.
Remember to review each photograph on a larger screen and zoom in on the details to confirm sharpness and accuracy. If needed, make adjustments to the lighting, focus, or composition as you refine your shots.
Ultimately, the goal is to capture the artwork as closely as possible to its original form, conveying its textures, colors, and overall impact. With patience, attention to detail, and the application of technical skills, you can produce art photographs that do justice to the artwork and evoke a genuine connection with the viewer.
Post-processing techniques for enhancing art photographs
After capturing the art photographs, the post-processing stage allows you to refine and enhance the images further. Careful editing can help bring out the colors, textures, and details of the artwork while maintaining its authenticity. Here are some post-processing techniques to enhance your art photographs:
- Adjust exposure and contrast: Use editing software to fine-tune the exposure and contrast of your images. Balancing the brightness, highlights, shadows, and midtones can help reveal the fine details and tonal range of the artwork. Be cautious not to push the adjustments too far, ensuring that the final result remains faithful to the original artwork.
- Correct white balance: Adjusting the white balance is crucial in ensuring accurate color reproduction. Use the appropriate settings or tools in your editing software to remove any color casts and achieve a natural and balanced look. If you shot in RAW format, you’ll have more flexibility to fine-tune the white balance during post-processing.
- Enhance colors: Fine-tuning the colors can help bring out the vibrancy and richness of the artwork. Use selective adjustments or adjustment layers to boost specific colors or create a more harmonious color palette. However, be cautious not to oversaturate the colors, as it may distort the artwork’s original appearance.
- Sharpen details: Apply targeted sharpening to bring out the finer details and textures in the artwork. Use tools like the Unsharp Mask or High Pass filter to selectively sharpen specific areas without introducing artifacts. Remember to zoom in and preview the changes at 100% to ensure a proper balance between sharpness and natural appearance.
- Remove distractions: Eliminate any distractions or imperfections that may divert the viewer’s attention from the artwork. Use the healing brush or clone stamp tool to remove dust spots, blemishes, or unwanted elements. Be careful to maintain the integrity of the image and avoid altering the original artwork’s essence.
During the editing process, strive for a natural and faithful representation of the artwork. While some level of editing is necessary to optimize the image for different viewing mediums, it is essential to retain its integrity and preserve the artist’s original intent.
Once you have finished editing, consider saving your final images in a high-quality file format such as TIFF or JPEG with minimal compression. This will ensure that the photographs retain their details and can be easily printed or shared digitally without compromising the image quality.
Remember that post-processing is an art form in itself. It is a creative process that allows you to enhance the visual impact of your art photographs while staying true to the original artwork’s essence. Practice and experiment with different techniques to develop your unique editing style that complements the artwork and brings it to life.
Tips for photographing different types of art
Photographing different types of art requires specific approaches and techniques to capture their unique qualities accurately. Each medium and style presents its own challenges and opportunities. Here are some valuable tips to help you photograph various types of art:
- Paintings: Use even lighting to showcase the colors and textures of paintings. Adjust the angle and intensity of the light to minimize reflections and glare. If the artwork has a glossy finish, consider photographing it at an oblique angle to reduce any glare caused by direct light.
- Sculptures: To capture the three-dimensional form of sculptures, experiment with different lighting angles to accentuate their textures and create depth. Using a combination of side lighting and diffused lighting can enhance the artwork’s contours and details.
- Photography of delicate mediums: When photographing delicate mediums like watercolor or charcoal drawings, the lighting should be soft and even to avoid washing out subtle details. Use diffused light to minimize harsh shadows and reflections that may obscure the delicate tonal variations in the artwork.
- Glass or transparent art: When photographing glass or transparent artworks, be mindful of reflections and unwanted glare. Use polarizing filters to reduce reflections or try shooting from different angles to minimize their impact. Proper control of lighting is essential to capture the transparency and translucency of the artwork accurately.
- Textiles and fabrics: When photographing textiles, tapestries, or fabrics, ensure that the lighting brings out the texture, patterns, and colors. Use soft light to minimize harsh shadows and avoid overexposing the highlights. Pay attention to the fabric’s unique properties and adjust the lighting and camera settings accordingly.
- Installation art: To photograph large installation pieces, consider using a wide-angle lens to capture the entire artwork within the frame. Pay attention to the artwork’s surrounding environment and its relationship with the space. Experiment with different angles and perspectives to convey the immersive experience effectively.
Regardless of the type of art you are photographing, it is crucial to pay attention to detail, focus, and composition. Take the time to study the artwork’s unique qualities and determine how best to capture and showcase them through photography. Consider consulting with the artist or curator to understand their vision and ensure that your photographs align with their intentions.
Additionally, practice patience and take multiple shots from various angles and lighting setups. Review the images carefully, making adjustments as necessary, to ensure you capture the artwork’s essence and convey its beauty and impact.
Remember, each type of art requires its own approach, and by mastering the nuances of photographing different mediums, you can produce stunning and captivating images that do justice to the artist’s work.
Common mistakes to avoid when photographing art
When photographing art, it is important to be aware of common mistakes that can detract from the quality and accuracy of the final images. By avoiding these pitfalls, you can ensure that your art photographs are impactful and faithful representations of the artwork. Here are some common mistakes to avoid:
- Poor lighting: Insufficient or improper lighting can result in dull and poorly exposed photographs. Avoid harsh or uneven lighting that creates unwanted shadows or reflections. Take the time to set up the lighting properly and experiment with different angles and intensities to achieve the desired effect.
- Lack of stability: Camera shake can lead to blurry images, compromising the clarity and sharpness of the artwork. Always use a tripod or some form of stable support to minimize camera movement. Additionally, use a remote shutter release or the camera’s self-timer to further reduce the risk of shake when capturing the photograph.
- Improper framing and composition: Careless framing and composition can distract the viewer from the artwork. Avoid cutting off parts of the artwork or capturing unnecessary elements in the frame. Instead, pay attention to the artwork’s proportions and unique features, and compose the photograph in a way that emphasizes its strongest visual elements.
- Over or underexposure: Incorrect exposure can result in loss of detail, washed-out colors, or overly dark images. Use proper exposure settings and refer to your camera’s histogram to ensure you are capturing a well-exposed photograph. Take test shots and review the histogram to make necessary adjustments, especially when dealing with high contrast or low-light situations.
- Inaccurate color reproduction: Failing to accurately represent the colors of the artwork can significantly impact its visual impact. Be mindful of color temperature, white balance, and color correction during post-processing. Calibrate your monitor regularly to ensure accurate color representation, and consider using color calibration tools to achieve consistent results.
- Inadequate focus: Capturing artwork out of focus can diminish the impact and detail of the piece. Take the time to ensure precise focus using autofocus or manual focus techniques. Zoom in on the LCD screen to confirm focus accuracy and make adjustments as needed.
It is also important to have a keen eye for details and be attentive to any distracting elements or imperfections in the frame. Remove dust, smudges, or unwanted objects that may draw attention away from the artwork. Remember that the goal is to present the artwork in its best light and allow viewers to appreciate its full beauty and intricacies.
Regularly review and assess your photographs for any of these common mistakes, and continuously strive to improve your technique and attention to detail. By avoiding these pitfalls, you can create art photographs that truly capture the essence and impact of the artwork.
Conclusion
Photographing art with a digital camera is a rewarding and challenging endeavor. It requires a combination of technical skills, artistic vision, and attention to detail to capture the essence of the artwork and convey its beauty to the viewer. From choosing the right camera and understanding lighting to setting up the artwork and post-processing, each step plays a crucial role in creating compelling art photographs.
By selecting a camera with the appropriate resolution, lens compatibility, and manual control, you can ensure that you have the tools necessary to capture the finest details and accurately represent colors. Understanding lighting techniques and using diffusers, reflectors, and careful positioning will help bring out the artwork’s textures and form. Post-processing techniques, when applied selectively and thoughtfully, can further enhance the art photographs while maintaining the integrity of the original artwork.
Additionally, it is essential to consider the specific requirements of different types of art and adjust your approach accordingly. Whether you are photographing paintings, sculptures, textiles, or glass art, understanding the unique qualities and implementing the right techniques will help you capture their essence faithfully.
Avoiding common mistakes such as poor lighting, lack of stability, improper framing, and inaccurate color reproduction will ensure that your art photographs are of high quality and accurately represent the artwork. Attention to detail, focus, and composition are key elements in creating impactful images.
Remember, art photography is an ongoing learning process. Continuously refine your skills, experiment with new techniques, and pay attention to the work of other talented photographers in the field. By doing so, you will continue to grow as an art photographer and create images that celebrate and share the beauty of art with the world.