Introduction
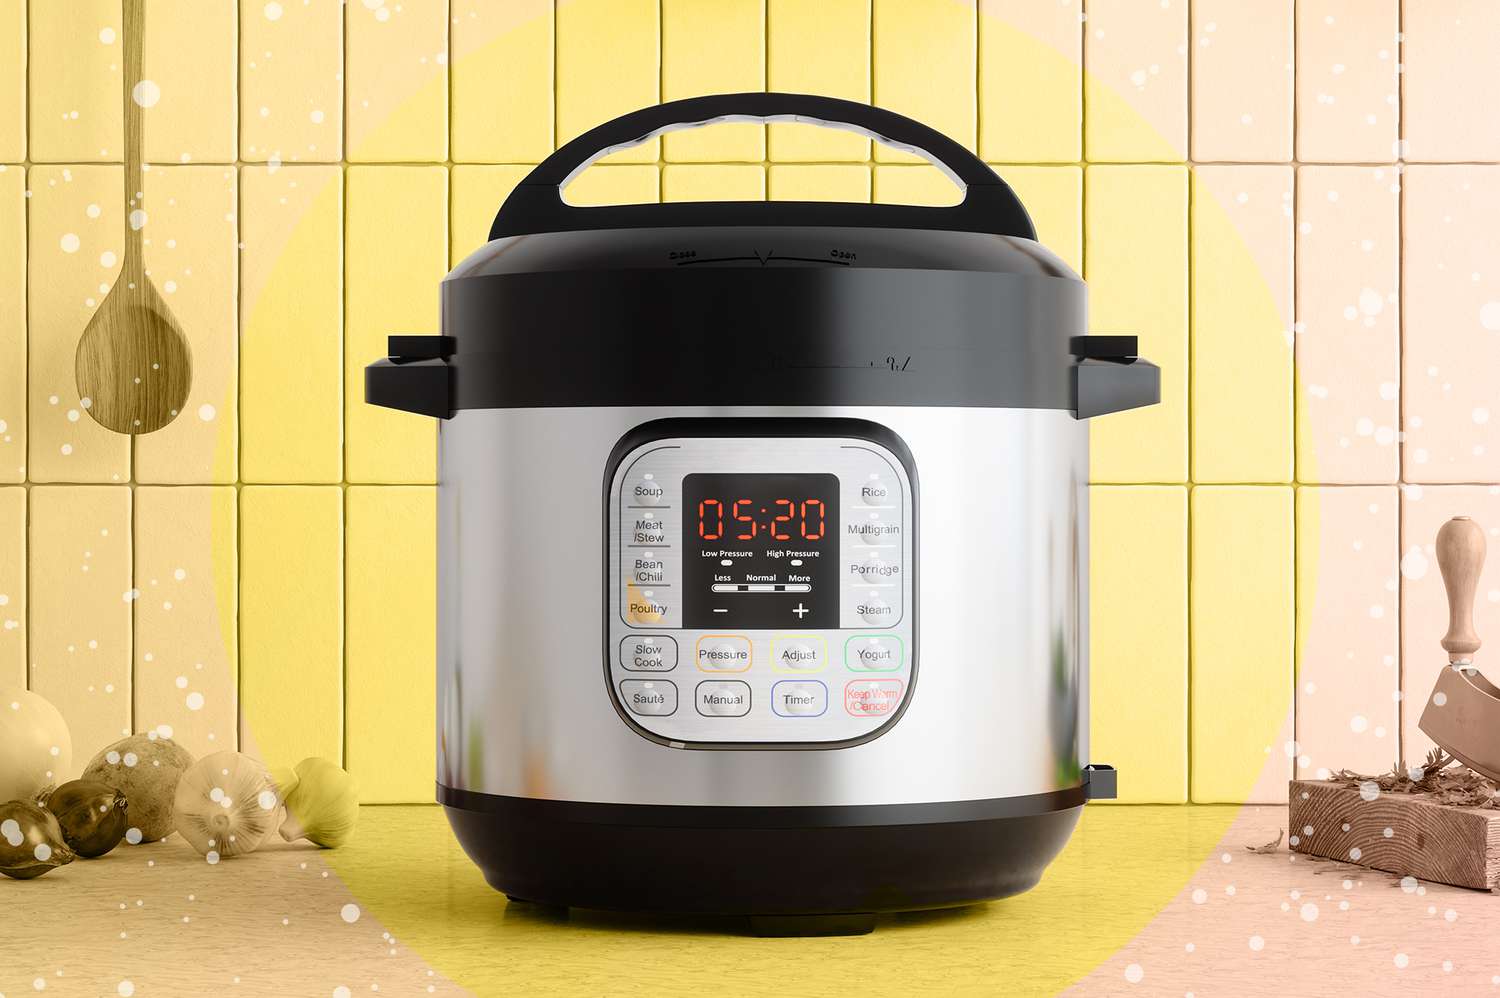
An electric pressure cooker is a versatile kitchen appliance that can significantly reduce cooking time while retaining the flavors and nutrients of your favorite dishes. One of the essential techniques in using an electric pressure cooker is understanding how to perform a natural release.
But what exactly is a natural release? When using an electric pressure cooker, there are two primary methods of releasing the pressure built up inside the pot: the natural release and the quick release. In this article, we will focus on the natural release method.
A natural release involves allowing the pressure in the cooker to decrease naturally over a certain period after the cooking process is complete. It requires the user to turn off the heat, let the pressure dissipate gradually, and eventually, open the lid without any forceful release of steam.
Using the natural release method has its advantages. Not only does it ensure that your food is adequately cooked and flavors have fully developed, but it also helps prevent food from spewing out through the valve or causing burns when the lid is opened. Additionally, natural release is ideal for delicate ingredients that may be prone to overcooking or becoming mushy if subjected to rapid pressure release.
Now that we understand the purpose and benefits of a natural release, let’s delve into the step-by-step process of how to perform it in an electric pressure cooker. By mastering this technique, you’ll be able to achieve perfectly cooked meals every time.
What is a natural release?
A natural release is a method used to release the pressure inside an electric pressure cooker after the cooking process has been completed. When pressure cooking food, steam builds up inside the pot, which increases the temperature and pressure. The natural release technique allows this pressure to gradually subside on its own.
Unlike a quick release, where you manually release the pressure by turning the valve to release the steam forcefully, a natural release requires patience as it takes more time. It involves turning off the heat and letting the pressure dissipate naturally without any intervention.
During a natural release, the pressure cooker remains sealed, and the steam slowly escapes through the natural release valve. This gradual decrease in pressure allows the food inside to continue cooking gently as the temperature gradually reduces. It helps to tenderize tough cuts of meat, allows flavors to blend, and enhances the overall taste of the dish.
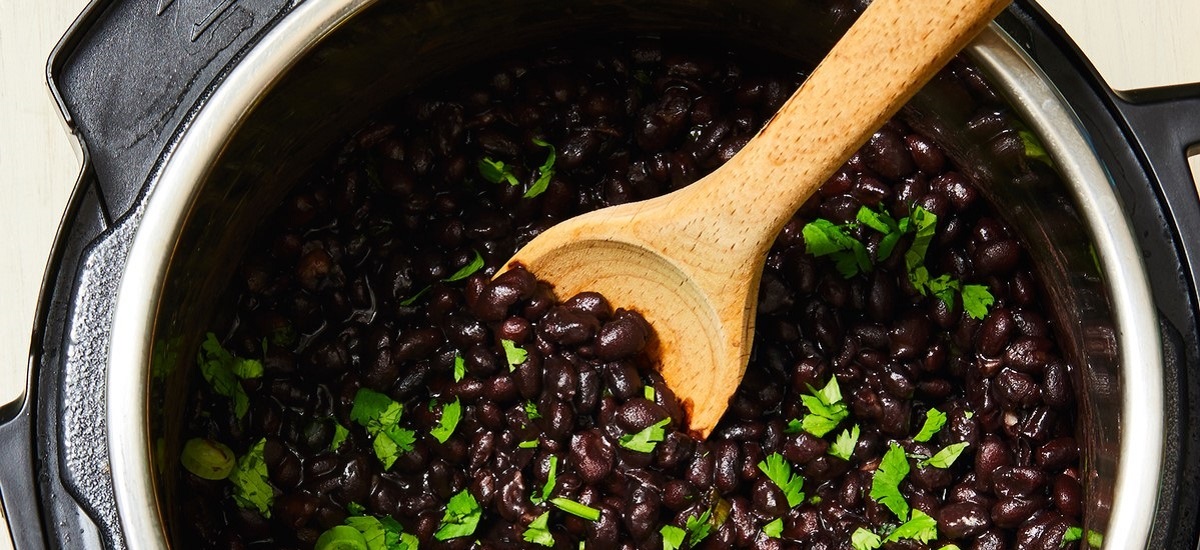
Performing a natural release is especially beneficial when cooking starchy foods like rice, grains, and legumes. Quick pressure release for these types of ingredients can cause them to foam up and potentially clog the pressure release valve. Letting the pressure release naturally avoids this issue and ensures perfectly cooked and fluffy results.
The duration of a natural release varies depending on the amount of pressure built up inside the cooker and the type of food being cooked. Typically, it can take anywhere from 10 to 30 minutes for the pressure to fully release naturally. However, it’s important to consult the specific recipe or guideline provided with your electric pressure cooker for the recommended natural release time.
Now that we understand the concept of a natural release, let’s explore the reasons why it is preferable in certain cooking scenarios.
Why use a natural release?
Performing a natural release in an electric pressure cooker offers several advantages that make it a preferred method for certain recipes and ingredients. Let’s explore the reasons why you should use a natural release:
- Preserves Food Texture: By allowing the pressure to release gradually, a natural release helps to maintain the texture of delicate ingredients such as seafood, vegetables, and fruits. Quick pressure release can cause these ingredients to become overcooked and mushy, compromising their texture and appearance.
- Avoids Food Splatters: When using a quick pressure release, there is a risk of hot liquids and food spewing out through the valve. This can create a messy kitchen and pose a safety hazard. A natural release minimizes the chances of such accidents, ensuring a cleaner and safer cooking experience.
- Enhances Flavor Development: Allowing the pressure to release naturally gives the flavors in your dish more time to develop and intensify. It results in a richer and more nuanced taste, especially when cooking braised meats, stews, and soups.
- Prevents Overcooking: Some recipes require precise cooking times to avoid overcooking. Performing a natural release helps avoid the risk of overcooking, as the residual heat continues to cook the food gently. This is particularly beneficial for dishes that require tenderizing, such as tough cuts of meat or beans.
- Avoids Food Foaming: Certain ingredients, such as rice and legumes, tend to foam up when subjected to a rapid pressure release. This can lead to clogging of the pressure valve and unevenly cooked food. Allowing the pressure to release naturally prevents foaming, resulting in perfectly cooked grains and legumes.
While a natural release takes longer than a quick release, the benefits it offers in terms of flavor, texture, and safety make it a valuable technique to master in your electric pressure cooking endeavors. Now that we understand why a natural release is advantageous, let’s move on to the step-by-step process of performing a natural release in an electric pressure cooker.
How to Perform a Natural Release in an Electric Pressure Cooker
Performing a natural release in an electric pressure cooker is a simple process that requires patience and minimal effort. Here’s a step-by-step guide on how to do it:
- Step 1: Cooking the food
- Step 2: Turning off the heat
- Step 3: Waiting for the pressure to naturally release
- Step 4: Checking the pressure level
- Step 5: Opening the lid
Follow the recipe instructions and set the cooking time for your electric pressure cooker. Make sure to lock the lid securely in place before starting the cooking process.
Once the cooking time is complete, turn off the heat source on your electric pressure cooker. This will stop the heat from further building pressure in the pot.
After turning off the heat, be patient and allow the pressure inside the cooker to release naturally. This involves waiting for the pressure valve to drop on its own, indicating that the pressure is decreasing.
Most electric pressure cookers have an indicator that shows the pressure level inside the pot. Once this indicator drops, it signifies that the pressure has been released sufficiently.
When the pressure has been fully released, it is safe to open the lid of your electric pressure cooker. Remember to open the lid away from your face to avoid any potential steam burns.
It’s important to note that the duration of a natural release can vary depending on the amount of pressure built up and the specific recipe you’re following. It typically takes anywhere from 10 to 30 minutes for the pressure to dissipate naturally.
Once you’ve become comfortable with performing a natural release, you can experiment with different cooking times and ingredients to achieve your desired results. The natural release method allows flavors to meld and ensures that your dishes are cooked to perfection.
With these simple steps, you can easily perform a natural release in your electric pressure cooker and enjoy delicious, well-cooked meals every time.
Step 1: Cooking the Food
The first step in performing a natural release in an electric pressure cooker is to properly cook the food. Follow the recipe instructions provided for the specific dish you are preparing.
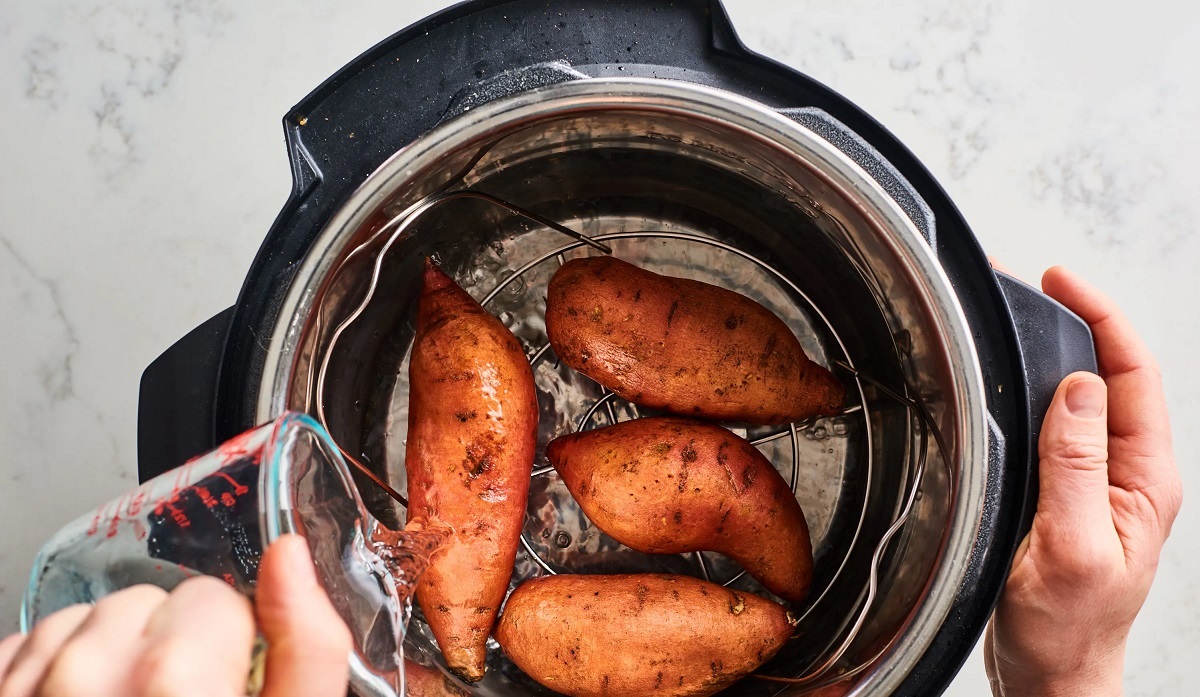
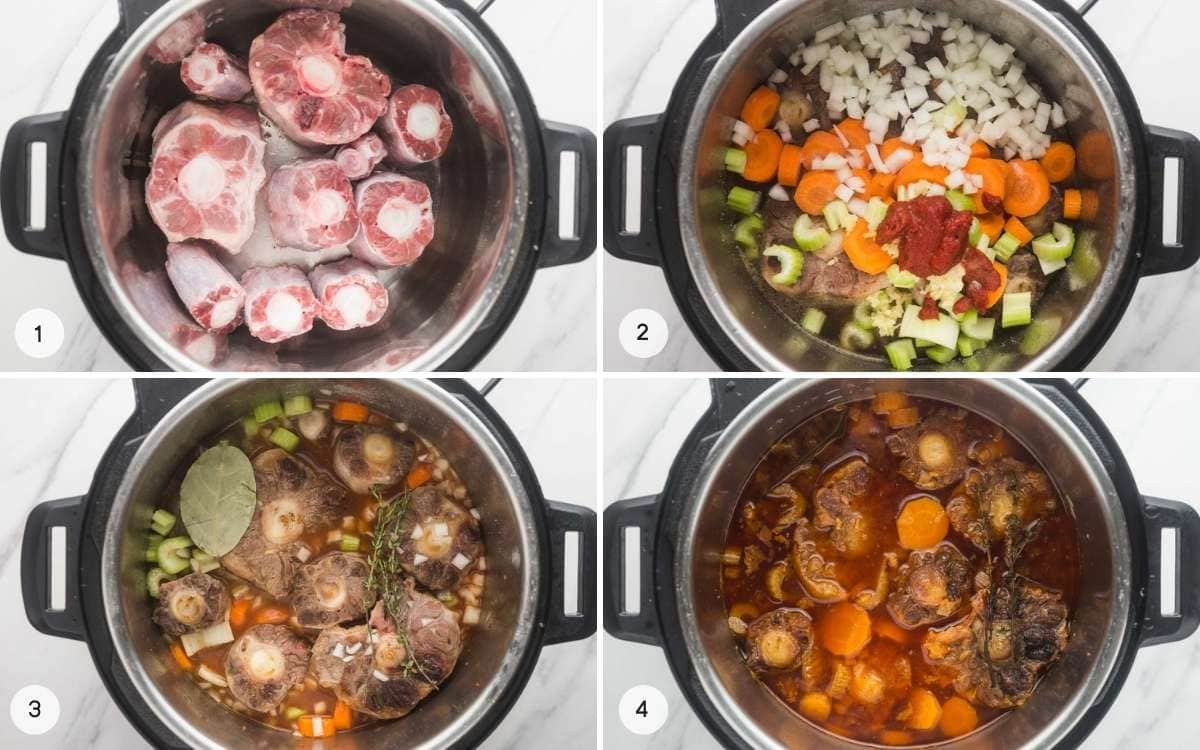
Start by adding the necessary ingredients to the cooking pot of your electric pressure cooker. Make sure to take note of any liquid requirements and ratios specified in the recipe. Too little liquid may result in the pressure cooker not being able to build enough pressure, while too much liquid may affect the cooking time and consistency of the final dish.
Once all the ingredients are in the pot, secure the lid and lock it into place. Ensure that the sealing ring is properly positioned and that the pressure release valve is in the sealed position. This will create a tight seal, allowing pressure to build up as the food cooks.
Next, select the appropriate cooking time and cooking mode on your electric pressure cooker. The cooking time will vary depending on the recipe and the ingredients you are using. Most electric pressure cookers have preset cooking modes for common dishes such as meat, vegetables, grains, and soups.
Once you have set the cooking time and mode, start the electric pressure cooker. The cooker will begin to heat up, and steam will start to build inside the pot.
As the food cooks, the pressure inside the electric pressure cooker will increase. This pressure is what allows the food to cook more quickly and evenly compared to traditional cooking methods.
It is important to follow the recommended cooking time for your recipe. Overcooking may result in mushy or overdone food, while undercooking may leave the food raw or not fully tenderized.
Once the cooking time is complete, the electric pressure cooker will automatically switch to a keep warm mode or stop heating altogether, depending on the model. At this point, it is time to move on to the next step of performing a natural release.
In summary, the first step in performing a natural release is to properly cook the food by following the recipe instructions, ensuring the right ingredients and cooking times are used. Once the cooking process is complete, the electric pressure cooker will be ready for the natural release to allow the pressure to dissipate gradually.
Step 2: Turning off the Heat
After the cooking time is complete in your electric pressure cooker, the next step in performing a natural release is to turn off the heat source. This step is crucial to stop the pressure from building up further and allow the pressure inside the electric pressure cooker to begin decreasing naturally.
To turn off the heat, simply locate the power or heat control button on your electric pressure cooker. Depending on the model, you may need to press a button or turn a dial to switch off the heating element. Once you have turned off the heat, the electric pressure cooker will stop generating additional heat, and the pressure inside the pot will start to decrease.
It’s important to note that while the heat may be turned off, the electric pressure cooker lid should remain closed until the natural release process is complete. This will maintain the sealed environment necessary for a safe and effective release of the pressure.
By turning off the heat, you are ensuring that the internal temperature of the electric pressure cooker begins to cool down. This cooling reduces the pressure gradually and allows the flavors of the food to develop further.
Keep in mind that the duration of the natural release will vary depending on the amount of pressure built up inside the electric pressure cooker and the specific recipe you’re following. Most electric pressure cookers have a pressure indicator that will show when the pressure has dropped to a safe level.
Turning off the heat is a critical step in preparing for the natural release process. It allows the pressure inside the electric pressure cooker to slowly diminish, resulting in a safer and more controlled release of the pressure.
Once you have turned off the heat, it’s time to move on to the next step of the natural release process – waiting for the pressure inside the electric pressure cooker to naturally release.
Step 3: Waiting for the Pressure to Naturally Release
After turning off the heat in your electric pressure cooker, the next step in performing a natural release is to wait patiently for the pressure inside the cooker to naturally decrease. This process allows the food to continue cooking gently as the temperature gradually reduces and the pressure dissipates.
The duration of the natural release can vary depending on the amount of pressure built up inside the electric pressure cooker and the specific recipe you’re following. Typically, it can take anywhere from 10 to 30 minutes for the pressure to fully release naturally.
Throughout this waiting period, it’s important to resist the temptation to forcefully release the pressure or open the lid prematurely. Doing so can lead to potential safety hazards and compromise the quality of the cooked food.
During the natural release, you may notice some steam releasing from the pressure release valve intermittently. This is a sign that the pressure inside is gradually decreasing. It’s normal to see steam escaping during this stage, but the volume will decrease as the pressure decreases further.
While waiting for the natural release, it’s a good idea to set a timer or keep an eye on the pressure indicator on your electric pressure cooker. This will help you keep track of the time and ensure that the pressure has fully dissipated before moving on to the next step.
It’s important to note that the natural release serves a purpose beyond just reducing the pressure. The food continues to cook and meld flavors during this time, resulting in a more evenly and thoroughly cooked dish.
Patience is key during this step of the natural release process. Enjoy the anticipation as the flavors develop and the pressure inside the electric pressure cooker gradually decreases.
Once the pressure has naturally released, it’s time to check the pressure level and ensure that it is safe to proceed with opening the lid of the electric pressure cooker.
Step 4: Checking the Pressure Level
After waiting for the pressure to naturally release in your electric pressure cooker, the next step is to check the pressure level to ensure that it is safe to proceed with opening the lid. This step is crucial for your safety and the success of your dish.
Most electric pressure cookers have a pressure indicator or a float valve that provides a visual indication of the pressure level inside the cooker. It is essential to consult the user manual of your specific cooker model to understand how the pressure indicator works.
To check the pressure level, carefully approach the electric pressure cooker and observe the pressure indicator or float valve. The indicator may drop, or the valve may sink down once the pressure has released sufficiently. This is an indication that the pressure has reached a safe level.
It’s important to give the pressure indicator or float valve enough time to drop completely, as opening the lid while there is still pressure inside can lead to dangerous steam bursts and potential injury.
If the pressure indicator has dropped and the float valve has sunk down, it is a clear indication that the pressure has released enough to proceed with opening the lid. However, if the pressure indicator is still elevated or the float valve is still up, it means that there is remaining pressure inside the cooker. In this case, you should not attempt to open the lid and instead continue to wait until the pressure fully dissipates.
Checking the pressure level is a crucial step because opening the lid too early can be dangerous. It’s important to follow the manufacturer’s guidelines and recommendations for your specific electric pressure cooker to ensure a safe and successful cooking experience.
Once the pressure level has been confirmed to be safe, you can proceed to the final step – opening the lid of your electric pressure cooker.
Step 5: Opening the Lid
After confirming that the pressure in your electric pressure cooker has fully released and is at a safe level, it’s time to proceed with opening the lid. This step allows you to unveil your perfectly cooked dish and enjoy the aromatic flavors that have developed during the cooking process.
Before opening the lid, it’s important to remember a few key points:
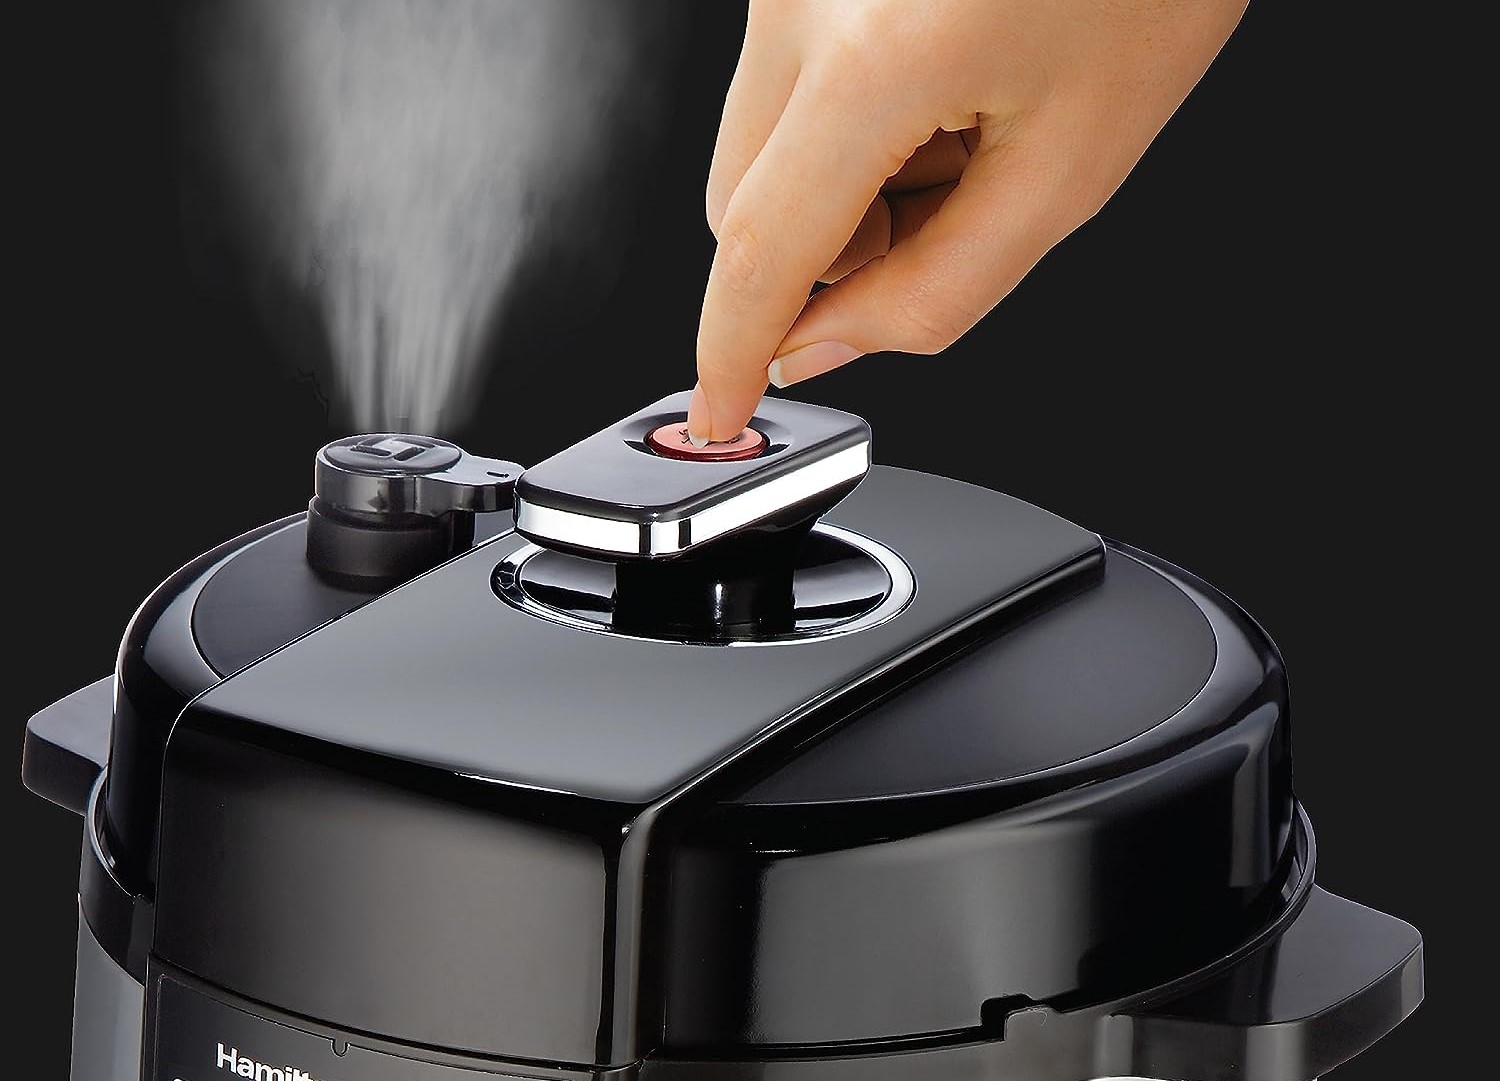
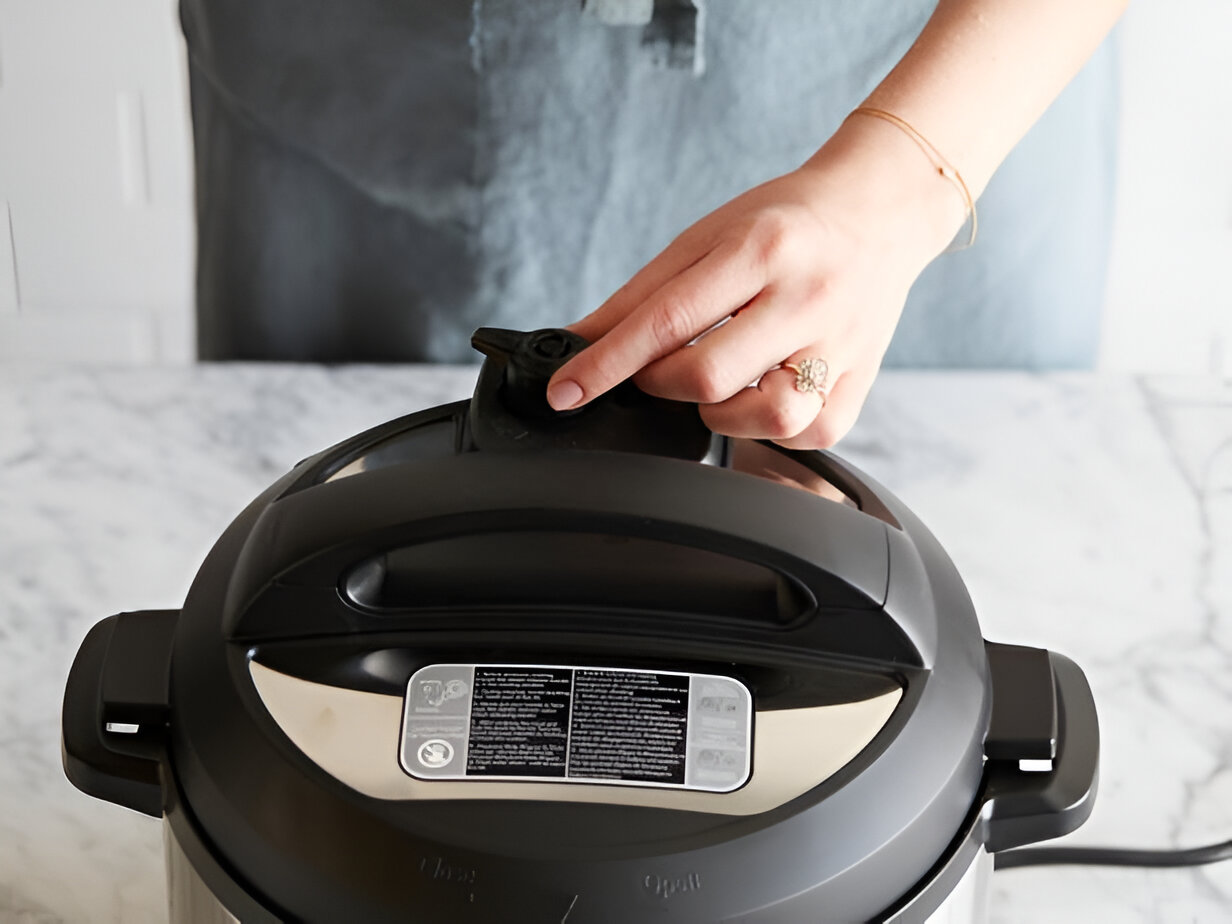
- Ensure Safety: Always exercise caution when opening the lid of an electric pressure cooker. The steam inside can still be hot, so it’s crucial to protect your hands and face from any potential burns. Open the lid away from your face and body, directing the steam flow away from you.
- Release Any Remaining Pressure: Though you have checked and confirmed that the pressure level is safe, it’s still advisable to release any remaining pressure before opening the lid. Some electric pressure cookers have a pressure release valve that allows for a quick release of any remaining steam. This step helps to ensure your safety and prevents any unexpected steam bursts.
- Open the Lid Slowly: When opening the lid, do so slowly and cautiously. This allows any remaining steam to escape gradually and prevents any potential splattering or spills from the contents inside the cooker.
After taking these precautions, you can now confidently and safely open the lid of your electric pressure cooker. Lift the lid slowly, tilting it away from you to avoid any contact with the hot steam.
As you open the lid, be prepared to revel in the delightful aromas and the sight of perfectly cooked food. Take a moment to appreciate the textures, colors, and flavors that have been created through the pressure cooking process.
With the lid open, you can now proceed with serving the dish or using the cooked ingredients for further preparations. Remember to turn off the electric pressure cooker once you are done using it.
Congratulations! You’ve successfully completed the process of performing a natural release in your electric pressure cooker and can now delight in the delicious results of your cooking.
Remember to follow the manufacturer’s instructions and safety guidelines specific to your electric pressure cooker for the best and safest cooking experience.
Conclusion
Performing a natural release in an electric pressure cooker is a valuable technique that allows you to achieve perfectly cooked meals with enhanced flavors and textures. By understanding the steps involved and following the process carefully, you can unlock the full potential of your electric pressure cooker and create delicious dishes.
The natural release method offers several advantages, including preserving the texture of delicate ingredients, avoiding food splatters, enhancing flavor development, preventing overcooking, and avoiding food foaming. These benefits make it a preferred method for certain recipes and ingredients.
To perform a natural release, start by cooking the food and then turning off the heat once the cooking time is complete. Wait patiently for the pressure to naturally release, checking the pressure level to ensure it is safe. Finally, open the lid slowly and enjoy the delightful results of your cooking efforts.
Remember, safety is of utmost importance when using an electric pressure cooker. Be cautious when handling hot steam and always follow the manufacturer’s instructions and safety guidelines specific to your model.
Whether you’re braising meats, cooking grains, simmering soups, or preparing a variety of other dishes, mastering the art of the natural release will take your electric pressure cooking skills to the next level. So, embrace the versatility of your electric pressure cooker and embrace the delicious possibilities it offers.