Introduction
Are you tired of waiting for a pot of water to boil every time you want to cook pasta? If so, an electric pressure cooker might be your new best friend in the kitchen. With its ability to cook food quickly and efficiently, an electric pressure cooker can make your pasta cooking experience a breeze.
In this article, we will guide you through the process of cooking pasta in an electric pressure cooker, from measuring the pasta and water to releasing the pressure and serving up perfect al dente noodles. Whether you’re a busy professional looking for a quick and convenient meal or a cooking enthusiast interested in exploring new kitchen appliances, this guide will help you master the art of cooking pasta in an electric pressure cooker.
Not only is using an electric pressure cooker a time-saver, but it also ensures consistent results every time. The high pressure created in the cooker allows for faster cooking, resulting in tender pasta that retains its shape. Plus, the sealed environment helps lock in flavors, making your pasta dishes even more delicious.
It’s important to note that while electric pressure cookers are a fantastic tool in the kitchen, it’s crucial to familiarize yourself with the specific instructions and features of your model. Different machines may have varying cooking times and pressure settings, so always consult the user manual that comes with your electric pressure cooker for accurate instructions.
Now, let’s dive into the steps and techniques for cooking perfect pasta in an electric pressure cooker. By the end of this article, you’ll be equipped with the knowledge to whip up restaurant-quality pasta dishes in no time.
Ingredients and Equipment
Before you start cooking pasta in an electric pressure cooker, gather the following ingredients and equipment:
Ingredients:
- Pasta of your choice
- Water or broth
- Salt (optional)
- Any additional ingredients or seasonings for your desired pasta dish
Equipment:
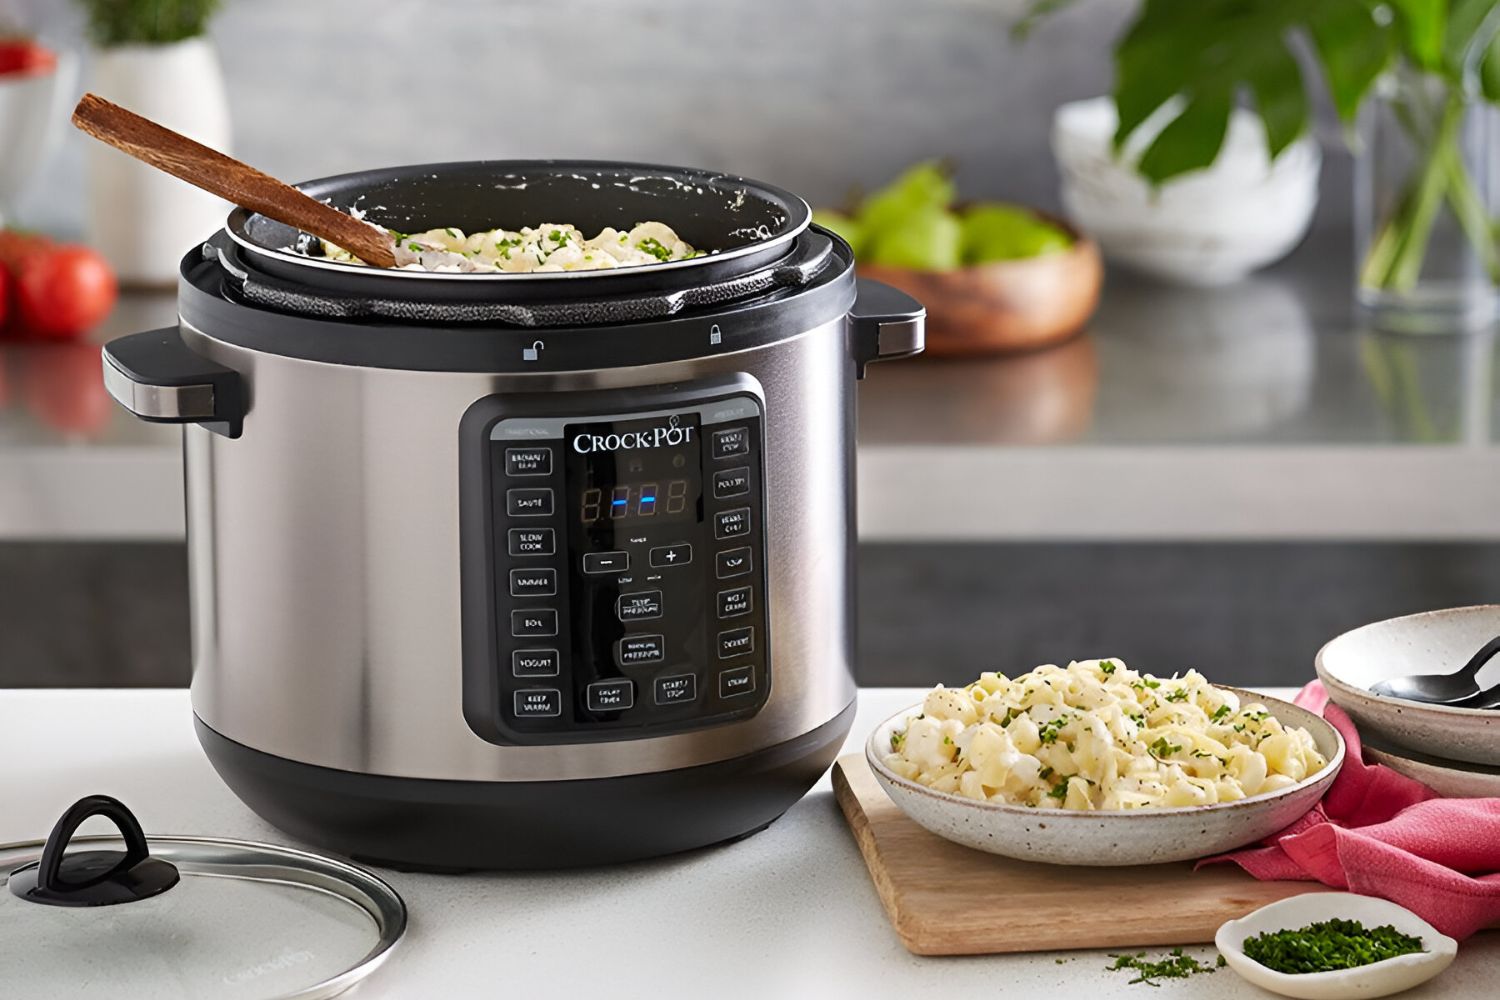
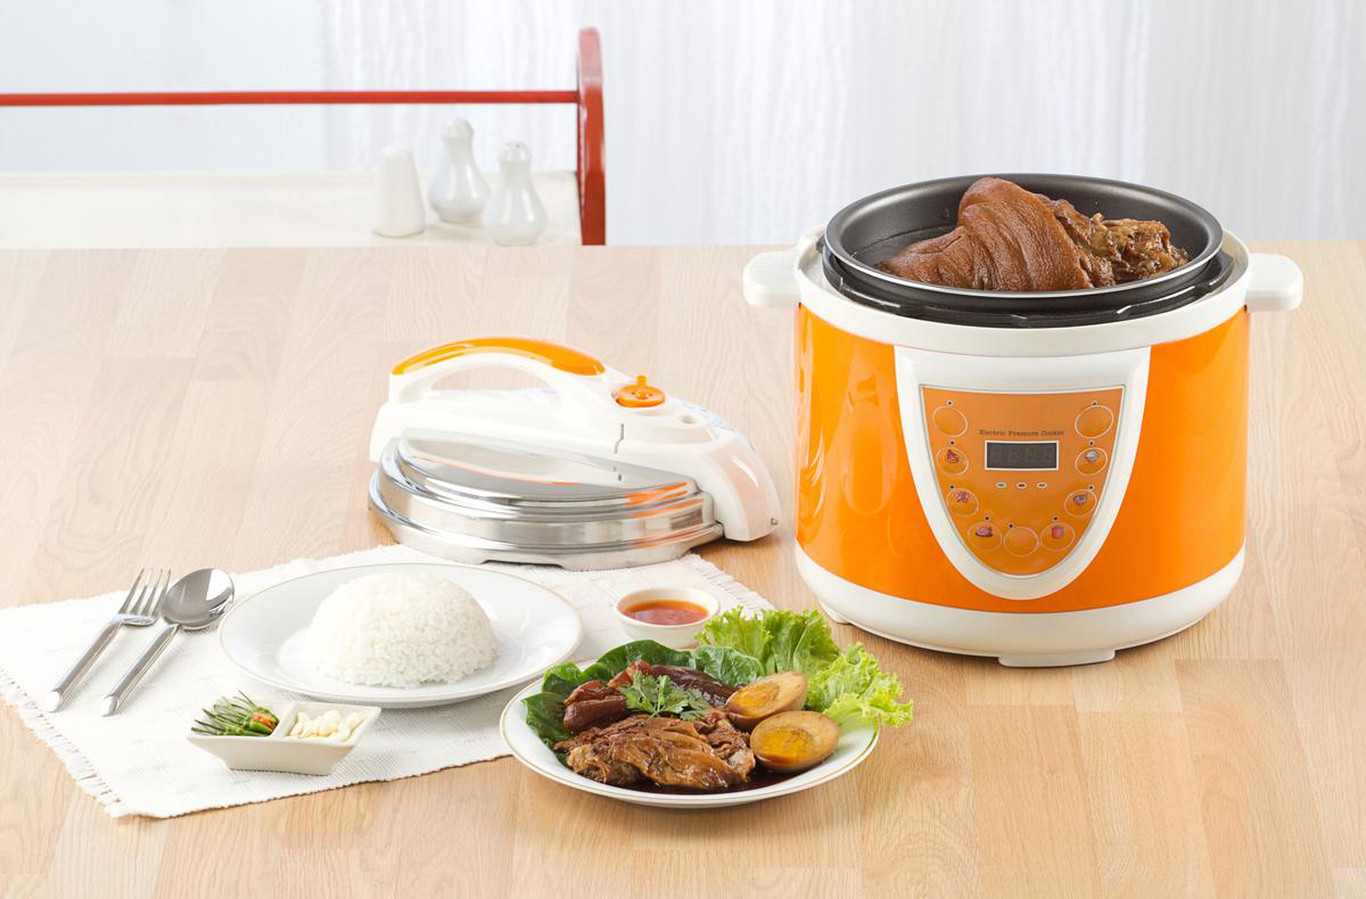
- Electric pressure cooker
- Measuring cup
- Measuring spoons
- Colander or strainer
- Pot holders or oven mitts
- Serving utensils
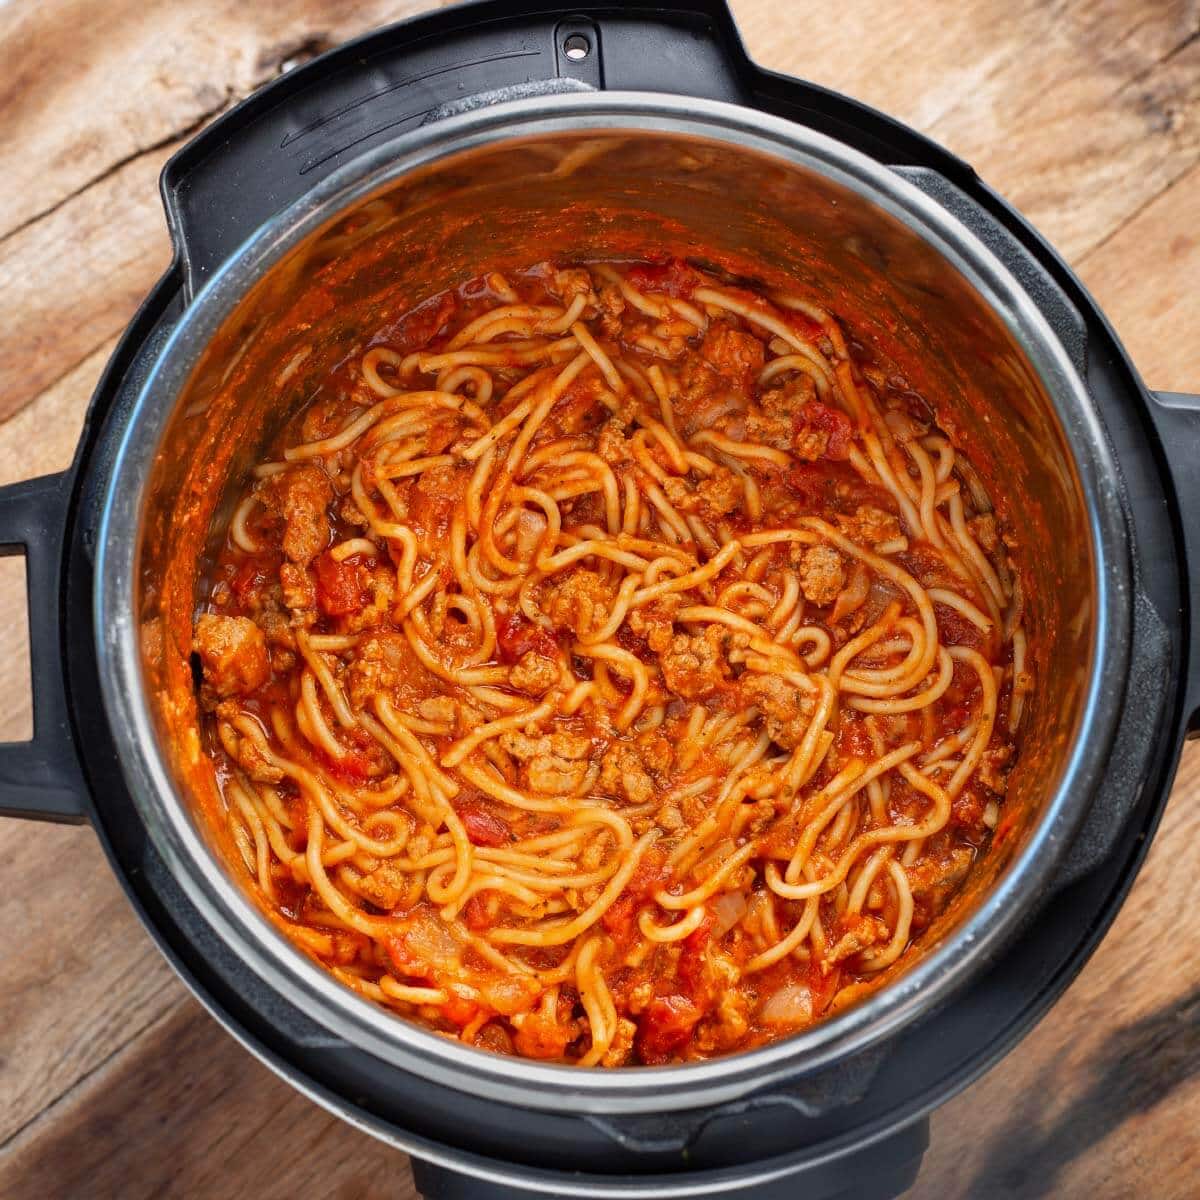
When it comes to choosing the type of pasta for your dish, the possibilities are endless. Whether you prefer classic spaghetti, comforting macaroni and cheese, or vibrant vegetable pasta, you can adapt any pasta recipe to be cooked in an electric pressure cooker.
As for the liquid, most pasta recipes call for water as the base. However, you can also use broth to add more flavor to your dish. Consider experimenting with different types of broth, such as chicken, vegetable, or beef, to complement the flavors of your pasta and enhance the overall taste.
Adding salt to the cooking water is optional but recommended. Salt helps enhance the pasta’s flavor as it absorbs the cooking liquid. If you choose to add salt, start with around 1 teaspoon per 4 cups of water and adjust to your taste preferences.
Aside from the necessary ingredients, you will need an electric pressure cooker. Make sure to read the instructions and familiarize yourself with the specific features of your cooker before getting started. This will ensure safe and efficient usage throughout the cooking process. Additionally, have a measuring cup and spoons on hand to accurately measure the pasta and water.
Lastly, don’t forget about the accessories needed for handling the hot pressure cooker and serving the cooked pasta. Keep pot holders or oven mitts nearby to handle the cooker’s hot surfaces safely. Having a colander or strainer will come in handy for draining the cooked pasta, and make sure you have the appropriate serving utensils ready for plating and enjoying your delicious pasta dish.
Step 1: Measure Pasta and Water
The first step in cooking pasta in an electric pressure cooker is to measure the pasta and water accurately. Proper measurements are crucial to achieving the perfect texture and consistency of your pasta dish.
Start by determining the amount of pasta you wish to cook. The general rule of thumb is to use about 2 ounces (56 grams) of dry pasta per person. However, you can adjust the quantity based on your personal preferences and the number of servings you intend to make.
Once you have determined the amount of pasta, measure it using a kitchen scale or the provided measuring cups. It’s essential to measure the pasta precisely, as using too little may result in undercooked noodles, while using too much can lead to a sticky and clumpy dish.
Next, measure the appropriate amount of water or broth for cooking the pasta. A good guideline is to use a ratio of 1:1.5 or 1:2 (pasta to liquid). For example, if you are cooking 8 ounces (227 grams) of pasta, you will need approximately 1 to 1.5 cups (237 to 355 milliliters) of water or broth.
Remember, the exact amount of liquid needed may vary depending on the type of pasta and your desired consistency. Some pasta varieties require more liquid to achieve the desired tenderness, while others may need less. Consulting the specific instructions provided with your electric pressure cooker can help determine the recommended liquid-to-pasta ratio for your model.
Keep in mind that adding too much liquid can result in a soupy sauce, while insufficient liquid may cause the pasta to come out dry and undercooked. Striking the right balance is key to achieving perfectly cooked pasta.
Once you have measured the appropriate quantity of pasta and liquid, you’re ready to move on to the next step: adding them to the electric pressure cooker. With precise measurements, you can ensure that your pasta is cooked to perfection, with just the right amount of sauce or liquid for a delicious end result.
Step 2: Add Pasta and Water to the Electric Pressure Cooker
Now that you have measured the pasta and water, it’s time to add them to the electric pressure cooker. Properly adding the pasta and water is crucial for ensuring even cooking and preventing any potential issues.
Begin by unlocking the lid of the electric pressure cooker and opening it. Check the interior of the cooker to ensure it’s clean and free of any debris. If needed, give it a quick rinse or wipe down before proceeding.
Next, carefully pour the measured water or broth into the electric pressure cooker. Pour it directly into the pot, ensuring that you do not exceed the maximum fill line indicated on the inner pot. It’s important not to overfill the pot, as the liquid may expand during cooking and lead to overflowing or uneven results.
Once the liquid is in the pot, it’s time to add the measured pasta. Take the pasta and gently place it into the liquid, evenly distributing it. Use a utensil or your fingers to stir the pasta into the liquid, ensuring that each strand or piece is completely submerged.
Make sure not to exceed the maximum capacity of the electric pressure cooker. Overcrowding the pot can result in uneven cooking and may cause the pasta to stick together.
If you are adding any additional ingredients or seasonings to your pasta dish, such as vegetables, herbs, or spices, this is the time to do so. Sprinkle them over the pasta and liquid, distributing them evenly for optimal flavor distribution.
Once you have added the pasta and any desired ingredients, secure the lid of the electric pressure cooker tightly. Ensure that the sealing ring and other components are properly in place to prevent any leaks or safety issues during the cooking process.
Now that the pasta and liquid are in the electric pressure cooker, it’s time to move on to the next step: choosing the appropriate pressure cooking setting.
Step 3: Choose the Pressure Cooking Setting
Choosing the right pressure cooking setting is essential to ensure that your pasta cooks properly and achieves the desired texture. Most electric pressure cookers offer different pressure cooking options, usually including high pressure and low pressure settings. Understanding these settings will help you select the appropriate one for cooking your pasta.
Start by referring to the user manual that came with your electric pressure cooker. The manual should provide specific instructions and recommended pressure settings for cooking pasta. If you don’t have the manual on hand, here are some general guidelines:
1. High Pressure Setting: This setting is the most common and typically used for cooking pasta in an electric pressure cooker. It applies high pressure to the food inside, resulting in faster cooking times. It is ideal for cooking most types of pasta.
2. Low Pressure Setting: The low pressure setting is gentler and might be suitable for more delicate pasta varieties, like fresh pasta or stuffed pasta. It can help prevent overcooking or mushy textures.
Remember that different electric pressure cookers may have slightly different pressure settings or specific names for each setting, so always consult your user manual for accurate instructions.
When choosing your pressure cooking setting, consider the type of pasta you are cooking. Thicker and denser pasta varieties, such as spaghetti or penne, generally require the high pressure setting for optimal results. Thinner and more delicate pasta, like angel hair or fresh pasta, may benefit from the low pressure setting to avoid overcooking or breaking apart.
Additionally, consider the cooking time indicated in your recipe or pasta package instructions. Some electric pressure cookers have preset cooking programs for pasta that automatically adjust the pressure and cooking time based on the selected program. In such cases, follow the recommended cooking program for your specific pasta type.
Once you have selected the appropriate pressure cooking setting, you’re ready to move on to the next step: setting the cooking time for your pasta.
Step 4: Set the Cooking Time
Setting the proper cooking time is crucial to ensure that your pasta cooks to perfection and achieves the desired texture. The cooking time will depend on the type of pasta you are using, as well as personal preferences for a softer or al dente texture.
Refer to the recipe you are following or the instructions on the package of your pasta for a general guideline on cooking time. If you’re using a recipe, it may specify the cooking time for pasta in an electric pressure cooker. However, be aware that cooking times can vary based on the make and model of your specific electric pressure cooker.
If your recipe or package instructions do not provide a specific cooking time for the electric pressure cooker, here are some general guidelines:
- For most standard pasta shapes, like penne, fusilli, or farfalle, a cooking time of around 4-6 minutes under high pressure is usually sufficient to achieve al dente pasta.
- Thicker or whole wheat pasta varieties may require a slightly longer cooking time, usually around 6-8 minutes.
- Fresh pasta or delicate pasta, like angel hair or ravioli, may have a shorter cooking time, typically around 2-4 minutes under high pressure.
Remember that these are general guidelines, and you should adjust the cooking time based on your preference for texture and the specific recommendations for your electric pressure cooker.
When setting the cooking time, ensure that you are selecting the appropriate cooking time for your specific electric pressure cooker model. Most electric pressure cookers have a control panel where you can adjust the cooking time manually. Refer to the user manual for instructions specific to your device.
Once you have set the appropriate cooking time, your electric pressure cooker will begin to build pressure and cook the pasta. Keep in mind that the cooking time does not include the time it takes for the pressure cooker to come to pressure or the time needed for pressure release after cooking.
In the next step, we’ll discuss the process of starting the electric pressure cooker and beginning the cooking cycle.
Step 5: Start the Electric Pressure Cooker
With the cooking time set, it’s time to start the electric pressure cooker and let it work its magic. Starting the cooker will initiate the cooking process, allowing the pasta to cook under pressure and develop its delicious flavors.
Before proceeding, ensure that the lid of the electric pressure cooker is securely in place. Double-check that the sealing ring and other components are properly assembled to prevent any leaks or safety concerns.
Next, locate the controls or buttons on your electric pressure cooker for starting the cooking process. Most electric pressure cookers have a “Start” or “Cook” button that you need to press to begin the cooking cycle.
Once you press the “Start” button, the electric pressure cooker will start building up pressure. This process may take a few minutes, during which the cooker will heat up and generate steam. Some electric pressure cookers have visual indicators, such as a countdown timer or a light that signifies when the pressure has been reached.
It’s important to note that many electric pressure cookers have a safety feature that prevents the lid from being opened when the pressure inside is high. So, be patient and do not attempt to open the lid until the pressure has been fully released after cooking.
While the electric pressure cooker is cooking the pasta, you do not need to monitor or stir the contents. The sealed environment of the pressure cooker allows for even cooking and ensures that the flavors are locked in.
Once the cooking cycle is complete, the electric pressure cooker will automatically switch to a keep warm mode. You can leave the pasta in the cooker for a short while in this mode, but it’s best to release the pressure and transfer the pasta to avoid overcooking.
In the next step, we will discuss the methods for pressure release: quick release or natural release.
Step 6: Quick Release or Natural Release
After the cooking cycle is complete, it’s time to release the pressure from the electric pressure cooker. There are two main methods for pressure release: quick release and natural release. The method you choose will depend on the recipe, pasta type, and personal preference.
1. Quick Release: Quick release involves manually venting the steam from the pressure cooker to rapidly release the pressure. This method is ideal when you want to stop the cooking process immediately and prevent overcooking, especially for delicate pasta. To perform a quick release, carefully turn the pressure release valve to the “Venting” position using a long-handled utensil or oven mitt to avoid steam burns. The steam will escape with a hissing sound, indicating that the pressure is releasing. Once the pressure has fully dissipated, the float valve will drop, and it will be safe to open the lid.
2. Natural Release: Natural release involves allowing the pressure to naturally release over time without manual intervention. This method is suitable for dishes that benefit from additional cooking or when the recipe specifically calls for a natural release. To perform a natural release, simply leave the electric pressure cooker untouched after the cooking cycle ends. The pressure will gradually lower on its own as the temperature inside the cooker decreases. This process can take anywhere from 10 to 20 minutes or longer, depending on the amount of pressure built up. Once the float valve drops, indicating that the pressure has released, it is safe to open the lid.
When choosing between quick release and natural release, consider the specific requirements of your recipe and the pasta you are cooking. Delicate pasta, like angel hair or fresh pasta, may benefit from quick release to prevent overcooking and ensure a perfectly textured result. However, heartier pasta varieties, such as penne or fusilli, can withstand a natural release without sacrificing texture or taste.
It’s important to note that even after performing a quick release or natural release, there may still be residual steam inside the electric pressure cooker. Ensure that all the steam has dissipated and the float valve has dropped completely before attempting to open the lid.
In the next step, we’ll discuss how to drain the cooked pasta properly.
Step 7: Drain the Pasta
Now that your pasta is cooked to perfection, it’s time to drain it before serving. Draining the pasta removes excess liquid or sauce, leaving you with perfectly cooked noodles ready for your favorite sauce or toppings.
Before draining the pasta, ensure you have a colander or strainer ready. Place the colander or strainer in your sink or over a large bowl to catch the liquid as you pour it out.
Carefully unlock and remove the lid of the electric pressure cooker, taking caution as the steam may still escape. Use oven mitts or pot holders to protect your hands from the hot surfaces.
Gently tilt the inner pot of the electric pressure cooker over the colander or strainer, allowing the pasta and liquid to drain. The colander or strainer will catch the pasta, while the liquid will flow through the holes.
Shake the colander or strainer gently to remove any excess liquid and ensure that the pasta is well-drained. Avoid running water over the pasta to prevent washing away any residual flavors or starch that can help the sauce adhere to the pasta.
Once the pasta is drained, you can transfer it to a serving dish or directly mix it with your desired sauce or toppings. Be careful not to over-handle the pasta as it can become sticky or clump together.
If you’re not planning to use the pasta immediately, you can rinse it under cold water to stop the cooking process and prevent further absorption of moisture. However, this step is optional and usually not necessary if you plan to serve the pasta right away.
Remember to turn off and unplug the electric pressure cooker once you have drained the pasta. Allow the cooker to cool down before cleaning it.
Now that the pasta is drained, it’s time to move on to the final step: serving and enjoying your cooked pasta!
Step 8: Serve and Enjoy!
Congratulations! You’ve successfully cooked your pasta in an electric pressure cooker. Now, it’s time to plate your delicious creation, add any final touches, and savor every bite.
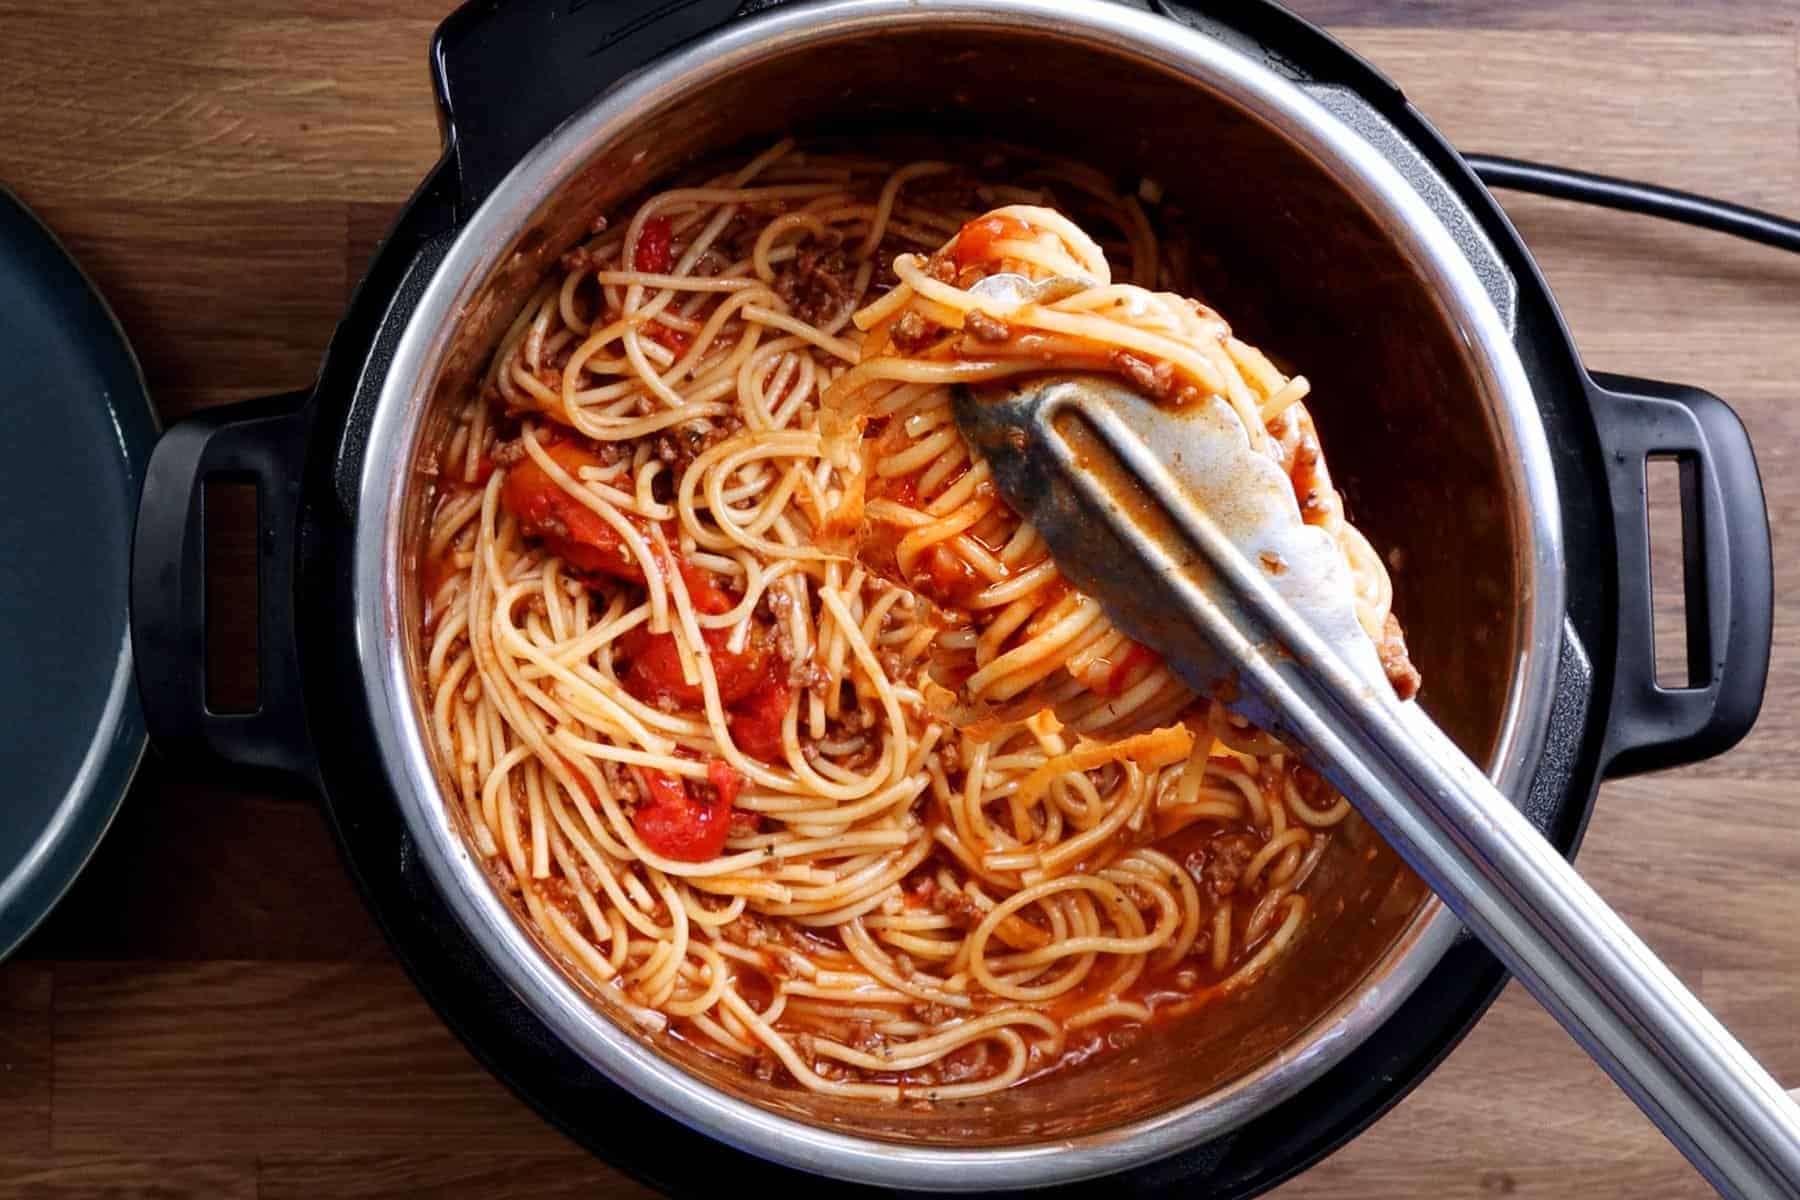
Start by transferring the drained pasta from the colander or strainer to a serving dish or individual plates. Use tongs or a pasta server to gently portion out the pasta, ensuring that the noodles remain separate and well-coated in sauce or toppings.
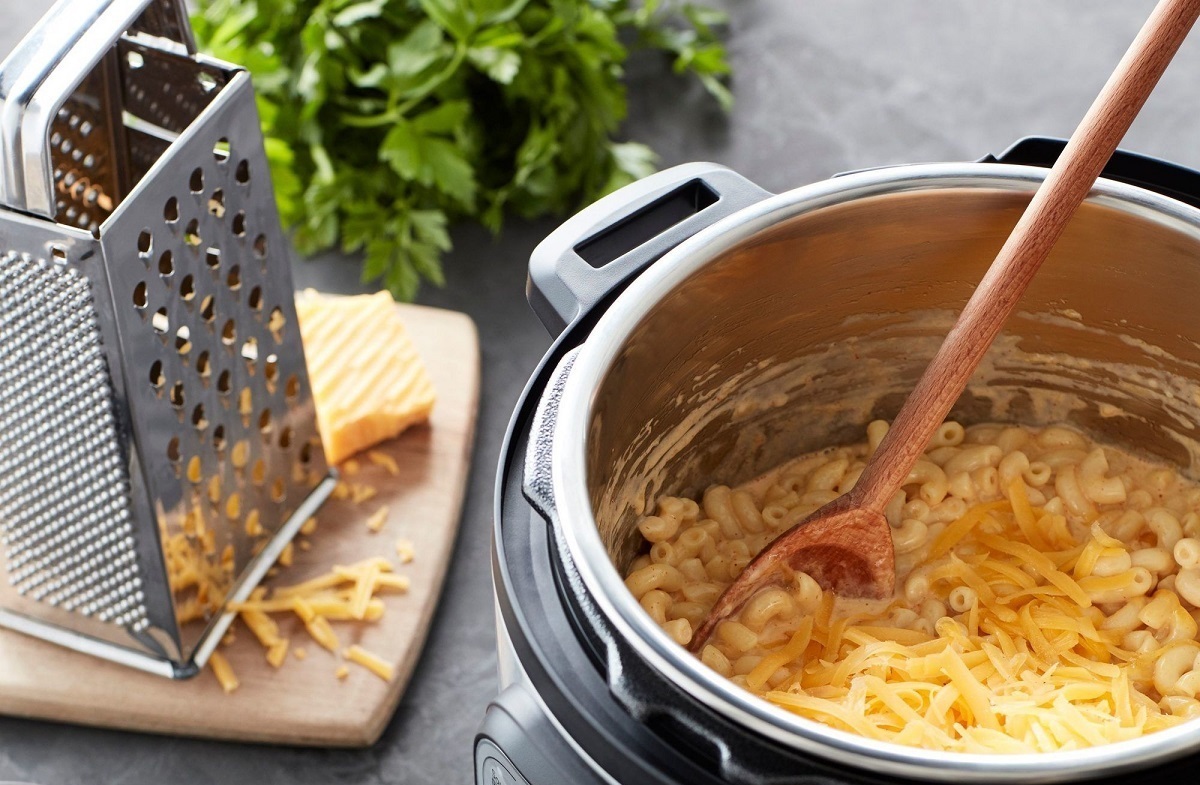
If you’re serving the pasta with a sauce, carefully pour or spoon the desired amount onto the pasta. Toss the pasta gently to evenly distribute the sauce, ensuring that every strand or piece is coated. Add any additional toppings, such as grated cheese, chopped herbs, or a drizzle of olive oil, to enhance the flavors and presentation of your dish.
Now, it’s time to enjoy your delicious pasta creation! Grab a fork and dig in, savoring the flavors and textures that the electric pressure cooker helped achieve. Take note of the pleasant al dente texture and the well-infused flavors that resulted from the pressure cooking process.
As you enjoy your pasta, take a moment to appreciate the convenience and time-saving benefits of using an electric pressure cooker. With this versatile kitchen appliance, you can cook perfect pasta in a fraction of the time compared to traditional stovetop methods.
Remember, experimenting with different pasta shapes, sauces, and ingredients will keep your pasta dishes exciting and enjoyable. Feel free to get creative and try new flavor combinations or adapt your favorite pasta recipes to the electric pressure cooker.
Once you have finished your meal, clean up the electric pressure cooker according to the manufacturer’s instructions. Most electric pressure cookers have removable parts that can be washed separately, making the cleanup process a breeze.
Now that you’ve mastered the art of cooking pasta in an electric pressure cooker, get ready to impress your family and friends with your culinary skills. Whether it’s a quick weeknight dinner or a special occasion, your electric pressure cooker will continue to be a valuable tool in your kitchen arsenal.
Enjoy your delicious pasta and happy cooking!
Tips and Tricks for Perfect Pasta in an Electric Pressure Cooker
Cooking pasta in an electric pressure cooker is a convenient and efficient way to achieve perfect results every time. To elevate your pasta-cooking skills even further, here are some valuable tips and tricks to keep in mind:
- Choose the right pasta: Different pasta shapes and sizes have varying cooking times and absorption rates. Experiment with different types of pasta to discover your favorites and adjust the cooking time accordingly.
- Follow the recommended liquid-to-pasta ratio: Use the suggested ratio of 1:1.5 or 1:2 (pasta to liquid). This will help ensure the pasta cooks evenly and has a balanced texture.
- Add flavor to the cooking liquid: Enhance the taste of your pasta by incorporating seasonings into the cooking liquid. Consider adding herbs, spices, or bouillon cubes to infuse the pasta with extra flavor.
- Don’t overcook: Keep a close eye on the cooking time, as pasta can become mushy if overcooked in an electric pressure cooker. Start with the minimum recommended cooking time, and adjust accordingly based on your desired level of doneness.
- Prevent pasta sticking: Stir the pasta immediately after placing it in the electric pressure cooker to prevent it from sticking together during the cooking process.
- Experiment with different sauces: While traditional pasta sauces work well, don’t be afraid to try new flavors. Experiment with creamy sauces, pesto, or even broth-based recipes for a unique and delicious twist.
- Release the pressure carefully: Always follow the recommended pressure release method specified in your recipe or the electric pressure cooker’s manual. Quick release can cause hot steam to escape rapidly, so use caution and protect your hands from potential burns.
- Let the pasta sit briefly: After draining, allow the pasta to sit for a minute or two in the serving dish. This will let the flavors meld and ensure a consistent temperature throughout.
- Reheat leftovers: Leftover pasta can be reheated in the electric pressure cooker. Add a splash of water or sauce to prevent dryness and heat on a low pressure setting for a few minutes until warmed through.
- Get creative with toppings: Elevate your pasta dish by experimenting with different toppings such as toasted breadcrumbs, freshly grated cheese, chopped nuts, or herbs. These added textures and flavors can take your dish to the next level.
By following these tips and tricks, you’ll be well on your way to creating perfectly cooked pasta dishes in your electric pressure cooker. Don’t be afraid to put your own spin on recipes and customize them to suit your taste preferences. With practice and a touch of creativity, you’ll become a pasta-cooking pro in no time!
Conclusion
Mastering the art of cooking pasta in an electric pressure cooker opens up a world of quick, convenient, and delicious meal possibilities. With the right techniques and understanding of your electric pressure cooker’s features, you can consistently achieve perfectly cooked pasta with minimal effort and in a fraction of the time.
From measuring the pasta and liquid to selecting the appropriate pressure cooking setting and cooking time, each step plays a crucial role in achieving the desired texture and flavor. Properly draining the cooked pasta and adding your favorite sauce or toppings further enhance the dining experience.
Throughout the process, remember to consult the user manual for your specific electric pressure cooker model. Each cooker may have variations in instructions, pressure settings, cooking times, and pressure release methods, so it’s essential to follow the guidelines provided by the manufacturer.
Keep in mind the various tips and tricks shared in this guide, such as choosing the right pasta, experimenting with different sauces and toppings, and utilizing the quick release or natural release methods. These insights will help you take your pasta-cooking skills to new heights and impress your family and friends with restaurant-quality dishes.
Finally, always allow your creativity to shine by adapting recipes, trying new flavors, and adding your personal touch to each pasta dish. Embrace the versatility of your electric pressure cooker and enjoy the convenience it brings to your cooking routine.
So, grab your electric pressure cooker, measure out the pasta, and get ready to create mouthwatering pasta dishes that will leave everyone craving for more. With practice, patience, and a passion for delicious food, you will become a pro at cooking pasta in no time. Bon appétit!