Introduction
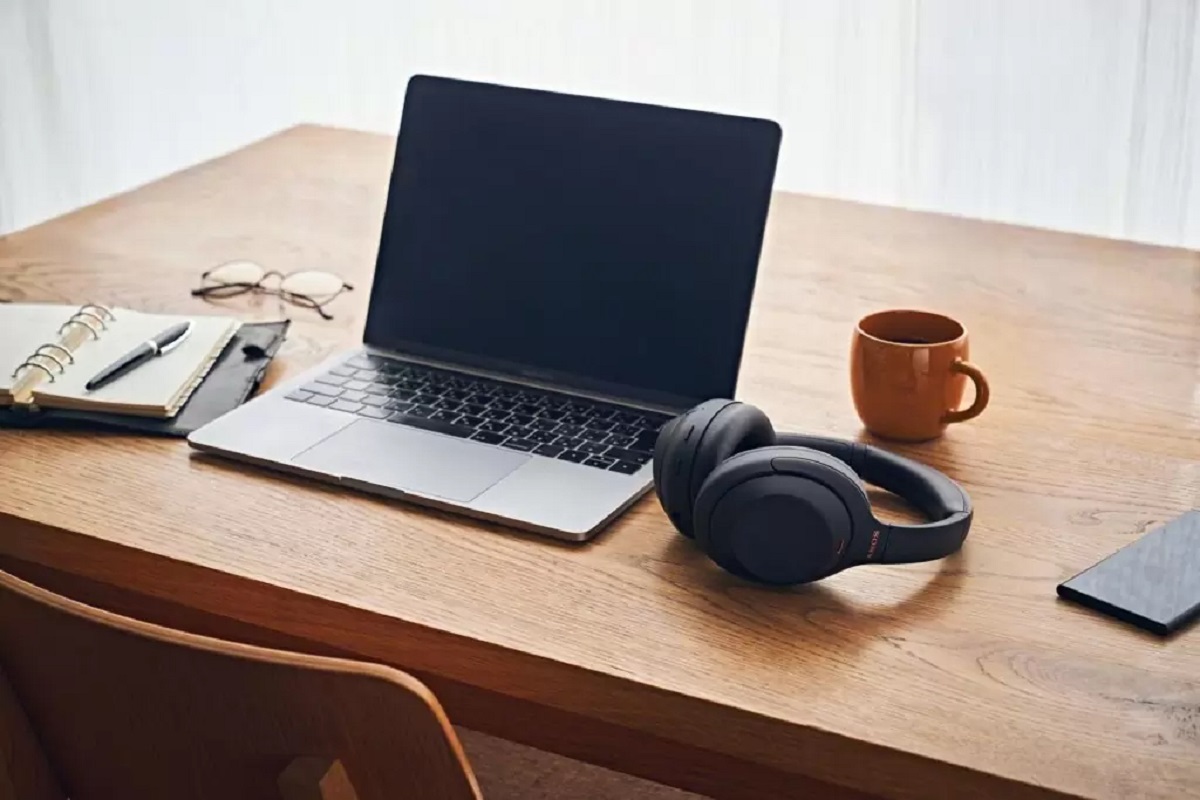
Welcome to this guide on how to pair Sony Bluetooth headphones! If you’ve recently purchased a pair of Sony Bluetooth headphones and you’re excited to start using them, this article is here to help you get them connected to your device. Whether you want to listen to music, watch movies, or make hands-free calls, pairing your headphones is the first step towards an immersive audio experience.
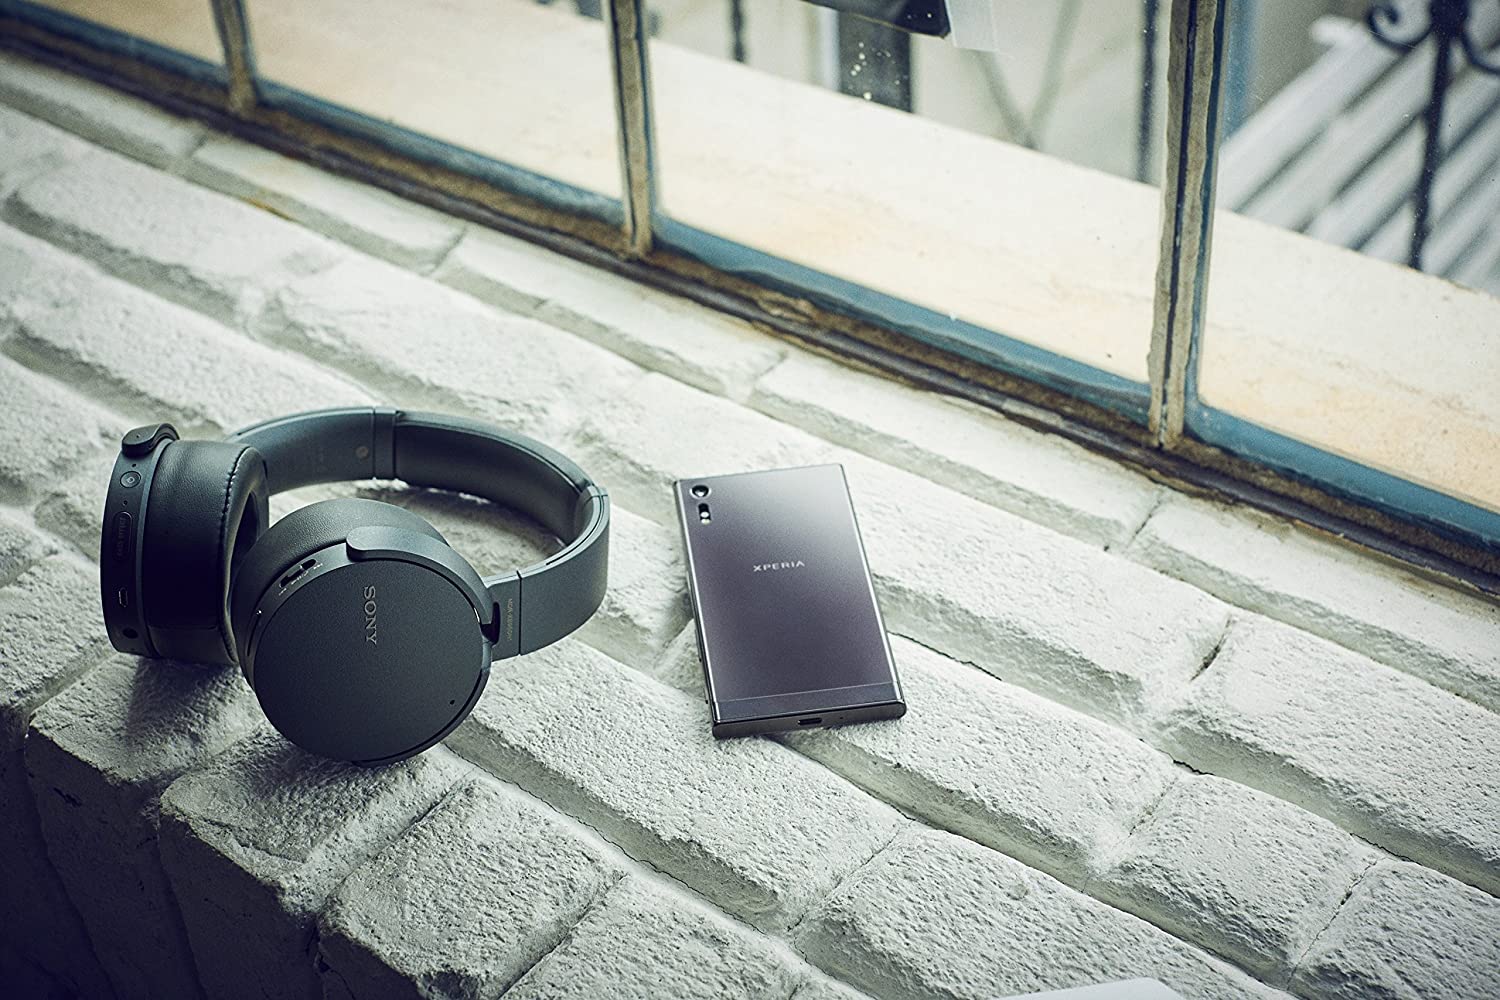
Bluetooth technology has made it incredibly convenient to connect wireless devices without the hassle of cords and cables. Sony Bluetooth headphones offer a seamless connectivity experience with excellent sound quality, making them a popular choice for music lovers, gamers, and professionals alike. Whether you have a smartphone, tablet, computer, or any other Bluetooth-enabled device, you can easily pair your Sony headphones to enjoy immersive audio anytime, anywhere.
In this guide, we will take you through the step-by-step process of pairing your Sony Bluetooth headphones to your device. It’s a straightforward process that only takes a few minutes, and once you’ve completed it, you’ll be ready to enjoy your favorite audio content without any wires holding you back.
Before we dive into the pairing process, it’s essential to ensure that your device is compatible with Sony Bluetooth headphones. While most modern devices support Bluetooth connectivity, it’s always a good idea to double-check to avoid any compatibility issues. Once you’ve confirmed compatibility, we can move on to the next steps.
So, grab your Sony Bluetooth headphones, make sure they’re charged, and get ready to pair them with your device! Follow the instructions in the upcoming steps, and before you know it, you’ll be indulging in a wireless audio experience like never before.
Step 1: Check Compatibility
Before you start pairing your Sony Bluetooth headphones, it’s crucial to ensure that your device is compatible with Bluetooth technology. Most modern smartphones, tablets, computers, and other audio devices are Bluetooth-enabled, but it’s always a good idea to double-check to avoid any compatibility issues.
To check if your device is compatible:
- Refer to the user manual: Check the user manual or specifications of your device to see if it has Bluetooth capabilities. Look for phrases like “Bluetooth-compatible,” “Bluetooth-enabled,” or a Bluetooth logo.
- System settings: On your device, navigate to the settings menu. Look for a section related to connectivity or wireless settings. Inside this section, you should find an option for Bluetooth. If you see this option, it means your device supports Bluetooth technology.
- Online research: If you’re still unsure whether your device is compatible with Bluetooth or need more information, a quick online search using the model name or specifications of your device should provide you with the necessary information.
If your device is indeed Bluetooth-compatible, then you’re good to go! You can proceed to the next step and start the pairing process. However, if your device doesn’t have Bluetooth capabilities, you may need to consider other options, such as using a Bluetooth adapter or upgrading to a Bluetooth-enabled device, to enjoy the wireless audio experience with your Sony Bluetooth headphones.
By confirming compatibility before pairing, you can save yourself from frustration and ensure a smooth and successful connection between your Sony headphones and your device. Once you’ve verified compatibility, let’s move on to the next step: charging your headphones.
Step 2: Charge Your Headphones
Before you begin the pairing process, it’s essential to ensure that your Sony Bluetooth headphones are properly charged. This will prolong their battery life and prevent any interruptions during the pairing process or while using them. Here’s how to charge your headphones:
- Locate the charging port: On your Sony headphones, there is usually a Micro USB or USB-C port for charging. It is typically located on the bottom or side of one of the earcups.
- Connect to a power source: Plug one end of the charging cable into the charging port on your headphones and the other end into a power source such as a USB charger or your computer’s USB port.
- Ensure proper connection: Make sure the cable is securely plugged into both the headphones and the power source to establish a proper connection.
- Monitor the charging status: Some Sony headphones have an LED indicator that shows the charging status. It may change color or blink to indicate charging progress. Refer to your headphone’s user manual to understand the specific charging indicators.
- Allow sufficient charging time: Leave your Sony headphones connected to the power source for the recommended charging time. This can vary depending on the model and the remaining battery level. It’s typically advised to charge them for at least 2-3 hours for a complete charge.
- Unplug and prepare for pairing: Once your Sony headphones are fully charged, unplug them from the power source. They are now ready to be paired with your device.
Ensuring that your headphones are adequately charged will not only facilitate the pairing process but also provide you with optimal battery performance and uninterrupted listening pleasure. Now that your headphones are charged, let’s move on to the next step: turning on Bluetooth on your device.
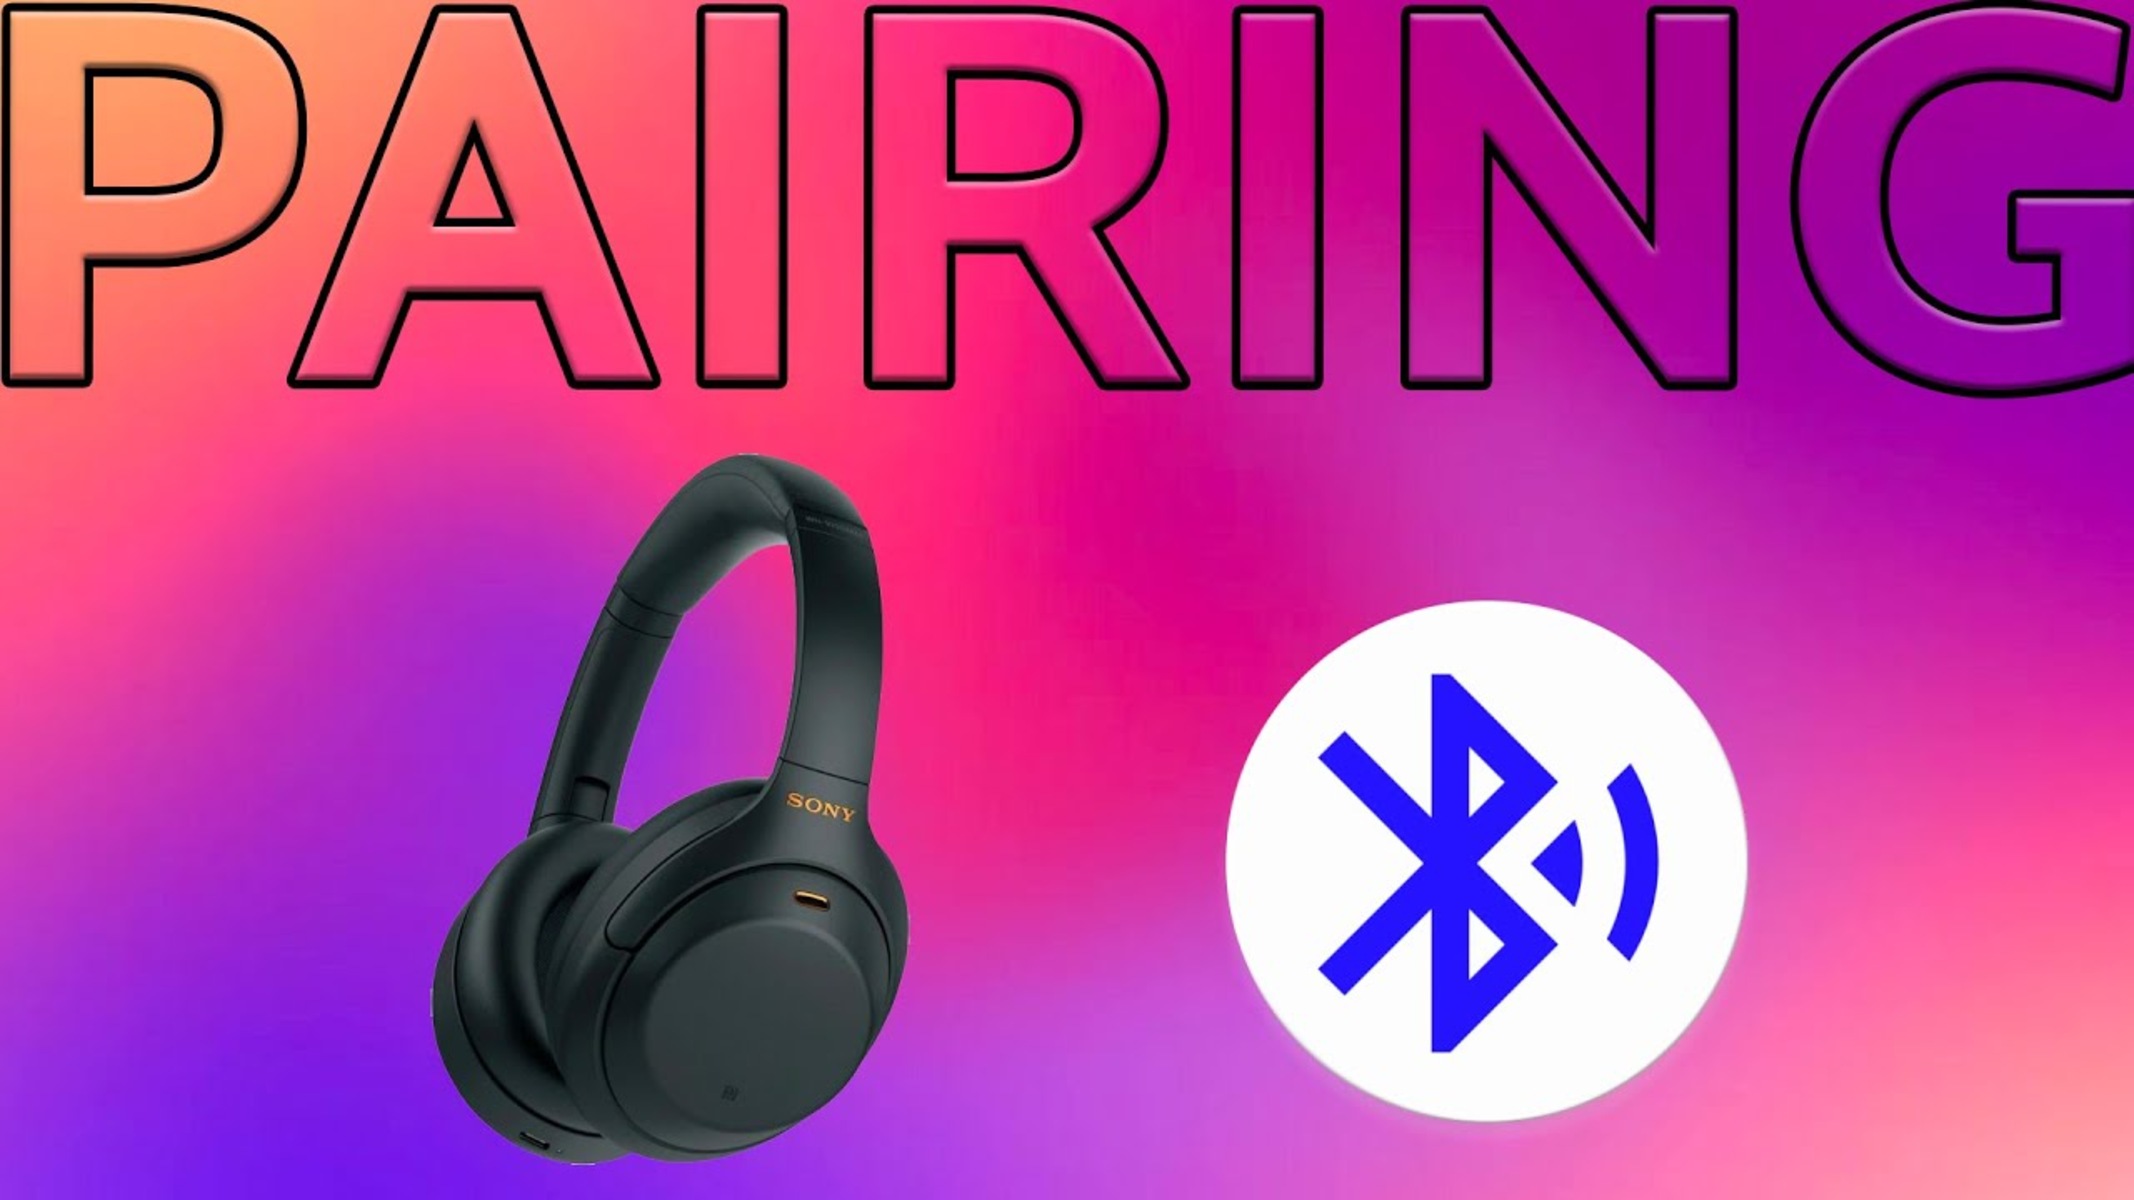
Step 3: Turn On Bluetooth on Your Device
To pair your Sony Bluetooth headphones with your device, you need to make sure that Bluetooth is turned on and discoverable on your device. Here’s how to enable Bluetooth on some commonly used devices:
Smartphone or Tablet:
- Go to the settings menu on your device.
- Look for the “Bluetooth” option and tap on it to enter the Bluetooth settings.
- Toggle the Bluetooth switch to turn it on. The switch should turn green or show an “On” status.
Computer (Windows):
- Click on the “Start” menu and select “Settings.”
- In the settings window, click on the “Devices” option.
- On the left sidebar, select “Bluetooth & other devices.”
- Toggle the Bluetooth switch to turn it on.
Computer (Mac):
- Click on the Apple menu in the top left corner and select “System Preferences.”
- In the System Preferences window, click on the “Bluetooth” icon.
- Toggle the Bluetooth switch to turn it on.
Other Devices:
The process of turning on Bluetooth may vary for other devices, such as gaming consoles or smart TVs. Consult the user manual or the manufacturer’s website for specific instructions on how to enable Bluetooth on your particular device.
Once you have enabled Bluetooth on your device, it will start searching for available Bluetooth devices to pair with. Keep your Sony Bluetooth headphones nearby as we move on to the next step, where we will put your headphones in pairing mode.
Step 4: Put Your Headphones in Pairing Mode
Before your Sony Bluetooth headphones can be detected and paired with your device, you need to put them in pairing mode. Pairing mode allows your headphones to broadcast a signal and be discovered by your device. The process of entering pairing mode can vary depending on the model of your Sony headphones, but here are the general steps to follow:
Method 1: Manual Button Press
- Turn on your Sony headphones by pressing the power button if they are not already on.
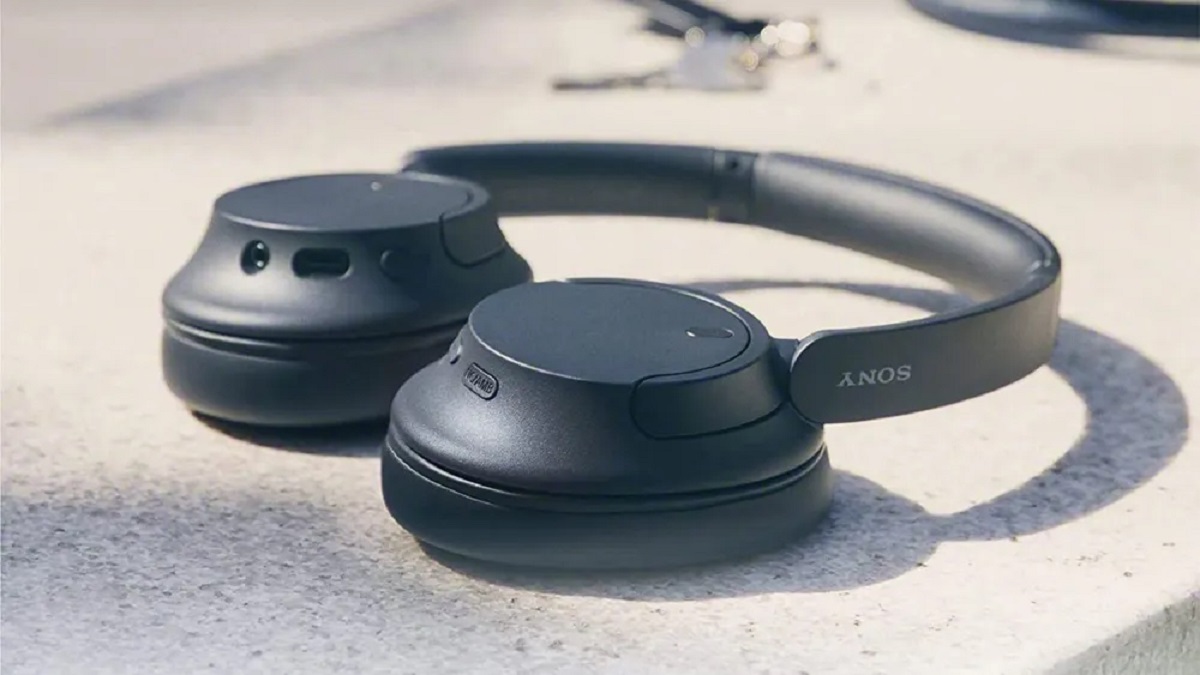
- Locate the pairing or Bluetooth button on your headphones. This button is typically located on one of the earcups.
- Press and hold the pairing button for a few seconds until you see an LED light or hear an audio cue indicating that your headphones are now in pairing mode. The LED light may flash rapidly or change color to signify pairing mode.
Method 2: Power On and Hold
- Turn off your Sony headphones if they are already on.
- Press and hold the power button for a few seconds. Keep holding the button even after the headphones turn on.
- Observe the LED light or listen for an audio cue to indicate that your headphones have entered pairing mode.
Method 3: Refer to the User Manual
If the above methods don’t work for your specific model, it’s best to refer to the user manual that came with your Sony headphones. The manual will provide you with detailed instructions on how to put your particular headphones in pairing mode.
Once your headphones are in pairing mode, they are actively searching for devices to connect with. In the next step, we will guide you through the process of connecting your headphones to your device.
Step 5: Connect Your Headphones to Your Device
Now that your Sony Bluetooth headphones are in pairing mode, it’s time to connect them to your device. Follow these steps to establish a connection:
- On your device, navigate to the Bluetooth settings. This is typically found in the settings menu or the quick settings panel.
- Within the Bluetooth settings, you will see a list of available devices. Look for your Sony headphones in the list.
- Tap on the name of your Sony headphones to select them. This will initiate the connection process.
- Depending on your device, you may be prompted to enter a pairing code or confirm a passkey. If prompted, follow the on-screen instructions and enter the necessary code or passkey.
- Wait for a few moments as the connection is established. Once connected, you will see a notification or an icon on your device indicating a successful pairing.
Note: Some devices may automatically connect to your Sony headphones if they have been previously paired. In such cases, you may not need to perform the above steps. If your headphones are not automatically reconnecting, you can follow the steps above to manually connect them.
Once your Sony headphones are successfully connected to your device, you can start enjoying your favorite audio content wirelessly. Whether it’s music, podcasts, movies, or calls, the wireless freedom offered by your Bluetooth headphones will enhance your audio experience.
If you want to connect your headphones to another device in the future, simply turn on Bluetooth on that device, locate your headphones in the Bluetooth settings, and connect following the same process as above.
With your Sony Bluetooth headphones paired and connected to your device, you are one step away from experiencing the immersive audio they have to offer. In the next step, we will test the connection to ensure everything is working perfectly.
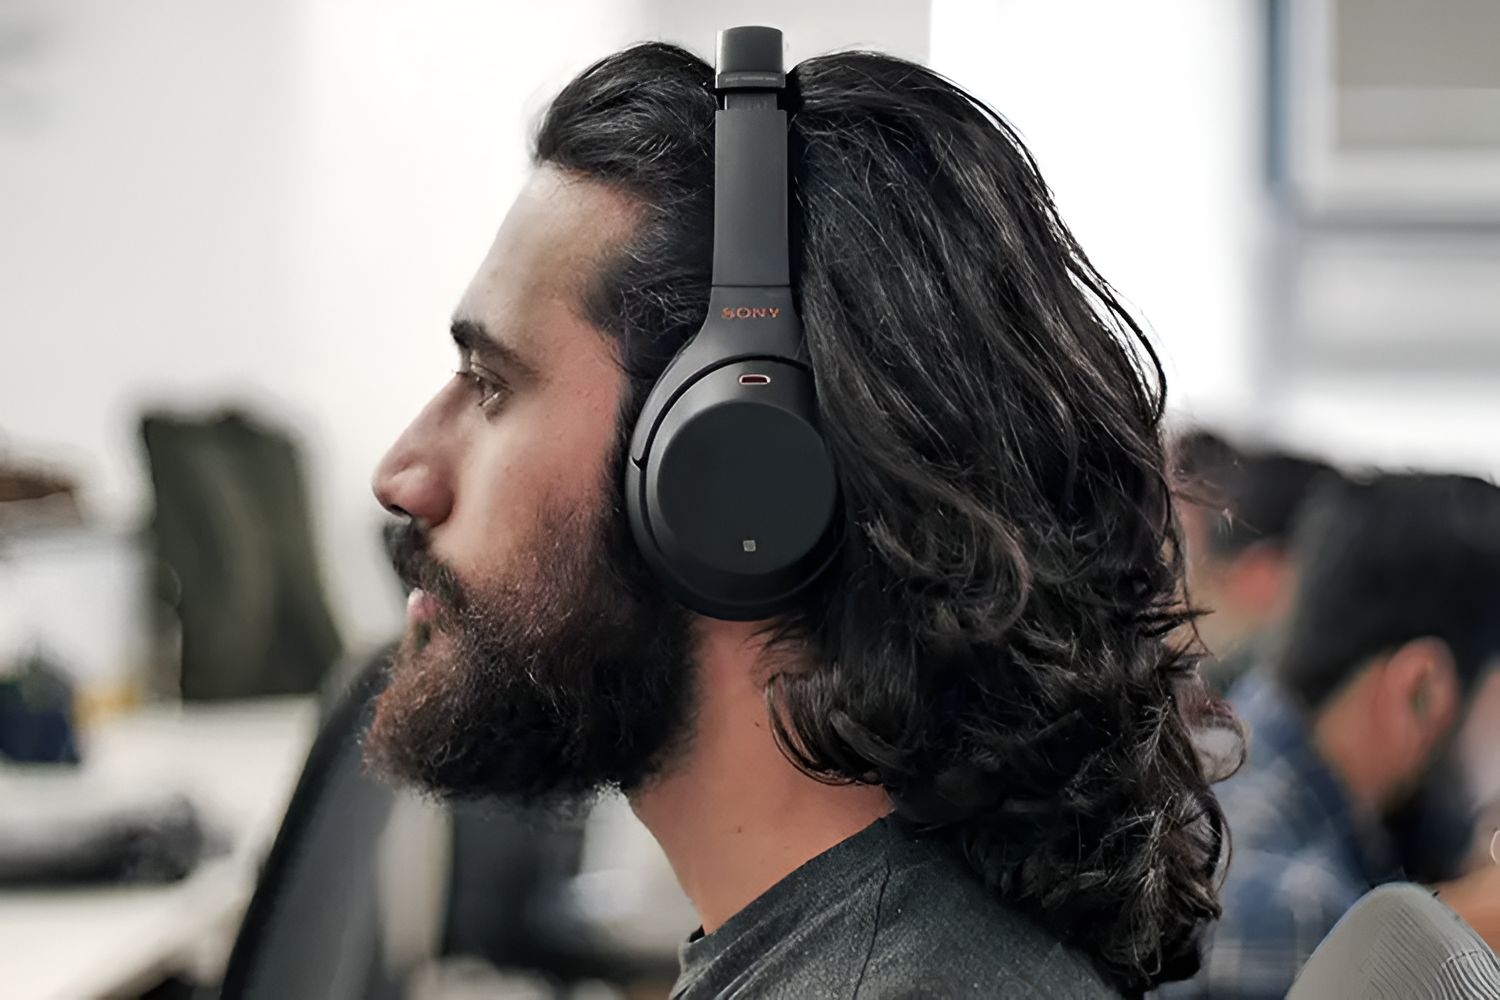
Step 6: Test the Connection
After successfully connecting your Sony Bluetooth headphones to your device, it’s essential to test the connection to ensure that everything is working as expected. Here’s how you can test the connection:
- Play audio: Open your preferred music streaming app, play a song, podcast, or any audio content.
- Listen for sound: Put on your Sony headphones and listen for the audio coming through. Ensure that the sound is clear and uninterrupted.
- Adjust volume: Use the volume controls on your device or the volume buttons on your headphones to adjust the audio level to your preference.
- Test call functionality (if applicable): If you plan to use your headphones for calls, make a test call to check if the microphone and call audio are functioning correctly.
- Move around: Test the range of your Bluetooth connection by moving around the room or area. Ideally, your headphones should maintain a stable connection within a reasonable distance from your device.
If you encounter any issues during the testing process, here are a few troubleshooting steps you can try:
- Restart your headphones and your device.
- Ensure that your headphones are charged sufficiently.
- Turn Bluetooth off and back on again on your device.
- Delete the pairing information for your headphones on your device and re-pair them.
- Consult the user manual or contact Sony customer support for further assistance.
By testing the connection, you can confirm that your Sony Bluetooth headphones are functioning correctly and providing the audio experience you desire. If everything sounds great and works smoothly, congratulations! You have successfully paired and tested your Sony Bluetooth headphones.
Now, you can enjoy the freedom of wireless audio, whether you’re listening to music, watching movies, or making hands-free calls. Remember to keep your headphones charged and connect them to other devices as needed. With your Sony headphones, the world of high-quality wireless audio is at your fingertips.
Conclusion
By following the step-by-step instructions in this guide, you have learned how to pair your Sony Bluetooth headphones with your device. With the power of Bluetooth technology, you can now enjoy wireless audio without the hassle of tangled wires or limited mobility.
Remember to check the compatibility of your device before pairing and ensure that your headphones are fully charged for optimal performance. Turning on Bluetooth on your device and putting your Sony headphones in pairing mode are crucial steps in establishing a connection.
Once you have successfully connected your headphones to your device, don’t forget to test the connection to ensure a seamless audio experience. Adjust the volume, play your favorite music or podcasts, and if applicable, test the call functionality to ensure everything is working perfectly.
If you encounter any issues during the pairing process, refer to the troubleshooting steps provided or consult the user manual or Sony customer support for further assistance.
Now, you can enjoy the freedom of wireless audio with your Sony Bluetooth headphones. Whether you’re immersing yourself in your favorite music, getting lost in a movie, or making hands-free calls, the wireless convenience and excellent sound quality provided by your Sony headphones will enhance your audio experience.
Thank you for using this guide, and we hope you have an incredible time enjoying your Sony Bluetooth headphones!