Introduction
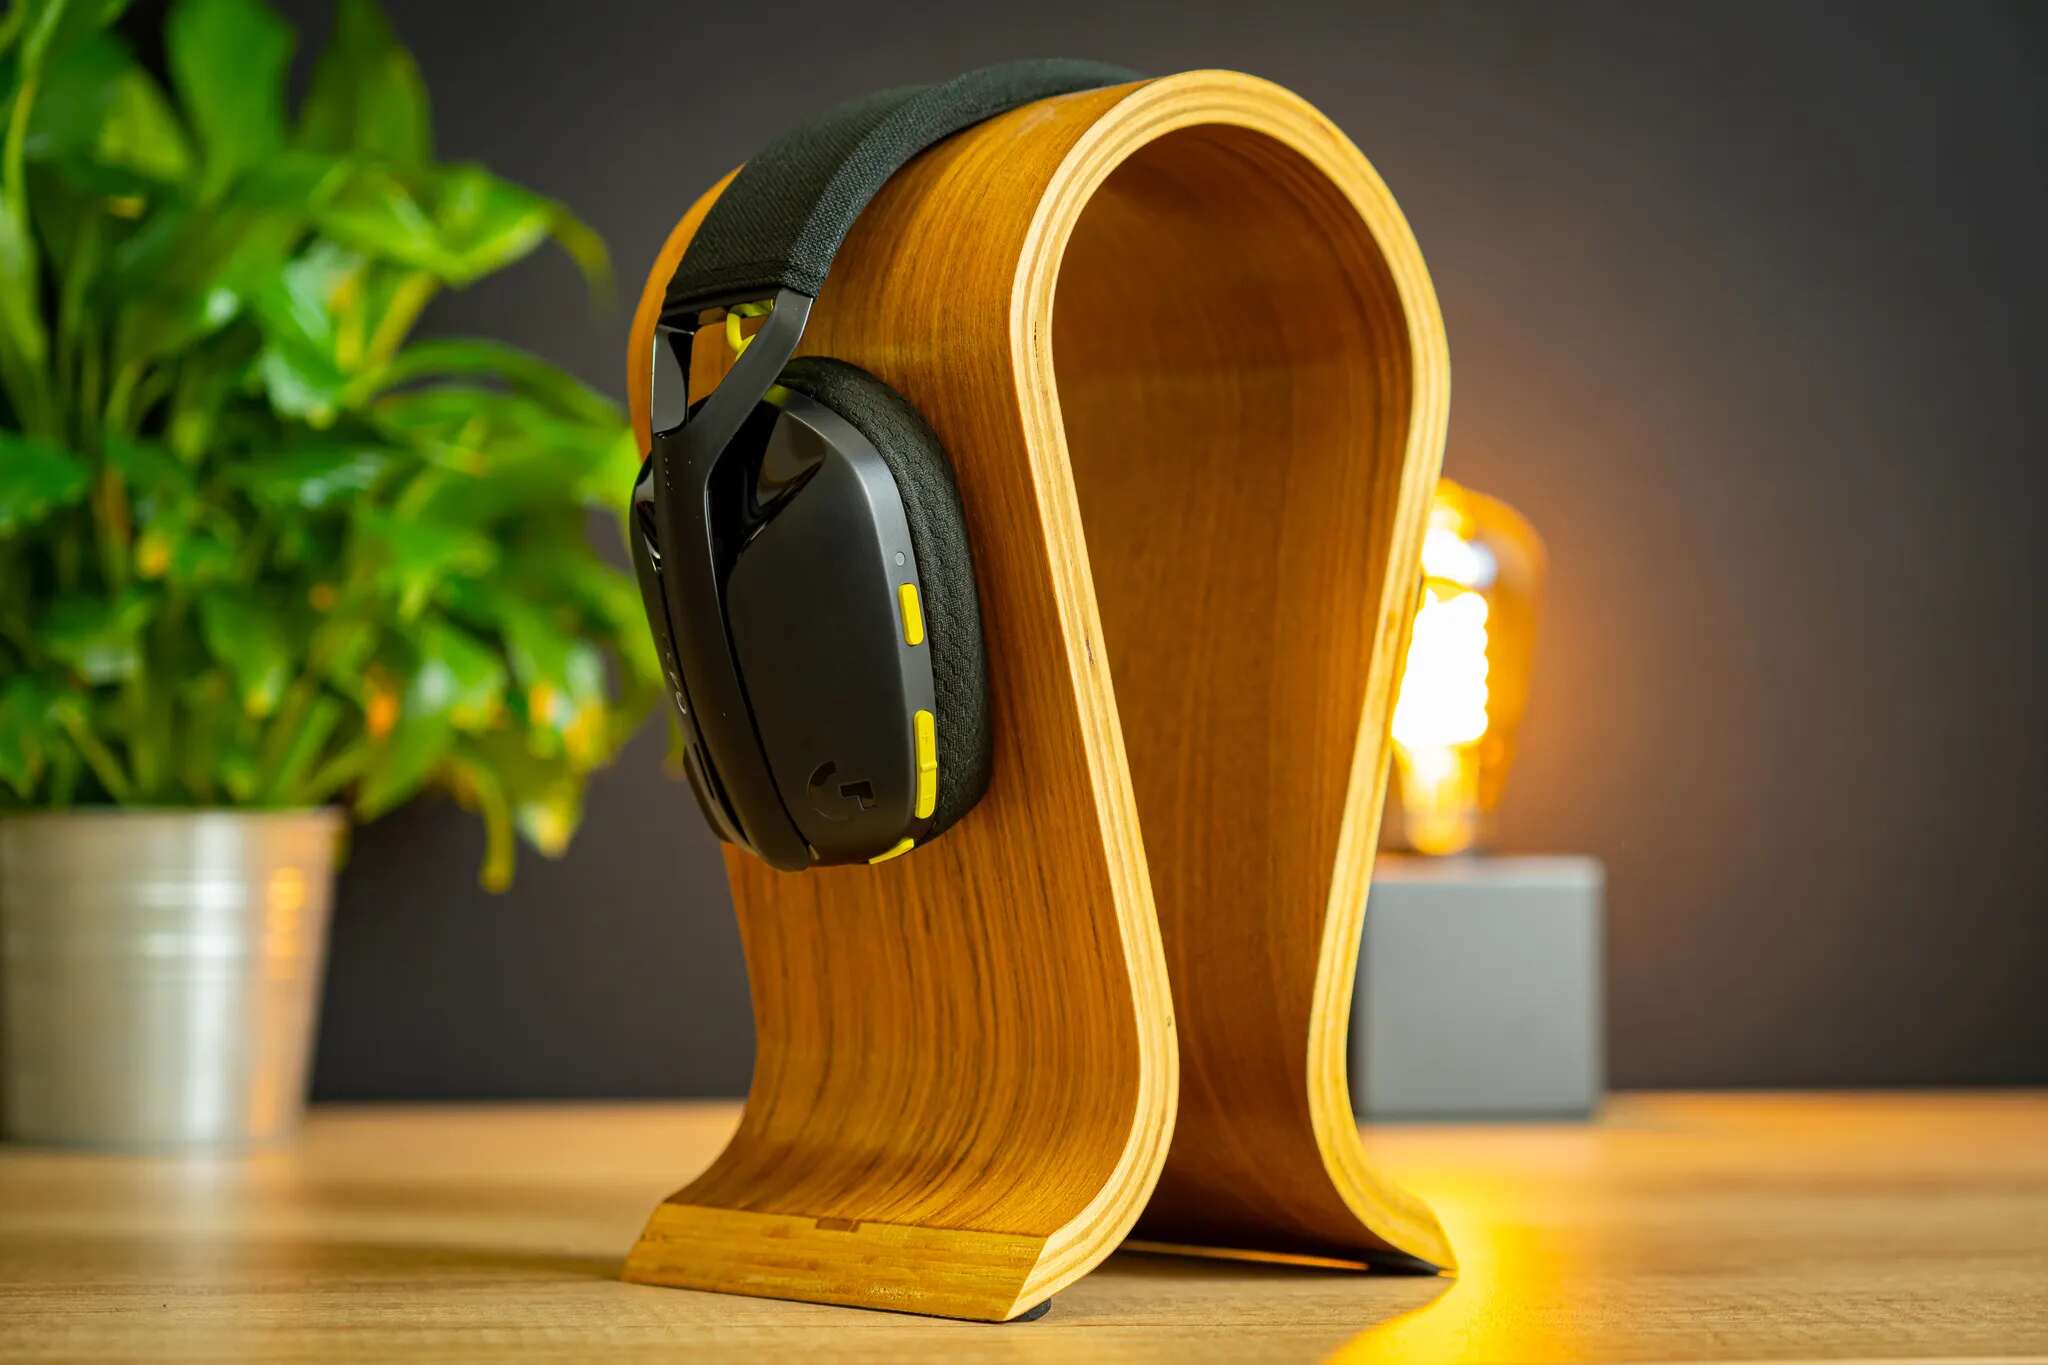
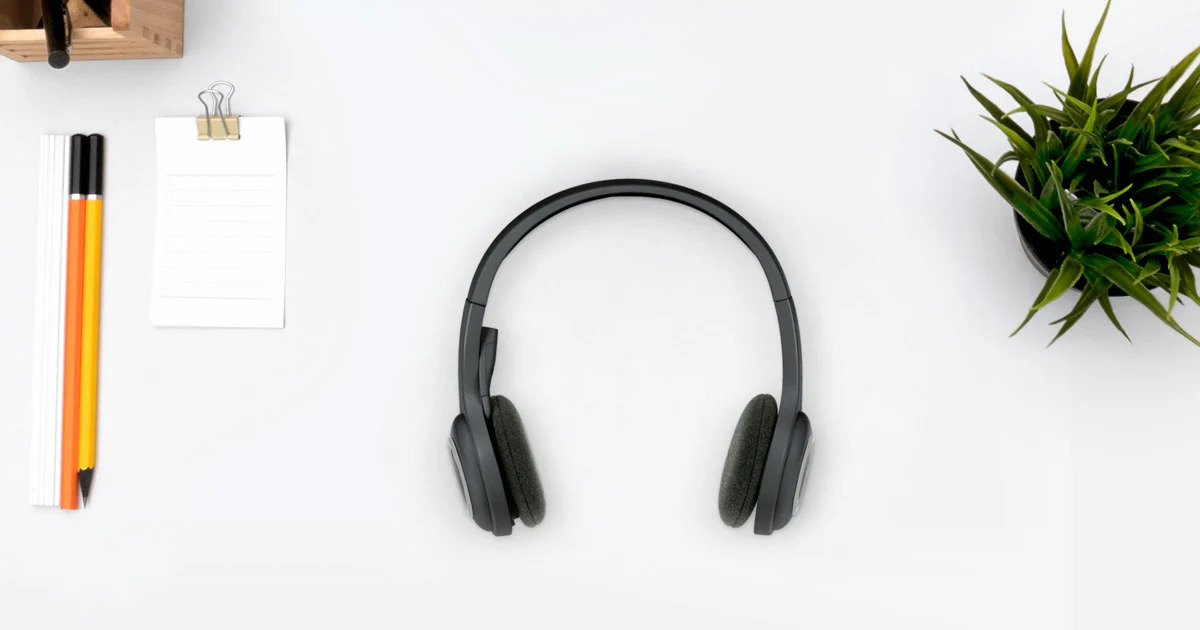
Welcome to this guide on how to pair your Logitech wireless headset. Logitech has been a trusted name in the tech industry for decades, providing high-quality audio devices for personal and professional use. Whether you’re a gaming enthusiast, a remote worker, or someone who simply enjoys listening to music, Logitech wireless headsets offer convenience, comfort, and impressive sound quality.
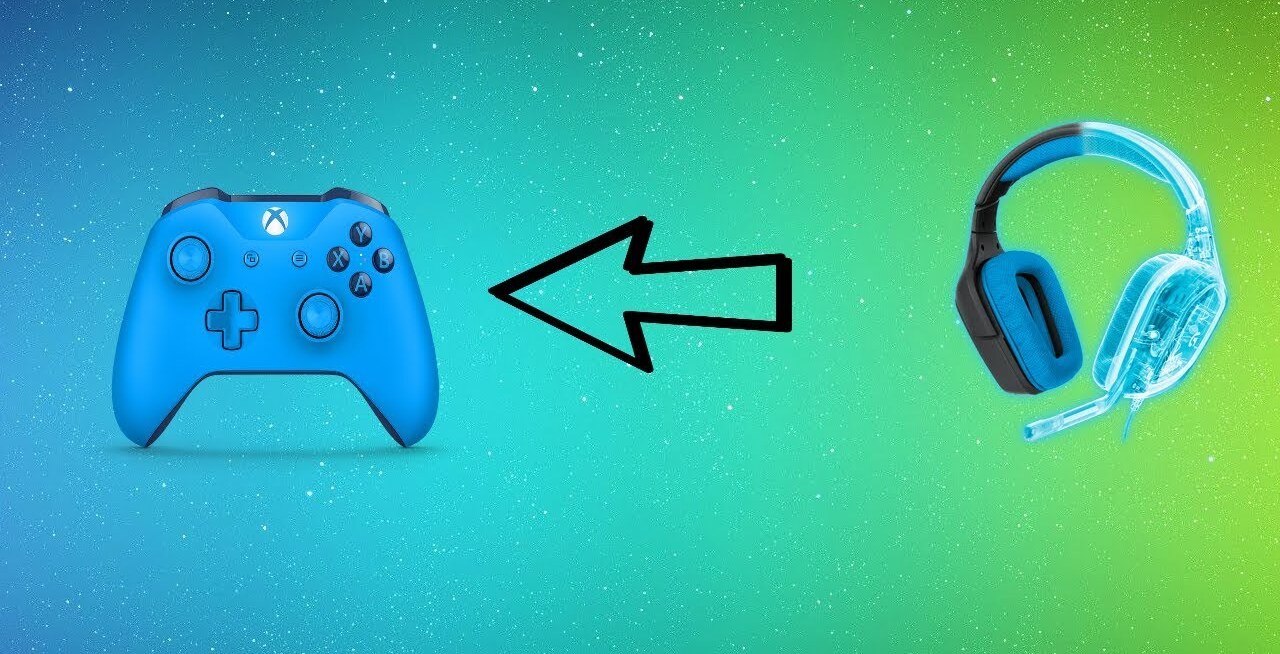
Pairing your Logitech wireless headset with your device is a crucial step to ensure a seamless and hassle-free audio experience. Whether you’re connecting it to your computer, smartphone, tablet, or gaming console, the process is usually straightforward. However, it’s important to follow the correct steps to avoid any issues.
In this guide, we will walk you through the process of pairing your Logitech wireless headset with your device. We’ll cover the necessary steps, from checking compatibility to troubleshooting tips. By following these steps, you’ll be able to enjoy immersive audio and unrivaled convenience in no time.
Before we begin, it’s important to note that the specific pairing process may vary slightly depending on the model of your Logitech wireless headset and the device you’re trying to connect it to. However, the fundamental principles remain the same, and we will provide general guidelines that should apply to most Logitech wireless headsets.
Now, let’s get started on the journey to pairing your Logitech wireless headset!
Step 1: Check Compatibility
Before diving into the pairing process, it’s essential to ensure that your Logitech wireless headset is compatible with the device you want to connect it to. Logitech offers a wide range of wireless headsets that are designed to work seamlessly with various devices, including computers, smartphones, and gaming consoles. Here are the steps to check compatibility:
- Consult the user manual: The user manual that came with your Logitech wireless headset is a valuable resource. It contains crucial information about compatibility, including the supported operating systems and devices.
- Visit the Logitech website: Logitech maintains an updated list of compatible devices on their website. Navigate to their support section and search for your specific model of wireless headset. Look for the “compatibility” or “system requirements” section to find a list of supported devices.
- Online research: If you’re still unsure about compatibility after consulting the user manual and Logitech’s website, you can turn to online forums and tech communities. Look for discussions or reviews from users who have successfully paired the same headset model with the device you have in mind.
Checking compatibility ensures that your Logitech wireless headset is designed to work with your device, minimizing the risk of connectivity issues or audio quality problems. If you find that your device is not compatible with your chosen headset, you may need to consider either upgrading your device or choosing a different Logitech wireless headset model that is compatible. Compatibility is vital for a smooth and enjoyable audio experience.
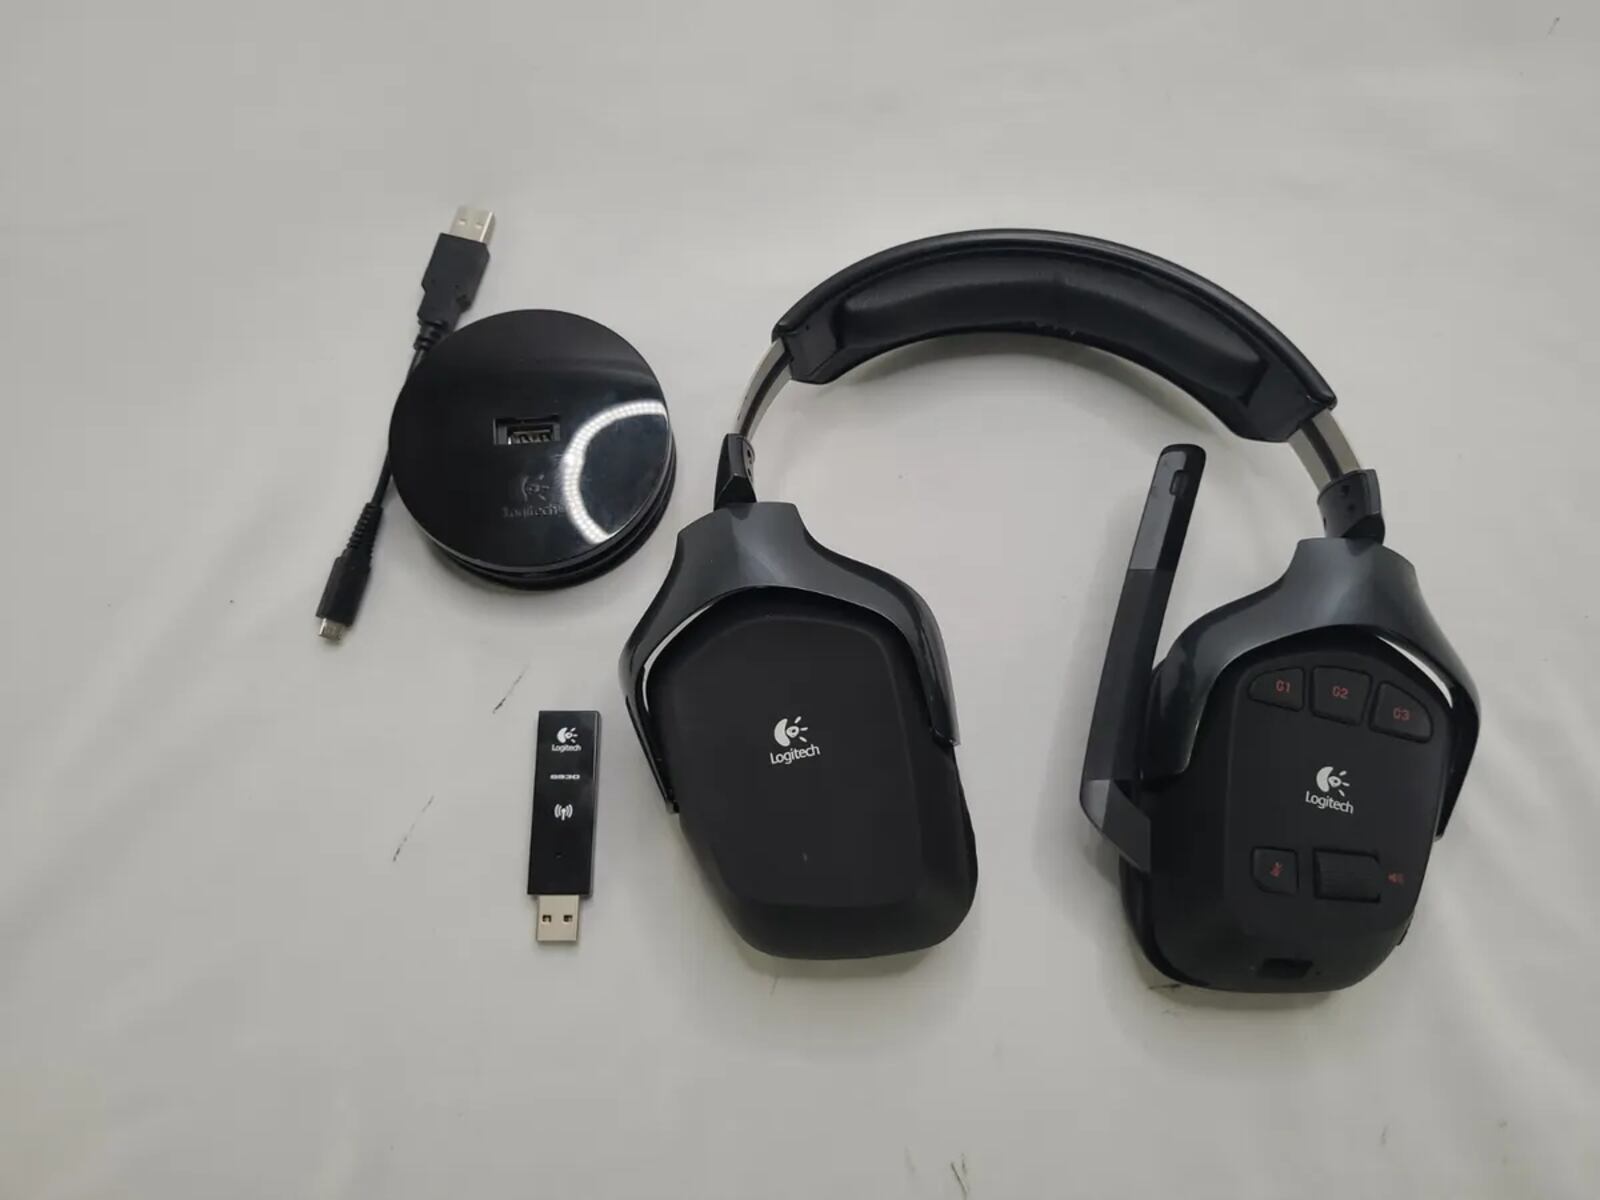
Step 2: Charge the Headset
Before you begin the pairing process, it’s crucial to ensure that your Logitech wireless headset has enough battery power. A well-charged headset not only ensures uninterrupted usage but also improves the overall performance. Follow these steps to charge your Logitech wireless headset:
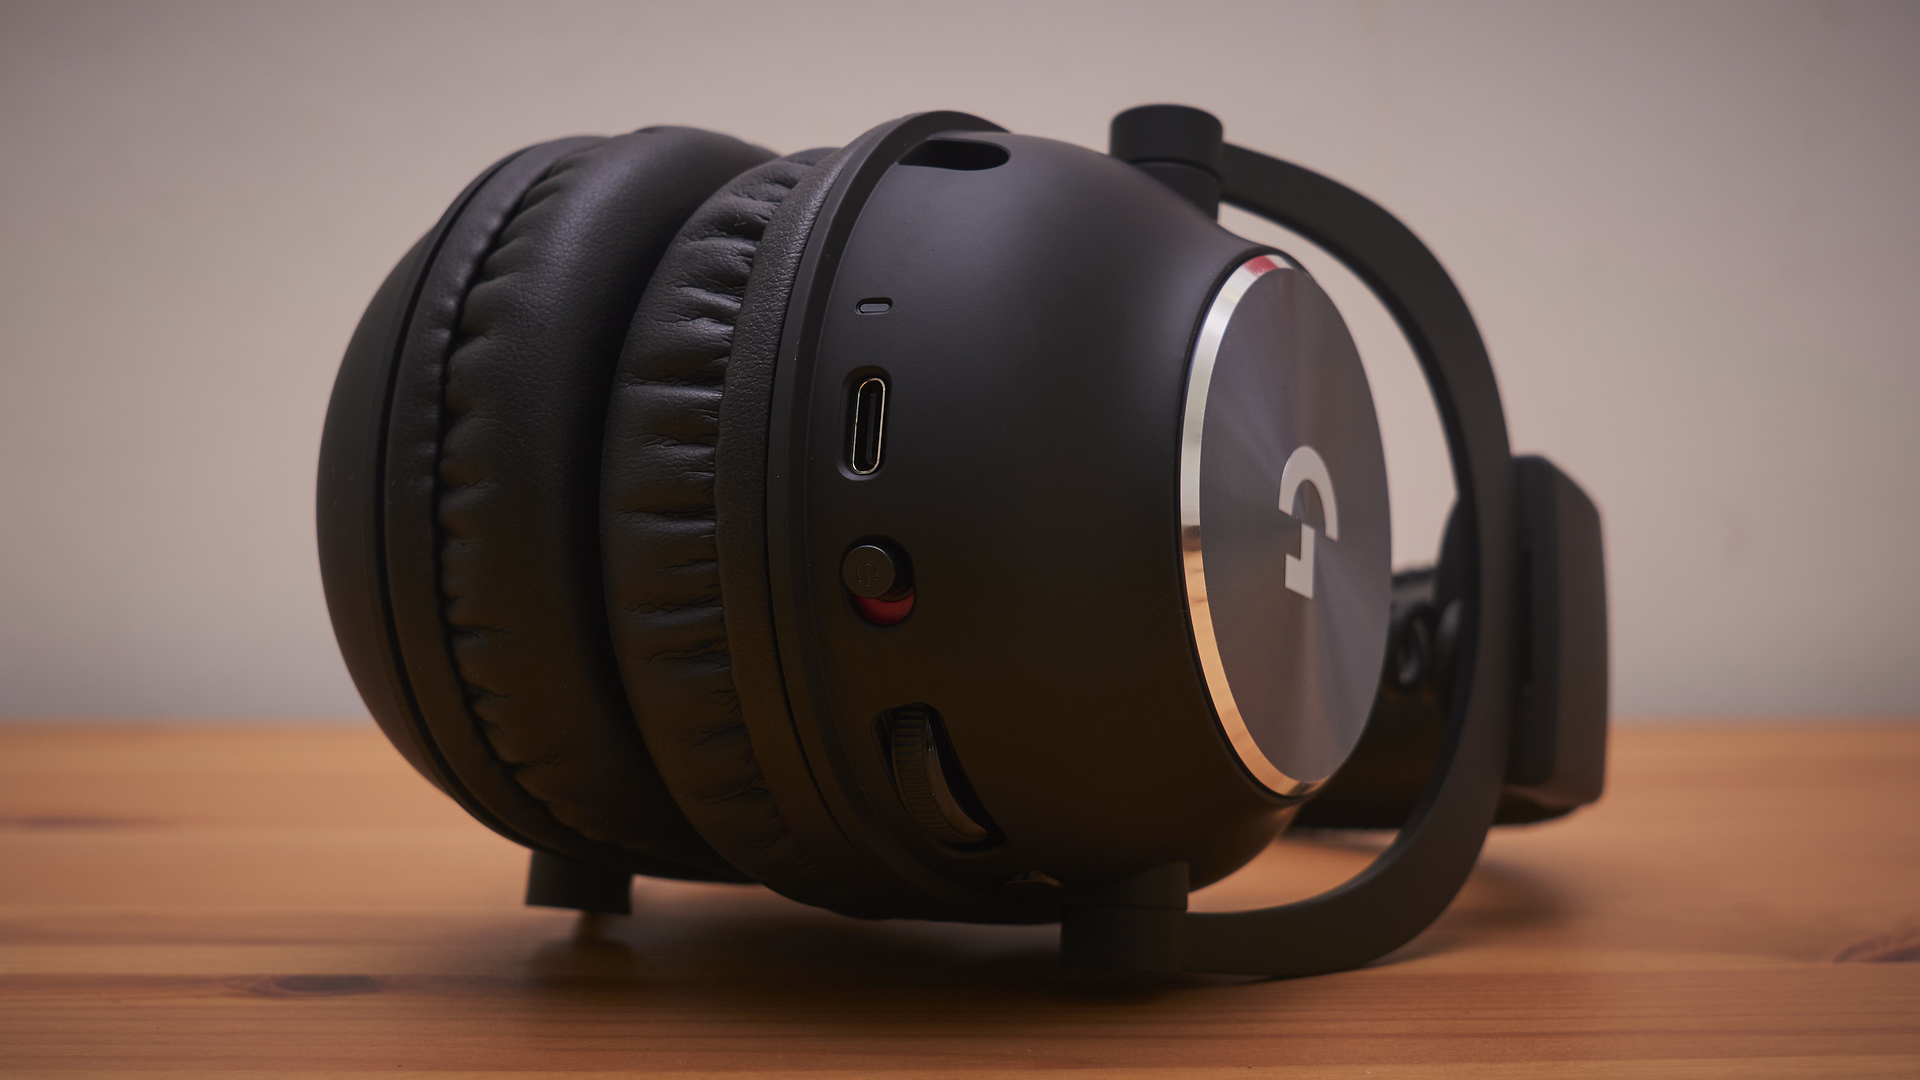
- Locate the charging port: Depending on the model of your Logitech wireless headset, the charging port may be located on the ear cup or on a separate charging dock. Refer to the user manual or the headset’s design to find the charging port.
- Connect the charging cable: Once you’ve located the charging port, connect one end of the charging cable to it. The other end of the cable should be plugged into a power source, such as a USB port on your computer or a wall adapter.
- Ensure proper charging: Once connected, check for the charging indicator on the headset. It could be an LED light or a display on the charging dock. The indicator should confirm that the headset is properly connected and charging.
- Let it charge: Allow your Logitech wireless headset to charge for the recommended time mentioned in the user manual. It’s important to adhere to the recommended charging time to ensure optimal battery performance.
- Check charging status: After the recommended charging time has passed, disconnect the charging cable and check the headset’s battery status indicator. It should show a full charge or a sufficient battery level.
Charging the headset adequately ensures that you have enough power to go through the pairing process and enjoy extended usage without interruptions. It’s always a good practice to charge the headset fully before embarking on a new pairing or long periods of use.
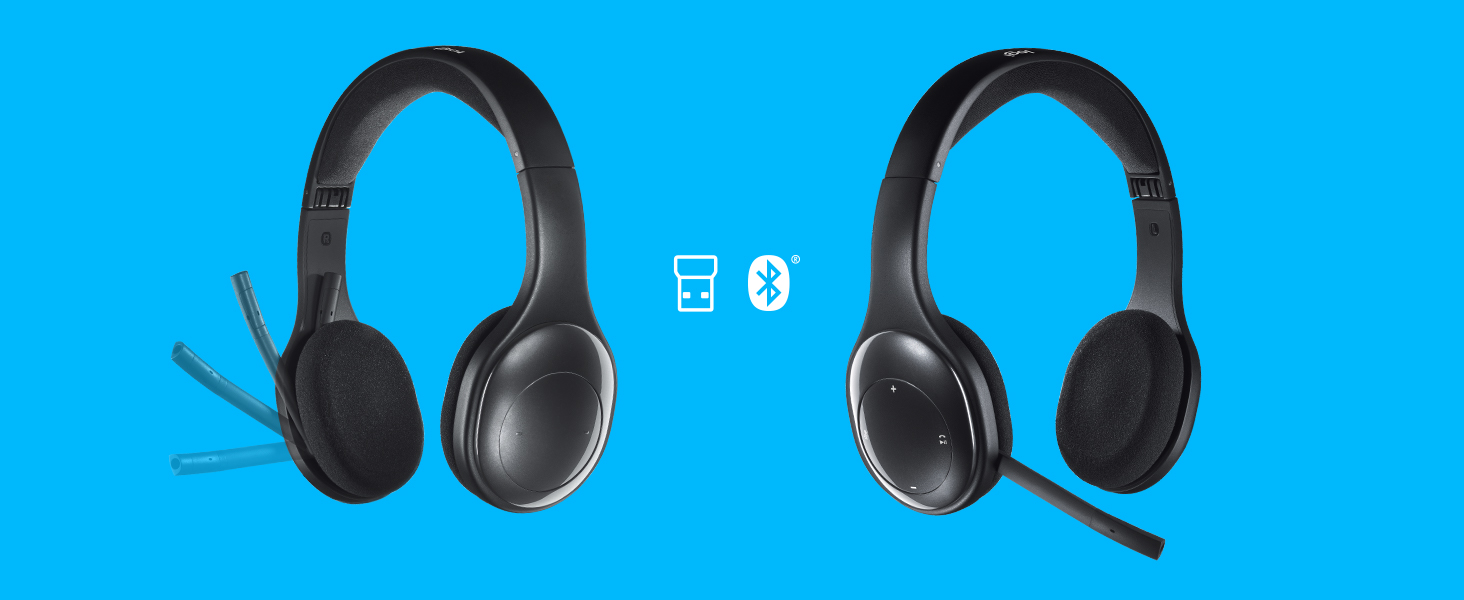
Step 3: Enable Bluetooth on your Device
To establish a wireless connection between your Logitech headset and your device, you need to ensure that Bluetooth is enabled. Bluetooth is a wireless technology that allows devices to communicate and connect with each other wirelessly over short distances. Follow these steps to enable Bluetooth on your device:
- Go to your device settings: Depending on the type of device you’re using, the settings menu may have different names. It could be called “Settings,” “Preferences,” or “Options.” Navigate to the settings menu to access the device’s configuration options.
- Find the Bluetooth settings: Within the settings menu, look for the section that specifically mentions Bluetooth. This section could be labeled “Bluetooth,” “Wireless & Networks,” or something similar. Tap or click on it to access the Bluetooth settings.
- Toggle Bluetooth on: In the Bluetooth settings, you should see a switch or button to toggle Bluetooth on or off. Make sure it is switched on or set to the “on” position. This enables your device to search for and connect to nearby Bluetooth devices.
Enabling Bluetooth on your device is a critical step as it allows your Logitech headset to establish a wireless connection. Note that the exact steps for enabling Bluetooth may vary depending on your device’s operating system and version. If you’re unsure, consult your device’s user manual or search online for specific instructions related to your device.
Once Bluetooth is enabled on your device, you’re ready to move on to the next step in the pairing process.
Step 4: Put the Headset into Pairing Mode
Before your Logitech wireless headset can establish a connection with your device, it needs to be put into pairing mode. Pairing mode allows the headset to be discoverable by other devices and ready to establish a secure connection. Follow these steps to put your Logitech headset into pairing mode:
- Turn on the headset: Ensure that your Logitech wireless headset is powered on. Refer to the user manual or the headset’s design to find the power button or switch.
- Activate pairing mode: Most Logitech headsets require you to press and hold a specific button or combination of buttons to activate pairing mode. Consult the user manual for the exact instructions on how to put your headset into pairing mode. Commonly, this involves pressing and holding the power or pairing button until you see an indicator light or hear a confirmation sound.
- Look for the pairing indicator: While in pairing mode, the headset’s indicator light might start flashing or change color to indicate that it is now discoverable.
Keep in mind that the specific steps to enter pairing mode may vary depending on the model of your Logitech wireless headset. If you’re uncertain about the process, refer to the user manual or visit the Logitech support website for detailed instructions specific to your headset model.
Once your Logitech wireless headset is in pairing mode and the indicator confirms its discoverability, it is now ready to be paired with your device.
Step 5: Pair the Headset with your Device
Now that your Logitech wireless headset is in pairing mode, it’s time to establish a connection with your device. Follow these steps to pair your headset with your device:
- Open the device’s Bluetooth settings: Go to the Bluetooth settings menu on your device. The location and name of this menu may vary depending on the device’s operating system.
- Scan for devices: In the Bluetooth settings, look for an option to scan or search for nearby devices. Tap or click on this option to initiate the scanning process.
- Find your Logitech headset: After initiating the scanning process, your device will search for nearby Bluetooth devices, including your Logitech headset. Look for the name or model of your headset in the list of available devices.
- Select your Logitech headset: Once your Logitech headset appears in the list, tap or click on it to select it for pairing.
- Confirm pairing: Your device may prompt you to confirm the pairing request. Follow the on-screen prompts to confirm that you want to pair your Logitech headset with your device.
- Wait for the connection: After confirming the pairing request, your device will establish a connection with your Logitech headset. This process may take a few moments.
- Successful pairing: Once the connection is established, you’ll receive a notification or see a confirmation message on your device, indicating that your Logitech wireless headset is successfully paired.
It’s important to note that the pairing process may vary slightly depending on your device’s operating system and version. If you encounter any issues or need further guidance, consult your device’s user manual or visit the Logitech support website for specific instructions related to your device.
Now that your Logitech wireless headset is paired with your device, you’re ready to enjoy crisp audio wirelessly and without the hassle of tangled cables.
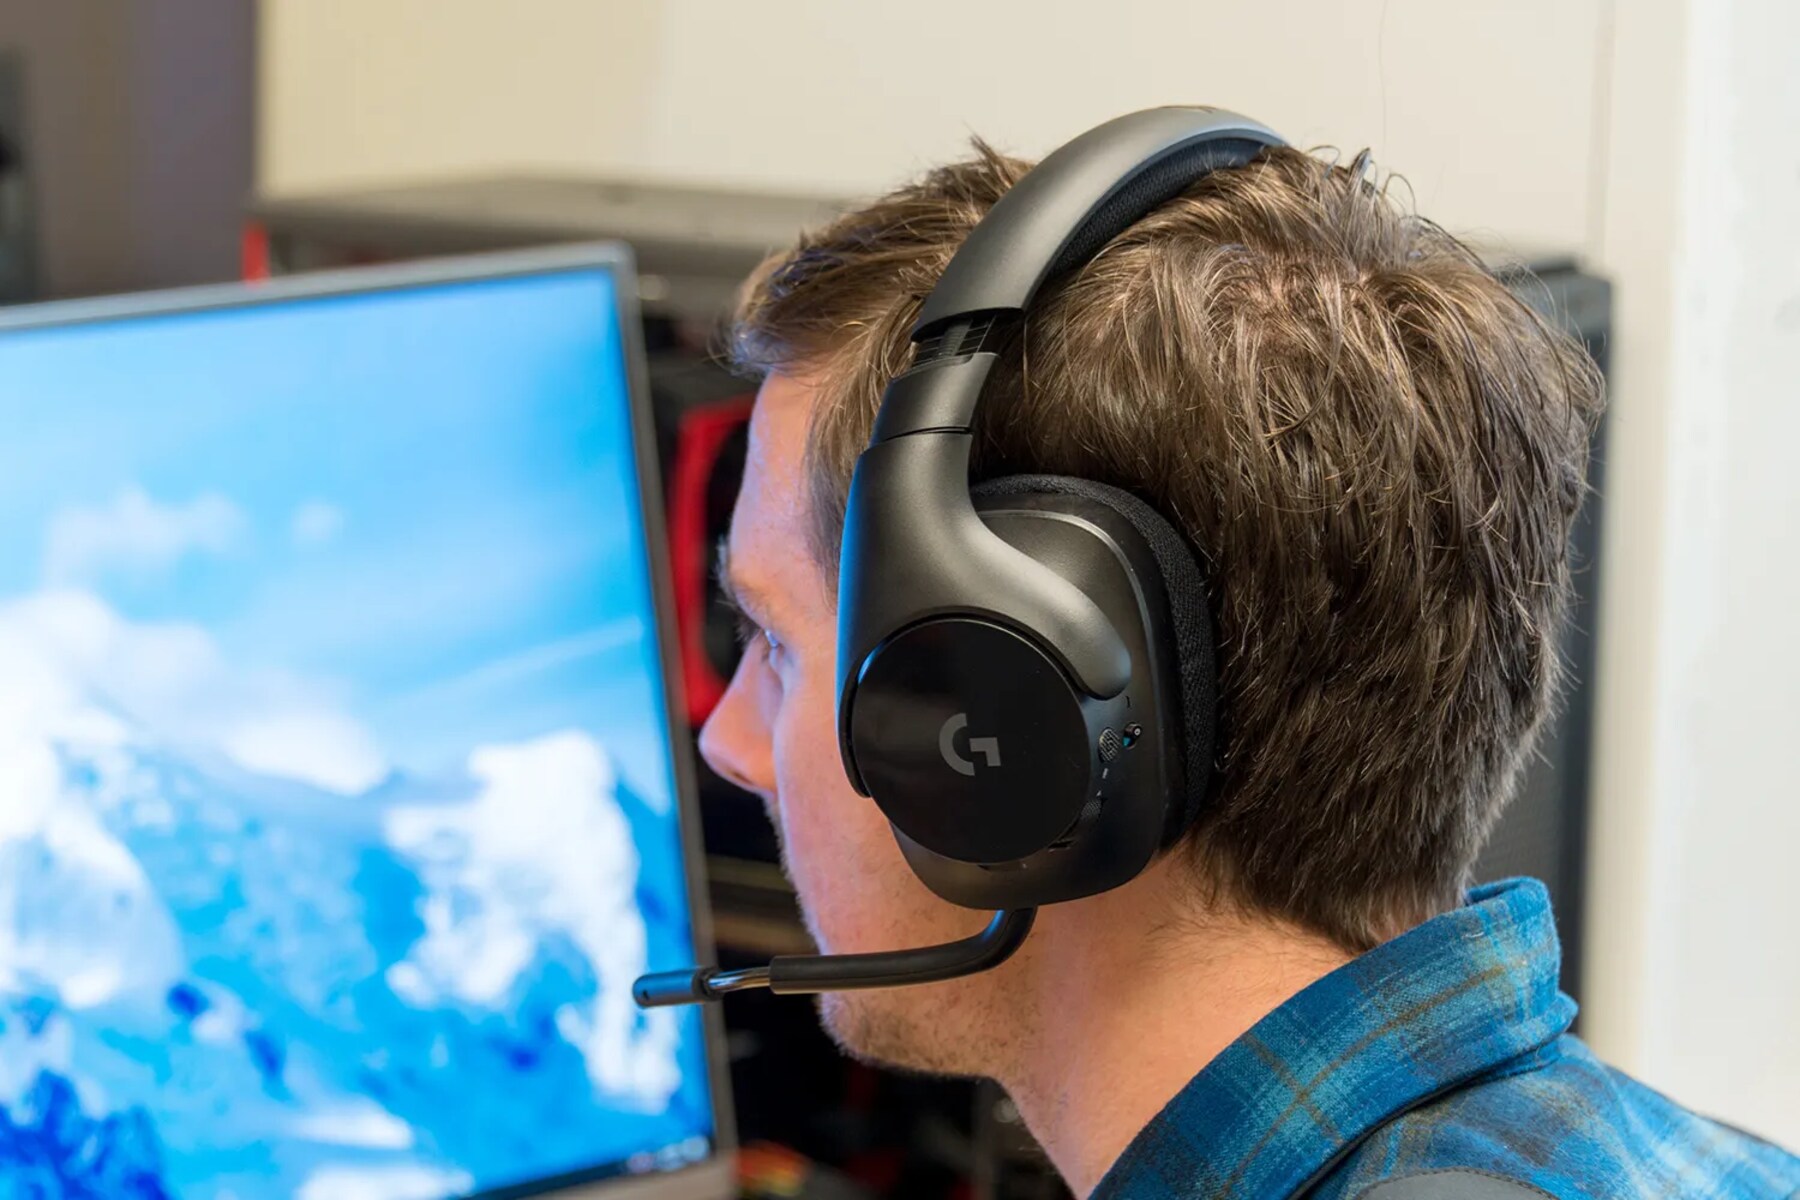
Step 6: Test the Connection
After successfully pairing your Logitech wireless headset with your device, it’s essential to test the connection to ensure everything is working as expected. Follow these steps to test the connection:
- Put on your Logitech headset: Wear your headset and make sure it fits comfortably.
- Play audio: Open a music app, video, or any other media source on your device and play some audio. This can help you verify that the audio is being routed through your Logitech wireless headset.
- Check audio quality: Pay attention to the audio quality through your Logitech headset. Ensure that the sound is clear, crisp, and without any distortion or abnormal noise.
- Test microphone (if applicable): If your Logitech wireless headset includes a built-in microphone, test it by making a voice recording or initiating a voice call. Confirm that the microphone is picking up your voice clearly and that there are no issues with the quality or volume.
- Move around: Move around your space while testing the connection to ensure that the wireless connection remains stable and doesn’t experience any drops or interruptions.
By testing the connection, you can identify any potential issues and address them promptly. If you encounter any problems with the audio or microphone, double-check the connections and settings on both your Logitech headset and your device.
If you experience persistent connectivity issues or audio problems, consult the troubleshooting tips in the next step or consider contacting Logitech support for further assistance.
Once you’ve confirmed that the connection is stable, the audio quality is satisfactory, and the microphone (if applicable) is working correctly, you can proceed with using your Logitech wireless headset for your desired activities.
Step 7: Troubleshooting Tips
While pairing and connecting your Logitech wireless headset is usually a straightforward process, you may encounter some common issues along the way. Here are a few troubleshooting tips to help you resolve any potential problems:
- Restart your devices: If you’re experiencing connectivity issues or audio problems, try restarting both your Logitech headset and the device you’re trying to connect it to. Sometimes a simple restart can fix temporary glitches.
- Ensure proper range: Make sure you’re within the recommended range for the Bluetooth connection. Leaving the range or having obstacles in between can cause signal weakening or disconnection.
- Check battery level: Ensure that your Logitech wireless headset has enough battery power. Low battery levels can affect the functionality and stability of the connection. Charge the headset if necessary.
- Clear paired devices list: If you’ve previously paired your Logitech headset with other devices, make sure to clear the paired devices list on both your headset and your device. This prevents any interference or conflicts with the new pairing process.
- Update firmware and drivers: Visit the Logitech website and check for any available firmware or driver updates for your specific headset model. Updating the firmware or drivers can resolve compatibility issues and improve overall performance.
- Reset the headset: If all else fails, you might need to reset the Logitech headset to its factory settings. Refer to the user manual or contact Logitech support for specific instructions on how to reset your headset.
If you continue to experience issues despite following these troubleshooting tips, it’s recommended to reach out to Logitech support for further assistance. They can provide personalized guidance and solutions based on your specific headset model and device combination.
Remember to refer to the user manual and consult the Logitech support resources for detailed instructions and troubleshooting specific to your Logitech wireless headset model.
By following these troubleshooting tips, you can overcome common obstacles and ensure a seamless and enjoyable experience with your Logitech wireless headset.