Introduction
Welcome to this guide on how to open a computer case fan. Whether you’re experiencing overheating issues or simply want to clean the fan, knowing how to open and access your computer case fan is essential. The fan plays a crucial role in regulating the temperature of your computer and preventing damage to its components.
Before we dive into the steps, it’s important to emphasize the significance of safety precautions. Always ensure that your computer is powered off and unplugged from the power source before attempting to open the case or work with any internal components. Additionally, handle the fan and related components with care to avoid any damage.
In this guide, we’ll walk you through the step-by-step process of opening a computer case fan, cleaning it, and reassembling it. By following these instructions, you’ll be able to maintain the optimal performance of your computer and prolong its lifespan.
Now, let’s gather the necessary tools before we commence the process of opening the computer case fan.
Tools Needed
Before you begin opening a computer case fan, it’s essential to have the following tools and equipment on hand:
- Screwdriver (size may vary depending on the screws used)
- Cotton swabs or a soft brush
- Cleaning solution (isopropyl alcohol is recommended)
- Cloth or microfiber towel
The screwdriver is the most crucial tool you’ll need, as it will allow you to remove the screws that secure the fan in place. Ensure that you have a screwdriver that matches the type of screws used in your computer case. It’s worth noting that some fans may have different types of screws, so it’s beneficial to have a versatile screwdriver set that includes various sizes and types.
Cotton swabs or a soft brush will come in handy when cleaning the fan blades and surrounding areas. These tools are perfect for removing dust and debris that may have accumulated over time. Remember to use gentle, precise motions to avoid damaging the fan.
When it comes to cleaning solutions, isopropyl alcohol is the preferred option. It evaporates quickly and leaves no residue, making it ideal for removing built-up grime and ensuring proper fan functionality. Additionally, a cloth or microfiber towel will serve as a soft and absorbent material to dry the fan and surrounding areas after cleaning.
With these tools in hand, you’re ready to embark on the process of opening and cleaning your computer case fan. Let’s move on to the next steps.
Step 1: Power off the computer
Before you begin working on your computer case fan, it’s important to power off the computer completely. This ensures your safety and prevents any mishaps during the process.
To power off your computer, follow these simple steps:
- Save any open files or projects you’re working on to avoid losing unsaved data.
- Close all running programs and applications.
- Click on the “Start” button in the bottom left corner of your screen.
- Select the “Power” option from the menu that appears.
- Choose “Shut down” or “Power off” to initiate the shutdown process.
Give your computer a few moments to safely shut down. You can confirm that it is powered off by ensuring all lights on the computer case are turned off and the fans have stopped spinning.
It’s essential to ensure that your computer is completely powered off before proceeding to the next steps. This guarantees your safety and prevents any potential damage to your computer or its components.
Once you’ve verified that your computer is powered off, we can move on to the next step, which involves unplugging it from the power source.
Step 2: Unplug the computer from the power source
Now that your computer is powered off, it’s important to unplug it from the power source to ensure your safety and prevent any electric shock or damage to the internal components.
To unplug your computer from the power source, follow these steps:
- Locate the power cable connected to the back of your computer case.
- Gently grasp the plug and firmly pull it out of the power socket.
Ensure that the power cable is completely disconnected from the wall socket or surge protector. Double-check to make sure there are no loose connections or cables still attached to the power source.
By unplugging your computer from the power source, you eliminate any risk of electric shock or accidental power surge while working on the case fan.
Now that your computer is safely unplugged, we’re ready to move on to the next step in opening the computer case fan, which involves locating the fan within the computer case itself.
Step 3: Locate the computer case fan
After ensuring your computer is powered off and unplugged, the next step is to locate the computer case fan. The fan is typically situated inside the computer case, and its placement may vary depending on the specific model and design of your computer.
To locate the computer case fan, you can follow these general guidelines:
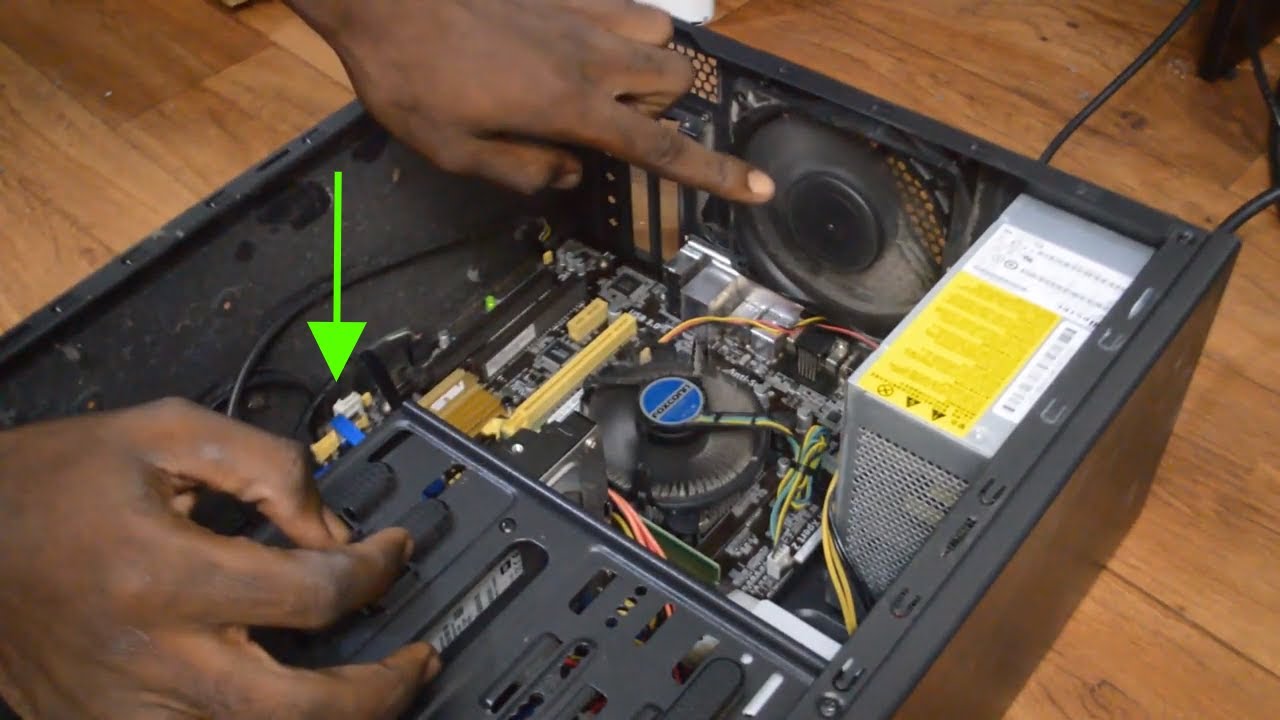
- Open the computer case by removing the side panel. The method for opening the case may vary depending on the design of your computer. It could involve unscrewing the panel or sliding a latch to release it. Refer to your computer’s manual or manufacturer’s website for specific instructions on how to open the case.
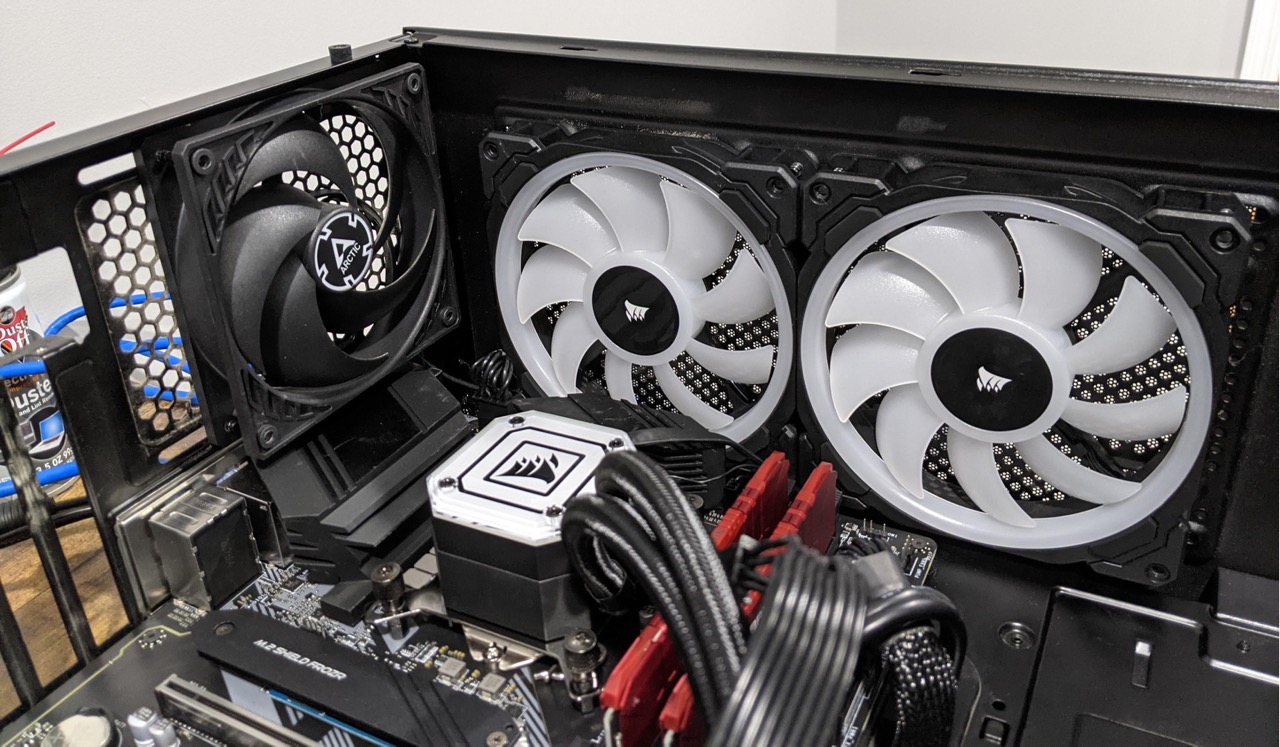
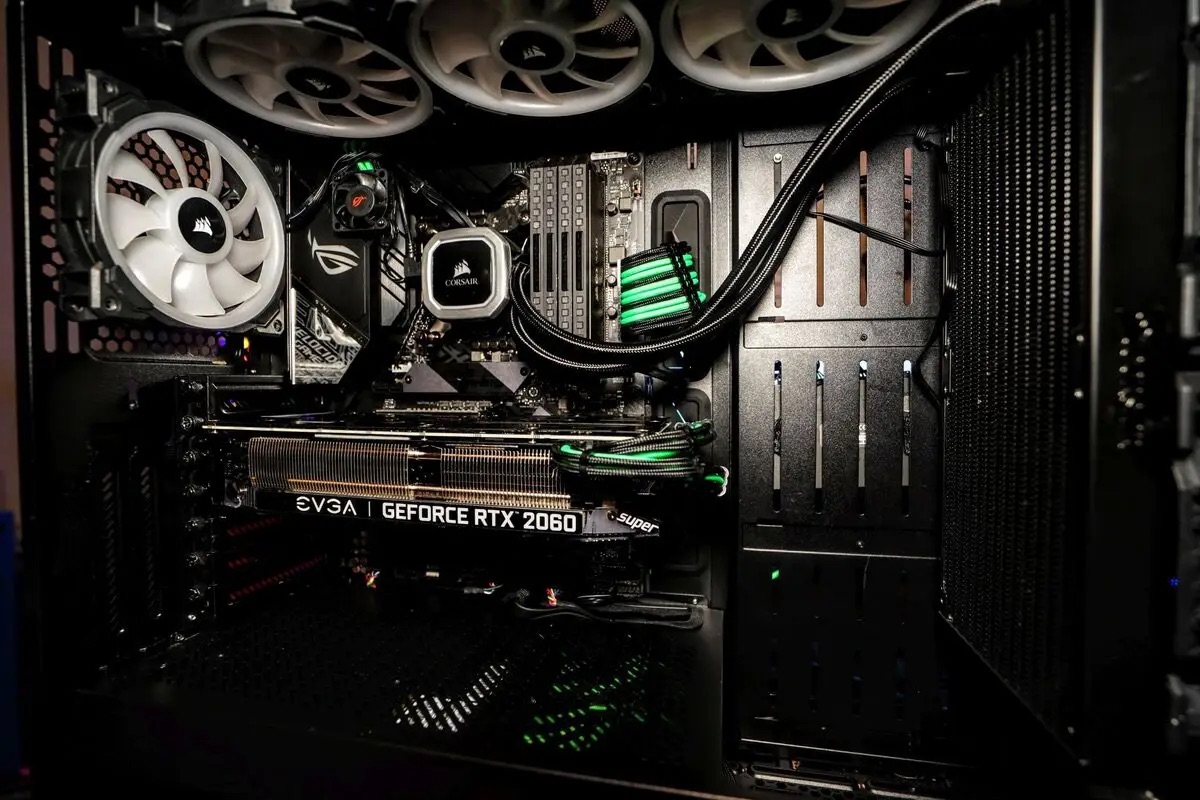
- Once the case is open, take a moment to observe the internal components. Look for a fan, typically mounted on or near the motherboard, with visible blades and wires connected to it. The fan may have a protective covering or grille.
- Identify the specific fan you wish to access. In some cases, a computer may have multiple case fans for improved cooling.
Remember that the location and number of case fans can vary, so it’s important to take a careful look inside your computer to find the fan you want to open.
By successfully locating the computer case fan, you’re now ready to proceed to the next step, which involves identifying the screws that secure the fan in place.
Step 4: Identify the screws holding the fan in place
With the computer case open and the fan located, the next step is to identify the screws that are holding the fan in place. These screws secure the fan to the computer case and ensure its stability during operation.
To identify the screws holding the fan, follow these steps:
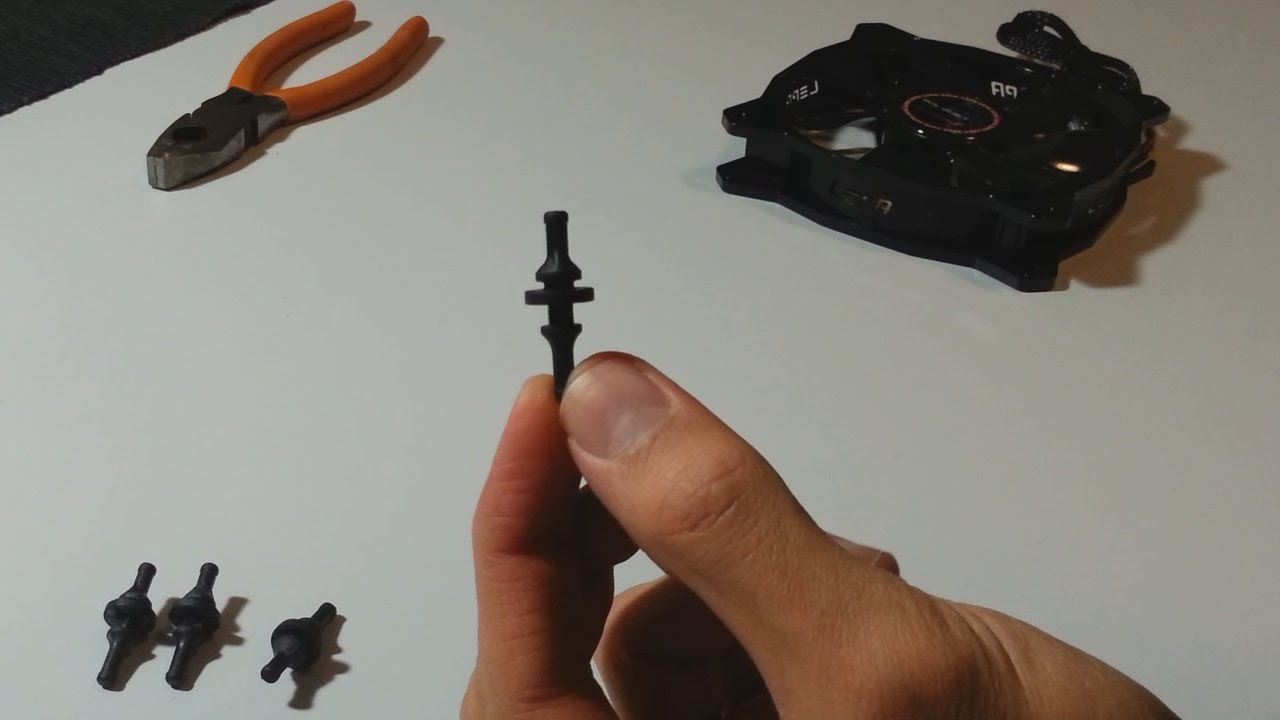
- Observe the area around the fan and look for small screws that are attached to the fan frame or the case itself.
- Take note of the number and position of the screws. The most common placement of screws is in each corner of the fan, but depending on the design, there may be additional screws in the middle or along the sides.
- Check the type of screws used. They may be standard Phillips head screws, Allen screws, or other types. You’ll need the appropriate screwdriver to remove them.
It’s important to exercise caution and not confuse the screws holding the fan with other nearby screws that may be securing other components. By visually inspecting the fan and its immediate surroundings, you’ll be able to pinpoint the screws specifically responsible for holding the fan in place.
Once you have identified the screws, you’re now ready to move on to the next step, which involves using a screwdriver to remove them and detach the fan from the computer case.
Step 5: Use a screwdriver to remove the screws
Now that you have identified the screws holding the fan in place, it’s time to use a screwdriver to remove them. Removing these screws will allow you to detach the fan from the computer case, giving you access to clean or replace it as needed.
To remove the screws and detach the fan, follow these steps:
- Select the appropriate screwdriver for the type of screws used. This could be a Phillips head screwdriver, an Allen wrench, or another type of screwdriver that matches the screw heads.
- Insert the screwdriver into the screw head and turn it counterclockwise to loosen the screw.
- Repeat this step for each screw holding the fan in place. Make sure to keep track of the screws and set them aside in a safe place.
As you remove each screw, be mindful of the fan’s weight and support it with your other hand if needed to prevent any accidental damage or strain on the wires connected to the fan.
Once all the screws have been removed, gently lift the fan from its position in the computer case. Be cautious not to pull or tug on any wires that may be connected to the fan. If any wires are tightly secured, carefully detach them from the corresponding connectors or clips.
Now that you have successfully removed the screws and detached the fan from the computer case, you are ready to proceed to the next step, which involves cleaning the fan and the surrounding area.
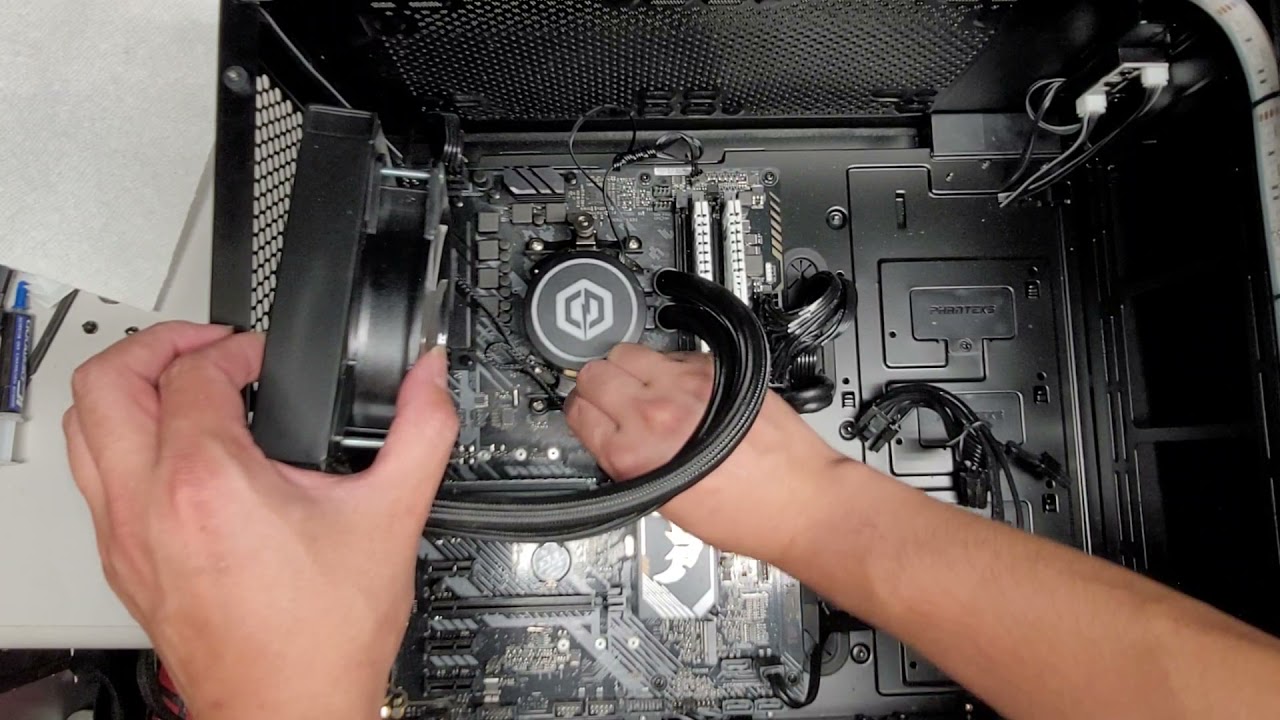
Step 6: Gently lift the fan from its position
Now that you have removed the screws holding the fan in place, it’s time to gently lift the fan from its position in the computer case. This step allows you to access the fan for cleaning or replacement.
To lift the fan from its position, follow these guidelines:
- Ensure that all screws holding the fan have been removed completely. Double-check to make sure there are no remaining connections or obstructions.
- With one hand supporting the fan, gently lift it from its position. Take care not to apply excessive force or twist the fan. Slow and steady movements are ideal.
- If there are any wires or cables attached to the fan, gently detach them from their connectors or clips. Take note of the connections and consider labeling them for reassembly.
As you lift the fan, be mindful of any dust, debris, or loose particles that may have accumulated inside the computer case. Take this opportunity to inspect the fan and the surrounding area for any signs of damage or excessive dirt.
Remember, the goal here is to handle the fan with care, ensuring that it remains intact and undamaged during the process. If you encounter any resistance or difficulty, take a moment to assess the situation and make adjustments as necessary.
Now that you have successfully lifted the fan from its position, we can move on to the next step, which involves cleaning the fan and the surrounding area.
Step 7: Clean the fan and the surrounding area
Now that you have removed the computer case fan, it’s time to clean both the fan itself and the surrounding area. Over time, dust and debris can accumulate on the fan blades and obstruct its performance, leading to overheating and reduced airflow.
To clean the fan and the surrounding area, follow these steps:
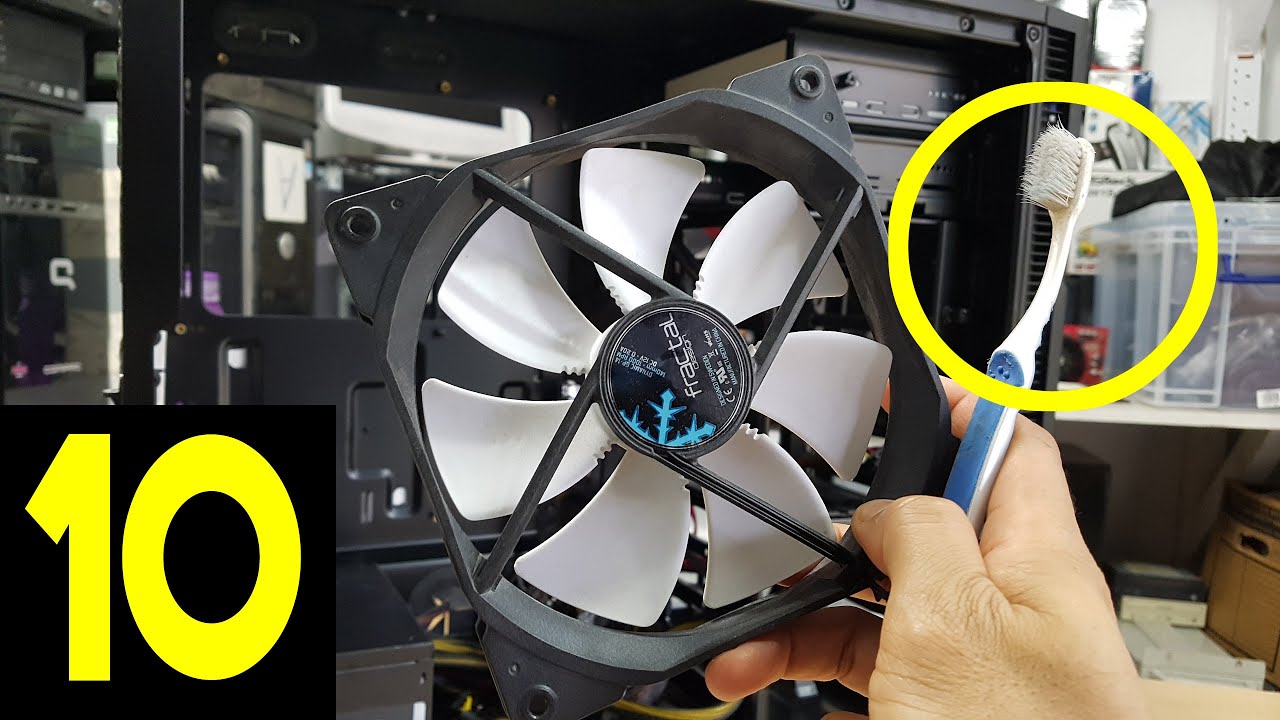
- Using a soft brush or a cotton swab, gently remove any visible dust or debris from the fan blades. Be sure to reach both sides of the blades and pay attention to areas where dust may have accumulated.
- If the fan blades are particularly dirty, you can dampen a cotton swab or cloth with a cleaning solution such as isopropyl alcohol. Wipe the blades carefully, removing any stubborn dirt or grime. Avoid applying excessive moisture to prevent damage to the fan.
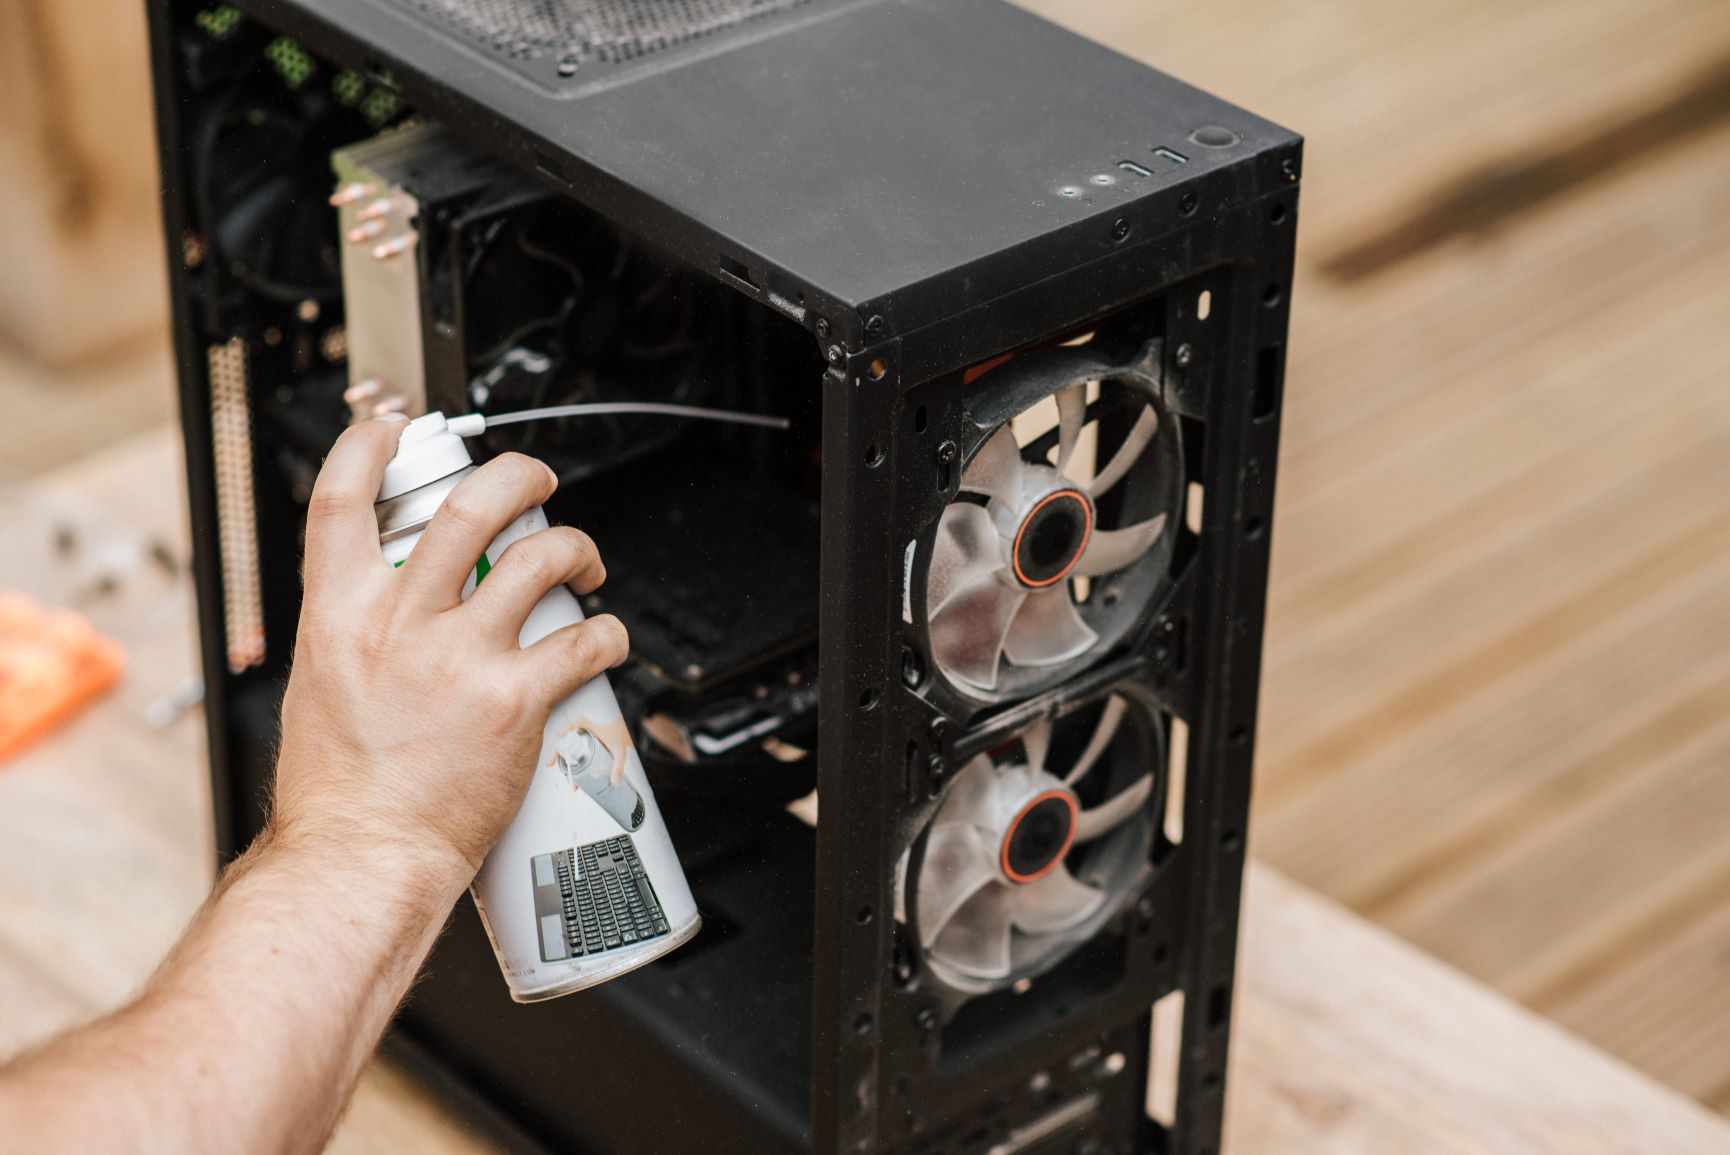
- Next, focus on the area surrounding the fan. Use a soft brush or a can of compressed air to remove dust and debris from the immediate vicinity. This includes the fan housing, the area around the fan, and nearby components.
- Take this opportunity to inspect the fan and the nearby components for any signs of damage, loose connections, or excessive wear. If any issues are detected, address them accordingly or seek professional assistance if needed.
Be thorough in your cleaning efforts, ensuring that all dust and debris are removed from the fan and the surrounding area. This will help maintain optimal airflow and prevent overheating issues in the future.
Once you’ve finished cleaning the fan and the surrounding area, you’re ready to proceed to the next step, which involves reinstalling the fan in the same position.
Step 8: Reinstall the fan in the same position
With the fan and the surrounding area now clean, it’s time to reinstall the computer case fan in the same position. Ensuring the fan is properly positioned and securely attached will help maintain efficient airflow and prevent any potential issues.
To reinstall the fan, follow these steps:
- Take a moment to inspect the fan and its immediate surroundings. Ensure there are no leftover debris or loose particles that could impact the fan’s performance.
- If you had previously detached any wires or cables connected to the fan, carefully reattach them to their appropriate connectors or clips. Pay attention to the labels you may have made earlier to ensure correct reassembly.
- Align the fan with the screw holes in the computer case. Gently lower the fan into place, ensuring it rests flush against the case.
- Retrieve the screws you had set aside earlier. One by one, insert them into the screw holes and tighten them with the appropriate screwdriver. Take care not to overtighten the screws, as this could potentially damage the fan or the case.
- Double-check that all screws are securely fastened, ensuring the fan is stable and won’t wobble or come loose during operation.
By following these steps, you have successfully reinstalled the computer case fan in its original position. The fan is now ready to provide efficient cooling and airflow to your computer system.
Now that the fan is securely in place, we can move on to the final step, which involves securing the fan with the screws.
Step 9: Secure the fan with the screws
Now that you have reinstalled the computer case fan in its original position, it’s crucial to secure it properly with the screws to ensure stability and optimal performance. Taking the time to double-check the screws will give you peace of mind knowing that the fan is securely fastened.
To secure the fan with the screws, follow these steps:
- Gently press down on the fan to ensure it is seated properly and aligned with the screw holes in the computer case.
- Retrieve the screws that you had previously set aside.
- Insert each screw into its corresponding screw hole and use the appropriate screwdriver to tighten them. Be careful not to overtighten the screws, as this can potentially damage the fan or strip the screw holes.
- Go through each screw and ensure that they are firmly tightened, but not excessively so. This will help maintain the stability of the fan while minimizing any vibrations or unwanted movement.
By securing the fan with the screws, you can be confident that it is firmly in place and ready to effectively cool your computer system.
With the fan now securely attached, you have completed the process of opening the computer case fan, cleaning it, and reassembling it. Your computer is now ready to be powered on and benefit from improved airflow and cooling.
We hope this guide has been helpful in guiding you through the steps involved in opening a computer case fan. Remember, regular cleaning and maintenance of your computer’s cooling system is important to ensure its longevity and efficient performance.