Introduction
Welcome to the world of Asana, a powerful project management tool that helps individuals and teams stay organized, collaborate effectively, and achieve their goals. In Asana, tasks are the building blocks of projects, and sometimes, you may find the need to move a task from one project to another. Whether you want to consolidate related tasks into a single project or simply reorganize your workflow, Asana offers a seamless solution for this task.
In this article, we will guide you through the process of moving a task to another project in Asana. With just a few simple steps, you can ensure that the task is placed in the right project, maintaining the integrity of your project management system and ensuring that all team members are aligned.
Whether you’re a business professional, a freelancer, or a student, mastering the art of task management is crucial for success. By understanding how to move tasks between projects in Asana, you can enhance your productivity, streamline your workflow, and make project management a breeze.
So, without further ado, let’s get started and learn how to move a task to another project in Asana.
Step 1: Accessing the Task
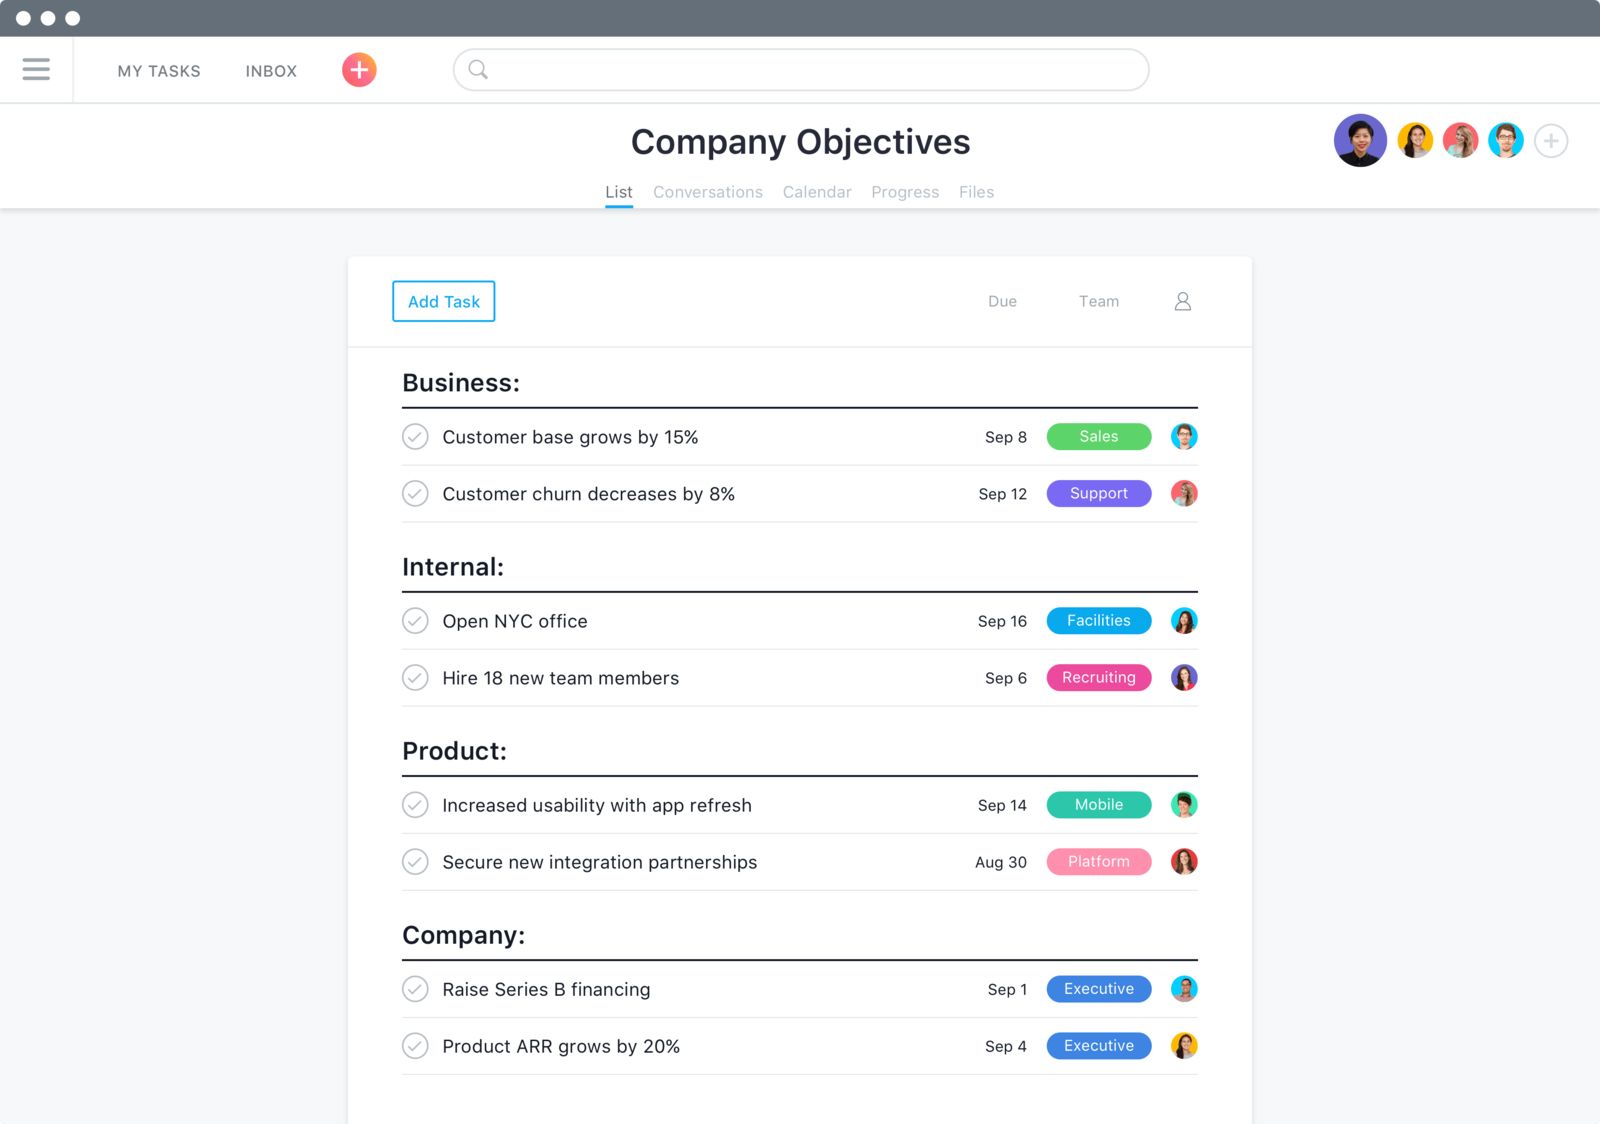
The first step in moving a task to another project in Asana is to access the task you wish to move. Log in to your Asana account and navigate to the project where the task is currently located. Find the task you want to move and click on it to open the task details.
Asana provides multiple ways to access your tasks. You can either browse through the project’s task list or use the search bar to find the task by its name or keywords. Additionally, you can also access the task by clicking on it if it is assigned to you in your Asana Inbox or Calendar view.
Once you’ve located the task, click on it to open the task details. You will find all the relevant information about the task, including its description, due date, and any associated subtasks or attachments. The task details page is where you can make changes, such as moving the task to another project.
Now that you have accessed the task, let’s proceed to the next step to learn how to move it to another project in Asana.
Step 2: Opening the Task Details
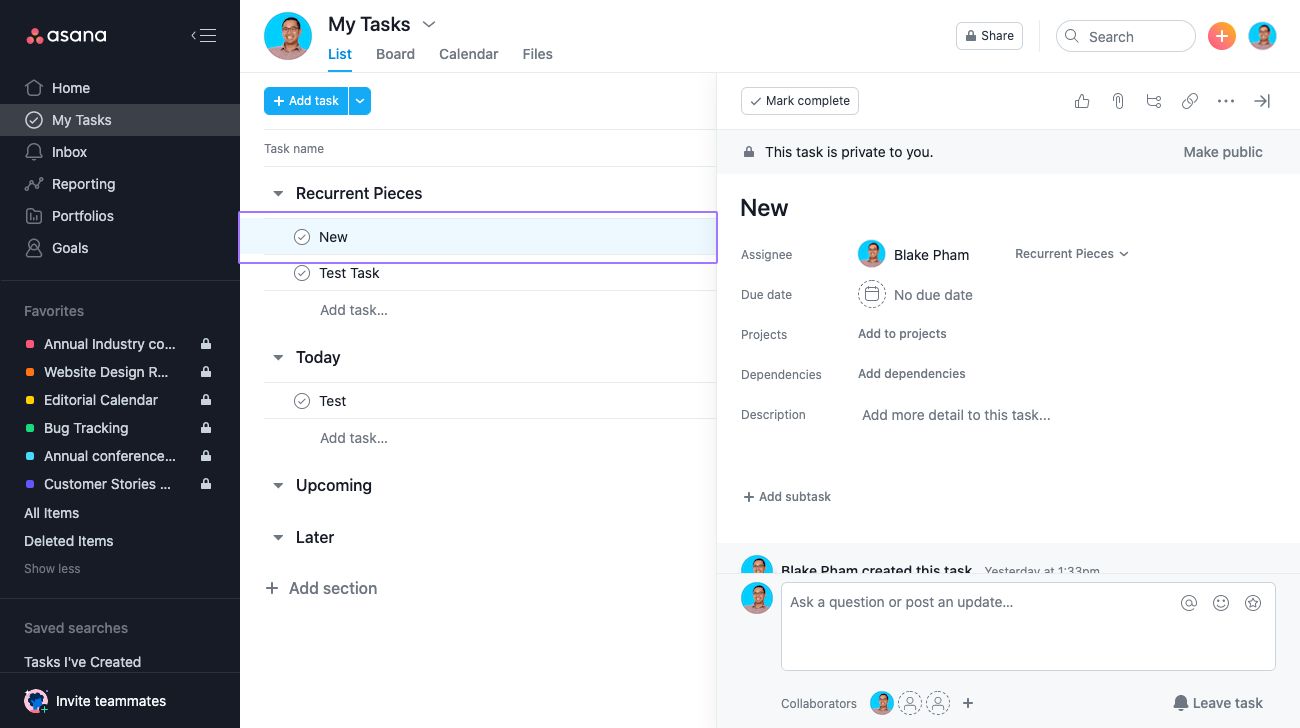
Once you have accessed the task you want to move, the next step is to open the task details. The task details page is where you can view and make changes to the task’s information. To open the task details, simply click on the task’s name or anywhere within the task’s card.
When you open the task details, you will see a window or panel that displays all the relevant information related to the task. This includes the task’s name, description, due date, assignee, subtasks, comments, and attachments. It serves as a central hub where you can manage and organize all aspects of the task.
Opening the task details page allows you to review the current state of the task and make any necessary updates before moving it to another project. You can edit the task’s details, add or remove subtasks, attach files, leave comments, and make any other changes required.
Furthermore, the task details page also provides a clear overview of the task’s progress and any associated discussions or files. This can be helpful in understanding the context and ensuring a smooth transition when moving the task to a new project.
Now that you have opened the task details, let’s move on to the next step to learn how to actually move the task to another project in Asana.
Step 3: Moving the Task
Now that you have accessed the task and opened the task details, it’s time to move the task to another project in Asana. Moving a task allows you to place it in a different project while maintaining its associated information and history.
To move the task, look for the “Move” option within the task details page. Depending on your Asana setup, this option may be located in different places. You might find it as an icon or a button, or it could be within a dropdown menu.
Click or select the “Move” option to initiate the process of moving the task. Asana will then display a dialogue box or a panel that allows you to choose the destination project for the task.
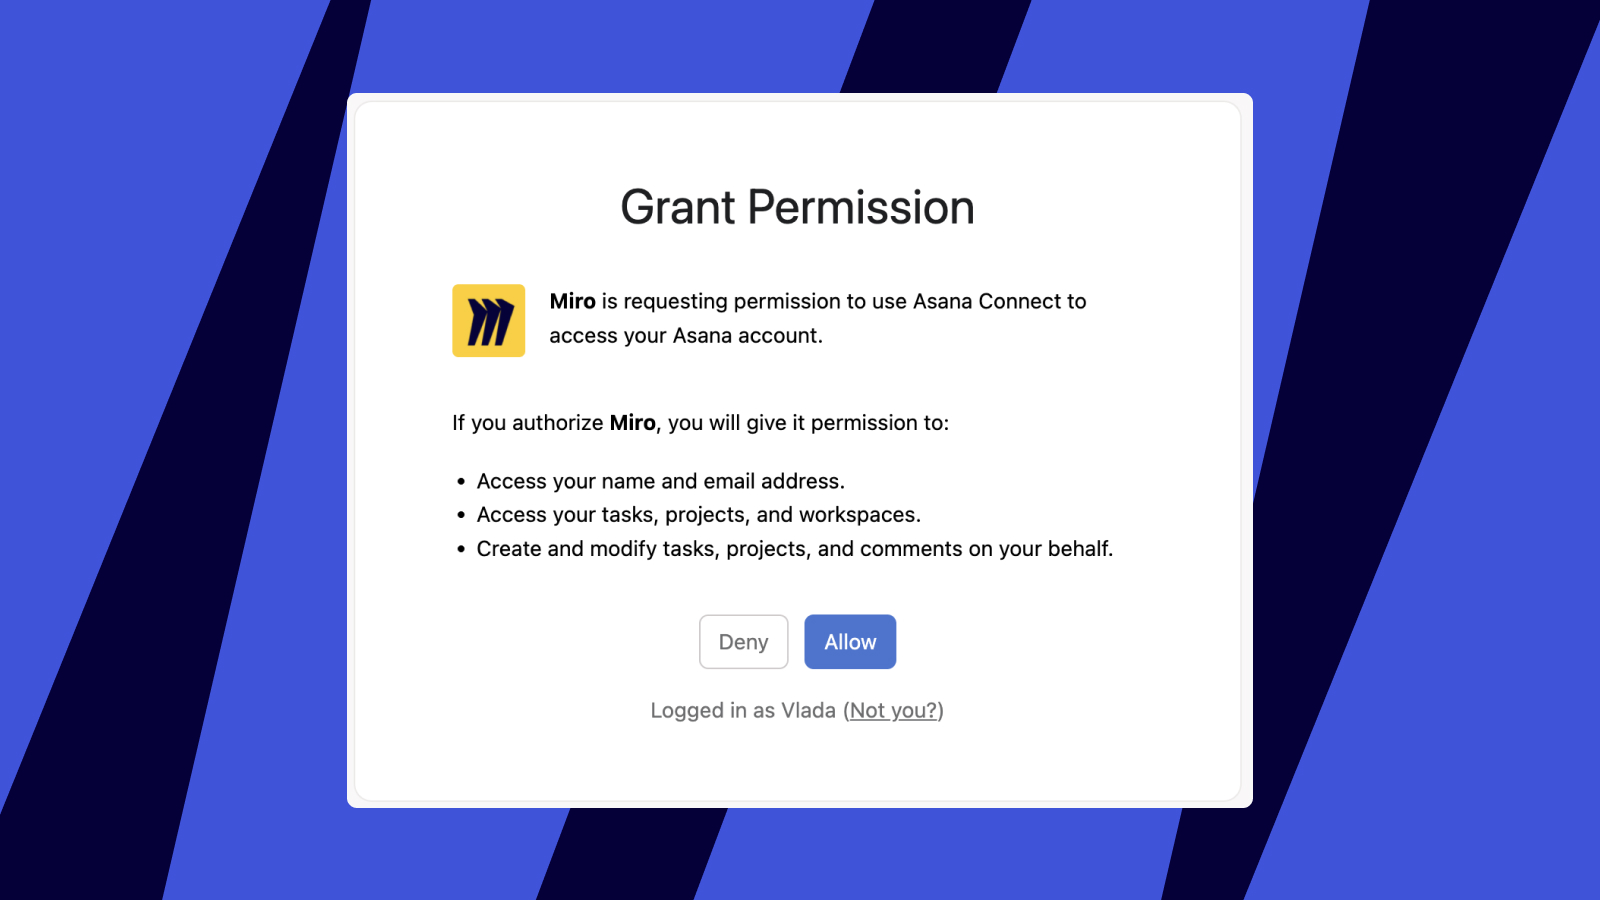
It’s important to note that you must have access to the destination project in order to move the task into it. If you don’t have access or the necessary permission, you may need to contact the project owner or an administrator to enable the move.
With the “Move” dialogue box open, you can now proceed to select the destination project where you want to move the task. Asana provides a search function to help you quickly find and select the desired project. Simply type in the project’s name or keywords, and the search results will narrow down accordingly.
Once you have located and selected the destination project, you’re ready to finalize the move. Click on the “Move” or “Confirm” button, and Asana will promptly transfer the task to the new project.
It’s important to double-check that you have selected the correct project before confirming the move, as it can be difficult to undo or reverse the action once completed.
Now that you’ve successfully moved the task to another project, let’s move on to the next step to learn how to confirm the move and make sure that everything has been transferred correctly.
Step 4: Choosing the Destination Project
After initiating the move process, the next step is to choose the destination project for the task in Asana. This allows you to determine where the task will be placed within your project hierarchy.
When you click on the “Move” option in the task details, Asana will present you with a dialog box or panel that displays a list of projects you have access to. This list may include your personal projects, team projects, or any other projects you are a member of.
To select the destination project, you can either scroll through the list or use the search function to quickly find and locate the project. Asana’s search function allows you to search by project name, team name, or any relevant keywords.
It’s important to choose the correct destination project that aligns with your intended organization and project management structure. Consider factors such as project goals, team members involved, and any dependencies or relationships with other projects.
Once you have identified the destination project, click on it to select it as the new location for the task. Asana will update the information in real-time, reflecting the changes made and showing the task as part of the selected project.
Double-check that you have chosen the correct destination project before proceeding. This is especially important if you have similar or overlapping project names, as it can be easy to accidentally move the task to the wrong project.
Now that you have chosen the destination project for the task, it’s time to move on to the final step to confirm the move and ensure that it has been executed successfully.
Step 5: Confirming the Move
After selecting the destination project for the task, the final step is to confirm the move in Asana. It’s essential to take a moment to review your decision and ensure that all the necessary details and settings are accurately transferred to the new project.
When you click on the “Move” or “Confirm” button, Asana will proceed with moving the task to the designated project. A loading indicator may appear briefly to indicate that the task is being transferred.
Once the move is complete, Asana will update the task’s location within the project hierarchy, and you will see the task listed under the new project. The task will maintain its associated information, such as its due date, assignee, subtasks, comments, and attachments.
It’s crucial to verify that the task has been correctly moved to the intended project. Take a moment to navigate to the new project and locate the task within its new environment. Ensure that all the relevant details and links are intact.
If you encounter any issues or discrepancies during the move, you can easily make adjustments. Simply return to the task details and use the “Move” option to select a different destination project. Asana allows you to make changes until you find the perfect fit for the task.
With the task successfully moved to a new project, take a moment to communicate the change with your team members, especially those who were involved in or directly affected by the task. This ensures that everyone is aware of the updated location and can access the task within the new project.
Congratulations! You have now learned how to move a task to another project in Asana. This simple process allows you to keep your projects organized and adapt your workflow as needed.
Conclusion
Managing tasks effectively is an essential aspect of any project, and Asana provides a seamless solution for moving tasks between projects. By following the steps outlined in this guide, you can easily relocate tasks to different projects, ensuring a streamlined and organized workflow.
We started by accessing the task and opening the task details in Asana. This allowed us to view all the relevant information about the task and make any necessary updates before proceeding. Then, we learned how to initiate the move by selecting the “Move” option within the task details.
Afterwards, we chose the destination project, considering factors such as project goals and team members. Asana’s search function made it easy to locate and select the desired project for the task. Finally, we confirmed the move, ensuring that all the details and settings were accurately transferred to the new project.
By mastering the art of moving tasks between projects in Asana, you can optimize your project management workflow, improve collaboration, and keep your work organized. Whether you’re a business professional, a freelancer, or a student, incorporating this skill into your workflow will undoubtedly enhance your productivity and efficiency.
Remember to communicate any changes with your team members to ensure everyone is aligned and up to date with the new project organization. By effectively utilizing Asana’s task management capabilities, you can create a harmonious and productive work environment.
So, go ahead and leverage the power of Asana to move your tasks with ease and maintain a well-structured project management system. Start exploring the possibilities today and witness the positive impact it can have on your productivity and project success!