Introduction
Google Sheets is a powerful tool for organizing and manipulating data in a spreadsheet format. Whether you’re working on a project, tracking expenses, or managing inventory, you might find yourself needing to move rows within your Google Sheets document.
Moving rows in Google Sheets can help you reorganize your data, change the order of information, or group related data together. Fortunately, Google Sheets provides multiple methods for moving rows, allowing you to choose the one that works best for your specific needs.
In this article, we will explore four different methods to move rows in Google Sheets. We will explain each method with step-by-step instructions, ensuring that you can easily and confidently rearrange your data in no time.
Whether you are a beginner or an experienced user, these methods will help you efficiently manage your data within Google Sheets. So, let’s dive in and discover the various ways to move rows in Google Sheets!
Method 1: Using Drag and Drop
One of the simplest and most intuitive ways to move a row in Google Sheets is by using the drag and drop functionality. Here’s how you can do it:
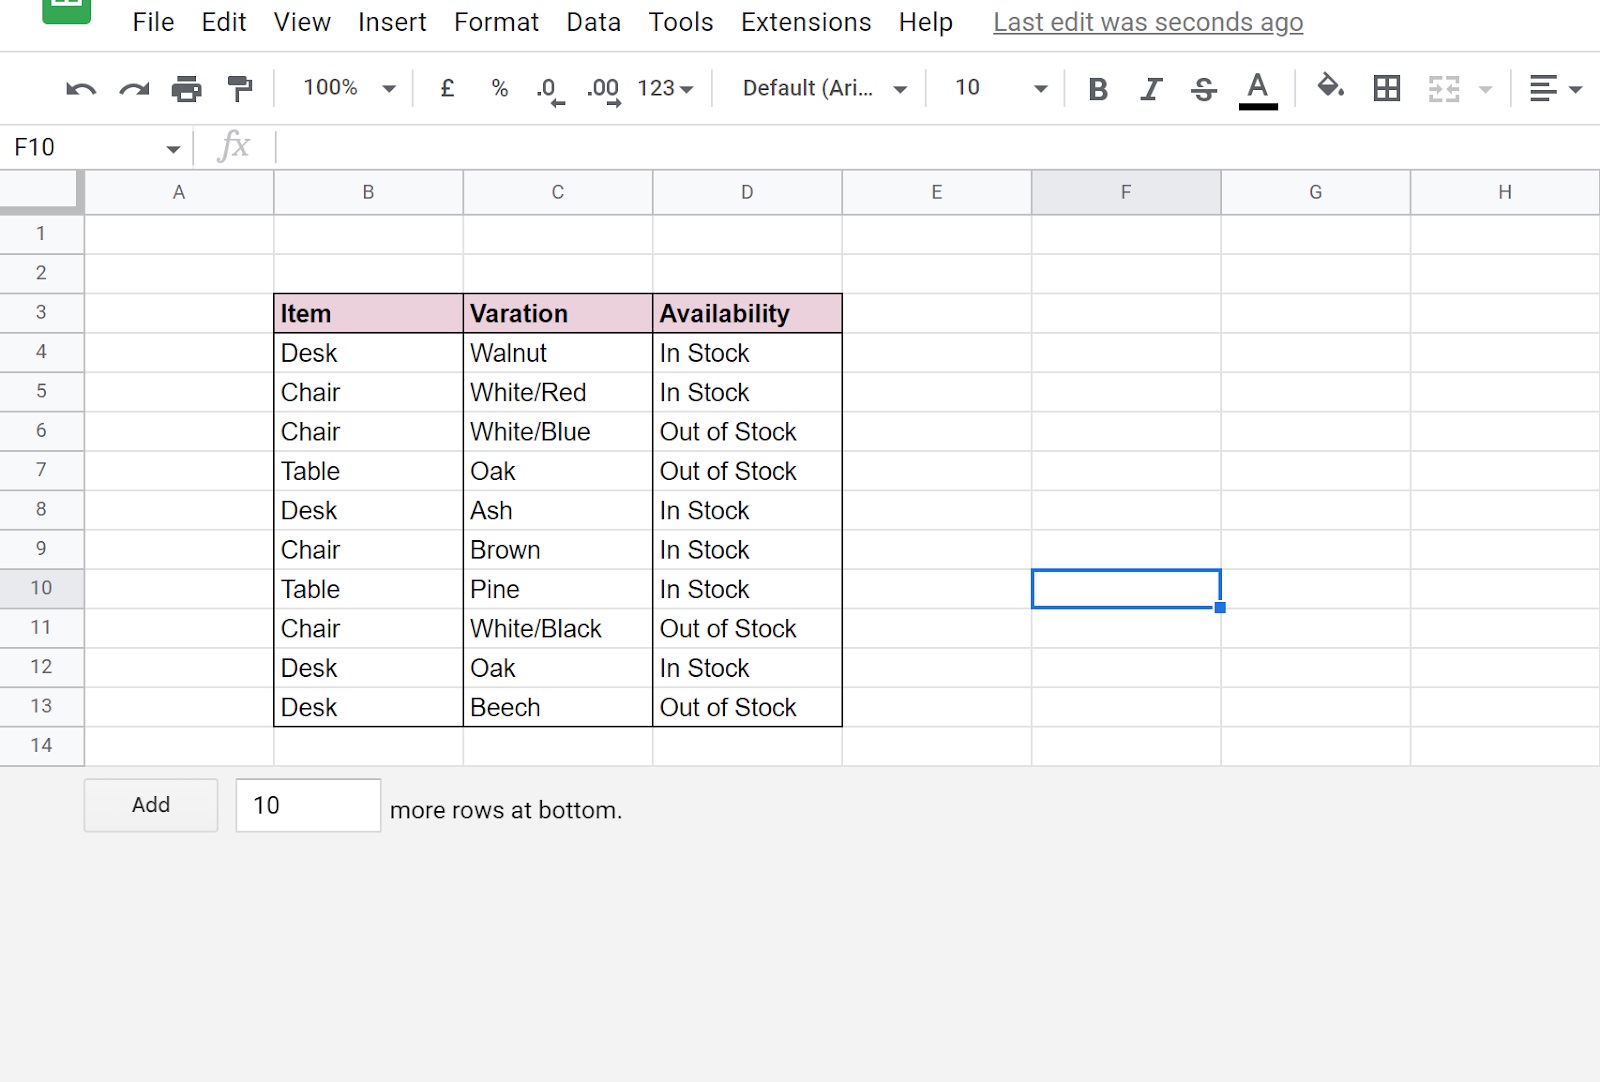
- Open your Google Sheets document and navigate to the sheet containing the row you want to move.
- Locate the row you wish to move and hover your mouse over the row number on the left-hand side. The mouse cursor will change to a hand icon.
- Click and hold the left mouse button, and while still holding it, drag the row to the desired position within the sheet. As you drag the row, you will notice a horizontal line indicating where the row will be placed.
- Release the mouse button to drop the row into the new position.
The row will now be moved to the new location within the sheet, and all the data in that row will be updated accordingly. This method can be used to move a single row or even a range of rows by selecting multiple rows before dragging and dropping.
It’s important to note that when you drag and drop a row, Google Sheets will automatically adjust the formulas and references within the row to reflect the change in position. This ensures that any formulas or calculations dependent on the data in the moved row will be updated correctly.
This method is quick, easy, and does not require any additional tools or options. However, it is worth noting that if you have a large dataset with many rows, using drag and drop to move rows may become more cumbersome. In such cases, utilizing other methods that offer more precise control may be preferable.
Method 2: Using the “Cut” and “Insert Cut Cells” Options
Another method for moving a row in Google Sheets is by using the “Cut” and “Insert Cut Cells” options. This method provides more control over the placement of the row compared to drag and drop. Follow these steps to move a row using this method:
- Open your Google Sheets document and navigate to the sheet containing the row you want to move.
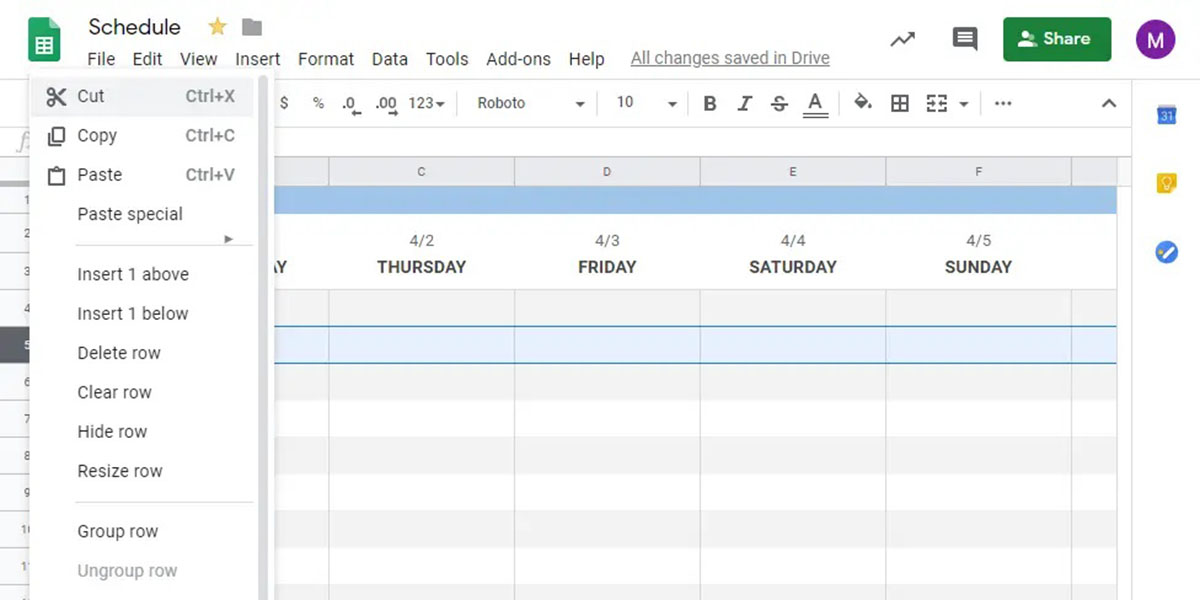
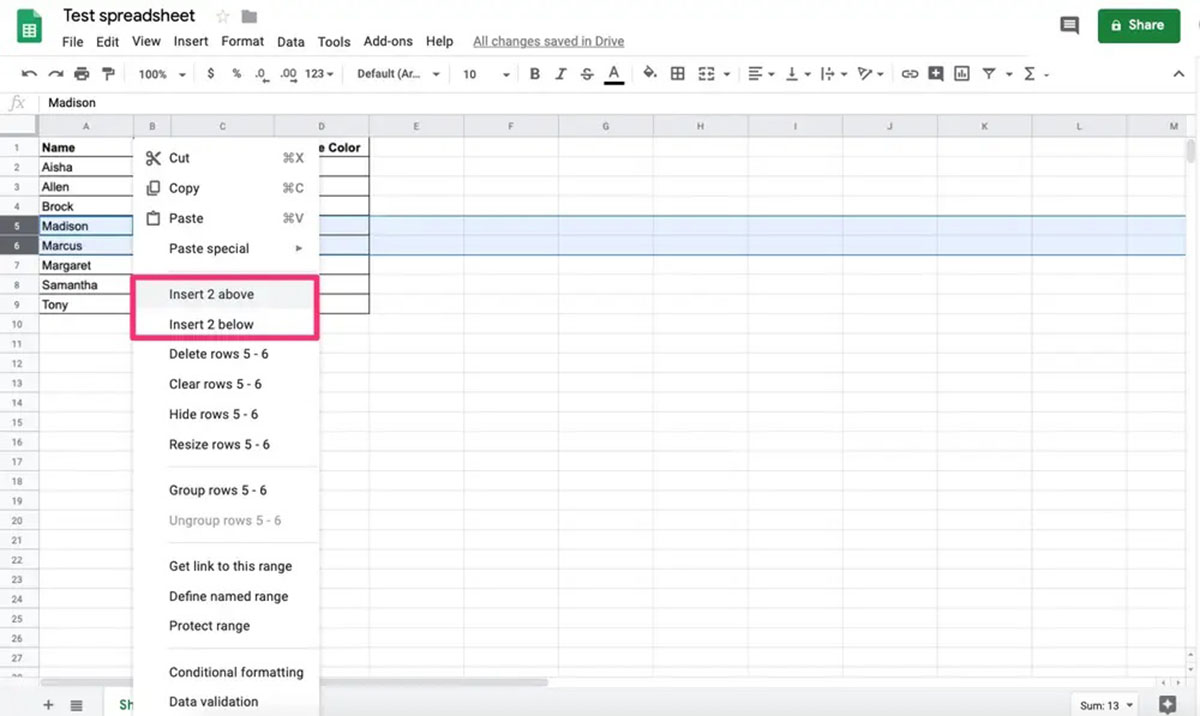
- Locate the row you wish to move and select the entire row by clicking on the row number on the left-hand side. The row will be highlighted.
- Right-click on the selected row and choose the “Cut” option from the context menu. Alternatively, you can use the keyboard shortcut “Ctrl+X” (Windows) or “Command+X” (Mac) to cut the row.
- Next, place your cursor at the desired location where you want to insert the cut row.
- Right-click on the cell where you want to insert the row and select the “Insert Cut Cells” option from the context menu. Alternatively, you can use the keyboard shortcut “Ctrl+Shift+V” (Windows) or “Command+Shift+V” (Mac).
The selected row will now be inserted at the chosen location, pushing down any existing rows below it. This method allows you to precisely position the row within the sheet without the need for manual dragging or adjusting formulas.
When you use the “Insert Cut Cells” option, Google Sheets automatically adjusts the formulas and references in the moved row to reflect the new position. This ensures that any formulas or calculations dependent on the data in the moved row will continue to work correctly.
Using the “Cut” and “Insert Cut Cells” options can be especially helpful when you want to move a row to a specific location within your dataset. Additionally, this method is efficient for moving one or multiple rows at a time, providing greater flexibility and control over the arrangement of your data.
Method 3: Using the “Move Row to Another Sheet” Option
If you want to move a row to a different sheet within your Google Sheets document, you can utilize the “Move Row to Another Sheet” option. This method allows you to relocate a row to a separate sheet, keeping your data organized. Follow these steps to move a row using this method:
- Open your Google Sheets document and navigate to the sheet containing the row you want to move.
- Locate the row you wish to move and select the entire row by clicking on the row number on the left-hand side. The row will be highlighted.
- Right-click on the selected row and choose the “Move Row to Another Sheet” option from the context menu. Alternatively, you can use the keyboard shortcut “Shift+Z” and then press “M”.
- A dialog box will appear, showing a list of available sheets within your document. Select the sheet where you want to move the row.
- Click on the “Move” button to transfer the row to the selected sheet.
The row will now be moved to the specified sheet, and it will be removed from the original sheet. By using this method, you can easily organize your data into different sheets based on specific criteria or categories.
This option is especially useful when you have a large dataset and want to separate different types of information across multiple sheets. It allows you to maintain a more structured and organized Google Sheets document, making it easier to navigate and analyze your data.
Additionally, it’s important to note that when you use the “Move Row to Another Sheet” option, Google Sheets automatically adjusts any formulas or references within the moved row to reflect the new sheet. This ensures that any calculations or dependencies remain intact after the row is moved.
By utilizing the “Move Row to Another Sheet” option, you can efficiently manage your data by rearranging rows between different sheets to suit your specific needs.
Method 4: Using the “Move to Another Position” Option
Google Sheets offers a convenient “Move to Another Position” option that allows you to move a row to a different position within the same sheet. This method is particularly useful when you want to rearrange the order of your rows without altering the content. Follow these steps to move a row using this method:
- Open your Google Sheets document and navigate to the sheet containing the row you want to move.
- Locate the row you wish to move and select the entire row by clicking on the row number on the left-hand side. The row will be highlighted.
- Right-click on the selected row and choose the “Move to Another Position” option from the context menu. Alternatively, you can use the keyboard shortcut “Shift+Z” and then press “P”.
- The mouse cursor will change into a crosshair symbol. Click on the row number where you want to move the selected row.
The selected row will now be moved to the new position within the sheet, shifting the existing rows accordingly. This method allows you to easily change the order of your data, making it more visually and logically organized.
When you use the “Move to Another Position” option, Google Sheets automatically adjusts any formulas or references within the moved row to reflect its new position. This ensures that any calculations or dependencies in your spreadsheet remain accurate.
This method is particularly beneficial when you need to sort and rearrange your data dynamically. It provides a quick and efficient way to reposition rows within the same sheet without manually dragging or copying and pasting data.
By utilizing the “Move to Another Position” option in Google Sheets, you can effortlessly modify the order of your rows, allowing you to present and analyze your data in a way that best suits your needs.
Conclusion
Moving rows in Google Sheets is a crucial skill that allows you to reorganize and manipulate your data effectively. In this article, we explored four different methods for moving rows within a Google Sheets document.
We started with the straightforward and intuitive method of using drag and drop. This method is ideal for quickly rearranging rows and provides a visual way to move a single row or a range of rows.
We then discussed using the “Cut” and “Insert Cut Cells” options, which offer more precise control over the placement of the moved row. This method is useful when you want to position a row with accuracy or move multiple rows simultaneously.
Next, we explored the option of moving rows to another sheet within your Google Sheets document. This method allows for better organization by separating different types of data into separate sheets, making it easier to manage and analyze.
Finally, we discussed using the “Move to Another Position” option, which enables you to change the order of rows within the same sheet. This method is especially valuable when you need to dynamically sort and rearrange your data without altering its content.
By familiarizing yourself with these different methods, you can choose the approach that best suits your specific needs. Whichever method you use, Google Sheets automatically adjusts any formulas or references within the moved row, ensuring data integrity and accuracy.
Moving rows in Google Sheets is not only a practical skill but also a time-saving technique for organizing and manipulating data. So, give these methods a try and enjoy the flexibility and efficiency they bring to your spreadsheet workflow!