Introduction
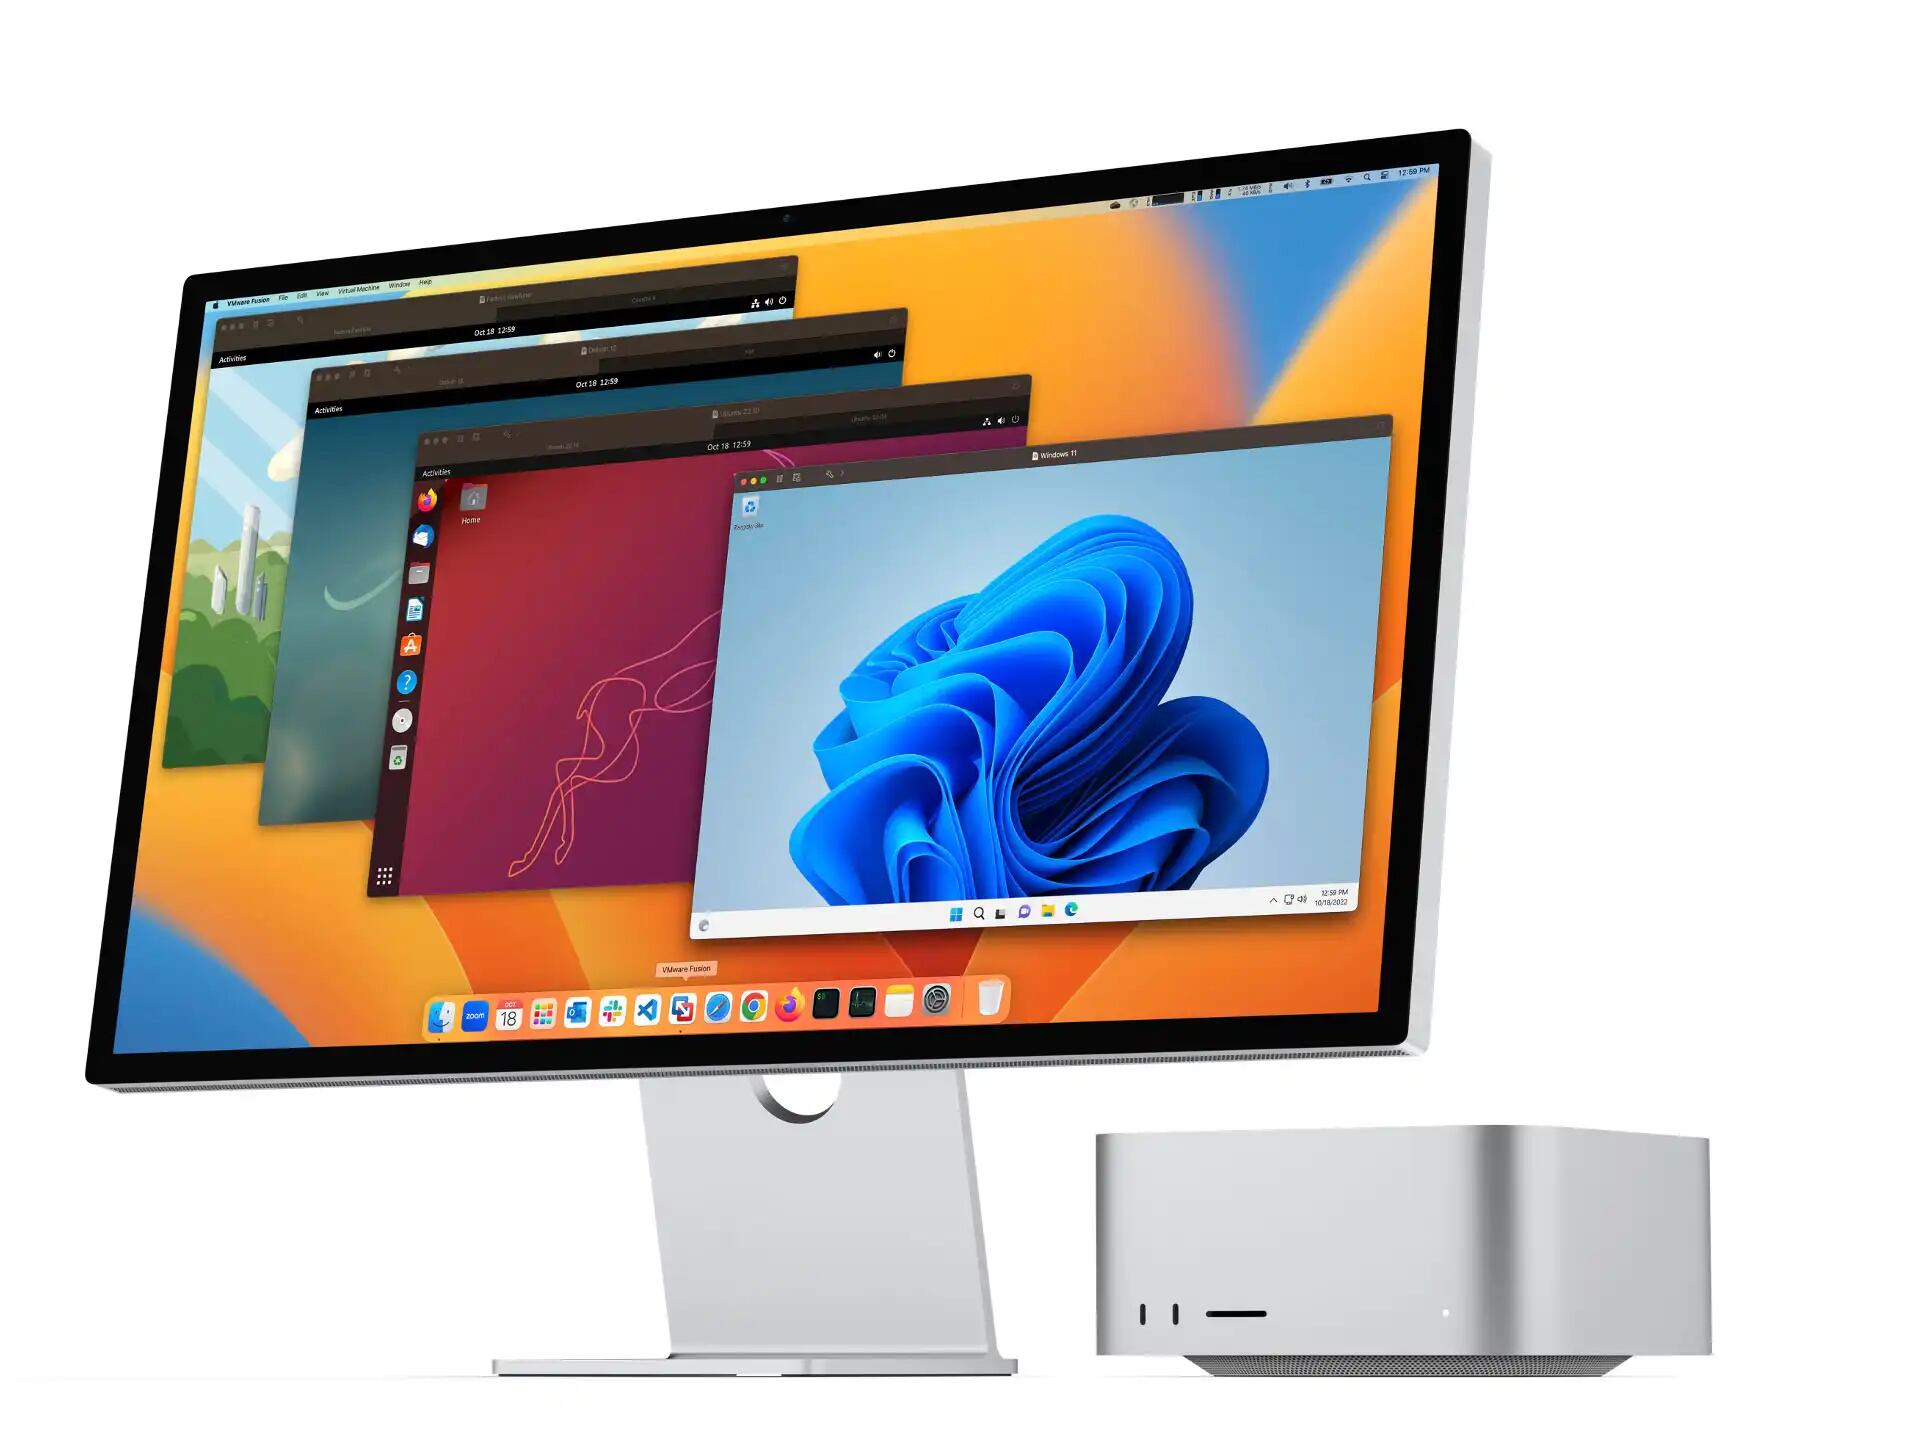
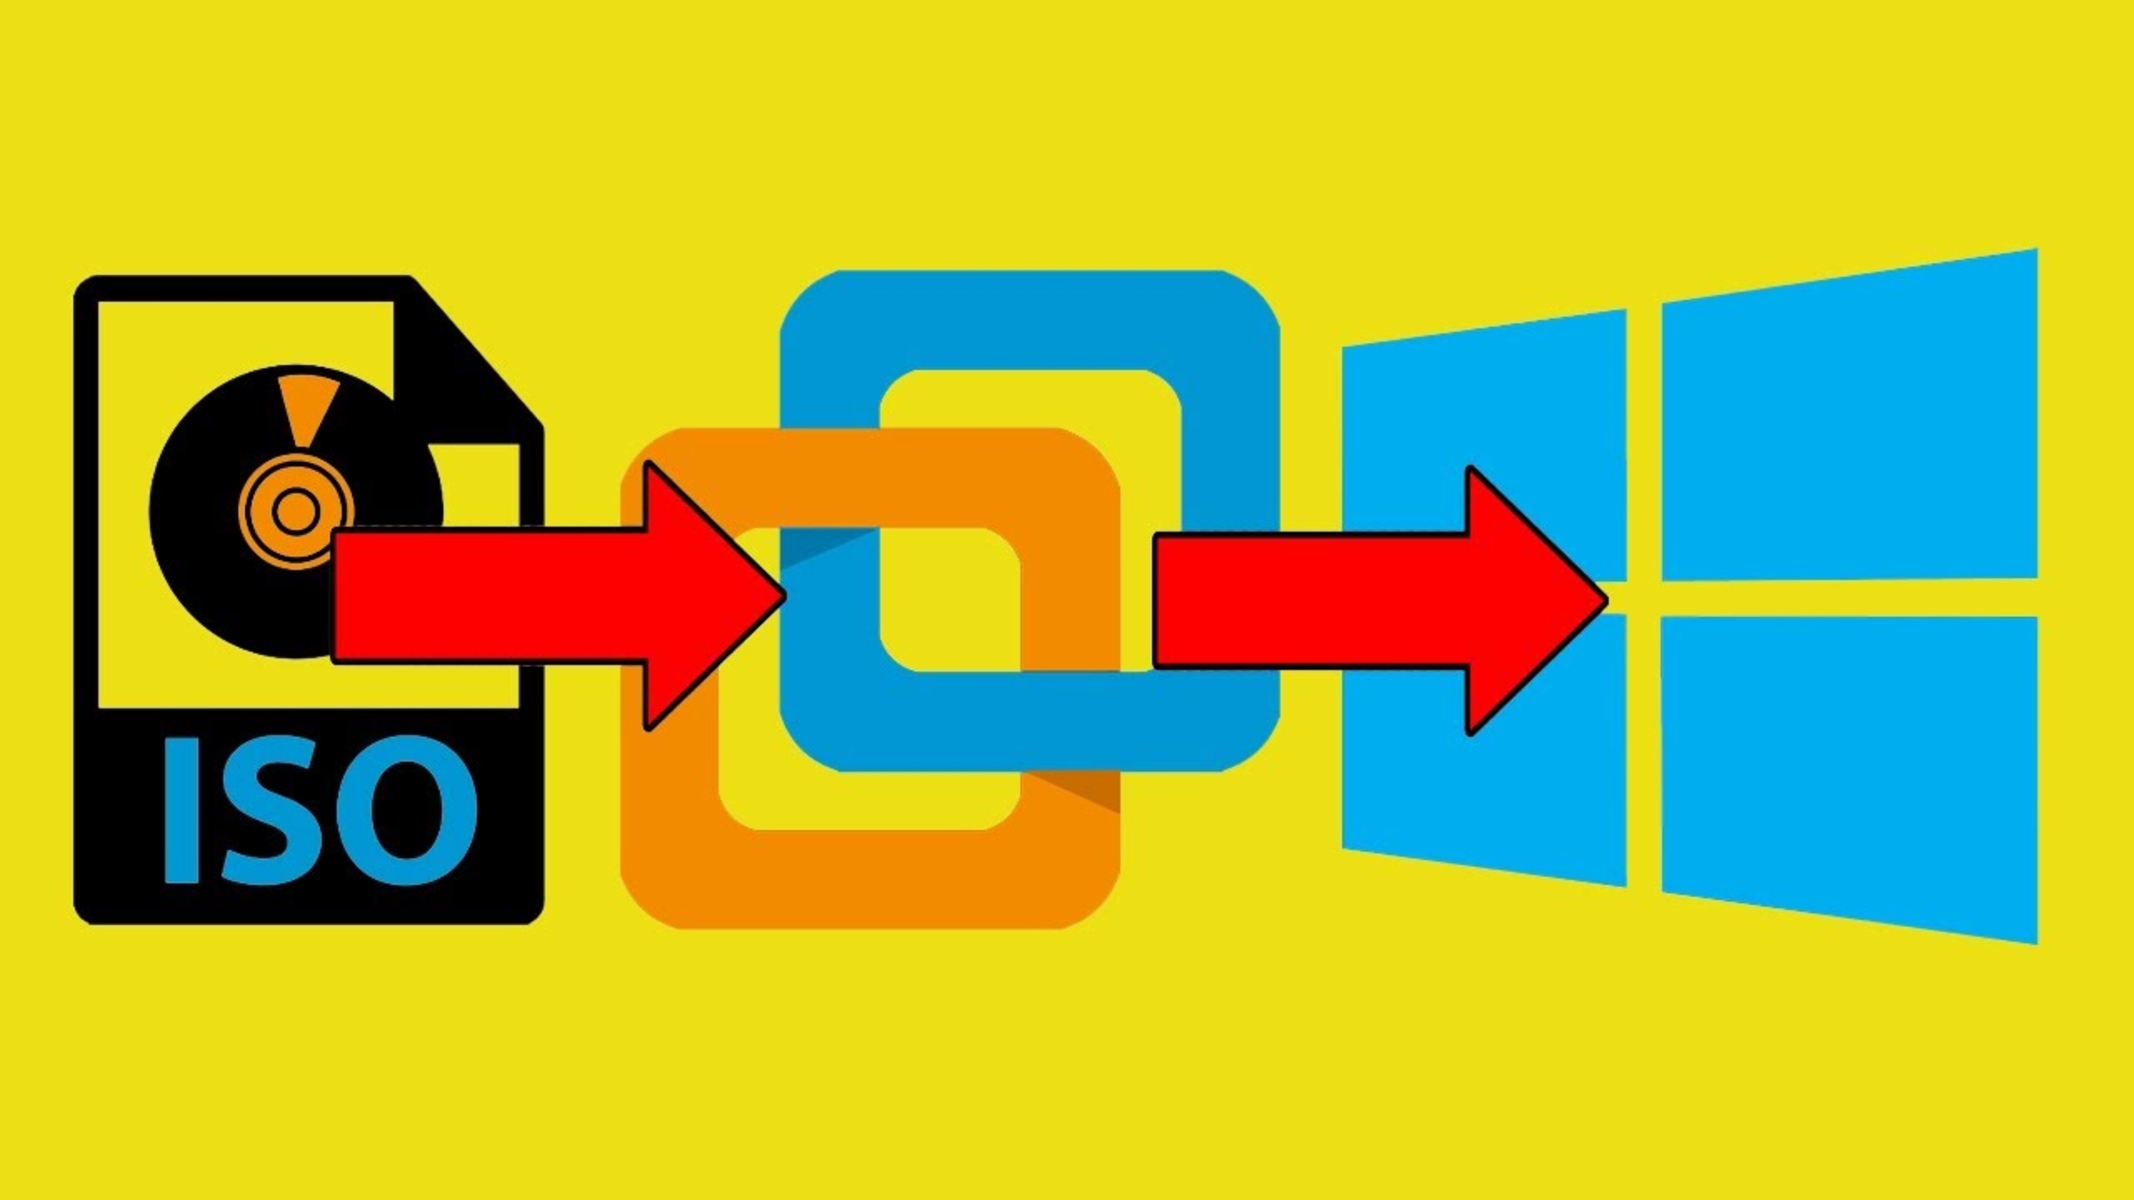
Welcome to the world of VMware Workstation, a powerful virtualization platform that allows you to run multiple operating systems on a single computer. One of the key features of VMware Workstation is the ability to easily mount USB devices within your virtual machines, providing seamless access to external storage, printers, and other USB peripherals.
Whether you’re a developer testing software compatibility, an IT professional managing a virtual environment, or simply a tech enthusiast wanting to experiment with different operating systems, understanding how to mount USBs in VMware Workstation is essential.
In this guide, we will explore three methods to mount USB devices in VMware Workstation. These methods are versatile and applicable to different versions of VMware Workstation, including VMware Workstation Pro and VMware Workstation Player.
Please note that before you proceed with any of the methods, there are a few prerequisites to ensure a smooth USB mounting experience. Let’s take a look at them in the next section.
Prerequisites
Before you can start mounting USB devices in VMware Workstation, there are a few prerequisites that you need to fulfill. These requirements ensure compatibility and provide a seamless USB virtualization experience.
Firstly, ensure that you have VMware Workstation installed on your computer. VMware Workstation is a paid software, so make sure you have a valid license or trial version to use its features. You can download the software from the official VMware website.
Secondly, you need a compatible USB device that you want to mount in your virtual machine. This can be a USB flash drive, external hard drive, USB printer, or any other USB peripheral. Ensure that the device is functioning properly and is recognized by your host operating system.
Next, check the USB settings of your virtual machine. To do this, open VMware Workstation and go to the virtual machine’s settings. Make sure the USB controller is enabled, as this is necessary to establish a connection between the host and guest operating systems.
Additionally, ensure that VMware Tools is installed in your virtual machine. VMware Tools provide essential drivers and functionalities to enhance the performance and integration of the guest operating system with VMware Workstation. The USB mounting process relies on these tools for seamless USB access.
Lastly, ensure that your host operating system has the necessary USB drivers. VMware Workstation relies on the host operating system’s USB drivers to communicate with the USB device and pass it through to the virtual machine. Make sure your host operating system is up to date and has the latest USB drivers installed.
Once you have fulfilled these prerequisites, you are ready to proceed with any of the methods described in the following sections to mount your USB devices in VMware Workstation. Let’s explore these methods in detail.
Method 1: Using the VMware Workstation Menu
One of the easiest ways to mount a USB device in VMware Workstation is by using the built-in menu options. Follow the steps below to mount your USB device:
- Start VMware Workstation and open your virtual machine.
- Make sure the virtual machine is powered off.
- Click on the “VM” menu at the top of the VMware Workstation window.
- Hover over the “Removable Devices” option in the dropdown menu.
- A submenu will appear with a list of available USB devices connected to your computer.
- Select the USB device you want to mount by clicking on its name.
- The USB device will be mounted and will appear as a connected device within the virtual machine’s operating system.
Once the USB device is successfully mounted, you can access it in the virtual machine and use it as if it were directly connected to the host computer. You can transfer files, print documents, or perform any other USB-related operations within the virtual environment.
It’s important to note that if the USB device is already connected to your host operating system, it may need to be disconnected before it can be successfully mounted in the virtual machine. VMware Workstation may prompt you to disconnect the device from the host before connecting it to the virtual machine.
Now that you know how to mount a USB device using the VMware Workstation menu, let’s move on to the next method, which involves using the virtual machine settings.
Method 2: Using the Virtual Machine Settings
If you prefer a more detailed and fine-grained approach to mounting USB devices in VMware Workstation, you can utilize the virtual machine settings. Follow the steps outlined below:
- Start VMware Workstation and open your virtual machine.
- Make sure the virtual machine is powered off.
- Click on the “VM” menu at the top of the VMware Workstation window.
- Select the “Settings” option from the dropdown menu.
- In the virtual machine settings window, select the “USB Controller” option.
- Ensure that the “Connect USB device” checkbox is checked.
- A list of available USB devices will be displayed.
- Select the USB device you want to mount from the list.
- Click the “OK” button to save the changes and close the settings window.
Once the virtual machine is powered on, the USB device will be automatically mounted and available within the guest operating system. You can access and use the USB device just like any other connected peripheral.
This method allows for more control and customization, as you can configure specific USB ports or preferences for the virtual machine. You can also add or remove USB devices as needed by modifying the settings.
Remember that if the USB device is already connected to your host operating system, it may need to be disconnected before mounting it in the virtual machine. VMware Workstation may prompt you to disconnect the device from the host before connecting it to the virtual machine.
Now that you are familiar with the second method of mounting USB devices using the virtual machine settings, let’s explore the final method that involves using the VMware Command Line Interface (CLI).
Method 3: Using the VMware Command Line Interface (CLI)
For users comfortable with command line interfaces and automation, VMware Workstation provides a command line interface (CLI) that allows you to mount USB devices in a virtual machine. Follow the steps below to use the CLI:
- Open a command prompt or terminal.
- Navigate to the location where VMware Workstation is installed.
- Enter the following command to list the available virtual machines:
vmrun list - Note down the path or identifier of the virtual machine you want to mount the USB device to.
- Run the following command to connect the USB device to the virtual machine:
vmrun -T ws -gu USERNAME -gp PASSWORD adddevice VMX_FILE usb autoconnect:1
ReplaceUSERNAMEandPASSWORDwith the login credentials of the guest operating system, andVMX_FILEwith the path or identifier of the virtual machine. - The USB device will be connected to the virtual machine and appear as a connected peripheral.
Using the VMware CLI provides flexibility in automating USB device connections and scripting tasks. It allows for easy integration into existing workflows or scripts to efficiently manage USB devices in your virtual environment.
Remember to disconnect the USB device from the host operating system before connecting it to the virtual machine. VMware Workstation may prompt you to disconnect the device from the host before connecting it to the virtual machine.
Now that you are familiar with the third method of using the VMware Command Line Interface (CLI) to mount USB devices, you have learned different approaches to achieve USB virtualization within VMware Workstation.
Conclusion
Mounting USB devices in VMware Workstation is a straightforward process that allows you to access and utilize external storage, printers, and other USB peripherals within your virtual machines. Throughout this guide, we explored three methods to achieve USB virtualization: using the VMware Workstation menu, utilizing the virtual machine settings, and leveraging the VMware Command Line Interface (CLI).
The first method, using the VMware Workstation menu, provides a simple and quick way to mount USB devices directly from the program’s interface. It is ideal for users who prefer a user-friendly approach without diving into advanced settings.
The second method, using the virtual machine settings, offers more control and customization options. Users can fine-tune USB preferences and configure specific USB ports for their virtual machines, giving them more flexibility in managing USB connections.
For users who prefer command line interfaces and automation, the third method, using the VMware Command Line Interface (CLI), allows for scripting and easily integrating USB device connections into workflows or automated tasks.
Regardless of the method you choose, it’s important to ensure the necessary prerequisites are met, such as having VMware Workstation installed, a compatible USB device, proper USB controller configuration, and VMware Tools installed in the virtual machine.
By following the steps outlined in this guide, you can seamlessly mount USB devices in VMware Workstation, providing enhanced functionality and accessibility within your virtual environments. Enjoy the convenience of using USB peripherals in your virtual machines without any hassle.
Now that you have a thorough understanding of how to mount USB devices in VMware Workstation, you can utilize this knowledge to enhance your virtualization experience and make the most out of your virtual machines.