Introduction
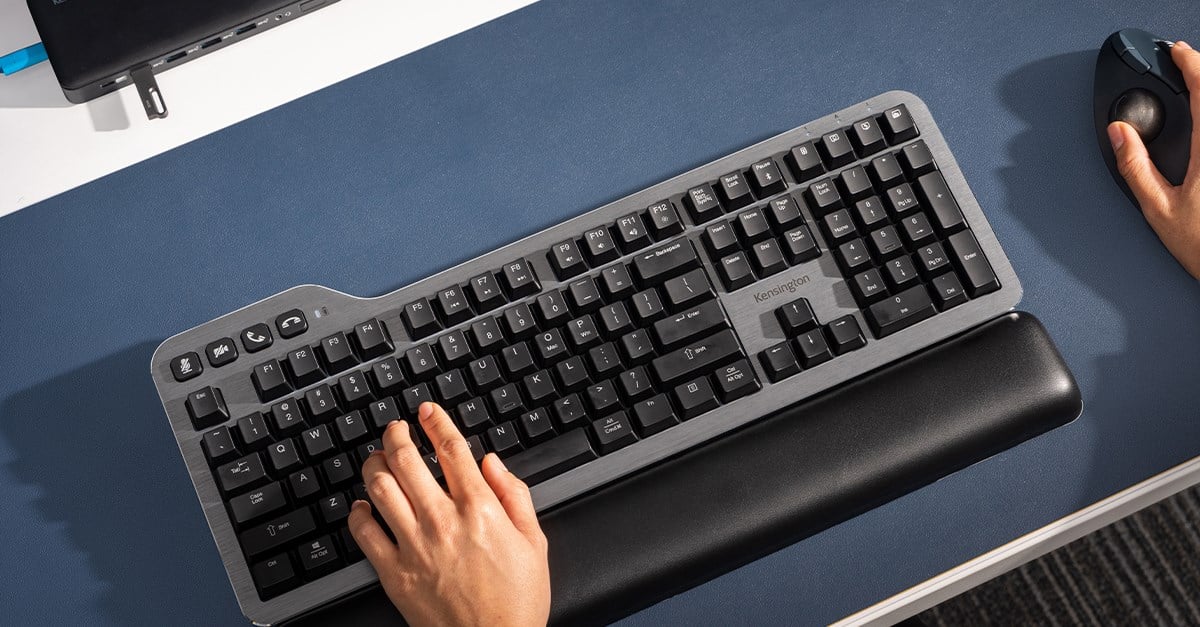
Welcome to our guide on how to make your keyboard quieter! If you’ve ever found yourself typing away on your keyboard and the noise becomes a distraction, you’re not alone. Whether you’re working in a shared office space, studying in a quiet library, or just want to minimize noise distractions at home, finding ways to make your keyboard quieter can greatly enhance your typing experience.
Keyboards can produce a range of sound levels, depending on the type of switches used, the build quality, and even your typing technique. The good news is that there are several approaches you can take to reduce keyboard noise and create a more peaceful environment. In this article, we will explore various options for modifying your keyboard to achieve a quieter typing experience.
Before we dive into the specific techniques, let’s discuss the different types of keyboards available in the market. This knowledge will help you choose the right keyboard for your needs, as some keyboards are naturally quieter than others.
So, whether you’re a writer, a gamer, or someone who spends a lot of time typing, let’s explore the different methods and strategies you can use to make your keyboard quieter. By the end of this guide, you’ll have a toolbox of solutions to help you achieve a more peaceful typing experience without compromising on functionality.
Choosing the Right Keyboard
When it comes to making your keyboard quieter, the first step is to choose the right keyboard that fits your needs and preferences. Here are a few factors to consider:
- Switch Type: Keyboards are typically available with different switch types, such as mechanical switches or rubber dome switches. Mechanical switches are known for their tactile feedback and distinct click sound, which can be louder. On the other hand, rubber dome switches are generally quieter but may lack the satisfying tactile feel.
- Noise Level: Some keyboard manufacturers prioritize noise reduction and develop quieter versions of their keyboards. Look for keyboards specifically marketed as “quiet” or “silent” to ensure a quieter typing experience.
- Build Quality: The build quality of a keyboard can greatly affect noise levels. Keyboards with a solid construction tend to have less case resonance and therefore produce less noise. Look for keyboards made from high-quality materials.
Ultimately, the quietest keyboard for you will depend on your personal preferences and requirements. If you’re unsure, it can be helpful to try out different keyboards, either by visiting a physical store or borrowing from friends, to get a sense of which type suits you best.
In the next sections, we will explore different techniques to make your keyboard quieter, regardless of the type you choose. Keep in mind that these modifications may void your warranty, so proceed with caution and only make changes you are comfortable with.
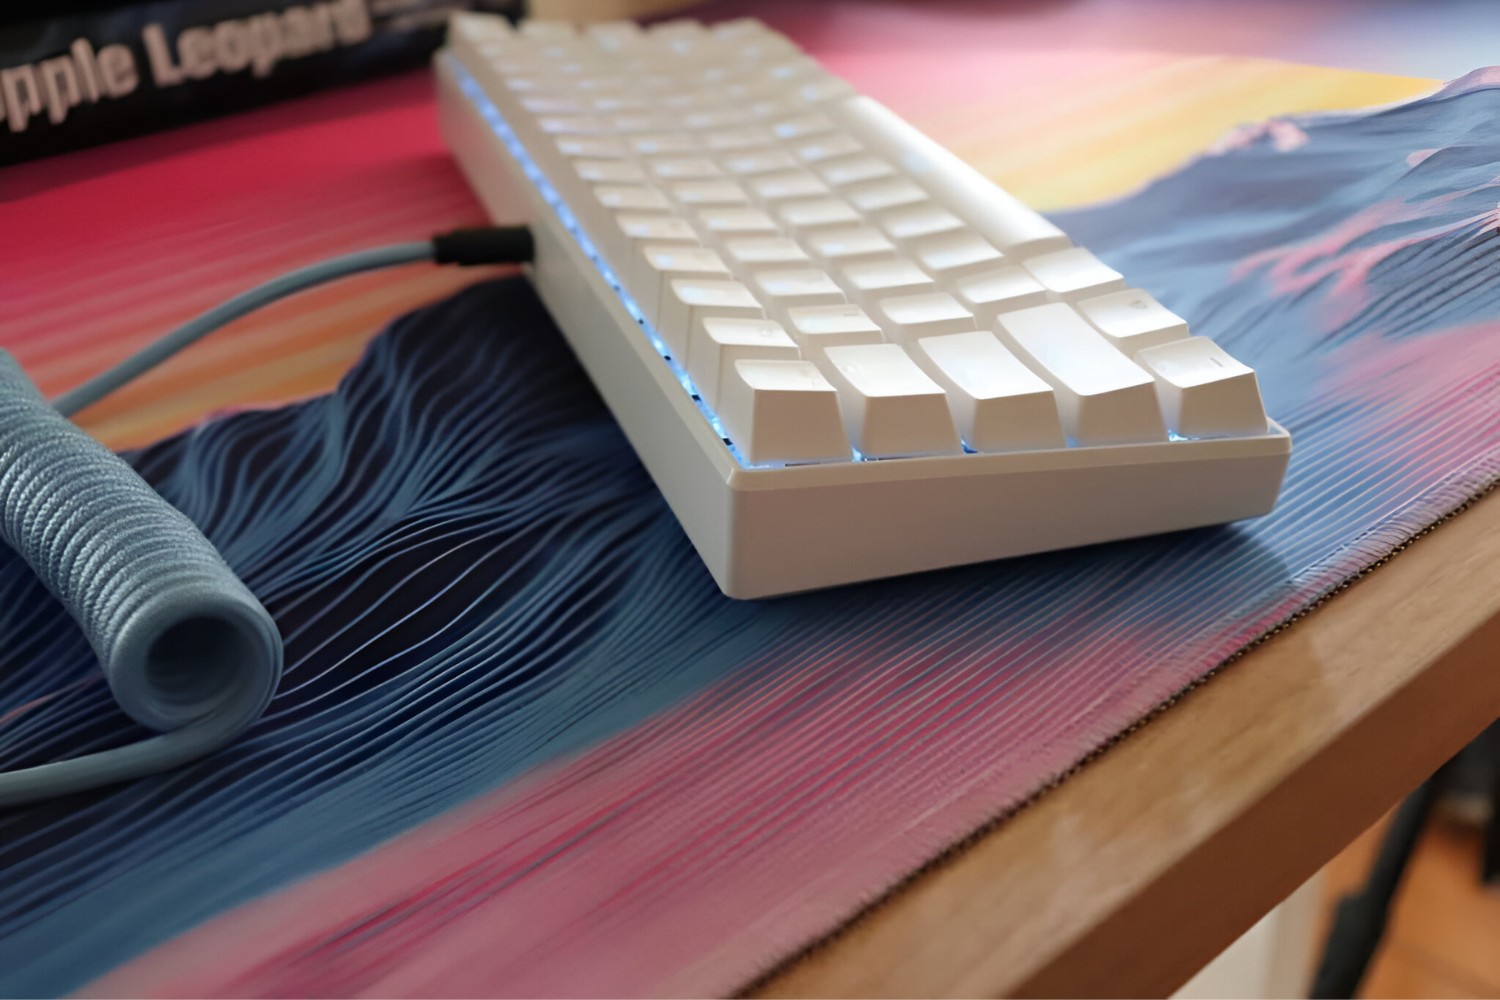
Quiet Mechanical Keyboards
While mechanical keyboards are loved for their tactile feedback and durability, they are often associated with a loud and satisfying clicky sound. However, if you prefer the feel of mechanical switches but want a quieter typing experience, there are options available:
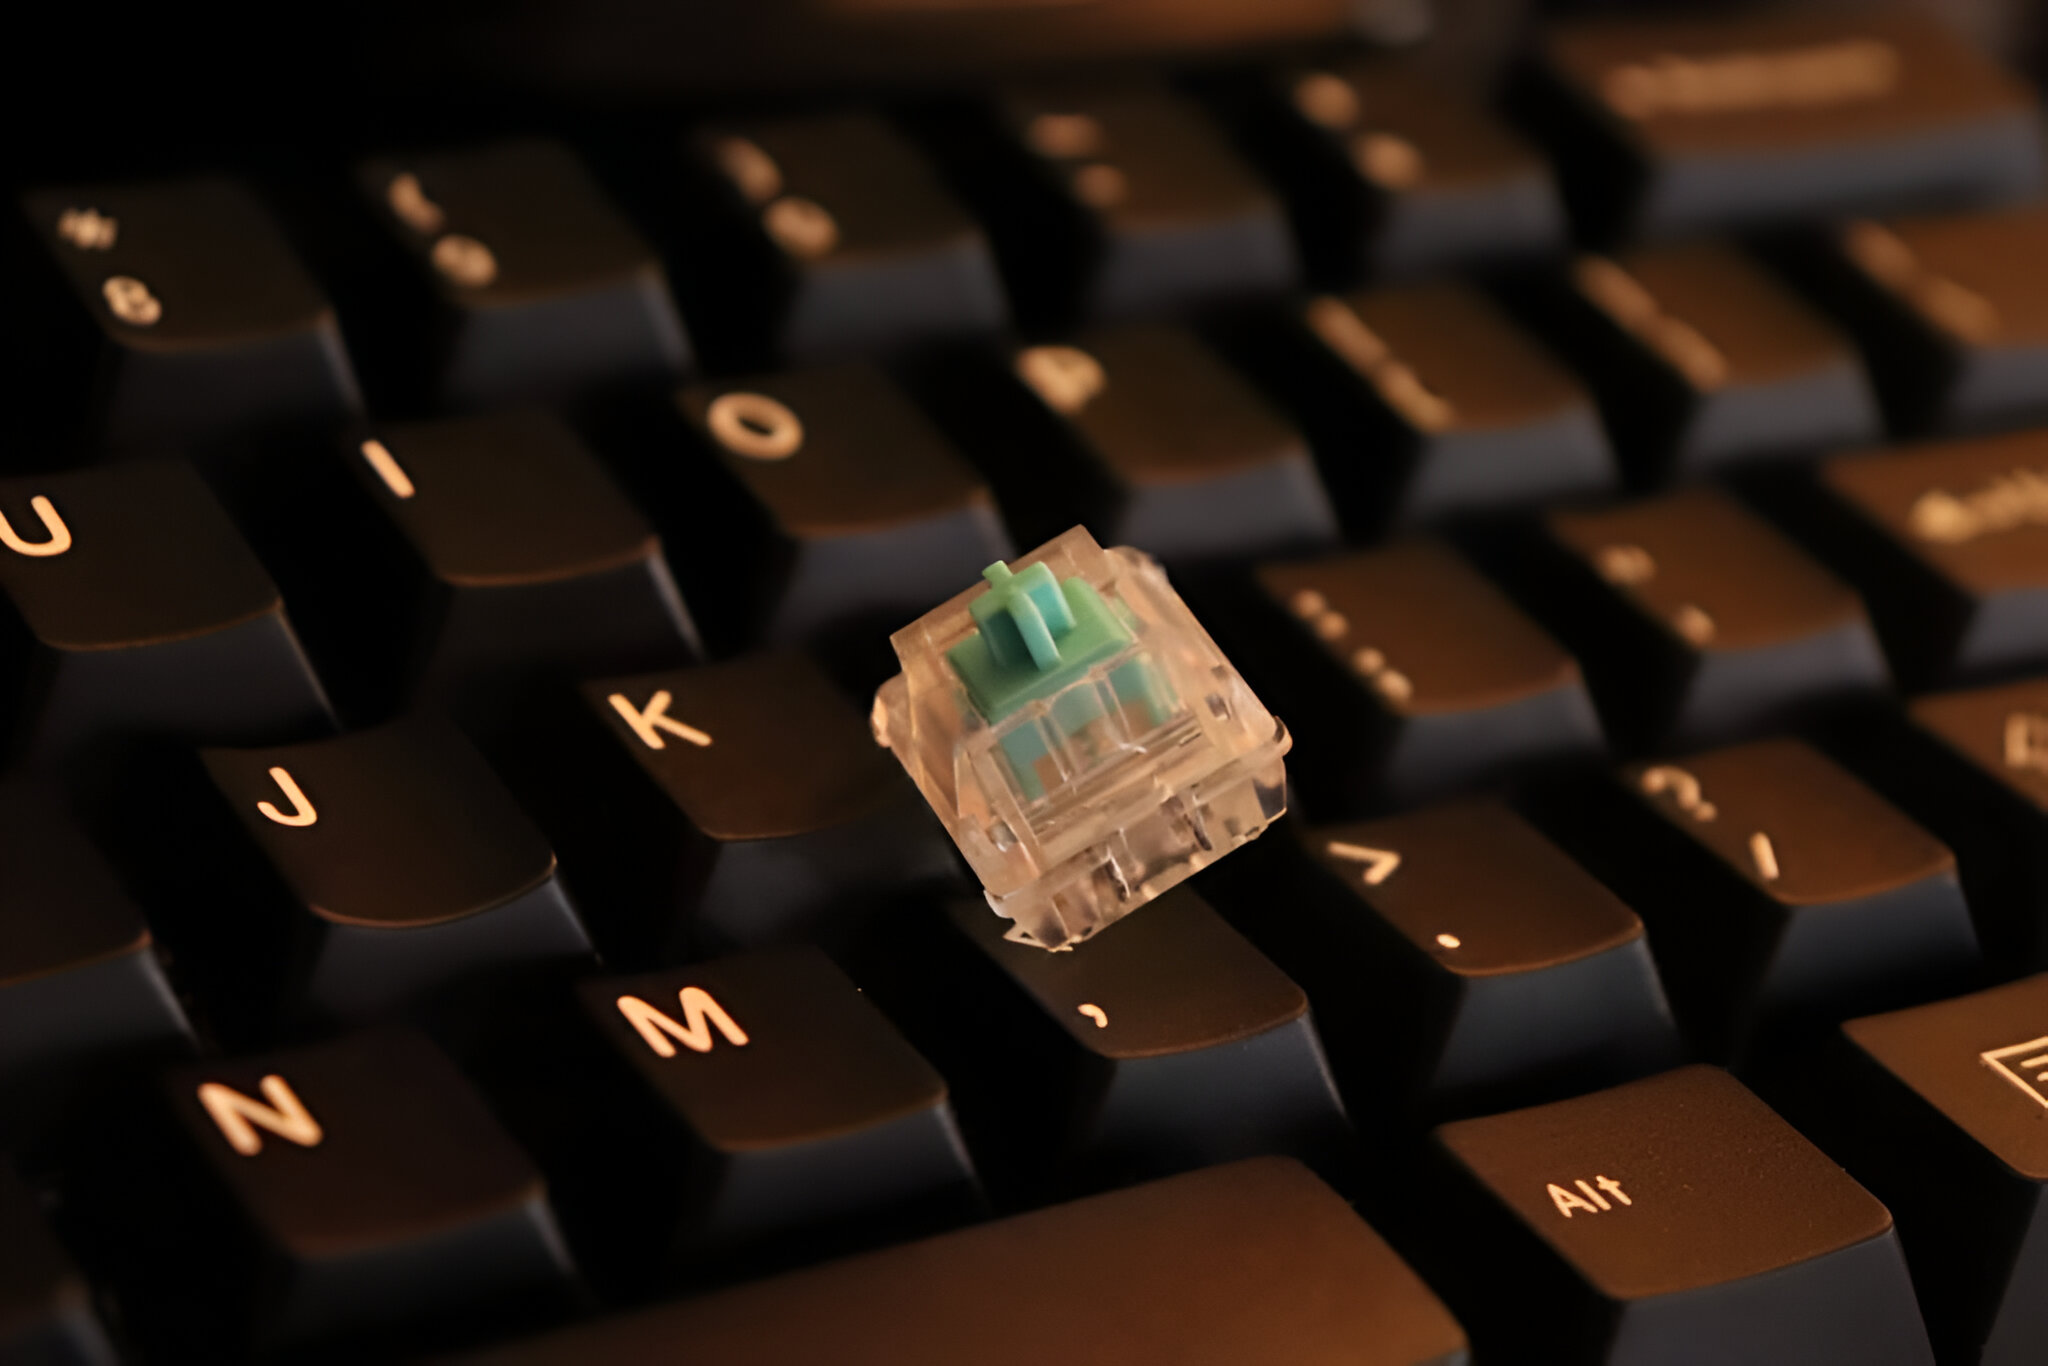
- Linear Switches: Mechanical keyboards typically come with different types of switches, including linear switches. Linear switches do not have the tactile bump or audible click associated with other switch types, making them quieter. Look for keyboards with linear switches, such as Cherry MX Red or Gateron Yellow, for a quieter typing experience.
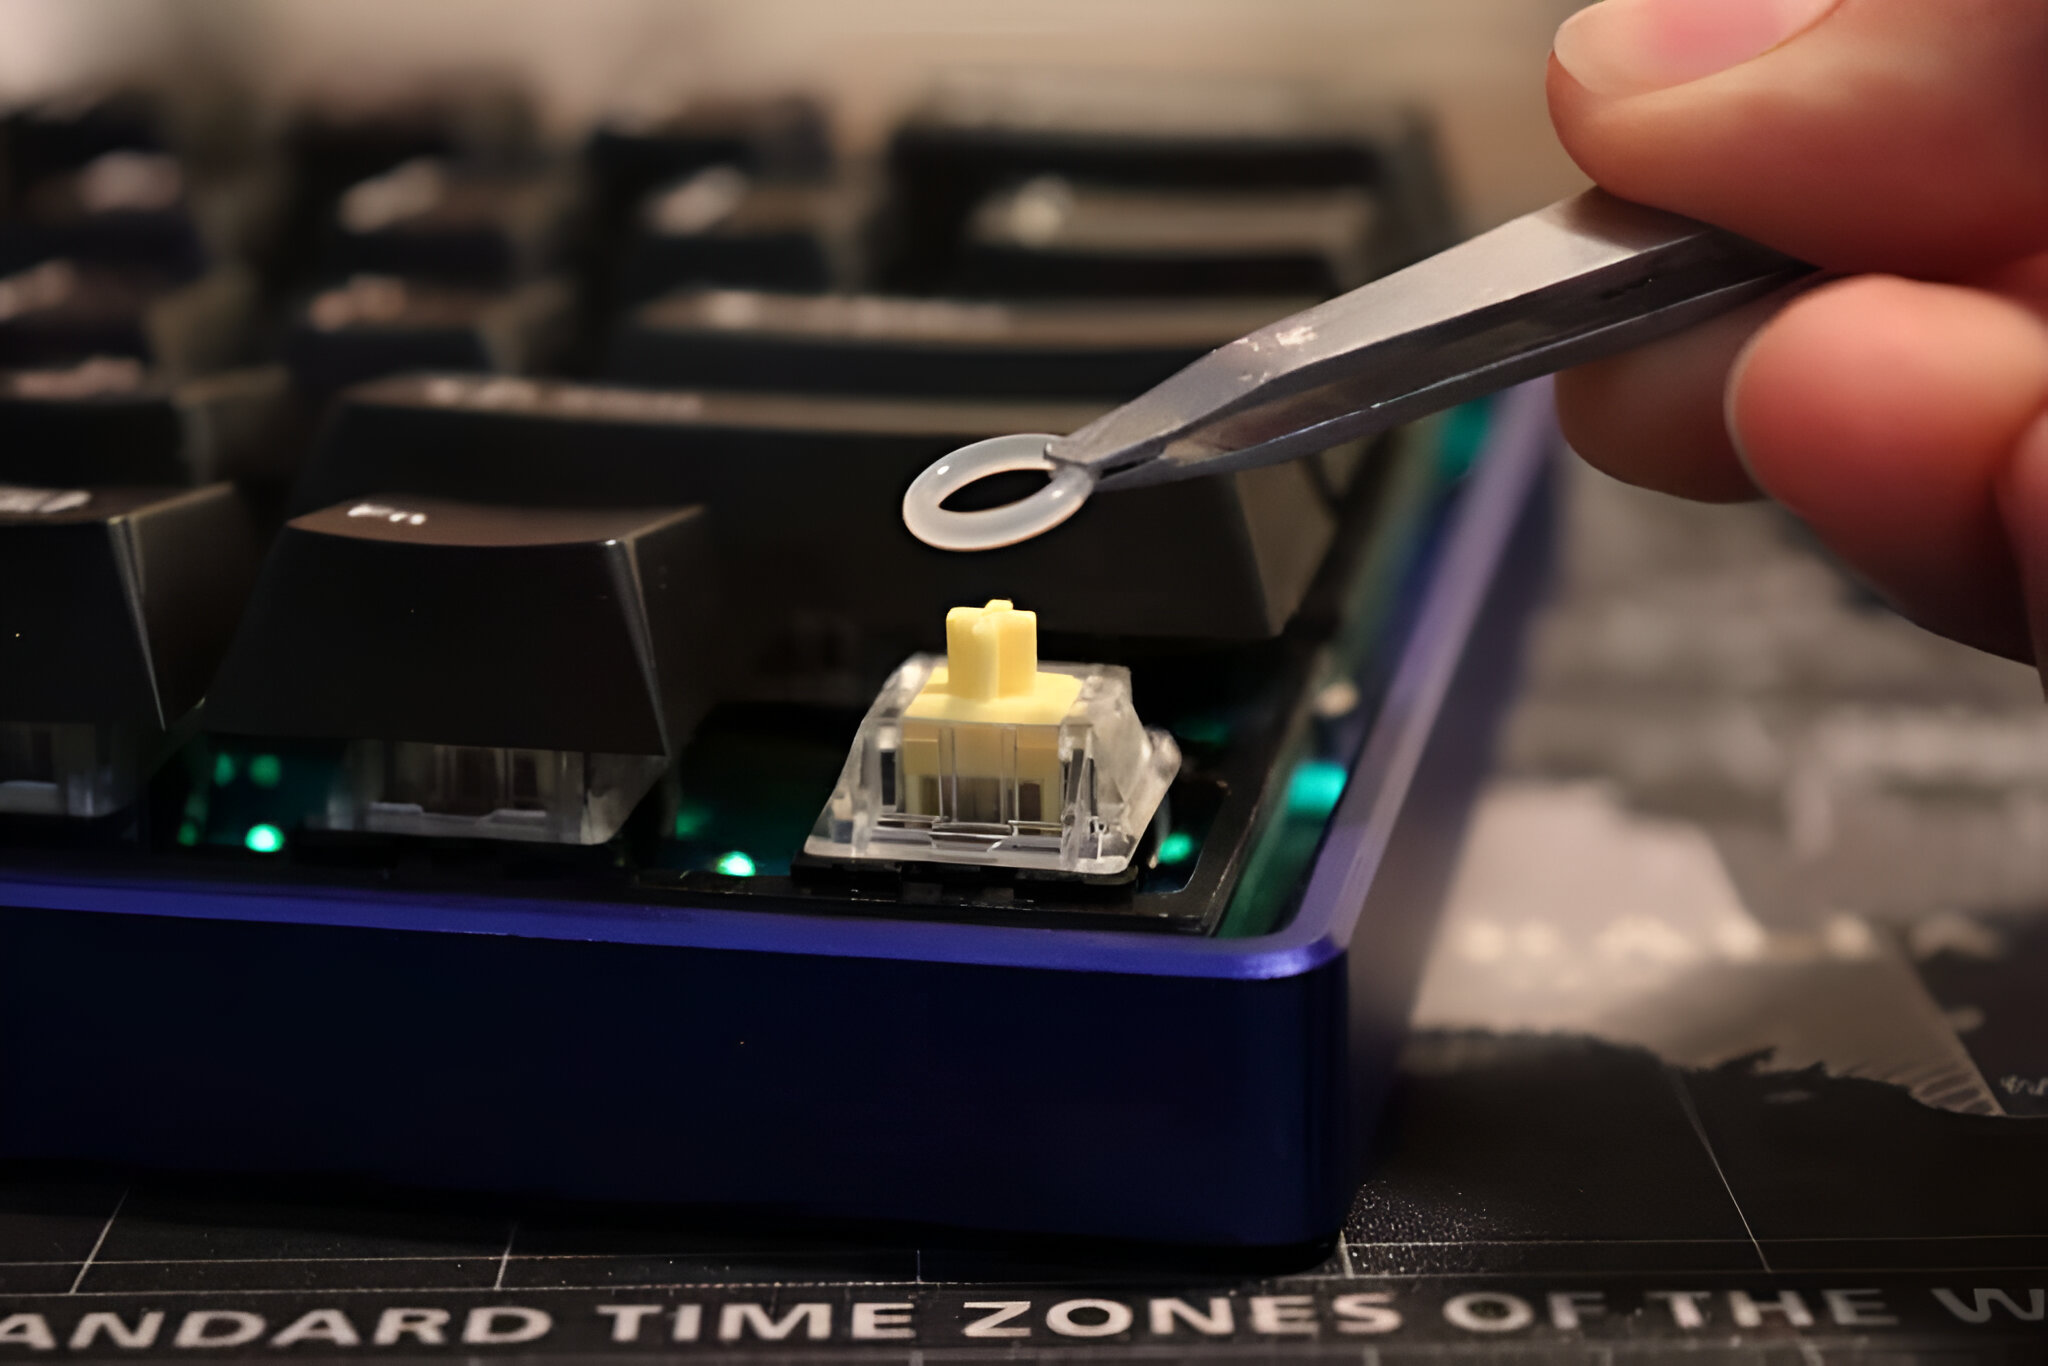
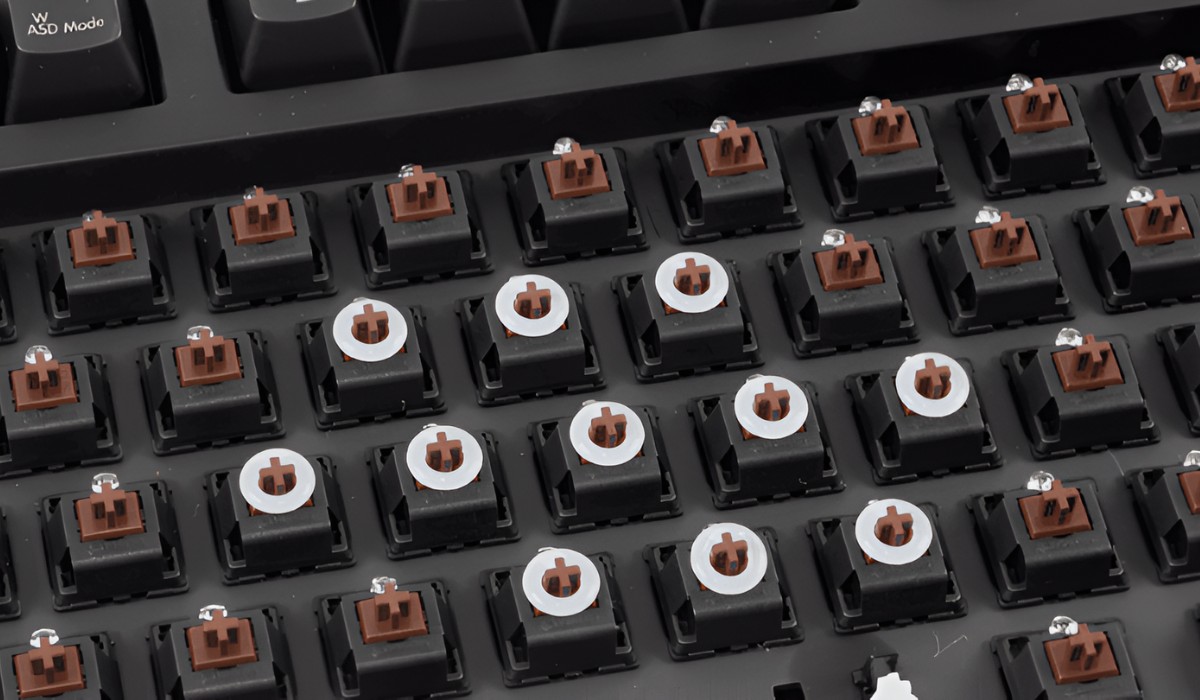
- Rubber O-rings: Adding rubber O-rings to your keycaps can help reduce noise by dampening the sound of the key bottoming out. O-rings act as a cushion, absorbing the impact when a keycap hits the switch housing. This can make your keyboard quieter without sacrificing the tactile feedback.
- Sound Dampening Mat: Some mechanical keyboards come with built-in sound dampening mats or foam inside the case. These mats absorb sound and vibrations, resulting in a quieter typing experience. If you already own a mechanical keyboard, you can purchase aftermarket sound dampening mats and install them yourself.
It’s worth noting that while these modifications can help reduce the noise produced by mechanical keyboards, they may slightly alter the feel of the switches. If you prioritize a quiet typing experience over the original tactile feedback, these modifications can be well worth it.
Now that we’ve covered quiet mechanical keyboards, let’s move on to another popular type of keyboard: rubber dome keyboards.
Rubber Dome Keyboards
Rubber dome keyboards, also known as membrane keyboards, are often considered quieter than mechanical keyboards due to their design. These keyboards use rubber domes under each key to provide a tactile feel and register keystrokes. If you prefer a quieter typing experience without the need for modifications, a rubber dome keyboard may be the ideal option for you.
Here are a few features and tips to consider when choosing or using a rubber dome keyboard:
- Low-profile Keycaps: Keycaps on rubber dome keyboards are generally lower in profile compared to mechanical keyboards. This design choice contributes to a softer and quieter sound when typing.
- Scissor-Switch Mechanism: Some rubber dome keyboards use a scissor-switch mechanism, which provides more stability and responsiveness compared to traditional rubber dome switches. These keyboards can offer a quiet and comfortable typing experience.
- Proper Typing Technique: Regardless of the keyboard type, using a proper typing technique can significantly reduce noise. Lightly tapping the keys instead of striking them forcefully can help minimize the sound produced by the rubber domes.
While rubber dome keyboards are generally quieter by design, it’s important to note that the quality and build of the keyboard can still affect the noise level. Cheaper or low-quality rubber dome keyboards may produce more noise and have a less satisfying typing experience. Investing in a well-built rubber dome keyboard from trusted brands can ensure a quieter and more enjoyable typing experience.
Now that we’ve explored rubber dome keyboards, let’s move on to the various modifications you can make to both mechanical and rubber dome keyboards to further reduce keyboard noise.
Modifying Your Keyboard
If you already have a keyboard that you enjoy using but find it too noisy, don’t worry! There are several modifications you can make to your keyboard to make it quieter. Let’s explore some of the most effective methods:
- Lubricating Key Switches: Applying a thin layer of lubricant to your key switches can reduce friction and dampen the noise caused by the switch action. This modification can make your keyboard smoother and quieter. However, be sure to use a lubricant specifically designed for mechanical switches to avoid damaging them.
- Adding O-Rings: As mentioned earlier, adding rubber O-rings to your keycaps can help dampen the sound when the keys bottom out. This modification is especially effective for mechanical keyboards, reducing the noise without compromising the tactile feel of the switches.
- Installing Keyboard Silencing Clips: Keyboard silencing clips, also known as “clips-ins,” are small plastic clips that attach to the keycap stems. These clips reduce the keycap’s downward travel, resulting in a quieter keystroke without affecting the overall typing experience.
- Dampening the Case: If you’re comfortable with more advanced modifications, you can add sound dampening materials inside your keyboard case. Applying foam or placing sound-absorbing materials can help reduce noise caused by vibrations within the keyboard.
Before attempting any modifications, it’s essential to research and understand the specific requirements of your keyboard model. Some keyboards may be easier to modify than others, and certain modifications might void your warranty. Proceed with caution and ensure you are comfortable with the level of modification required.
Remember, the goal of these modifications is to create a quieter typing experience without compromising the functionality and comfort of your keyboard. Experiment with different modifications and techniques to find the best combination that suits your preferences and typing style.
Now that we’ve covered various modifications, let’s move on to the specific techniques for reducing noise in mechanical keyboards.
Lubricating Key Switches
If you own a mechanical keyboard and want to make it quieter, one effective modification you can try is lubricating the key switches. Lubrication helps reduce friction between the moving parts of the switches, resulting in smoother keypresses and a quieter typing experience. Here’s how you can lubricate your key switches:
1. Gather the necessary materials: Start by gathering the materials you’ll need, including a high-quality switch lubricant, a small brush or applicator, and a keycap puller to remove the keycaps.
2. Remove the keycaps: Use the keycap puller to carefully remove the keycaps from the keyboard. Place them aside in a safe location to avoid misplacing them.
3. Access the switches: Once the keycaps are removed, you’ll have access to the individual switches. Take note of the layout and arrangement of the switches to ensure you can put everything back in the correct positions later.
4. Apply lubricant: Dip the brush or applicator into the lubricant and apply a thin layer to the moving parts of each switch. Focus on the areas where friction occurs, such as the stem and slider. Be careful not to over-apply the lubricant, as excessive lubrication can affect switch performance.
5. Test and reassemble: Once you’ve applied the lubricant, test the switches to see if the typing experience has become quieter and smoother. If needed, you can apply additional lubricant or adjust the amount based on your preference. Afterward, carefully reattach the keycaps, ensuring they are correctly aligned and secured to their respective switches.
It’s important to note that different types of switches and lubricants may require varying application methods. Additionally, some switches may benefit from a specific type of lubricant, so it’s worth researching the best lubricant for your specific keyboard switches.
Lubricating the key switches can be a time-consuming and delicate process, so it’s recommended for users with experience in keyboard modifications or those willing to invest time and effort into achieving a quieter typing experience. If you’re unsure, consider seeking guidance from online forums or consulting with experienced keyboard enthusiasts.
Now that we’ve discussed lubricating key switches, let’s explore another modification option: adding O-rings to your keycaps.
Adding O-Rings
If you want to reduce the noise produced by your mechanical keyboard without compromising its tactile feel, adding O-rings to your keycaps can be an effective solution. O-rings act as dampeners, absorbing the impact when keys bottom out, resulting in a quieter typing experience. Here’s how you can add O-rings to your keycaps:
1. Choose the right O-rings: There are various sizes and types of O-rings available in the market. Make sure to select O-rings that are compatible with your specific keycap design and switch type. Thicker O-rings generally provide more dampening, while thinner ones may have a minimal effect on noise reduction.
2. Remove the keycaps: Use a keycap puller to carefully remove the keycaps from your keyboard. Take note of their positions and layout to ensure proper reassembly later.
3. Install the O-rings: Place an O-ring on the stem of each keycap. Ensure that the O-ring sits squarely in the center of the stem and covers the switch’s actuation point. You can use a small tool or your fingers to carefully position the O-rings if necessary.
4. Test and adjust: Once you’ve installed the O-rings on the keycaps, test the keyboard to see how the typing experience has changed. The O-rings should provide a cushioned feel when the keys bottom out. If you find that the keys feel too mushy or unresponsive, you can experiment with different O-ring thicknesses to find the right balance between noise reduction and typing feedback.
5. Reattach the keycaps: After testing and adjusting the O-rings, carefully reattach the keycaps to their respective switches. Make sure each keycap clicks into place securely.
Adding O-rings is a non-invasive modification that can significantly reduce the noise produced by bottoming out keys without affecting the overall functionality or feel of the keyboard. However, it’s worth noting that the effectiveness of O-rings can vary depending on the keyboard’s typing style and individual preferences. Some users may find the improved noise reduction beneficial, while others may prefer the original keystroke feel without the O-rings.
Now that we’ve explored adding O-rings to keycaps, let’s move on to another modification option: installing keyboard silencing clips.
Installing Keyboard Silencing Clips
If you’re looking for a simple and effective way to make your mechanical keyboard quieter, installing keyboard silencing clips can be a great option. These clips, also known as “clips-ins,” are small plastic clips that attach to the keycap stems and help reduce the noise produced by bottoming out the keys. Here’s how you can install keyboard silencing clips:
1. Gather the necessary materials: Ensure you have the appropriate keyboard silencing clips that are compatible with your keycap stems. You may need to search for clips that are specifically designed for your keyboard’s keycap profile.
2. Remove the keycaps: Use a keycap puller to carefully remove the keycaps from your keyboard. Take note of the position and layout of each keycap for proper reassembly.
3. Attach the silencing clips: Take one silencing clip and align it with the stem of a keycap. Press down firmly until the clip snaps into place. Repeat this process for each keycap, ensuring that every clip is securely attached.
4. Test and adjust: Once all the silencing clips are installed, test the keyboard to assess the difference in noise levels. You should notice a reduction in the noise produced when bottoming out the keys. If you find that a key feels mushy or unresponsive with the silencing clips, you may need to adjust the clip’s position or consider removing it for that specific key.
5. Reattach the keycaps: After testing and adjusting, carefully reattach the keycaps to their respective switches. Make sure each keycap is aligned correctly and clicks into place securely.
Keyboard silencing clips are an excellent option for reducing noise without sacrificing the tactile feel or changing switch characteristics. However, it’s important to note that the effectiveness of these clips may vary depending on the keyboard model, keycap profile, and individual typing style.
Experiment with different silencing clips and positions to find the optimal noise reduction and typing experience for your keyboard. Some users may prefer using silencing clips on specific keys or adjusting the positioning for a customized noise reduction solution.
Now that we’ve explored installing keyboard silencing clips, let’s dive into another modification option: dampening the case of your keyboard.
Dampening the Case
If you’re looking for a more advanced way to reduce keyboard noise, dampening the case of your keyboard can be an effective solution. This modification involves adding sound-dampening materials inside the keyboard case to absorb vibrations and reduce noise. Here’s how you can dampen the case of your keyboard:
1. Acquire sound-dampening materials: Look for materials specifically designed for soundproofing, such as foam or rubber sheets. You can find these materials online or at hardware stores. Ensure that the materials are thin enough to fit inside the keyboard case without interfering with the components.
2. Disassemble the keyboard: Carefully disassemble the keyboard, following the manufacturer’s instructions. Take note of the placement and routing of any cables or connectors, as you will need to reassemble them correctly.
3. Install the dampening materials: Cut the sound-dampening material into pieces to fit the internal surfaces of the keyboard case. Apply the material to the baseplate, the inside walls of the case, and any other areas that come into contact with the internal components. Avoid covering any vents, switches, or other vital parts that require ventilation or movement.
4. Reassemble the keyboard: Once the dampening materials are in place, carefully reassemble the keyboard, ensuring that all components and cables are properly connected. Make sure that the keyboard fits together securely without any excess material protruding or interfering with the keys.
5. Test and adjust: After reassembly, test the keyboard to assess the noise reduction. You should notice a reduction in noise caused by internal vibration and resonance. If needed, you can make further adjustments to the placement or thickness of the dampening materials for optimal noise reduction.
Dampening the case of your keyboard can significantly reduce keyboard noise by minimizing internal vibrations and resonance. This modification is particularly effective for keyboards with plastic cases that tend to resonate and amplify noise. However, it’s worth noting that dampening the case may change the keyboard’s overall acoustic characteristics, which might also affect the perception of key feel and sound.
Before proceeding with this modification, make sure you’re comfortable with disassembling and reassembling the keyboard. If you’re uncertain or unfamiliar with keyboard internals, consider seeking assistance from an experienced technician or keyboard enthusiast.
Now that we’ve covered dampening the case, let’s wrap up our guide to making your keyboard quieter with a recap and some final thoughts.
Conclusion
Keyboard noise can be a distracting factor when typing, especially in shared workspaces or quiet environments. Fortunately, there are several methods and modifications available to make your keyboard quieter without compromising on functionality or comfort.
By choosing the right keyboard with quieter switch options or a rubber dome keyboard, you can start with a baseline of reduced noise. Additionally, modifying your keyboard can further enhance its quietness. Lubricating key switches can reduce friction and dampen sound, while adding O-rings to keycaps or installing keyboard silencing clips can minimize noise produced by bottoming out keys.
If you’re inclined towards more advanced modifications, dampening the case of your keyboard can effectively reduce internal vibrations and resonance, resulting in a quieter typing experience.
Always remember to prioritize your personal preferences and typing style when making modifications. What works for one person may not work for another, so feel free to experiment with different options until you find the perfect balance of quieter typing and a comfortable feel.
While these modifications can significantly reduce keyboard noise, it’s essential to be cautious and follow proper instructions to avoid damaging your keyboard. Additionally, keep in mind that some modifications may void the warranty, so proceed with caution and at your own risk.
We hope this guide has provided you with valuable insights and solutions for making your keyboard quieter. Whether you’re working, studying, or gaming, a quieter keyboard can greatly enhance your overall typing experience and create a more peaceful environment.
Now, armed with the knowledge and techniques from this guide, you’re ready to embark on your journey to a quieter keyboard. Happy typing!