Introduction
Are you a fan of unique and exotic flavors? If so, then ube ice cream is a must-try for you! Ube, also known as purple yam, is a vibrant purple tuber that is commonly used in Filipino desserts and dishes.
The rich and creamy texture, coupled with the subtly sweet and earthy flavor of ube, makes it a perfect ingredient for ice cream. And the best part is, you don’t need an ice cream maker to make this delicious treat at home!
In this article, we will guide you through the step-by-step process of making ube ice cream without an ice cream maker. Whether you’re an experienced home cook or a beginner in the kitchen, this recipe is simple enough for anyone to follow.
With just a few easy-to-find ingredients and some patience, you can whip up a batch of smooth and indulgent homemade ube ice cream that rivals any store-bought variety. So, let’s get started and indulge in the irresistible flavors of this delightful dessert!
Ingredients
To make ube ice cream without an ice cream maker, you will need the following ingredients:
- 2 cups ube puree
- 1 cup heavy cream
- 1 cup whole milk
- 1 can (14 oz) sweetened condensed milk
- 1 teaspoon vanilla extract
- A pinch of salt
- Optional toppings: crushed ube cookies, toasted coconut flakes, or chocolate syrup
These ingredients can be easily found in most grocery stores or Asian markets. If fresh ube is not available, you can use frozen grated ube or ready-made ube halaya (ube jam) as a substitute. Just make sure to adjust the amount of sweetened condensed milk accordingly, as these products may already be sweetened.
Note: If you prefer a lighter version of ube ice cream, you can substitute half-and-half or low-fat milk for the heavy cream. However, keep in mind that the texture may be slightly different.
Step 1: Preparing the Ube Puree
Before we begin making the ice cream, we need to prepare the ube puree. If you have fresh ube, start by cleaning and peeling the tubers. Cut them into small chunks to make them easier to cook.
Bring a pot of water to a boil and add the ube chunks. Boil for about 15-20 minutes or until the ube is fork-tender. Drain the cooked ube and let it cool for a few minutes.
Once the ube is cooled, transfer it to a food processor or blender. Blend until smooth, adding a small amount of water or milk if needed to reach the desired consistency. You want the ube puree to be smooth and lump-free.
If you’re using frozen grated ube or ready-made ube halaya, simply thaw or heat it according to the package instructions until it becomes a smooth puree.
Once you have your ube puree ready, set it aside and move on to the next step of making the ice cream base. The vibrant purple color of the puree is what gives the ice cream its beautiful hue, so be prepared to be mesmerized by its gorgeous color!
Step 2: Making the Ice Cream Base
Now that you have your ube puree ready, it’s time to make the ice cream base. In a mixing bowl, combine the heavy cream, whole milk, sweetened condensed milk, vanilla extract, and a pinch of salt.
Whisk the ingredients together until they are well blended and the mixture is smooth. The sweetened condensed milk will provide the necessary sweetness and creaminess to the ice cream base.
Next, add the ube puree to the mixture and whisk again until everything is fully incorporated. Make sure there are no lumps of ube puree remaining.
If you prefer a stronger ube flavor, you can adjust the amount of ube puree used. You can also add a few drops of ube flavoring extract if desired, but it’s not necessary as the natural flavor of the ube will shine through.
Once the ice cream base is well combined, cover the bowl with plastic wrap and refrigerate for at least 4 hours or overnight. This will allow the flavors to meld together and the mixture to chill thoroughly.
Chilling the ice cream base is an important step as it helps to achieve a smoother texture and ensures that the ice cream freezes properly during the next steps. So be patient and resist the temptation to rush to the next step!
Step 3: Chilling the Mixture
After you’ve prepared the ice cream base, it’s time to chill the mixture. This step is crucial for achieving the perfect texture and consistency of the ice cream.
Transfer the bowl with the ice cream base to the refrigerator and let it chill for at least 4 hours, or preferably overnight. The longer you chill the mixture, the better it will freeze and hold its shape when churned.
Chilling the mixture allows the flavors to meld together and gives the ice cream base time to thicken. It also helps to create small ice crystals, resulting in a smoother and creamier texture.
During the chilling process, it’s completely normal for the mixture to become thicker and more custard-like in consistency. This is a good sign, as it signifies that the mixture is ready to be churned.
Remember to keep the mixture covered with plastic wrap to prevent any odors or flavors from seeping into the ice cream base. This will ensure that your finished ube ice cream tastes pure and delicious.
So, take your time and allow the mixture to chill to perfection. The anticipation will be well worth it once you taste the velvety smoothness of your homemade ube ice cream!
Step 4: Churning the Ice Cream
Now that the ice cream base has chilled and thickened, it’s time to churn it into a creamy and luscious ube ice cream. While you may not have an ice cream maker, don’t worry! We’ll show you how to achieve the perfect texture without one.
Start by taking the chilled ice cream base out of the refrigerator. Give it a good stir to ensure that it’s well mixed and smooth.
Next, transfer the mixture to a shallow, freezer-safe container. A metal or glass container works best, as it helps to conduct the cold temperature and freeze the ice cream evenly.
Once in the container, cover it tightly with a lid or plastic wrap. Make sure there are no air pockets to prevent ice crystals from forming.
Place the container in the freezer and let the ice cream mixture freeze for about 2-3 hours.
After the initial freezing period, remove the container from the freezer and give the mixture a good stir. This step helps to break up any ice crystals and ensures a smoother texture.
Repeat this process every 30 minutes for the next 2-3 hours. Each time you take the ice cream out of the freezer, vigorously stir it to incorporate air into the mixture. This will result in a lighter and creamier ice cream.
Continue this process until the ice cream reaches your desired consistency. It should be firm yet creamy, with no visible ice crystals.
Remember, the key to successful churning without an ice cream maker is breaking up the ice crystals and incorporating air into the mixture. This will give you a velvety smooth and scoopable ube ice cream.
Once the ice cream is perfectly churned, cover the container tightly and return it to the freezer for a final freezing period of 4-6 hours, or until it is firm enough to serve.
Now that you’ve successfully churned your homemade ube ice cream, it’s time to move on to the final step: freezing the ice cream to the perfect serving consistency.
Step 5: Freezing the Ice Cream
After churning the ice cream, it’s time to freeze it to the perfect serving consistency. This step allows the ice cream to harden and develop its full flavor.
Make sure the container with the churned ice cream is tightly covered or sealed to prevent any freezer burn or absorption of odors from other foods in the freezer.
Place the container back in the freezer and let it freeze for an additional 4-6 hours, or until it reaches the desired firmness.
It’s important to note that homemade ice cream may freeze harder than store-bought varieties due to its lack of stabilizers. To make the ice cream easier to scoop, you can let it sit at room temperature for a few minutes before serving.
For those who prefer a firmer texture, you can extend the freezing time according to your preference. Just make sure not to leave it in the freezer for too long, as ice cream can develop ice crystals and lose its creamy texture over time.
While it may be tempting to sample your homemade ube ice cream before it fully freezes, try to resist the temptation! Allow the ice cream to properly freeze, as this will ensure that it has a smooth and creamy texture when served.
Once the ice cream has reached the desired consistency, it’s time to indulge in the delightful flavors of your homemade ube ice cream. Let’s move on to the final step: serving and enjoying!
Step 6: Serving and Enjoying
Congratulations on reaching the final step of making your delicious homemade ube ice cream! Now it’s time to serve and enjoy the fruits of your labor.
Take the container out of the freezer and let it sit at room temperature for a few minutes to slightly soften. This will make scooping the ice cream easier.
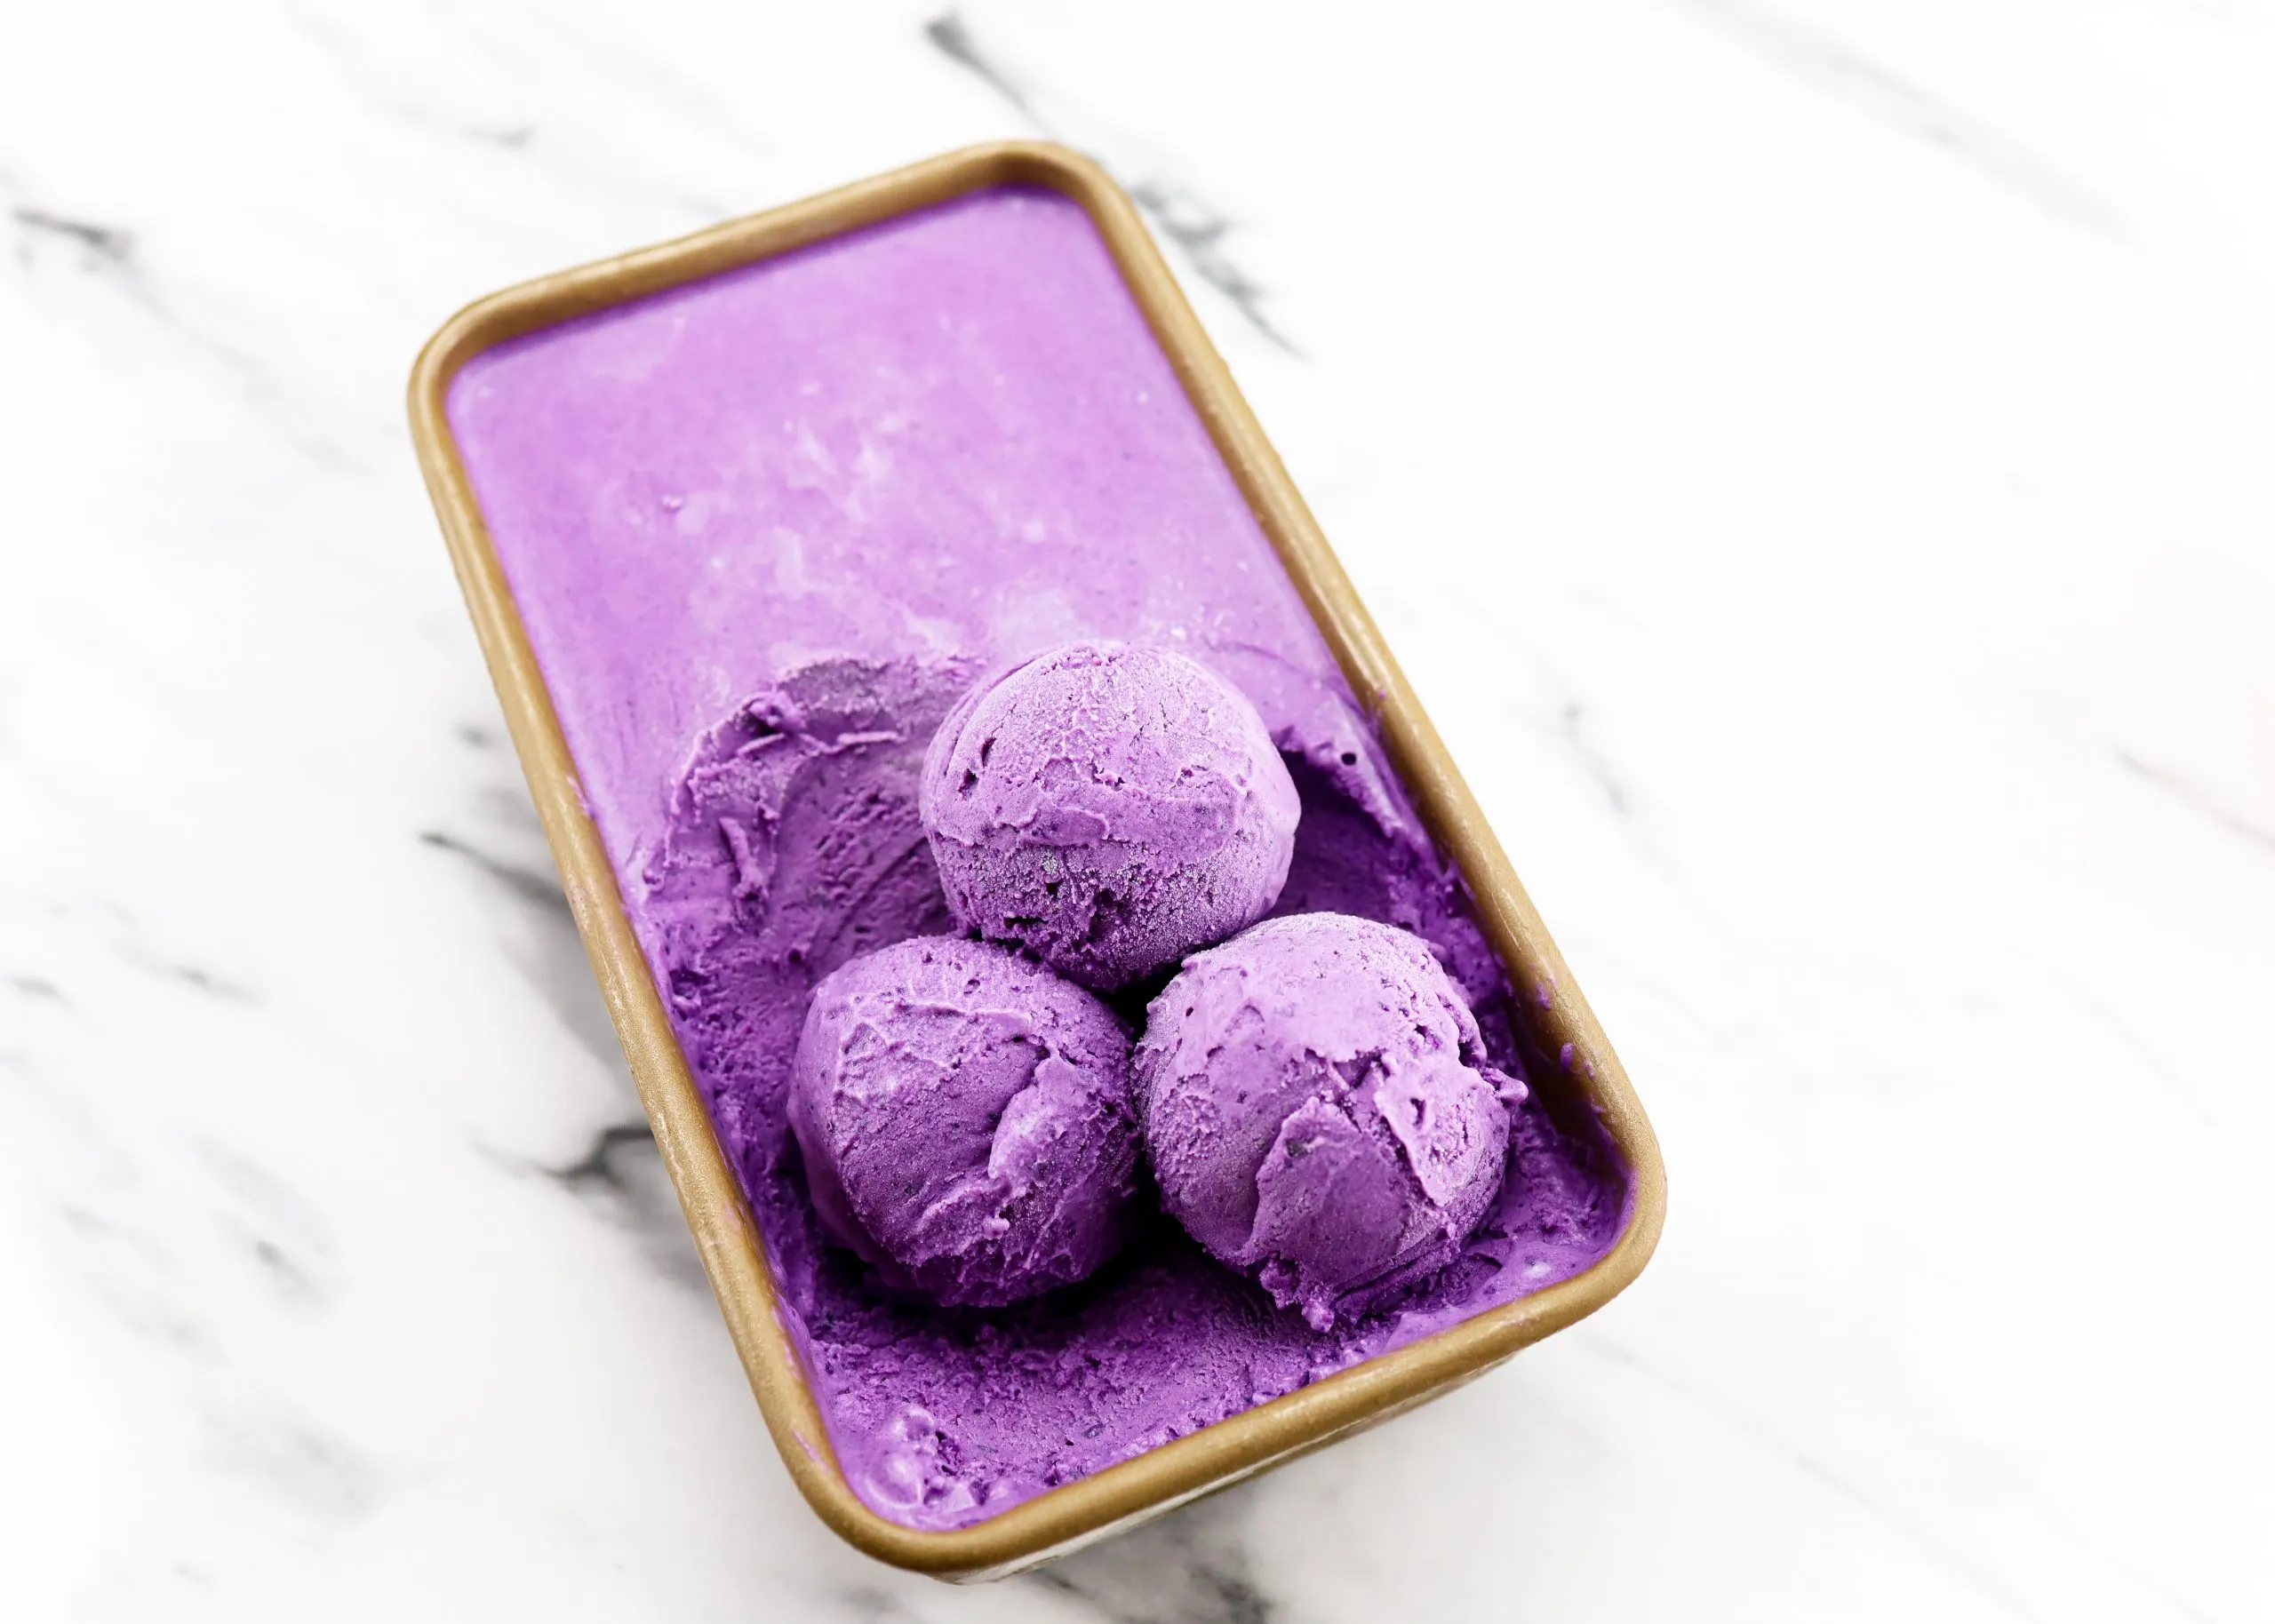
Using an ice cream scoop or a spoon, scoop the velvety purple ice cream into bowls, cones, or dessert dishes.
If you want to take your ube ice cream to the next level, you can add some delightful toppings. Sprinkle crushed ube cookies on top for added texture, or drizzle some chocolate syrup for a sweet indulgence. Toasted coconut flakes also complement the flavors of ube beautifully.
Now, it’s time to savor each spoonful of your homemade ube ice cream. Take a moment to appreciate the creamy texture and the unique sweet and nutty flavors of the ube.
Whether you enjoy your ice cream on its own, in a cone, or as a topping for other desserts, be sure to relish each bite and share the joy of your homemade creation with family and friends.
Remember, the beauty of homemade ice cream lies in its versatility. Feel free to experiment with other flavors, mix-ins, or even make a sundae with your ube ice cream.
Now that you know how to make ube ice cream without an ice cream maker, you can indulge in this luscious treat anytime you crave a taste of something unique and delightful.
So, gather your loved ones and enjoy the creamy and vibrant goodness of your homemade ube ice cream. Bon appétit!