Introduction
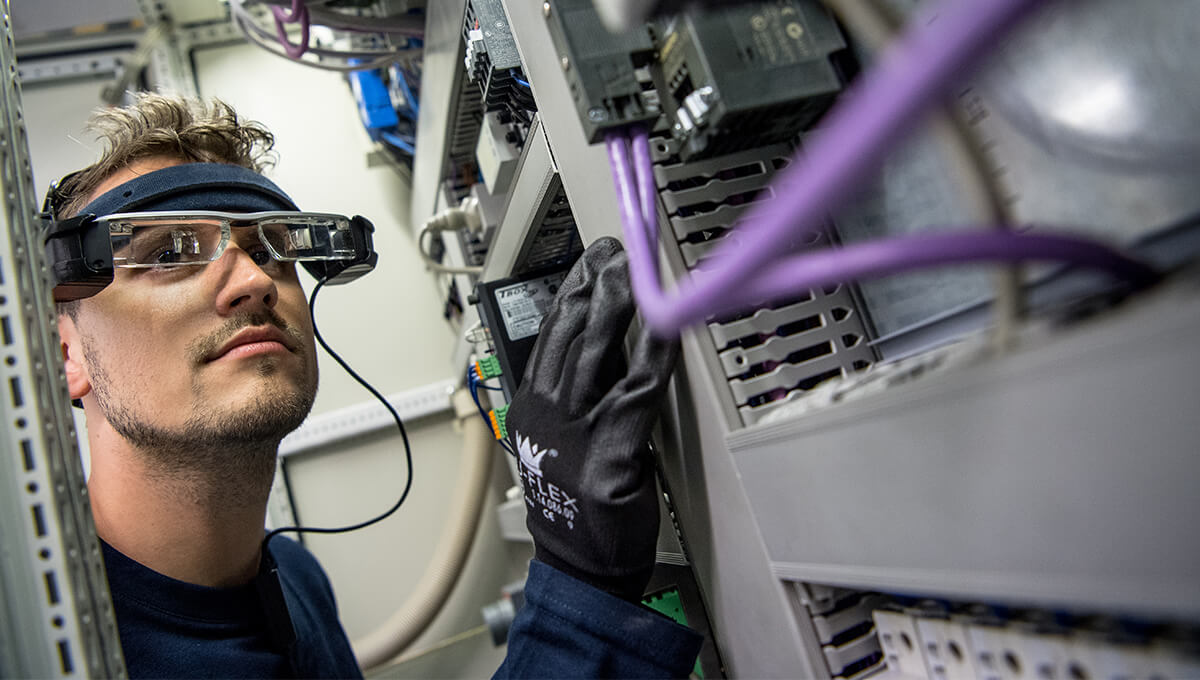
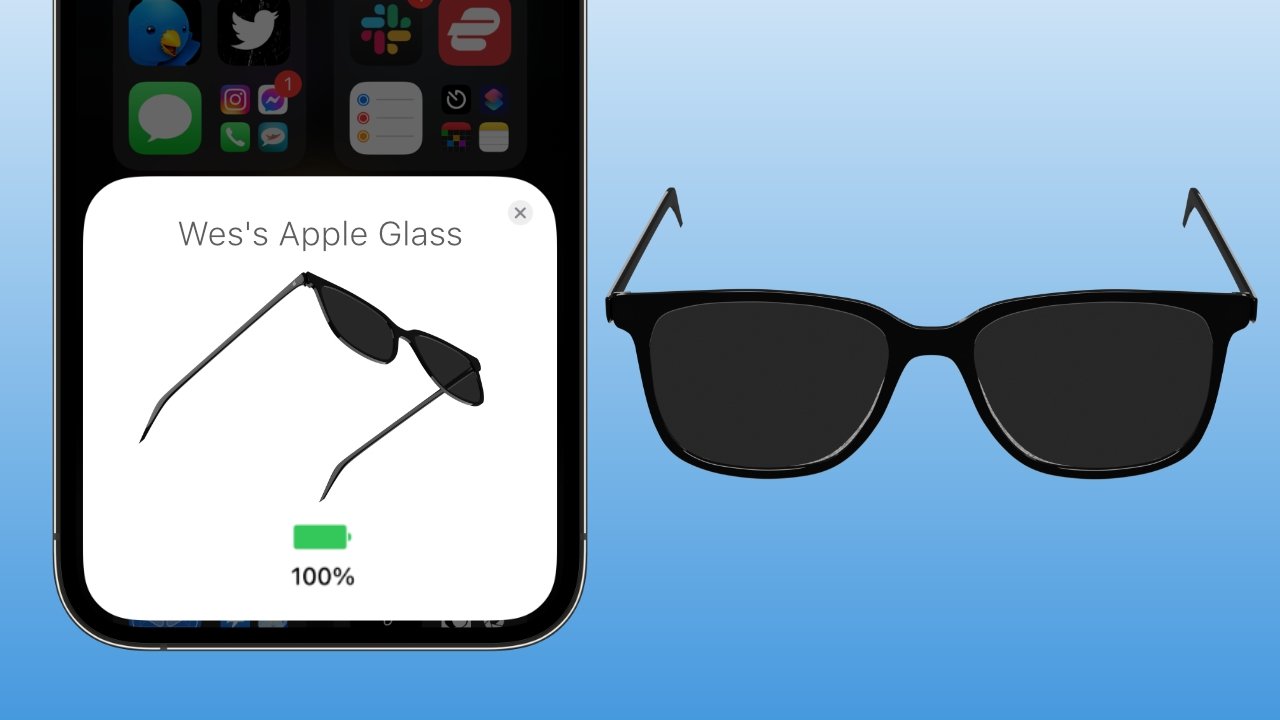
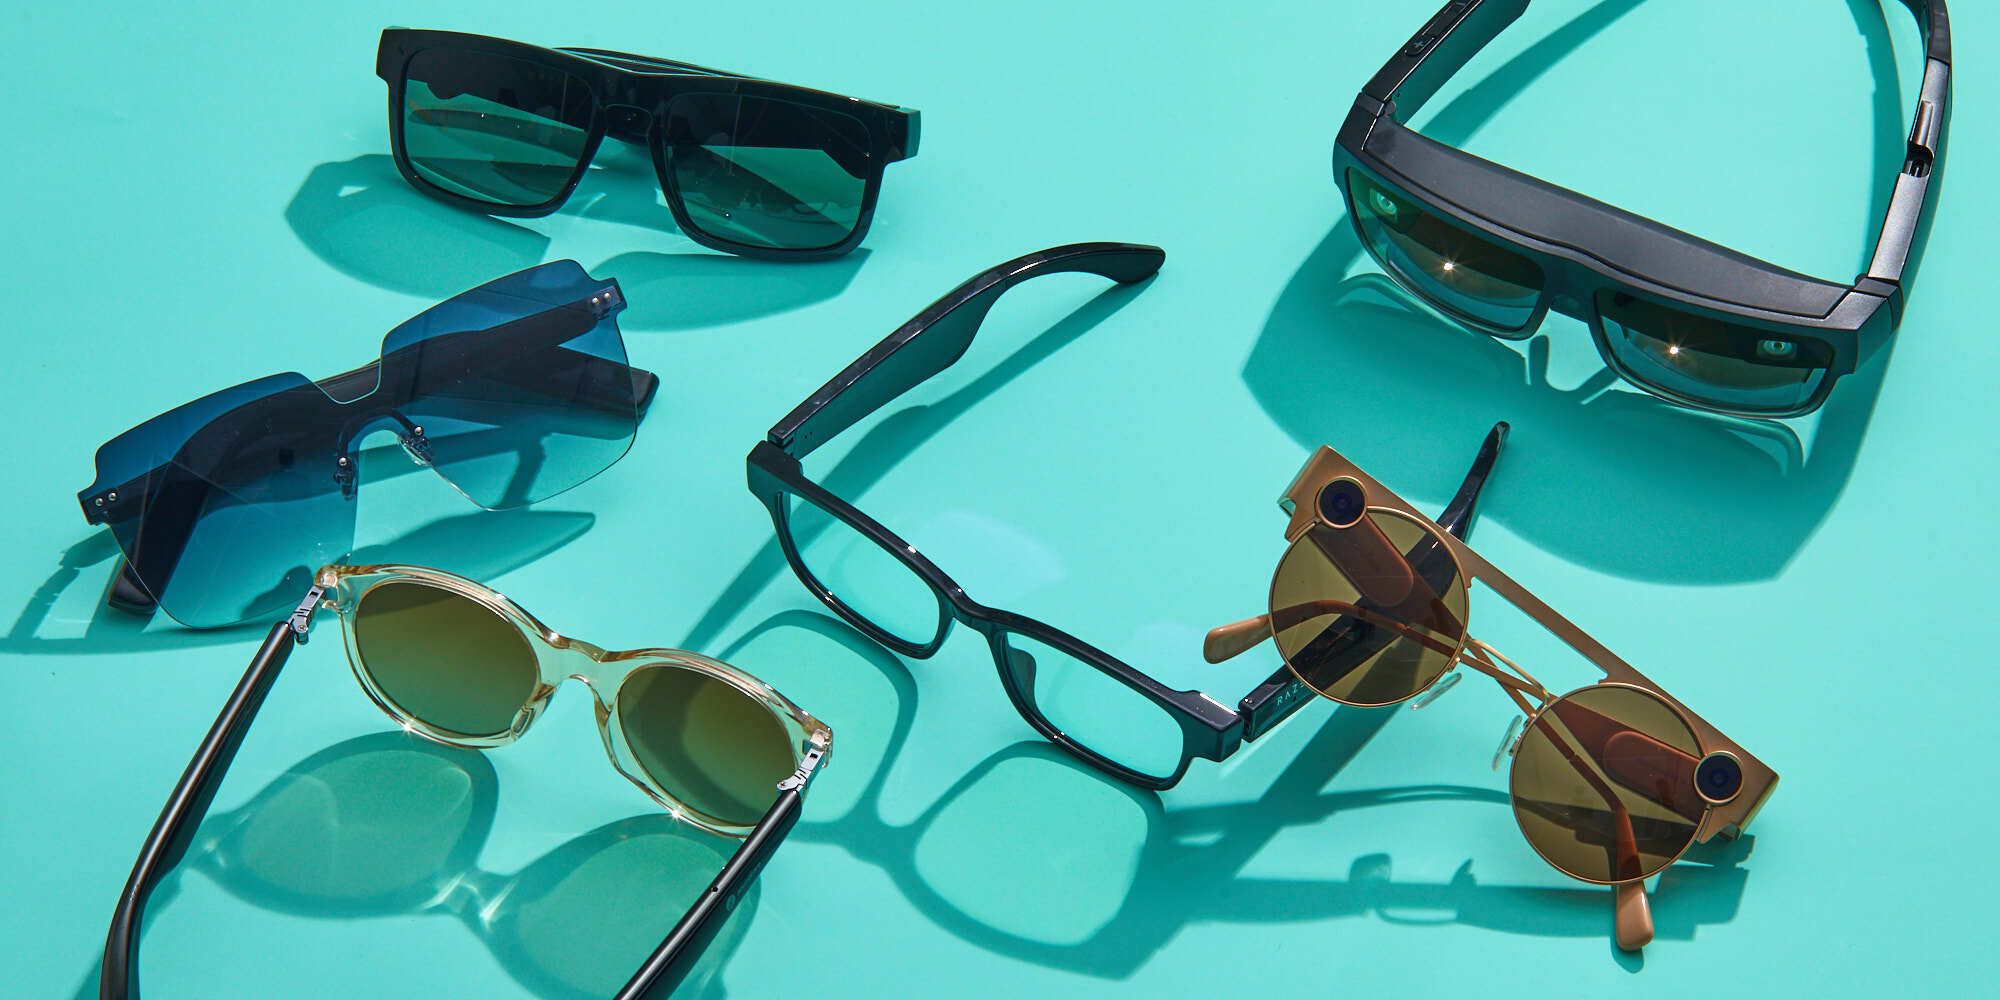
Smart glasses have emerged as a futuristic and innovative technology that combines functionality and fashion. These cutting-edge wearables have gained popularity for their ability to enhance our daily lives, offering features such as augmented reality, hands-free communication, and activity tracking. If you’ve ever wondered how to make your own smart glasses, you’re in luck. In this article, we will guide you through the step-by-step process of creating your very own pair of smart glasses.
By following this tutorial, you will have the opportunity to customize your smart glasses according to your preferences, design them to fit your style, and even add additional features to suit your needs. Whether you’re an electronics enthusiast, a tech-savvy individual, or simply curious about exploring the world of smart devices, this DIY project will empower you to create a unique and personalized set of smart glasses.
Throughout this guide, we will outline the materials you’ll need, provide detailed instructions on each step, and offer helpful tips and tricks to ensure success. Even if you’re not an expert in electronics or coding, fear not! The instructions are designed to be beginner-friendly, allowing anyone with a passion for innovation to participate in this exciting project.
By the end of this tutorial, you’ll have transformed everyday glasses into a powerful and practical wearable device. So, gather your tools, spark your creativity, and let’s dive into the world of DIY smart glasses!
Materials Needed
Before we begin, let’s gather all the materials and tools necessary to create your own smart glasses. Here’s a list of items you’ll need:
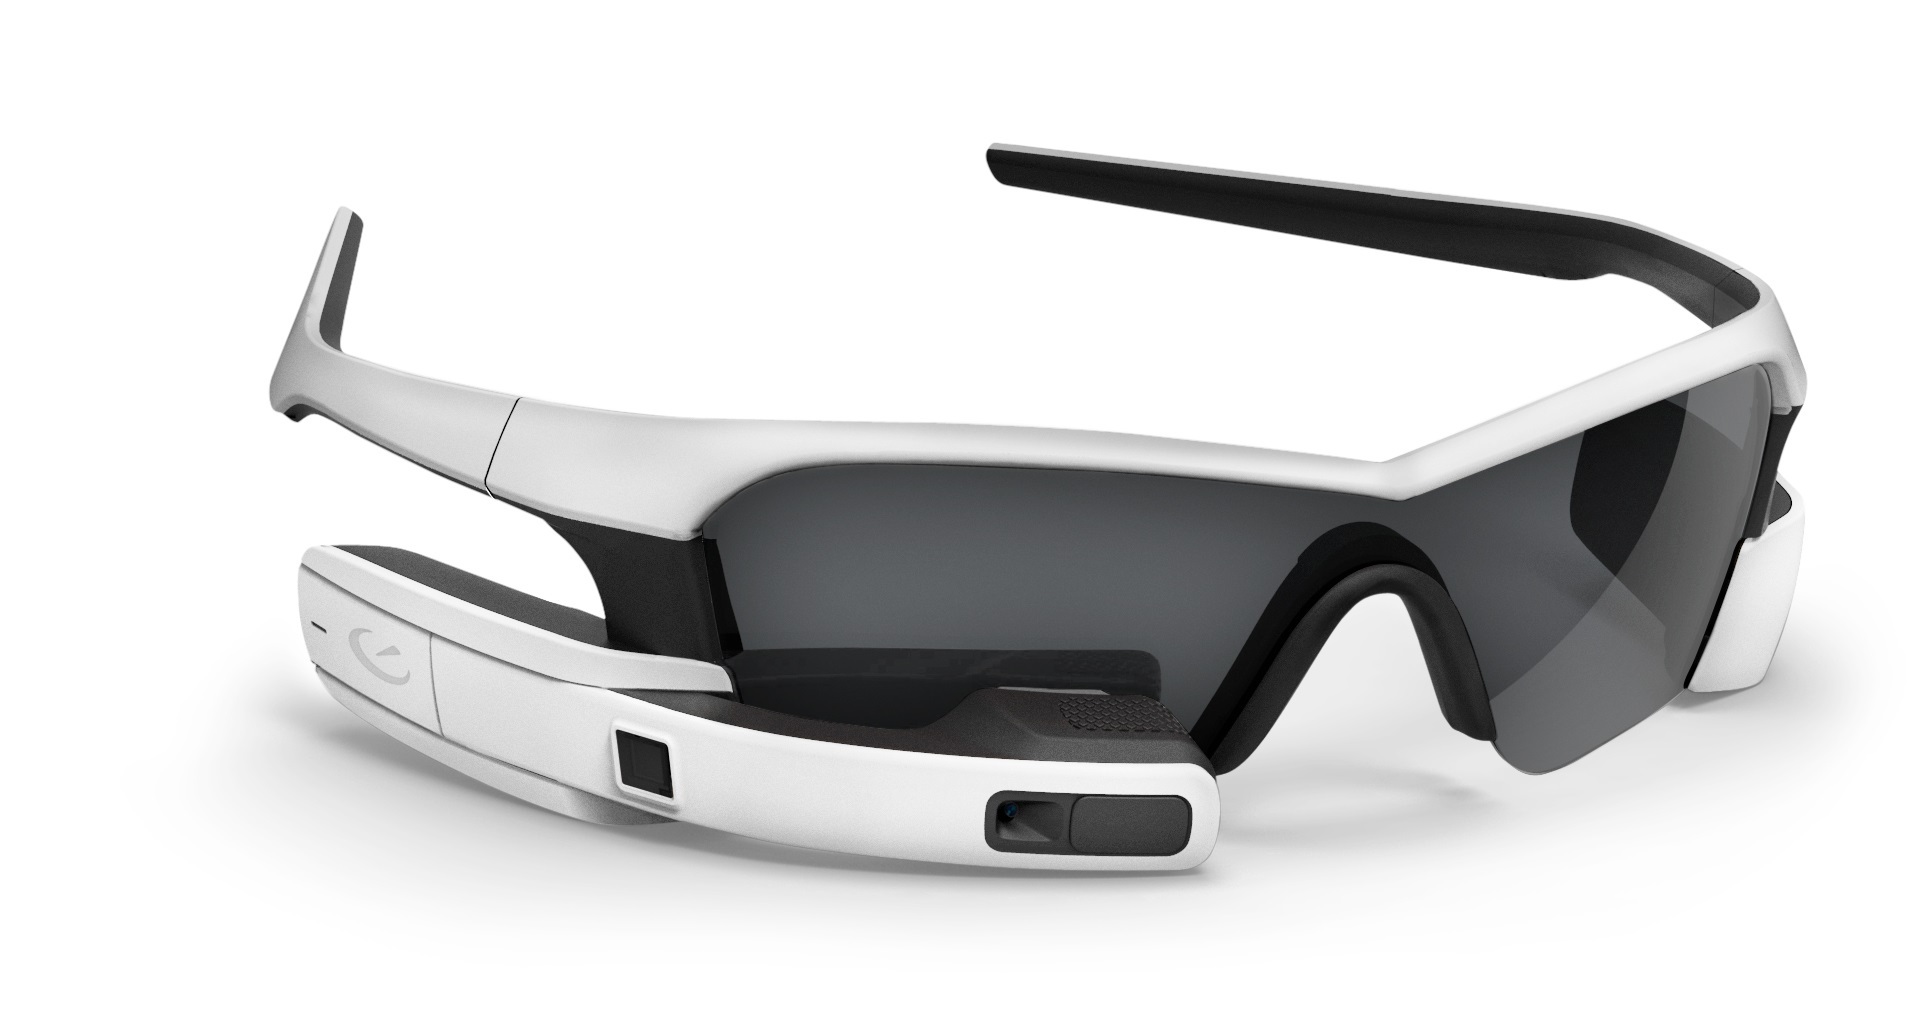
- Basic eyeglass frame: Start with a simple eyeglass frame that fits comfortably on your face. Ensure that the frame has enough surface area to accommodate the electronic components.
- Microcontroller board: Look for a microcontroller board such as Arduino or Raspberry Pi. This will serve as the brain of your smart glasses, allowing you to program and control various functionalities.
- Display module: Choose a small, high-resolution display module that can be easily integrated into the glasses. OLED or LCD displays are popular choices for this purpose.
- Optical lens: Depending on your vision needs, select a compatible optical lens that matches your prescription or desired magnification.
- Camera module: If you want to incorporate a camera into your smart glasses, find a compact camera module that can capture images and record videos.
- Wireless module: To enable connectivity, you’ll need a wireless module like Bluetooth or Wi-Fi. This will allow your smart glasses to connect with other devices and the internet.
- Battery: Look for a small rechargeable battery that can power your smart glasses for an extended period. Consider the size and weight of the battery to maintain comfort when wearing the glasses.
- Sensors: Depending on your desired features, consider adding sensors such as accelerometer, gyroscope, or proximity sensor to enable motion detection and interaction.
- Wires and connectors: Purchase jumper wires, breadboard connectors, and other necessary cables to connect various components of the smart glasses.
- Basic tools: Don’t forget to have a set of screwdrivers, pliers, wire cutters, and other basic tools for assembly and soldering.
Remember, this list provides the essential materials needed to get started. Depending on the complexity and additional features you want to incorporate, you may require additional components or tools. Gather all the materials, ensure their compatibility, and let’s move on to the next step of creating your own smart glasses!
Step 1: Get the Required Components
The first step in creating your own smart glasses is to gather all the necessary components. By ensuring you have everything you need, you can proceed with the project smoothly and without interruptions. Here’s a detailed guide on acquiring the required components:
1. Research and choose the right microcontroller board for your smart glasses. Consider factors such as compatibility, ease of programming, and available community support.
2. Find a display module that fits your requirements. Consider the display size, resolution, and compatibility with your chosen microcontroller board.
3. If you require optical correction, select the appropriate lens for your smart glasses. Consult an optician to get the correct prescription or magnification.
4. Decide if you want to incorporate a camera module into your smart glasses. Research and choose a compact camera module that suits your needs.
5. Choose a wireless module that enables connectivity. Depending on your preferences, select a module that supports Bluetooth, Wi-Fi, or both.
6. Select a small rechargeable battery that can power your smart glasses for an extended period. Consider factors such as capacity, size, and weight.
7. If you want to include additional features, research and choose the necessary sensors for your smart glasses. Popular options include accelerometers, gyroscopes, and proximity sensors.
8. Purchase the required wires and connectors to connect the various components of your smart glasses. Ensure they are compatible with your selected components.
9. Lastly, make sure you have basic tools such as screwdrivers, pliers, and wire cutters, as well as soldering equipment if necessary, for the assembly process.
Once you have acquired all the necessary components, you are ready to move on to the next steps of setting up the electronics and assembling your smart glasses. Keep the components organized and in a secure place to avoid misplacing or damaging them during the building process.
Step 2: Set Up the Electronics
Now that you have gathered all the required components, it’s time to set up the electronics for your smart glasses. This step involves connecting and configuring the different modules and boards to ensure they work together seamlessly. Follow these instructions to set up the electronics:
1. Start by connecting the display module to the microcontroller board using the appropriate cables or connectors. Refer to the documentation of your chosen display and microcontroller for specific instructions on wiring.
2. If you’re incorporating a camera module, connect it to the microcontroller board following the provided guidelines. Pay attention to the pin configuration and make sure to connect the camera module securely.
3. Next, connect the wireless module to the microcontroller board. This will allow your smart glasses to establish connections with other devices or connect to the internet. Follow the instructions provided with the wireless module for a proper connection.
4. If you’re adding any additional sensors, connect them to the microcontroller board as well. Ensure that you follow the correct pin configuration and secure the connections properly.
5. Double-check all the connections to ensure they are secure and properly aligned. Loose connections can lead to malfunctions or unstable performance.
6. Once the connections are complete, power up the microcontroller board. Make sure it boots up successfully and no error messages are displayed.
7. Depending on your chosen microcontroller, you may need to install and configure the required software or libraries. Follow the documentation provided with your microcontroller board to set up the programming environment.
8. Test the connectivity and functionality of the display, camera, wireless module, and any additional sensors. Utilize the programming capabilities of the microcontroller to verify that they are working as intended.
By setting up the electronics correctly, you lay the foundation for the functionality of your smart glasses. Once everything is connected and verified to be in working order, you’re ready to move on to the next step of assembling the frame for your smart glasses.
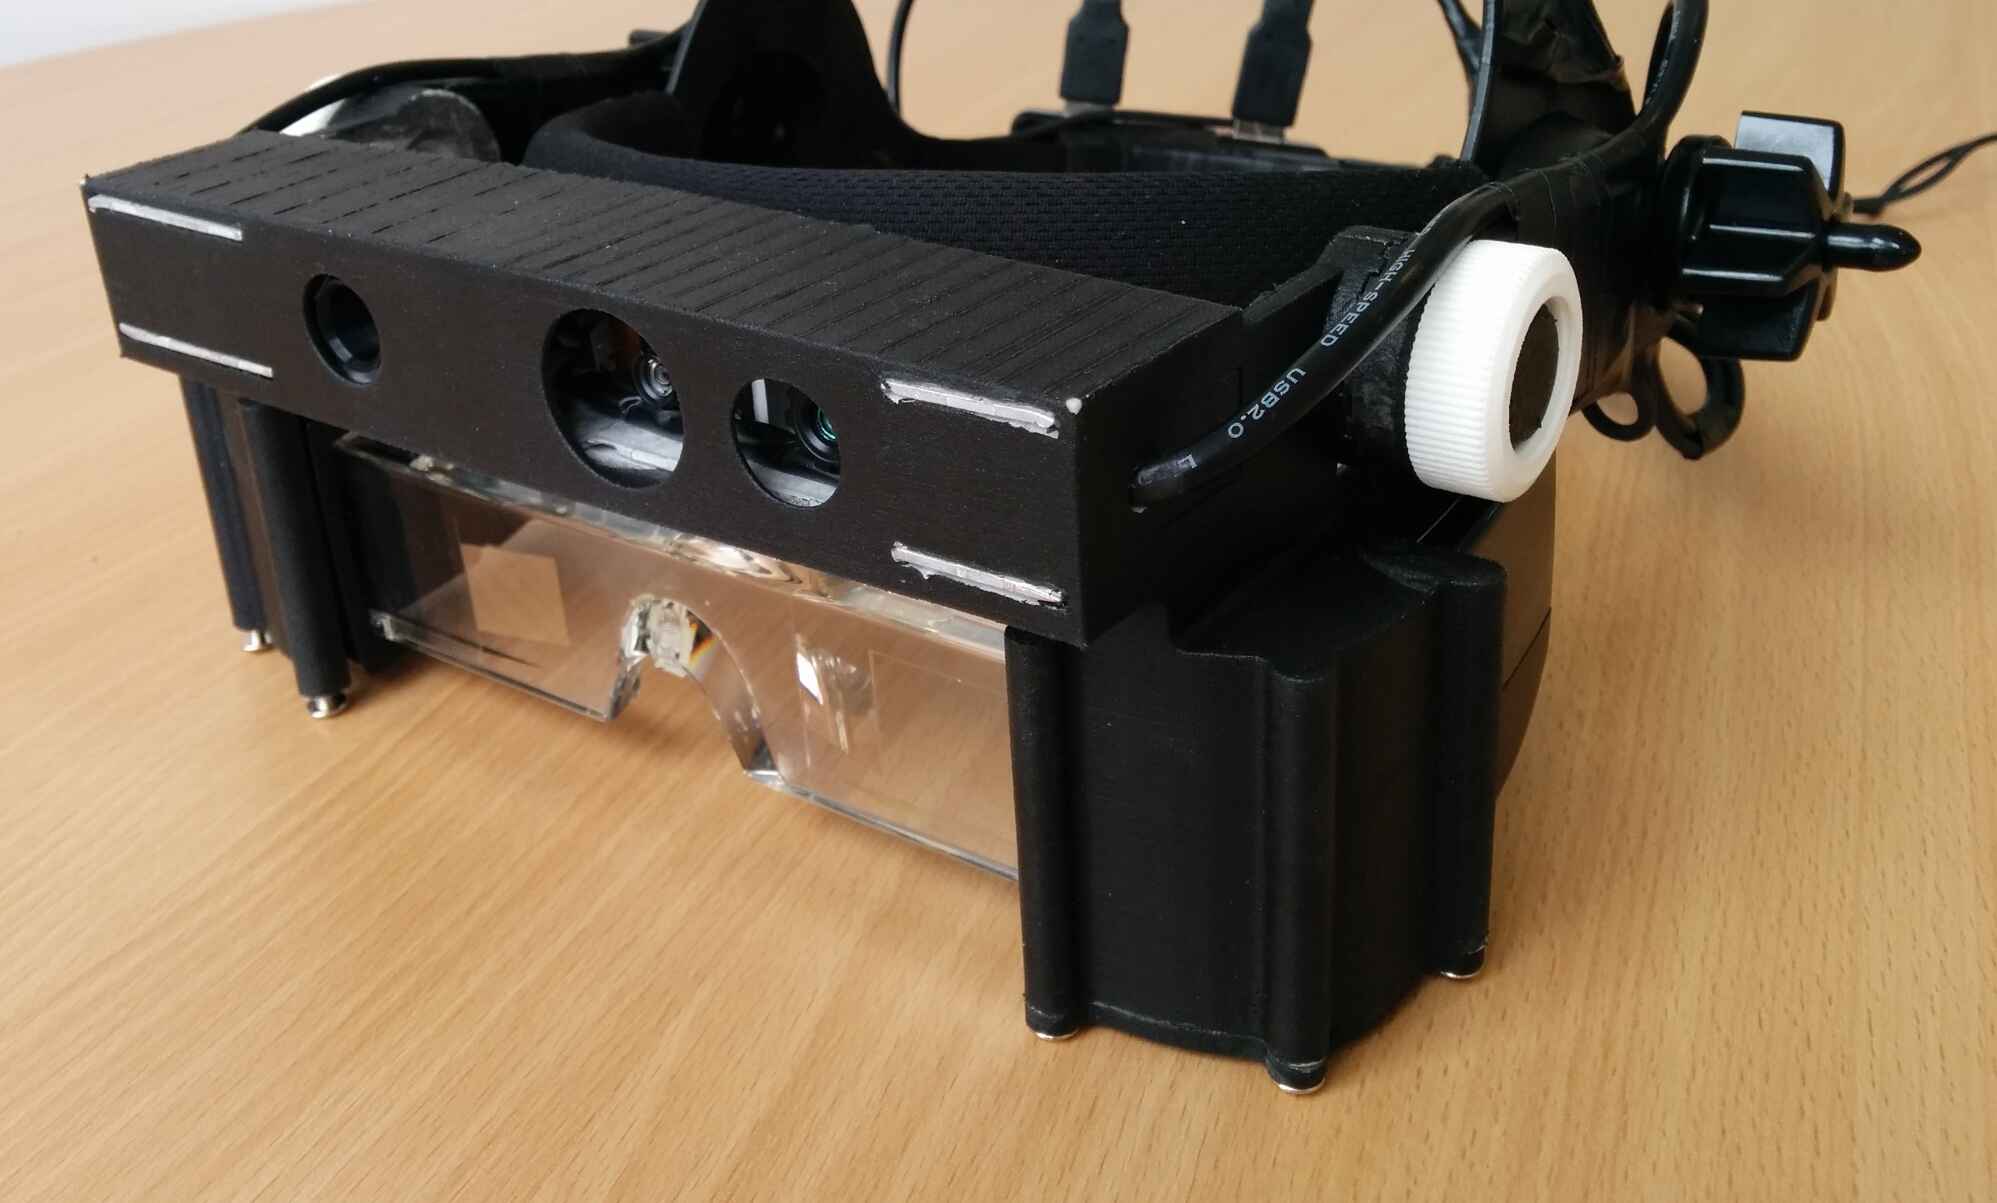
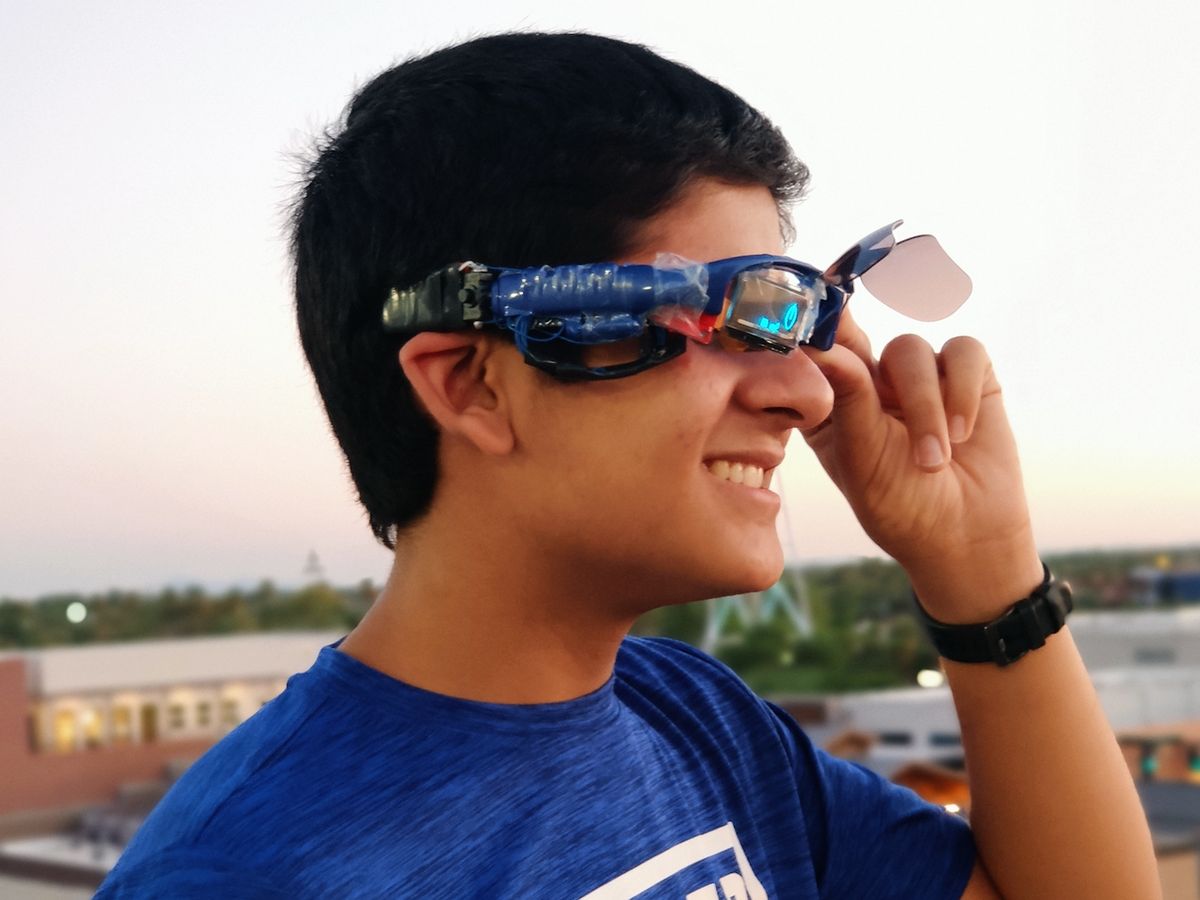
Step 3: Assemble the Frame
With the electronics set up, it’s time to assemble the frame for your smart glasses. This step involves attaching the components to the eyeglass frame securely and in a way that ensures comfort and functionality. Follow these instructions to assemble the frame:
1. Start by removing the lenses from the eyeglass frame if they are already installed. This will make it easier to work with the frame and avoid any potential damage to the lenses during the assembly process.
2. Carefully examine the frame and identify suitable locations to mount the display module, camera module, and other components. Consider factors such as balance, weight distribution, and aesthetics.
3. Attach the display module to the frame using adhesive or small screws. Ensure that the display is positioned in a way that allows for comfortable viewing and doesn’t obstruct your vision.
4. If you’re incorporating a camera module, securely mount it to the frame in a location that provides a clear line of sight and allows for easy operation.
5. Depending on the size of the components and the design of the frame, you may need to make cutouts or modifications to accommodate their placement. Use precision tools to make any necessary adjustments.
6. Reinstall the lenses onto the frame, taking care not to damage them during the process. Ensure that they fit securely and are aligned correctly.
7. Check the overall balance and weight distribution of the smart glasses. Make any necessary adjustments to ensure that wearing them is comfortable and doesn’t strain your ears or nose.
8. Once the components are securely attached and the frame is assembled, do a thorough inspection to ensure everything is in place and properly aligned.
Remember to handle the frame and components with care during the assembly process to avoid any accidental damage. Take your time to ensure that each component is securely attached and positioned correctly.
With the frame assembly complete, you’re ready to move on to the next step of connecting the electronics to the frame.
Step 4: Connect the Electronics to the Frame
Now that you have assembled the frame for your smart glasses, it’s time to connect the electronics to the frame. This step involves integrating the various components into the frame and establishing secure connections. Follow these instructions to connect the electronics to the frame:
1. Begin by carefully routing the wires from the microcontroller board, display module, camera module, and any other components through the frame. Ensure that the wires are neatly organized and don’t interfere with the functionality or comfort of the glasses.
2. Position the microcontroller board in a location on the frame that allows for easy access and doesn’t obstruct your vision. Secure it to the frame using adhesive or small screws, depending on the design of the frame.
3. Connect the display module to the microcontroller board using the appropriate cables. Double-check that the connections are secure and properly aligned. Avoid bending or twisting the cables excessively to prevent damage or signal interference.
4. If you’re incorporating a camera module, connect it to the microcontroller board following the instructions provided with the module. Ensure that the camera is positioned correctly and aligned properly for optimal performance.
5. Connect the wireless module to the microcontroller board, making sure the connections are secure. This will allow your smart glasses to establish connections with other devices or connect to the internet.
6. If you included any additional sensors, connect them to the microcontroller board as well. Ensure that they are positioned in suitable locations and securely attached to the frame.
7. Carefully tuck and secure the wires along the frame to minimize any risk of them getting caught or becoming tangled. Use adhesive clips or cable ties to keep the wires organized and prevent them from dangling or getting in the way.
8. Inspect all the connections to ensure they are secure and properly aligned. Test the functionality of each component by powering on the smart glasses and running a test program or demonstration.
By connecting the electronics securely to the frame, you ensure that the components work harmoniously and don’t cause any discomfort or inconvenience while wearing the smart glasses. Take your time to ensure that each connection is properly made before moving on to the next step of mounting the display.
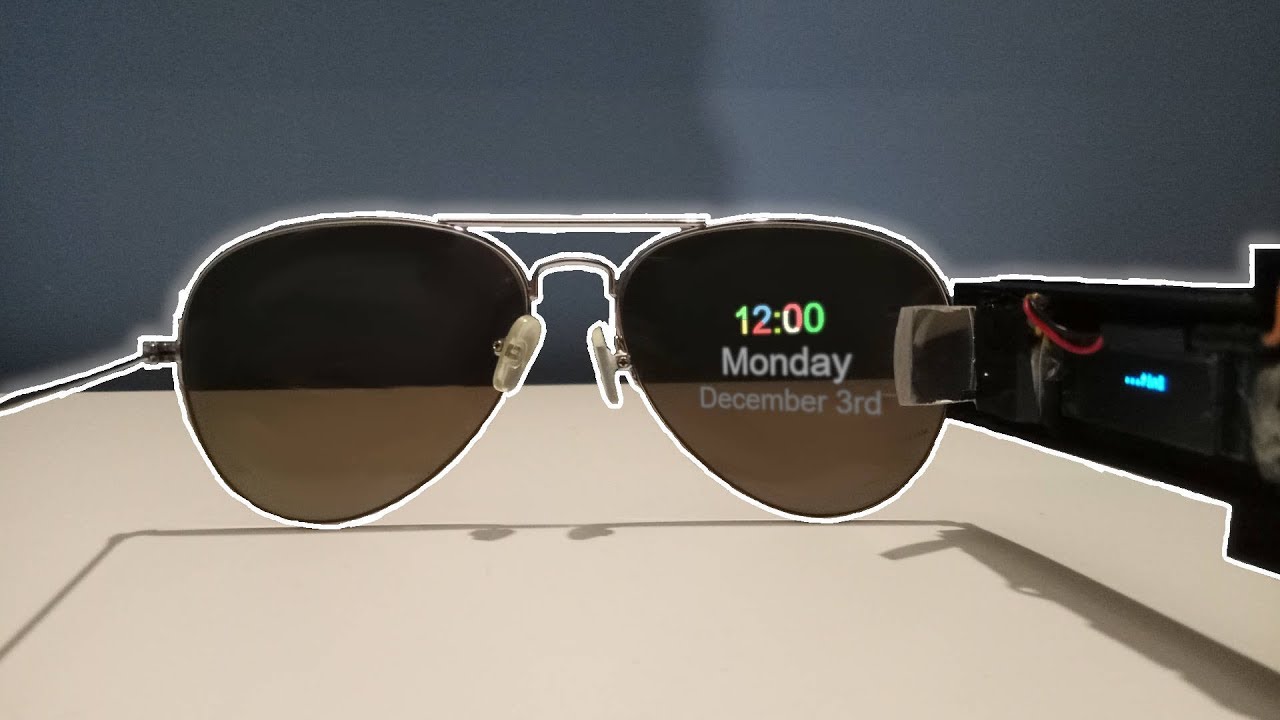
Step 5: Mount the Display
Now that the electronics are connected to the frame, it’s time to mount the display module onto your smart glasses. This step is crucial as it determines how the visuals will be presented and how comfortable the viewing experience will be. Follow these instructions to properly mount the display:
1. Begin by determining the optimal position for the display on the frame. Consider factors such as line of sight, visibility, and comfort. The display should be positioned in front of your eyes at a distance that allows clear viewing without straining your eyes.
2. Depending on the design of your display module, there may be specific mounting requirements. Follow the manufacturer’s instructions for attaching the display to the frame. Some displays may have adhesive backing, while others may require screws or clips for secure mounting.
3. If the display module requires adhesive mounting, carefully peel off the protective backing and align the display with the desired position on the frame. Ensure that the display is level and centered correctly. Apply gentle pressure to secure the display in place.
4. If screws or clips are needed, carefully position the display on the frame and use the appropriate tools to attach it securely. Take care not to overtighten the screws or apply excessive force that could damage the display or frame.
5. Double-check the positioning and alignment of the display. Make any necessary adjustments to ensure that it is centered properly and positioned at the desired angle for optimal viewing.
6. After mounting the display, check the wiring once again to ensure that it is neatly routed and doesn’t interfere with the display or obstruct your vision. Make any necessary adjustments or additional securing of the wires if needed.
7. Test the display by powering on the smart glasses and running a sample program or demonstration. Ensure that the visuals are displayed correctly and there are no issues with the viewing quality or alignment.
By properly mounting the display module, you ensure a comfortable and immersive viewing experience with your smart glasses. Take your time to position and secure the display correctly before moving on to the next step of adding lenses and making necessary adjustments.
Step 6: Add Lens and Adjustments
After mounting the display, it’s time to add the lens to your smart glasses and make any necessary adjustments to ensure optimal visual clarity and comfort. Follow these instructions to add the lens and make necessary adjustments:
1. If you removed the lenses during the assembly process, carefully reinsert them into the frame. Take note of the correct orientation of the lenses to ensure that they are aligned properly for your vision.
2. If your smart glasses are prescription-based, consult an optician to fit the appropriate optical lens into the frame. Provide your prescription details and discuss any specific requirements you may have.
3. Ensure that the lens is securely installed in the frame and does not move or wobble. If needed, adjust the frame or lens holders to achieve a snug fit.
4. Put on the smart glasses and check the visual clarity. Make any necessary adjustments to the frame or lens position to achieve optimal focus and alignment. Ensure that you can clearly see the display without any distortion or discomfort.
5. If you experience any discomfort or strain while wearing the smart glasses, consider adjusting the nose pads or temple arms to achieve a better fit. Ensure that the glasses sit comfortably on your face without exerting pressure on sensitive areas.
6. Take the time to fine-tune the position and alignment of the display module. Ensure that it is centered and positioned at a comfortable distance from your eyes. Make any necessary adjustments to improve the viewing experience.
7. If your smart glasses have adjustable features such as sizing or temple arms, adjust them according to your preferences for a secure and comfortable fit. Ensure that the glasses sit snugly on your face without causing any discomfort or slipping.
8. Wear the smart glasses for an extended period to test the comfort and stability. Pay attention to any pressure points or discomfort and make any final adjustments to alleviate them.
By adding the lens and making necessary adjustments, you enhance the visual quality, comfort, and overall user experience of your smart glasses. Take the time to fine-tune and ensure a proper fit before proceeding to the next step of testing and troubleshooting.
Step 7: Testing and Troubleshooting
After completing the assembly and adjustments, it’s important to thoroughly test your smart glasses and address any potential issues or errors. This step ensures that your glasses function as intended and provides a seamless user experience. Follow these instructions for testing and troubleshooting:
1. Power on your smart glasses and test the basic functionalities such as powering on/off, display illumination, and wireless connectivity. Verify that all the electronic components are functioning properly and responding as expected.
2. Check the display for any visual anomalies such as flickering, distortion, or incorrect color reproduction. Adjust the settings on the microcontroller board or display module to ensure optimal visual quality.
3. Test the camera module by capturing images or recording videos. Verify that the camera is functioning correctly and producing clear and accurate visuals. Adjust the camera settings or reposition it if necessary.
4. Verify the wireless connectivity by pairing the smart glasses with other devices or connecting them to the internet. Test the data transfer and ensure stable and reliable connections.
5. Test any additional sensors or features incorporated into your smart glasses. Verify that they react to appropriate movements or inputs and provide accurate measurements or data.
6. If you encounter any issues or errors during the testing phase, consult the documentation and troubleshooting guides for your components. Search online forums or reach out to the community for assistance in resolving the specific problem.
7. Perform thorough testing under different conditions and scenarios to ensure the stability and reliability of your smart glasses. Consider testing in different lighting conditions, various environments, and with different devices or applications for comprehensive validation.
8. If you identify any issues or areas for improvement during the testing phase, make necessary adjustments or refinements to enhance the performance of your smart glasses. This may involve software modifications, component replacements, or further calibration.
By conducting thorough testing and troubleshooting, you can ensure that your smart glasses function flawlessly and provide an optimized user experience. Addressing any issues or errors promptly will result in a more reliable and enjoyable wearable device.
Conclusion
Congratulations! By following this step-by-step guide, you have successfully created your own pair of smart glasses. From gathering the necessary components to assembling the frame, connecting the electronics, and fine-tuning the fit, you have embarked on an exciting journey of exploration and innovation.
Smart glasses offer a wide range of possibilities, from augmented reality experiences to hands-free communication and activity tracking. By customizing and personalizing your smart glasses, you have created a unique wearable device that reflects your style and preferences.
Throughout the process, you may have encountered challenges and obstacles, but with perseverance and attention to detail, you overcame them. The testing and troubleshooting phase ensured that your smart glasses are functioning optimally and providing a seamless user experience.
Now, it’s time to fully enjoy and explore the capabilities of your smart glasses. Take advantage of the features and functionalities they offer, whether it’s browsing the internet, capturing memories with the built-in camera, or immersing yourself in augmented reality applications.
Remember to continue learning and experimenting with your smart glasses. Stay informed about the latest advancements in the field and embrace the potential for future enhancements and upgrades. Share your experiences and discoveries with the community to inspire others and contribute to the evolving world of smart devices.
With your newfound knowledge and skills, you can even consider further enhancing and customizing your smart glasses by adding new functionalities or integrating additional technologies. The possibilities are endless, and your creativity and curiosity are the only limitations.
Thank you for joining us on this DIY journey of creating your own smart glasses. We hope you found this guide helpful and insightful. Now, go forth and embrace the future with your unique wearable creation!