Introduction
With the increasing reliance on electronic devices in our day-to-day lives, having a reliable power source is essential. Power banks, also known as portable chargers, have become a popular solution to keep our devices powered up on the go. While there are plenty of power banks available on the market, why not create your own customized power bank? In this article, we will guide you through the process of making your own power bank from scratch.
Making your own power bank has several advantages. Firstly, it allows you to have complete control over the design and functionality of the device. You can choose the size, capacity, and features that suit your specific needs. Additionally, making a power bank yourself can be a rewarding and fun DIY project.
Before we dive into the step-by-step process, it’s important to gather all the necessary materials. This will ensure a smooth and efficient construction of your power bank. Here’s a list of the key components you will need:
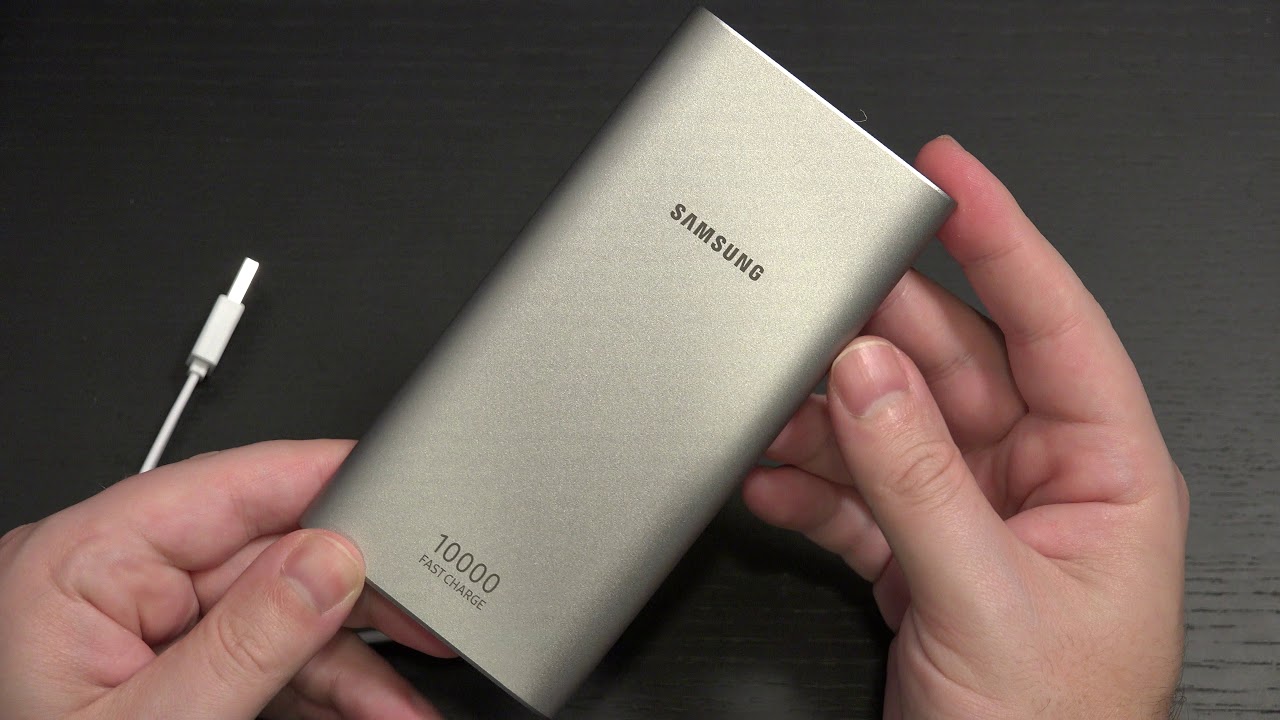
- Power bank casing
- Rechargeable batteries
- Charging module
- USB port
- Wires and connectors
- Soldering iron (optional)
- Screwdriver
Now that you have an overview of what’s required, let’s move on to the step-by-step process of making your own power bank. Don’t worry, you don’t need to be an expert in electronics to successfully complete this project. Just follow along and enjoy the journey of creating your very own personalized power bank.
Materials Needed
Before you begin creating your own power bank, it’s essential to gather all the necessary materials. Having everything prepared in advance will ensure a smooth and efficient construction process. Here is a list of the main components you will need:
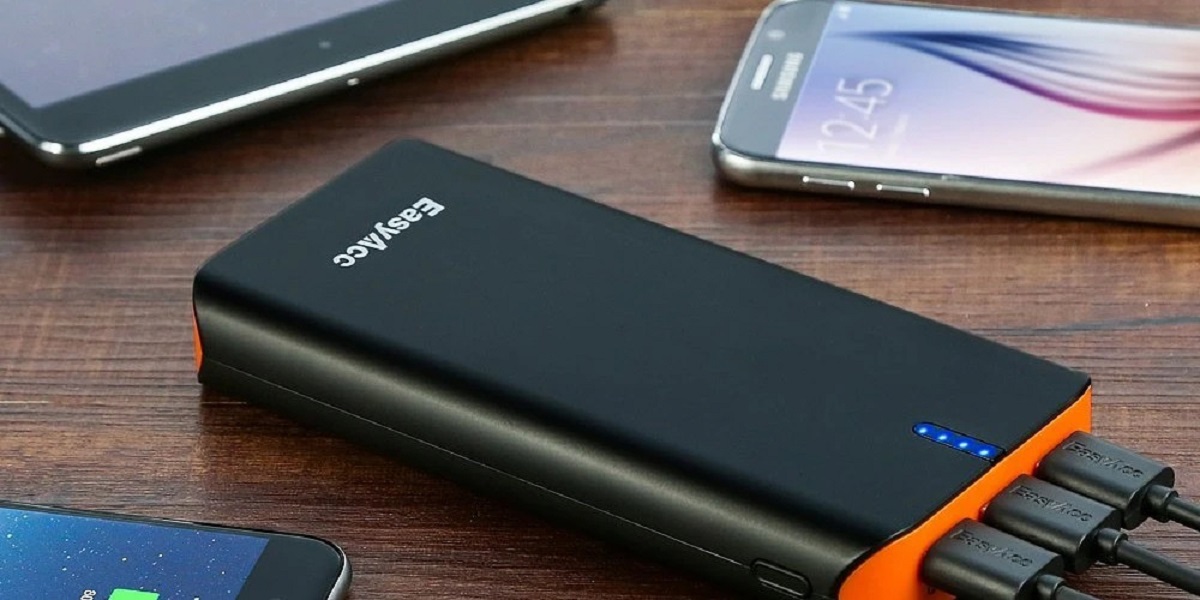
- Power bank casing: You will need a suitable casing to house all the components of your power bank. It should be sturdy, compact, and able to accommodate the batteries, charging module, and USB port.
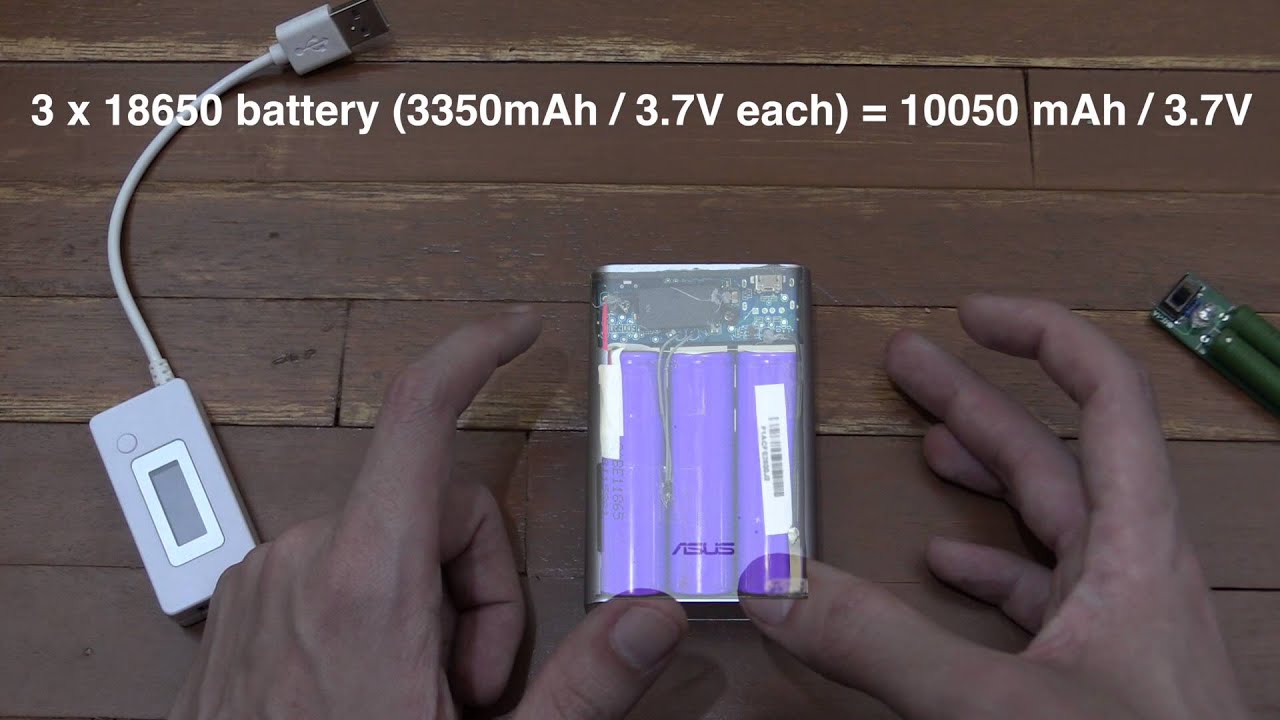
- Rechargeable batteries: These are the heart of your power bank. Choose high-quality lithium-ion or lithium-polymer batteries with a sufficient capacity to provide the desired power output. It’s important to select batteries with built-in protection circuits to prevent overcharging and excessive discharge.
- Charging module: This module regulates the power flow from the batteries to your devices. Look for a charging module that supports fast charging, multiple USB ports, and has built-in safety features like overcurrent and short-circuit protection.
- USB port: You will need a USB port to connect your devices for charging. Opt for a reliable and durable USB port that can handle the power requirements of your devices.
- Wires and connectors: Get a variety of wires and connectors to connect all the components together. Use wires with appropriate gauge and connectors that are compatible with the batteries, charging module, and USB port.
- Soldering iron (optional): If you’re comfortable with soldering, a soldering iron can be handy for secure connections. However, it is not mandatory, as you can also use connectors and terminal blocks for assembly.
- Screwdriver: A screwdriver will be necessary for opening the power bank casing, installing the components securely, and making any adjustments if needed.
By gathering these materials, you will have everything you need to start building your own power bank. Remember to choose high-quality components to ensure the longevity and efficiency of your power bank. Now that all the materials are ready, let’s move on to the step-by-step process of creating your power bank.
Step 1: Gather the Components
The first step in making your own power bank is to gather all the necessary components. By having everything on hand, you can ensure a smooth and efficient construction process. Here’s what you’ll need:
- Power bank casing: Choose a suitable casing that is durable, compact, and has enough space to accommodate the batteries and other components. You can find power bank casings online or at electronics stores.
- Rechargeable batteries: Look for high-quality lithium-ion or lithium-polymer batteries with sufficient capacity to meet your power needs. Make sure they have built-in protection circuits to prevent overcharging and excessive discharge.
- Charging module: Select a charging module that supports fast charging and is compatible with your chosen batteries. Look for features like multiple USB ports, overcurrent protection, and short-circuit protection to ensure safety.
- USB port: Choose a reliable and durable USB port that can handle the power requirements of your devices. Consider the number of USB ports you require and opt for one with high-speed charging capabilities.
- Wires and connectors: Get a variety of wires and connectors to connect the batteries, charging module, and USB port. Use wires with appropriate gauge for efficient power transfer.
- Soldering iron (optional): If you are comfortable with soldering, having a soldering iron can help you make secure connections. However, it is not essential, as you can also use connectors and terminal blocks for assembly.
- Screwdriver: Have a screwdriver on hand to open the power bank casing, install the components securely, and make any necessary adjustments.
Once you have gathered all the components, you can move on to the next steps of assembling your power bank. Remember to choose high-quality components to ensure the longevity and efficiency of your power bank. With everything ready, you are now set to create your own power bank from scratch.
Step 2: Prepare the Power Bank Casing
After gathering all the necessary components, the next step in creating your own power bank is to prepare the power bank casing. Follow these steps to get your casing ready:
- Open the casing: Use a screwdriver to carefully remove any screws or clips securing the casing. Gently pry open the casing, being mindful not to damage any internal components. Once the casing is open, set aside the screws or clips in a safe place for later use.
- Clean the casing: Inspect the inside of the casing and remove any dust or debris. Use a soft brush or cloth to clean the interior surfaces. This will help ensure that the components fit properly and there are no obstructions that could affect the functionality of your power bank.
- Check for any fitting modifications: Some power bank casings may come with pre-drilled holes or slots for specific components such as the charging module or USB port. Check if your casing requires any modifications to fit these components. If modifications are needed, carefully follow the instructions provided with the casing to make the necessary adjustments. Ensure that the modified areas are smooth and free from any sharp edges that could damage the components or wires.
- Make room for the batteries: Since the batteries are one of the largest components, it is crucial to create adequate space for them inside the casing. Measure the dimensions of the batteries and mark the appropriate areas on the casing where the batteries will be placed. Use a cutter or a drill, if necessary, to create slots or holes in the casing to accommodate the batteries. It is essential to ensure that the batteries fit securely and tightly to prevent any movement while in use.
- Secure the casing: Once you have prepared the casing by cleaning, making any necessary modifications, and creating space for the batteries, it’s time to secure the casing back together. Align the two halves of the casing properly and gently press them together. If there were screws or clips, insert them back into their original positions and tighten them securely. Ensure that the casing is tightly closed without any gaps or loose parts.
By following these steps, you will have successfully prepared the power bank casing for the next stages of assembly. Now that the casing is ready, it’s time to move on to the next step — connecting the batteries.
Step 3: Connect the Batteries
Now that you have prepared the power bank casing, the next step is to connect the batteries. Follow these steps to ensure a proper connection:
- Prepare the batteries: Take the rechargeable batteries you have chosen for your power bank. Ensure that they are fully charged and in good condition. Check for any signs of damage or leakage, and if any are found, do not use those batteries. It is important to use batteries of the same type and capacity to maintain a balanced power supply.
- Identify the positive and negative terminals: Look for the positive (+) and negative (-) terminals on each battery. These terminals are usually labeled or marked with symbols. Make sure to identify them correctly. Confusing the terminals can lead to improper battery connections and potential damage to your power bank.
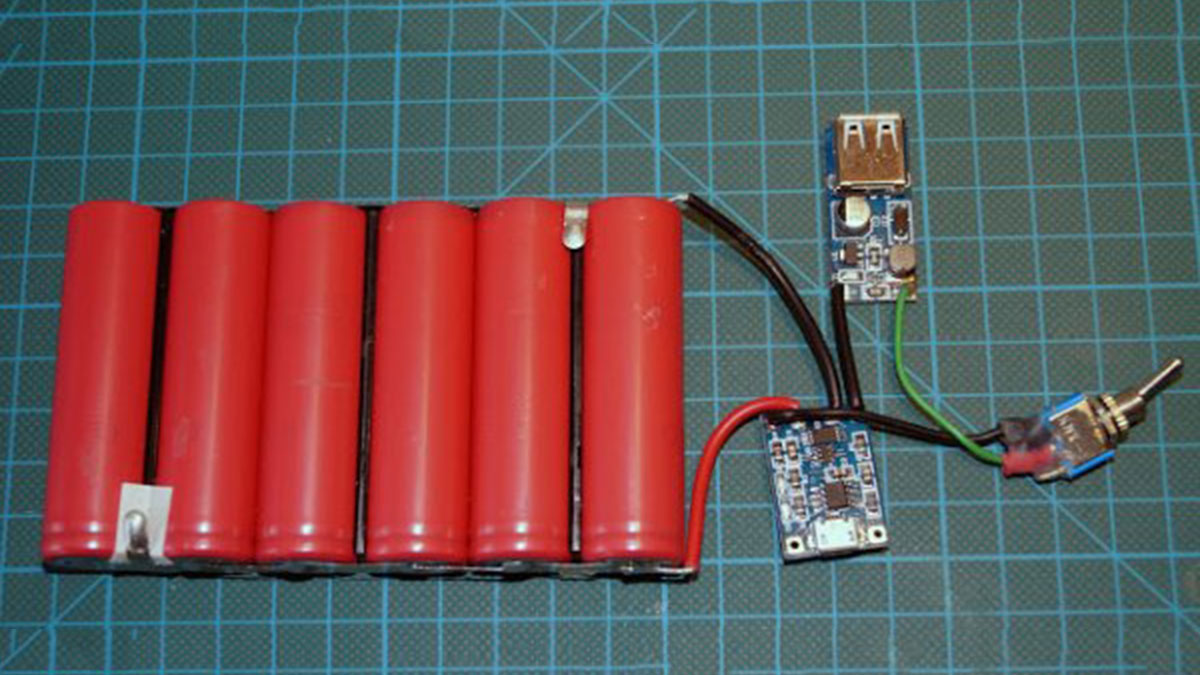
- Connect the batteries in series or parallel: Depending on your desired output voltage and capacity, you will need to connect the batteries in either series or parallel. When connected in series, the positive terminal of one battery is connected to the negative terminal of the next battery. This increases the voltage output. When connected in parallel, the positive terminals are connected together, and the negative terminals are connected together. This increases the overall capacity while maintaining the same voltage output.
- Make the battery connections: Use wires and connectors to join the positive and negative terminals of the batteries according to the desired configuration (series or parallel). Strip a small portion of the wire insulation from each end to expose the metal conductor. Attach one end of the wire to the positive terminal of one battery and the other end to the negative terminal of the next battery. Repeat this process for all the batteries until the desired configuration is achieved.
- Secure the battery connections: Once the connections are made, ensure that they are secure and tight. Use electrical tape or shrink tubing to insulate the exposed wire connections. This will prevent any short circuits or accidental contact with other components.
By following these steps and ensuring proper battery connections, you are well on your way to creating your own functional power bank. The next step is to install the charging module to regulate the power flow.
Step 4: Install the Charging Module
With the batteries connected, the next step in creating your power bank is to install the charging module. This module regulates the power flow from the batteries to your devices. Follow these steps to install the charging module:
- Choose the appropriate location: Determine the best location inside the power bank casing to install the charging module. Consider factors such as available space, accessibility, and the position of other components. Ideally, the module should be placed in a central and easily reachable area.
- Position the charging module: Place the charging module inside the casing, making sure that it fits securely and aligns with any pre-drilled holes or slots, if applicable. Ensure that the input and output ports of the charging module are easily accessible and correctly aligned with the openings in the casing.
- Make the electrical connections: Connect the positive (+) and negative (-) terminals of the charging module to the corresponding terminals of the battery connections. Use wires and connectors to establish a secure connection. Double-check the polarity to ensure that the connections are correct, as reversing the polarity can damage the charging module.
- Secure the charging module: Once the electrical connections are made, use adhesive or fasteners to secure the charging module in place. Make sure that it is firmly fixed and does not move or shift within the casing.
- Insulate the connections: To avoid any potential short circuits or accidental contact, insulate the exposed wire connections using electrical tape or shrink tubing. Ensure that all connections are properly covered to protect them from damage and to maintain a safe working environment.
By following these steps, you will have successfully installed the charging module in your power bank. This module plays a vital role in regulating the power output and protecting your devices from overcharging or short circuits. The next step is to add the USB port, which will allow you to connect your devices for charging.
Step 5: Add the USB Port
Now that the charging module is installed, it’s time to add the USB port to your power bank. The USB port will allow you to connect your devices for charging. Follow these steps to add the USB port:
- Choose the appropriate location: Determine the optimal location inside the power bank casing to install the USB port. Consider factors such as accessibility, available space, and the position of other components. Ideally, the port should be easily reachable and located in a convenient spot.
- Position the USB port: Place the USB port inside the casing, ensuring that it fits securely and aligns with any pre-drilled holes or slots, if applicable. Ensure that the USB port is oriented correctly, with the correct side facing outwards for device connection.
- Make the electrical connections: Connect the positive (+) and negative (-) terminals of the USB port to the corresponding terminals of the charging module. Use wires and connectors to establish a secure connection. Double-check the polarity to ensure that the connections are correct, as reversing the polarity can damage the USB port.
- Secure the USB port: Once the electrical connections are made, use adhesive or fasteners to secure the USB port in place. Ensure that it is firmly fixed and does not move or shift within the casing. This will ensure a stable and secure connection when plugging in devices.
- Insulate the connections: To prevent any potential short circuits or accidental contact, insulate the exposed wire connections using electrical tape or shrink tubing. Ensure that all connections are properly covered to protect them from damage and to maintain a safe working environment.
By following these steps, you will have successfully added the USB port to your power bank. This will enable you to connect your devices and charge them on the go. The next step is to connect all the components together to complete the assembly of your power bank!
Step 6: Connect All the Components
With the USB port added, it’s time to connect all the components together to complete the assembly of your power bank. Follow these steps to ensure proper connections:
- Prepare the wires and connectors: Take the wires and connectors you gathered earlier and prepare them for connection. Cut the wires to the appropriate lengths, leaving a bit of extra length for flexibility. Strip a small portion of insulation from each end of the wires.
- Connect the batteries to the charging module: Using the prepared wires and connectors, connect the positive (+) and negative (-) terminals of the batteries to the corresponding terminals of the charging module. Make sure to match the polarity correctly to avoid any damage or malfunction.
- Connect the charging module to the USB port: Use wires and connectors to establish a connection between the charging module and the USB port. Connect the positive (+) and negative (-) terminals of the charging module to the corresponding terminals of the USB port.
- Insulate the connections: Once the connections are made, insulate the exposed wire connections using electrical tape or shrink tubing. Ensure that all connections are properly covered to prevent any potential short circuits or accidental contact with other components.
- Test the connections: Before closing the power bank casing, it’s important to test the connections to ensure everything is working correctly. Connect a device or a multimeter to the USB port and confirm that it is able to charge or measure the voltage and current appropriately.
- Make any necessary adjustments: If any issues are detected during testing, double-check the connections and make any necessary adjustments. Ensure that all components are securely connected and that there are no loose wires or connections that could affect the functionality of the power bank.
By following these steps and making sure all the components are properly connected, you are now one step closer to having a fully functional power bank. The final step is to test the power bank to ensure its performance and reliability.
Step 7: Test the Power Bank
After connecting all the components, it’s crucial to test the power bank to ensure its performance and reliability. Follow these steps to properly test your power bank:
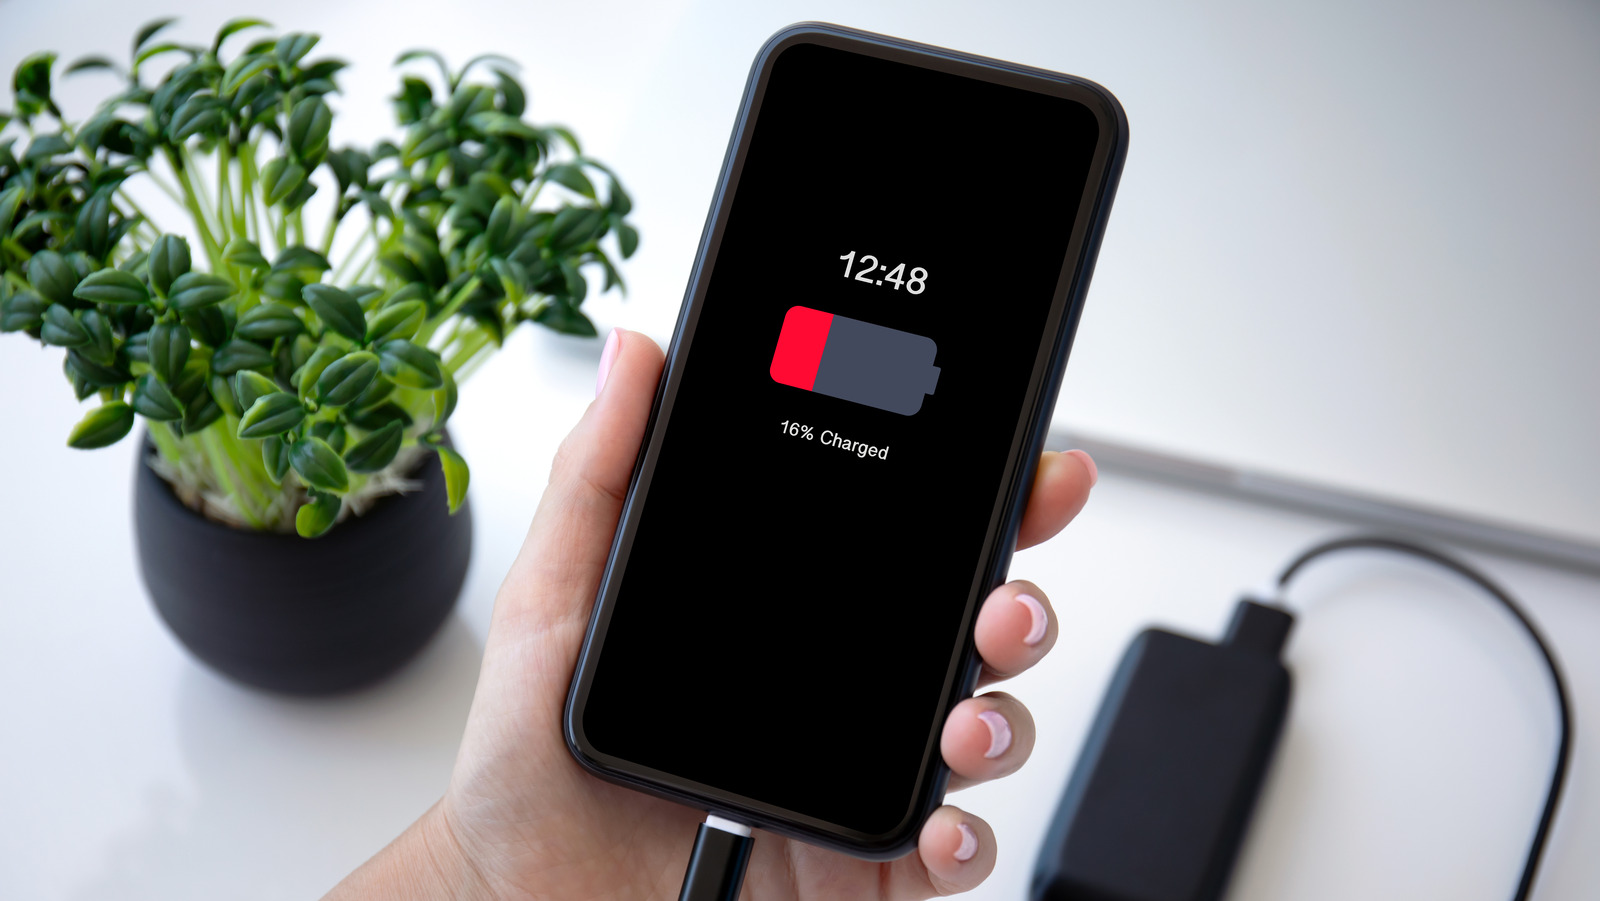
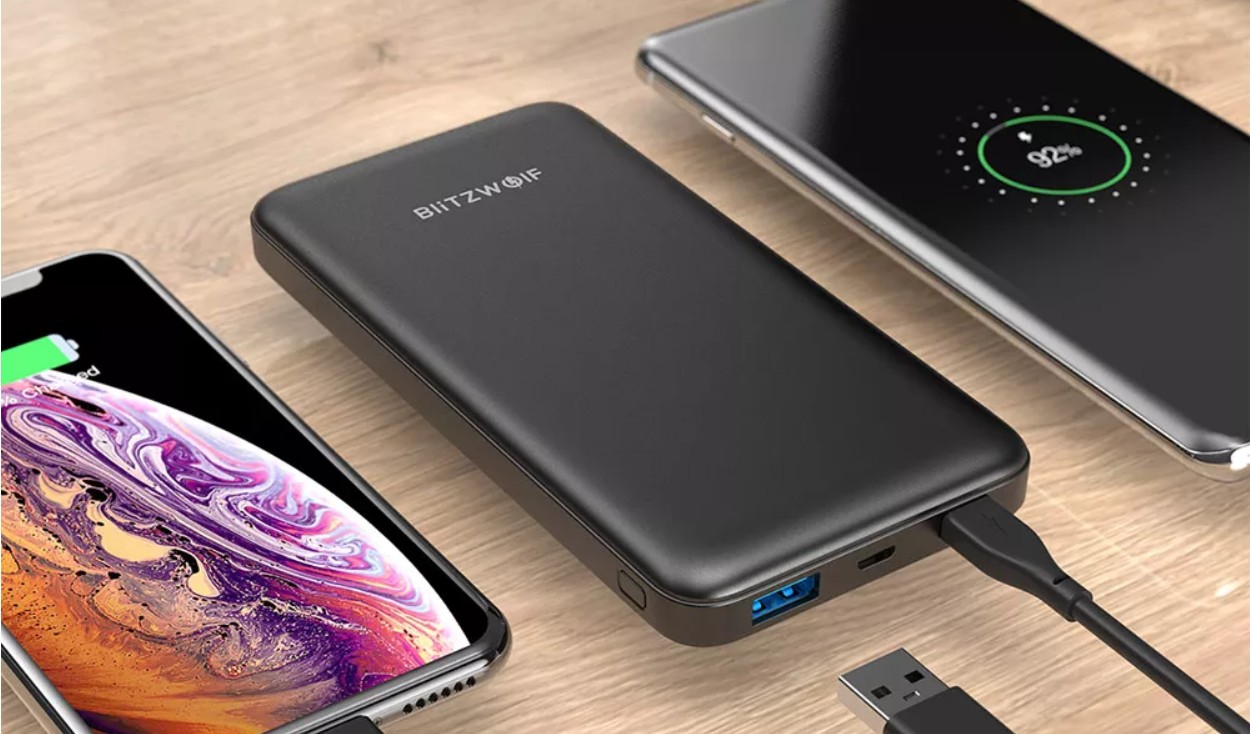
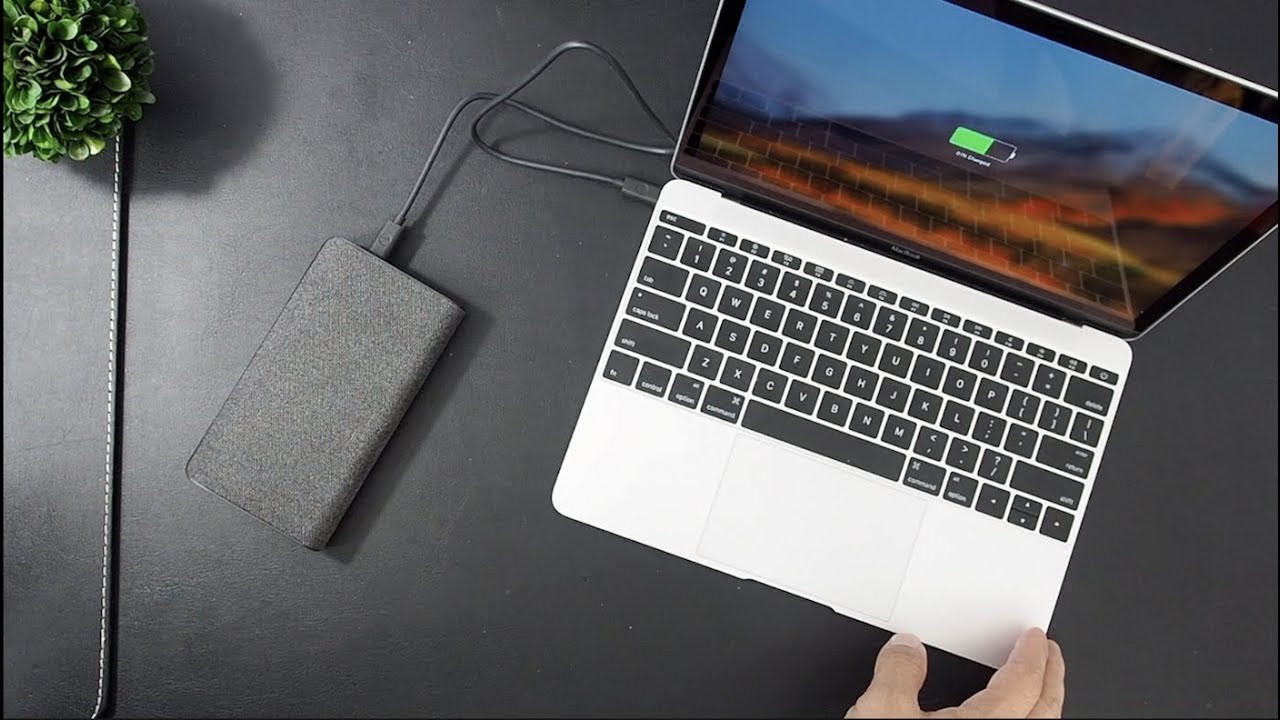
- Charge the power bank: Connect the power bank to a reliable power source using the appropriate charging cable. It is recommended to use a high-quality charger that matches the input specifications of your power bank. Allow the power bank to charge fully until the batteries reach their maximum capacity.
- Identify a test device: Select a device that needs charging, such as a smartphone or tablet, to use as a test device. Ensure that the device’s battery level is low to accurately assess the charging performance of the power bank.
- Connect the test device: Use a compatible charging cable to connect the test device to the USB port of your power bank. Make sure the connection is secure and properly aligned.
- Monitor the charging: Observe the charging process of the test device. Pay attention to the charging speed and ensure that the device is receiving a stable and consistent power supply. Check if the device’s battery level increases as expected.
- Verify the safety features: During the charging process, make sure to monitor for any overheating or abnormal behaviors. If your power bank has built-in safety features, such as overcurrent or short-circuit protection, ensure that they are functioning properly.
- Test with different devices: To further validate the compatibility and functionality of your power bank, try charging different devices of varying power requirements. Test with smartphones, tablets, wireless earbuds, or any other devices that can be charged through a USB connection.
- Check the battery life: Monitor how many times you can charge the test device or other devices with a fully charged power bank. Compare it to the expected capacity of your power bank. Ensure that the power bank provides the desired amount of backup power.
By following these steps and thoroughly testing your power bank, you can ensure that it functions properly and meets your charging needs. If any issues are encountered during the testing phase, review the connections and components, and make the necessary adjustments. Once satisfied with the performance of your power bank, you can confidently use it to keep your devices charged while on the go.
Conclusion
Congratulations! You have successfully learned how to create your own power bank from scratch. By gathering the necessary materials, preparing the power bank casing, connecting the batteries, installing the charging module, adding the USB port, and connecting all the components, you have created a fully functional power bank.
Making your own power bank allows you to have control over its design, capacity, and functionality. It also gives you the satisfaction of creating a personalized device that meets your specific charging needs. With your DIY power bank, you can stay mobile and keep your electronic devices powered up on the go.
Remember, safety is of utmost importance when working with electronics. Always use high-quality components, follow proper electrical connections, and ensure that all connections are securely insulated to prevent any potential hazards.
Now that you have your own power bank, you can enjoy the convenience of having a portable power source whenever you need it. Whether you’re traveling, camping, or simply out and about, your power bank will provide you with the peace of mind knowing that your devices won’t run out of battery power.
Keep exploring and experimenting with different designs and features to enhance your power bank in the future. With your newfound knowledge and creativity, you can continue to improve and customize your power bank to meet your evolving needs.
Enjoy the satisfaction of your DIY creation and the freedom of staying connected wherever you go. Harness the power of your ingenuity and never be caught with a dead battery again!