Introduction
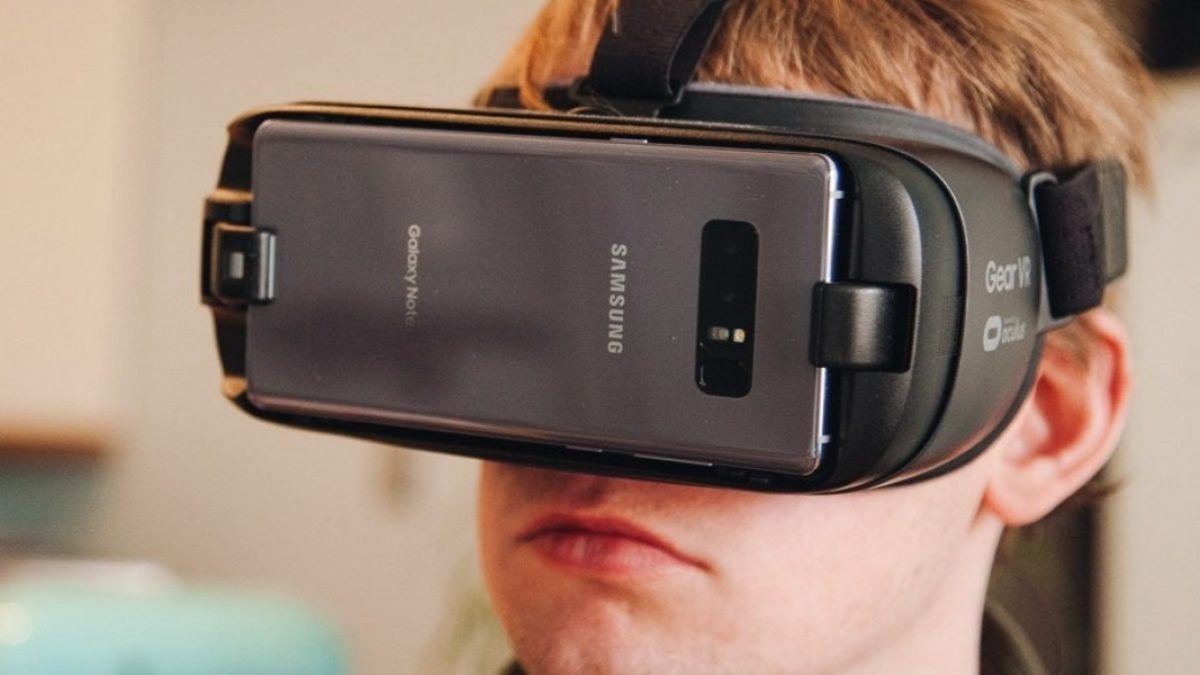
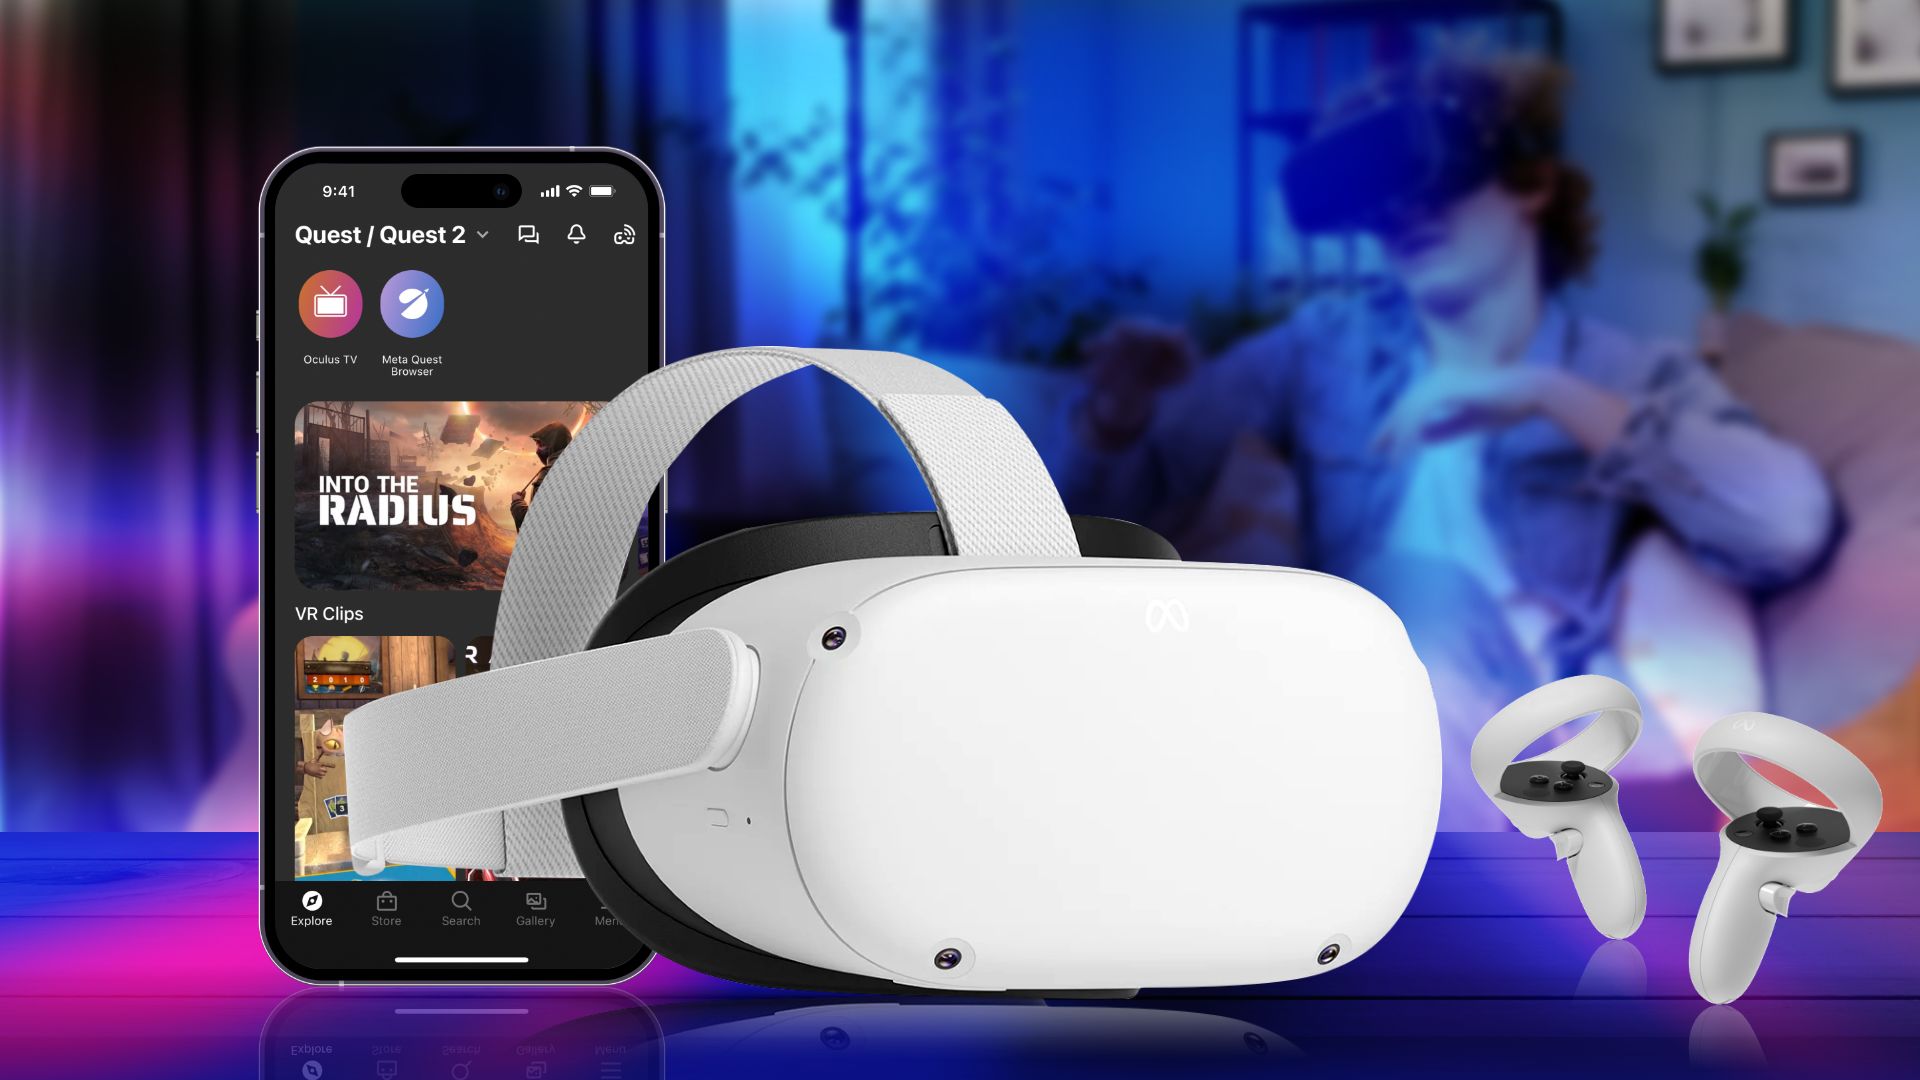
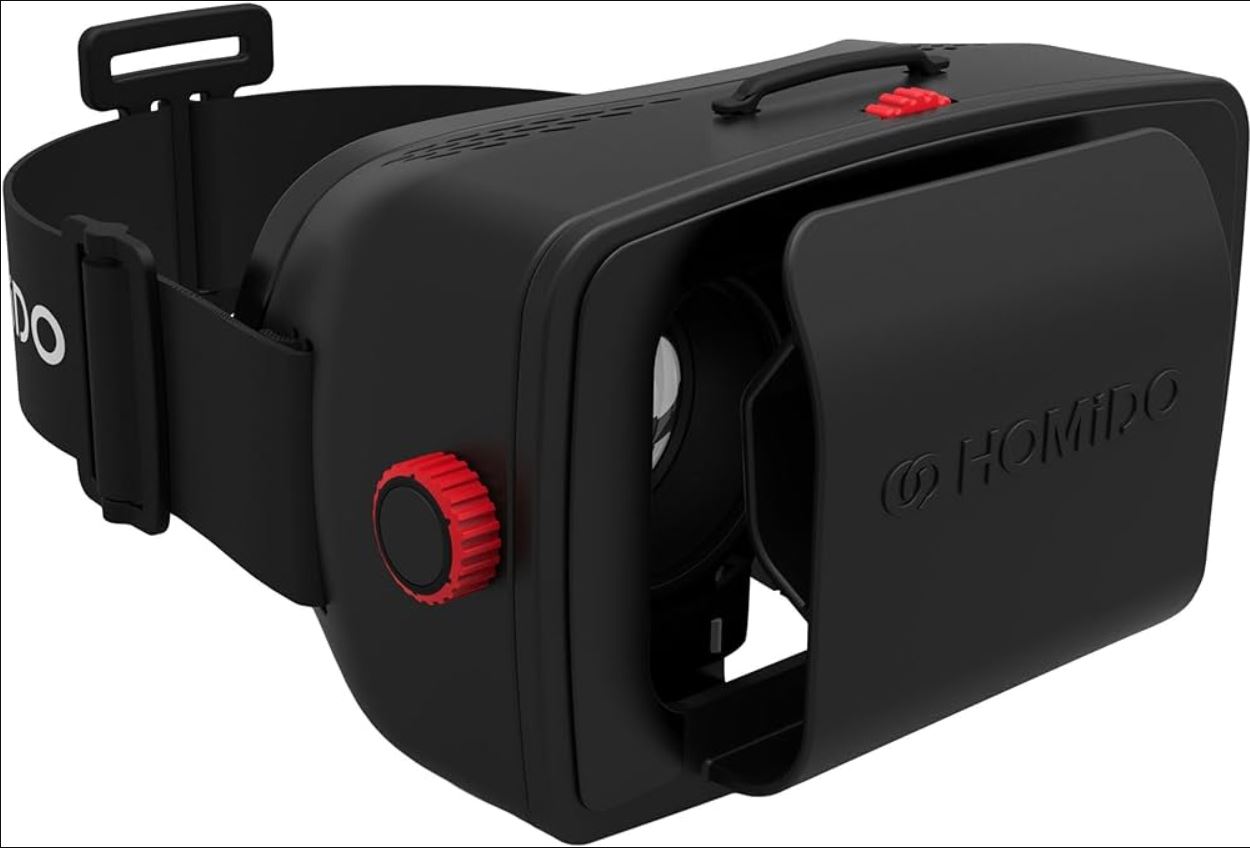
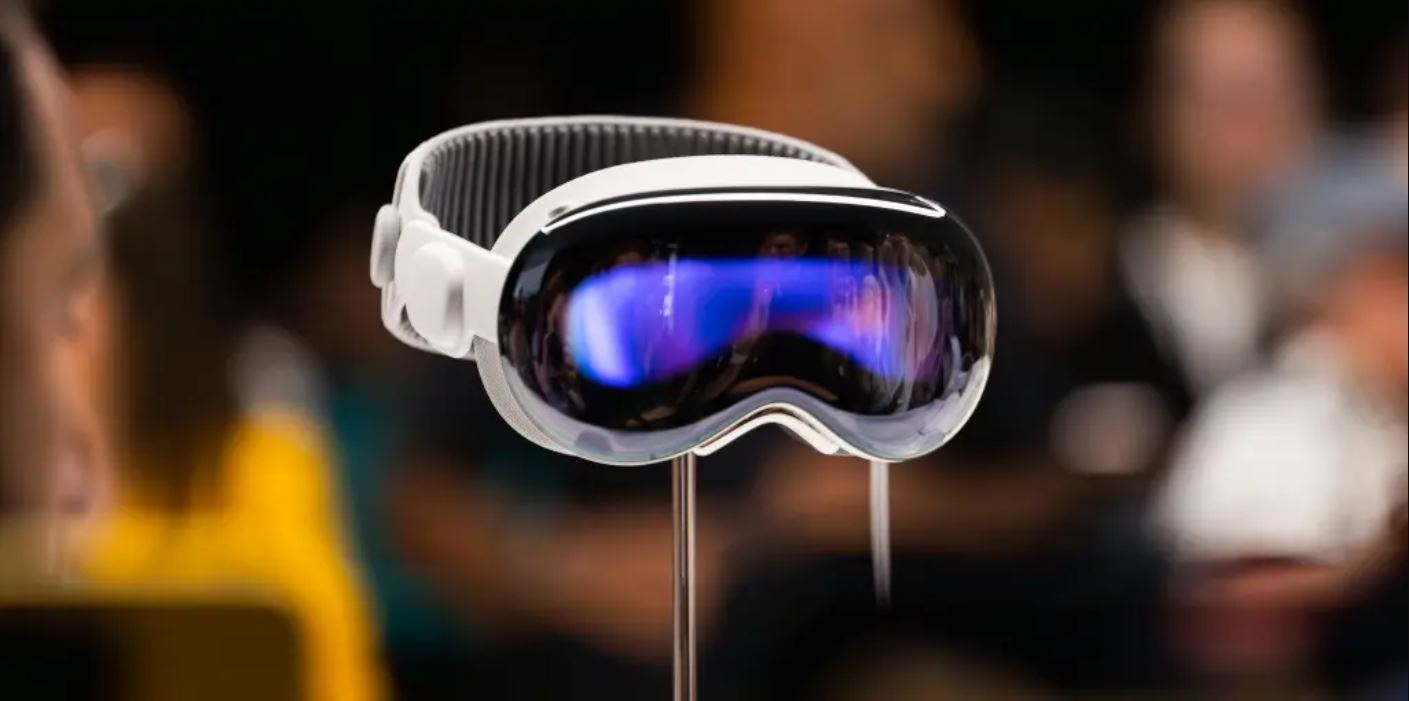
Welcome to the fascinating world of virtual reality! With the advancements in technology, experiencing virtual reality has become more accessible to the general public. VR headsets have become increasingly popular, allowing users to immerse themselves in a virtual world and explore new dimensions. However, purchasing a ready-made VR headset can be expensive. Fortunately, you can create your own VR headset using basic materials and a bit of creativity.
In this article, we will guide you through the process of making a VR headset for your phone. Whether you want to enjoy virtual reality gaming, watch 3D movies, or explore virtual destinations, this DIY project will allow you to do it all without breaking the bank. By following a few simple steps and gathering some readily available materials, you’ll be ready to delve into a whole new virtual experience.
Creating your own VR headset not only saves you money but also gives you the opportunity to customize it to your liking. You can add your personal touch, whether it’s a unique design, comfortable head straps, or additional features to enhance your VR experience. So, let’s dive in and explore how to create your very own VR headset!
Materials Needed
Before we get started, let’s gather all the materials you’ll need to create your DIY VR headset. Don’t worry, you won’t need any high-tech or expensive equipment. These materials are easy to find and are readily available at your local craft stores or online suppliers. Here’s what you’ll need:
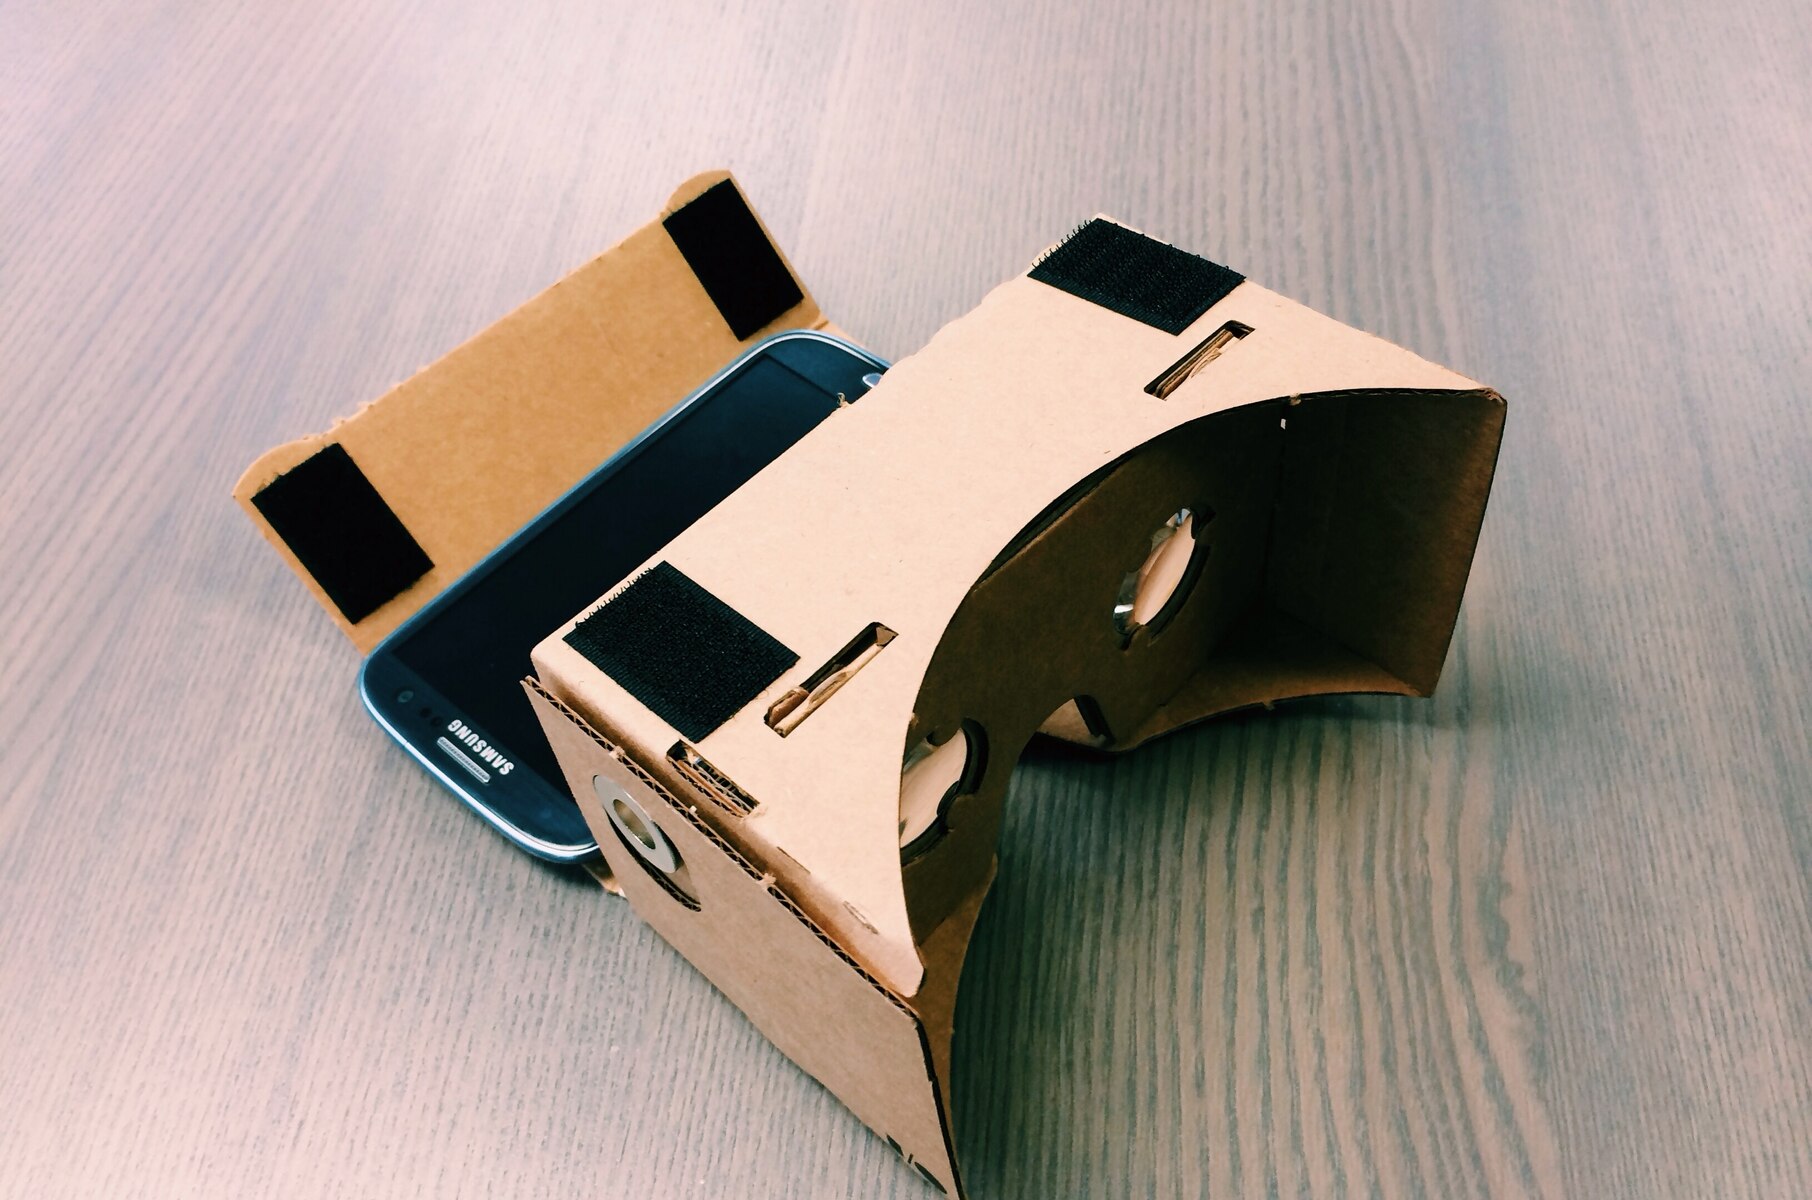
- Cardboard: Look for a sturdy cardboard material that is thick enough to hold its shape but still easy to cut and manipulate.
- Lenses: Acquire a pair of inexpensive lenses with a focal length of around 45mm. These lenses will help create the immersive experience by magnifying the images on your phone screen.
- Utility Knife or Scissors: You’ll need a sharp utility knife or a pair of scissors to cut the cardboard and create the necessary openings for your phone and head straps.
- Velcro Strips: Velcro strips will help secure your phone in place and allow for easy adjustment of the head straps.
- Elastic Straps: Purchase adjustable elastic straps that can be fitted comfortably around your head. These will ensure a secure and comfortable fit.
- Markers or Paint: If you want to personalize your VR headset, grab some markers or paint to add your creative touch.
These materials should be easily accessible, affordable, and provide everything you need to build your VR headset. Now that we’ve gathered all the necessary materials, let’s move on to the step-by-step process of creating your own DIY VR headset.
Step 1: Gather the Materials
The first step in creating your DIY VR headset is to gather all the materials mentioned earlier. Make sure you have all the necessary items at hand before starting the construction process. This will ensure a smooth and uninterrupted workflow.
Start by finding a suitable cardboard material. Look for a piece that is large enough to accommodate your phone and has enough rigidity to hold its shape. You can repurpose old cardboard boxes or purchase cardboard sheets from a local craft store.
Next, locate a pair of lenses with a focal length of around 45mm. These lenses will be responsible for magnifying the images on your phone screen and creating the 3D effect. You can find inexpensive lenses online or at specialty stores.
Once you have the cardboard and lenses ready, gather the necessary cutting tools. A utility knife or a pair of sharp scissors will work best for cutting and shaping the cardboard. Ensure that your cutting tool is sharp for precise and easy cuts.
Now is the time to gather all the additional materials needed, such as Velcro strips and elastic straps. The Velcro strips will be used to secure your phone in place, while the elastic straps will provide a comfortable and adjustable fit around your head.
Lastly, if you wish to personalize your VR headset, gather some markers or paint to add your creative touch. This step is optional but can add a fun and unique element to your DIY creation.
Double-check that you have all the necessary materials at hand to avoid any interruptions during the construction process. Once everything is gathered, you’re ready to move on to the next step of measuring and cutting the cardboard.
Step 2: Measure and Cut the Cardboard
Now that you have gathered all the materials, it’s time to measure and cut the cardboard to create the main structure of your DIY VR headset. This step is crucial to ensure that your headset fits your phone comfortably and securely.
Start by measuring the dimensions of your phone. Place your phone on the cardboard and trace its outline using a pencil or marker. Leave some extra space around the edges to ensure that your phone can fit snugly into the VR headset.
Next, measure and mark the area where the lenses will be placed. The distance between the lenses should align with your eyes’ distance to ensure a proper viewing experience. Divide the space evenly and mark the locations for the lenses on the cardboard.
Once you have marked the necessary dimensions, use a sharp utility knife or a pair of scissors to cut out the cardboard pieces. Take your time and make precise cuts to ensure that the headset’s structure remains sturdy and intact.
Remember to cut out additional pieces for the top and the sides of the headset. These pieces will provide extra support and stability to hold your phone in place. Measure and cut them according to the size and shape of your phone.
After cutting out all the necessary cardboard pieces, take a moment to test their fit. Place your phone within the cardboard frame and ensure that it fits comfortably. Make any necessary adjustments by trimming the cardboard edges if needed.
Once satisfied with the fit, proceed to the next step of assembling the cardboard pieces to create the main structure of your VR headset. But before that, pat yourself on the back for completing the crucial task of measuring and cutting the cardboard!
Step 3: Assemble the Cardboard
With the cardboard pieces cut to size, it’s time to assemble them and create the main structure of your DIY VR headset. This step will bring your creation one step closer to completion.
Start by taking the larger piece of cardboard that will serve as the front of your headset. Lay it flat on a surface and position the smaller side pieces alongside it. These side pieces will provide additional support and stability.
Apply a small amount of glue or adhesive along the edges where the pieces will connect. Press the pieces firmly together and hold them in place for a few moments to allow the glue to bond securely. If you prefer to avoid using glue, you can also use strong tape or rubber bands to hold the pieces together.
Once the front piece and side pieces are securely attached, it’s time to attach the top piece. This piece will further strengthen the structure and hold your phone in place. Apply glue or use tape to join the top piece to the front and side pieces, creating a solid connection.
Now, take a moment to check the overall stability and alignment of the cardboard structure. Make any necessary adjustments to ensure that everything is securely attached and aligned properly.
Remember to leave openings for the lenses. Use your previously marked locations as a guide and cut out small circular openings on the front piece for the lenses to fit into. Make sure the openings are the same size as the lenses you acquired.
Once the structure is securely assembled and the lens openings are cut, your DIY VR headset is starting to take shape! The next step will involve attaching the lenses to complete the immersive experience. Continue to the next step for further instructions.
Step 4: Attach the Lenses
Attaching the lenses is a crucial step in creating your DIY VR headset. The lenses will help magnify the images on your phone screen and create a more immersive virtual reality experience. Let’s proceed with attaching the lenses to your headset.
Start by applying a small amount of glue or adhesive around the inner edges of the lens openings on the front piece of your headset. Carefully place one lens into each opening, making sure they fit securely. The lenses should be positioned at an equal distance from each other, aligning with your eyes’ distance.
Once the lenses are in place, press them gently to ensure a strong bond between the lenses and the cardboard. Be cautious not to apply too much pressure, as you don’t want to damage the lenses or the cardboard.
Give the glue or adhesive some time to dry and set properly. Follow the instructions provided by the adhesive manufacturer to determine the necessary drying time. This will ensure that the lenses are securely attached and won’t move or fall out during use.
After the glue has dried, check the lenses for any smudges or fingerprints. Clean them gently using a soft cloth or lens cleaning solution to ensure clear and optimal viewing quality.
With the lenses securely attached and cleaned, your DIY VR headset is becoming more functional and ready for the next steps. The following steps will involve creating openings for your phone and head straps to ensure a comfortable and secure fit. Let’s proceed to the next step to continue building your VR headset!
Step 5: Create Openings for the Phone and Head Straps
Now that you’ve attached the lenses, it’s time to create the necessary openings for your phone and the head straps. These openings will allow you to insert your phone into the VR headset and secure it in place while providing a comfortable fit for your head.
Start by placing your phone on the front piece of the cardboard structure. The size and shape of your phone will determine the dimensions of the opening you need to create. Use a pencil or marker to trace the outline of your phone on the cardboard.
Once you’ve traced the outline, carefully cut along the marked lines using a sharp utility knife or a pair of scissors. Take your time to make precise cuts, ensuring that the opening is wide enough to comfortably accommodate your phone.
After creating the opening for the phone, it’s time to create the openings for the head straps. Measure and mark the desired locations for the openings on the sides of the cardboard structure. These openings will allow you to thread the head straps and adjust them for a secure and comfortable fit.
Using a utility knife or scissors, carefully cut out the marked openings for the head straps. Make sure the openings are large enough to accommodate the width of the elastic straps you have prepared.
Once you’ve created all the necessary openings, take a moment to test the fit. Insert your phone into the designated opening and ensure that it sits securely within the VR headset. Thread the elastic straps through the head strap openings and adjust them for a snug and comfortable fit.
Ensure that the phone is properly aligned with the lenses, allowing for clear and immersive viewing. If needed, make any additional adjustments to the openings or straps for an optimal fit.
Congratulations! You’ve successfully created the openings for your phone and head straps, bringing your DIY VR headset one step closer to completion. In the next step, we will secure the phone and straps in place to make your VR headset ready for use.
Step 6: Secure the Phone and Straps in Place
With the openings created for your phone and head straps, it’s time to secure them in place to ensure a stable and comfortable fit. This step will make your DIY VR headset ready for use. Let’s proceed with securing the phone and straps.
Start by applying a small piece of adhesive-backed Velcro to the inside of the front piece where the phone will rest. Repeat this step on the back of your phone case for added stability. The Velcro will help keep your phone securely in place and prevent it from shifting during use.
Now, insert your phone into the designated opening, making sure it aligns properly with the lenses. Press the phone firmly against the Velcro to secure it in place. Test the stability of the phone by gently moving the headset to ensure it stays in position.
Next, secure the head straps to the headset. Thread one end of an elastic strap through one of the openings on the side of the cardboard structure. Tie a knot or use another piece of adhesive-backed Velcro to hold the strap in place. Repeat this process for the other side of the headset.
Put on the VR headset and adjust the straps accordingly so that it fits comfortably on your head. The straps should be tight enough to hold the headset securely in place but not too tight to cause discomfort.
Take a moment to test the fit and ensure that the phone is positioned correctly in front of your eyes. Adjust the straps if needed to achieve a clear and immersive viewing experience.
Once you’re satisfied with the fit and alignment, your DIY VR headset is now securely prepared for use. In the final step, we’ll explore how you can customize and decorate your VR headset to add a personal touch.
Step 7: Customize and Decorate your VR Headset
Now that you’ve completed the main construction of your DIY VR headset, it’s time to add your personal touch and make it unique. Customizing and decorating your VR headset allows you to express your creativity and enhance the overall aesthetics. Let’s explore some ways you can customize and decorate your VR headset.
Start by deciding on a theme or design that you’d like to incorporate into your VR headset. Whether it’s a favorite color, a pattern, or even a specific theme related to your gaming preferences or interests, the options are endless.
Use markers, paint, or even stickers to decorate the cardboard structure of your VR headset. Let your imagination run wild and create a design that reflects your personality. You can add patterns, symbols, or even your name to make it truly your own.
Consider adding extra embellishments to enhance the overall look of your VR headset. You can use sequins, glitter, or even small accessories to give it a more stylish and eye-catching appearance.
Remember to keep the decorations lightweight so that they don’t interfere with the comfort or functionality of the headset. Avoid adding anything that may obstruct the lenses or impede the secure fit of the head straps.
Before finalizing your decorations, make sure that any adhesive you use is dry and fully set. This will ensure that the decorations stay in place and don’t interfere with your VR experience.
Once you’re satisfied with the customization and decoration of your VR headset, take a moment to admire your unique creation. Not only will your DIY VR headset provide an immersive virtual reality experience, but it will also be a reflection of your personal style and creativity.
Now, it’s time to put on your customized VR headset, start exploring virtual worlds, and indulge in the immersive experiences that await you. Enjoy your personalized DIY VR headset and let your imagination soar!
Conclusion
Congratulations on successfully creating your very own DIY VR headset for your phone! By following the step-by-step process and using readily available materials, you’ve been able to craft a personalized and cost-effective solution for experiencing virtual reality.
Throughout the process, you’ve learned how to gather the necessary materials, measure and cut the cardboard, assemble the structure, attach the lenses, create openings for the phone and head straps, secure the phone and straps in place, and even customize and decorate your VR headset to make it uniquely yours.
Not only is a DIY VR headset a great way to save money compared to purchasing a ready-made one, but it also offers you the opportunity to unleash your creativity and tailor the headset to your preferences. You can experiment with different materials, designs, and decorations to truly make it your own.
Now that you have your DIY VR headset, it’s time to dive into the exciting world of virtual reality. Whether you’re gaming, watching movies, exploring new destinations, or engaging in educational experiences, your customized headset will provide an immersive and captivating journey.
Remember to keep your headset clean and well-maintained for optimal performance. Clean the lenses regularly and ensure that the straps are adjusted properly for a comfortable fit during use.
Lastly, don’t forget to share your DIY VR headset creation with friends and family. They may be inspired to embark on their own VR adventures or even join you in creating their own headsets.
Now, put on your DIY VR headset, let your imagination run wild, and get ready to experience the wonders of virtual reality in the comfort of your own creation. Enjoy the journey!


