Introduction
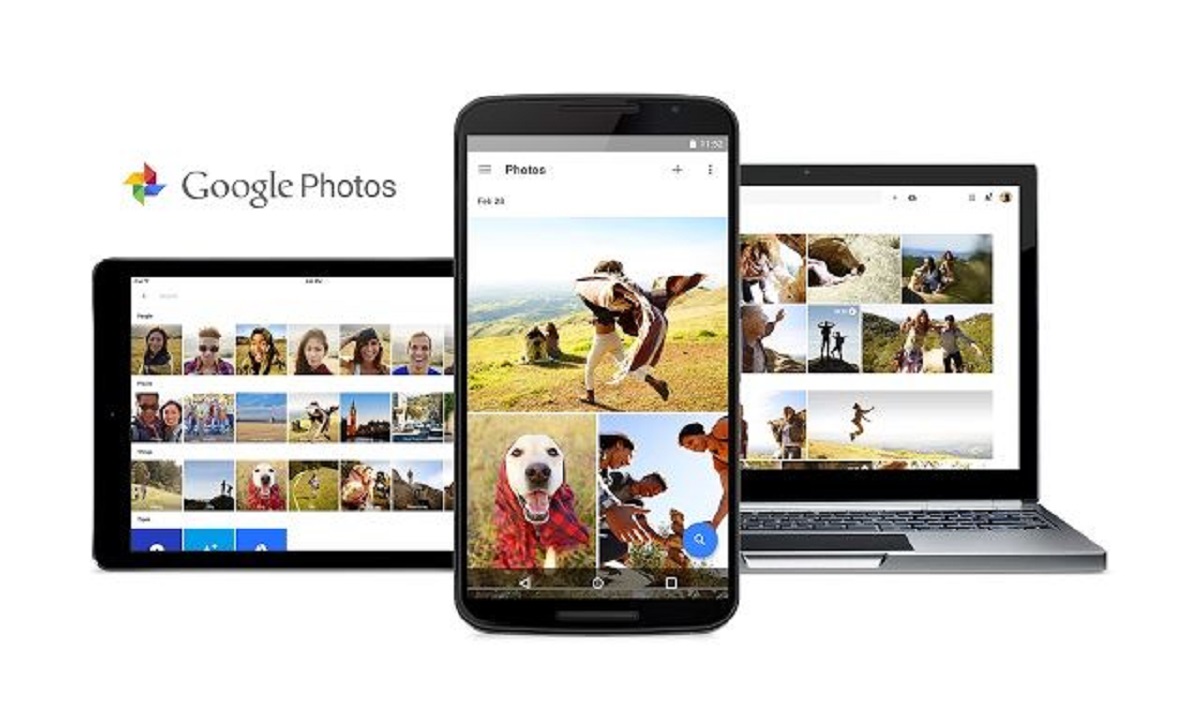
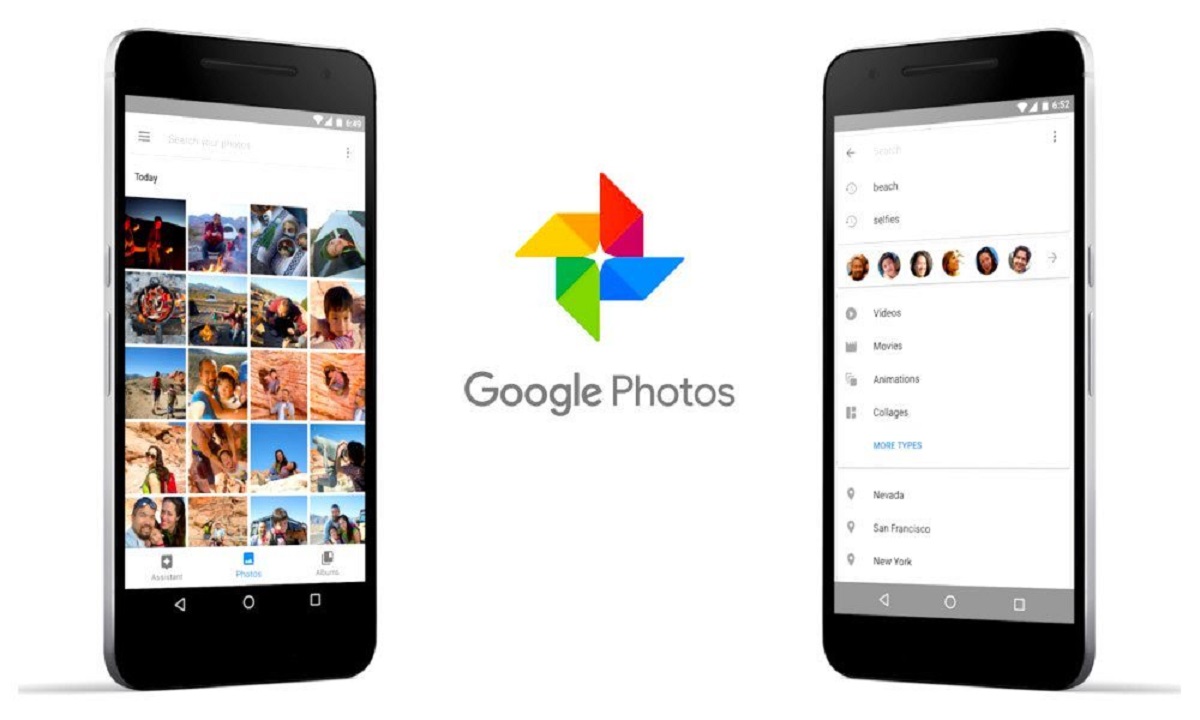
Welcome to the world of Google Photos, an incredible platform that allows you to store, organize, and share your precious memories in a seamless and convenient way. With Google Photos, you can create albums to group your photos together based on themes, events, or any other criteria you desire. These albums can be kept private or shared with your loved ones, making it a perfect tool for reliving moments together.
In this article, we will guide you through the process of creating a shared album on Google Photos, step by step. Whether you want to create a collaborative album for a family vacation or share memories of a special event with friends, we’ve got you covered. Get ready to explore the various features that Google Photos offers to make your album creation and sharing experience a breeze.
But before we dive into the details, make sure you have a Google account and are signed in to Google Photos. If you don’t have an account, you can easily sign up for one and then access Google Photos from your computer or mobile device.
Once you’re all set, let’s begin the journey of creating and sharing your very own album on Google Photos!
Signing in to Google Photos
Before you can start creating and sharing albums on Google Photos, you need to sign in to your Google account. Here’s how you can do it:
- Open your preferred web browser and go to photos.google.com.
- Click on the “Sign In” button located in the top right corner of the page.
- Enter your Google account email address and click “Next”.
- Enter your password and click “Next” again.
If you have two-factor authentication enabled on your Google account, you may need to enter the verification code that is sent to your registered device.
Once you have successfully signed in, you will be redirected to the Google Photos homepage, where you can start organizing and sharing your photos.
If you prefer using the Google Photos mobile app, you can download it from the App Store (for iOS) or the Google Play Store (for Android devices). Sign in using the same Google account credentials, and you’ll have access to your photos on the go.
Note: If you don’t have a Google account, you can easily sign up for one by visiting accounts.google.com/signup. Follow the prompts to create a new account, and once you’re done, you can proceed to sign in to Google Photos.
Creating a new album
Once you are signed in to Google Photos, it’s time to create a new album to organize your photos. Follow these simple steps:
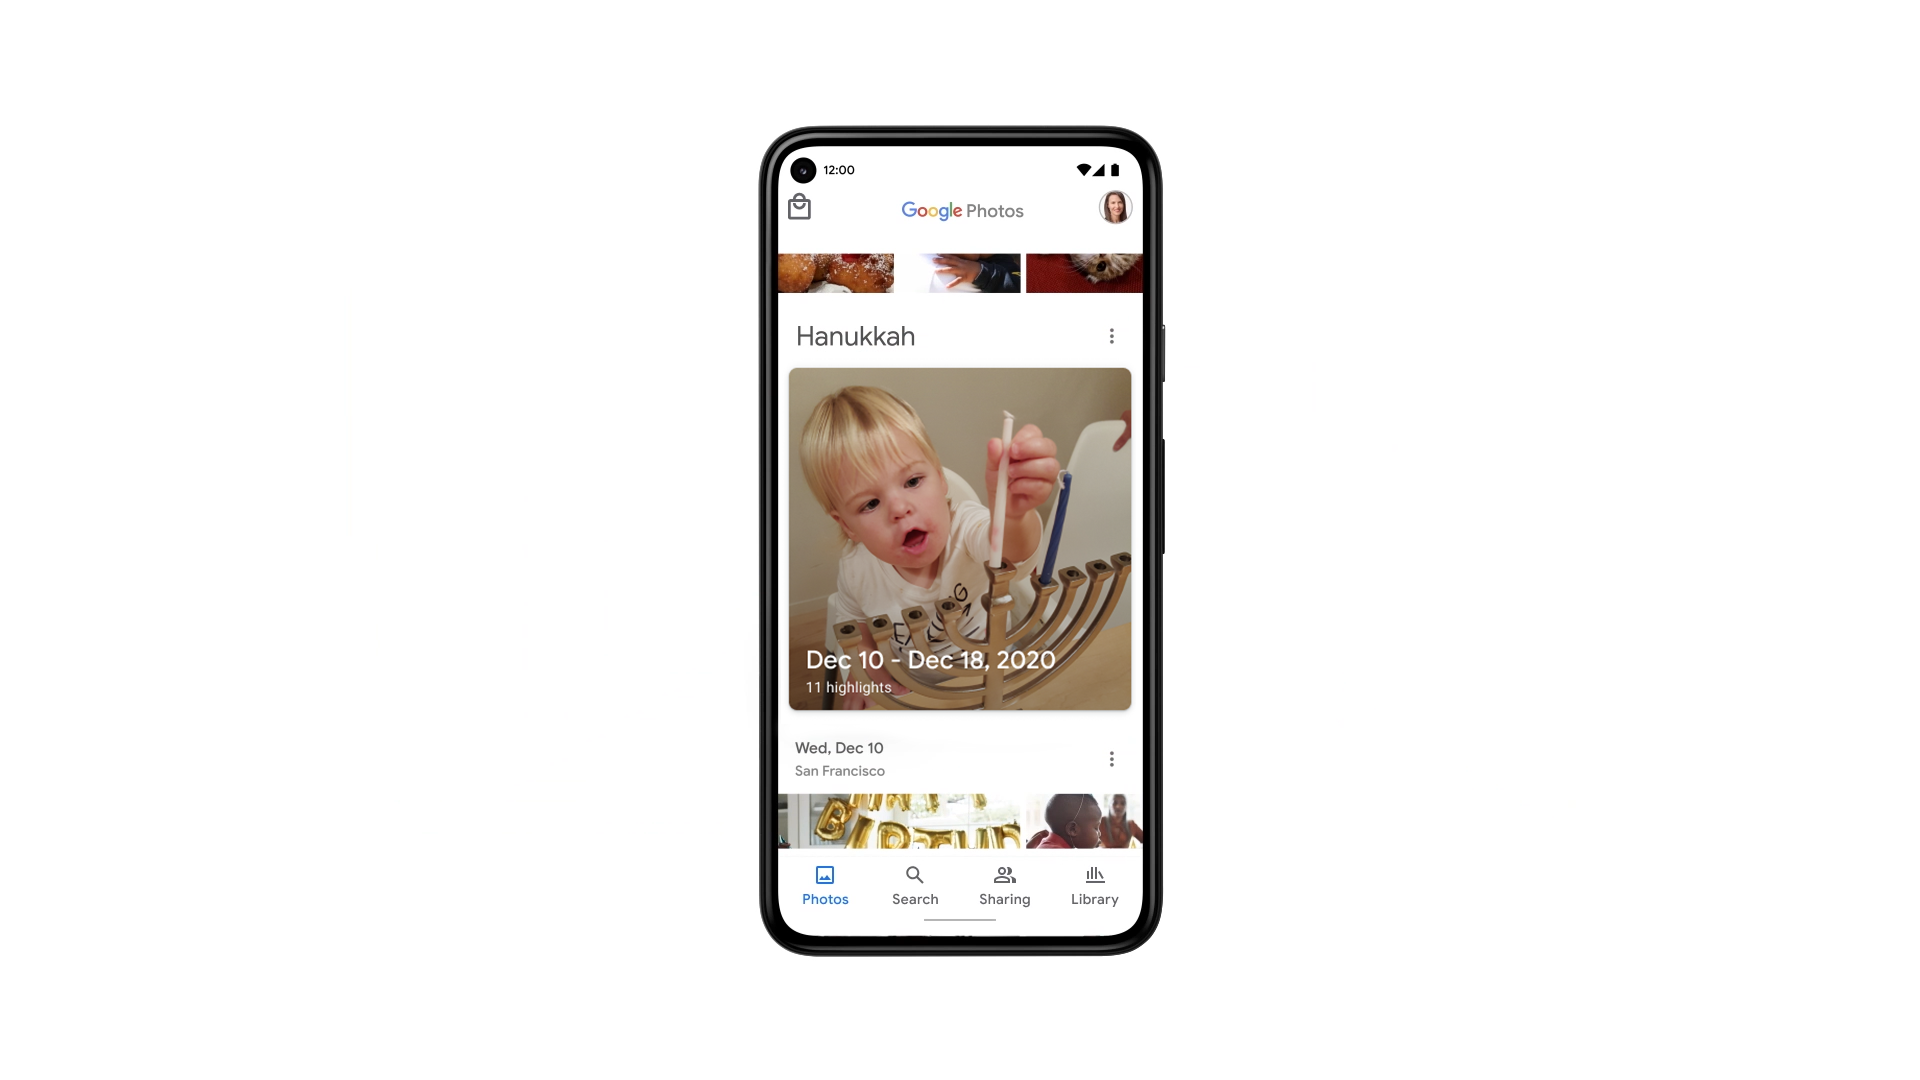
- On the Google Photos homepage, click on the “Library” tab located on the left sidebar.
- Scroll down until you see the “Albums” section and click on the “+ Create new album” button.
- Give your album a descriptive and memorable name. This will help you easily identify the album in the future.
- Optionally, you can add a description to provide more context or information about the album.
- Click on the “Create” button to finalize the creation of your new album.
That’s it! You have successfully created a new album on Google Photos. Now it’s time to add photos to the album and make it a shared album so you can collaborate with others.
If you want to create multiple albums, simply repeat the above steps for each album you want to create. Google Photos allows you to create as many albums as you need, providing you with a flexible and organized way to manage your photos.
Note: It’s important to keep in mind that the storage space for your Google Photos is limited, especially if you are using the free tier. Make sure to regularly review and manage your albums to optimize your storage and keep your photos organized.
Adding photos to the album
Now that you have created a new album on Google Photos, it’s time to populate it with your favorite photos. Here’s how you can add photos to the album:
- Open the album you want to add photos to by clicking on its name or thumbnail image in the “Albums” section.
- Click on the “+ Add photos” button, which is usually located at the top right corner of the album page.
- A file picker will appear, allowing you to choose the photos you want to add. You can select individual photos or multiple photos at once, depending on your preference.
- After selecting the photos, click on the “Open” or “Add” button to add them to the album.
Google Photos will begin uploading and adding the selected photos to the album. The time it takes will depend on the number and size of the photos you are adding.
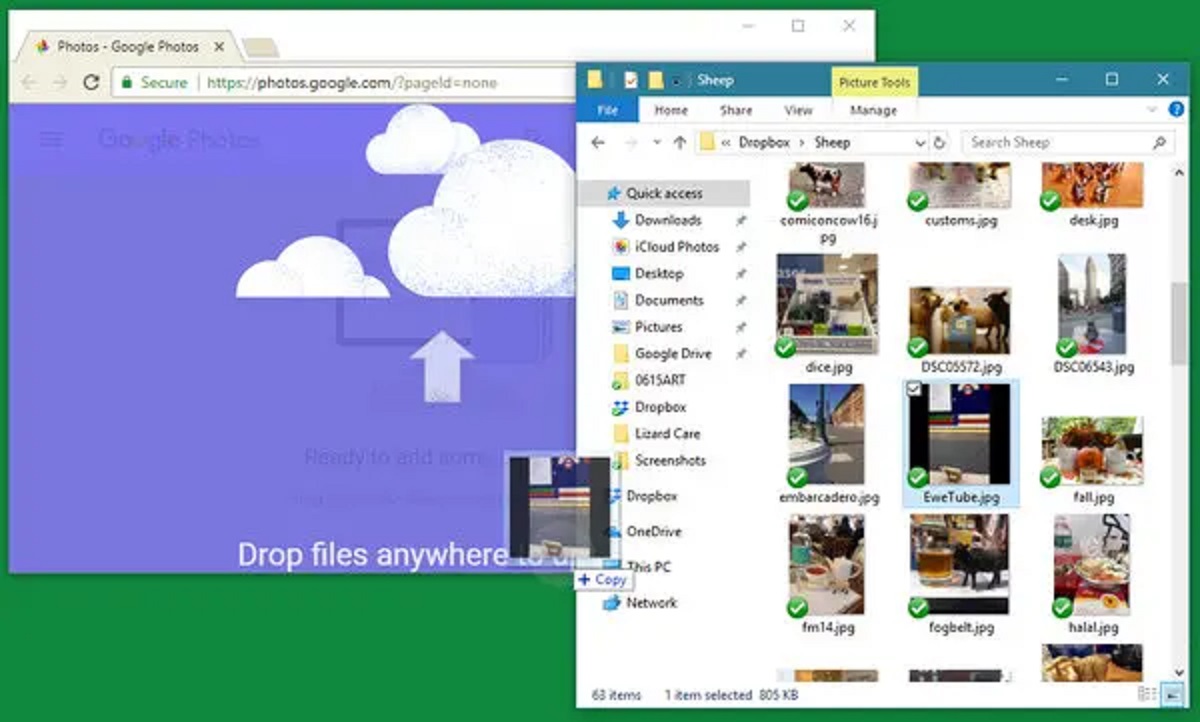
Alternatively, you can also drag and drop photos from your computer into the album window. Simply open the folder that contains the photos on your computer and drag the desired photos into the album page in Google Photos.
Note: When adding photos to an album, Google Photos creates a copy of the original photos. This means that even if you delete the photos from your device or the main photo library, the copies in the album will still be accessible.
You can continue adding more photos to the album at any time. Simply follow the same steps and select the additional photos you want to include. Google Photos makes it easy to keep your album updated with new memories.
Making the album shared
Once you have added photos to your album on Google Photos, you may want to share it with others so they can view and contribute to the collection. Here’s how you can make the album shared:
- Open the album you want to share by clicking on its name or thumbnail image in the “Albums” section.
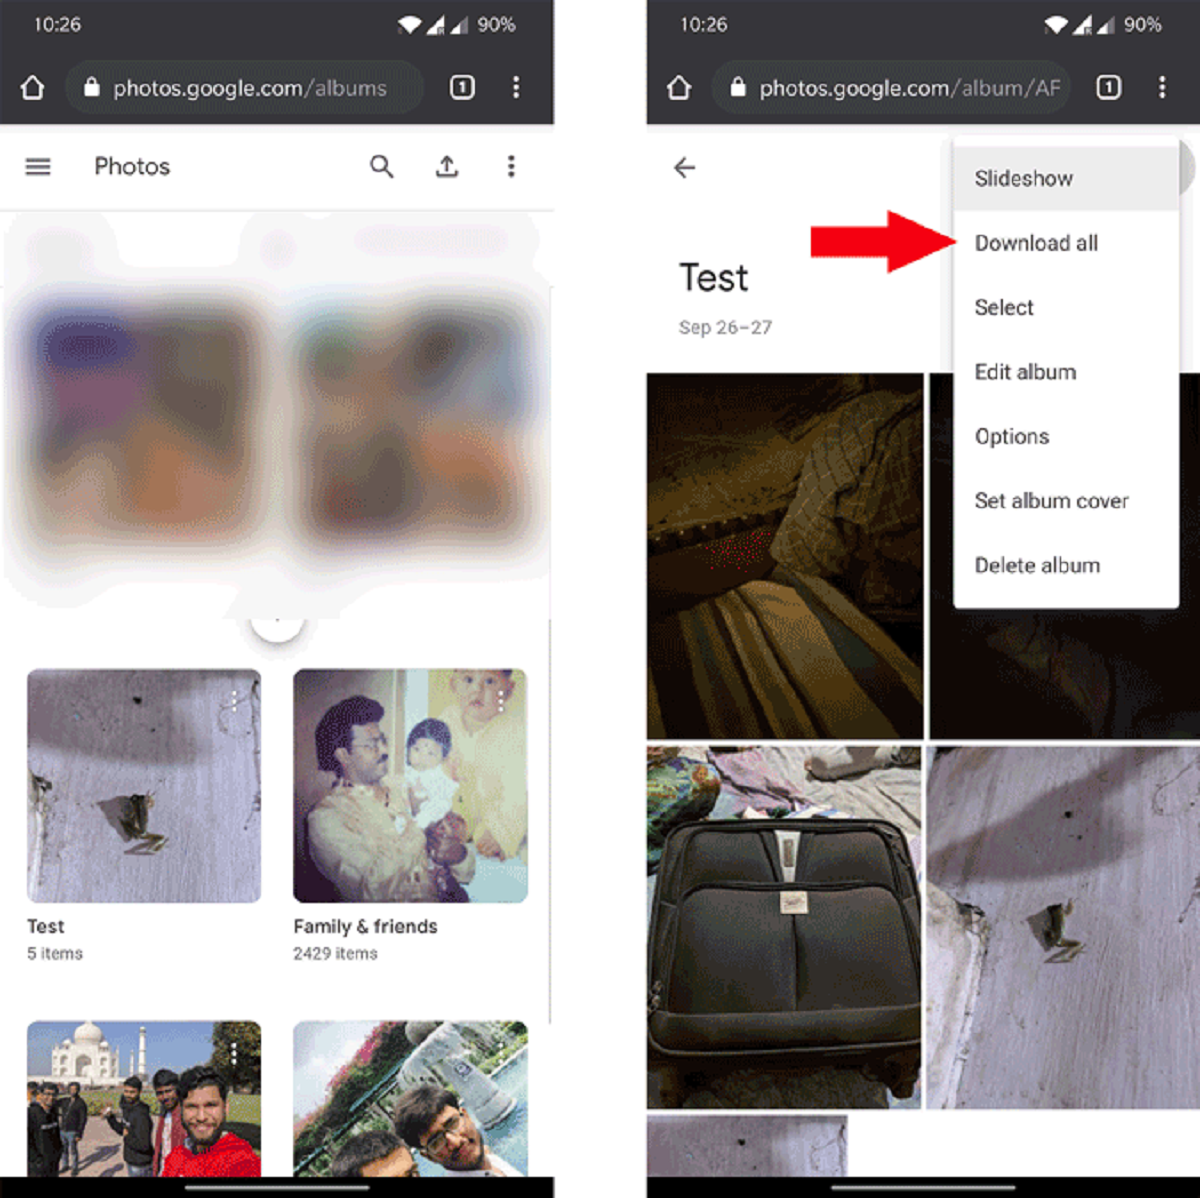
- Click on the three-dot menu icon, usually located at the top right corner of the album page.
- From the drop-down menu, select the “Share” option.
- A pop-up window will appear, providing you with different sharing options.
- If you want to share the album with specific individuals, enter their email addresses in the “Add people” field. You can add multiple email addresses separated by commas.
- By default, Google Photos allows the recipients to view and add photos to the shared album. If you want to limit their access to only viewing the photos, toggle off the “Collaborate” option.
- Optionally, you can add a message or note to accompany the shared album. This can provide context or instructions for the recipients.
- Click on the “Send” or “Share” button to send the album link to the selected individuals.
Once the album is shared, the recipients will receive an email with a link to access the album. They can click on the link to view and interact with the photos you have added.
If you want to make the album public and share it with a wider audience, you can click on the “Copy link” option in the sharing menu. This will copy the album link to your clipboard, allowing you to share it via messaging apps, social media platforms, or any other means you prefer.
Note: When sharing an album, keep in mind that the recipients must have a Google account to access and contribute to the album. If they don’t have a Google account, they will be prompted to create one before they can view the shared photos.
Sharing the album with others
Sharing your album with others on Google Photos is a great way to involve friends, family, and colleagues in your photo collection. Here’s how you can share the album with others:
- Open the album you want to share by clicking on its name or thumbnail image in the “Albums” section.
- Click on the three-dot menu icon, usually located at the top right corner of the album page.
- From the drop-down menu, select the “Share” option.
- A pop-up window will appear, providing you with different sharing options.
- If you want to share the album with specific individuals, enter their email addresses in the “Add people” field. You can add multiple email addresses separated by commas.
- By default, Google Photos allows the recipients to view and add photos to the shared album. If you want to limit their access to only viewing the photos, toggle off the “Collaborate” option.
- Optionally, you can add a message or note to accompany the shared album. This can provide context or instructions for the recipients.
- Click on the “Send” or “Share” button to send the album link to the selected individuals.
Once the album is shared, the recipients will receive an email with a link to access the album. They can click on the link to view and interact with the photos you have added.
If you want to make the album public and share it with a wider audience, you can click on the “Copy link” option in the sharing menu. This will copy the album link to your clipboard, allowing you to share it via messaging apps, social media platforms, or any other means you prefer.
Note: When sharing an album, keep in mind that the recipients must have a Google account to access and contribute to the album. If they don’t have a Google account, they will be prompted to create one before they can view the shared photos.
Collaborating on the album
One of the great features of Google Photos is the ability to collaborate with others on shared albums. This allows multiple people to contribute their own photos, comments, and memories to create a truly collaborative experience. Here’s how you can collaborate on an album:
- Open the shared album by clicking on the album link you received or by accessing it from your Google Photos library.
- Scroll through the photos and view the contributions made by others.
- To add your own photos to the album, click on the “+ Add photos” button within the album.
- Choose the photos you want to add and click “Open” or “Add”.
- Your selected photos will now be added to the shared album for others to see.
- To leave a comment on a photo, click on the comment icon below the photo and type in your desired message. This allows you to engage in conversations and discussions about specific photos.
- If you want to like a photo, click on the heart icon below the photo to show your appreciation.
- Feel free to explore other features within the shared album, such as creating stories or animations using the available tools.
Collaborating on an album allows everyone involved to contribute their own unique perspective, creating a rich and diverse collection of memories. Whether it’s a group vacation, a family gathering, or a special event, collaborating on an album in Google Photos helps capture the essence of the experience from multiple viewpoints.
Remember to respect the privacy and preferences of others when collaborating on an album. Ensure that you only share appropriate photos and engage in respectful conversation within the shared space.
With the ability to collaborate, Google Photos transforms the album-sharing experience into a dynamic and interactive process, allowing you to relive the moments together with your loved ones.
Managing shared album settings
Google Photos provides various settings and options to help you manage the shared albums and customize the experience according to your preferences. Here’s how you can manage shared album settings:
- Open the shared album you want to manage by clicking on its name or thumbnail image in the “Albums” section.
- Click on the three-dot menu icon, usually located at the top right corner of the album page.
- From the drop-down menu, select the “Sharing options” or “Manage sharing” option.
- A settings window will appear, allowing you to modify the sharing settings for the album.
- Toggle the “Collaborate” option on or off to determine whether recipients can add photos and contribute to the album.
- If you want to revoke access to the album for specific individuals, click on the “X” next to their email addresses under the “People” section.
- To change the album visibility from private to public, or vice versa, adjust the “Visibility” setting accordingly.
- Optionally, you can also change the album title, add a description, or update the sharing message.
- Once you have made the desired changes, click on the “Save” or “Apply” button to update the shared album settings.
By managing the shared album settings, you have control over who can contribute, view, and access the album. This flexibility allows you to customize the sharing experience to suit your needs.
Additionally, you can also manage the notifications for the shared album. Google Photos provides an option to enable or disable email notifications for any activity related to the album. This includes notifications for added photos, comments, and likes. To modify the notification settings, go back to the album page and click on the three-dot menu icon. From the drop-down menu, select the “Notification settings” option and make the desired changes.
Keep in mind that managing shared album settings requires you to have the necessary permissions as the owner or creator of the album. Take care when modifying the settings to ensure that you maintain the desired level of privacy and collaboration within the shared space.
Revoking access to the album
In certain situations, you may need to revoke access to a shared album on Google Photos. Whether you want to remove specific individuals or make the album private again, revoking access is a straightforward process. Here’s how you can do it:
- Open the shared album by clicking on its name or thumbnail image in the “Albums” section.
- Click on the three-dot menu icon, usually located at the top right corner of the album page.
- From the drop-down menu, select the “Sharing options” or “Manage sharing” option.
- A settings window will appear, displaying the list of individuals who have access to the album.
- To revoke access for a specific person, click on the “X” next to their email address under the “People” section.
- Click on the “Save” or “Apply” button to save the changes.
Once you revoke access, the individual will no longer be able to view or contribute to the album. They will receive a notification informing them that their access has been revoked.
If you want to make the album private again after revoking access for all recipients, simply adjust the visibility setting to “Private” in the shared album settings. This ensures that only you have access to the album and its contents.
Note: Keep in mind that revoking access to an album affects all recipients universally. If you want to remove specific individuals while allowing others to still access the album, you must individually revoke access for each person.
Revoking access to a shared album provides you with control and flexibility over who can view, contribute, and engage with your personal photos and memories. Use this feature when necessary to ensure privacy and maintain the desired level of collaboration within the album.
Conclusion
Congratulations! You have now learned how to create, share, and collaborate on albums using Google Photos. With these simple steps, you can organize your photos into meaningful collections and easily share them with friends, family, or colleagues.
Google Photos provides a seamless and user-friendly platform for storing, managing, and sharing your precious memories. Whether it’s a personal trip, a special event, or a shared project, creating and sharing albums allows you to relive those moments together with your loved ones.
Remember to sign in to your Google account to access Google Photos, and then start creating your albums by following our step-by-step guide. Once created, customize the album settings to determine who can contribute and view the photos. You can also revoke access if needed to maintain privacy or make the album private again.
Explore the features offered by Google Photos to enhance your album sharing experience. Add comments, like photos, and engage in conversations with others who are part of the shared album. This collaborative aspect makes the album-sharing journey even more enjoyable and interactive.
Lastly, don’t forget to manage your shared albums regularly to optimize storage space and keep your photos organized. Review the album settings, update descriptions, and adjust sharing options as necessary to maintain control and privacy.
Now that you have all the knowledge and tools at your disposal, it’s time to start creating and sharing your own albums on Google Photos. Capture those precious moments, share them with loved ones, and cherish the memories for years to come.


