Introduction
Welcome to the world of convenient shopping and flexible payment options with Afterpay! If you’re looking to create a new Afterpay account, you’ve come to the right place. Afterpay is a popular buy-now-pay-later service that allows you to shop at your favorite online stores and make easy installment payments without any interest or fees.
In this step-by-step guide, we will walk you through the process of setting up a new Afterpay account. Whether you’re a seasoned online shopper or new to the concept of buy-now-pay-later, this guide will help you get started with Afterpay in no time.
Before we begin, it’s important to note that Afterpay is currently available in select countries and regions. Make sure to check if Afterpay is available in your country before proceeding with the account creation process.
Now, let’s dive in and see how you can make a new Afterpay account and start enjoying the benefits of this convenient payment service.
Step 1: Visit the Afterpay Website
The first step to creating a new Afterpay account is to visit the official Afterpay website. Open your preferred web browser and type in www.afterpay.com in the address bar. Press Enter and you will be directed to the Afterpay homepage.
Once the Afterpay homepage loads, you will be greeted with a user-friendly interface that showcases the benefits and features of Afterpay. Take a moment to familiarize yourself with the website, and when you’re ready, proceed to the next step.
It’s important to note that you can access Afterpay’s website both from your computer and mobile devices. Afterpay also has a dedicated mobile app available for download on iOS and Android platforms, providing a seamless shopping experience on the go.
Now that you’re on the Afterpay website, let’s move on to the next step and begin the account creation process.
Step 2: Click on “Sign Up”
Once you have accessed the Afterpay website, the next step in creating your new account is to click on the “Sign Up” or “Register” button. You can usually find this button in the top right corner of the homepage or in a prominent location.
Clicking on the “Sign Up” button will redirect you to the account creation page. Here, you will need to provide some basic information to get started. The registration process is quick and straightforward, ensuring a hassle-free experience for new users.
Before proceeding, make sure you have a valid email address and a strong password ready. This will be required during the account creation process, so it’s best to be prepared beforehand.
It’s worth mentioning that if you already have an Afterpay account, you can simply click on the “Log In” or “Sign In” button instead and use your existing credentials to access your account.
Now, locate the “Sign Up” button and give it a click. Let’s move on to the next step where you will be prompted to enter your personal information.
Step 3: Enter Your Personal Information
After clicking on the “Sign Up” or “Register” button, you will be taken to a page where you need to enter your personal information. This step ensures that Afterpay can verify your identity and provide you with a secure account.
The information required may include your full name, email address, date of birth, and sometimes your mobile phone number. It’s important to ensure that you provide accurate and up-to-date information to avoid any issues in the future.
Take a moment to carefully fill in the required fields with the requested information. When entering your email address, double-check for any typos or errors to ensure that you receive important account notifications and updates.
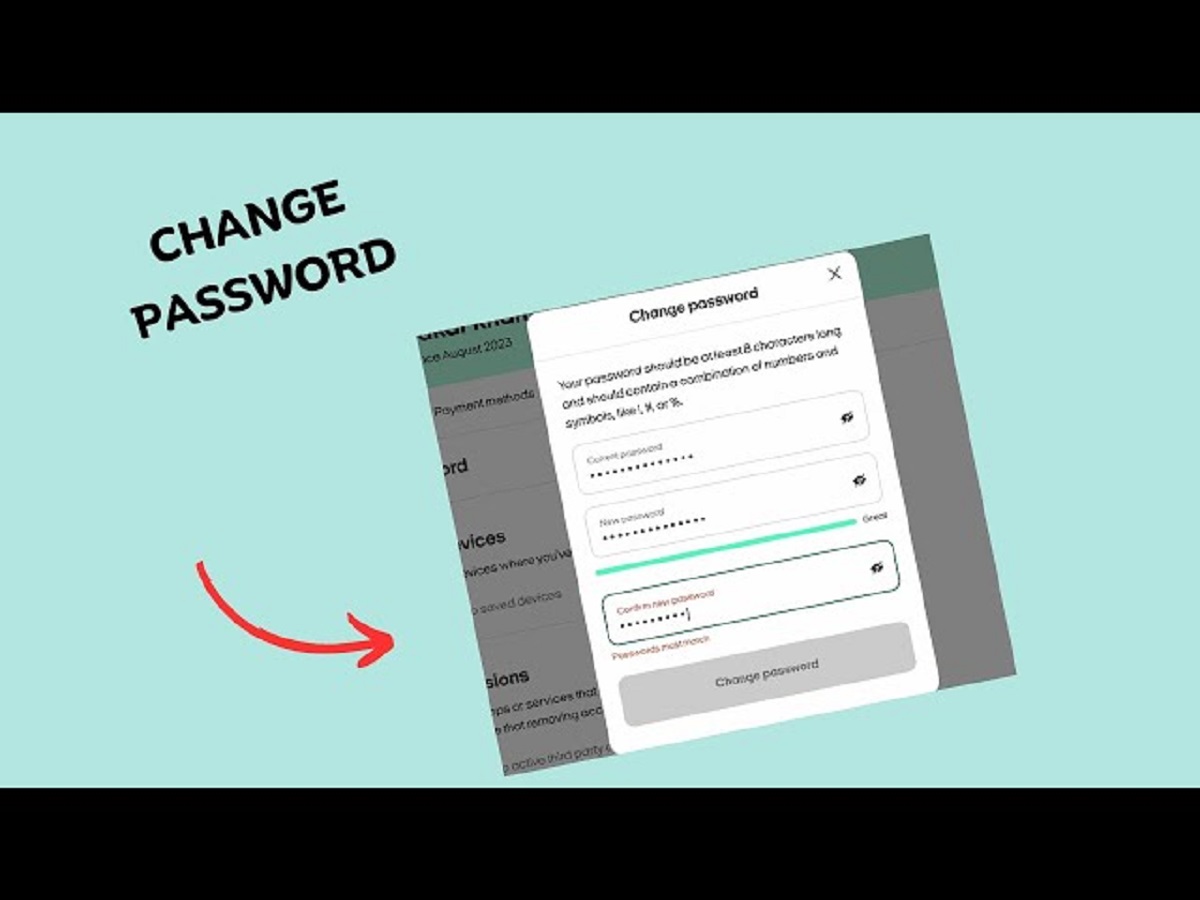
Additionally, choose a strong and secure password for your Afterpay account. A strong password typically includes a combination of uppercase and lowercase letters, numbers, and special characters. Avoid using easily guessable passwords and refrain from sharing it with anyone to maintain the security of your account.
After entering your personal information and creating a password, you may be asked to agree to Afterpay’s terms and conditions and privacy policy. Make sure to read through these documents to familiarize yourself with Afterpay’s policies and guidelines.
Once you have entered all the required information and agreed to the terms, review the details for accuracy and completeness. When you’re satisfied, click on the “Submit” or “Create Account” button to proceed with setting up your Afterpay account.
Now that you have provided your personal information, let’s move on to the next step where you will set up your Afterpay account.
Step 4: Set Up Your Afterpay Account
After completing the registration form and submitting your personal information, you’re now ready to set up your Afterpay account. This step entails adding some additional details to enhance your shopping experience and ensure smooth transactions.
First, you may be asked to provide your residential address. This is necessary for Afterpay to verify your identity and ensure that your purchases are delivered to the correct address. Enter your address accurately, including your street name, apartment or unit number (if applicable), city, state, and zip code.
Next, you will have the option to link your Afterpay account to your social media profiles. While this is not mandatory, it can help streamline the process and provide an extra layer of security. By connecting your social media accounts, Afterpay can further verify your identity and protect your account from unauthorized access.
After providing these optional details, you’ll have the opportunity to choose your preferred payment method. Afterpay offers various payment methods, including credit or debit cards, bank transfers, and even digital wallets. Select the payment method that is most convenient for you and ensure that it is linked to your Afterpay account.
In some cases, you may also be required to provide additional verification documents, such as a photo ID or proof of address. This step helps ensure the security and integrity of the Afterpay platform and protects against fraudulent activities.
Once you have set up your Afterpay account, take a moment to review all the information you provided. Double-check your address, payment method, and any additional details to ensure accuracy.
Now that your Afterpay account is fully set up, you’re ready to take advantage of the flexible payment options and start shopping with Afterpay. Happy shopping!
Step 5: Verify Your Email Address
Once you have completed the account setup process, you will need to verify your email address. Verifying your email is an important step in confirming your Afterpay account and ensuring that you receive important account notifications and updates.
After submitting your registration form, you should receive an email from Afterpay with a verification link. Check your inbox (including your spam or junk folder) for this email. Click on the verification link provided in the email to complete the verification process.
Clicking on the verification link will redirect you to a confirmation page, confirming that your email has been successfully verified. Once this step is complete, you can proceed to use your Afterpay account without any limitations.
If you did not receive the verification email, make sure to double-check the accuracy of the email address you provided during the registration process. In case of any discrepancies, you can contact Afterpay’s customer support for assistance.
It’s important to verify your email address as soon as possible to ensure uninterrupted access to your Afterpay account. Without verifying your email, you may miss out on important updates, offers, and notifications from Afterpay.
After successfully verifying your email address, you’re now ready to take advantage of the convenience and flexibility offered by Afterpay for your online shopping needs.
Note: If you encounter any issues during the email verification process, reach out to Afterpay’s customer support for prompt assistance. Their knowledgeable support team will be able to guide you through the verification process and address any concerns you may have.
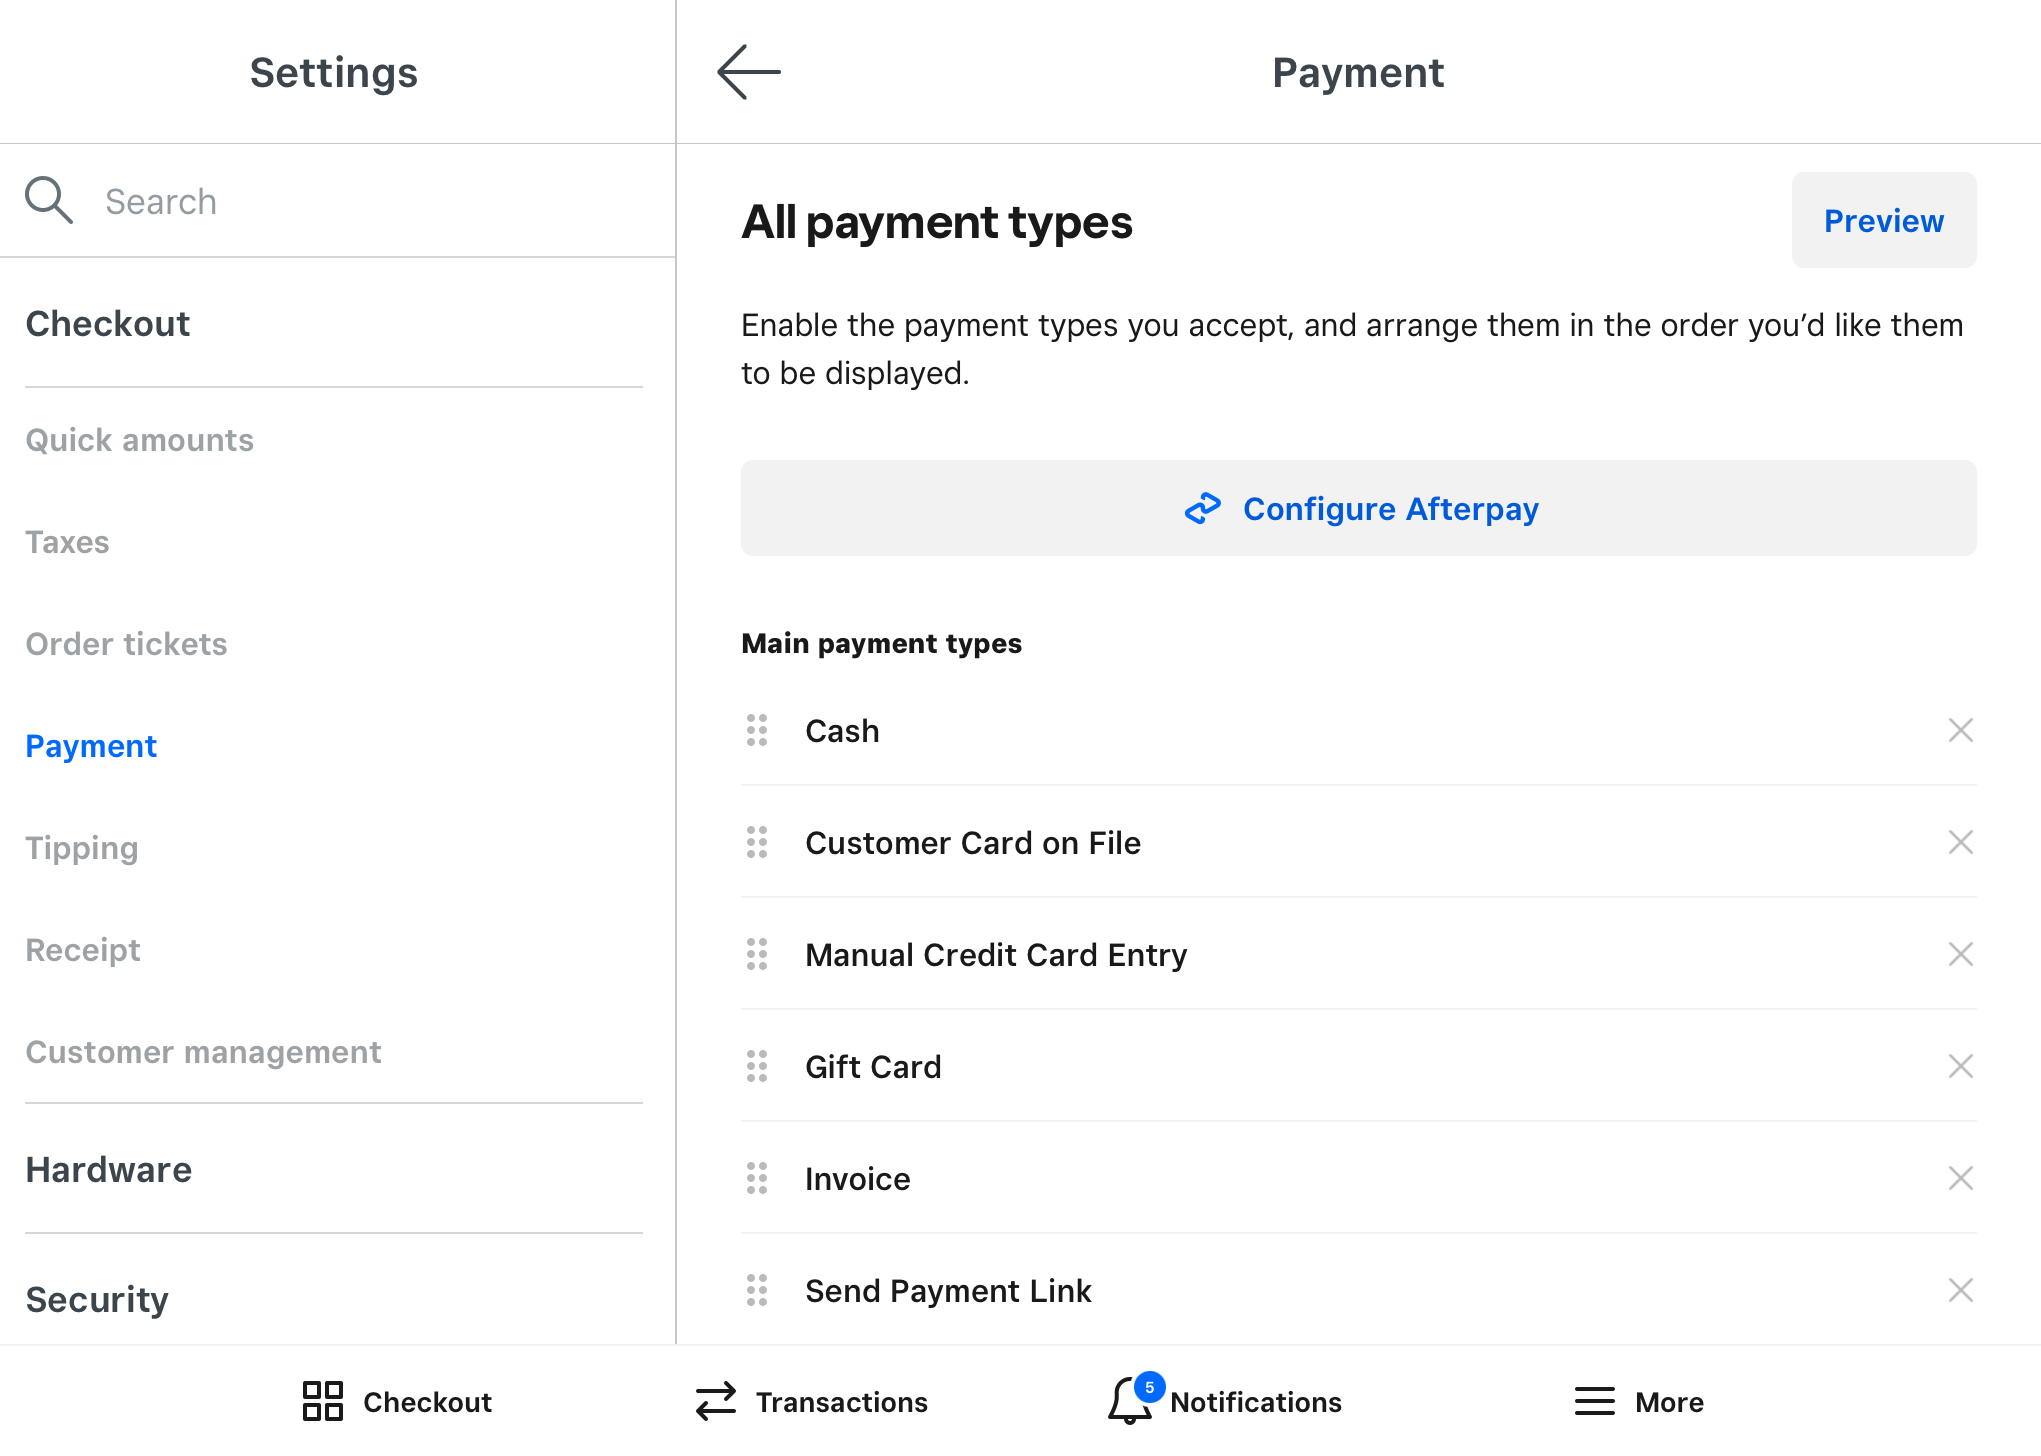
Step 6: Add a Payment Method
After verifying your email address, the next step is to add a payment method to your Afterpay account. Adding a payment method is crucial as it will allow you to make purchases and pay for them in convenient installments.
To add a payment method, log in to your Afterpay account and navigate to the “Payment Methods” section. Here, you will find options to add a credit or debit card, connect your bank account, or link a digital wallet.
If you prefer to use a credit or debit card, select the option to add a card and follow the prompts to enter the card details, including the card number, expiration date, and security code. Make sure to use a card that is valid and linked to your name.
If you’re looking to connect your bank account, select the appropriate option and follow the instructions to link your bank account securely. This option allows for direct payments from your bank account, making it a convenient and hassle-free payment method.
Alternatively, if you prefer to use a digital wallet such as PayPal or Apple Pay, choose the respective option and follow the steps to link your digital wallet to your Afterpay account. This will enable you to make payments directly from your chosen digital wallet.
Remember to review and confirm the accuracy of the payment method details before adding it to your Afterpay account. This ensures that your payments are processed smoothly and reduces the likelihood of any payment errors.
Keep in mind that Afterpay may have specific requirements or limitations when it comes to payment methods. Make sure to familiarize yourself with Afterpay’s policies and guidelines regarding payment methods to ensure a seamless shopping experience.
Once you have successfully added a payment method to your Afterpay account, you’re all set to enjoy the flexibility and convenience of making purchases with Afterpay. Now, let’s move on to the next step and review and agree to Afterpay’s terms and conditions.
Step 7: Review and Agree to Afterpay’s Terms and Conditions
Before you start shopping with Afterpay, it is essential to review and agree to their terms and conditions. Afterpay’s terms and conditions outline the rules and guidelines that govern your use of their services, ensuring a transparent and secure experience for both buyers and sellers.
To access Afterpay’s terms and conditions, navigate to the “Terms and Conditions” or “Legal” section on their website. Take the time to carefully read through the document, paying attention to important details such as payment schedules, late fees, refund policies, and any other relevant information.
By agreeing to Afterpay’s terms and conditions, you acknowledge your understanding of how Afterpay operates and accept their guidelines for using the service. It’s important to ensure that you fully comprehend the terms before proceeding, as this will ensure a positive and satisfactory experience with Afterpay.
In some cases, you may be required to actively check a box or click on an “Agree” button to indicate your acceptance of the terms and conditions. This additional step is to ensure that you have read and understood the document. Remember, it’s always a good practice to keep a copy of the terms and conditions for your reference.
If you have any questions or concerns regarding Afterpay’s terms and conditions, it is recommended to reach out to their customer support for clarification. They will be able to provide further assistance and address any queries you may have.
After reviewing and agreeing to Afterpay’s terms and conditions, you are now fully acquainted with the guidelines and policies that govern your Afterpay account. This sets the stage for a smooth and transparent shopping experience with Afterpay.
Now that you’ve completed this step, you’re ready to move on to the final step where you can start shopping with Afterpay and enjoy the flexibility of their payment service.
Step 8: Start Shopping with Afterpay
Congratulations! You’ve made it to the final step in creating a new Afterpay account. Now, it’s time to put your account into action and start enjoying the convenience and flexibility of shopping with Afterpay.
With your Afterpay account fully set up and your payment method added, you can now shop at a wide variety of online stores that offer Afterpay as a payment option. Look out for the Afterpay logo or “Pay with Afterpay” option during your online shopping experience.
When you find an item you want to purchase, simply add it to your cart as you would with any online purchase. During the checkout process, select Afterpay as your payment method. You will be redirected to the Afterpay payment gateway.
At the Afterpay payment gateway, you will see a summary of your order and the payment schedule. Afterpay breaks your total purchase amount into four equal installments, with the first installment due at the time of purchase. The remaining three payments will be automatically deducted from your chosen payment method every two weeks.
Review the payment schedule to ensure that you are comfortable with the payment dates and installments. If everything looks good, confirm your order and complete the checkout process. Congratulations, your purchase is now complete!
After making a purchase with Afterpay, you can manage your payments and view your upcoming payment schedule by logging into your Afterpay account. Keep an eye on your email for payment reminders and updates throughout the installment period.
It’s important to note that timely payments are crucial to maintaining a positive experience with Afterpay. Late payments can incur additional fees and impact your eligibility for future Afterpay purchases. Therefore, it is essential to keep track of your payment due dates and ensure sufficient funds are available in your account.
Remember, Afterpay is all about convenience and providing a smooth shopping experience. By using Afterpay responsibly and making your payments on time, you can enjoy the benefits of flexible payments while managing your budget effectively.
So go ahead, start exploring the countless online stores that partner with Afterpay and indulge in the joy of shopping with payment flexibility!
Conclusion
Congratulations! You have successfully learned how to create a new Afterpay account and are now equipped to enjoy the convenience and flexibility it offers. By following the step-by-step guide, you have set up your Afterpay account, added a payment method, and familiarized yourself with the terms and conditions.
Afterpay provides a seamless shopping experience, allowing you to split your payments into manageable installments without any interest or fees. With Afterpay, you can shop at a wide range of online stores, making it easier than ever to get the items you love.
Remember to use Afterpay responsibly to stay within your budget. Keep track of payment due dates and ensure sufficient funds are available in your account to avoid any late payment fees or complications. By doing so, you can make the most of this convenient payment service without any hiccups.
Now that you have a new Afterpay account, start exploring the online stores that accept Afterpay as a payment method. Enjoy the convenience of seamless transactions, flexible payments, and the freedom to shop for the products you desire without any financial strain.
If you ever have questions or need assistance, Afterpay provides excellent customer support. Reach out to their support team for any inquiries, concerns, or clarifications you may need.
We hope this guide has been helpful in creating your new Afterpay account. Embrace the convenience, shop responsibly, and make the most of this fantastic buy-now-pay-later service. Happy shopping!