Introduction
Changing the payment date on Afterpay can be a convenient option for many users. Whether you need to align it with your payday or simply want to adjust the timing to better suit your financial needs, Afterpay provides a simple and straightforward process to make this change. By following a few easy steps, you can easily modify your payment date and better manage your budget.
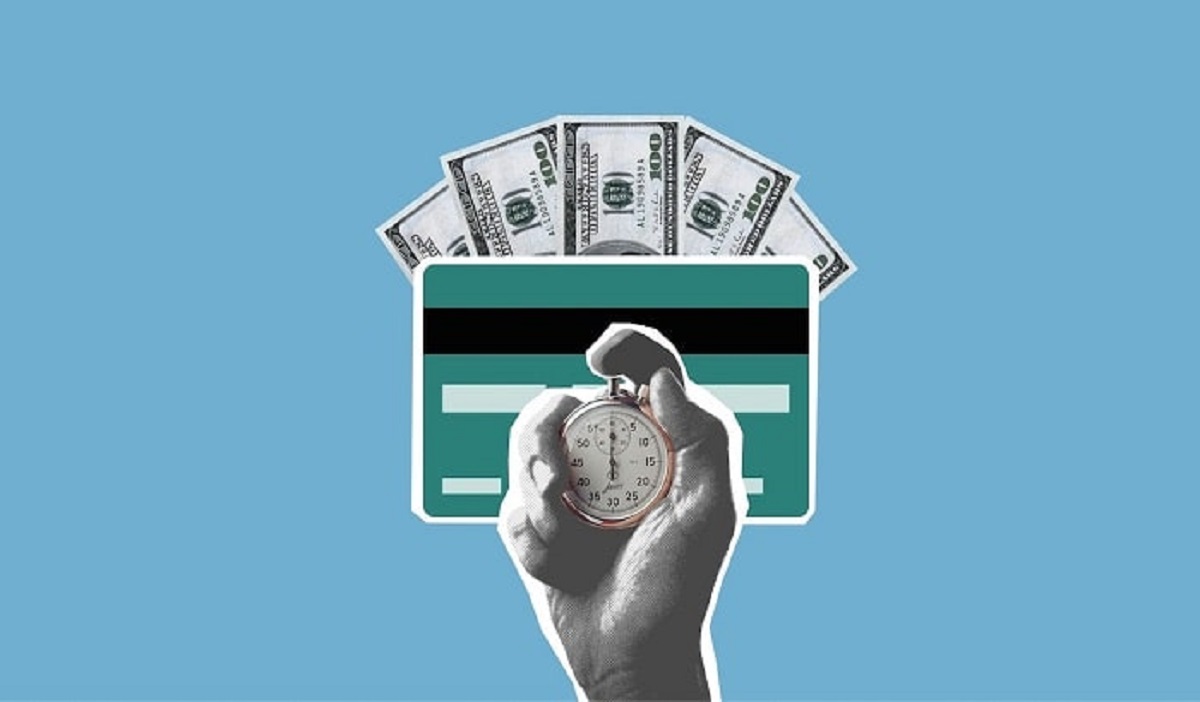
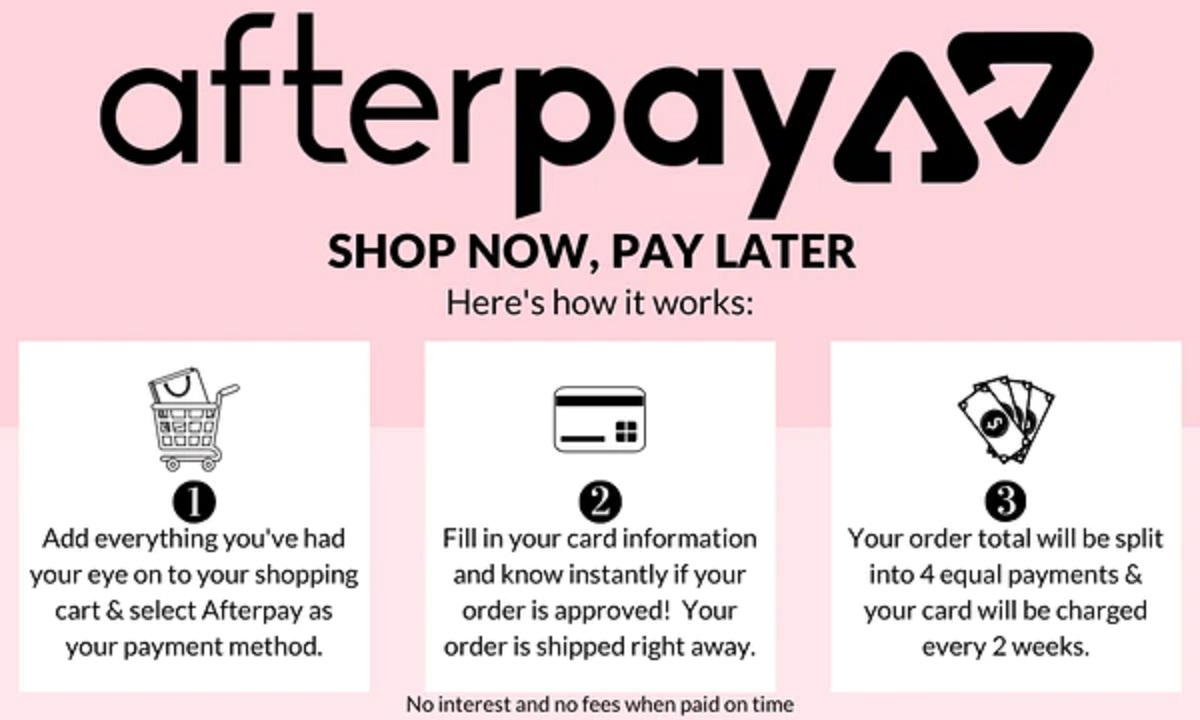
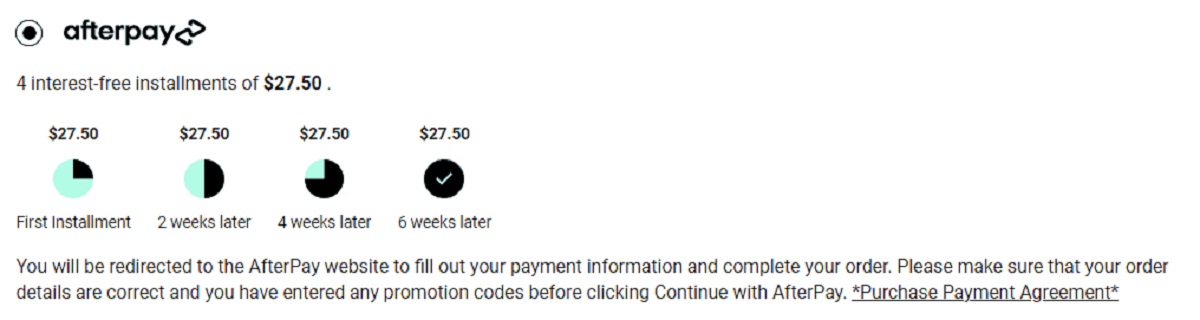
Afterpay is a popular buy now, pay later service that allows users to make purchases and split the total cost into four equal installments. This flexible payment option has gained popularity among online shoppers due to its convenience and interest-free nature.
While Afterpay aims to automatically set the payment dates based on your usual pay cycle, sometimes unexpected events or financial constraints might require you to modify your payment schedule. Fortunately, Afterpay provides a user-friendly online platform where you can easily change your payment date.
In this guide, we will walk you through the step-by-step process of changing the payment date on Afterpay. Whether you’re using Afterpay for the first time or are a frequent user, our instructions will help you navigate the platform and tailor your payment schedule according to your needs.
Step 1: Accessing Your Afterpay Account
To change the payment date on your Afterpay account, you’ll need to access your account through the Afterpay website or mobile app. Follow these steps to get started:
- Open your web browser or launch the Afterpay mobile app on your device.
- If you’re using the website, enter the URL for Afterpay in the address bar. If you’re using the mobile app, simply open the app on your device.
- Once you’ve reached the Afterpay homepage, look for the “Log In” button. Click or tap on it to proceed.
- You will be directed to the Afterpay login page. Enter your registered email address and password in the provided fields.
- Click or tap on the “Log In” button to access your Afterpay account.
Once you successfully log in to your Afterpay account, you’ll gain access to a wide range of features and settings, including the ability to change your payment date.
It’s important to note that you must have an existing Afterpay account and be logged in to make any changes to your payment schedule. If you don’t have an account yet, you can easily create one by following the instructions provided on the Afterpay website or mobile app.
Now that you’re logged in to your Afterpay account, you’re ready to proceed to the next step and navigate to the section where you can change the payment date for your orders.
Step 2: Navigate to Your Orders
After accessing your Afterpay account, the next step is to navigate to the section where you can view and manage your orders. Follow these simple instructions:
- Once you’re logged in to your Afterpay account, you’ll be directed to your account dashboard. Take a moment to familiarize yourself with the various options and settings available on the dashboard.
- Look for the “Orders” tab or section. This is where you can view the list of your recent Afterpay orders and access the details of each order.
- Click or tap on the “Orders” tab or section to proceed.
By navigating to the “Orders” section, you’ll be able to see a chronological list of your Afterpay purchases. This section will provide you with an overview of your current and past orders, including the payment due dates.
If you have multiple orders, you may need to scroll through the list or use the search function to find the specific order for which you want to change the payment date. Once you locate the desired order, you can move on to the next step and proceed with modifying the payment date.
Now that you’ve successfully navigated to the “Orders” section, you’re one step closer to changing the payment date on your Afterpay order. Let’s continue to the next step and select the order for which you wish to adjust the payment date.
Step 3: Select the Order You Wish to Change the Payment Date For
Now that you’re in the “Orders” section of your Afterpay account, you can find the specific order you want to modify the payment date for. Follow these steps:
- Take a moment to review the list of your recent Afterpay purchases displayed in the “Orders” section. Look for the order you want to change the payment date for.
- Once you’ve located the desired order, click or tap on it to access the order details page.
On the order details page, you will find all the information related to the selected order such as the purchase date, total amount, and current payment schedule.
If you have many orders listed, you may need to scroll through the page or use the search function to quickly locate the specific order you wish to modify.
It’s important to carefully select the correct order as changing the payment date for one order will not affect the payment schedule for your other Afterpay orders.
Once you’ve selected the proper order, you can proceed to the next step and begin editing the payment date.
Now that you’ve successfully identified the order for which you want to change the payment date, let’s move on to the next step and make the necessary adjustments.
Step 4: Edit the Payment Date
Now that you’ve accessed the order details page for the specific Afterpay order, you can proceed to edit the payment date according to your preferences. Follow these simple steps:
- On the order details page, look for the option or button that allows you to modify the payment date. This option is typically labeled as “Change Payment Date” or something similar.
- Click or tap on the “Change Payment Date” option to initiate the process of editing the payment date.
- A calendar or date picker will appear, allowing you to select a new payment date. Use the calendar or date picker to choose the desired date for your payment.
- After selecting the new payment date, review the changes to ensure accuracy.
- If you’re satisfied with the new payment date, click or tap on the “Confirm” or “Save” button to save the changes.
It’s important to note that the ability to edit the payment date may be subject to certain restrictions or limitations. These restrictions can vary depending on various factors, such as your payment history, the specific terms and conditions of your Afterpay account, and the policies of the retailer with whom you made the purchase.
If you encounter any issues or are unable to edit the payment date, it’s recommended to contact Afterpay customer support for further assistance. They will be able to provide guidance and help resolve any issues you may encounter.
Now that you’ve successfully edited the payment date for your Afterpay order, let’s move on to the final step and review and confirm the changes you made.
Step 5: Review and Confirm Changes
After editing the payment date for your Afterpay order, it’s essential to review and confirm the changes you’ve made to ensure accuracy. Follow these final steps to complete the process:
- Once you’ve saved the changes to the payment date, you will be redirected back to the order details page.
- Take a moment to review the updated payment date displayed on the order details page. Ensure that it aligns with your desired schedule.
- If the payment date is accurate and meets your requirements, you can proceed with confirming the changes.
- Click or tap on the “Confirm Changes” or “Save” button to finalize the modified payment date.
It’s crucial to double-check the changes to avoid any confusion or potential issues with your payment schedule. Confirming the changes will ensure that the updated payment date is reflected on your account and that you’re aware of when the payment will be due.
Keep in mind that Afterpay may send you a confirmation email or notification to provide a record of the updated payment date. Make sure to review this information and retain it for your reference.
Once you have reviewed and confirmed the changes to the payment date, you have successfully adjusted your Afterpay order to better suit your financial needs.
Congratulations! You’ve completed the process of changing the payment date on Afterpay. Now you can confidently manage your payment schedule and enjoy the flexibility and convenience that Afterpay offers.
Conclusion
Changing the payment date on Afterpay is a simple and user-friendly process that allows you to better manage your budget and align your payments with your financial situation. By following the step-by-step instructions outlined in this guide, you can easily modify the payment date for your Afterpay orders.
Remember to access your Afterpay account through the website or mobile app to begin the process. Navigate to the “Orders” section to find the specific order you wish to modify the payment date for. Once you’ve located the order, proceed to edit the payment date by selecting a new date from the calendar or date picker.
After you’ve made the necessary changes, take a moment to review and confirm the updated payment date to ensure accuracy. It’s essential to double-check the changes and verify that they align with your desired schedule before finalizing them.
By successfully changing the payment date on Afterpay, you can have greater control over your financial obligations, allowing you to comfortably manage your expenses. This flexibility and convenience are what make Afterpay a popular choice among online shoppers.
If you encounter any difficulties or have specific questions regarding changing the payment date on Afterpay, don’t hesitate to reach out to their customer support for further assistance. They are there to help you navigate the platform and address any concerns you may have.
Now that you have the knowledge and know-how of changing the payment date on Afterpay, you can confidently adapt your payment schedule to better suit your needs. Enjoy the convenience of Afterpay, knowing that you have the flexibility to manage your payments seamlessly.