Why Is It Important to Look Up RAM on PC?
When it comes to optimizing your computer’s performance, understanding the amount, type, and speed of the RAM (Random Access Memory) on your PC is essential. RAM plays a crucial role in how quickly and efficiently your computer can process data and run applications. Knowing the details of your RAM can help you make informed decisions about system upgrades, troubleshoot performance issues, and ensure compatibility with software requirements.
One key reason to look up the RAM on your PC is to determine how much memory your system has. RAM capacity directly impacts the number and size of programs you can run simultaneously. Insufficient RAM can lead to sluggish performance, frequent freezing, and longer load times. By knowing your computer’s RAM capacity, you can assess whether it meets the demands of your intended use, such as gaming, video editing, or running resource-hungry software.
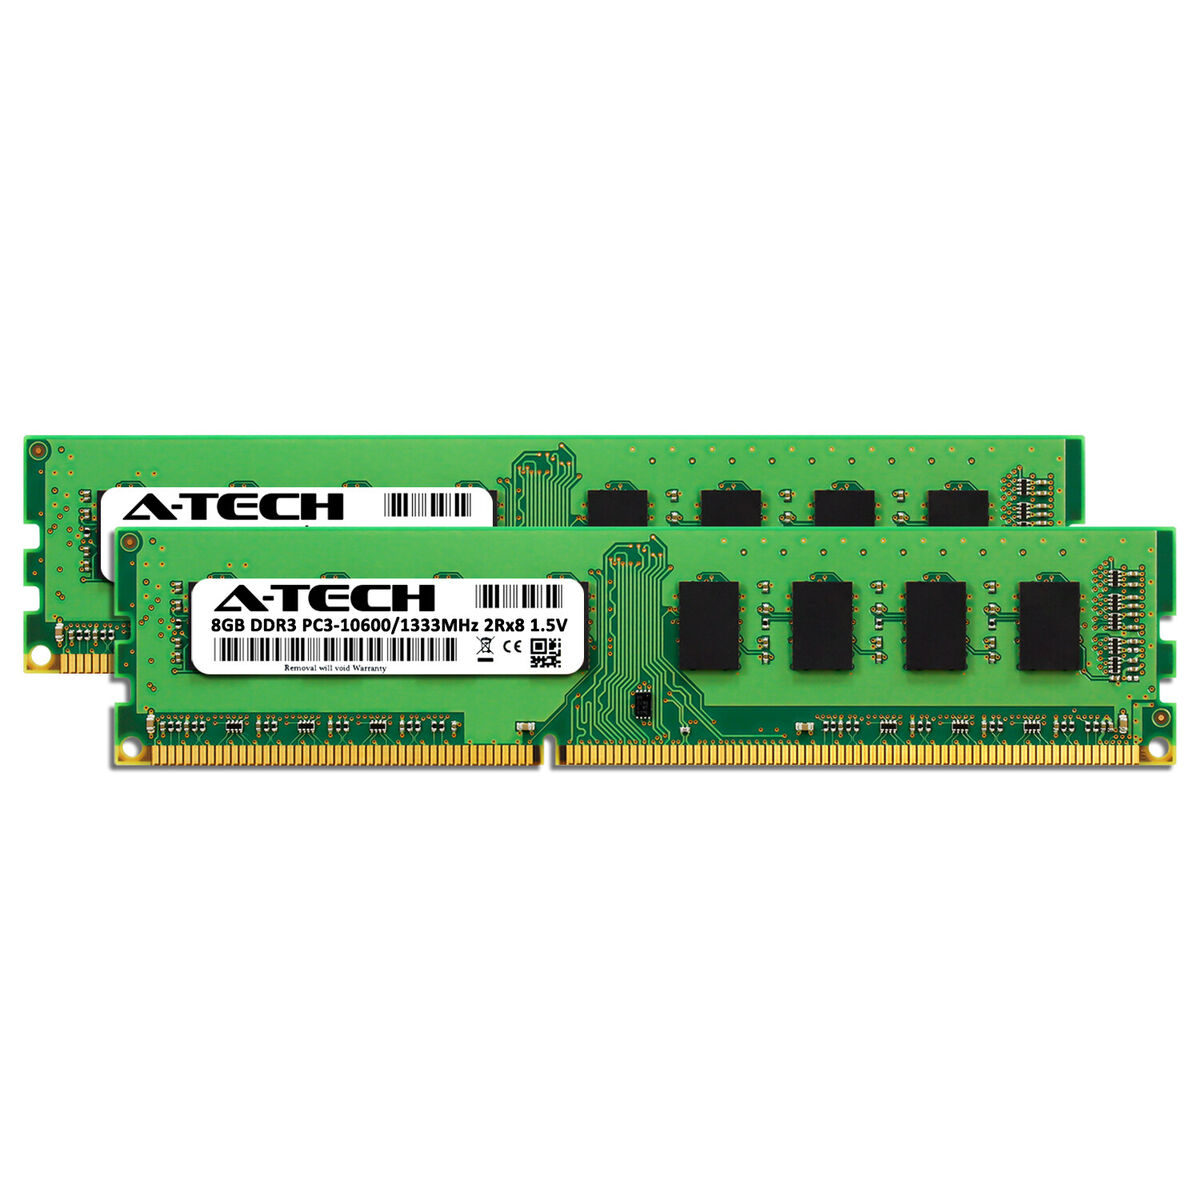
Additionally, identifying the type of RAM installed on your PC is crucial for compatibility and upgrade purposes. Different generations and form factors of RAM may not be compatible with your motherboard or existing RAM modules. By determining the specific type, like DDR3 or DDR4, you can ensure that any RAM additions or replacements are compatible.
The speed and frequency of your RAM are other essential factors to consider. RAM speed is measured in megahertz (MHz) and determines how quickly the RAM can read and write data. Higher RAM speeds result in better performance and improved multitasking capabilities. Similarly, understanding the frequency of your RAM allows you to match it with a compatible motherboard.
Looking up the RAM on your PC is not only beneficial for system optimization but also for troubleshooting issues. If you’re experiencing frequent crashes, blue screens, or system freezes, checking the RAM can help identify if faulty or incompatible memory modules are the cause. It can save you from unnecessary software reinstallation or other troubleshooting measures.
Overall, knowing the details of your PC’s RAM is vital for ensuring optimal performance, evaluating upgrade options, and troubleshooting issues. By understanding the amount, type, and speed of your RAM, you can make informed decisions about optimizing your system’s performance, expanding its capabilities, and ensuring compatibility with the software you use.
How to Determine the Amount of RAM on Your PC
Determining the amount of RAM installed on your PC is a straightforward process that can be accomplished using various methods. Here are a few simple ways to check the RAM capacity of your computer:
- Task Manager: On Windows systems, you can use the Task Manager utility to view the amount of RAM installed. Press “Ctrl + Shift + Esc” to open Task Manager, then navigate to the “Performance” tab. Under the “Memory” section, you will find the total amount of RAM installed on your PC.
- System Information: Another way to check the RAM capacity is by using the System Information tool. On Windows, you can access it by typing “msinfo32” in the Start menu’s search bar and hitting enter. In the System Information window, look for the “Installed Physical Memory (RAM)” field, which displays the total RAM installed on your PC.
- System Properties: A third method is to check the System Properties. Right-click on the “Computer” or “My Computer” icon on the desktop or in the Start menu, then select “Properties.” The System Properties window will display the installed RAM under the “Installed memory (RAM)” section.
On macOS systems, you can determine the RAM capacity by following these steps:
- About This Mac: Click on the Apple menu in the top-left corner of the screen and select “About This Mac.” A window will open displaying an overview of your Mac. Here, you will find the memory information, including the total amount of RAM installed.
- System Report: To get more detailed information about your RAM, click on the “System Report” button in the “About This Mac” window. In the System Report, navigate to the “Hardware” section and select “Memory.” You will find the total installed memory, along with other details such as RAM type and speed.
Once you have determined the amount of RAM on your PC, you can assess whether it meets your needs or if an upgrade is necessary. Remember that upgrading the RAM can significantly improve your system’s performance, especially if you regularly use resource-intensive applications or multitask extensively.
While checking the RAM capacity provides valuable information, it is also essential to consider the specifications and requirements of the software you use. Some applications, particularly professional software like graphic design suites or video editing programs, may have specific RAM recommendations for optimal performance.
By accurately determining the amount of RAM on your PC, you can make informed decisions regarding upgrades and ensure your system has the necessary resources to meet your computing needs.
Methods to Identify the Type of RAM Installed
Identifying the type of RAM installed on your PC is crucial for compatibility and upgrade purposes. Here are a few methods you can use to determine the specific type of RAM in your computer:
- Task Manager or System Information: On Windows systems, you can use the Task Manager or System Information tool to find the RAM type. Open Task Manager by pressing “Ctrl + Shift + Esc” and navigate to the “Performance” tab. Under the “Memory” section, you will see the RAM type listed. Alternatively, open System Information by typing “msinfo32” in the Start menu search bar, and in the System Information window, look for the “Memory” field, which displays the RAM type.
- Command Prompt: Another way to identify the RAM type on Windows is by using the Command Prompt. Press “Win + R” to open the Run dialog box, then type “cmd” and hit enter. In the Command Prompt window, type “wmic memorychip get devicelocator, memorytype” and press enter. This will display the RAM type for each memory module installed in your PC.
- System Report: On macOS systems, you can find the RAM type by accessing the System Report. Click on the Apple menu in the top-left corner of the screen, select “About This Mac,” and then click on the “System Report” button. In the System Report window, navigate to the “Hardware” section and select “Memory.” Here, you will find details about the RAM type, including specifications like DDR3 or DDR4.
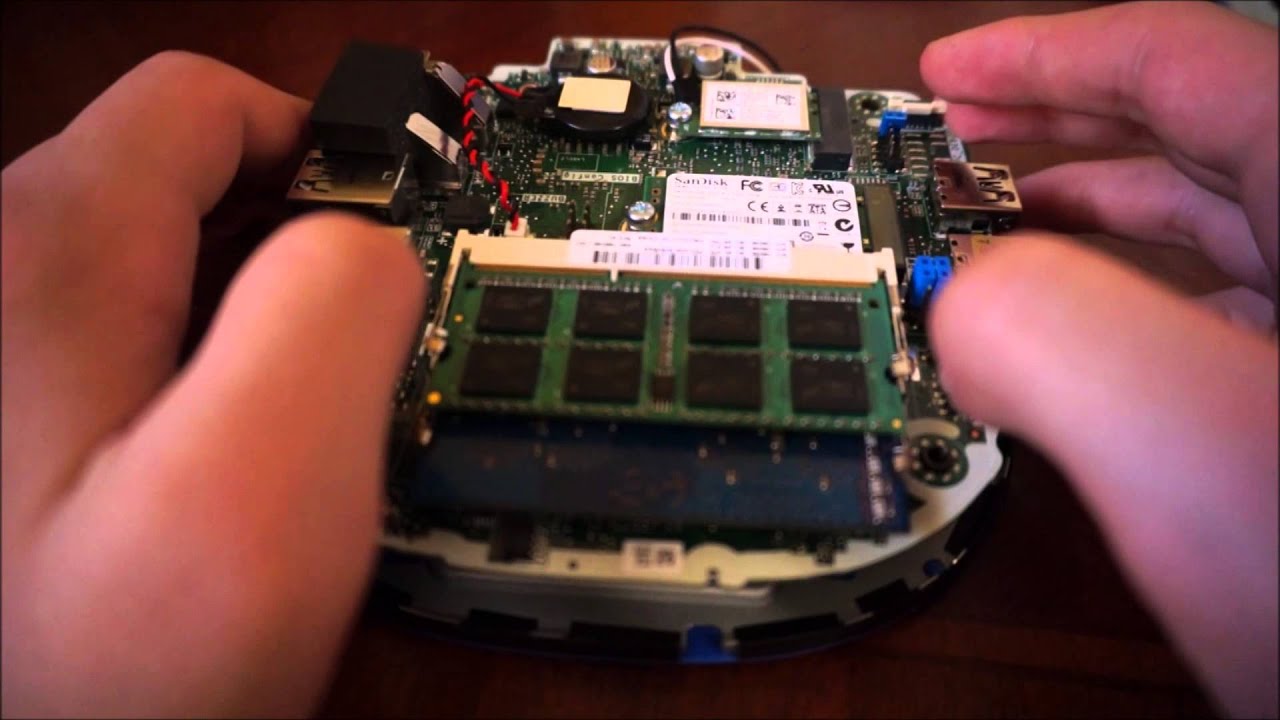
In addition to using these built-in tools, you can physically inspect the RAM modules to determine their type. Open your computer’s case following the manufacturer’s instructions and find the RAM modules on the motherboard. The RAM sticks should have labels or markings indicating the type, such as DDR3, DDR4, or other variations. However, this method requires caution and should only be performed if you are comfortable working with computer hardware.
Once you have identified the type of RAM installed on your PC, you can ensure compatibility when upgrading or adding RAM modules. Mixing different types of RAM may cause compatibility issues and hinder your system’s performance.
It is worth noting that while identifying the RAM type is essential, other factors like capacity and speed should also be considered when upgrading your RAM. Ensure that the new RAM modules you purchase match the specifications recommended for your motherboard to achieve optimal performance.
By using the methods mentioned above, you can easily determine the type of RAM installed in your PC. This knowledge will aid you in making informed decisions about future RAM upgrades and ensure that your system operates smoothly and efficiently.
How to Check the Speed and Frequency of RAM on PC
Checking the speed and frequency of the RAM installed on your PC is important when it comes to optimizing system performance and ensuring compatibility with your motherboard. Here are a few methods you can use to determine the speed and frequency of your RAM:
- Task Manager or System Information: On Windows systems, you can check the RAM speed and frequency using the Task Manager or System Information tool. Open Task Manager by pressing “Ctrl + Shift + Esc” and navigate to the “Performance” tab. Under the “Memory” section, you will find the RAM speed listed as “Speed” and the frequency listed as “Frequency.” Alternatively, open System Information by typing “msinfo32” in the Start menu search bar, and in the System Information window, look for the “Memory” field, which displays the RAM speed and frequency.
- Command Prompt: Another way to check the RAM speed and frequency on Windows is by using the Command Prompt. Press “Win + R” to open the Run dialog box, then type “cmd” and hit enter. In the Command Prompt window, type “wmic memorychip get devicelocator, speed” and press enter. This will display the RAM speed for each memory module. To obtain the frequency, you can use third-party software like CPU-Z.
- Third-Party Software: There are various third-party software tools available that can provide detailed information about your system’s hardware, including RAM speed and frequency. Popular tools like CPU-Z, Speccy, and HWiNFO can give you comprehensive details about your RAM specifications. Simply download and install one of these programs, then navigate to the memory section to find the RAM speed and frequency information.
On macOS systems, you can check the RAM speed and frequency by following these steps:
- About This Mac: Click on the Apple menu in the top-left corner of the screen and select “About This Mac.” A window will open displaying an overview of your Mac. Here, you will find the memory information, including the RAM speed and frequency.
- System Report: To get more detailed information about your RAM, click on the “System Report” button in the “About This Mac” window. In the System Report, navigate to the “Hardware” section and select “Memory.” Here, you will find the RAM speed and frequency, along with other details.
Knowing the speed and frequency of your RAM is crucial when considering upgrades or compatibility with your motherboard. When upgrading your RAM, ensure that the new modules have the same or higher speed and frequency specifications compared to the existing ones to avoid any performance bottlenecks.
By utilizing these methods, you can easily check the speed and frequency of the RAM on your PC. This information will help you make informed decisions about optimizing your system’s performance, upgrading your RAM, and ensuring compatibility with your motherboard.
Tools and Software for Monitoring RAM Usage
Monitoring your RAM usage is essential for optimizing system performance, identifying potential bottlenecks, and ensuring that your computer has enough memory to handle your workload. Fortunately, there are several tools and software available that can help you keep track of your RAM usage. Here are a few popular options:
- Task Manager: The built-in Task Manager on both Windows and macOS provides basic information about RAM usage. On Windows, you can access Task Manager by pressing “Ctrl + Shift + Esc” or “Ctrl + Alt + Delete” and selecting Task Manager from the menu. On macOS, you can open Activity Monitor by searching for it in Spotlight or locating it in the Utilities folder. These utilities display real-time data on memory usage, including the amount of RAM in use, the percentage of memory utilized, and the processes consuming the most memory.
- Resource Monitor: Windows users can utilize the Resource Monitor tool, which provides more detailed information about memory usage. To access it, open Task Manager and go to the “Performance” tab. Click on the “Open Resource Monitor” link at the bottom to launch the Resource Monitor. In the “Memory” tab, you can view information about active processes, memory usage per process, and other memory-related statistics.
- Third-Party Monitoring Programs: There are numerous third-party software options available that offer advanced features for monitoring RAM usage. These programs often provide comprehensive insights into memory usage, including detailed breakdowns by process, real-time graphs, and alerts for excessive memory usage. Some popular choices include Process Explorer, RAMMap, and CAM, among others. These tools often offer more in-depth analysis and customization options compared to built-in tools.
Regardless of the tool you choose, monitoring your RAM usage regularly allows you to identify memory-hungry applications, memory leaks, or other performance issues. By understanding which processes demand the most memory, you can optimize your system’s performance by closing unnecessary applications, adjusting settings, or upgrading your RAM if needed.
It’s important to keep in mind that monitoring RAM usage should be part of a comprehensive system monitoring strategy. Consider using tools that provide insights into CPU usage, disk activity, and network performance as well to gain a holistic view of your system’s resource allocation and identify potential bottlenecks.
By utilizing the various monitoring tools and software available, you can effectively track your RAM usage, identify any performance issues, and take necessary steps to optimize your system’s performance and ensure smooth multitasking and application usage.
Understand the RAM Upgrade Process
Upgrading your RAM can be an effective way to boost your computer’s performance, especially if you frequently use resource-intensive applications or multitask extensively. Understanding the RAM upgrade process is crucial to ensure a successful and seamless upgrade. Here’s a step-by-step guide to help you through the process:
- Identify the type and specifications of your current RAM: Before purchasing new RAM modules, you need to determine the type (e.g., DDR3, DDR4) and specifications (e.g., speed, capacity) of your current RAM. This information is essential for ensuring compatibility and purchasing the right modules.
- Check your motherboard’s specifications: It’s crucial to check your motherboard’s specifications to understand its supported RAM types, maximum capacity, and number of memory slots. This information will help you determine the maximum upgrade potential and ensure compatibility.
- Choose the right RAM modules: Based on your current RAM type and motherboard specifications, select the new RAM modules that meet your requirements. Consider factors like capacity, speed, and latency to optimize performance.
- Power off your computer and unplug all cables: Make sure to shut down your computer properly and disconnect all power and peripheral cables before proceeding with the upgrade.
- Access the RAM slots: Depending on your computer’s design, you may need to remove a side panel or access a dedicated RAM compartment. Consult your computer’s manual or manufacturer’s instructions for guidance.
- Remove old RAM modules: Gently release the retention clips on each side of the RAM module and carefully remove it from the slot. Place the removed modules in anti-static packaging to prevent damage.
- Install the new RAM modules: Align the notches on the new RAM modules with the gaps on the memory slots. Insert each module into the slot at a 45-degree angle and press firmly until it clicks into place. Ensure the retention clips secure the modules properly.
- Replace the computer’s cover or panel: Once the new RAM modules are installed, reattach the side panel or cover of your computer and secure it using the appropriate screws or latches.
- Power on and verify the upgrade: Reconnect all the cables, power on your computer, and wait for it to boot up. To confirm the successful RAM upgrade, check your computer’s system information or utilize monitoring tools to verify the increased RAM capacity.
If you encounter any issues during the RAM upgrade process, refer to the documentation provided with your computer or consult online resources for troubleshooting guidance. Additionally, make sure to handle the RAM modules with care, avoiding electrostatic discharge and following proper installation techniques.
Remember, upgrading your RAM can significantly improve your computer’s performance, but it may not be the only factor affecting overall speed and responsiveness. A balanced approach to hardware upgrades, including considering factors like CPU and storage, can ensure optimal performance across all components.
By understanding the RAM upgrade process and following these guidelines, you can successfully upgrade your computer’s RAM, unlock its full potential, and enjoy improved performance for your computing needs.
Troubleshooting Common RAM Issues
While RAM upgrades can enhance system performance, it’s not uncommon to encounter issues that may affect your computer’s stability or reliability. Understanding and troubleshooting these common RAM issues can help you resolve problems effectively. Here are some common RAM issues and their troubleshooting steps:
- System crashes or freezes: If your computer frequently crashes or freezes, it may indicate faulty or incompatible RAM. Start by removing and reseating the RAM modules, ensuring they are firmly in place. If the issue persists, try testing each RAM module individually to identify if a specific module is causing the problem. Incompatible RAM may require you to replace it with compatible modules according to your motherboard’s specifications.
- Blue screen of death (BSOD) errors: BSOD errors are often related to RAM issues. If you encounter frequent BSOD errors, perform a memory check using the built-in Windows Memory Diagnostic tool or third-party software like Memtest86. These tools will help identify any errors or issues with your RAM. If errors are detected, try removing and reinstalling the RAM modules or replacing them if necessary.
- System slowdowns or unresponsiveness: If your computer becomes slow or unresponsive, it may indicate high RAM usage. Check the Task Manager or resource monitoring software to identify processes consuming significant memory. Closing unnecessary applications or upgrading to a higher capacity RAM module can alleviate this issue.
- Memory allocation errors: Sometimes, applications may display errors related to insufficient memory. In such cases, ensure that your RAM capacity meets the application’s requirements. If your RAM is adequate and the issue persists, try updating the application or seeking technical support from the software developer.
- Memory leaks: Memory leaks occur when software does not release memory properly, leading to excessive RAM usage over time. Keep your operating system and applications up to date to minimize the chances of encountering memory leaks. Additionally, consider closing and reopening problematic applications if you suspect a memory leak is causing high RAM usage.
- Compatibility issues: When upgrading or adding RAM modules, it’s crucial to ensure compatibility with your system. Before purchasing new RAM, verify that it matches your motherboard’s specifications and supports the desired capacity and speed. Incompatible RAM can lead to system instability and performance issues.
- Cleaning contacts and slots: Over time, dust or debris may accumulate on the RAM contacts or slots, affecting the connection. Use compressed air or an anti-static brush to clean the contacts and slots before reseating the RAM modules. This can help resolve intermittent connection issues and improve reliability.
If you have attempted all troubleshooting steps and are still experiencing RAM-related issues, it may be necessary to consult a professional technician for further diagnosis and guidance. They can provide advanced hardware diagnostics and recommend appropriate solutions.
Remember, maintaining proper care and ensuring compatibility are vital for preventing and troubleshooting RAM issues efficiently. By following these troubleshooting steps, you can overcome common RAM-related problems and optimize your computer’s performance and stability.
Conclusion
Understanding and managing your computer’s RAM is crucial for optimizing performance, ensuring compatibility, and troubleshooting issues. By looking up the RAM on your PC, you can determine the amount, type, and speed of the memory, which is essential for making informed decisions regarding upgrades, software compatibility, and troubleshooting.
Determining the RAM capacity allows you to evaluate whether it meets your needs and if an upgrade is necessary to enhance multitasking capabilities and run resource-intensive applications smoothly. Identifying the RAM type ensures compatibility when adding or replacing memory modules. Checking the speed and frequency of your RAM enables you to optimize performance and match it with compatible hardware.
Monitoring tools and software help you keep track of RAM usage, identify memory-hungry processes, and diagnose performance issues. Regularly checking RAM usage allows for efficient resource allocation, system stability, and prompt troubleshooting.
When upgrading RAM, understanding the process is essential to ensure a successful and hassle-free upgrade. By following the step-by-step guide, you can confidently upgrade your RAM and unlock your computer’s full potential.
Troubleshooting common RAM issues is vital for resolving stability, performance, and compatibility problems. By following the troubleshooting steps, you can effectively troubleshoot and resolve common RAM-related issues, ensuring a smooth and reliable computing experience.
In conclusion, taking the time to look up, understand, and manage your computer’s RAM is essential for optimizing performance, ensuring compatibility, and troubleshooting issues. By utilizing the knowledge and tools available, you can make informed decisions, improve system performance, and overcome common RAM-related challenges.