Introduction
Welcome to this comprehensive guide on how to install a wireless doorbell. If you’re tired of the limitations and hassles of a traditional wired doorbell, a wireless doorbell is the perfect solution for you. Not only does it offer the convenience of easy installation, but it also provides flexibility in choosing the location for the receiver. With wireless technology becoming increasingly advanced, you can now enjoy a reliable and efficient doorbell system without the need for complex wiring.
In this step-by-step guide, we will walk you through the process of installing a wireless doorbell system. Whether you’re a seasoned DIY enthusiast or a beginner, you’ll find this guide easy to follow and implement. By the end of this guide, you’ll have a fully functional wireless doorbell system that will enhance the security and convenience of your home.
Before we jump into the installation process, it’s essential to gather the necessary tools and materials to ensure a smooth and successful installation. In the next section, we will cover the items you’ll need to have on hand before getting started. So, let’s dive in and get ready to embrace the convenience of a wireless doorbell system!
Step 1: Gather the necessary tools and materials
Before you begin the installation process, it’s crucial to gather all the tools and materials you’ll need. Having everything prepared will save you time and ensure a smooth installation. Here’s a list of the essential items:
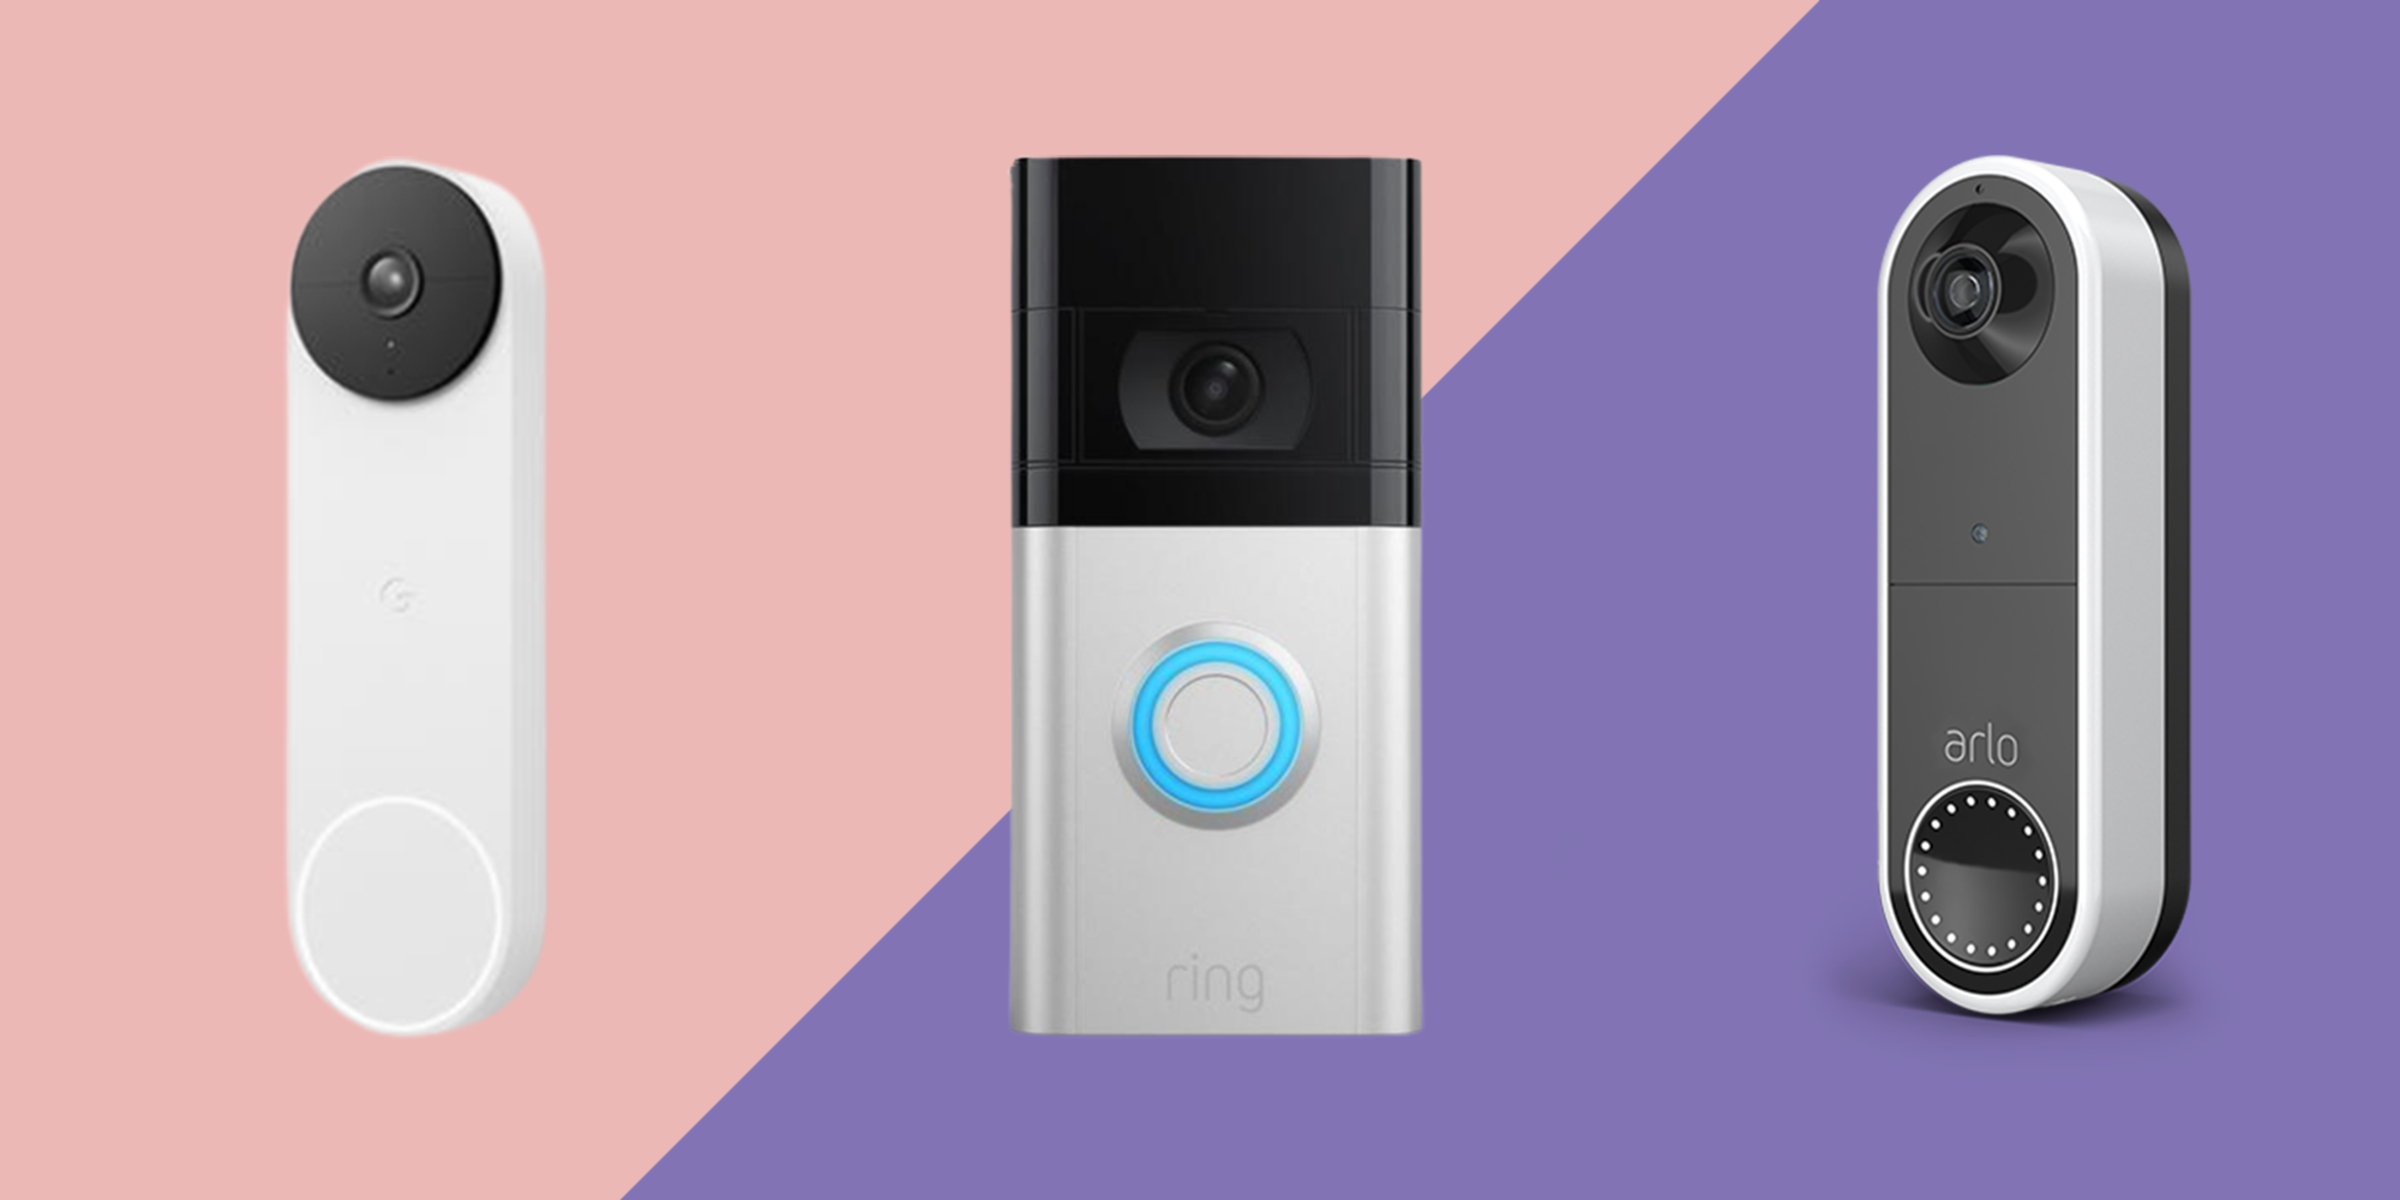
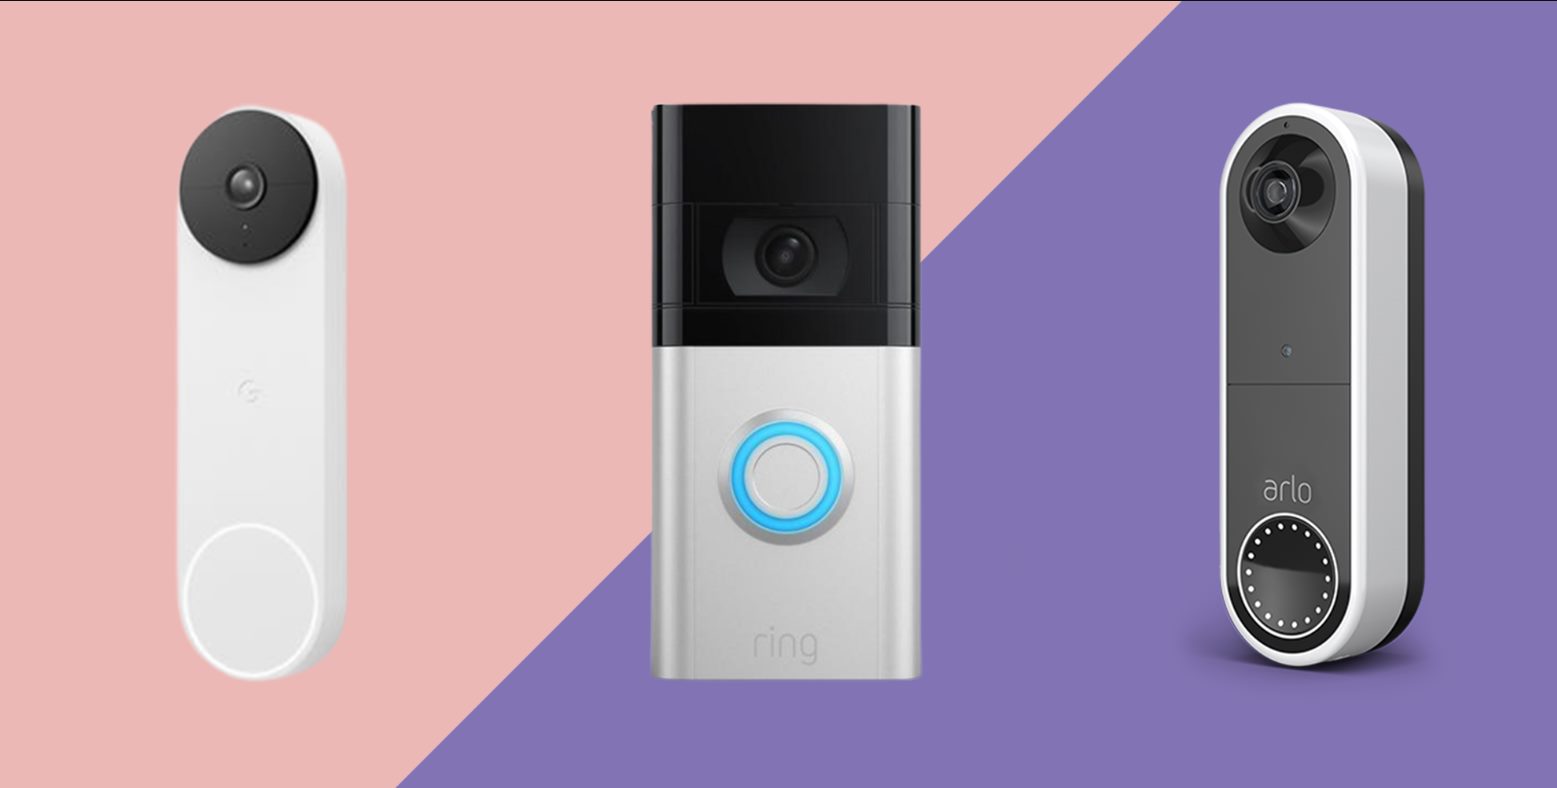
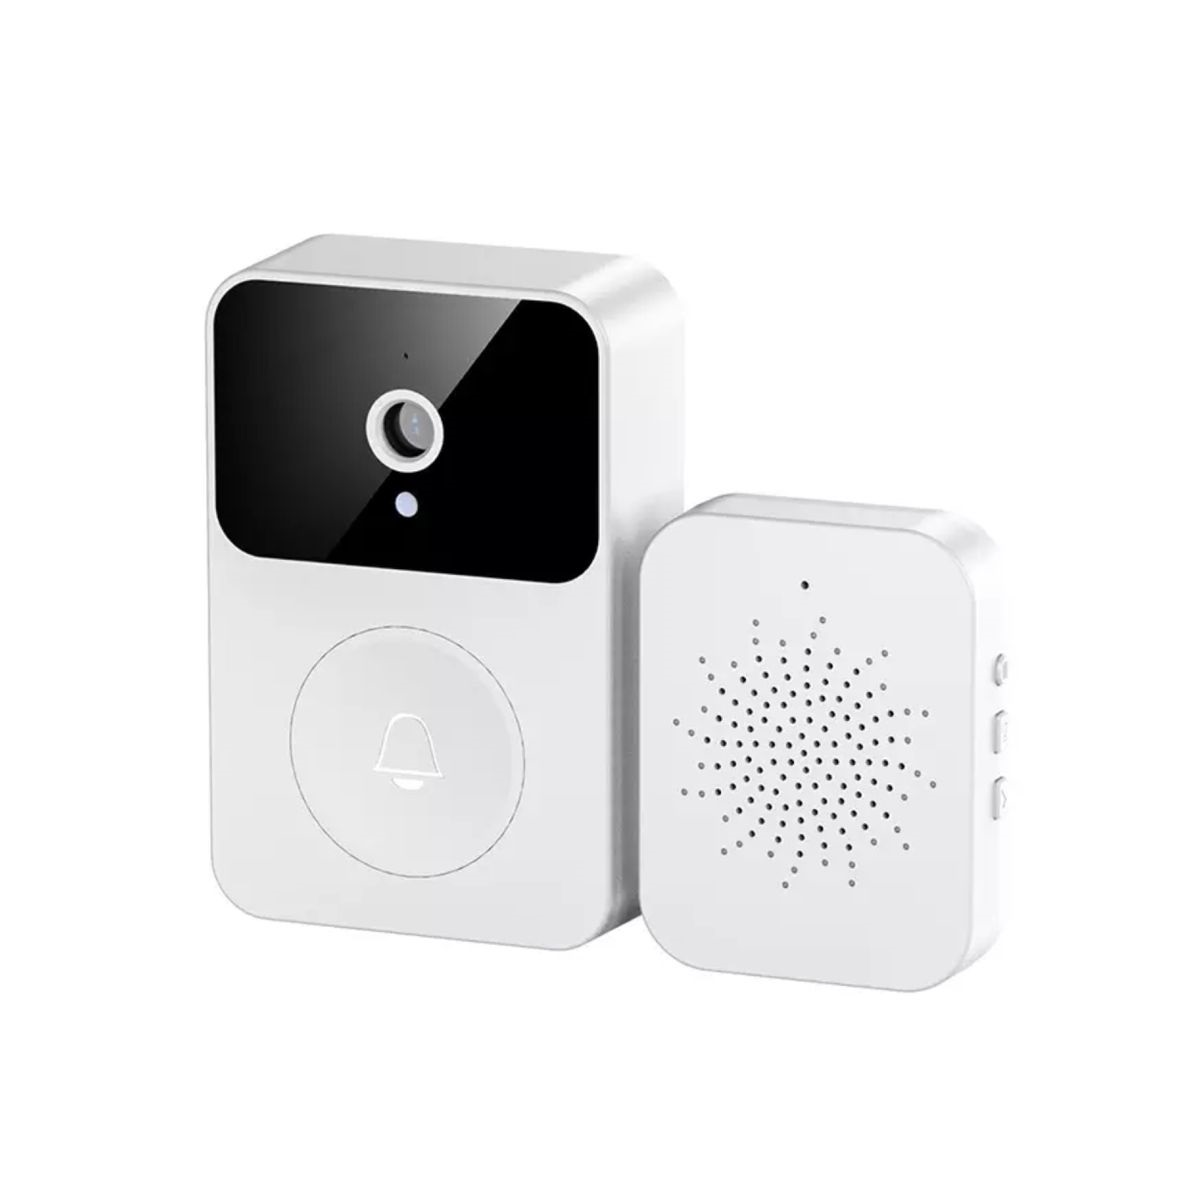
- Wireless doorbell kit: This will typically include a receiver, a doorbell button, and the necessary wires or batteries.
- Drill: A drill will be necessary if you need to make holes for mounting the receiver or doorbell button.
- Screwdriver: You may need a screwdriver to fasten the receiver or doorbell button in place.
- Tape measure: Use a tape measure to determine the ideal position for the receiver and doorbell button.
- Pencil or marker: These will be handy for marking the drill points on the wall or doorframe.
- Level: A level will help ensure that the receiver and doorbell button are installed straight.
- Batteries: If your wireless doorbell requires batteries, make sure you have the correct type and quantity.
- Double-sided adhesive tape: This can be useful if you prefer not to drill holes for mounting the receiver or doorbell button.
- Wire strippers (if needed): If your wireless doorbell requires connecting wires, wire strippers will be necessary to remove the insulation.
Make sure you have all these tools and materials ready before starting the installation process. Having everything on hand will ensure a seamless and efficient installation experience.
In the next step, we will guide you on how to choose the best location for the doorbell receiver, so stay tuned!
Step 2: Choose the best location for the doorbell receiver
Choosing the right location for your wireless doorbell receiver is essential for optimal performance and convenience. Here are a few factors to consider when selecting the ideal spot:
- Range: Ensure that the receiver is within the specified range of the doorbell button. Check the manufacturer’s instructions for the recommended distance.
- Accessibility: Place the receiver in a location that is easily accessible, preferably near a power outlet if it requires AC power.
- Visibility: Ensure that the receiver is easily visible so that you can hear and see the alert when someone presses the doorbell button.
- Avoiding interference: Keep the receiver away from other electronic devices or sources of interference, such as Wi-Fi routers or cordless phones.
- Consider multiple receivers: If you have a large house or multiple floors, you may want to consider installing additional receivers in different areas to ensure you never miss a visitor.
Once you have considered these factors, you can proceed with the installation of the doorbell receiver. If the receiver requires AC power, you will need to ensure that there is a power outlet nearby. If it is battery-powered, make sure you have the necessary batteries on hand.
To install the receiver, you can choose between wall mounting or using adhesive tape. If you opt for wall mounting, use a tape measure and a level to mark the desired position on the wall. Use a drill to create holes for the mounting screws, and then secure the receiver in place using a screwdriver. If you prefer not to drill holes, you can use double-sided adhesive tape to attach the receiver to the wall.
With the receiver in place, you’re one step closer to enjoying the convenience of your new wireless doorbell system. In the next step, we will guide you on how to mount the doorbell button at the entrance. Let’s keep going!
Step 3: Install the wireless doorbell receiver
Now that you have chosen the ideal location for your wireless doorbell receiver, it’s time to install it. Follow these steps to ensure a successful installation:
- Prepare the receiver: If the receiver requires AC power, plug it into a nearby power outlet. If it is battery-powered, insert the batteries as per the manufacturer’s instructions.
- Pair the receiver and doorbell button: Most wireless doorbell systems come pre-programmed, but if yours requires pairing, follow the manufacturer’s instructions to sync the receiver and doorbell button.
- Mount the receiver: If you haven’t done so already, choose whether to wall mount the receiver or use adhesive tape. If wall mounting, use a tape measure and a level to mark the position on the wall. Use a drill to create holes for the mounting screws, and then secure the receiver in place using a screwdriver. Alternatively, attach the receiver to the wall using double-sided adhesive tape.
- Test the receiver: Once the receiver is securely installed, test it to ensure it’s working properly. Press the doorbell button and check if the receiver chimes or lights up as expected. If there are any issues, troubleshoot them before proceeding.
It’s important to note that some wireless doorbell receivers offer additional features, such as adjustable volume, melody options, or even integrated cameras. Refer to the manufacturer’s instructions to take advantage of these features and customize your doorbell system according to your preferences.
With the receiver successfully installed, you’re ready to move on to the next step: mounting the doorbell button at the entrance. This step will complete the installation process and make your wireless doorbell system fully functional. Let’s continue!
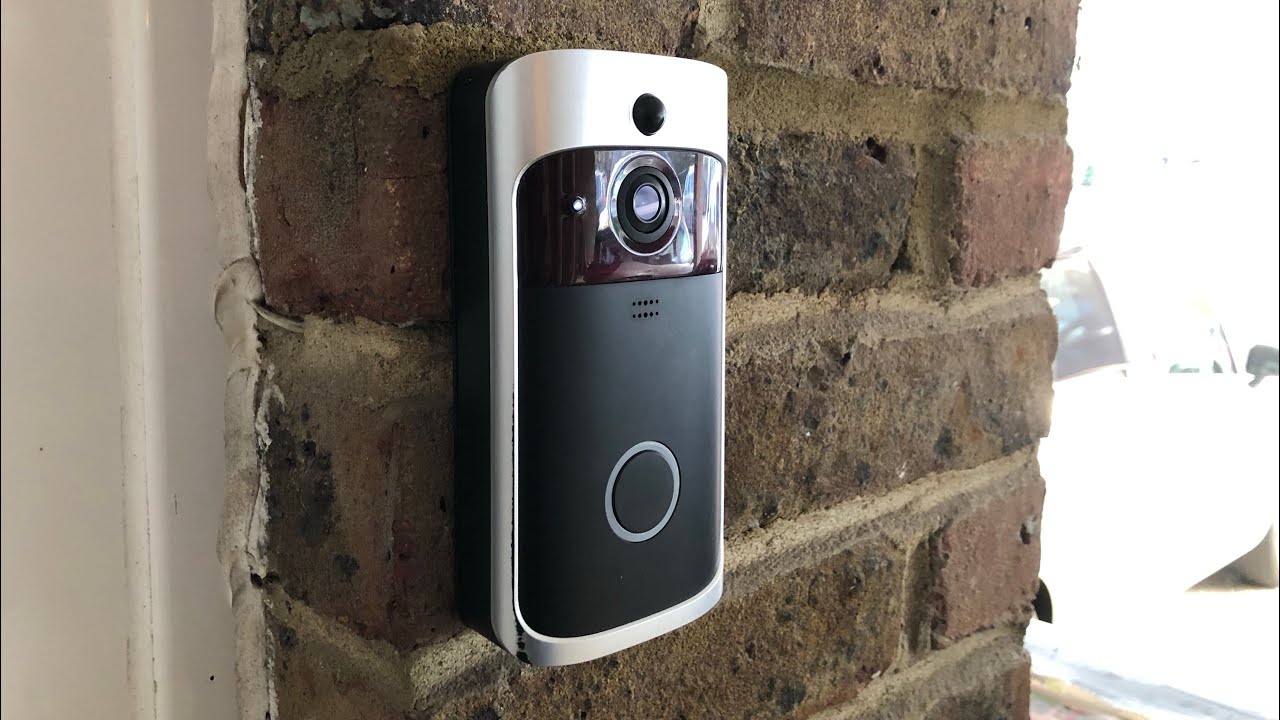
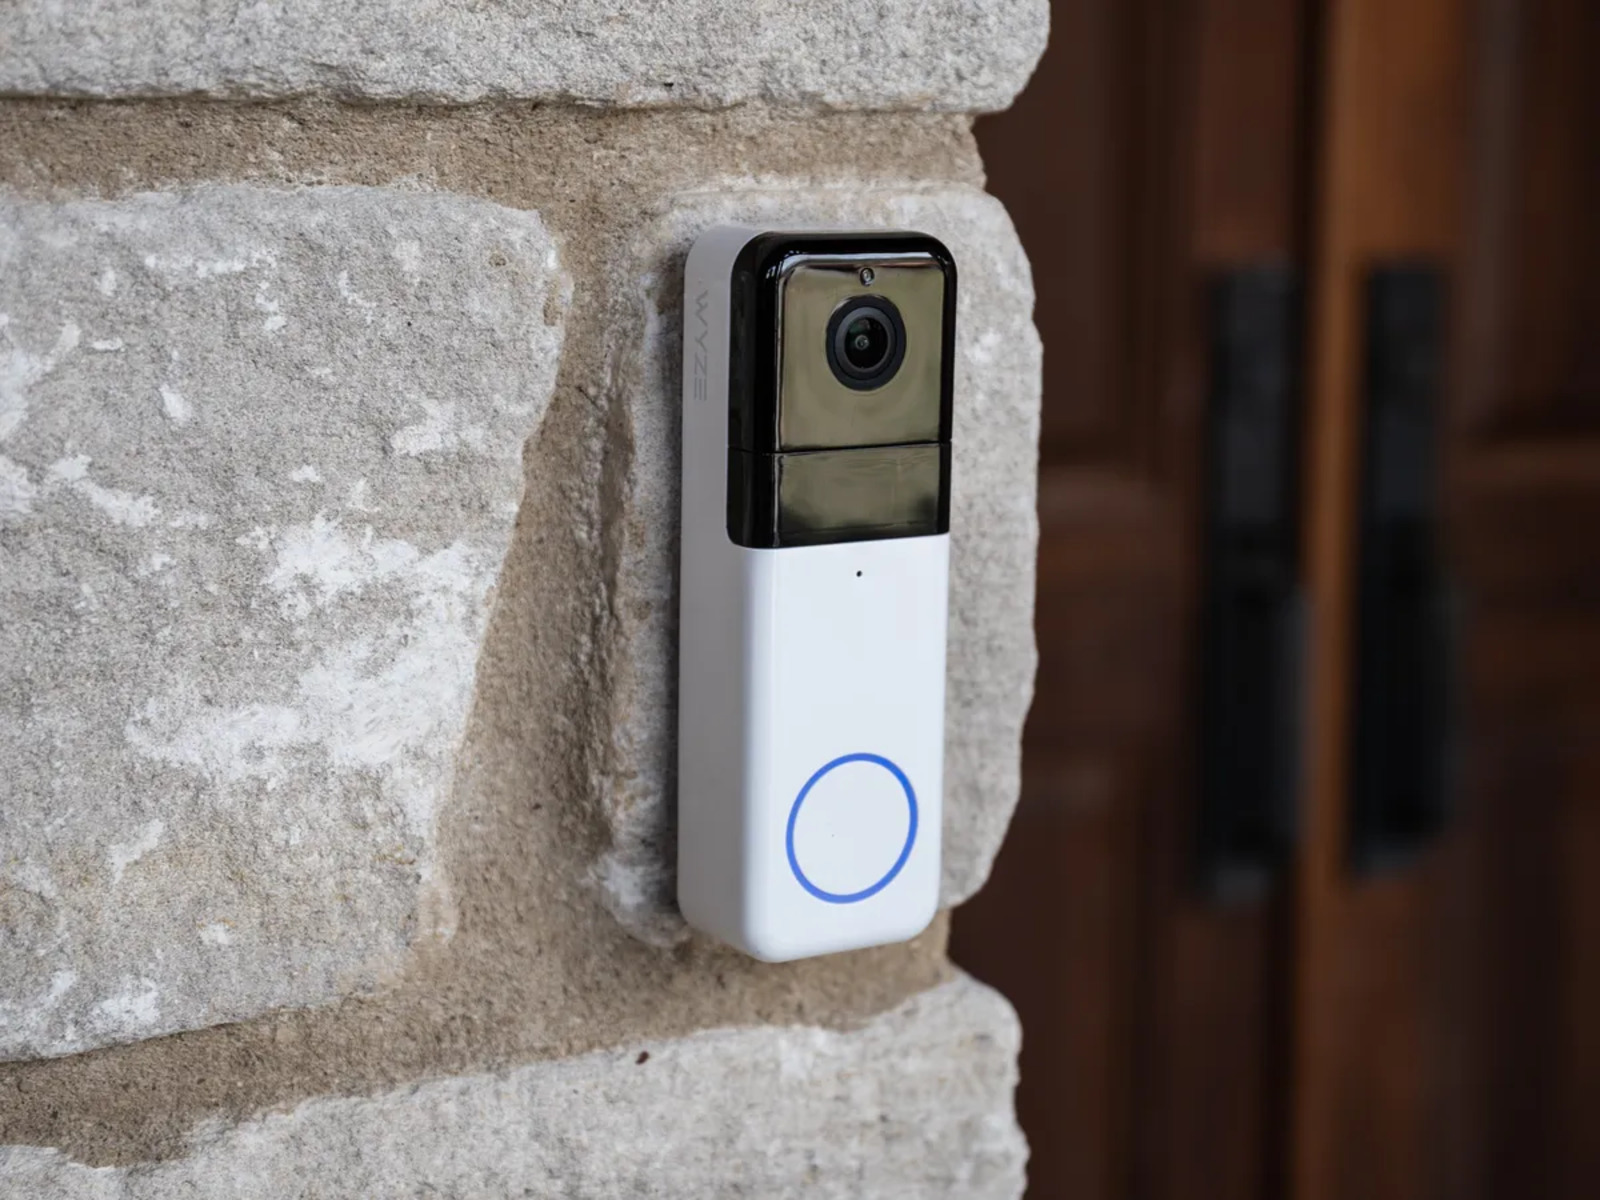
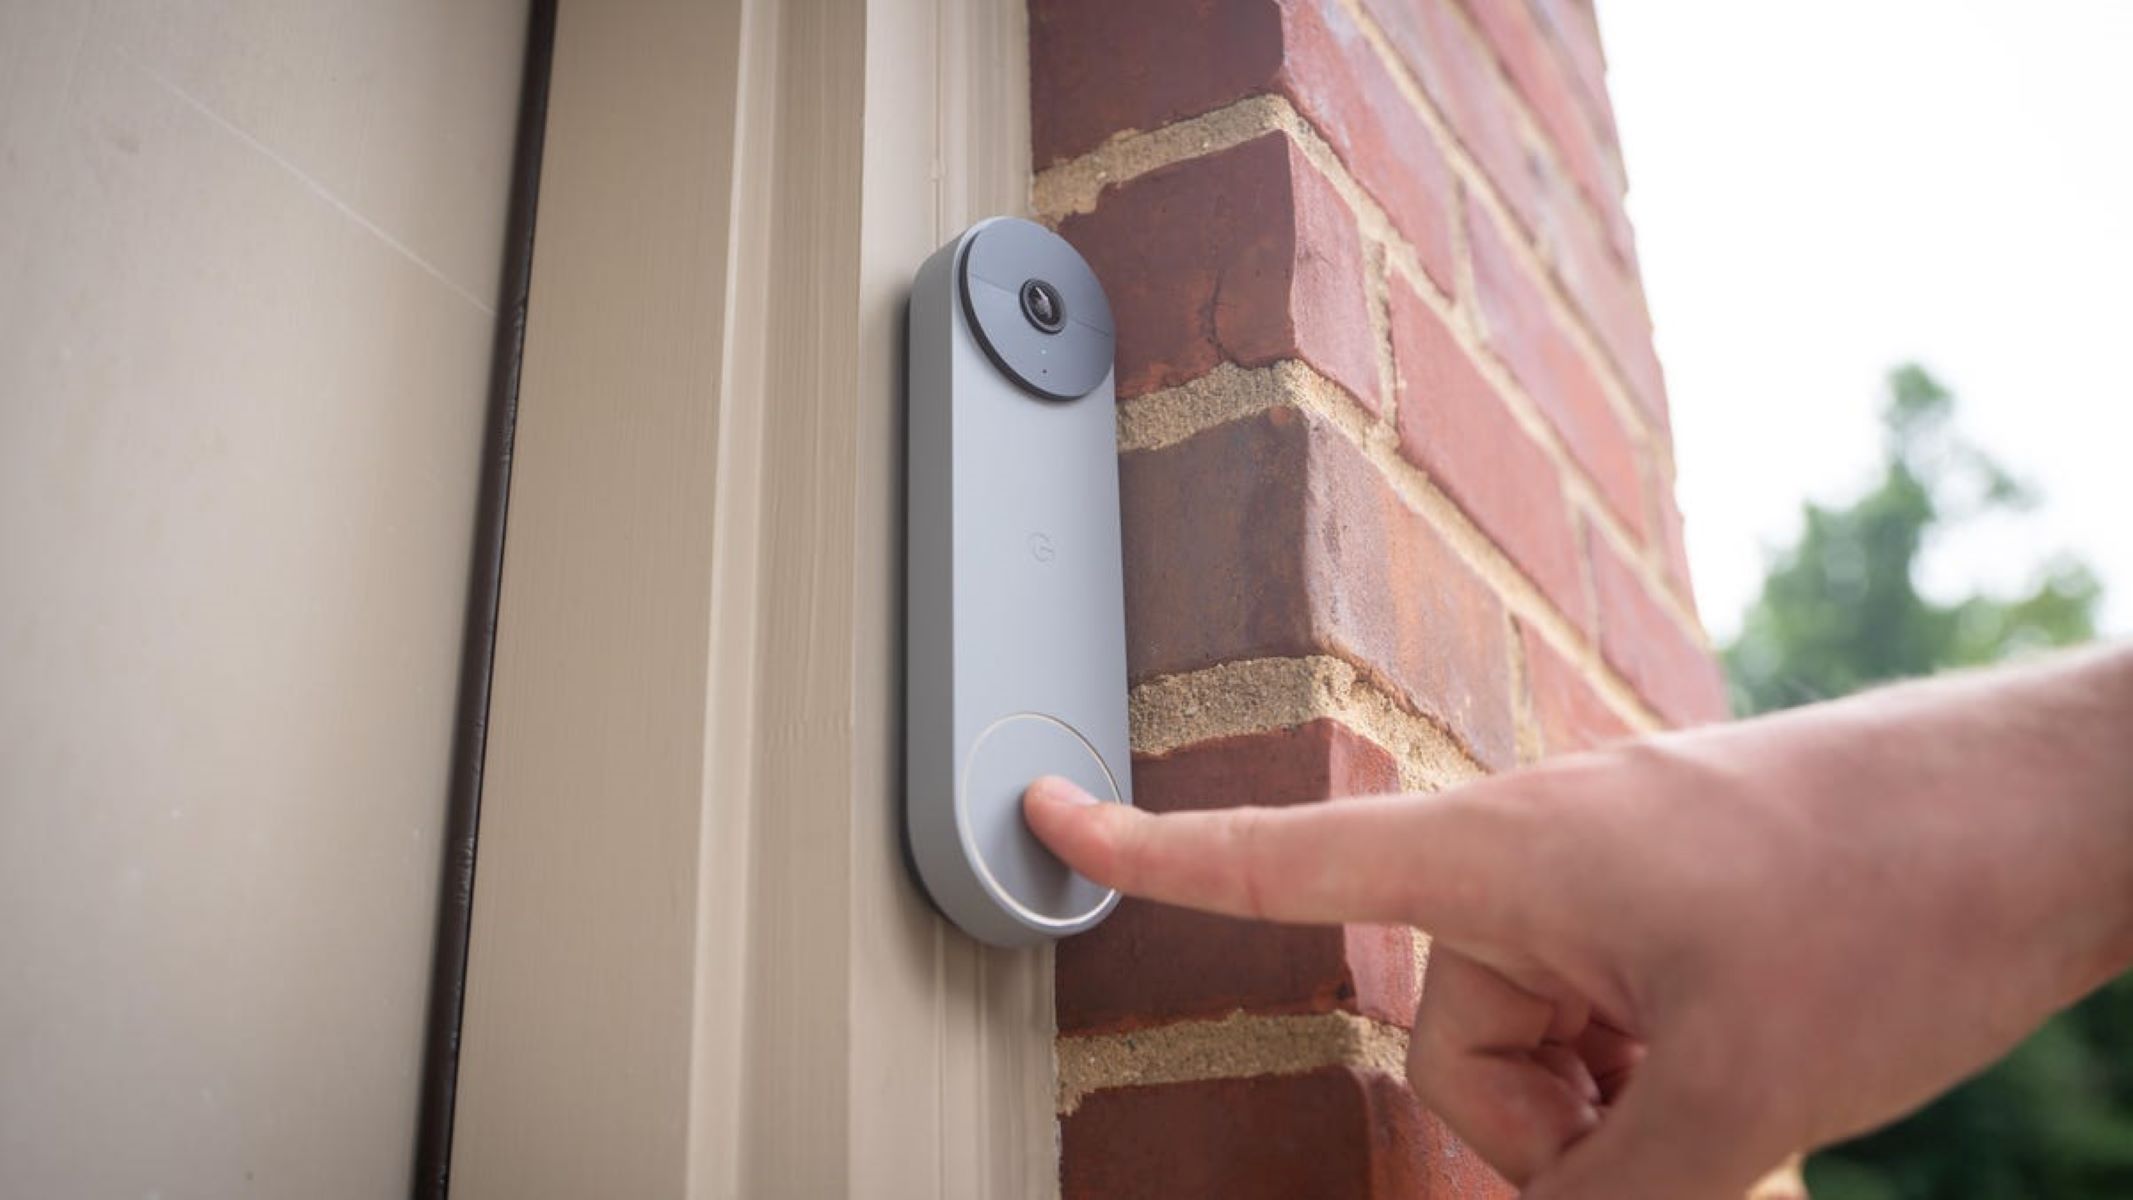
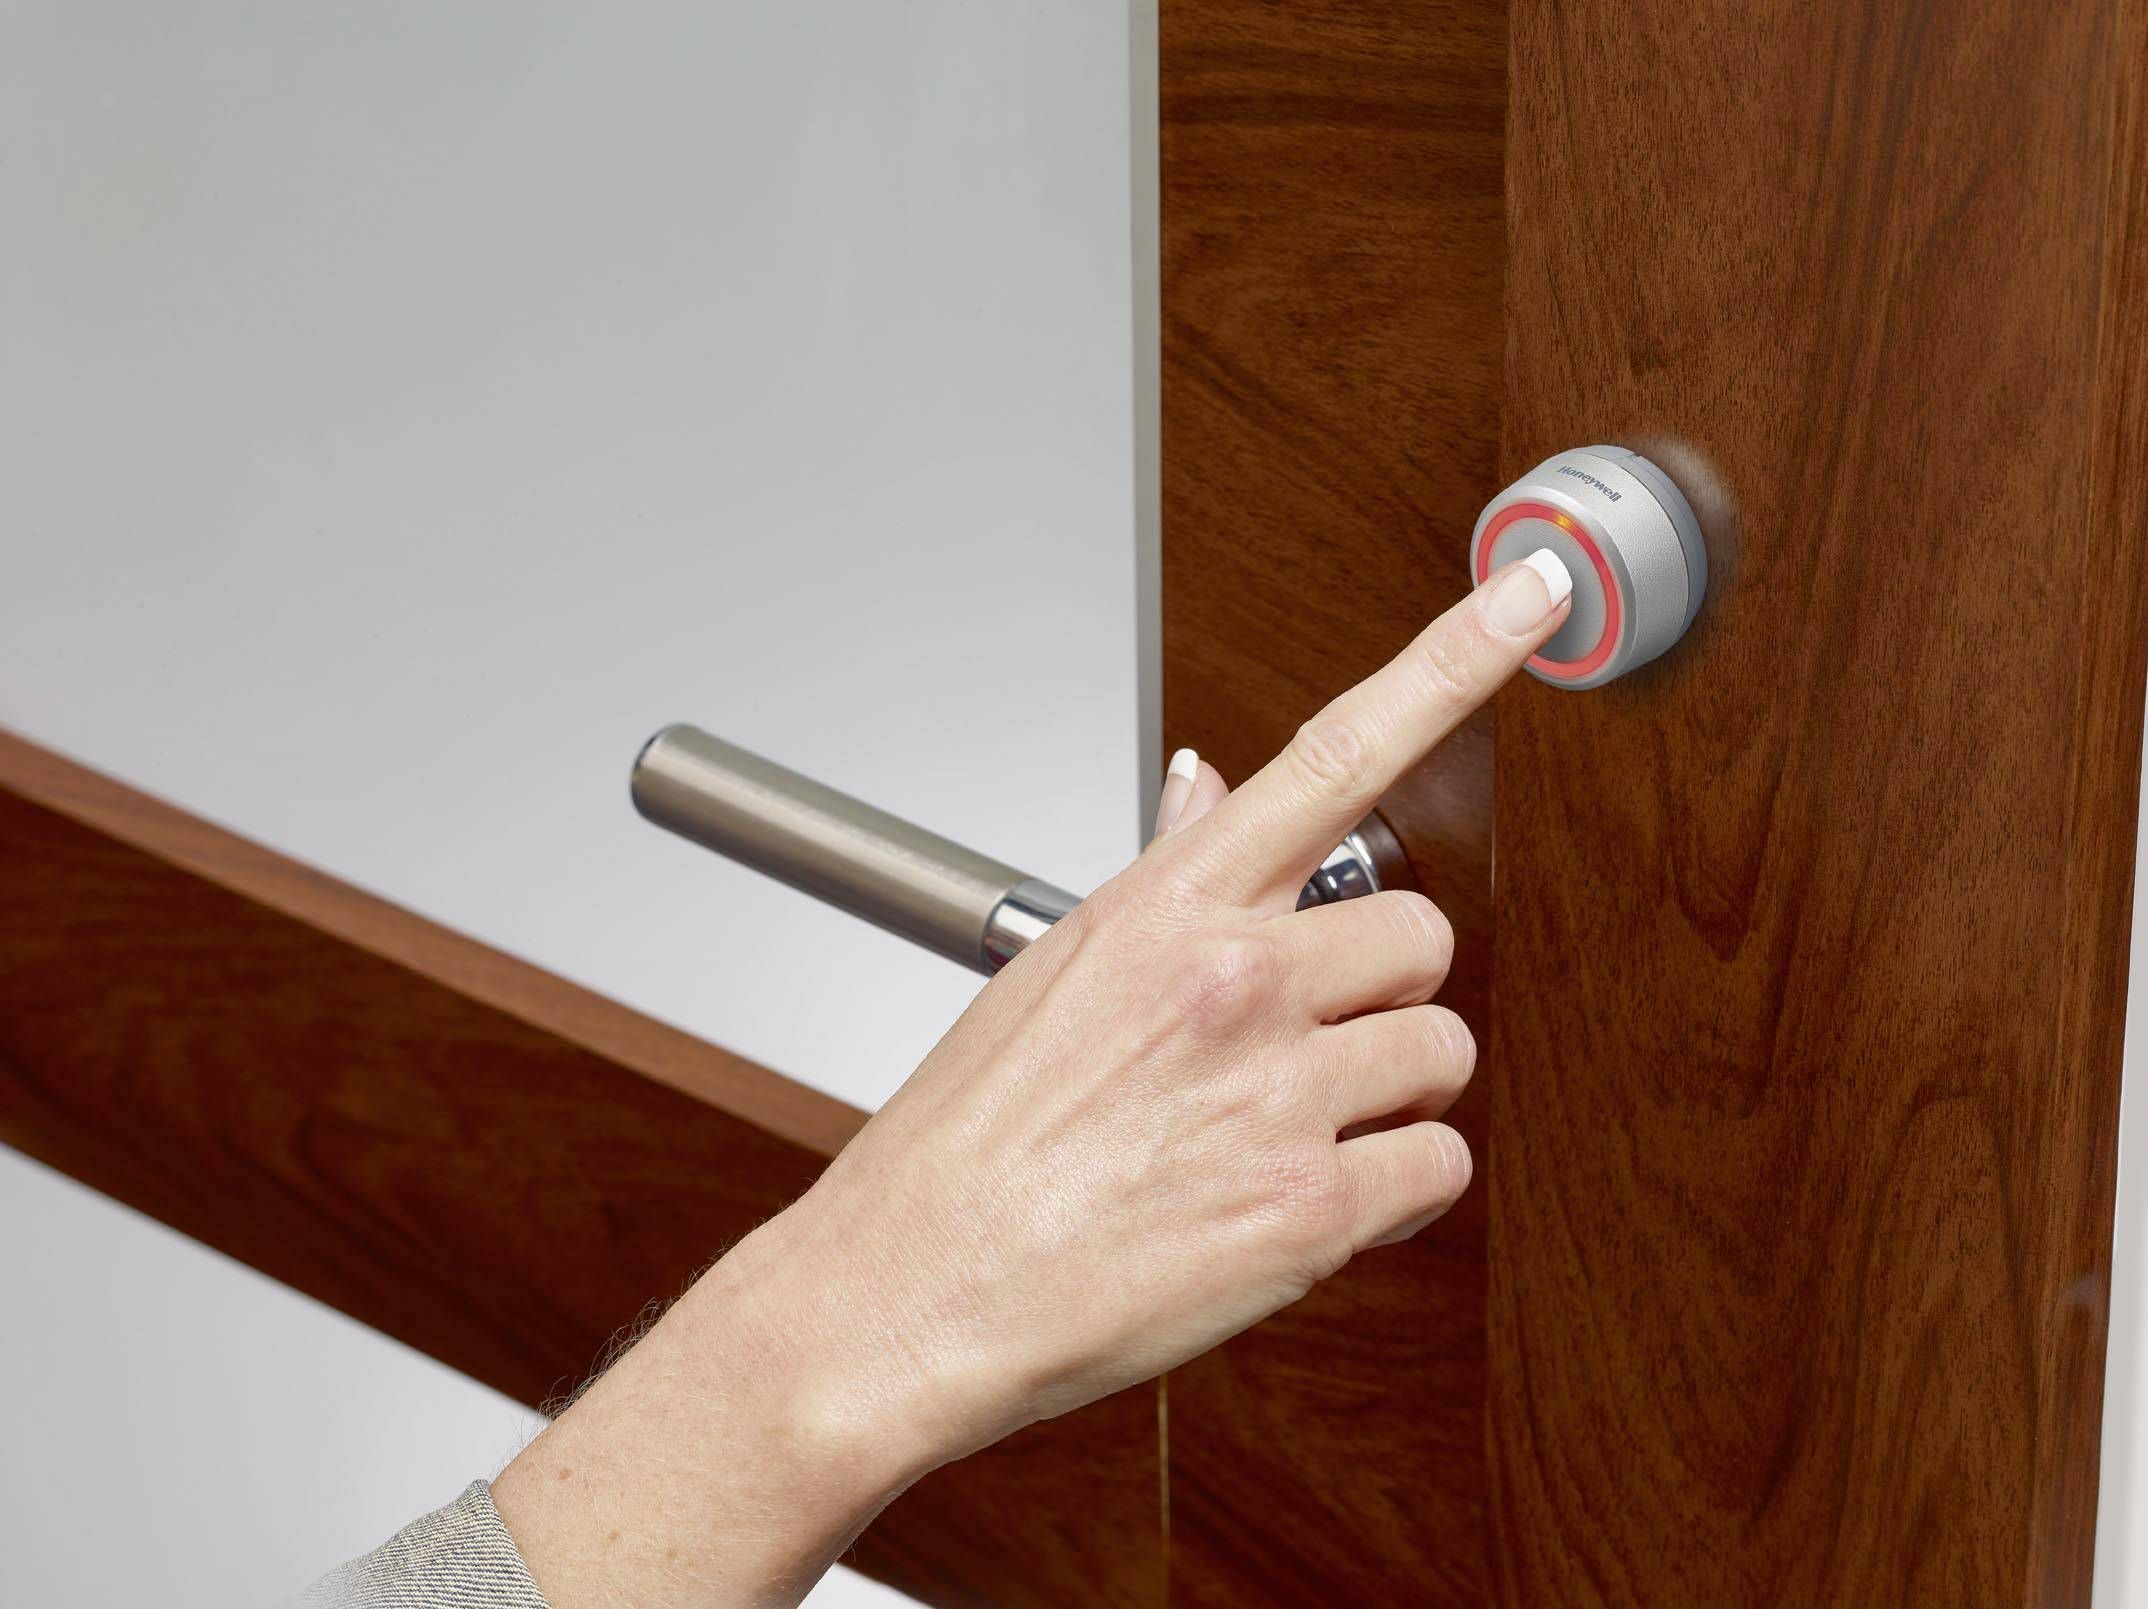
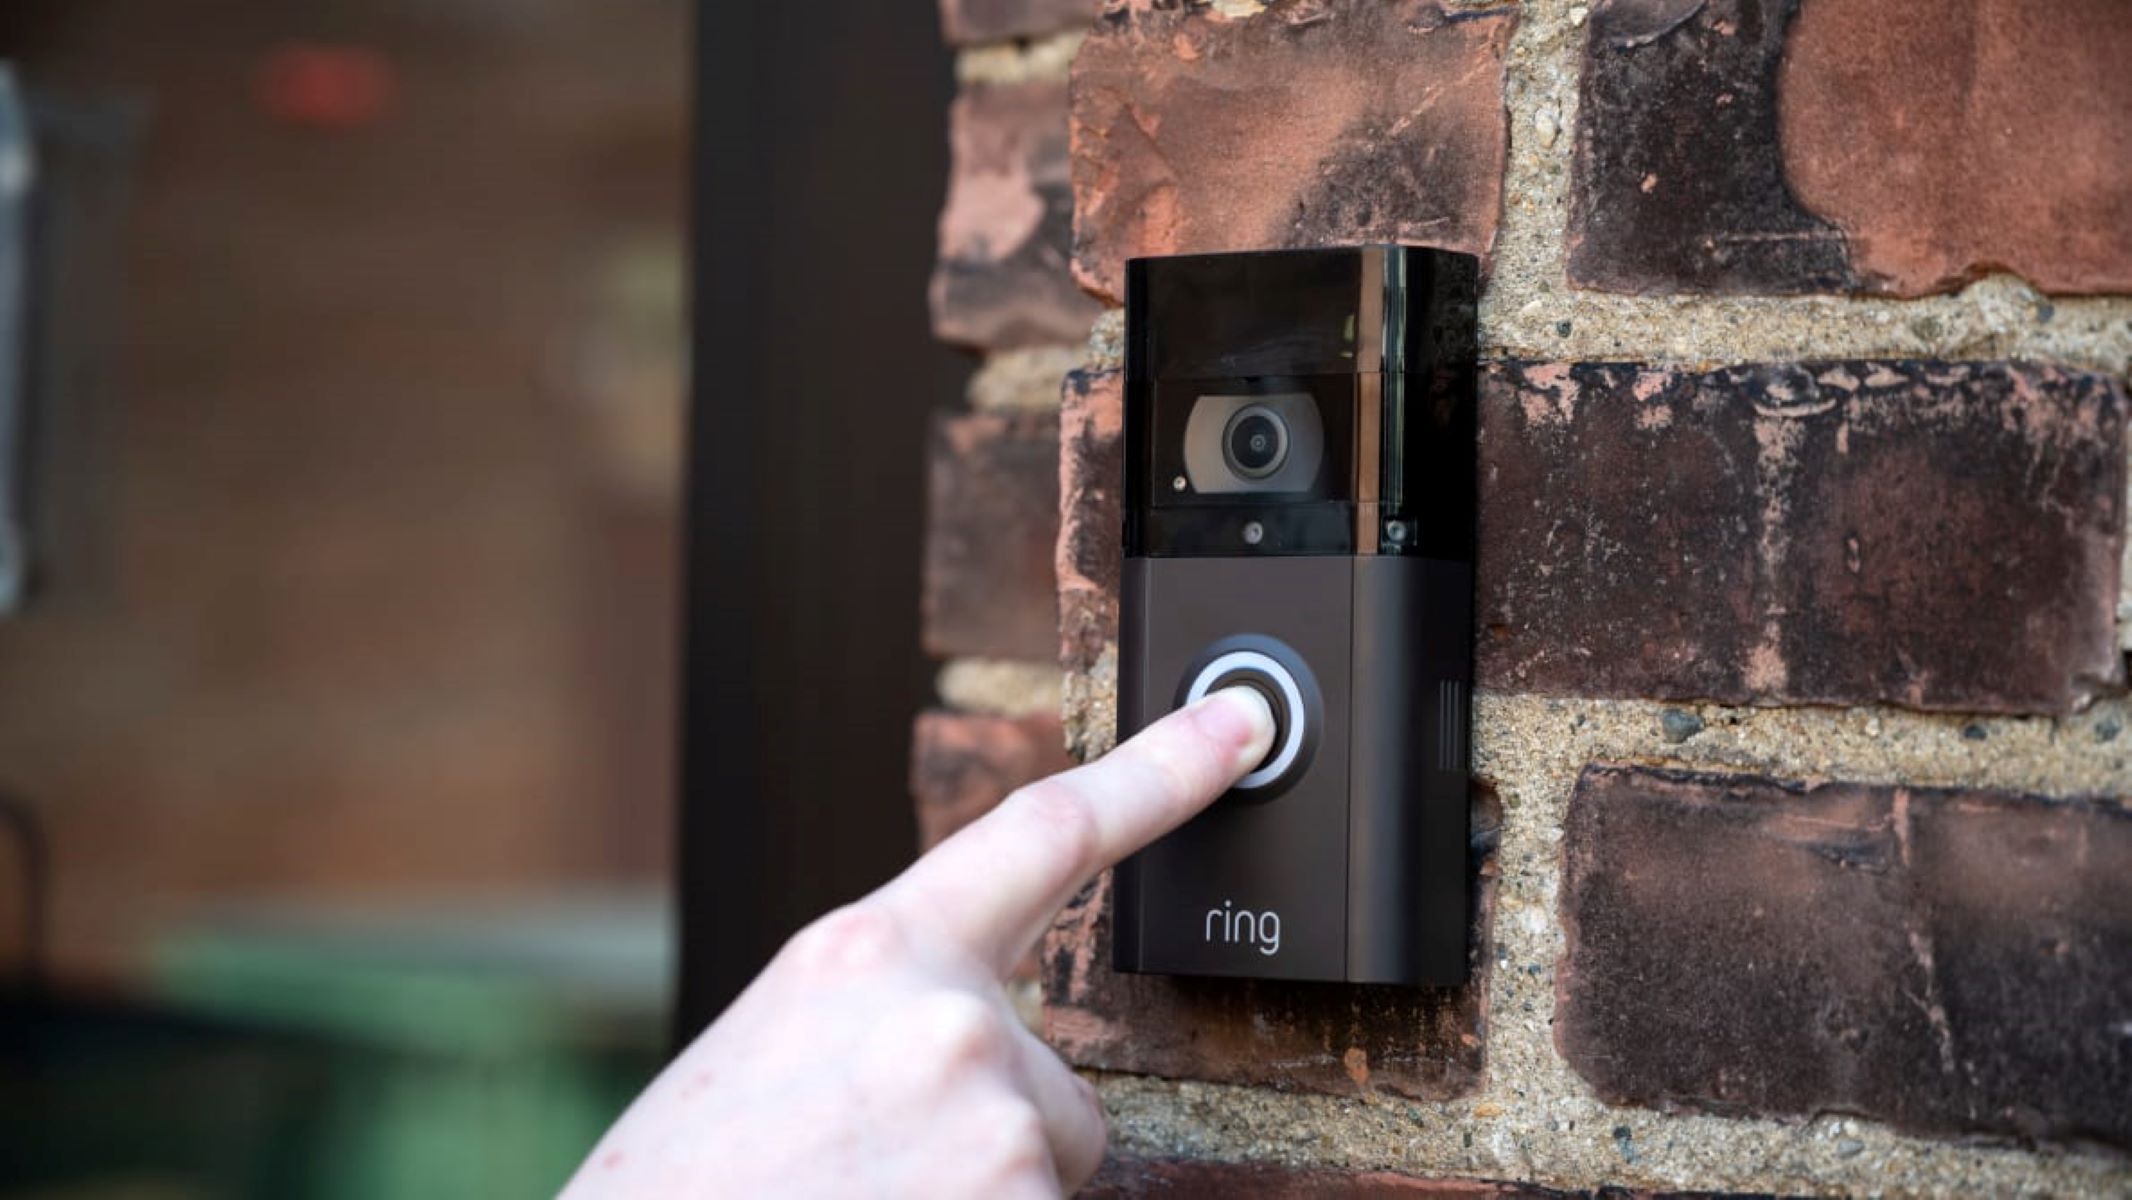
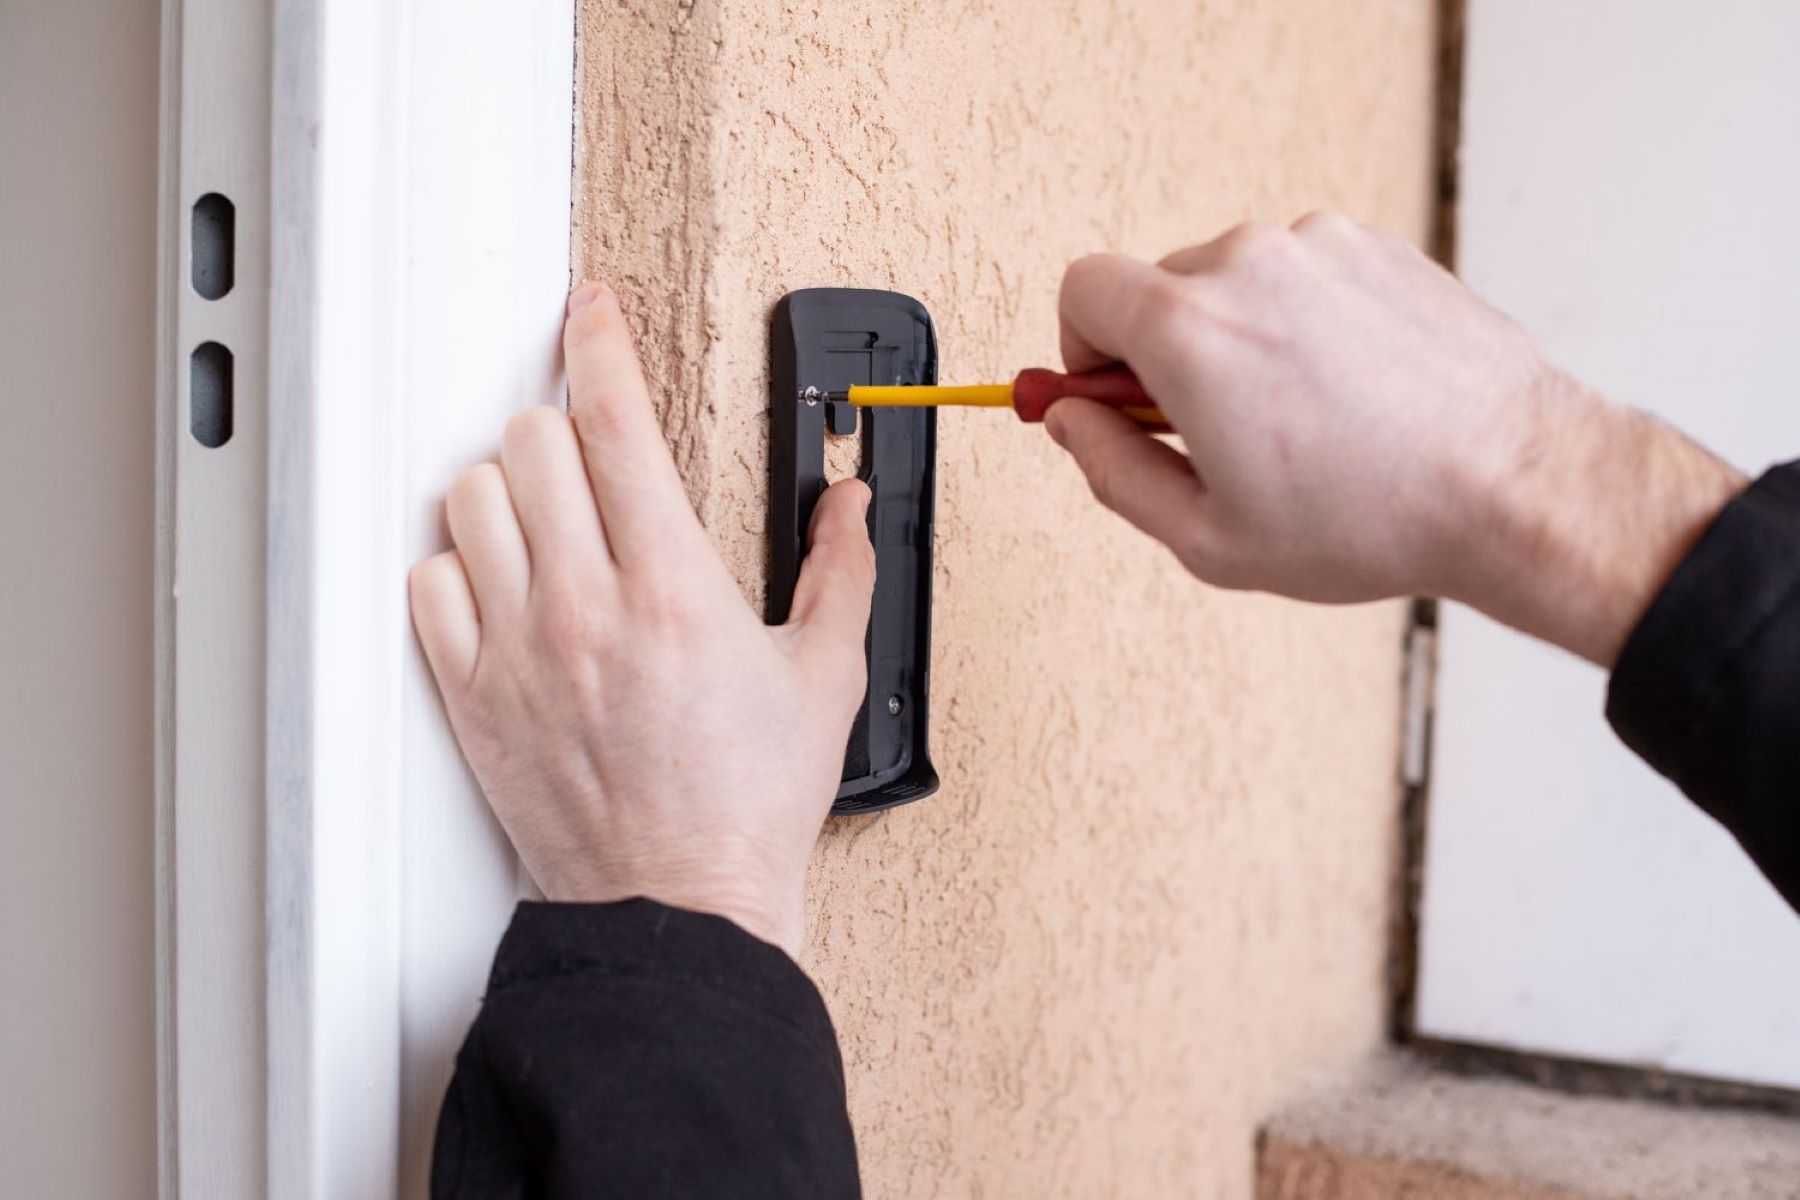
Step 4: Mount the doorbell button at the entrance
Mounting the doorbell button at the entrance is the next crucial step in installing your wireless doorbell system. Follow these steps to ensure a secure and functional installation:
- Choose the location: Carefully select the spot for the doorbell button, typically near the entrance of your home. Make sure it is easily accessible and visible to visitors.
- Prepare the doorbell button: If the doorbell button requires batteries, insert them according to the manufacturer’s instructions. Some doorbell buttons may be battery-free and use kinetic or solar power sources.
- Mount the doorbell button: If your doorbell button has a baseplate, attach it to the desired location using a screwdriver. If not, use double-sided adhesive tape to secure it directly to the surface. Ensure the doorbell button is level and firmly attached.
- Test the doorbell button: Press the doorbell button to check if it activates the receiver. If the receiver chimes or lights up, it means the doorbell button is functioning correctly. If the doorbell button doesn’t work, check the batteries and ensure it is properly paired with the receiver.
Consider the weather conditions and choose a doorbell button that is suitable for outdoor use. Look for a button that is weather-resistant and can withstand rain, snow, or extreme temperatures.
Additionally, some wireless doorbell systems offer customizable features for the doorbell button, such as different chimes, volume control, or LED lights. Refer to the manufacturer’s instructions to take advantage of these features and personalize your doorbell system.
With the doorbell button securely mounted, your wireless doorbell system is now complete and fully operational. You can enjoy the convenience of a wireless doorbell, knowing that you will never miss any visitors at your doorstep.
In the next step, we will guide you on how to test and troubleshoot the wireless doorbell system to ensure optimal performance. Let’s keep going!
Step 5: Test and troubleshoot the wireless doorbell system
After installing your wireless doorbell system, it’s important to test it and perform any necessary troubleshooting to ensure that it functions as expected. Follow these steps to test and troubleshoot your system:
- Test the range: Walk around your property to different areas and test the doorbell by pressing the button. Make sure the receiver reliably receives the signal in all intended locations. If there are any dead spots or issues with the range, consider repositioning the receiver or adding additional receivers to extend the coverage area.
- Check the volume: Adjust the volume setting of the receiver to your preferred level. You may want it louder during the day or quieter at night. Refer to the manufacturer’s instructions to adjust the volume according to your preferences.
- Change the chimes: If your wireless doorbell system offers multiple chime options, experiment with different melodies to find the one you like best. This allows you to personalize the sound and make it easily distinguishable from other sounds in your home.
- Troubleshoot common issues: If you encounter any issues with your wireless doorbell system, start by checking the batteries in both the receiver and the doorbell button. Make sure they have a sufficient charge or replace them if needed. Also, ensure that the receiver and doorbell button are properly paired. Refer to the manufacturer’s instructions for any specific troubleshooting steps.
- Seek professional help if necessary: If you have followed all the troubleshooting steps and your wireless doorbell system still does not work properly, it may be helpful to contact the manufacturer’s customer support or consult a professional technician. They can provide further assistance and guidance.
Regularly test your wireless doorbell system to ensure that it continues to function properly over time. Replace the batteries as needed and clean the doorbell button to prevent any dirt or debris from interfering with its functionality.
With the testing and troubleshooting process complete, you can now enjoy the convenience and peace of mind that a wireless doorbell system provides, knowing that you’ll never miss another visitor again.
Congratulations! You have successfully installed and tested your wireless doorbell system. Embrace the convenience and enhanced security it offers for your home.
Conclusion
Congratulations on successfully installing your wireless doorbell system! By following the step-by-step guide provided in this article, you have enhanced the convenience and security of your home. The wireless technology of your new doorbell frees you from the limitations and complexities of wired systems, allowing for easy installation and flexibility in choosing the location for the receiver and doorbell button.
Throughout the installation process, you gathered the necessary tools and materials, chose the best location for the receiver, mounted the receiver and doorbell button, and tested the system for optimal performance. You also learned how to troubleshoot common issues and seek professional help when needed.
A wireless doorbell system brings numerous benefits, including ease of use, expandability, and customization options for chimes and volume control. It allows you to never miss another visitor at your doorstep, whether you’re in the backyard, upstairs, or working in a remote part of your house.
Remember to regularly test and maintain your wireless doorbell system by checking the batteries, adjusting the volume, and ensuring proper pairing between the receiver and doorbell button. This will help maintain its functionality and reliability over time.
Enjoy the convenience, peace of mind, and enhanced security that your wireless doorbell system brings to your home. Embrace the freedom from wires and the seamless integration it provides into your daily life.
Thank you for reading this comprehensive guide on how to install a wireless doorbell. We hope you found it informative and helpful. Now, go ahead and enjoy the benefits of your new wireless doorbell system!