Introduction
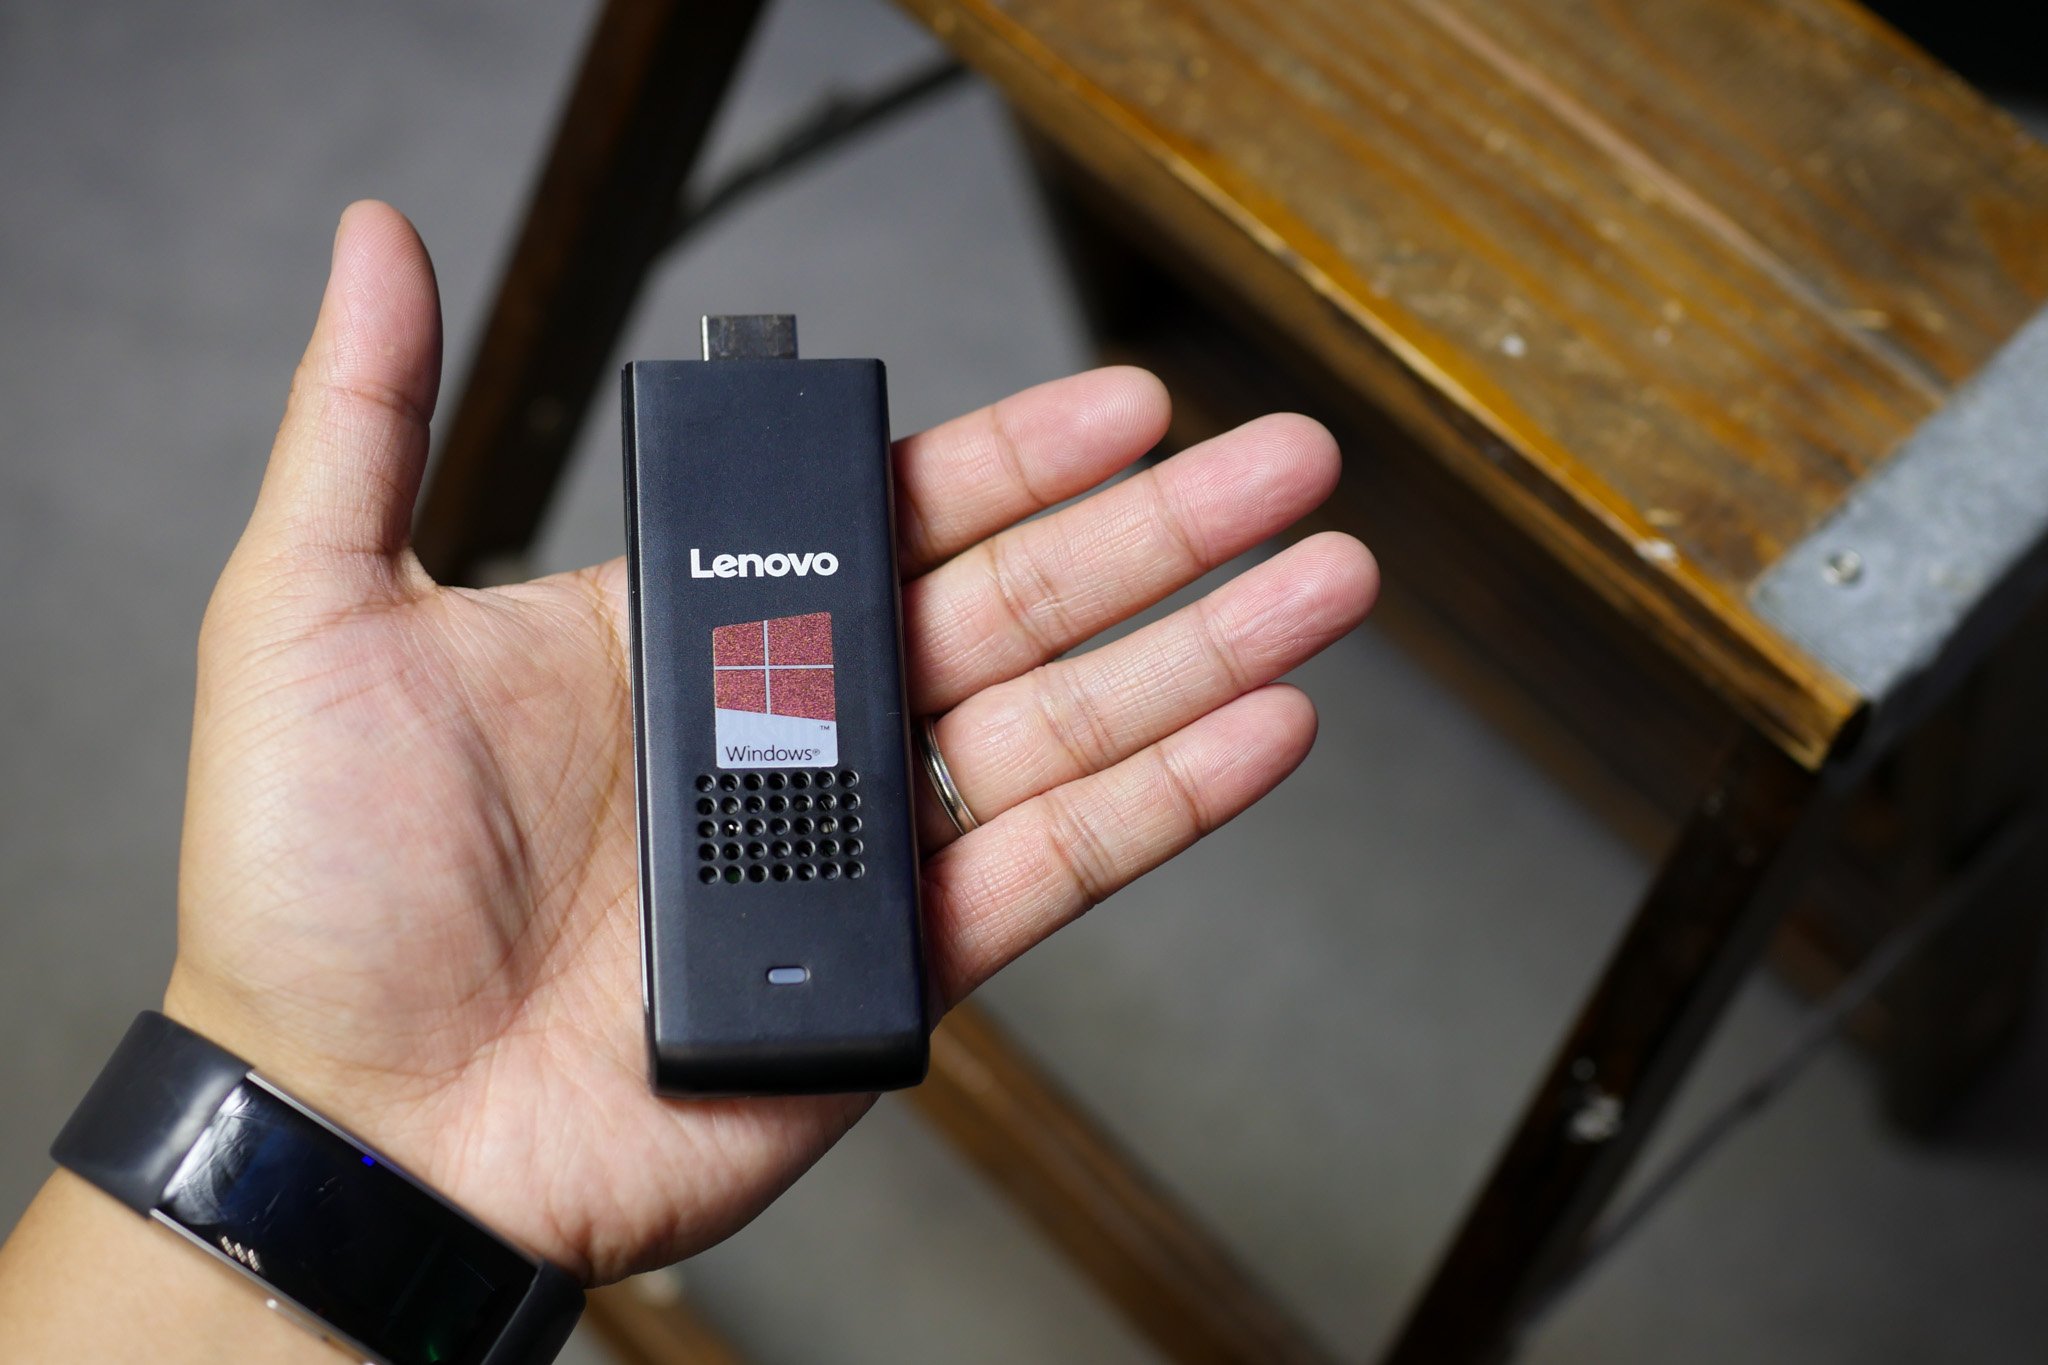
Welcome to the world of Azulle Mini PC Stick! If you’re looking for a compact, portable, and powerful computing solution, then you’ve come to the right place. In this guide, we will walk you through the step-by-step process of installing Ubuntu on your Azulle Mini PC Stick, turning it into a versatile and customizable device.
Ubuntu is a popular Linux-based operating system known for its stability, security, and user-friendly interface. By installing Ubuntu on your Azulle Mini PC Stick, you can unlock a wide range of features and applications, empowering you to work, play, and explore to your heart’s content.
Before we dive into the installation process, there are a few prerequisites you need to take care of. First, make sure you have a working internet connection to download the necessary files. Second, ensure that you have a USB drive with sufficient storage capacity for creating a bootable installation media. Finally, have your Azulle Mini PC Stick ready and fully charged to avoid interruptions during the installation process.
So, grab your Azulle Mini PC Stick, prepare your USB drive, and let’s get started on this exciting journey to install Ubuntu!
Prerequisites
Before we jump into the installation process, there are a few prerequisites you need to take care of. These steps ensure that you have all the necessary tools and information to successfully install Ubuntu on your Azulle Mini PC Stick.
1. Internet Connection: To begin, make sure you have a stable and reliable internet connection. You will need it to download the Ubuntu ISO file and other required software.
2. USB Drive: You will also need a USB drive with sufficient storage capacity to create a bootable installation media. We recommend using a USB drive with at least 8GB of storage space. Ensure that the USB drive is empty, as it will be formatted during the process.
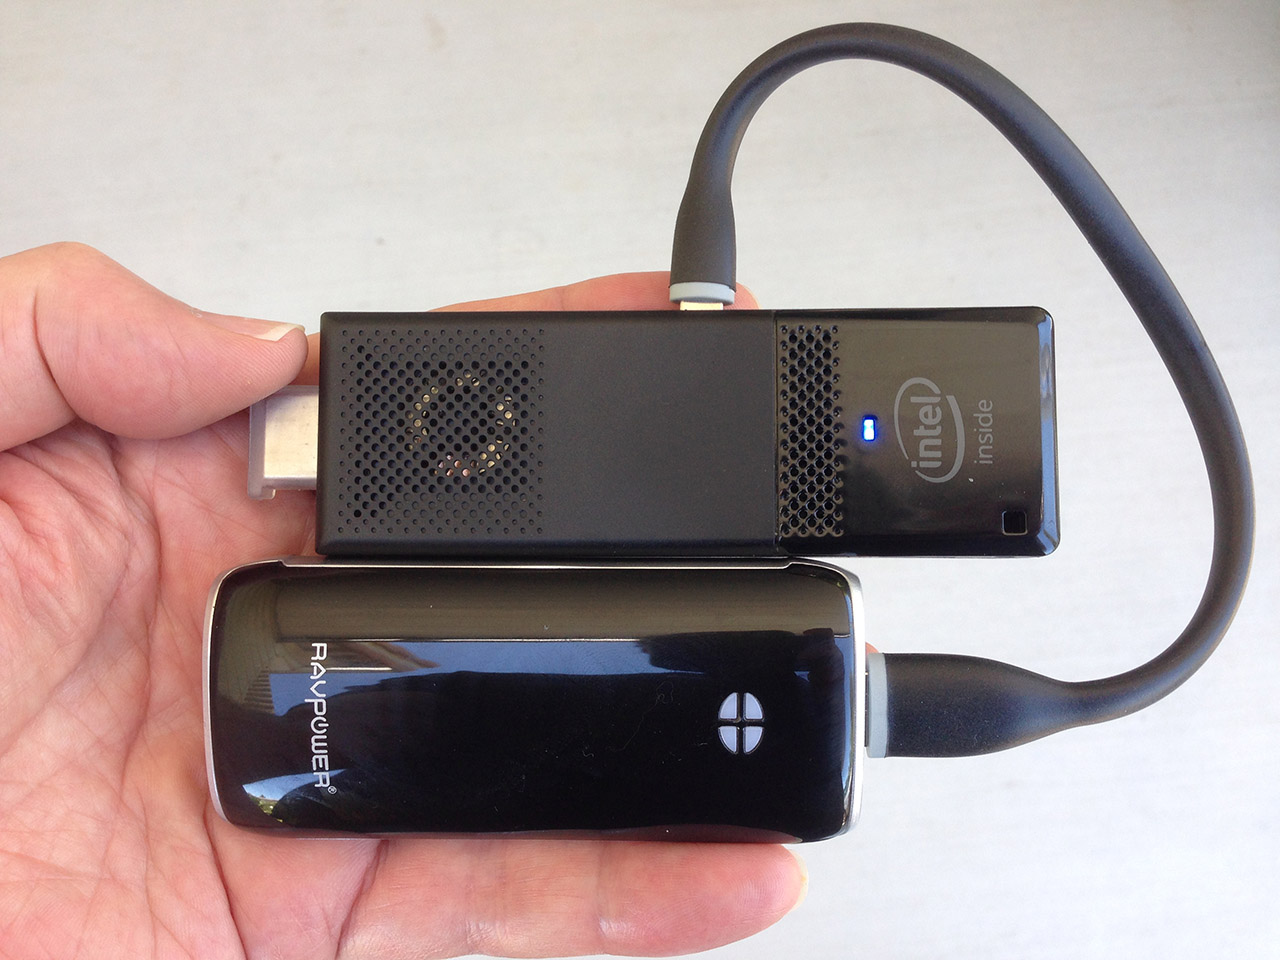
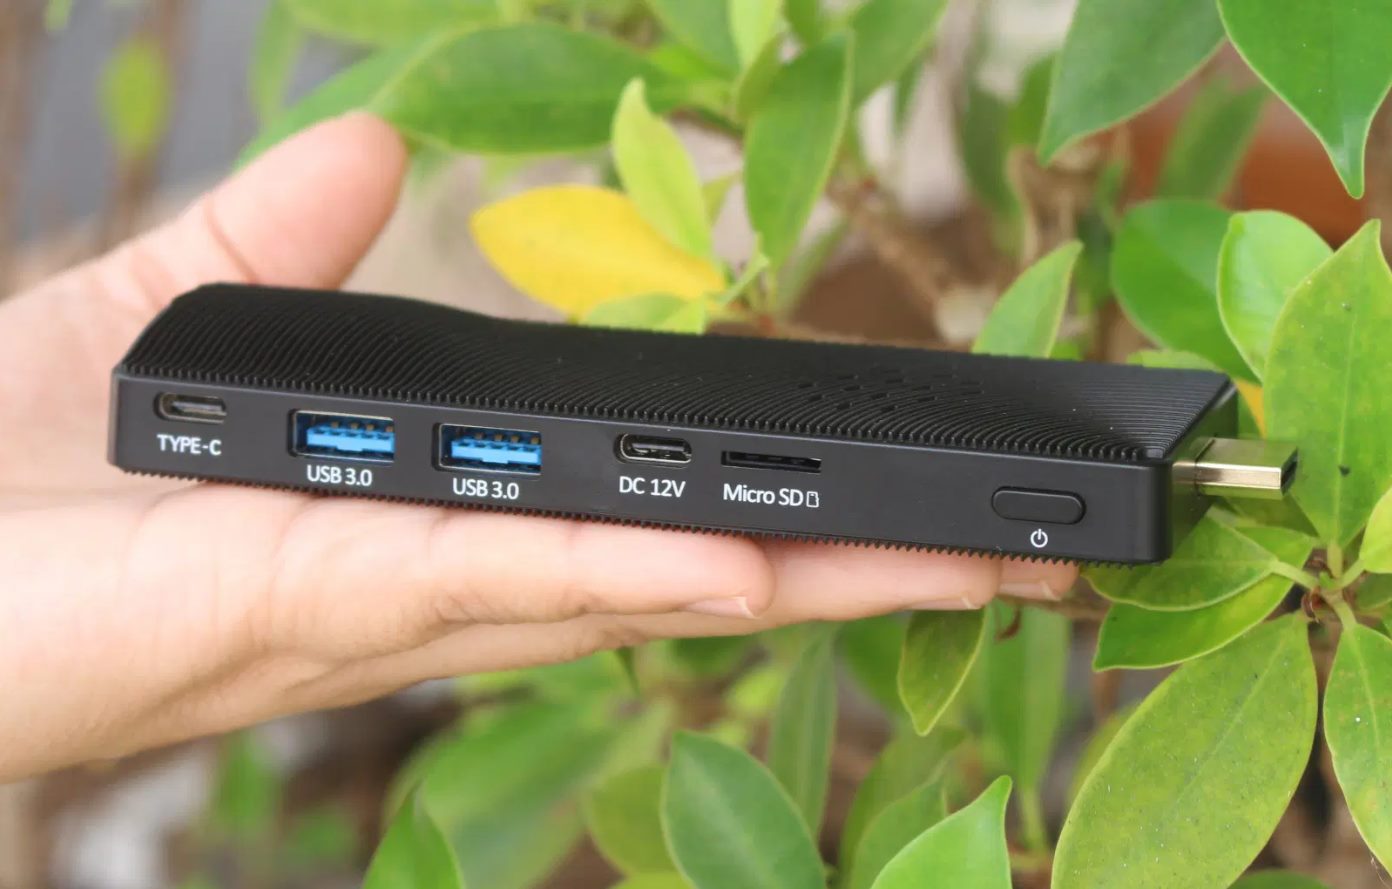
3. Azulle Mini PC Stick: Make sure your Azulle Mini PC Stick is ready for the installation. Ensure that it is fully charged or connected to a power source to avoid any disruptions during the installation process.
4. Backup Your Data: Before proceeding with the installation, it is advisable to back up any important data on your Azulle Mini PC Stick. Although the installation process should not delete your existing files, it’s always better to be safe than sorry. Consider using an external storage device or cloud storage to safeguard your valuable files.
5. Familiarity with BIOS/UEFI Settings: During the installation process, you may need to access the BIOS or UEFI settings on your Mini PC Stick. Make sure you are familiar with these settings and how to enter them. Refer to the Azulle Mini PC Stick user manual for specific instructions on accessing the BIOS or UEFI settings.
Once you have fulfilled these prerequisites, you are well-prepared to dive into the installation process. Take a moment to gather all the necessary tools and ensure that you have followed the steps outlined above. With everything in place, you are ready to embark on the journey of installing Ubuntu on your Azulle Mini PC Stick.
Step 1: Download Ubuntu ISO
The first step in installing Ubuntu on your Azulle Mini PC Stick is to download the Ubuntu ISO (disk image file). This is the file that contains all the necessary installation files for the operating system.
To download the Ubuntu ISO, follow these steps:
- Open your preferred web browser and go to the official Ubuntu website (https://ubuntu.com/).
- Navigate to the Download section of the website.
- Choose the desired version of Ubuntu. The LTS (Long-Term Support) version is recommended for stability and compatibility.
- Select the appropriate architecture for your Azulle Mini PC Stick. Most devices use the 64-bit architecture, but check the specifications of your Mini PC Stick to confirm.
- Click on the download link to start the download. The file size can range from 1GB to 2GB, so make sure you have a stable internet connection to ensure a smooth download process.
Once the Ubuntu ISO file has finished downloading, you are ready to proceed to the next step. Store the downloaded file in a location where you can easily access it later.
Note: It’s always a good idea to verify the integrity of the downloaded ISO file. Ubuntu provides checksums for each file, which you can use to verify the file’s integrity. This step ensures that the file has not been tampered with and is safe to use. Refer to the official Ubuntu documentation for instructions on how to verify the ISO file’s checksum.
With the Ubuntu ISO file in your possession, you are one step closer to installing Ubuntu on your Azulle Mini PC Stick. In the next step, we will guide you through creating a bootable USB drive, which will be used for the installation process.
Step 2: Create a Bootable USB Drive
In order to install Ubuntu on your Azulle Mini PC Stick, you will need to create a bootable USB drive. This will allow you to start the installation process from the USB drive rather than the Mini PC Stick’s internal storage.
To create a bootable USB drive, follow these steps:
- Insert the USB drive into your computer.
- Download and install a reliable USB bootable creation tool, such as Rufus or Etcher. These tools are available for free from their respective websites.
- Open the USB bootable creation tool and select the Ubuntu ISO file you downloaded in the previous step.
- Choose the USB drive you inserted as the target device for creating the bootable drive.
- Ensure that any important data on the USB drive is backed up, as the creation process will format the drive and erase all existing data.
- Click the “Create” or “Start” button to begin the process. Wait for the tool to format the USB drive and copy the Ubuntu files onto it. This may take some time, depending on your computer’s speed and the size of the ISO file.
- Once the process is complete, you will have a bootable USB drive ready for installing Ubuntu on your Azulle Mini PC Stick.
Remember to safely eject the USB drive from your computer before proceeding to the next step.
A bootable USB drive is an essential tool for the installation process, as it allows you to boot into the Ubuntu installer and begin the setup on your Mini PC Stick. In the next step, we will guide you through the necessary preparations on the Azulle Mini PC Stick itself.
Step 3: Prepare the Azulle Mini PC Stick
Before installing Ubuntu on your Azulle Mini PC Stick, it’s important to prepare the device for the installation process. This step involves adjusting the BIOS or UEFI settings to prioritize booting from the USB drive.
Follow these steps to prepare your Azulle Mini PC Stick:
- Power off the Mini PC Stick: Make sure the device is completely powered off before proceeding.
- Insert the bootable USB drive: Insert the USB drive containing the Ubuntu installer into one of the USB ports on the Mini PC Stick.
- Access the BIOS/UEFI settings: Power on the Mini PC Stick and press the necessary key to access the BIOS or UEFI settings. The specific key may vary depending on the manufacturer, but it is often the F2 or Delete key. Refer to the Azulle Mini PC Stick user manual for exact instructions.
- Navigate to the Boot section: Once you’re inside the BIOS or UEFI settings, navigate to the Boot or Boot Sequence section. This varies depending on your system’s firmware.
- Set USB as the first boot option: Locate the Boot Order or Boot Priority setting and ensure that the USB drive is set as the first boot device. This tells the system to prioritize booting from the USB drive.
- Save and exit: Save the changes you made to the BIOS or UEFI settings and exit the settings menu. Typically, you can do this by pressing the F10 key or following the on-screen instructions.
With the Azulle Mini PC Stick configured to boot from the USB drive, you are now ready to proceed with the Ubuntu installation. In the next step, we will guide you through the installation process itself.
Step 4: Install Ubuntu
Now that you have prepared your Azulle Mini PC Stick and set it to boot from the USB drive, it’s time to proceed with the installation of Ubuntu.
Follow these steps to install Ubuntu:
- Power on the Mini PC Stick: Ensure that the USB drive containing the Ubuntu installer is inserted, and then power on the Mini PC Stick.
- Select language and installation options: Once the Mini PC Stick boots from the USB drive, you will be presented with the Ubuntu installer. Choose your preferred language and select “Install Ubuntu” to begin the installation process.
- Connect to the internet: If you have a stable internet connection, you will be prompted to connect to it during the installation process. This allows Ubuntu to download any necessary updates during the installation.
- Choose installation type: You will be presented with options for installation type. If you want to replace any existing operating system(s) on your Mini PC Stick with Ubuntu, select the “Erase disk and install Ubuntu” option. If you prefer to manually partition the disk or have specific installation requirements, select the “Something else” option.
- Configure disk and partitions: If you chose the “Something else” option in the previous step, you will have the opportunity to manually configure disk partitions. Follow the on-screen instructions to set up your desired disk partitions.
- Create user account: Provide the necessary information to create a user account, including your name, username, and password. This will be the account you use to log into Ubuntu.
- Wait for installation: Once you have made your selections and provided the required information, the installation process will begin. Sit back and wait for the installation to complete. This may take some time, depending on your Mini PC Stick’s specifications and the installation options you selected.
- Restart the system: When the installation is finished, you will be prompted to restart the system. Remove the USB drive from the Mini PC Stick and press “Enter” to restart.
After the restart, your Azulle Mini PC Stick will boot into the newly installed Ubuntu operating system. Congratulations! You have successfully installed Ubuntu on your Mini PC Stick.
In the next step, we will guide you through configuring the Ubuntu settings to optimize your experience with the operating system on your Mini PC Stick.
Step 5: Configure Ubuntu Settings
After installing Ubuntu on your Azulle Mini PC Stick, it’s time to configure the settings to optimize your experience with the operating system. Here are some essential steps to consider when configuring Ubuntu:
- Update Ubuntu: Start by ensuring that your Ubuntu installation is up to date. Open the “Software Updater” application from the system menu and let it check for any available updates. Install any updates to keep your system secure and up to date.
- Customize the desktop: Ubuntu offers various customization options to personalize your desktop. Right-click on the desktop and choose “Change Background” to select a new wallpaper. You can also tweak other settings such as themes, icons, and desktop effects to suit your preferences.
- Install additional software: Ubuntu comes with a wide range of pre-installed applications, but you may want to install additional software to suit your needs. Open the “Ubuntu Software” application to explore and install various software applications, including productivity tools, media players, and more.
- Configure privacy settings: Ubuntu respects your privacy, and you have control over various privacy settings. Open the “Settings” application and navigate to the “Privacy” section to adjust options such as data collection, location services, and application permissions.
- Set up user accounts: If you are sharing your Azulle Mini PC Stick with others, consider creating separate user accounts for each person. Open the “Settings” application and go to the “Users” section to add and manage user accounts.
- Configure power management: Ubuntu provides power management options to optimize energy consumption on your Mini PC Stick. Open the “Settings” application and navigate to the “Power” section to adjust settings such as screen brightness, sleep mode, and power-saving options.
- Install additional drivers: Depending on your Mini PC Stick’s hardware, you may need to install additional drivers for optimal performance. Open the “Additional Drivers” application from the system menu to check for any recommended proprietary drivers and install them if necessary.
- Explore software repositories: Ubuntu has a vast repository of software applications available for installation. Consider exploring the Ubuntu Software Center or using the command line package manager to discover and install new software applications.
These are just a few essential steps to configure your Ubuntu settings on the Azulle Mini PC Stick. Feel free to explore and experiment with different options to make your Ubuntu experience tailored to your needs and preferences.
By following these steps, you have successfully installed and configured Ubuntu on your Azulle Mini PC Stick. Enjoy the benefits of this powerful, versatile, and user-friendly operating system on your compact device!
Conclusion
Congratulations! You have successfully installed Ubuntu on your Azulle Mini PC Stick. By following the step-by-step guide in this article, you have transformed your device into a powerful and customizable computing solution.
Ubuntu offers a user-friendly interface, stability, and a wide range of software applications that make it a great choice for your Mini PC Stick. Whether you plan to use it for work, entertainment, or both, Ubuntu provides the tools and flexibility to meet your needs.
Remember to keep your Ubuntu installation up to date by regularly checking for updates and installing them. This helps ensure that your Mini PC Stick remains secure and benefits from the latest features and improvements.
Explore the vast Ubuntu software repositories to discover additional applications that can enhance your productivity and entertainment experience. Personalize your desktop, configure privacy settings, and optimize power management to tailor Ubuntu to your preferences.
If you encounter any issues or have questions about Ubuntu or your Azulle Mini PC Stick, consult the official Ubuntu documentation, community forums, or user groups. These resources can provide valuable insights and assistance to help you make the most of your Ubuntu installation.
Enjoy the seamless and powerful Ubuntu experience on your Azulle Mini PC Stick. Whether you’re working on projects, browsing the web, or enjoying multimedia content, Ubuntu has you covered. Embrace the possibilities and make the most of your versatile Mini PC Stick!