Introduction
Installing RAM (Random Access Memory) is a simple and cost-effective way to boost the performance of your HP laptop. RAM plays a crucial role in your computer’s overall speed and multitasking capabilities. If you find that your laptop is running slow or struggling to handle multiple applications simultaneously, upgrading the RAM can significantly improve its performance.
RAM acts as a temporary storage space for data that is actively used by your laptop’s operating system and applications. The more RAM you have, the more data can be stored and accessed quickly, leading to smoother and faster performance. Fortunately, upgrading the RAM in an HP laptop is relatively straightforward, and you can do it yourself with just a few simple steps.
In this guide, we will walk you through the process of installing RAM in an HP laptop. You don’t need to be a tech expert to complete this task successfully; just follow the steps carefully, and you’ll have your laptop running with upgraded RAM in no time.
Requirements
Before you begin the process of installing RAM in your HP laptop, make sure you have the following requirements:
- A compatible RAM module: Check your laptop’s specifications or the manufacturer’s website to determine the type and maximum capacity of RAM supported by your laptop. Purchase a RAM module that meets these specifications.
- A screwdriver: You will need a small Phillips screwdriver to remove the screws securing the RAM compartment.
- A clean and well-lit workspace: Find a spacious and clutter-free area to work on your laptop. Ensure that there is good lighting to easily see the components and screws.
- A static-free environment: To protect your laptop from electrostatic discharge, work on a grounded surface and use an anti-static wrist strap if available. This will prevent any potential damage to the sensitive electronic components.
- Patience and caution: Installing RAM requires gentle handling of delicate components. Take your time and be careful not to exert excessive force or cause any unnecessary damage.
Once you have all the necessary requirements in place, you can proceed with the installation process. It’s essential to refer to your laptop’s user manual or the manufacturer’s website for specific instructions on RAM installation, as the process may vary slightly depending on your model.
Step 1: Shut Down Your Laptop
Before you begin installing RAM in your HP laptop, it’s crucial to shut it down properly. This ensures that the laptop is completely powered off and reduces the risk of any damage during the installation process. Follow the steps below to shut down your laptop:
- Save any open files or documents and close all running applications.
- Click on the “Start” or Windows icon in the bottom left corner of the screen.
- Select the “Power” option, which will display a dropdown menu.
- Choose “Shut down” from the menu, and wait for your laptop to power off completely.
Once your laptop is shut down, unplug any connected power cords or peripherals, such as USB devices or external monitors. This ensures that you can safely work on your laptop without any interference or risk of accidental electric shock. Remember to handle your laptop with care and avoid applying excessive force during the entire installation process.
Step 2: Disconnect the Power Cord and Remove the Battery
Now that your HP laptop is shut down, it’s time to disconnect the power cord and remove the battery. This step ensures that there is no power source connected to the laptop, further minimizing the risk of electrical shock during the RAM installation process. Follow the steps below to safely disconnect the power cord and remove the battery:
- Locate the power cord connected to your laptop and unplug it from the power outlet.
- Then, locate the battery release latch or mechanism on the bottom or side of your laptop. Refer to your laptop’s user manual or the manufacturer’s website for specific instructions on how to remove the battery for your particular model.
- Depending on the design, slide or press the battery release latch to unlock the battery compartment.
- With the latch unlocked, carefully slide or lift the battery out of its compartment. Be gentle and make sure not to apply excessive force to avoid any damage.
Once you have completely removed the battery, set it aside in a safe place. Disconnecting the power cord and removing the battery not only ensures your safety but also allows you to access the internal components of your laptop, including the RAM compartment, which we will explore in the next step.
Step 3: Locate the RAM Compartment
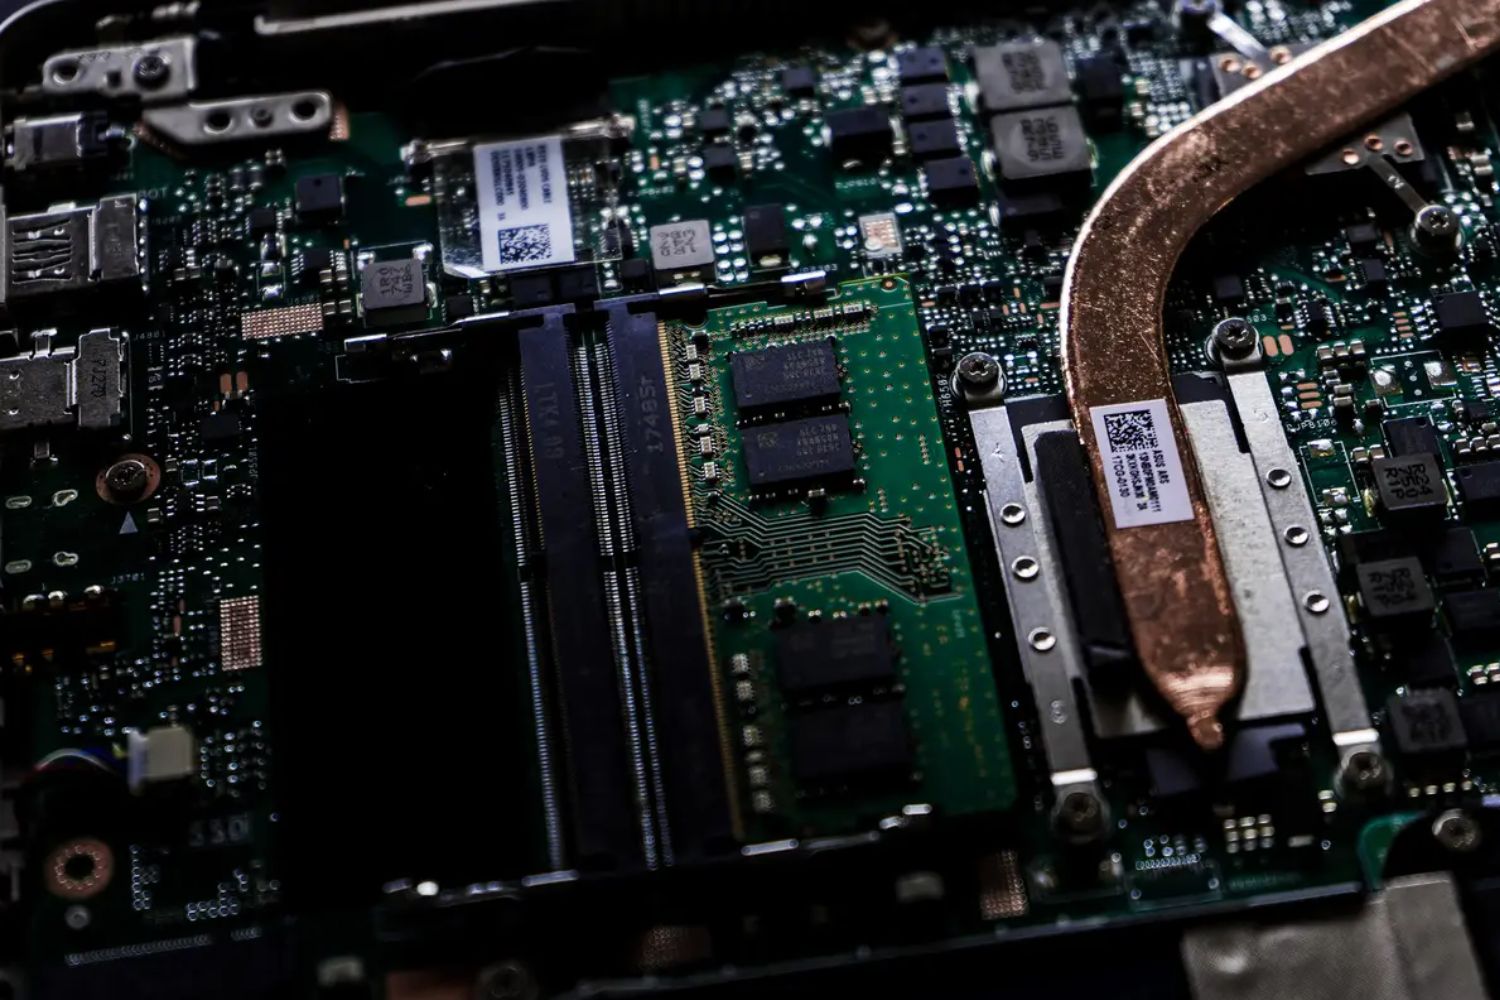
Locating the RAM compartment is a crucial step in installing RAM in your HP laptop. The RAM compartment is where the existing RAM modules are installed and where you will be inserting the new RAM module. Follow the steps below to locate the RAM compartment in your laptop:
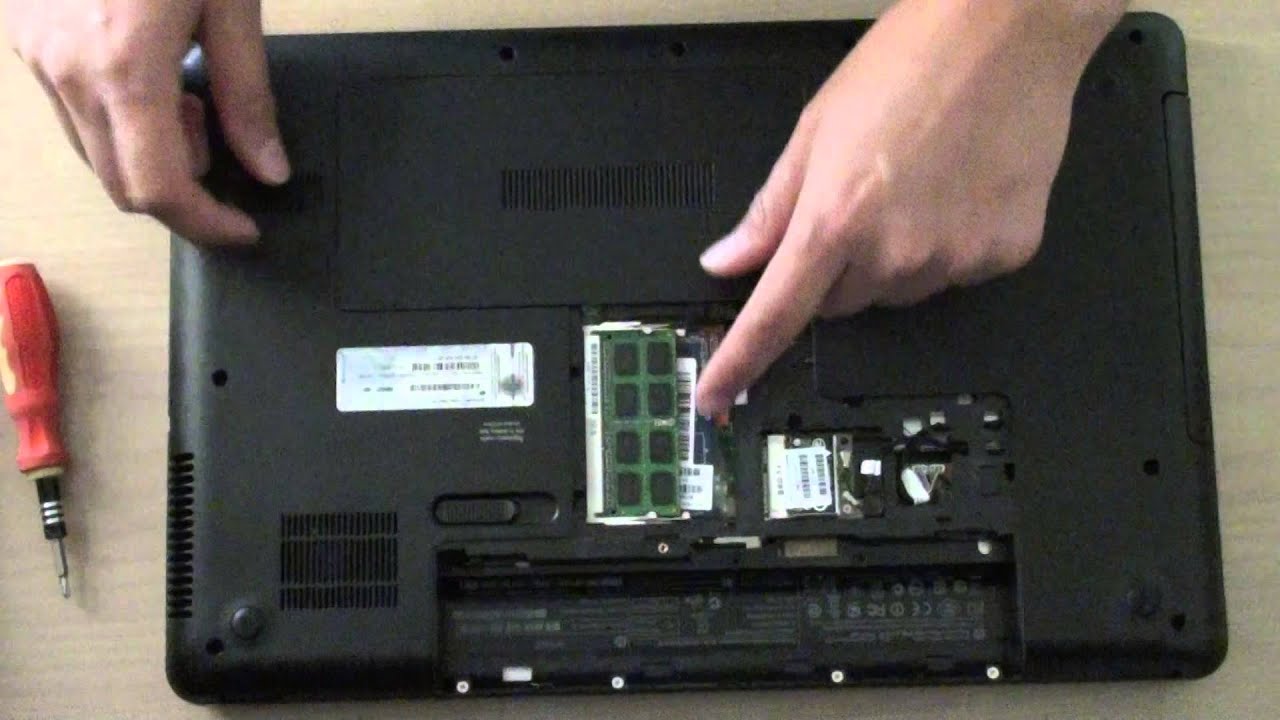
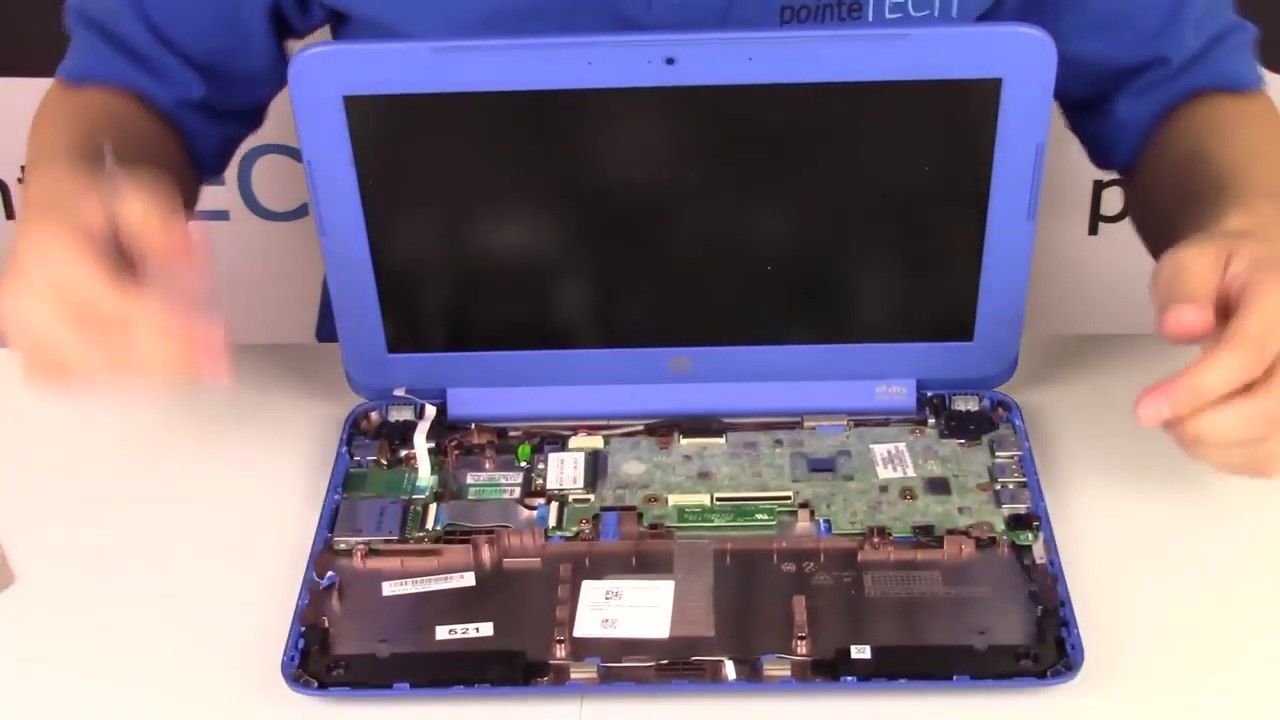
- Flip your laptop over so that the bottom side is facing up.
- Look for a removable panel or cover on the bottom of the laptop. The location of this panel may vary depending on your laptop model, but it is typically located near the center or towards one side of the laptop.
- Refer to your laptop’s user manual or the manufacturer’s website for specific instructions on locating the RAM compartment for your particular model.
- Once you have identified the RAM compartment, use a small Phillips screwdriver to remove the screws holding the panel or cover in place.
- Set aside the screws in a safe place as you will need them later to reassemble your laptop.
- Gently lift or slide the panel or cover to expose the RAM slots underneath.
The RAM compartment may have one or more slots, depending on your laptop model. Each slot is designed to hold a RAM module. Take a moment to familiarize yourself with the layout and number of slots in the RAM compartment, as this will help you when it comes time to install the new RAM module.
Step 4: Remove the Existing RAM
Now that you have located the RAM compartment in your HP laptop, it’s time to remove the existing RAM modules. This step is necessary before inserting the new RAM module. Follow the steps below to remove the existing RAM:
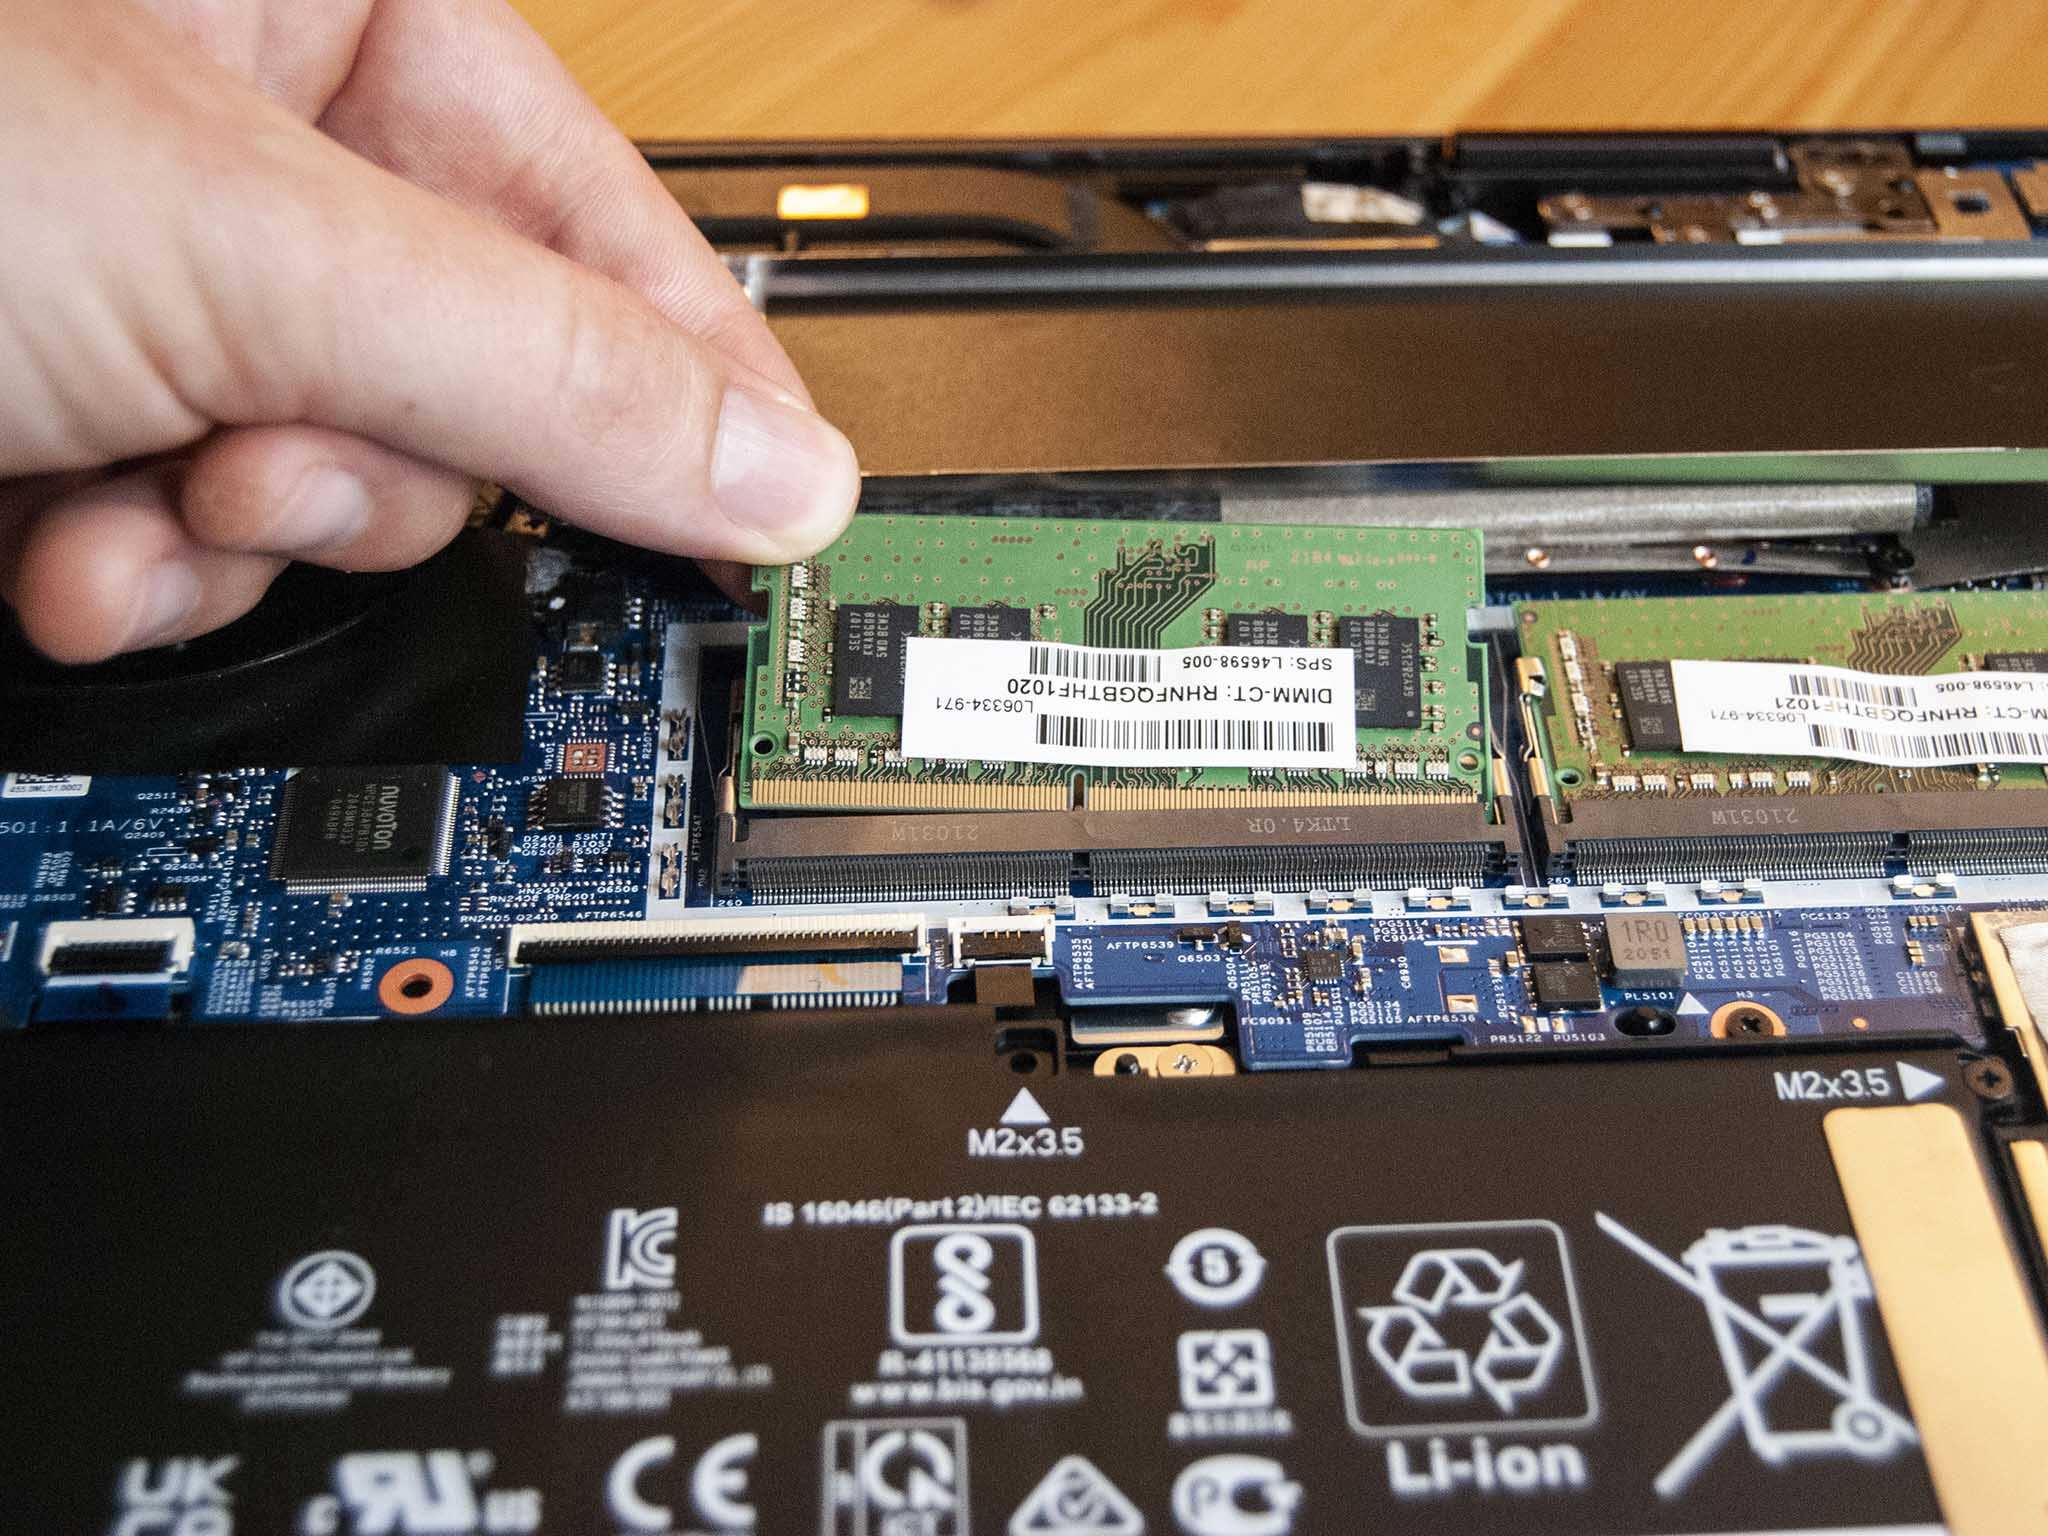
- Take a close look at the existing RAM modules and locate the clips or retention arms that are holding them in place. These clips are usually located on the sides of the RAM module.
- Gently push the clips away from the RAM module until they release and allow the module to pop up at a slight angle.
- Hold the module by its edges and carefully pull it out of the slot. If there are multiple RAM modules installed, remove each one by following the same steps.
- Place the removed RAM modules in an anti-static bag or on an anti-static mat to prevent any damage from static electricity.
It’s important to handle the RAM modules with care and avoid touching the gold contacts on the module’s edge. Excessive force or mishandling can cause damage to the RAM module or the RAM slot itself. If you encounter any resistance while trying to remove the RAM module, double-check that the clips are fully released and try again.
Once you have successfully removed the existing RAM modules, set them aside in a safe place. Now you’re ready to move on to the next step of installing the new RAM module in your HP laptop.
Step 5: Insert the New RAM Module
With the existing RAM modules removed, it’s time to insert the new RAM module into the vacant slot(s) in your HP laptop. Follow the steps below to properly insert the new RAM module:
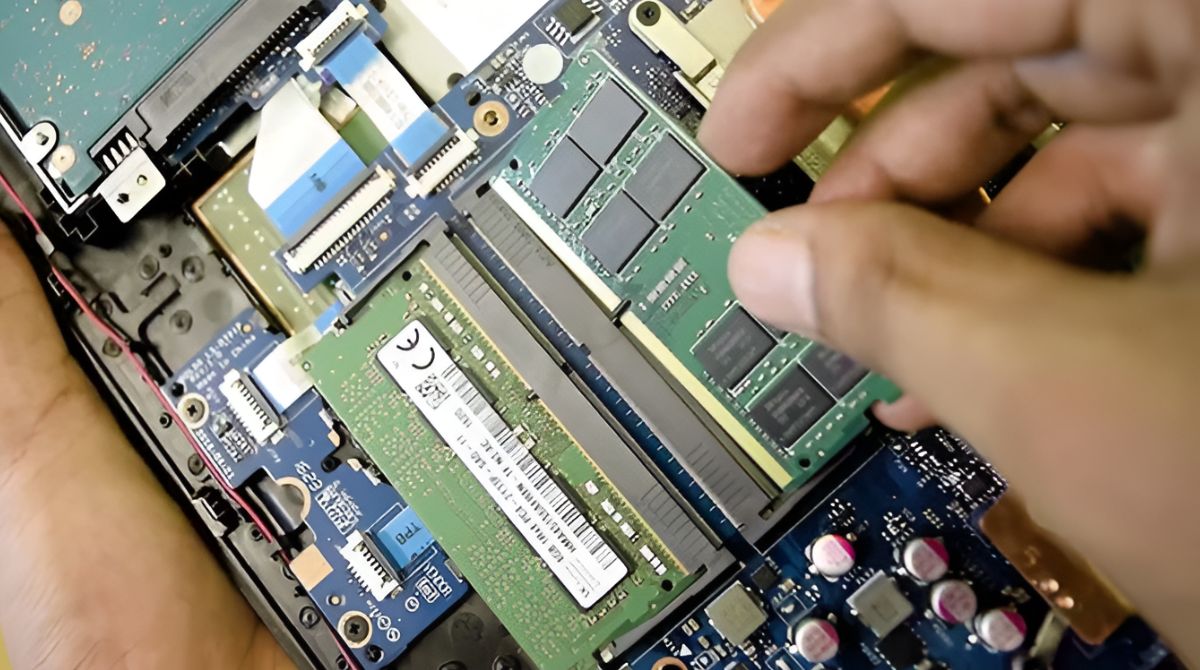
- Take the new RAM module out of its packaging, ensuring that you’re handling it by the edges to avoid touching the gold contacts.
- Align the notch on the bottom edge of the RAM module with the notch in the RAM slot.
- Hold the module at a slight angle and insert it into the slot, making sure that the gold contacts are facing downward and align with the contacts in the slot.
- Gently press down on the module until it is fully seated in the slot. You may hear a click sound as the retention clips on the sides of the slot engage with the module.
- If you have multiple RAM modules, repeat the process for each slot, ensuring that they are inserted correctly.
It’s crucial to ensure that the RAM module is inserted properly and fully seated in the slot. A loose or improperly inserted module can cause stability issues or prevent your laptop from recognizing the new RAM. Take your time and double-check that each module is securely installed before moving on to the next step.
Once you have inserted the new RAM module(s), you’re one step closer to boosting the performance of your HP laptop. Now, let’s move on to the next step to ensure proper alignment and insertion of the RAM module(s).
Step 6: Ensure Proper Alignment and Insertion
Proper alignment and insertion of the RAM module(s) in your HP laptop is crucial for optimal performance and stability. Follow the steps below to ensure that the module(s) are aligned and inserted correctly:
- Check that the gold contacts on the bottom edge of the RAM module(s) are fully aligned with the contacts in the RAM slot(s). They should fit together seamlessly without any visible gaps.
- Make sure that the retention clips or arms on the sides of the slot(s) are securely fastened, holding the RAM module(s) in place.
- Gently press down on the module(s) to ensure they are firmly seated in the slot(s). You should feel a slight resistance as the module(s) make contact with the slot(s).
- Inspect the surrounding area to ensure that there are no obstructions or cables that may come in contact with the RAM module(s). If necessary, carefully rearrange any cables to ensure they don’t interfere with the proper functioning of the module(s).
Taking the time to double-check the alignment and insertion of the RAM module(s) is essential to prevent any issues or performance degradation. Improperly aligned or inserted modules can cause instability, crashes, or even failure to boot up your laptop. By ensuring a secure and proper connection, you can maximize the benefits and performance gains of the new RAM module(s).
Now that you have confirmed the proper alignment and insertion of the RAM module(s), let’s move on to the next step where we will secure the module(s) in place in your HP laptop.
Step 7: Secure the RAM Module in Place
Once you have ensured that the RAM module(s) are properly aligned and inserted in your HP laptop, it’s important to secure them in place. This step ensures that the module(s) stay in position and maintain a stable connection. Follow the steps below to secure the RAM module(s) in place:
- Carefully position the panel or cover that you removed earlier back onto the RAM compartment.
- Align the screw holes on the panel or cover with the corresponding holes on the laptop’s bottom.
- Using the small Phillips screwdriver, carefully insert and tighten the screws to secure the panel or cover in place.
- Ensure that the screws are tightened securely, but be cautious not to overtighten them, as this may cause damage to the laptop’s casing or thread the screws.
Securing the RAM module(s) by fastening the panel or cover provides physical support to keep the module(s) in place and prevents any accidental disconnection. It also helps protect the RAM module(s) from dust and debris, ensuring long-term reliability and performance.
Once the panel or cover is securely fastened, you’re almost ready to power on your HP laptop with the newly installed RAM. Before doing so, make sure to follow the next step to reassemble your laptop fully.
Step 8: Reassemble Your Laptop
Now that you have successfully installed and secured the new RAM module(s), it’s time to reassemble your HP laptop. Follow the steps below to complete the reassembly process:
- Retrieve the battery that you removed earlier and carefully insert it back into its compartment. Ensure that it is properly aligned and securely seated.
- Depending on your laptop model, you may need to slide or press the battery towards the laptop to engage the latch and lock it in place.
- Once the battery is securely in place, connect the power cord to your laptop. Make sure it is firmly connected to provide power to your laptop.
- Take the time to organize and tidy up any cables or wires to ensure a clutter-free workspace.
- Finally, power on your laptop by pressing the power button and wait for it to boot up. Now, your laptop should recognize and utilize the new RAM, improving its overall performance.
It’s important to note that after installing new RAM, your laptop may take a few moments longer to boot up for the first time as it detects and configures the new hardware. This is normal and part of the initialization process.
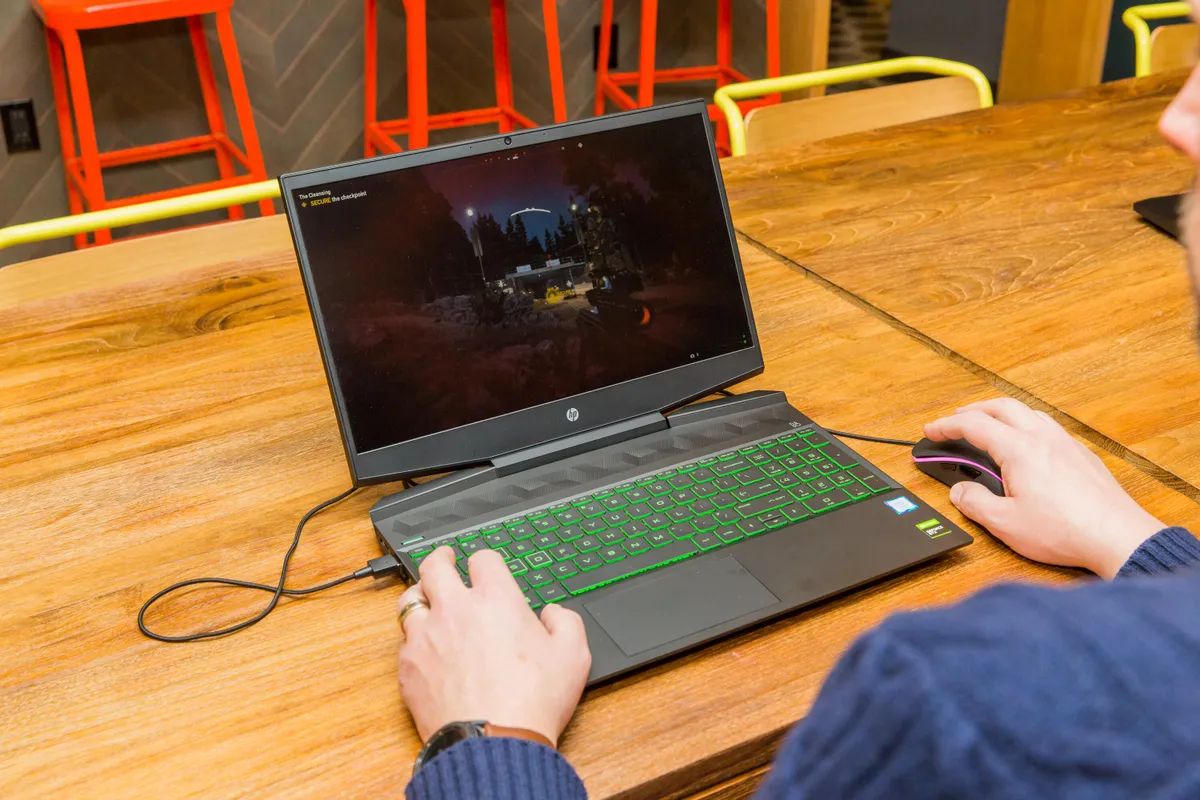
With your laptop successfully reassembled, you can now enjoy the benefits of the upgraded RAM, such as smoother multitasking, faster application load times, and overall improved system responsiveness.
Congratulations! You have successfully installed new RAM in your HP laptop. Enjoy the enhanced performance and productivity that comes with the additional memory capacity.
Step 9: Power On Your Laptop
After reassembling your HP laptop, it’s time to power it on and ensure that everything is functioning properly with the newly installed RAM. Follow the steps below to power on your laptop:
- Ensure that the power cord is securely connected to your laptop and the power source.
- Press the power button located on your laptop. It is typically located near the keyboard or on the side of the laptop.
- Wait for your laptop to boot up. It may take a few moments longer than usual during the first boot since the system is recognizing the new RAM configuration.
- Once your laptop is powered on, log in to the operating system and check the system properties to verify that the new RAM has been detected and is being utilized.
To check the RAM configuration on Windows, right-click on the Start button, click on “System,” and look for the “Installed RAM” or “System Memory” section. It should display the total amount of RAM installed.
If you encounter any issues during the boot-up process or if the system does not recognize the new RAM, double-check that the RAM modules are properly seated in their slots and that the connectors are clean and free from any debris.
Congratulations! You have successfully powered on your HP laptop with the newly installed RAM. Enjoy the improved performance and enhanced multitasking capabilities that come with the additional memory.
Conclusion
Upgrading the RAM in your HP laptop can significantly improve its performance and multitasking capabilities. With a few simple steps, you can install new RAM modules and enjoy smoother operation, faster application load times, and improved system responsiveness.
In this guide, we have walked you through the process of installing RAM in an HP laptop. From shutting down your laptop and disconnecting the power cord to locating the RAM compartment, removing the existing RAM, inserting the new RAM module, ensuring proper alignment and insertion, securing the module in place, reassembling your laptop, and finally, powering it on, each step has been outlined to ensure a successful upgrade process.
Remember to carefully handle the RAM modules, align them correctly, and secure them in the slots. Take your time and refer to your laptop’s user manual or the manufacturer’s website for specific instructions tailored to your model.
Once you have successfully installed the new RAM, you can enjoy the benefits of improved performance and productivity. Your laptop will be able to handle more demanding tasks, run multiple applications simultaneously, and provide a smoother user experience.
If you encounter any issues during the installation process or have any concerns, it’s always recommended to seek professional assistance or consult the support resources provided by the manufacturer.
Congratulations on completing the RAM installation process! Enjoy the enhanced capabilities of your HP laptop and take full advantage of the increased memory capacity.