Introduction
Welcome to this step-by-step guide on how to install PHP on CentOS 7. PHP is a widely used server-side scripting language that is essential for building dynamic websites and web applications. By installing PHP on your CentOS 7 server, you’ll be able to leverage the flexibility and power of PHP to enhance your website’s functionality.
Before we dive into the installation process, let’s go over a brief overview of PHP and why it’s an important component of any web development stack. PHP stands for Hypertext Preprocessor and is known for its simplicity, versatility, and extensive library of functions. It is compatible with various databases and web servers, making it an excellent choice for building dynamic websites.
With PHP, you can easily handle forms, process user input, generate dynamic content, interact with databases, and perform a wide range of server-side tasks. It is also highly customizable and provides excellent support for popular content management systems (CMS) like WordPress, Drupal, and Joomla.
In this guide, we will walk you through the process of installing PHP on your CentOS 7 server. We’ll cover all the necessary steps, starting from installing the necessary repositories, to configuring PHP for optimal performance. By the end of this tutorial, you’ll have a fully functional PHP installation on your CentOS 7 server, ready to power your dynamic web applications.
So, without further ado, let’s get started with the installation process and unlock the endless possibilities that PHP has to offer!
Prerequisites
Before we begin the installation process, there are a few prerequisites that you need to have in place:
- A CentOS 7 server – Ensure that you have a CentOS 7 server up and running. You should have root or sudo privileges in order to install PHP and make system-level changes.
- Internet connectivity – Make sure that your server has a stable internet connection. This is essential for downloading the necessary packages and dependencies.
- Update the system – Before installing PHP, it’s always a good idea to update your system to the latest packages. You can run the following command to update your CentOS 7 server:
sudo yum update
By executing this command, your system will be updated with the latest security patches and updates, ensuring better stability and compatibility during the PHP installation process.
Once you have these prerequisites in place, you are ready to proceed with the installation of PHP on your CentOS 7 server. Make sure you have allocated enough time to complete the installation process and follow each step carefully.
Step 1: Install EPEL Repository
The first step to installing PHP on your CentOS 7 server is to install the EPEL (Extra Packages for Enterprise Linux) repository. The EPEL repository provides additional packages that are not available in the default CentOS repositories.
To install the EPEL repository, follow these steps:
- Start by enabling the EPEL repository using the yum command:
sudo yum install epel-releaseDuring the installation, you will be prompted to confirm the installation. Simply type ‘y’ and press Enter to proceed.
- Once the installation is complete, you can verify that the EPEL repository is installed by running the following command:
sudo yum repolistThis command will display a list of all the enabled repositories on your CentOS 7 server. If you see ‘epel’ in the list, it means that the EPEL repository has been successfully installed.
The EPEL repository is an important requirement for installing several PHP-related packages and dependencies, so it’s crucial to have it installed before moving on to the next step.
With the EPEL repository installed, we are now ready to proceed to the next step of installing the Remi repository, which will provide us with the latest version of PHP.
Step 2: Install Remi Repository
After installing the EPEL repository, the next step is to install the Remi repository. The Remi repository is a popular repository for PHP packages, including the latest versions of PHP and its extensions.
To install the Remi repository on your CentOS 7 server, follow these steps:
- Begin by installing the yum utility that will help you configure the Remi repository:
sudo yum install yum-utils- Next, enable the Remi repository using the yum-config-manager utility:
sudo yum-config-manager --enable remi-php74This command enables the Remi repository and specifically targets PHP 7.4 for installation. You can change the version number in the command to match your desired PHP version.
- Once the repository is enabled, you can verify it by running the following command:
sudo yum repolistThis command will list all the active repositories on your CentOS 7 server, including the Remi repository.
With the Remi repository successfully installed and enabled, you’re now ready to proceed to the next step: installing PHP on your CentOS 7 server.
Step 3: Install PHP
Now that we have the EPEL and Remi repositories installed, we can proceed with the actual installation of PHP on CentOS 7. In this step, we’ll use the yum package manager to install PHP along with some additional necessary packages.
To install PHP on your CentOS 7 server, follow these steps:
- Begin by updating the package list for the latest available packages:
sudo yum update- Install PHP and the necessary PHP packages using the following command:
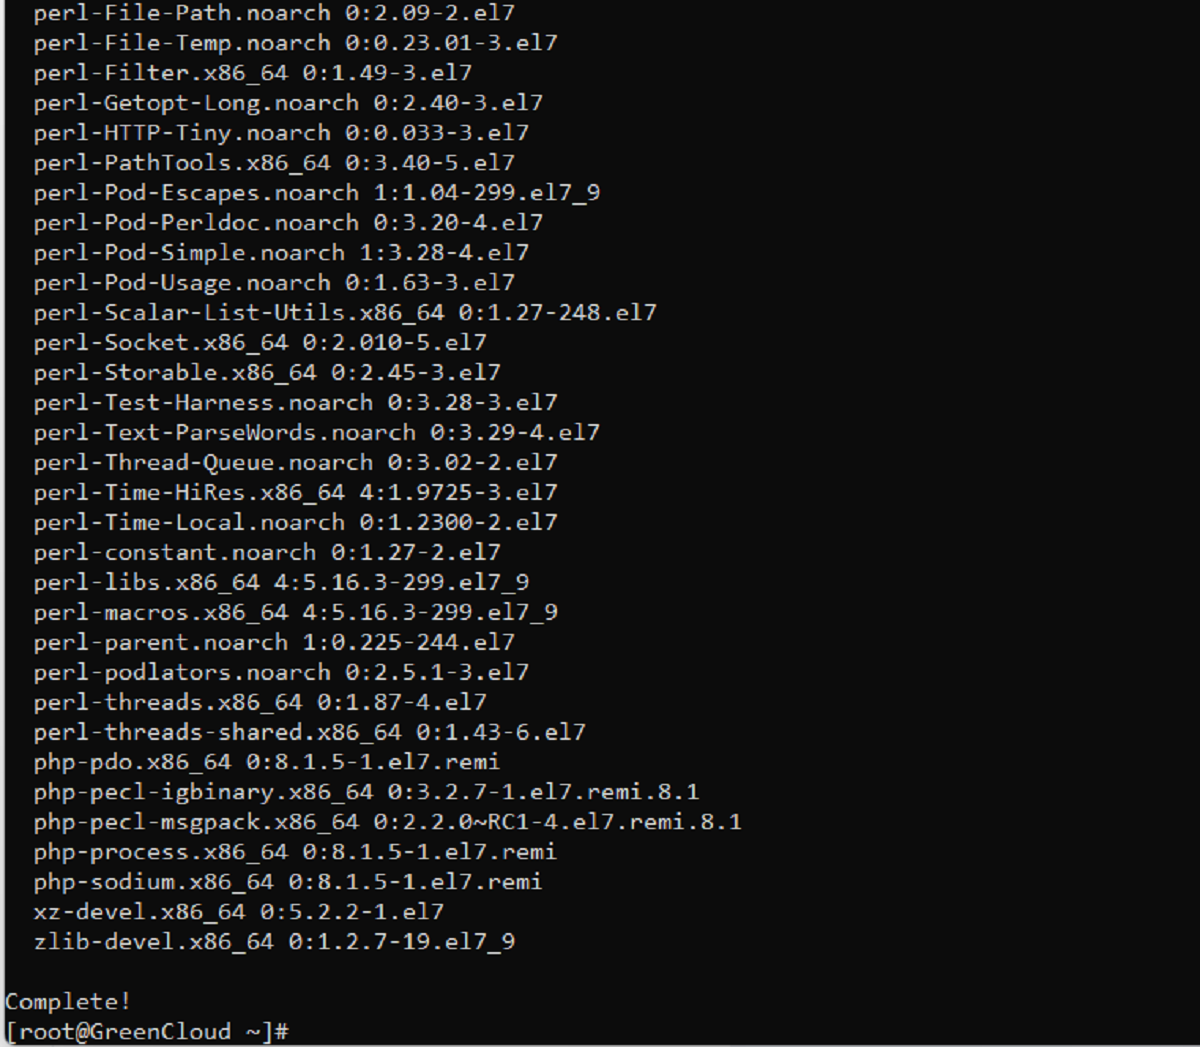
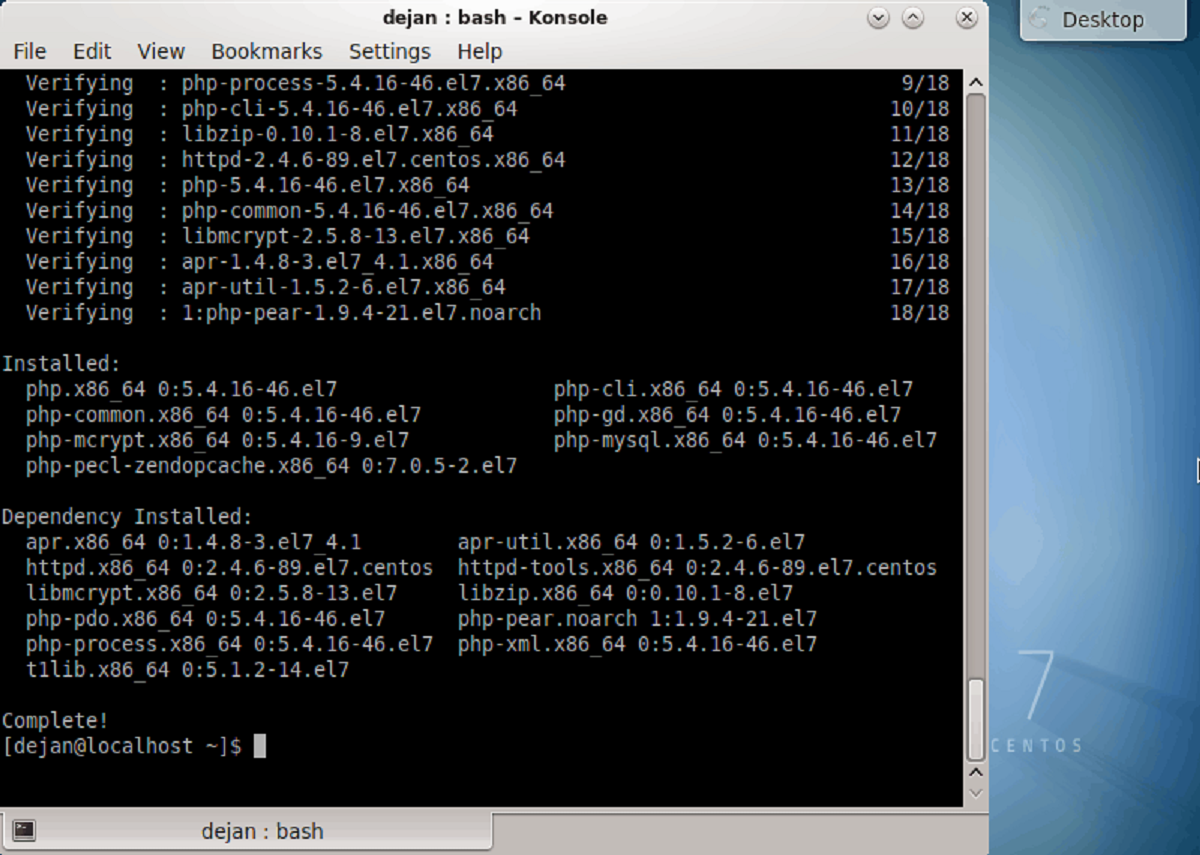
sudo yum install php php-cli php-fpmThis command will install PHP along with the PHP command-line interface (CLI) and PHP FastCGI Process Manager (PHP-FPM).
- During the installation, you will be prompted to confirm the installation. Type ‘y’ and press Enter to proceed.
Once the installation is complete, PHP will be successfully installed on your CentOS 7 server, and you can move on to the next step: configuring PHP for optimal performance.
It’s worth noting that the above command installs the basic PHP package and does not include additional extensions or modules. Depending on your specific requirements, you may need to install additional PHP modules such as MySQL, GD, or XML. You can search for available PHP modules using the yum command and install them as needed.
With PHP installed, we can now move on to the next step and configure PHP to ensure smooth functioning and optimal performance.
Step 4: Configure PHP
After installing PHP on your CentOS 7 server, it’s important to configure it to suit your specific needs and optimize its performance. In this step, we’ll cover some essential configuration changes and settings for PHP.
To configure PHP on your CentOS 7 server, follow these steps:
- Open the PHP configuration file using a text editor of your choice. For example:
sudo nano /etc/php.ini- Adjust the ‘memory_limit’ directive to increase the maximum memory that PHP can use. For example, to set the memory limit to 256MB:
memory_limit = 256M- Depending on your application, you may need to adjust other directives such as ‘upload_max_filesize’, ‘post_max_size’, and ‘max_execution_time’ to accommodate the requirements of your PHP scripts.
Note: These are just a few examples of PHP configuration directives. You can explore the PHP documentation for a comprehensive list of available directives and their descriptions.
Once you’ve made the necessary changes, save the file and exit the text editor.
- After making changes to the PHP configuration file, restart the PHP-FPM service to apply the changes:
sudo systemctl restart php-fpmThis command will restart the PHP-FPM service, ensuring that the new configuration settings take effect.
With PHP configured, you have successfully optimized its performance and tailored it to meet your specific requirements. Now, it’s time to test the PHP installation to ensure everything is working as expected.
In the next step, we’ll guide you on testing the PHP installation on your CentOS 7 server.
Step 5: Test PHP Installation
After installing and configuring PHP on your CentOS 7 server, it’s important to verify that it is functioning correctly. In this step, we’ll guide you through testing your PHP installation using a simple PHP script.
To test your PHP installation on CentOS 7, follow these steps:
- Create a new PHP file using a text editor. For example:
sudo nano /var/www/html/test.php- Add the following lines to the file:
<?php
phpinfo();
?>
This is a basic PHP script that will display detailed information about your PHP installation when executed.
- Save the file and exit the text editor.
Once you’ve saved the PHP file, you can access it through a web browser to test your PHP installation.
- Open your preferred web browser and enter your server’s IP address or domain name followed by ‘/test.php’. For example:
http://localhost/test.phpIf PHP is installed correctly and configured properly, you should see a detailed PHP information page. This page will provide information about your PHP version, extensions, configuration settings, and more.
It’s important to ensure that the displayed information does not contain any critical security-related details that could be useful to potential attackers. To address this, you can restrict access to the PHP information file by removing or securing it once you have verified the PHP installation.
Congratulations! You have successfully installed PHP on your CentOS 7 server and tested its functionality. Now, you’re ready to unleash the power of PHP and begin developing dynamic web applications.
In this tutorial, we covered the step-by-step process of installing PHP, configuring it, and testing its installation. Make sure to explore the vast ecosystem of PHP libraries, frameworks, and resources to make the most out of this versatile scripting language.
Conclusion
Installing PHP on your CentOS 7 server is a crucial step in building dynamic websites and web applications. With the right repositories and configurations in place, you can leverage the power and versatility of PHP to create interactive and feature-rich websites.
In this tutorial, we walked you through the step-by-step process of installing PHP on CentOS 7. We covered the installation of the EPEL and Remi repositories, as well as the configuration of PHP to ensure optimal performance.
By following these steps, you have successfully installed PHP on your CentOS 7 server and tested its functionality. You can now start building and deploying PHP-based web applications tailored to your specific needs.
Remember, this is just the beginning of your PHP journey. PHP offers a wide range of libraries, frameworks, and tools that can streamline your development process and enhance the functionality of your web applications. Stay curious, explore new resources, and keep up with the latest PHP trends and best practices to take your PHP development skills to the next level.
Now that you have PHP up and running on your CentOS 7 server, you’re ready to harness its power and unlock the potential for creating dynamic, interactive web applications. Happy coding!