Introduction
Welcome to this step-by-step guide on how to install a hard drive on an HP Envy Ultrabook 4. Whether you’re looking to upgrade your storage capacity or replace a faulty hard drive, this tutorial will provide you with the necessary instructions to successfully complete the installation process.
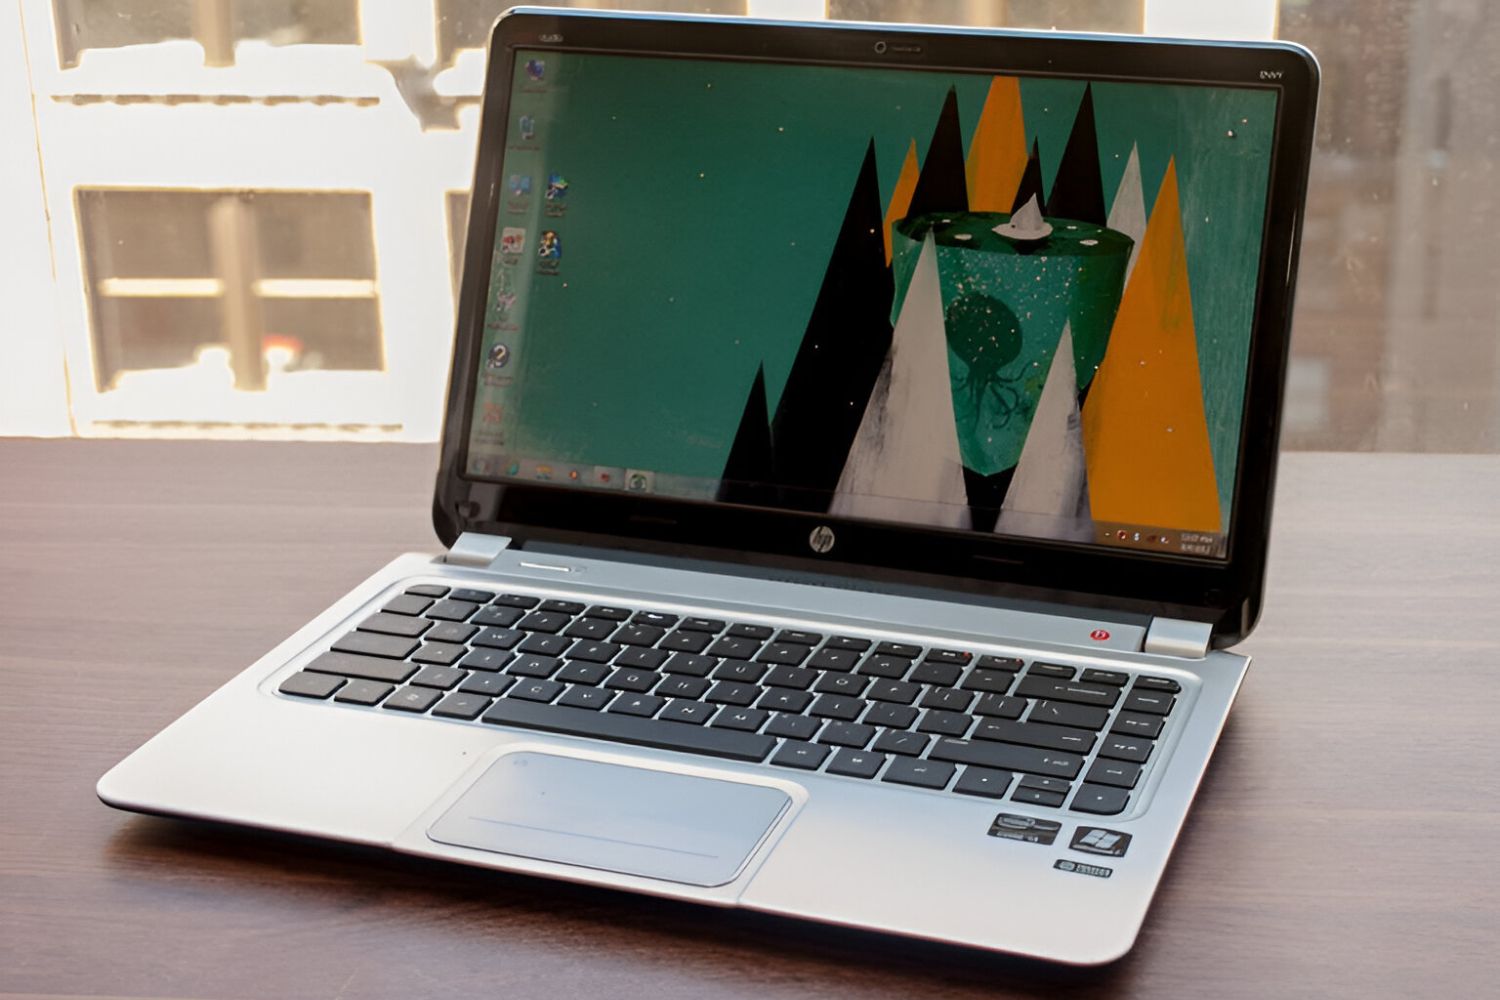
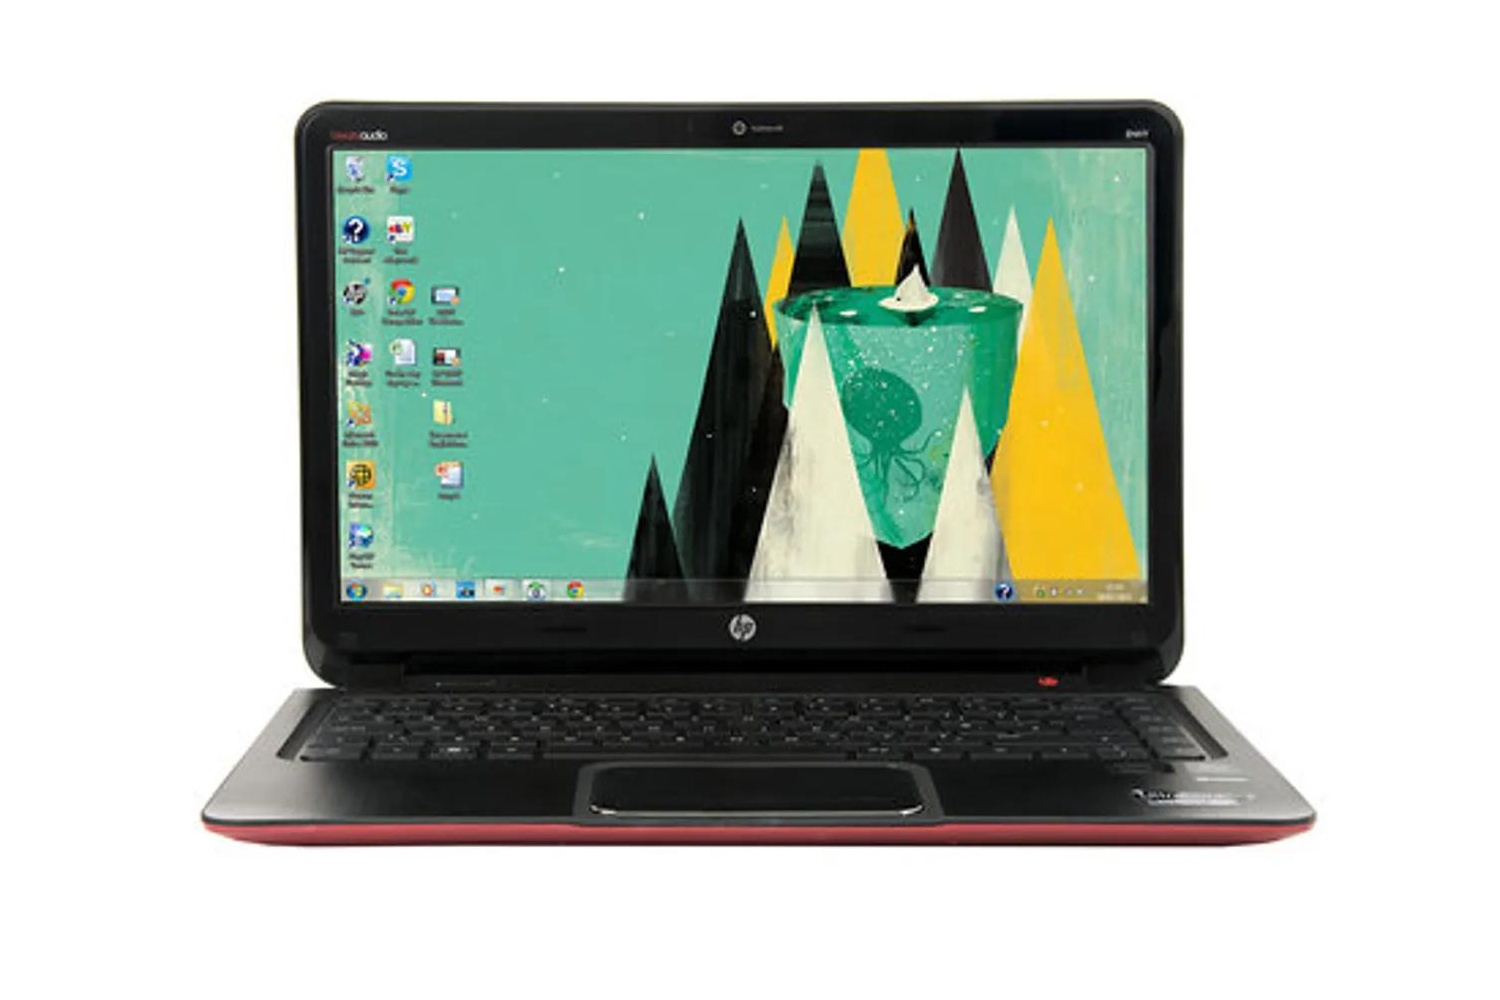
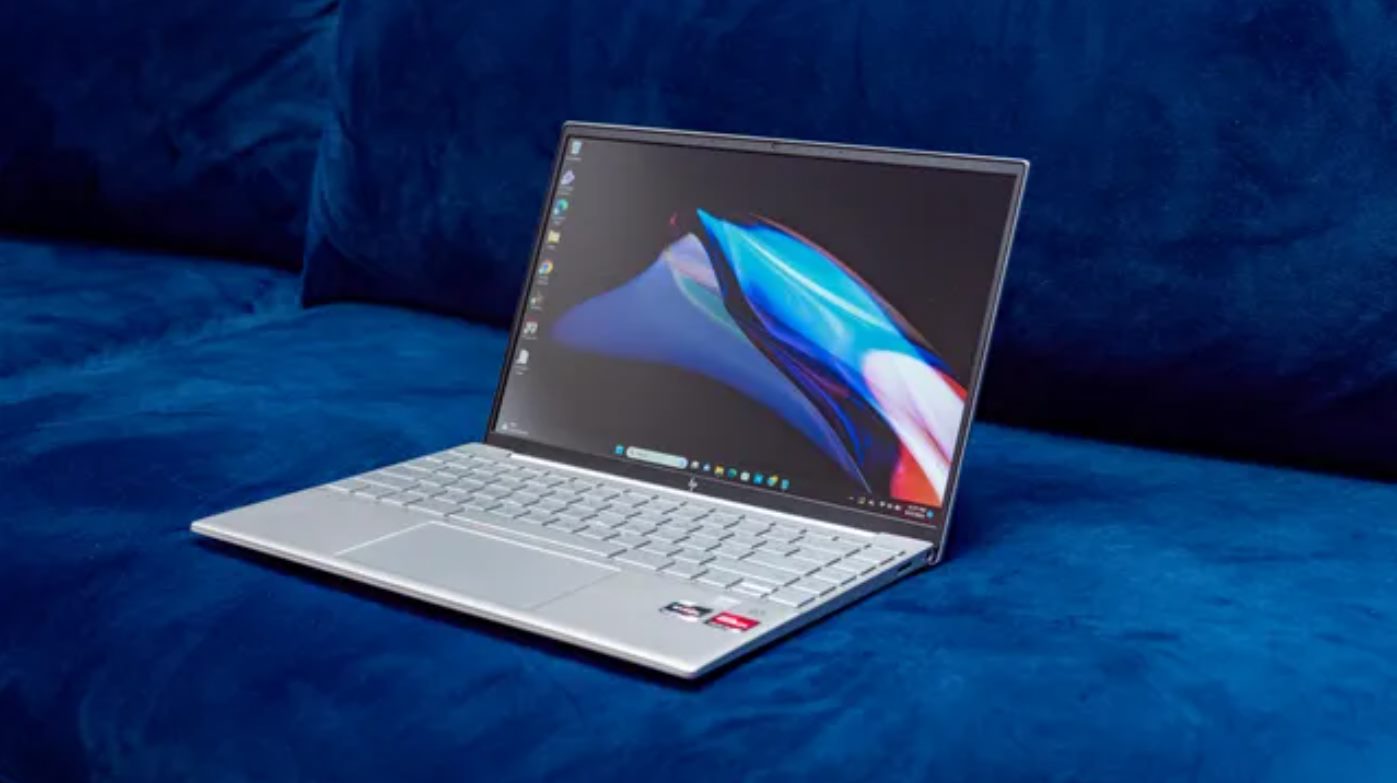
The HP Envy Ultrabook 4 is a sleek and powerful laptop known for its performance and portability. With the ability to accommodate an additional hard drive, you can greatly increase your storage capabilities, allowing you to store more files, applications, and media without running out of space.
Before we begin, it’s essential to note that this tutorial is specifically tailored for the HP Envy Ultrabook 4 model. While the general steps may be similar across different laptop models, it’s always recommended to consult your device’s user manual or seek professional assistance if you’re unsure.
In this guide, we will cover each step of the installation process in detail, from powering off the Ultrabook to testing the newly installed hard drive. We’ll also provide some troubleshooting tips along the way to help you overcome any potential challenges you may encounter during the installation.
For a successful installation, you’ll need a few tools and equipment, which we will discuss in the next section. It’s important to gather all the necessary items before proceeding with the installation to ensure a smooth and efficient process.
Now that you have an overview of what to expect, let’s dive into the details of this step-by-step guide on how to install a hard drive on an HP Envy Ultrabook 4.
Required Tools and Equipment
Before you begin the installation process, it’s important to gather the necessary tools and equipment. Here’s a list of items you’ll need:
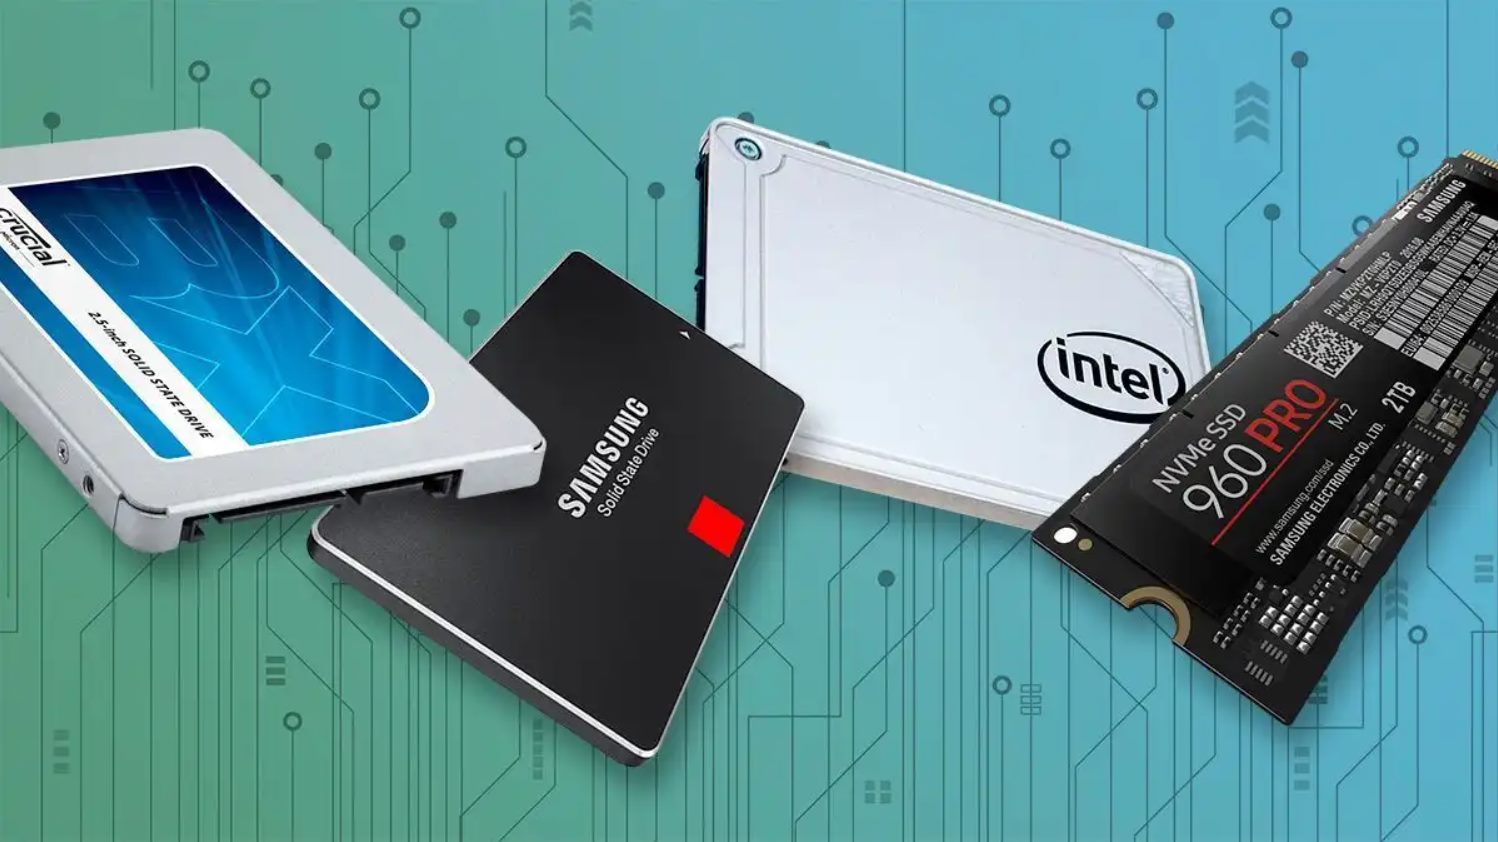
- Replacement Hard Drive: Make sure you have a compatible hard drive that meets your storage requirements. Refer to your device’s user manual or manufacturer’s specifications to determine the appropriate hard drive model.
- Screwdriver: You’ll need a small Phillips screwdriver to remove and secure the screws on the Ultrabook.
- Static Discharge Bracelet: This optional but highly recommended tool helps prevent static electricity from damaging the sensitive components of your Ultrabook during the installation process. If you don’t have a static discharge bracelet, make sure to touch a grounded metal surface to discharge any static electricity before handling the hardware.
- Soft Cloth or Anti-Static Mat: To further protect your Ultrabook and the components, place it on a soft cloth or anti-static mat while working on the installation. This helps prevent scratches and static discharge.
- User Manual: Keep the user manual of your HP Envy Ultrabook 4 handy, as it contains valuable information and specific instructions that may be relevant to your device’s configuration.
Ensure that you have all the necessary tools and equipment readily available before proceeding with the installation. This will help you complete the process smoothly and efficiently. It’s essential to work in a well-lit and static-free environment to minimize the risk of damage to your Ultrabook and the new hard drive.
Once you have gathered all the required tools and equipment, you’re ready to move on to the next step of this guide: powering off and unplugging the Ultrabook.
Step 1: Power Off and Unplug the Ultrabook
The first step in installing a hard drive on an HP Envy Ultrabook 4 is to power off the device and unplug it from any power sources. This ensures that you’re working with a safe and powered-down system.
To power off your Ultrabook, follow these steps:
- Save any ongoing work and close all open applications to prevent any data loss during the shutdown process.
- Click on the “Start” button on the taskbar and select the “Power” option.
- From the dropdown menu, select “Shut down” to initiate the shutdown process.
Wait for the Ultrabook to power off completely. You can confirm that the device is powered off by ensuring that the screen is black and there are no indicator lights or sounds coming from the device.
Once your Ultrabook is powered off, it’s essential to unplug it from any power sources to prevent any accidental electrical shocks or damage during the installation process.
If your Ultrabook is connected to an AC power adapter, remove the adapter’s connector from the Ultrabook’s power port. Additionally, if any other external peripheral devices, such as USB drives or external monitors, are connected to your Ultrabook, disconnect them as well.
Take the necessary precautions to ensure that there is no electrical current flowing through the Ultrabook before moving on to the next step. By powering off and unplugging the Ultrabook, you’re now ready to locate the hard drive slot and proceed with the installation process.
Step 2: Locate the Hard Drive Slot
After powering off and unplugging the HP Envy Ultrabook 4, the next step is to locate the hard drive slot. The hard drive slot is where the new hard drive will be installed.
To find the hard drive slot, follow these steps:
- Place the Ultrabook on a flat and static-free surface. Use a soft cloth or an anti-static mat to protect the device from scratches and static discharge.
- Position the Ultrabook in a way that the bottom panel is accessible. The bottom panel is the section that needs to be removed to access the internal components.
- Locate the screws that secure the bottom panel. These screws are usually located at the corners or along the edges of the panel.
- Using a small Phillips screwdriver, carefully remove the screws that secure the bottom panel. Keep the screws in a safe place to avoid misplacing them.
- Once all the screws are removed, gently lift and remove the bottom panel to reveal the internal components of the Ultrabook.
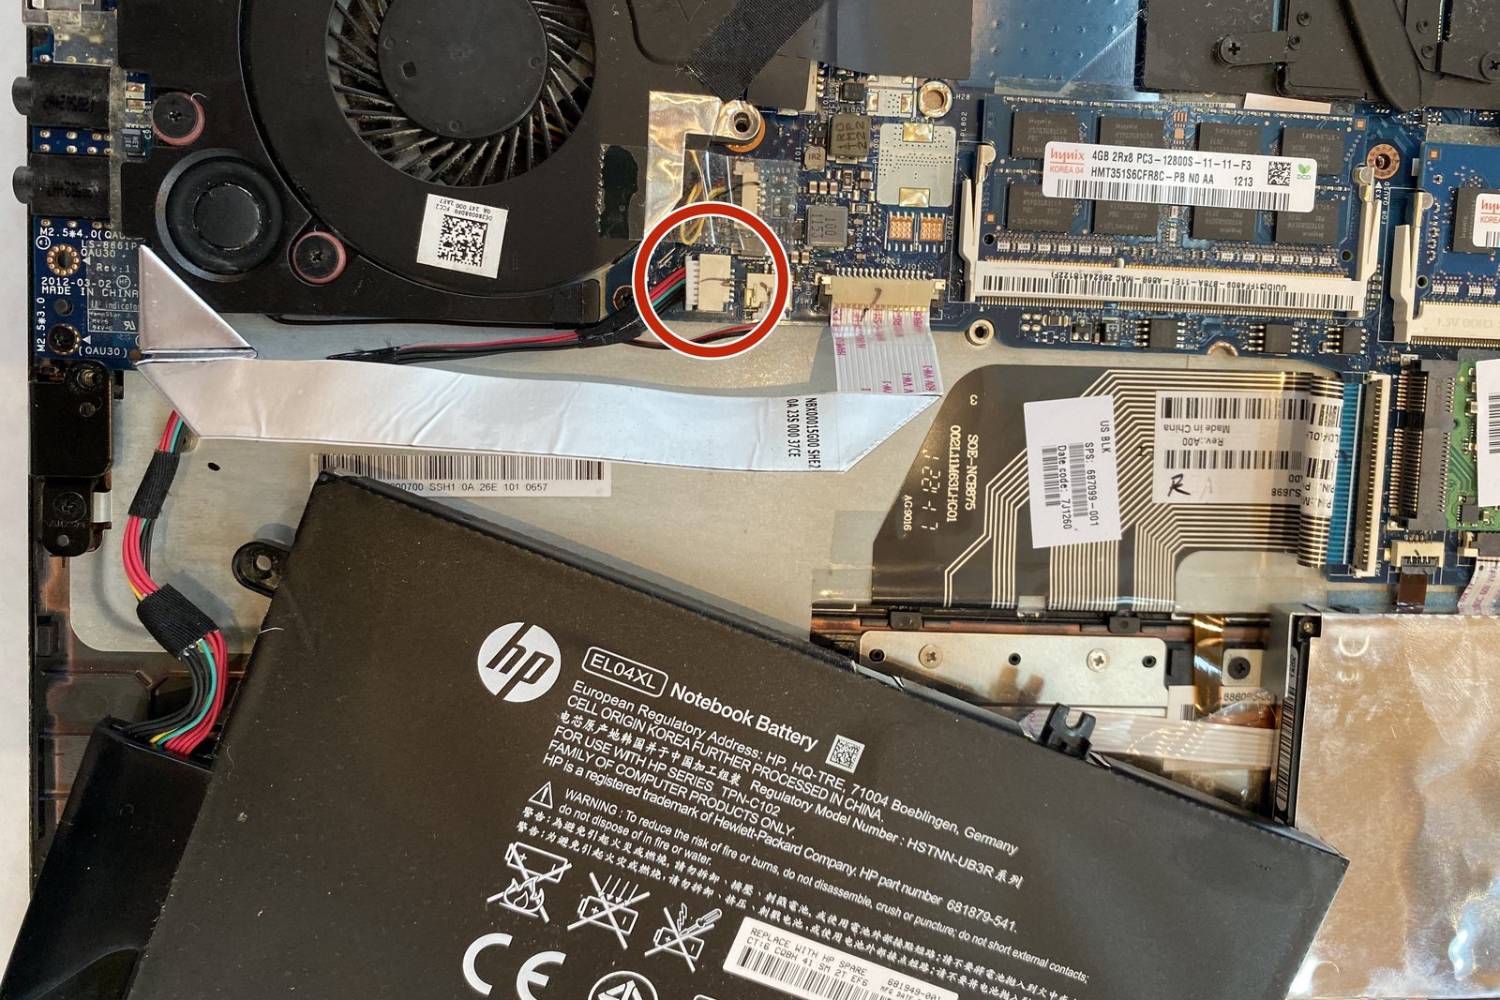
Now that you have removed the bottom panel, you should be able to see the internal components of the Ultrabook, including the hard drive slot. The hard drive slot is a small bay or slot where the existing hard drive or the additional hard drive can be installed.
Take a moment to familiarize yourself with the layout and components of the Ultrabook. Locate the area where the hard drive is currently installed or where the empty hard drive slot is situated. The hard drive slot typically has a connector and mounting points for securing the hard drive in place.
This completes the second step of the installation process — locating the hard drive slot. In the next step, we will explore how to remove the bottom panel to gain access to the internals of the Ultrabook.
Step 3: Remove the Bottom Panel
With the hard drive slot located, the next step in installing a hard drive on an HP Envy Ultrabook 4 is to remove the bottom panel. This will give you access to the internal components and allow for the installation of the new hard drive.
To remove the bottom panel, follow these steps:
- Double-check that the Ultrabook is powered off and unplugged to ensure your safety and the integrity of the device.
- Flip the Ultrabook over, so the bottom panel is facing upwards.
- Locate and remove the screws that secure the bottom panel. These screws are typically found at the corners or along the edges of the panel.
- Using a small Phillips screwdriver, carefully unscrew and set aside the screws, keeping them in a safe place.
- Once all the screws are removed, gently pry off the bottom panel. This can be done by sliding your fingers or a plastic opening tool along the edges of the panel to release any clips or latches holding it in place.
- Be cautious while removing the bottom panel to avoid damaging any internal components or connectors.
Once the bottom panel is removed, you will have a clear view of the internal components, including the existing hard drive and the hard drive slot if it isn’t already occupied. It’s important to handle the Ultrabook with care while the bottom panel is off to prevent accidental damage.
Take a moment to examine the internals of the Ultrabook and ensure that everything is in good condition. Look for any signs of damage or loose connections that may affect the installation process. If you notice any issues, it’s recommended to consult a professional technician for assistance.
With the bottom panel successfully removed, you are now ready to proceed to the next step: inserting the new hard drive into the hard drive slot.
Step 4: Insert the Hard Drive
Now that the bottom panel has been removed and you have a clear view of the internal components, it’s time to insert the new hard drive into the hard drive slot of your HP Envy Ultrabook 4.
To insert the hard drive, follow these steps:
- Inspect the new hard drive and familiarize yourself with its design. Identify the connector and mounting points on the hard drive.
- Locate the hard drive slot within the Ultrabook, which should be visible now that the bottom panel has been removed.
- Hold the new hard drive by its sides, taking care not to touch the connector or any sensitive components.
- Align the connector on the hard drive with the corresponding slot in the Ultrabook.
- Gently slide the hard drive into the slot, making sure it is inserted fully and securely.
- Once the hard drive is properly inserted, apply gentle pressure to ensure it is firmly seated in the slot.
It’s important to handle the hard drive with care and avoid any unnecessary force or bending. Make sure the hard drive is aligned correctly before inserting it into the slot to prevent any potential damage to the connector or internal components.
If you are replacing an existing hard drive, first remove the old hard drive by disconnecting any cables connected to it and unscrewing any mounting screws. Take note of how the old hard drive was positioned and connected to make it easier to install the new one.
Once the new hard drive is successfully inserted into the hard drive slot, you’re ready to move on to the next step: securing the hard drive in place.
Step 5: Secure the Hard Drive
After inserting the new hard drive into the hard drive slot, the next step in installing a hard drive on an HP Envy Ultrabook 4 is to secure it firmly in place. This ensures that the hard drive remains stable and properly connected within the Ultrabook.
To secure the hard drive, follow these steps:
- Inspect the mounting points in the Ultrabook where the hard drive will be secured. These mounting points are typically located near the hard drive slot.
- Position the hard drive in a way that aligns with the mounting points.
- Using the appropriate screws or fasteners, secure the hard drive to the mounting points. Make sure to tighten the screws firmly but not excessively, as overtightening can damage the hard drive.
- Double-check that the hard drive is securely fastened and does not move or wiggle when lightly nudged.
Ensure that the hard drive remains parallel to the other components and does not interfere with any other internal parts. This will prevent any potential damage or performance issues.
If you are replacing an existing hard drive, remember to connect any necessary cables to the new hard drive. This may include data cables and power cables, which should be securely connected to their respective ports on the hard drive.
It’s important to handle the hard drive and any cables with care to avoid bending or damaging them. Take your time to ensure all connections are secure and properly aligned.
Once you have securely installed and connected the hard drive, you have completed the fifth step in the installation process. Next, we’ll move on to replacing the bottom panel of the Ultrabook.
Step 6: Replace the Bottom Panel
Now that the hard drive is securely in place and all connections are properly made, it’s time to replace the bottom panel of your HP Envy Ultrabook 4. This step will ensure that the internal components are protected and the Ultrabook is sealed back up.
To replace the bottom panel, follow these steps:
- Ensure that the hard drive and any cables are properly positioned and secured inside the Ultrabook.
- Carefully align the bottom panel with the edges of the Ultrabook.
- Starting at one edge, gently press the bottom panel against the Ultrabook to secure it.
- Work your way around the edges, applying even pressure to ensure that the bottom panel snaps or slides into place.
- If necessary, double-check that all clips or latches on the bottom panel are securely fastened and holding the panel in place.
- Once the bottom panel is properly in place, use the small Phillips screwdriver to reinstall the screws that secure the panel. Make sure to tighten the screws snugly but avoid overtightening.
Take care to properly align the bottom panel and ensure that it is flush with the Ultrabook’s body. This will maintain the device’s aesthetics and prevent any potential damage or misalignment.
If you encounter any resistance or difficulty while replacing the bottom panel, check for any obstructions, misalignments, or cables that may be in the way. Adjust and reposition as needed before attempting to close the panel again.
With the bottom panel securely in place, you have successfully completed the sixth step of the installation process. Now, it’s time to move on to the final step: powering on the Ultrabook and testing the newly installed hard drive.
Step 7: Power On and Test the Hard Drive
After successfully reinstalling the bottom panel, you’re ready to power on your HP Envy Ultrabook 4 and test the newly installed hard drive. This step will ensure that the hard drive is recognized by the system and functioning properly.
To power on and test the hard drive, follow these steps:
- Ensure the Ultrabook is still unplugged from any power sources.
- Carefully flip the Ultrabook over so that it is in the regular operating position.
- Plug in the Ultrabook to an available power source using the AC power adapter that came with the device.
- Press and hold the power button to turn on the Ultrabook.
- Allow the device to boot up and navigate to the operating system.
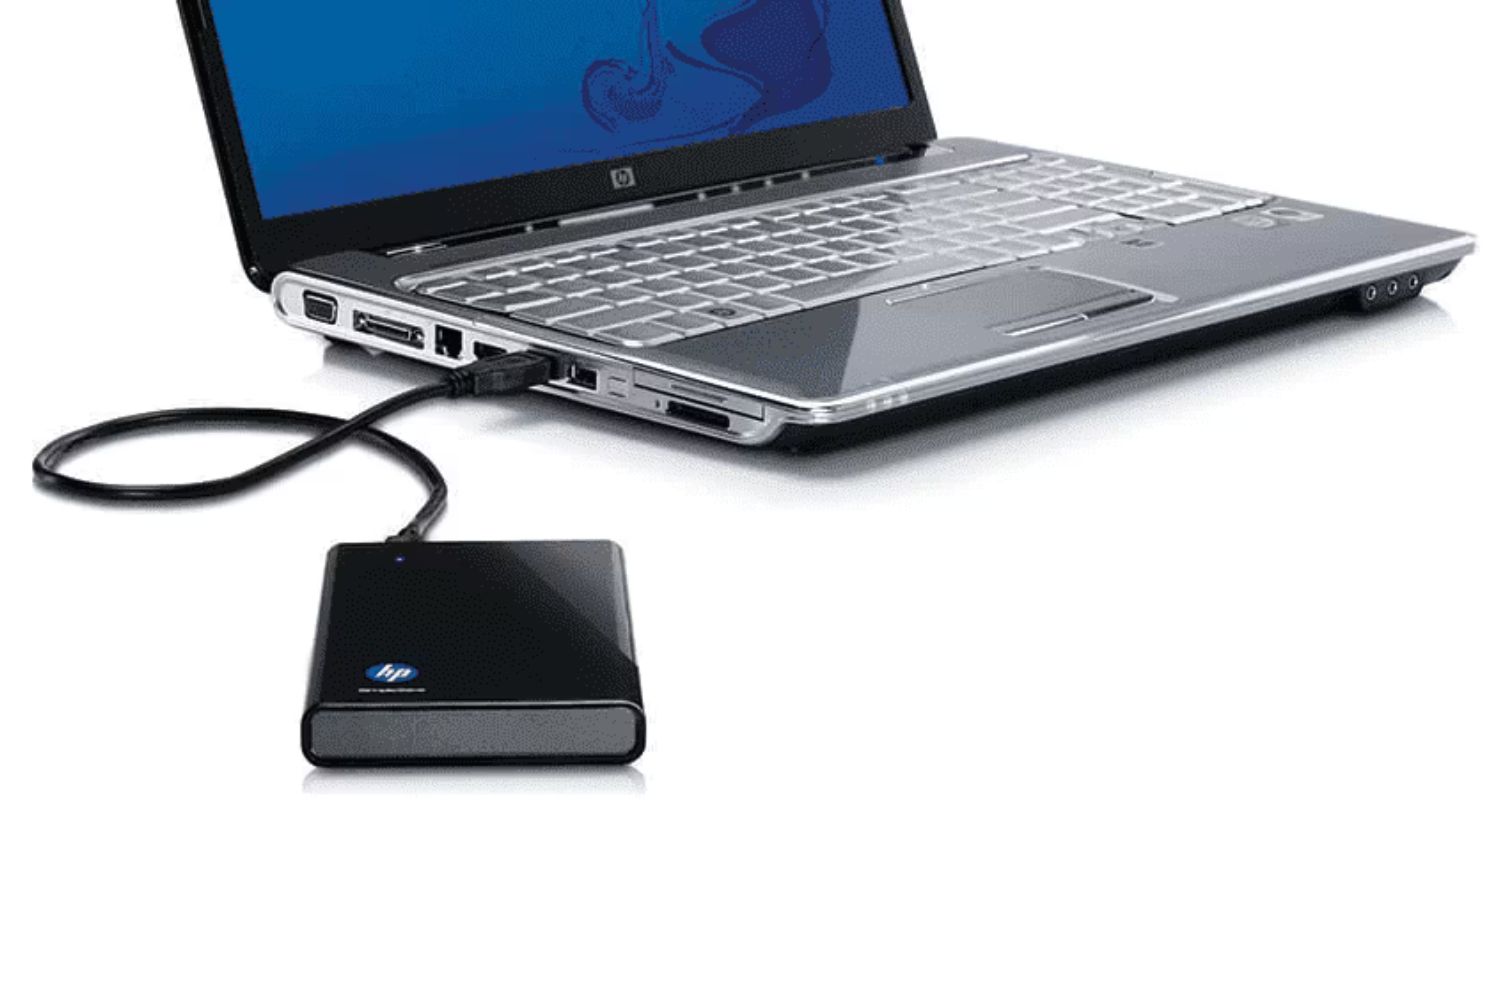
- Once the operating system has loaded, open File Explorer or any other file management program to verify that the new hard drive is detected.
- If the new hard drive is visible in the file management program, you have successfully installed and recognized the hard drive.
- Try accessing files or creating new files on the new hard drive to further ensure its functionality.
- If you encounter any issues or the new hard drive is not detected, double-check all connections and retrace the installation steps to identify any potential issues.
It’s important to test the functionality of the new hard drive after installation to ensure it is working correctly and meets your storage needs. If you experience any difficulties or if the hard drive is not recognized, refer to the device’s user manual or seek assistance from a professional technician.
With the hard drive successfully recognized and functioning, you have completed the final step of the installation process. Congratulations! You have successfully installed a new hard drive on your HP Envy Ultrabook 4 and expanded your storage capabilities.
Conclusion
Congratulations! You have completed the installation process for a new hard drive on your HP Envy Ultrabook 4. By following this step-by-step guide, you have expanded your storage capacity and ensured the proper functioning of your device.
Throughout the installation process, you learned how to power off and unplug the Ultrabook, locate the hard drive slot, remove the bottom panel, insert and secure the new hard drive, replace the bottom panel, and power on and test the hard drive.
Remember, when working with sensitive electronic components, it’s essential to take precautions to avoid static discharge, handle the hardware with care, and follow all safety guidelines provided by the manufacturer.
If you encounter any difficulties during the installation process or if the new hard drive is not functioning properly, consult the user manual or seek assistance from a professional technician.
Now that you have successfully installed your new hard drive, enjoy the increased storage space and the improved performance of your HP Envy Ultrabook 4. Whether you’re storing files, running applications, or enjoying multimedia content, the additional storage will enhance your computing experience.
Thank you for following this guide. We hope it has been helpful in guiding you through the process of installing a hard drive on your HP Envy Ultrabook 4. Happy computing!