Introduction
Are you an avid adventurer who loves hitting the road in your RV? If so, you may have experienced the challenge of keeping your RV batteries charged while off-grid. Installing a solar panel charger on your RV can be a game-changer, providing you with a reliable and eco-friendly way to power your RV appliances and devices.
In this guide, we will walk you through the step-by-step process of installing a solar panel charger on your RV. Whether you’re a seasoned DIYer or a beginner, this guide will provide you with the information you need to get started.
By harnessing the power of the sun, a solar panel charger allows you to generate electricity and store it in your RV’s battery bank. This means you can enjoy the freedom of camping in remote locations without worrying about depleting your battery supply.
Not only is solar energy a sustainable and renewable source of power, but it also offers numerous benefits for RV owners. Installing a solar panel charger can extend the lifespan of your RV batteries by reducing the depth of discharge. It can also save you money in the long run by reducing your reliance on generators or electrical hookups at campgrounds.
Before we dive into the installation process, it’s important to note that the specific steps may vary depending on the type and model of your RV and the solar panel charger you choose. Make sure to read the instruction manual provided by the manufacturer for any specific requirements or recommendations.
Now, let’s gather the materials needed to install a solar panel charger on your RV and get ready for your next adventure!
Step 1: Gathering the Materials
Before you begin the installation process, it’s essential to gather all the necessary materials. Having everything at hand will ensure a smooth and efficient installation. Here are the materials you’ll need:
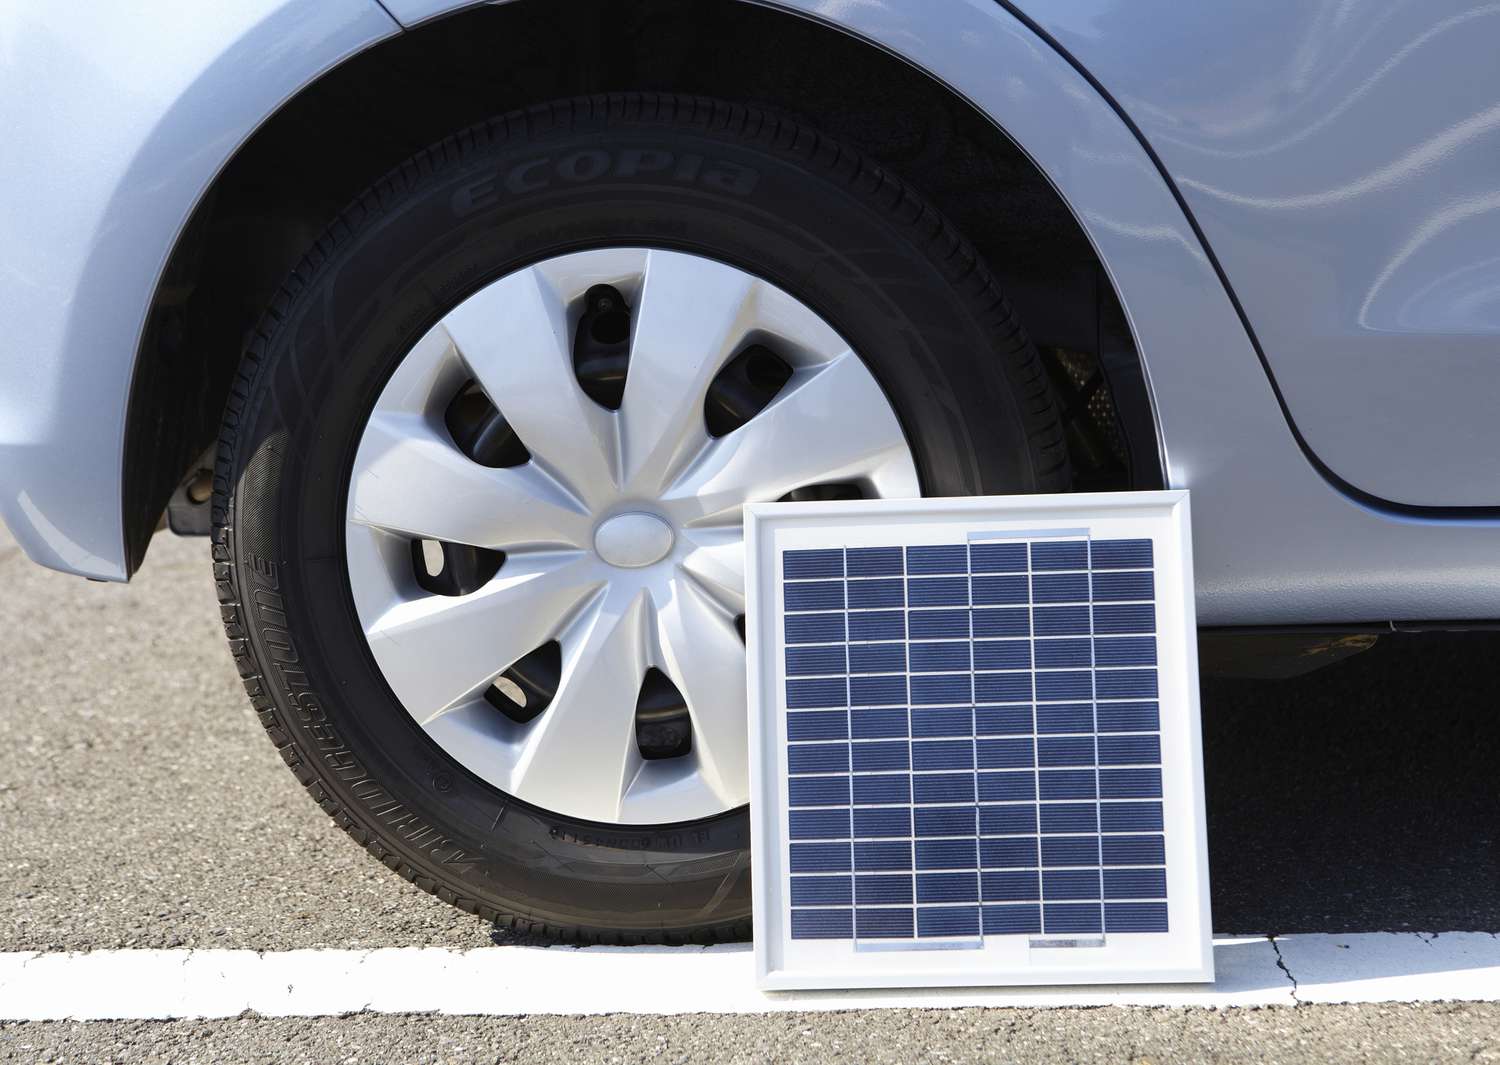
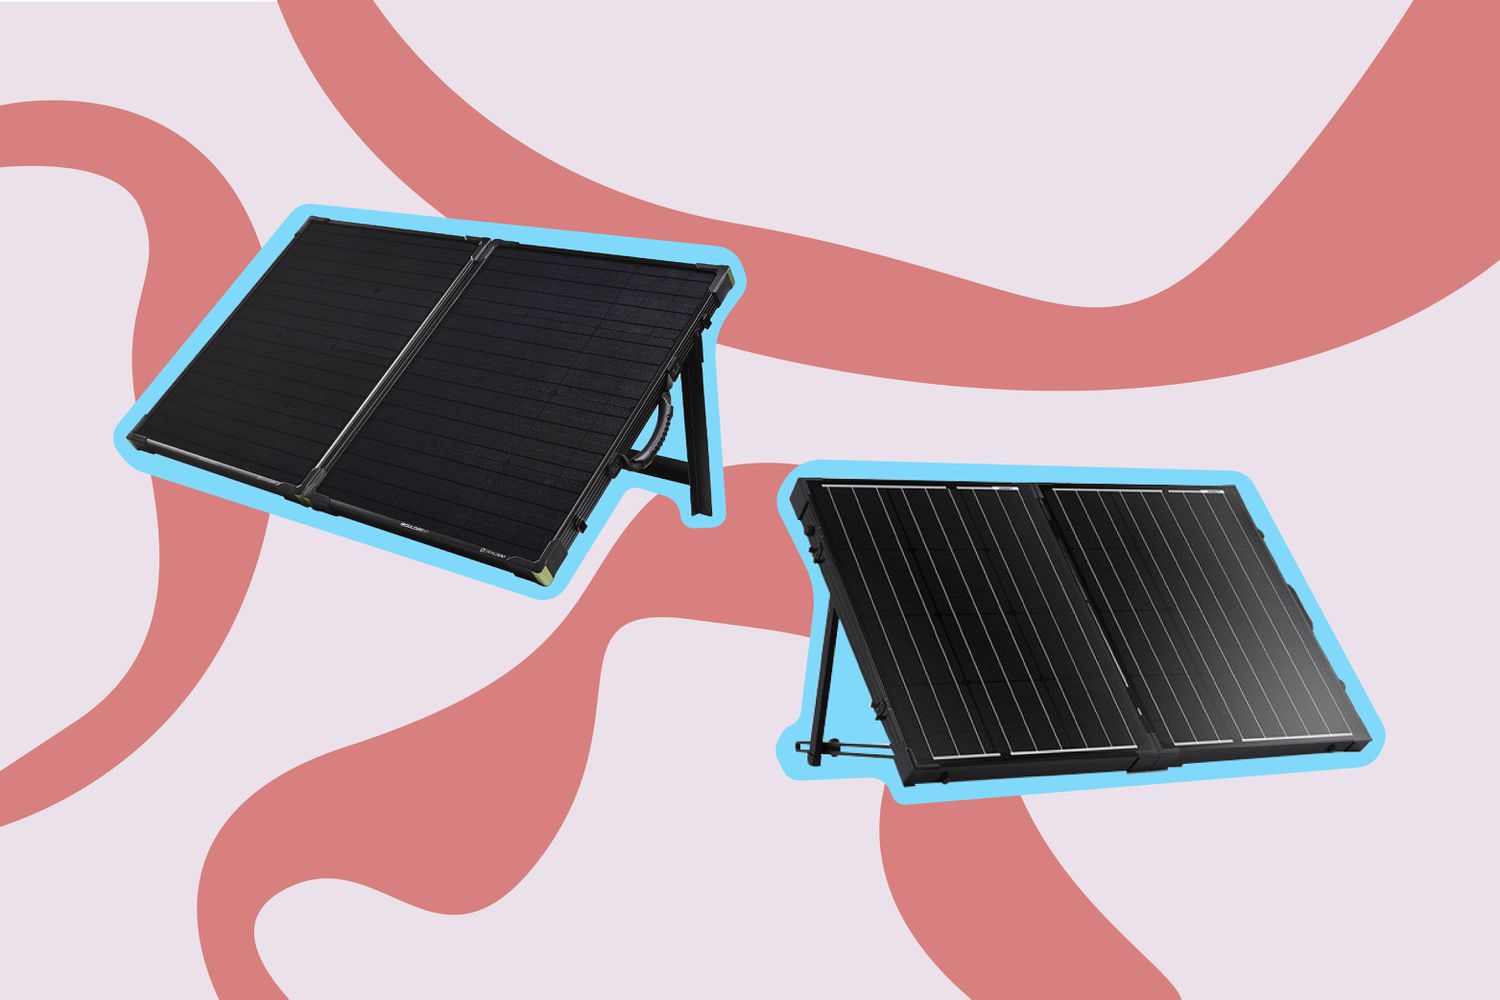
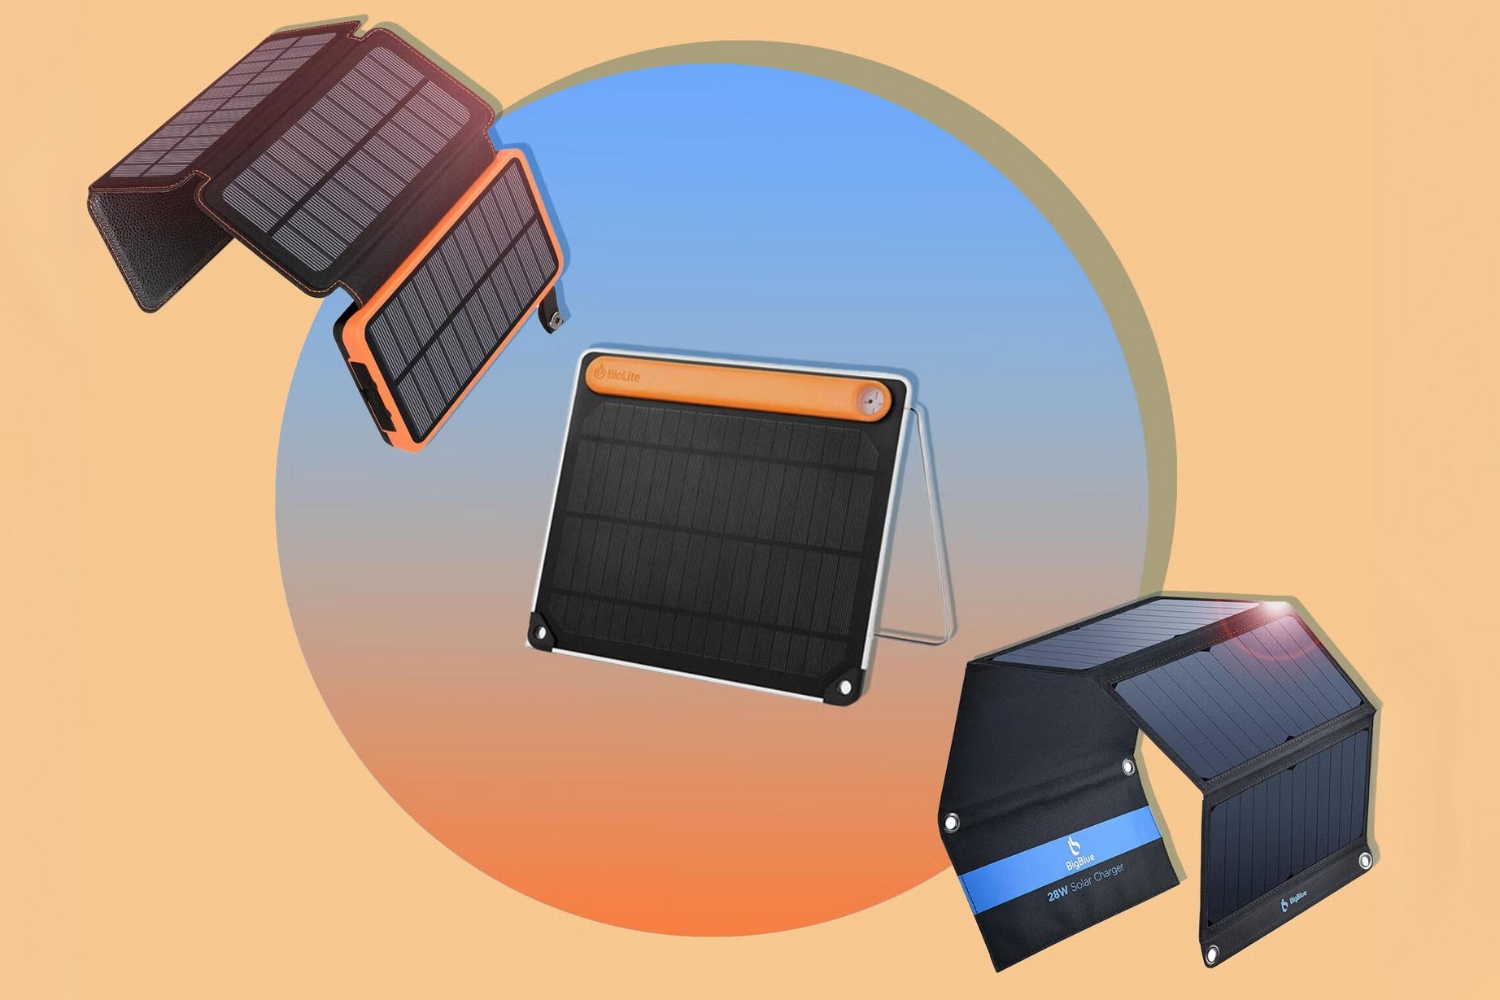
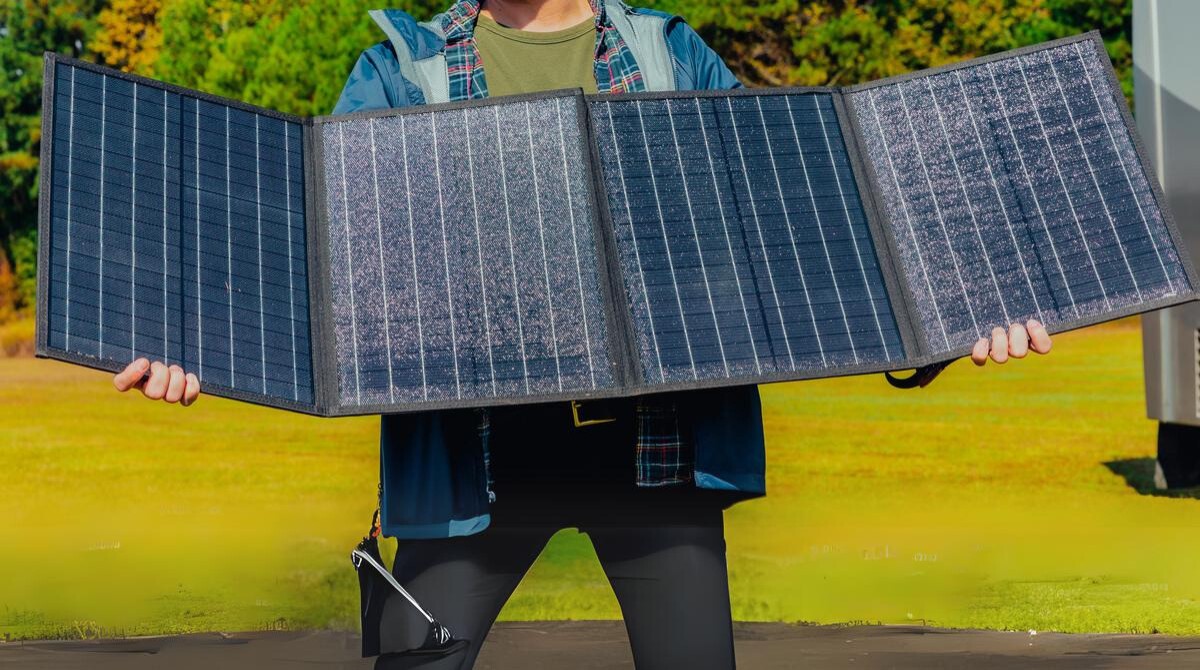
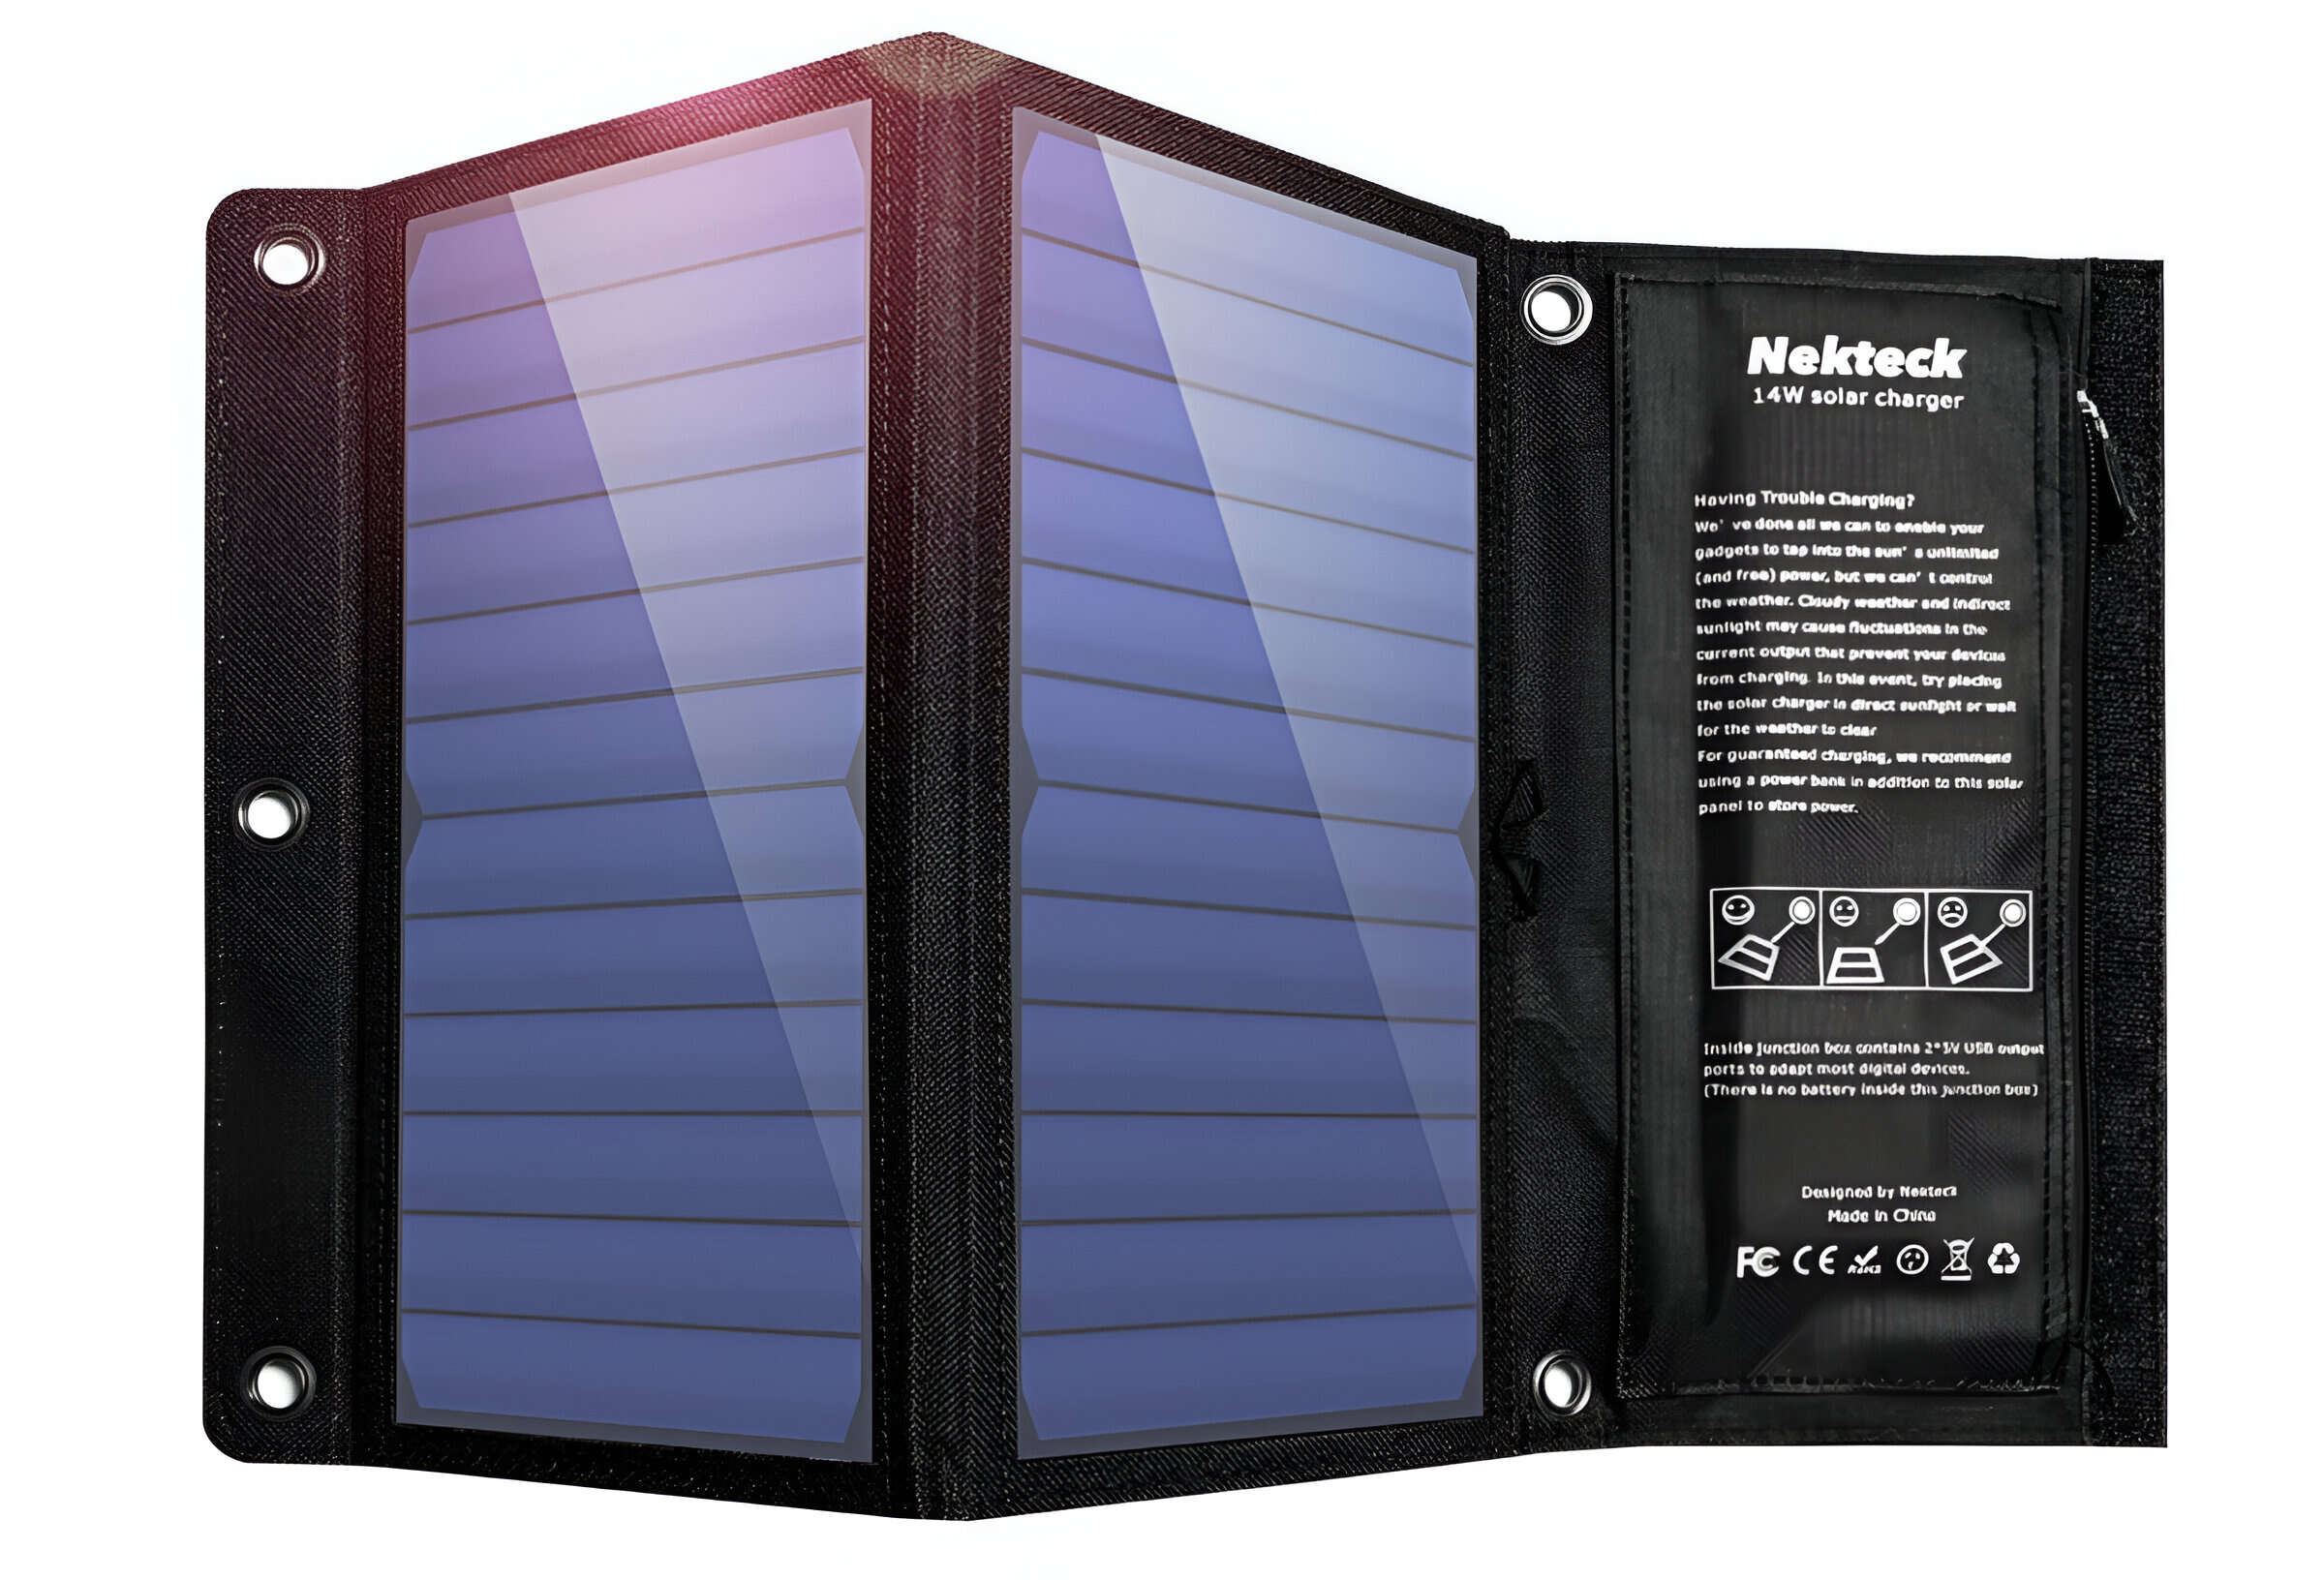
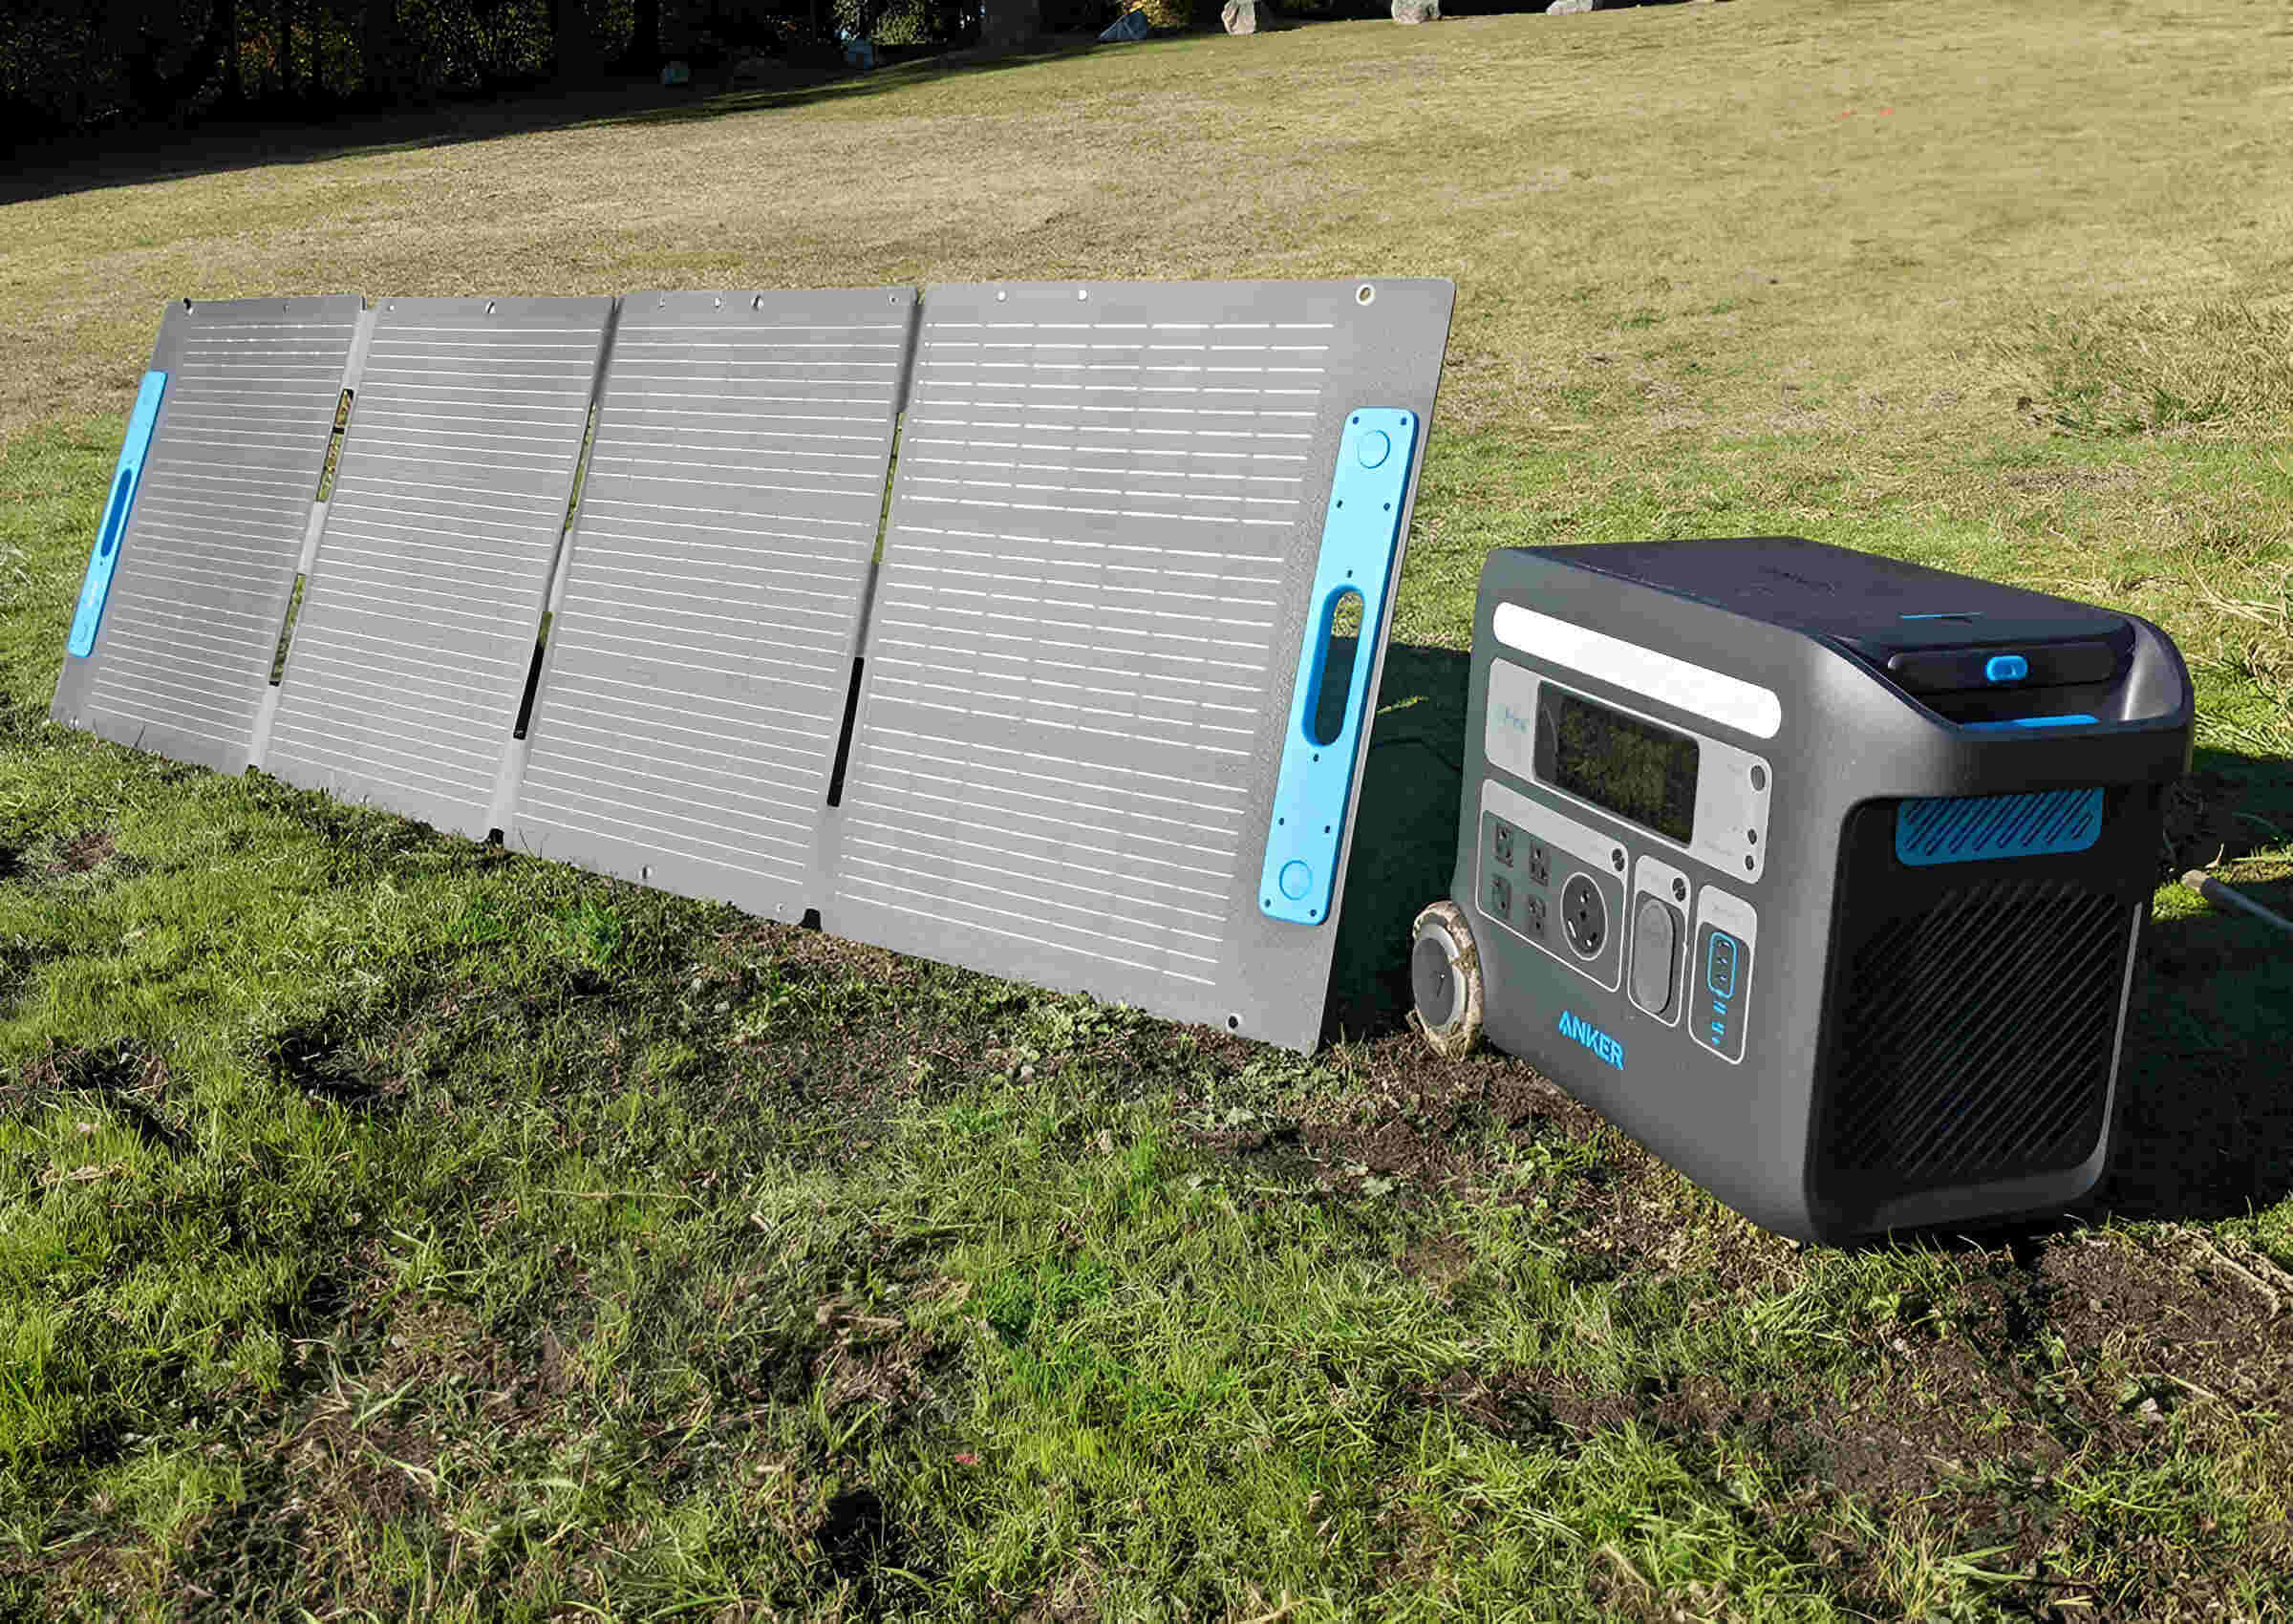
- Solar Panel Charger: Choose a solar panel charger that is suitable for your RV’s power needs. Consider factors such as the wattage, voltage output, and compatibility with your RV’s battery bank.
- Solar Mounting Brackets: These brackets will secure the solar panels to the roof of your RV. Ensure that they are strong and durable enough to withstand the elements.
- Solar Wiring: You’ll need solar wiring to connect the solar panels to the charge controller.
- Charge Controller: The charge controller regulates the flow of electricity from the solar panels to the RV battery, preventing overcharging or damage.
- RV Battery Cables: These cables will connect the charge controller to your RV’s battery bank.
- Sealant: A reliable sealant is necessary to prevent water leaks around the solar panels and brackets.
- Tools: Gather a set of basic tools, including a drill, screws, wire cutters, and a wrench, to aid in the installation process.
- Safety Equipment: Don’t forget to prioritize safety! Have safety goggles, gloves, and a ladder or scaffold to ensure a secure and accident-free installation.
Gathering these materials beforehand will save you time and frustration during the installation process. It’s also a good idea to double-check the compatibility and quality of each item to ensure optimal performance.
Now that you have all the necessary materials, you’re ready to move on to the next step: choosing the right solar panel charger for your RV!
Step 2: Choosing the Right Solar Panel Charger
When it comes to selecting a solar panel charger for your RV, it’s important to consider various factors to ensure the best fit for your power needs. Here are some key points to keep in mind:
- Power Requirements: Determine the amount of power you’ll need to run your RV appliances and devices. Calculate the total wattage consumed on a typical day to choose a solar panel charger with the appropriate capacity.
- Solar Cell Type: There are three main types of solar cells: monocrystalline, polycrystalline, and thin-film. Monocrystalline cells are known for their efficiency and space-saving design, making them a popular choice for RVs.
- Physical Size and Weight: Consider the available space on your RV’s roof and the weight restrictions. Choose a solar panel charger that fits within these parameters.
- Weather Resistance: RVs are exposed to various weather conditions, so opt for a solar panel charger with good weather resistance. Look for features such as tempered glass, a durable frame, and waterproof connectors.
- Warranty and Support: Check the warranty offered by the manufacturer and ensure they provide excellent customer support. This will give you peace of mind and assistance if you encounter any issues or have questions during the installation process.
- Reviews and Recommendations: Read reviews from other RV owners and seek recommendations from reputable sources. These insights can provide valuable information about the performance and reliability of different solar panel chargers.
Once you have considered these factors, research different solar panel charger brands and models that meet your requirements. Compare prices, specifications, and reviews to make an informed decision.
Remember, investing in a high-quality solar panel charger is crucial for long-term performance and efficiency. While it may require a slightly higher upfront cost, it will save you money and hassle in the long run.
With your solar panel charger selected, it’s time to move on to the next step: determining the ideal placement of the solar panels on your RV.
Step 3: Determining the Placement of the Solar Panels
Choosing the right placement for your solar panels is crucial to ensure optimal sunlight exposure and maximum energy generation. Here are some factors to consider when determining the placement:
- Sun Position: Observe the path of the sun throughout the day to identify the areas on your RV’s roof that receive the most sunlight. Ideally, you want to position the solar panels where they will have direct sunlight for the majority of the day.
- Obstacles: Take note of any potential obstacles that could cast shadows on the solar panels, such as vents, antennas, or branches. Avoid installing the panels near these obstructions as shadows can significantly reduce energy production.
- Roof Space: Assess the available roof space on your RV and determine how many solar panels you can accommodate. Consider any other rooftop accessories or equipment that may limit the available area for installation.
Once you have evaluated these factors, determine the orientation and tilt of the solar panels. In general, it is recommended to align the panels facing south in the northern hemisphere or north in the southern hemisphere to capture the most sunlight. However, this may vary depending on your location and specific circumstances.
When it comes to the tilt angle, consider the latitude of your current location. In areas close to the equator, a flatter tilt angle may be more effective, while areas further from the equator may benefit from a steeper tilt angle.
Some RVs may have pre-installed mounting brackets or designated areas for solar panel installation. In such cases, follow these guidelines to ensure proper placement. If not, measure and mark the desired locations on your RV’s roof, making sure to leave enough space between the panels for proper airflow.
Once you have determined the ideal placement and orientation, secure the mounting brackets in the designated spots using the appropriate screws and sealant. Ensure the brackets are tightly secured to prevent any movement or damage while driving.
Now that you have determined the placement of the solar panels, it’s time to move on to step 4: installing the solar panels on the roof of your RV.
Step 4: Installing the Solar Panels on the Roof of the RV
Now that you have determined the placement and orientation of the solar panels, it’s time to install them securely on the roof of your RV. Follow these steps to ensure a proper and stable installation:
- Prepare the Roof: Before installing the solar panels, clean the roof surface thoroughly and ensure it is free from any debris or dirt. This will provide a clean and smooth surface for mounting.
- Attach the Mounting Brackets: Place the mounting brackets on the marked spots and align them accordingly. Use the appropriate screws and sealant to secure the brackets onto the roof of your RV. Ensure they are firmly attached to prevent any movement or damage during travel.
- Mount the Solar Panels: Carefully place the solar panels onto the mounting brackets and align them properly. Attach the panels to the brackets using the provided screws, making sure they are tightly secured.
- Apply Sealant: Apply a layer of high-quality sealant around the edges of the solar panels and brackets. This will create a watertight seal and prevent any water leakage into your RV.
- Check the Stability: Give the solar panels a gentle shake to ensure they are securely mounted and there is no wobbling or movement. If needed, tighten the screws further to enhance stability.
During the installation process, be mindful of the weight distribution on your RV’s roof. Avoid concentrating too much weight in one area and consider spreading the solar panels evenly for balanced weight distribution.
Once the solar panels are installed securely, take a step back and admire your work! You have successfully installed the solar panels on the roof of your RV.
Now, it’s time to move on to step 5: wiring the solar panels to the charge controller.
Step 5: Wiring the Solar Panels to the Charge Controller
After installing the solar panels on the roof of your RV, the next step is to wire them to the charge controller. This connection allows the generated solar power to be harnessed and directed towards charging your RV’s battery bank. Follow these steps to properly wire the solar panels to the charge controller:
- Locate the Solar Panel Leads: Identify the positive (+) and negative (-) leads from each solar panel. These leads are typically color-coded, with red for positive and black for negative.
- Measure and Cut the Solar Wiring: Measure the distance between the solar panels and the charge controller, allowing for some extra length to accommodate any necessary wire routing. Cut the solar wiring to the appropriate lengths.
- Strip the Wire Ends: Using wire strippers, carefully remove a small section of insulation from the ends of the solar wiring. This will expose the conductive wire inside.
- Connect the Solar Wiring to the Charge Controller: Locate the positive and negative terminals on the charge controller. Connect the positive lead from the solar panel to the positive terminal of the charge controller, and the negative lead to the negative terminal. Ensure a secure connection by tightening the screws on the terminals.
- Secure the Wiring: Route the solar wiring neatly and secure it in place using cable ties or clips. This will prevent any loose or exposed wiring that could potentially cause damage or tripping hazards.
- Double-Check the Connections: Before moving on to the next step, double-check all the wiring connections to make sure they are secure and properly connected. This will minimize the risk of any electrical issues or malfunctions later on.
- Test the Solar Panel Output: Once the wiring is complete, it’s a good idea to test the solar panel output. Use a multimeter to measure the voltage and current being produced by the solar panels. This will help ensure that they are functioning correctly and generating power.
Remember to consult the instruction manual provided by the manufacturer for any specific wiring requirements or recommendations. Following the proper wiring procedures is crucial to ensure the safe and efficient operation of your solar panel charger system.
Now that the solar panels are wired to the charge controller, it’s time to connect the charge controller to your RV battery bank in step 6.
Step 6: Connecting the Charge Controller to the RV Battery
With the solar panels wired to the charge controller, the next step is to connect the charge controller to your RV battery bank. This connection allows the solar energy to be stored in the battery for later use. Follow these steps to ensure a proper and safe connection:
- Locate the Battery Bank: Identify the location of your RV’s battery bank. This is typically located in a designated compartment or storage area.
- Measure and Cut Battery Cables: Measure the distance between the charge controller and the battery bank. Cut the battery cables to the appropriate lengths, allowing for some extra length for flexibility.
- Strip the Cable Ends: Using wire strippers, carefully remove a small section of insulation from the ends of the battery cables. This will expose the conductive wire inside.
- Connect the Battery Cables to the Charge Controller: Locate the positive (+) and negative (-) terminals on the charge controller. Connect the positive cable from the battery bank to the positive terminal and the negative cable to the negative terminal. Ensure a secure connection by tightening the screws on the terminals.
- Connect the Battery Cables to the RV Battery Bank: Locate the positive (+) and negative (-) terminals on the RV battery bank. Connect the opposite ends of the battery cables to the corresponding terminals, ensuring correct polarity. Again, secure the connections by tightening the screws on the terminals.
- Check the Connections: Double-check all the connections to ensure they are secure and properly tightened. Loose connections can lead to poor performance or even damage to your battery bank.
- Verify Voltage Settings: Some charge controllers have adjustable voltage settings to cater to different battery types. Make sure the charge controller is set to the appropriate voltage for your battery bank. Consult the manufacturer’s instructions for specific voltage settings.
It’s important to note that the process may vary slightly depending on the type and model of your RV’s battery bank and charge controller. Always refer to the instruction manual provided by the manufacturer for any specific instructions or requirements.
Once the connection is complete, carefully inspect all the cables and connections to ensure they are neat, secure, and free from any potential hazards. This will help maintain the integrity and safety of your RV’s electrical system.
Now that you’ve connected the charge controller to the RV battery bank, it’s time to move on to step 7: testing and troubleshooting.
Step 7: Testing and Troubleshooting
After completing the installation and connections of your solar panel charger system, it’s important to test and troubleshoot to ensure everything is functioning properly. Follow these steps to effectively test and address any potential issues:
- Power Up the System: Turn on your RV’s battery bank and ensure it is providing power to the charge controller.
- Monitor Battery Charging: Observe the charge controller to confirm that it is receiving solar power from the panels and actively charging the battery bank. Check for any error codes or abnormal readings on the controller’s display.
- Measure Battery Voltage: Use a multimeter to measure the voltage of your RV’s battery bank. A fully charged battery should have a voltage reading within the recommended range. If the voltage is low, double-check the connections and ensure they are secure and properly tightened.
- Test Solar Panel Output: Measure the current and voltage being produced by the solar panels using a multimeter. Compare the readings to the specifications provided by the panel manufacturer. If the readings are significantly lower than expected, verify the connections between the panels and the charge controller.
- Inspect for Leaks: Check around the solar panels and mounting brackets for any signs of water leakage. If you notice any leaks or gaps, reapply sealant to create a watertight seal and prevent future leaks.
- Review System Performance: Monitor the performance of your solar panel charger system over a period of time. Keep track of the battery charging capacity and assess whether it meets your power needs. Adjust the positioning or angle of the panels if needed to optimize sunlight exposure.
- Consult a Professional if Needed: If you encounter any difficulties or persistent issues, seek assistance from a professional or contact the manufacturer’s customer support for guidance. They can provide expert advice and troubleshooting tips specific to your solar panel charger system.
Regular testing and maintenance are essential to ensure optimal performance and longevity of your solar panel charger system. By routinely monitoring and addressing any issues, you can enjoy the benefits of sustainable and reliable power for your RV adventures.
With proper testing and troubleshooting completed, you can now confidently embark on your next off-grid adventure, knowing that your solar panel charger system is working efficiently.
Conclusion
Congratulations! You have successfully installed a solar panel charger on your RV, providing you with a sustainable and reliable source of power for your off-grid adventures. By harnessing the sun’s energy, you can enjoy the freedom of camping in remote locations without worrying about depleting your battery supply or relying on traditional power sources.
We began by gathering the necessary materials, ensuring that you had everything you needed for the installation process. Then, we discussed the importance of choosing the right solar panel charger for your RV, considering factors such as power requirements, solar cell type, and weather resistance.
Next, we covered the process of determining the placement of the solar panels on your RV’s roof, ensuring optimal sunlight exposure and minimizing the impact of any potential obstacles or shadows.
Once the placement was determined, we moved on to installing the solar panels securely on the roof using mounting brackets and sealant. We emphasized the importance of stable installation and weight distribution to prevent any damage while driving.
After the installation, we discussed wiring the solar panels to the charge controller, the device responsible for regulating the flow of electricity. We highlighted the significance of proper connections and secure wiring to ensure the safe and efficient operation of the system.
The next step was connecting the charge controller to the RV battery bank, allowing the solar energy to be stored for later use. We discussed the importance of correct polarity and proper tightening of connections.
Finally, we covered the testing and troubleshooting process to verify the system’s performance. We emphasized the need for monitoring battery charging, testing solar panel output, and addressing any issues or leaks that may occur.
By following these steps and ensuring regular maintenance, you can enjoy the benefits of sustainable power for your RV adventures. Not only will you extend the lifespan of your RV batteries, but you will also save money and reduce your carbon footprint.
Remember, always consult the manufacturer’s instructions and seek professional assistance when needed. Every RV and solar panel charger system may have specific requirements and considerations.
Now, it’s time to hit the road and enjoy the freedom of off-grid camping with your newly installed solar panel charger system. Happy travels!