Introduction
Welcome to our guide on how to increase space on your hard disk drive. As technology advances and we rely more on digital files, the need for ample storage space becomes crucial. Running out of disk space can be frustrating, affecting system performance and limiting our ability to save important files and install new applications. Fortunately, there are several methods you can employ to free up valuable disk space and optimize storage utilization.
In this article, we will explore various techniques to help you increase space on your hard disk drive. From clearing temporary files to utilizing external storage devices, these methods will assist you in managing your disk space more effectively. Whether you are using a laptop or a desktop computer, these tips are applicable to various operating systems and can make a significant difference in optimizing disk space.
Before we dive into the specifics, it’s important to note that increasing disk space involves removing unnecessary files and programs while organizing and managing existing data. As with any modifications to your computer system, it is recommended to make regular backups of your important files and exercise caution when deleting or uninstalling programs. With that said, let’s explore the various strategies you can employ to increase space on your hard disk drive.
Clearing Temporary Files
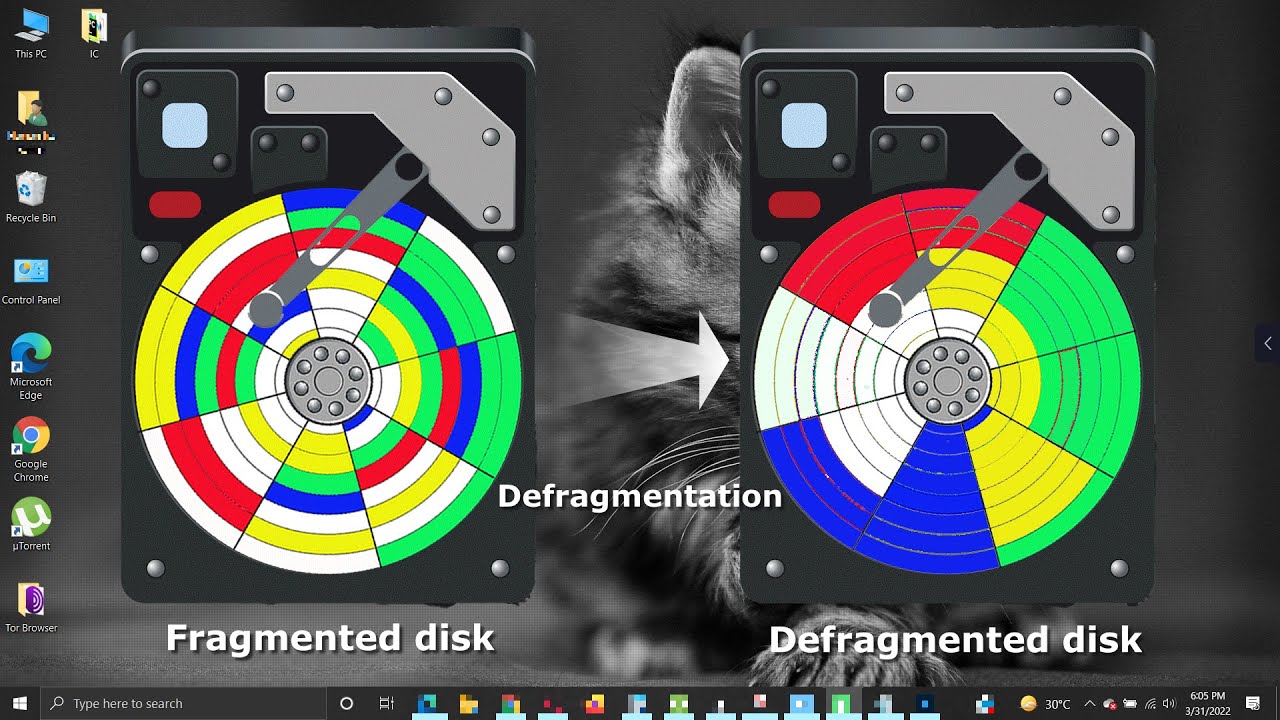
One of the easiest ways to free up space on your hard disk drive is by clearing out temporary files. Temporary files are created by various applications and processes on your computer and are typically meant to be temporary placeholders. Over time, these files can accumulate and take up a significant amount of storage space.
To clear temporary files, you can use the built-in Disk Cleanup tool in your operating system. On Windows, you can access this tool by searching for “Disk Cleanup” in the Start menu. Once opened, select the drive you want to clean and click “OK.” The tool will then scan your drive and present a list of temporary files that can be safely deleted. Simply check the boxes next to the file types you wish to remove, such as temporary internet files or system temporary files, and click “OK” to proceed with the cleanup.
On macOS, you can clear temporary files by using the “Finder” application. Open a new Finder window, select the “Go” menu at the top of the screen, and choose “Go to Folder.” In the pop-up window, type “~/Library/Caches” and click “Go.” This will take you to the cache folder where you can delete temporary files created by various applications. You can also navigate to “~/Library/Logs” to remove log files that are no longer needed.
In addition to using the built-in tools, there are also third-party applications available that can help you clean temporary files and optimize disk space. These applications often provide more advanced features and options for selectively removing unnecessary files.
By clearing temporary files regularly, you can reclaim a significant amount of disk space and improve the overall performance of your computer system. It is recommended to perform this task periodically to ensure optimal storage utilization.
Uninstalling Unnecessary Programs
Another effective method to increase space on your hard disk drive is by uninstalling unnecessary programs. Over time, we tend to accumulate a plethora of applications that we no longer use or need. These programs can take up valuable storage space and contribute to a cluttered system.
To uninstall programs on Windows, you can go to the Control Panel and select “Programs and Features” or “Add or Remove Programs.” This will display a list of installed programs on your computer. Simply browse through the list, identify the programs you no longer need, and click on the “Uninstall” button. Follow the prompts to complete the uninstallation process. Alternatively, you can use third-party uninstaller programs that provide more comprehensive removal options and allow you to remove multiple programs at once.
On macOS, you can uninstall applications by dragging them from the “Applications” folder to the Trash. Additionally, you can use the Launchpad or the “Applications” folder in “Finder” to locate and remove unwanted applications. It’s worth noting that some programs may leave behind residual files even after uninstallation. To ensure a thorough removal, you can use third-party uninstaller applications specifically designed for macOS.
When deciding which programs to uninstall, consider those that you rarely use or that have become obsolete. Large programs or games that consume a significant amount of disk space are also good candidates for removal if you no longer utilize them. However, exercise caution when uninstalling programs, especially those that are essential for your system’s operation or that may have associated dependencies.
By regularly reviewing and uninstalling unnecessary programs, you can reclaim significant disk space and optimize your storage capacity. This not only improves system performance but also allows for the installation of new applications and files without the constraint of limited disk space.
Cleaning Up the Downloads Folder
The Downloads folder is often a hub for accumulating files and documents over time, which can quickly consume a significant amount of space on your hard disk drive. Cleaning up this folder is a simple yet effective method to free up storage space and keep your files organized.
Start by opening your Downloads folder and reviewing its contents. Sort the items by date or file type to easily identify old or unnecessary files. Delete any files that you no longer need or have already backed up to an external storage device or cloud storage.
To prevent future accumulation of unnecessary files in the Downloads folder, consider adjusting your browser settings to prompt you for a specific download location each time you download a file. This allows you to easily designate a dedicated folder for different file types and ensures that your Downloads folder remains clutter-free.
If you come across files that you want to keep but don’t need immediate access to, consider moving them to a different folder or storage location. This can be a dedicated folder for archived files or an external hard drive. By organizing your files and offloading them from your local disk, you can create more space for current and frequently accessed files.
Regularly cleaning up your Downloads folder not only helps in managing storage space but also improves the overall organization of your files. By keeping this folder clutter-free, you can quickly locate and access important files, reducing the time spent searching for specific documents or applications.
Remember, it’s important to back up any important files before deleting them from the Downloads folder. Ensuring that you have multiple copies of important documents and files provides added security and allows you to confidently remove unnecessary files from your hard disk drive.
Deleting Duplicate Files
Duplicate files can accumulate over time and occupy valuable space on your hard disk drive. These duplicates may be unintentionally created when you download files multiple times, make copies for backup purposes, or simply forget that you already have a certain file. Deleting duplicate files is an effective way to reclaim storage space and improve disk organization.
There are various approaches you can take to identify and remove duplicate files. One option is to manually search for and delete duplicates. Start by selecting a specific folder or drive to focus on and then systematically go through the files, comparing them for duplicates based on file names, sizes, and content. Whenever you come across a duplicate file, delete the extra copy to free up space.
If manually searching for duplicates seems time-consuming, there are software programs available that can help automate the process. These programs use algorithms to scan your computer for duplicate files, compare their attributes, and present you with a list for review. You can then choose to delete the duplicates based on the program’s recommendations.
Before deleting duplicate files, however, it’s important to exercise caution and ensure that you are not removing essential files or versions that you may need in the future. Take the time to review the duplicates and verify that they are indeed redundant copies before permanently deleting them.
In addition to reclaiming storage space, deleting duplicate files can also help improve system performance. When your computer has to search through multiple copies of the same file, it can slow down file retrieval and processing times. By removing duplicates, you streamline your file system and enhance overall efficiency.
Remember to periodically check for new duplicate files after performing any major file organization or system changes. This will help you maintain an optimized storage space and prevent duplicates from accumulating again in the future.
Emptying the Recycle Bin
When you delete files from your computer, they are often moved to the Recycle Bin or Trash folder instead of being permanently deleted. Emptying the Recycle Bin is a simple yet often overlooked step in reclaiming storage space on your hard disk drive.
To empty the Recycle Bin on Windows, right-click on the Recycle Bin icon on your desktop and select “Empty Recycle Bin” from the options. This will permanently delete all the files stored in the Recycle Bin and free up the associated disk space. Alternatively, you can open the Recycle Bin, select all the files, and then click on the “Empty Recycle Bin” button in the toolbar.
On macOS, the process is similar. Open the Trash folder from your dock or Finder, and then click on “Empty” to remove all the files in the Trash. You can also use the “Finder” menu and select “Empty Trash” from there. Remember, once you empty the Trash, the files cannot be recovered, so double-check to ensure that you have not accidentally deleted any important files.
It’s worth noting that simply sending files to the Recycle Bin or Trash folder does not free up disk space. The files are still stored on your hard disk drive and continue to occupy allocated space. By emptying the Recycle Bin, you permanently delete these files and create additional space for new files and applications.
To prevent accidentally deleting important files, it is recommended to regularly review the contents of the Recycle Bin or Trash folder before emptying it. You may come across files that you mistakenly deleted or files that you want to restore. By reviewing the contents, you can ensure that you’re not permanently deleting something valuable.
Emptying the Recycle Bin or Trash folder should be a routine part of your disk space management. By regularly clearing out these folders, you maintain an optimized storage system, enhance performance, and ensure that deleted files are permanently removed from your hard disk drive.
Running Disk Cleanup Tool
The built-in Disk Cleanup tool is a handy utility that can help you free up space on your hard disk drive by removing unnecessary files and cleaning up system files. This tool is available on Windows operating systems and provides a convenient way to optimize disk space utilization.
To access the Disk Cleanup tool, simply search for “Disk Cleanup” in the Start menu and open the application. Once opened, you will be prompted to select the drive you want to clean up. Choose the appropriate drive and click “OK.”
The Disk Cleanup tool will scan your selected drive and present a list of file categories that can be safely removed. These categories may include temporary internet files, Windows Update cleanup files, system error memory dump files, and more. You can select the types of files you want to delete by checking the corresponding boxes, or you can choose “Clean up system files” to include additional file categories.
It’s important to note that the Disk Cleanup tool provides a detailed description of each file category, helping you make informed decisions about what to remove. If you are unsure about a particular category, you can click on the category name to learn more about it before making your selection.
Once you have selected the file categories to clean, click on the “OK” button to start the cleanup process. Depending on the amount of data to be removed, this process may take a few minutes.
Running the Disk Cleanup tool on a regular basis can help you reclaim a significant amount of disk space and improve system performance. By removing unnecessary files and cleaning up system clutter, you create more room for essential files and applications.
In addition to the built-in Disk Cleanup tool, there are other third-party disk cleaning applications available that offer advanced features and options. These applications can provide more comprehensive cleanup capabilities and allow for a more thorough optimization of your hard disk drive.
Remember to exercise caution when using the Disk Cleanup tool or any disk cleaning application. Review the selected categories carefully and ensure that you do not delete any critical system files or files that you may need in the future.
Changing Default File Locations
By default, certain applications and system settings may save files to specific locations on your hard disk drive. Over time, these default locations can become crowded, leading to storage space constraints. Changing the default file locations is a useful strategy to distribute files across multiple drives or partitions, thereby optimizing disk space utilization.
One common default file location that you can change is the “Documents” folder. This folder often stores various types of documents, such as text files, spreadsheets, and presentations. To change the default location of the “Documents” folder on Windows, right-click on the “Documents” folder, select “Properties,” and navigate to the “Location” tab. From there, you can specify a different folder or drive where you want new documents to be saved.
On macOS, you can change the default location of the “Documents” folder by opening the “Finder” application and selecting “Preferences” from the “Finder” menu. In the “Preferences” window, click on the “Sidebar” tab and check the box next to the desired folder or drive to add it to the sidebar for quick access.
In addition to the “Documents” folder, you can also change the default locations of other folders such as “Downloads,” “Pictures,” and “Music.” This allows you to separate different types of files onto different drives or partitions, depending on your storage needs and preferences.
It’s important to note that when changing default file locations, you should consider the available space on the target drive or partition. It may be necessary to ensure that the destination location has sufficient space to accommodate newly saved files. If necessary, you can also utilize external storage devices or cloud storage solutions as alternative file locations to expand your available storage capacity.
Changing default file locations not only helps you manage storage space more effectively but also allows for better organization and ease of access to files. By distributing files across multiple drives or partitions, you can minimize the strain on a single disk and improve overall system performance.
Remember to make a note of the changes you make to the default file locations to ensure that you can easily locate and access files in their new locations. Additionally, be mindful of any potential conflicts that may arise if you change default file locations for certain programs that rely on specific file paths.
Utilizing External Storage Devices
When you find yourself running out of space on your hard disk drive, one effective solution is to utilize external storage devices. External hard drives, USB flash drives, and network-attached storage (NAS) devices offer additional storage capacity that can be easily connected to your computer.
External hard drives are a popular choice for expanding storage capacity. These drives can be connected to your computer via a USB or Thunderbolt port and provide ample space to store files, documents, multimedia, and backup data. These drives are portable and can be taken with you wherever you go, making them a convenient option for on-the-go professionals or those who frequently need to access their files on multiple devices.
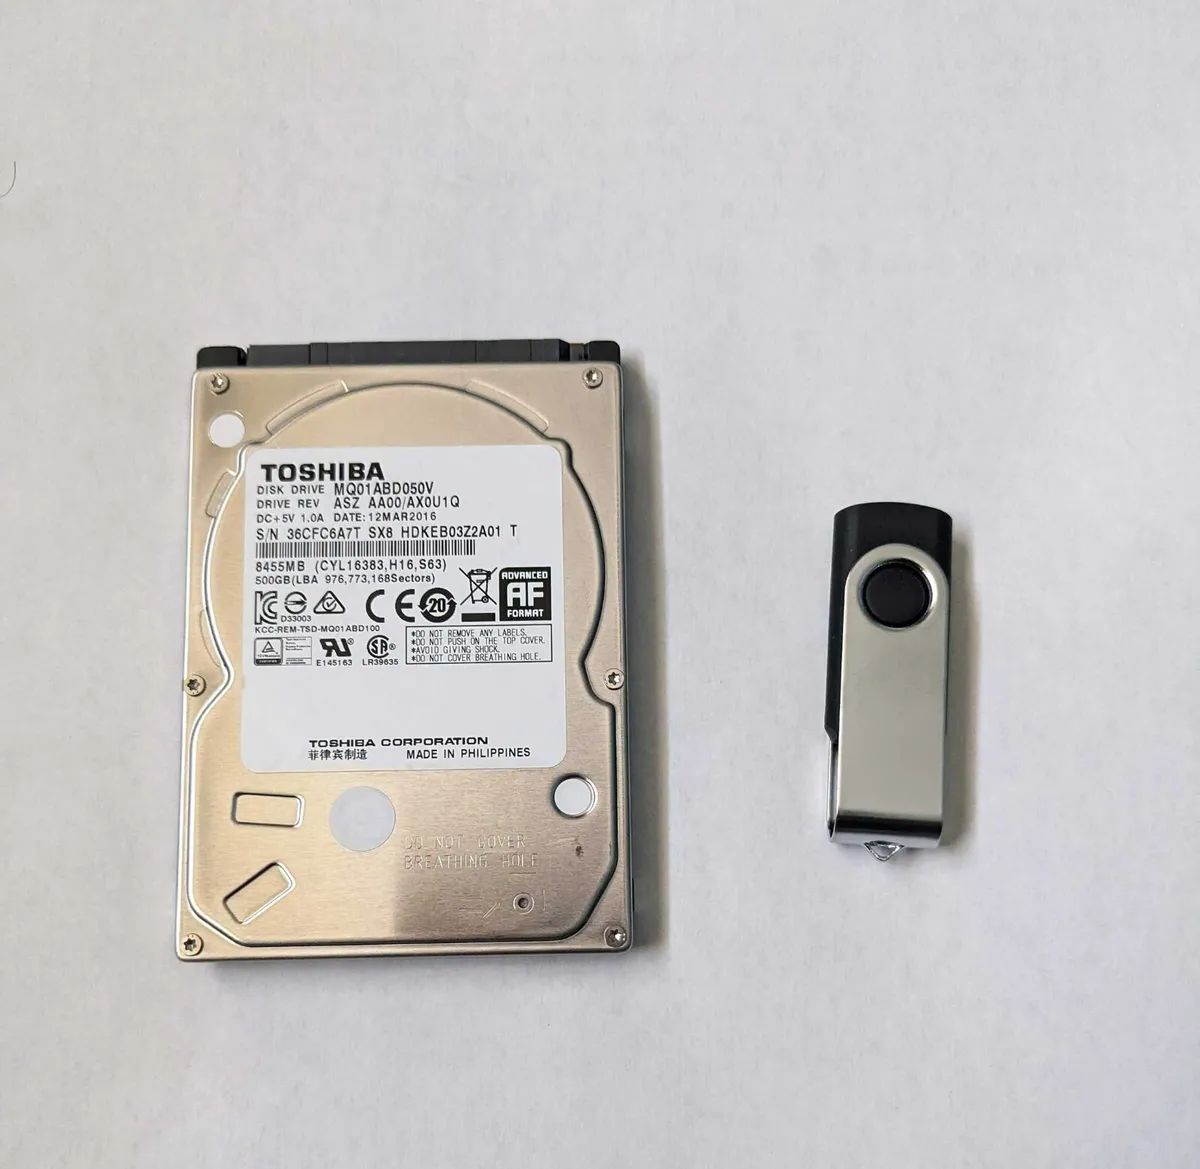
USB flash drives, also known as thumb drives or memory sticks, are smaller in size but still provide an extra storage option. They can be easily plugged into a USB port on your computer and are great for transferring files or storing smaller-sized documents and media files. USB flash drives are portable, lightweight, and affordable, making them a popular choice for students and professionals who need a quick and convenient way to carry and access important files.
Another option is network-attached storage (NAS) devices, which connect to your local network and provide storage accessible to multiple devices. NAS devices are equipped with multiple hard drives and can offer significant storage capacity depending on your needs. They can be useful for homes or small businesses that require shared storage for multiple users or for those who regularly work with large files and require fast access speeds.
When utilizing external storage devices, it’s important to keep your files organized and ensure they are regularly backed up. Create separate folders or directories on the external storage device to categorize different types of files or projects. Having a structured storage system not only makes it easier to find and access files but also simplifies the backup process.
Remember to safely eject or disconnect external storage devices before physically unplugging them from your computer. This ensures that any ongoing file transfers or operations are completed, preventing any potential data loss or corruption.
By utilizing external storage devices, you can expand your available storage capacity and easily manage your files without overloading your hard disk drive. Whether you need additional space for work-related documents, multimedia files, or personal backups, external storage devices provide a practical solution to meet your storage needs.
Using Cloud Storage Solutions
Cloud storage solutions have become increasingly popular for storing and accessing files remotely. By utilizing cloud storage, you can free up space on your hard disk drive while ensuring that your files are securely stored and accessible from any device with an internet connection.
There are several cloud storage providers available, such as Google Drive, Dropbox, Microsoft OneDrive, and iCloud. These platforms offer various storage plans that allow you to upload and store your files on their servers. Cloud storage eliminates the need to keep all your files locally, which can help conserve space on your hard disk drive.
To start using a cloud storage service, you typically need to create an account and install the corresponding desktop or mobile application. Once installed, the application creates a synchronized folder on your local disk. Any files or folders you place in this synchronized folder are automatically uploaded to the cloud storage and replicated across all of your devices.
Cloud storage solutions provide numerous benefits, including easy access to your files from any device with internet connectivity. You can view, edit, and share files with others, making collaboration seamless. Additionally, cloud storage often includes built-in backup features, ensuring that your files are protected in the event of a hardware failure or accidental deletion.
When using cloud storage services, it’s important to consider the amount of storage available in your chosen plan. Many services offer free plans with limited storage, while premium plans provide larger capacities for a subscription fee. Assess your storage needs and consider upgrading to a larger plan if necessary.
It’s also essential to pay attention to the security measures implemented by the cloud storage provider. Look for features such as two-factor authentication, data encryption, and regular security updates. Additionally, always use strong and unique passwords to safeguard your cloud storage account.
When utilizing cloud storage, it’s important to have a reliable internet connection to upload, access, and sync your files. Keep in mind that uploading files to the cloud might take some time, especially if you have a large amount of data to transfer initially.
Cloud storage solutions offer a flexible and convenient way to store and access your files while freeing up space on your hard disk drive. By leveraging cloud storage, you can enjoy the benefits of seamless file synchronization, easy collaboration, and data protection.
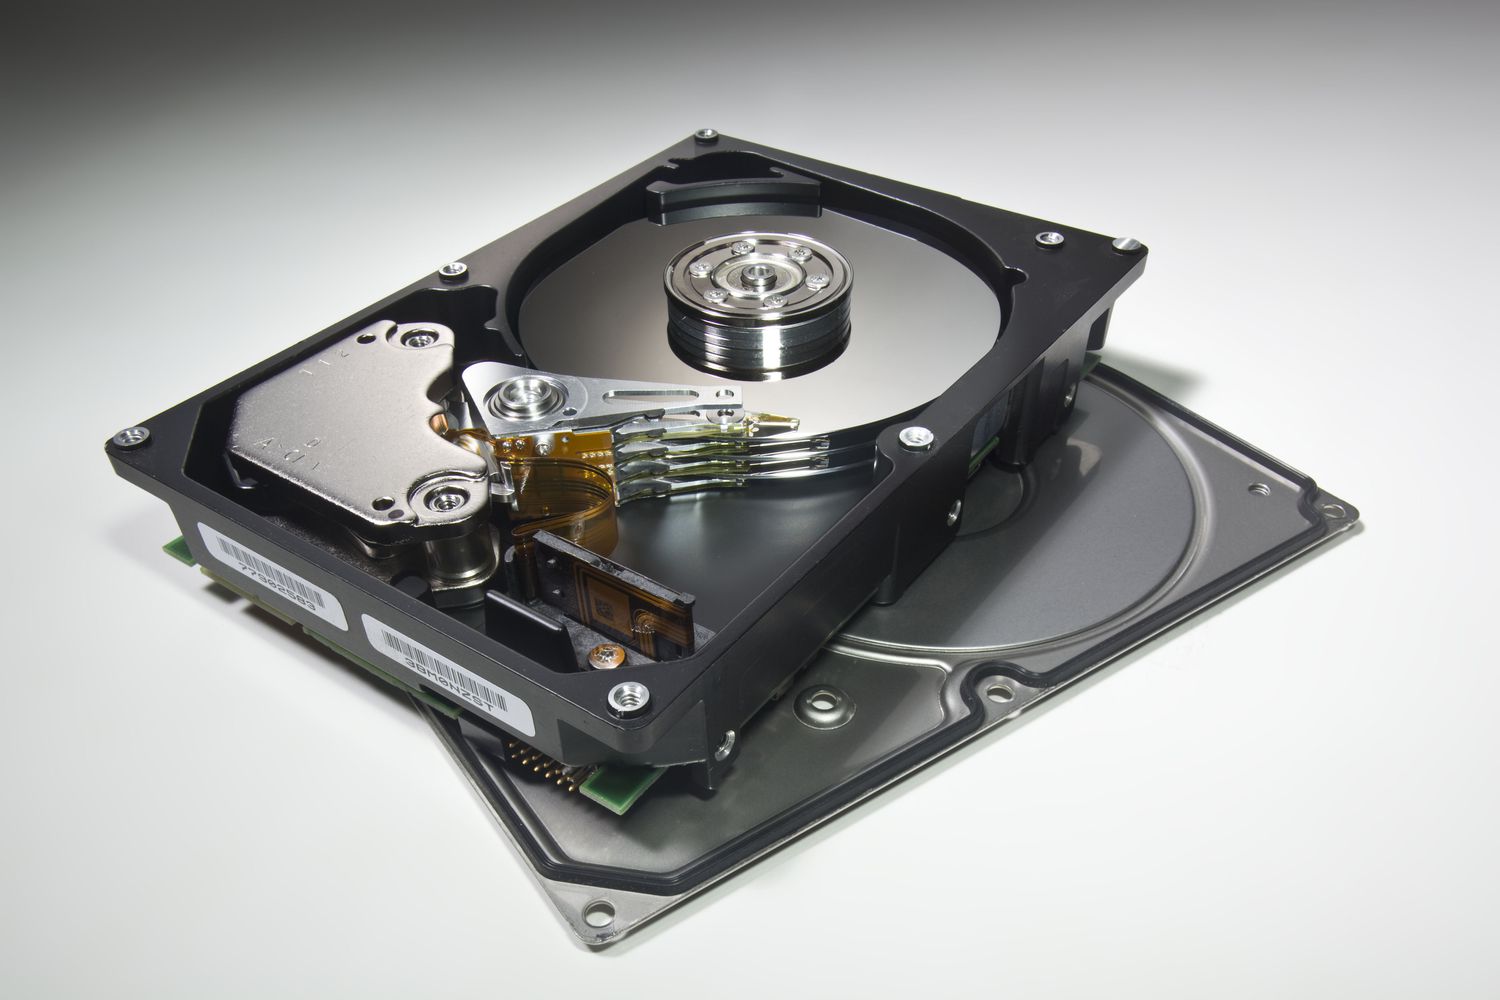
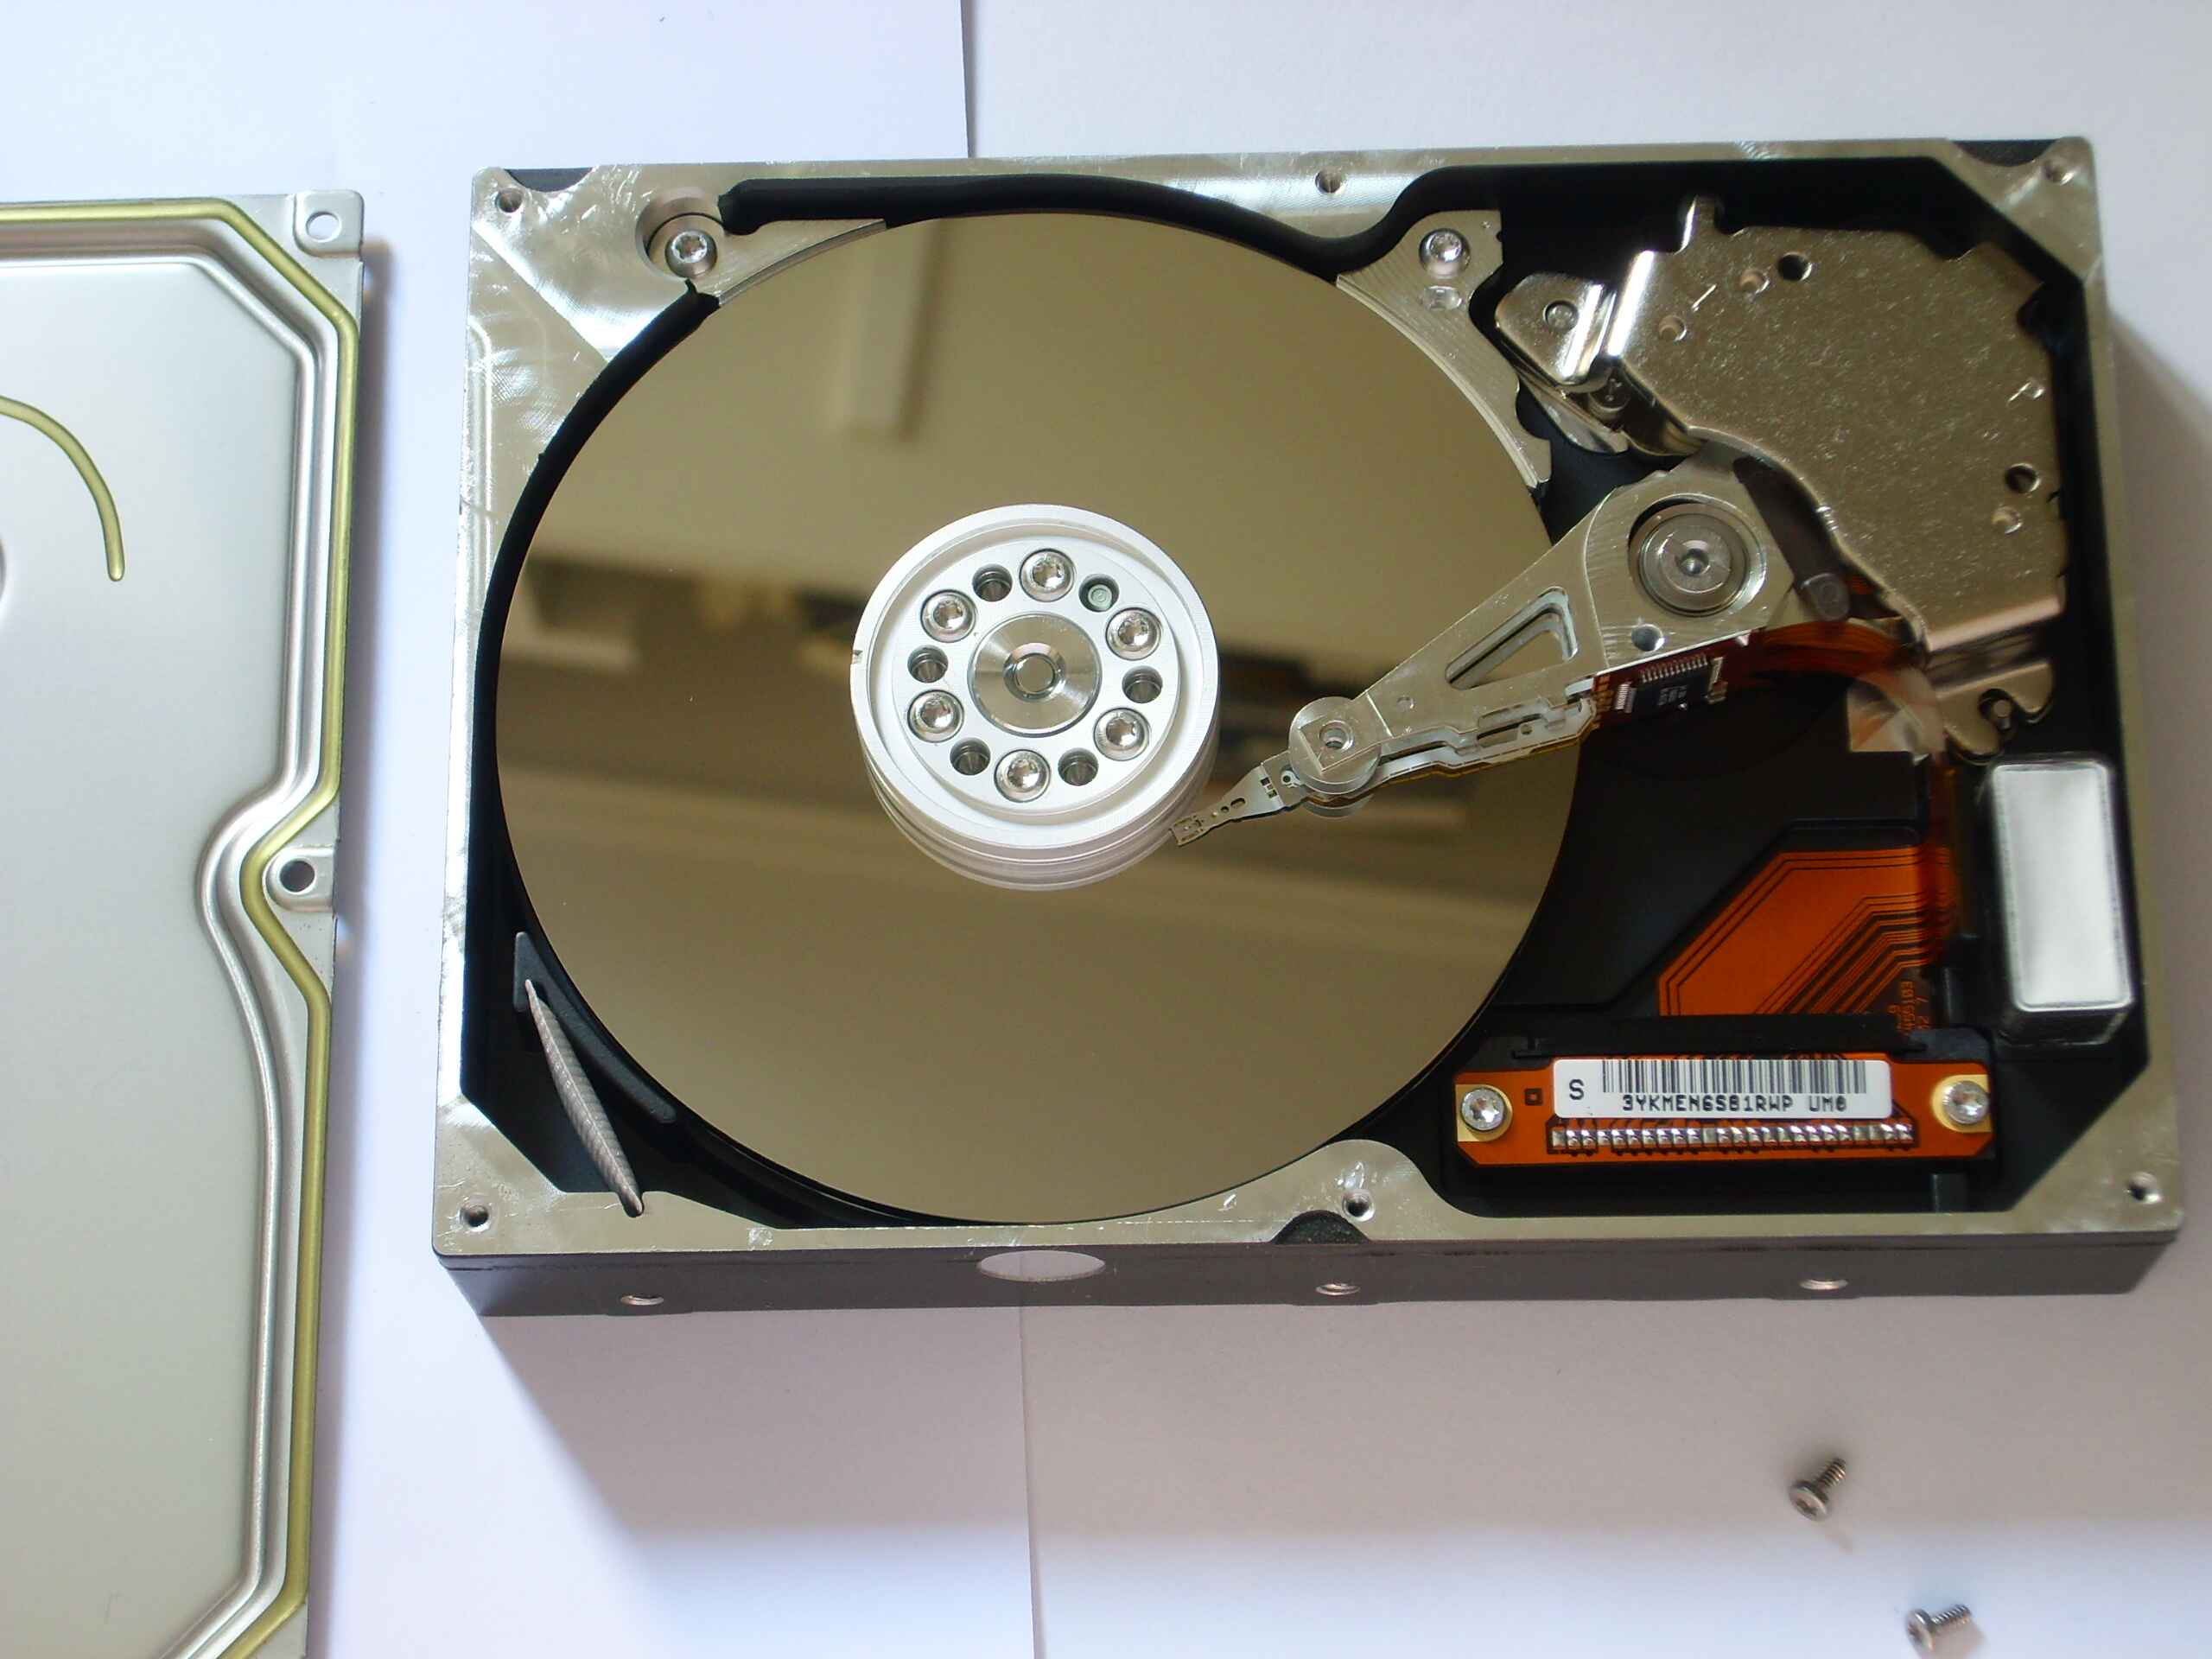
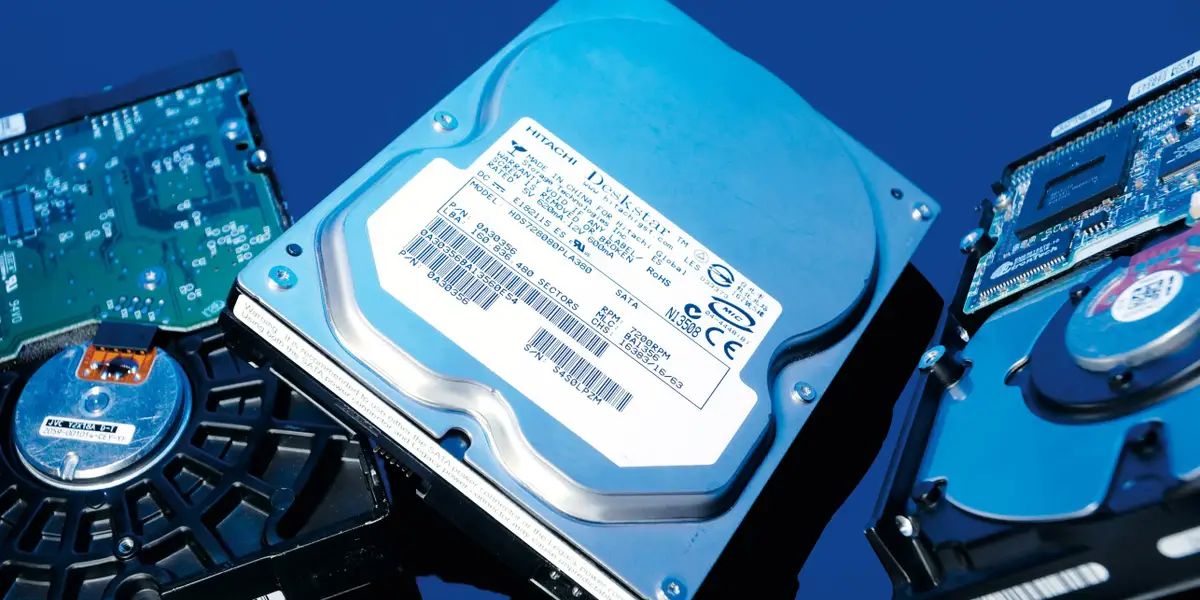
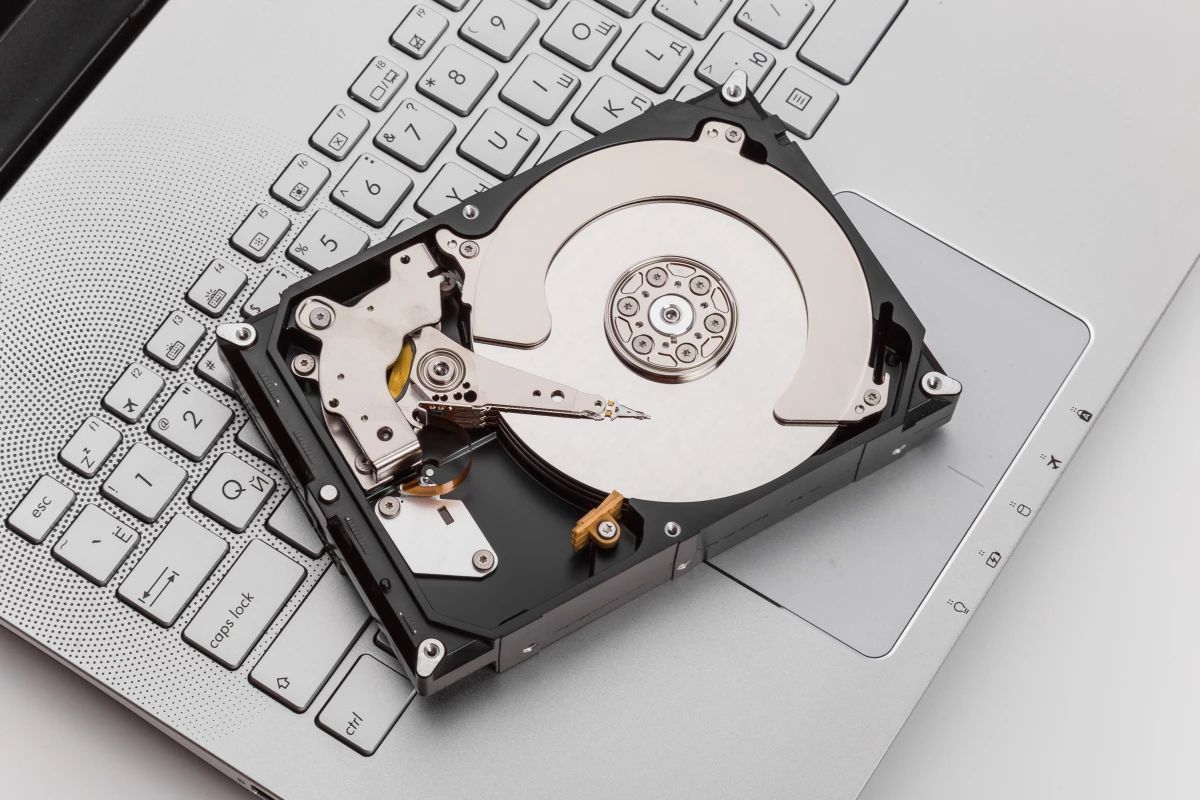
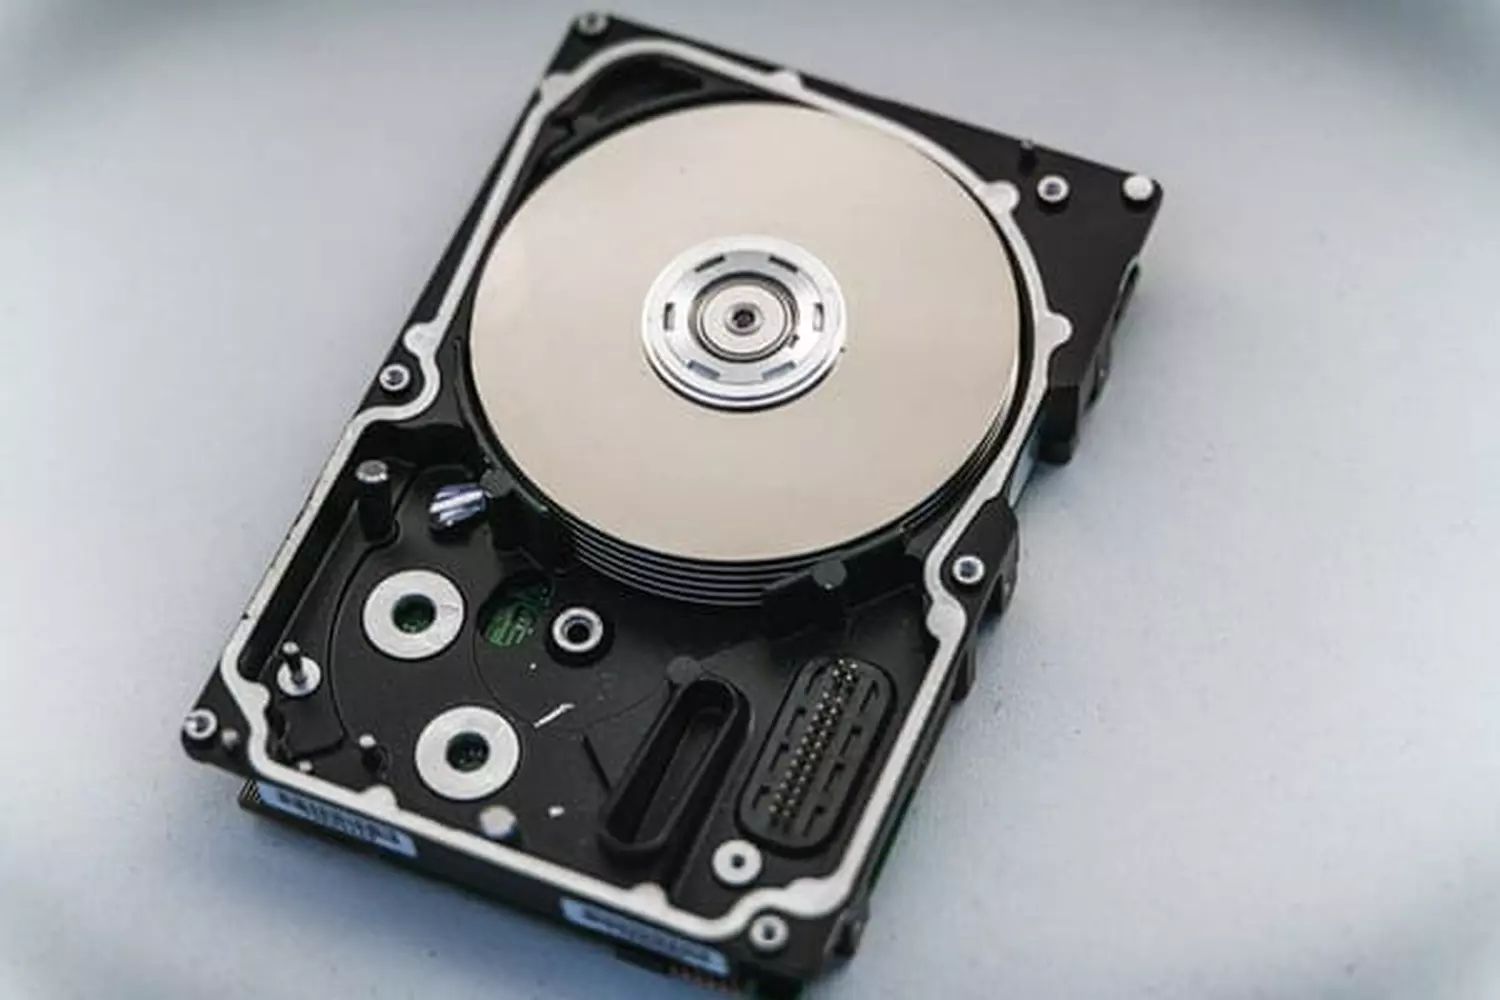
Upgrading the Hard Disk Drive
If you have tried various methods to increase space on your hard disk drive and still find yourself in need of more storage capacity, it may be time to consider upgrading your hard disk drive (HDD). Upgrading the HDD can provide a significant boost in storage space and potentially improve system performance.
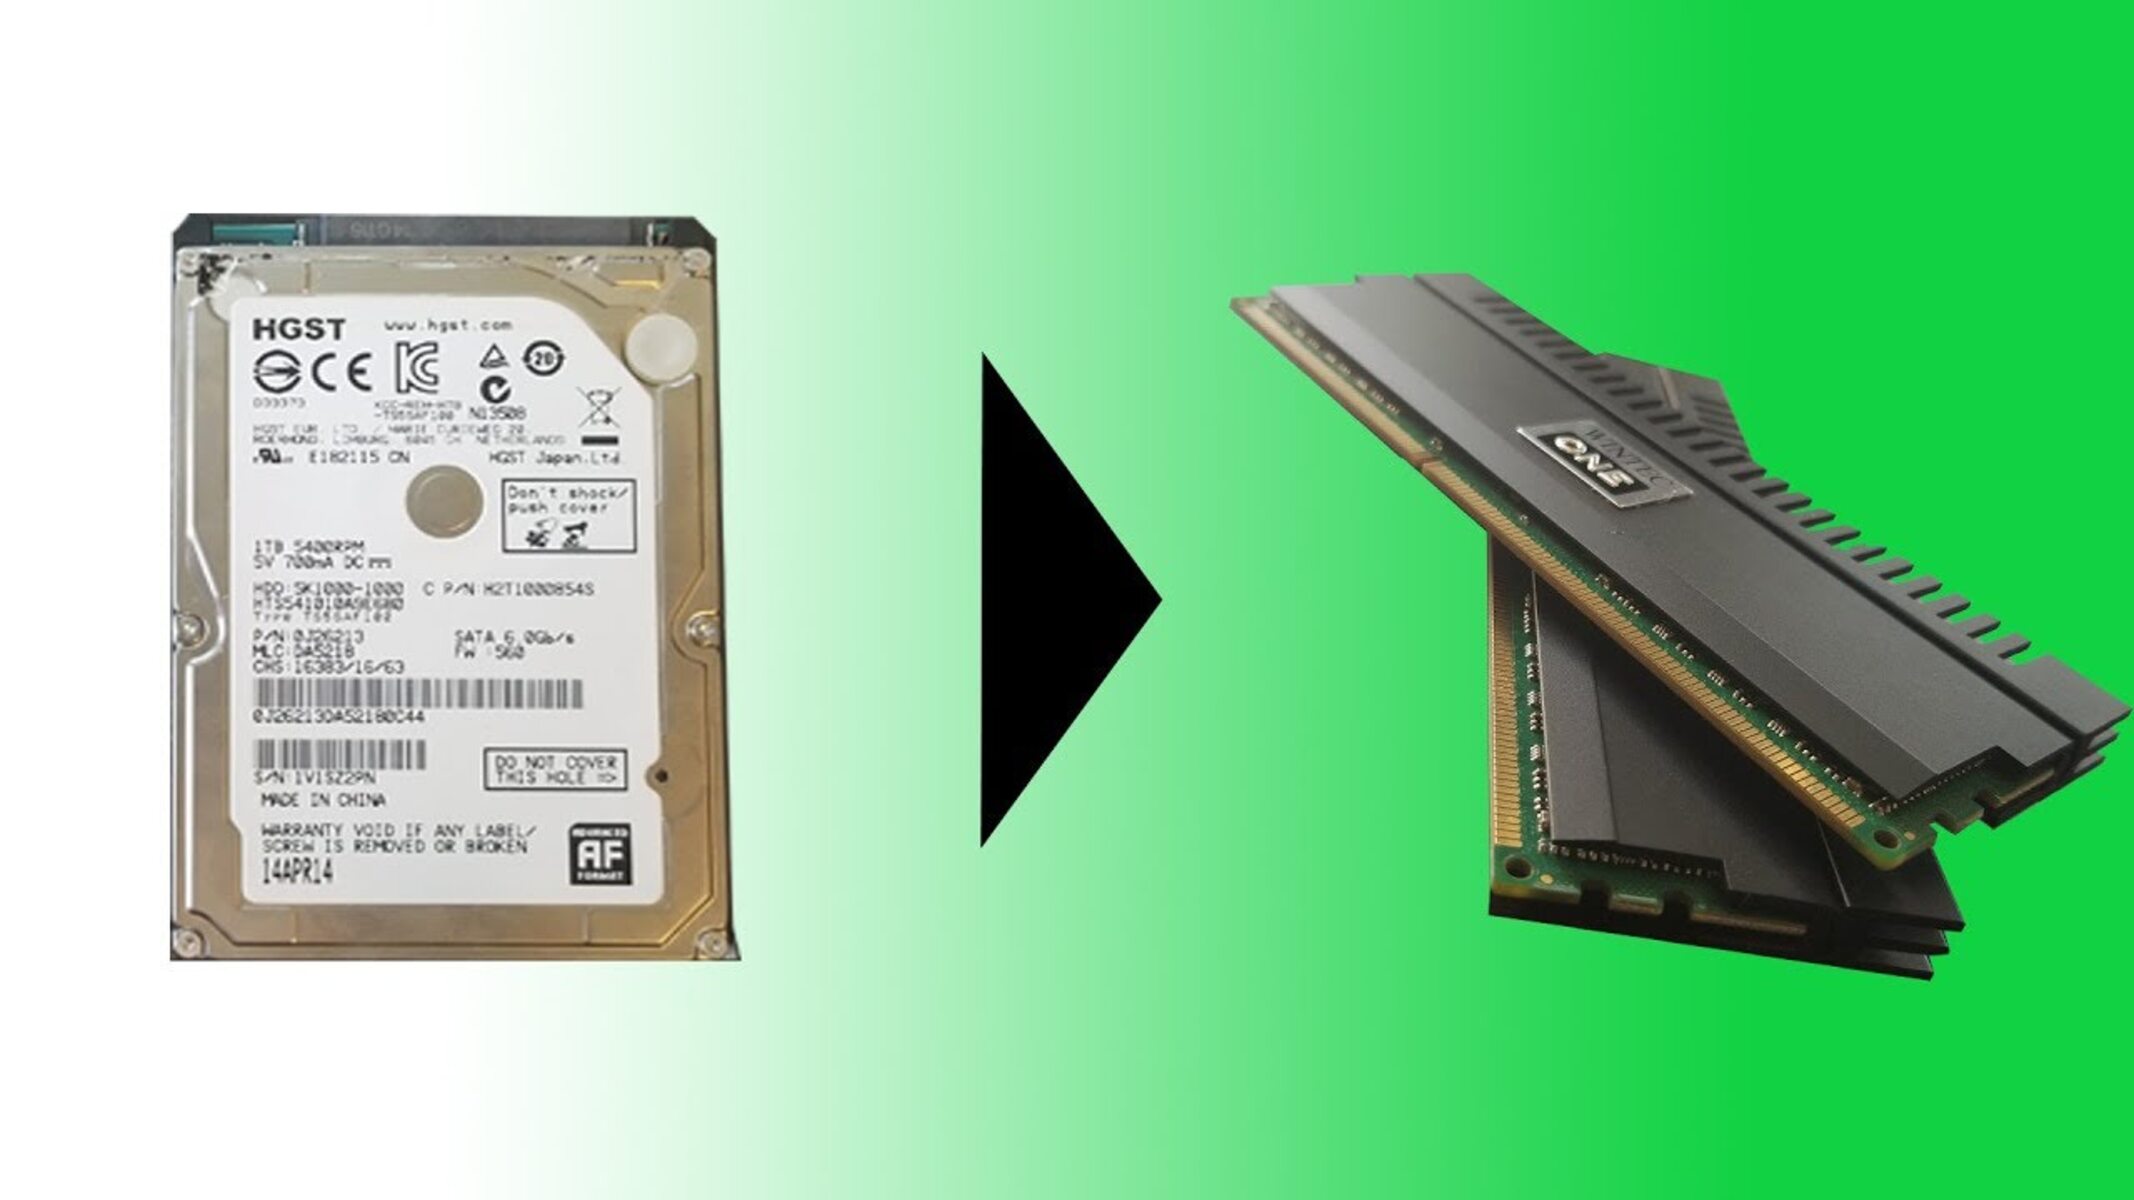
To upgrade your HDD, you will need to select a new drive that fits your needs in terms of storage capacity and speed. There are different types of HDDs available, such as traditional HDDs and solid-state drives (SSDs). SSDs are generally faster and more reliable than traditional HDDs, but they tend to be more expensive. Evaluate your requirements and budget to determine the best option for you.
Before upgrading, it’s important to back up your existing data to ensure nothing is lost during the process. You can use external storage devices, cloud storage, or backup software to create a copy of your important files, applications, and system settings.
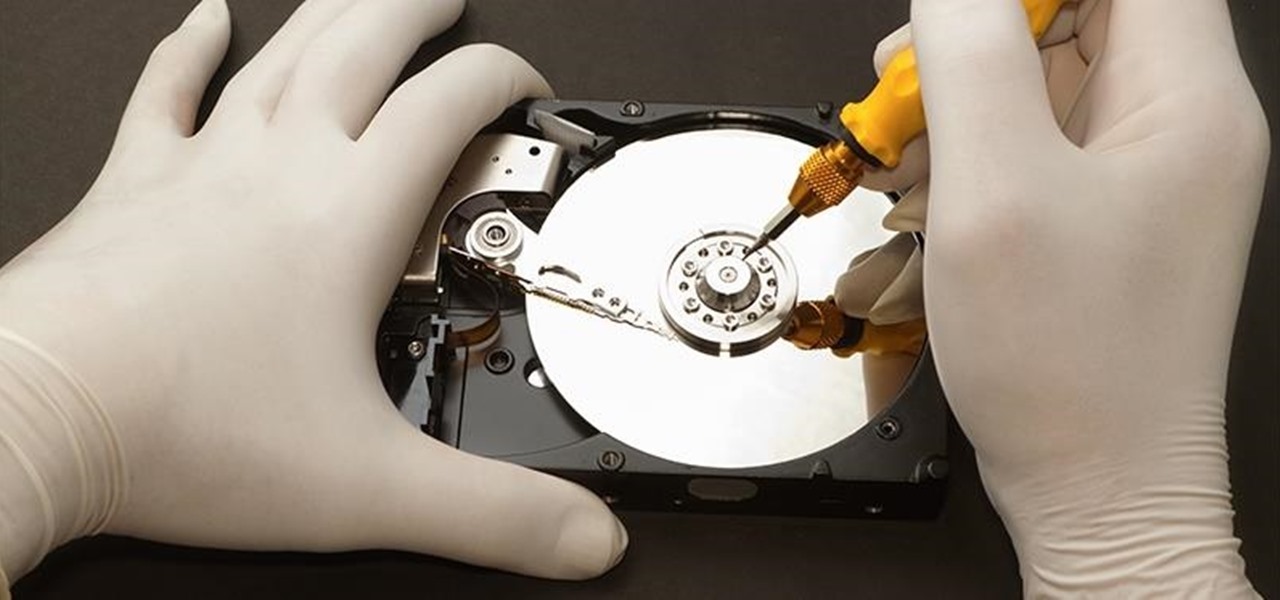
Next, you will need to physically replace the old HDD with the new one. Depending on your computer model and design, this process may vary. It’s recommended to consult the user manual or seek assistance from a qualified technician if you are not familiar with the process.
Once the new HDD is installed, you will need to reinstall your operating system and any necessary applications. This can be done using installation media or recovery partitions provided by the manufacturer. Be sure to follow the proper steps and instructions during the installation process.
After reinstalling the operating system, you can transfer your backed-up files to the newly upgraded HDD. Take the opportunity to reorganize your files and directories to optimize storage space and improve file organization.
Upgrading the HDD not only provides additional storage capacity but can also potentially improve system performance. With faster read/write speeds and improved reliability, SSDs especially can deliver a noticeable speed boost, allowing for faster boot times and quicker file access.
It’s worth noting that upgrading the HDD requires a certain level of technical knowledge and experience. If you are not confident in performing the upgrade yourself, seek assistance from a professional technician who can help you with the process.
By upgrading your HDD, you can eliminate storage constraints and enjoy a more spacious and efficient computing experience. Consider the benefits and cost-effectiveness of upgrading to determine if it’s the right solution for your needs.