Introduction
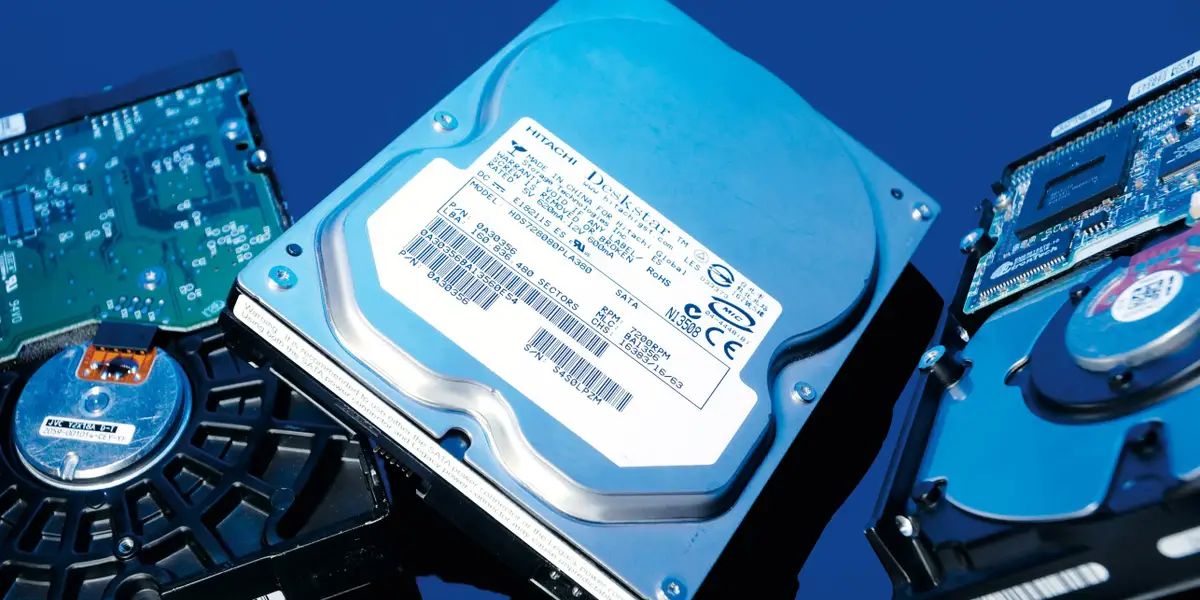
When it comes to the performance of your computer, the speed of your hard disk drive (HDD) plays a crucial role. The HDD is responsible for storing and retrieving your files, applications, and operating system. However, as time goes on, you may notice a decrease in the overall speed of your HDD. This can be frustrating, especially when you need to complete tasks quickly or launch programs without any delays.
Fortunately, there are several ways to speed up your hard disk drive and improve its performance. By implementing these tips, you can significantly enhance the speed and responsiveness of your computer, allowing you to work more efficiently and get things done faster.
In this article, we will explore various strategies and techniques to help you speed up your hard disk drive. Whether you are a professional needing to multitask seamlessly or a casual user looking for a smoother computing experience, these tips will undoubtedly boost your HDD’s performance.
It is important to note that while these tips can improve the speed of a conventional hard disk drive, they are especially effective when implemented on solid-state drives (SSDs). SSDs are known for their lightning-fast read and write speeds, making them a worthy investment if you’re looking for a significant performance upgrade. However, the suggestions provided in this article can still have a positive impact on traditional HDDs. So, let’s begin our journey toward a faster and more efficient hard disk drive.
Understanding Hard Disk Drive Speed
Before diving into the tips to speed up your hard disk drive, it is essential to have a basic understanding of how HDD speed affects overall system performance. The speed of an HDD is primarily determined by two factors: the rotational speed and the data transfer rate.
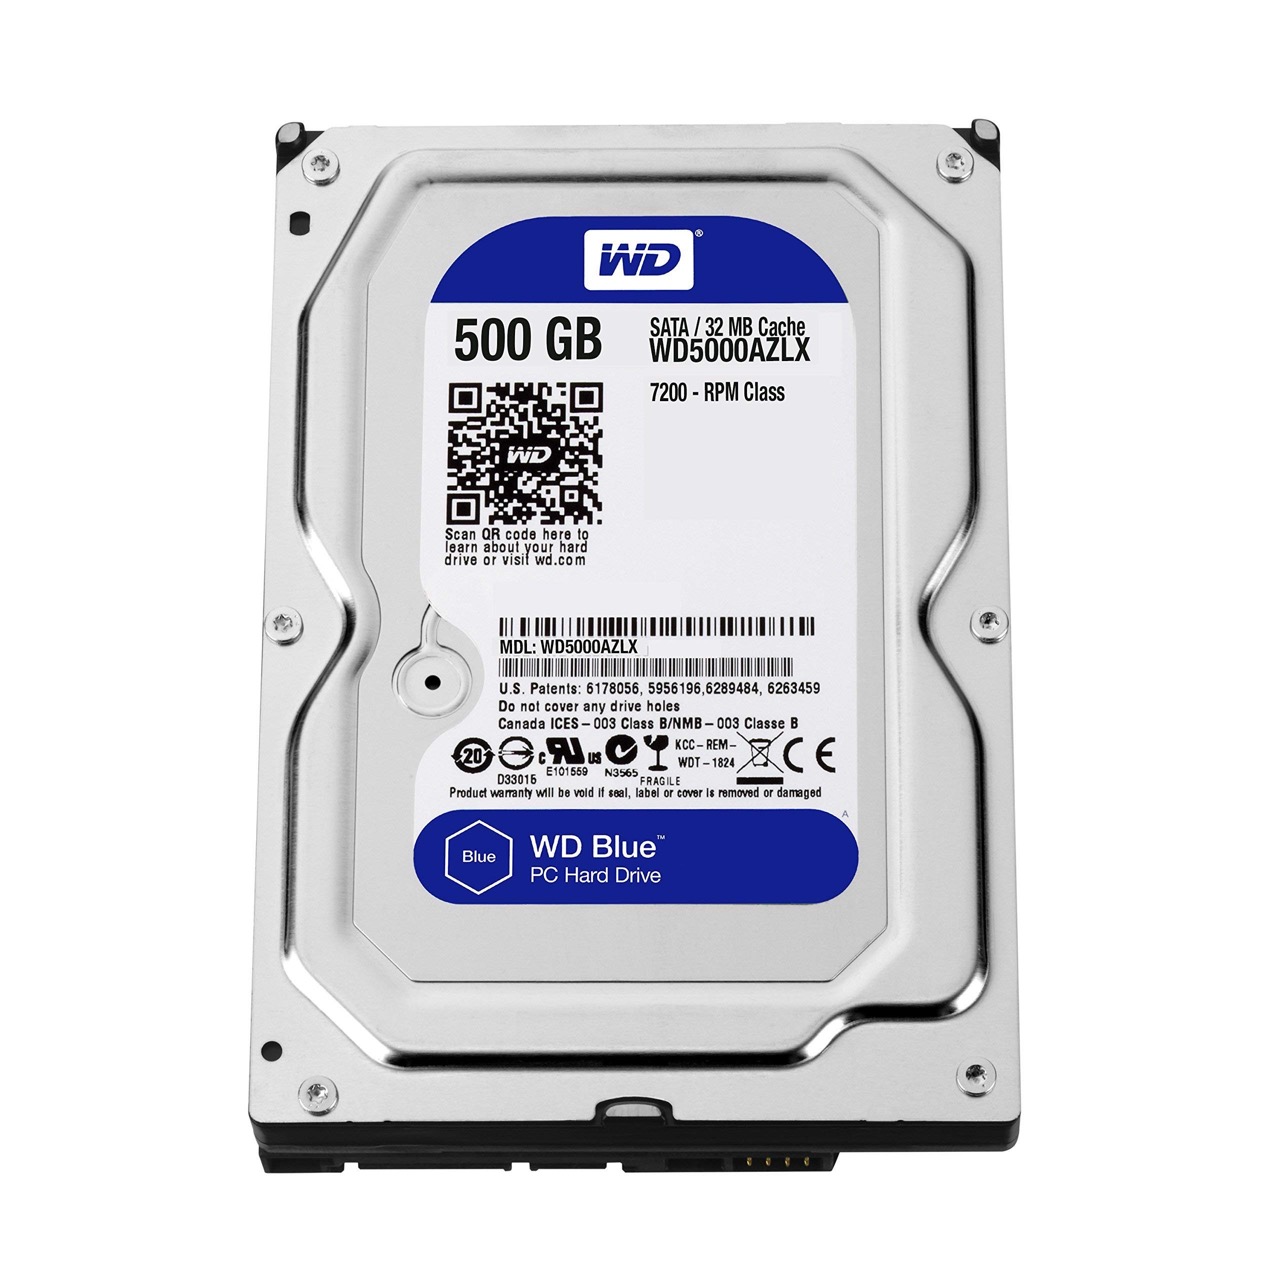
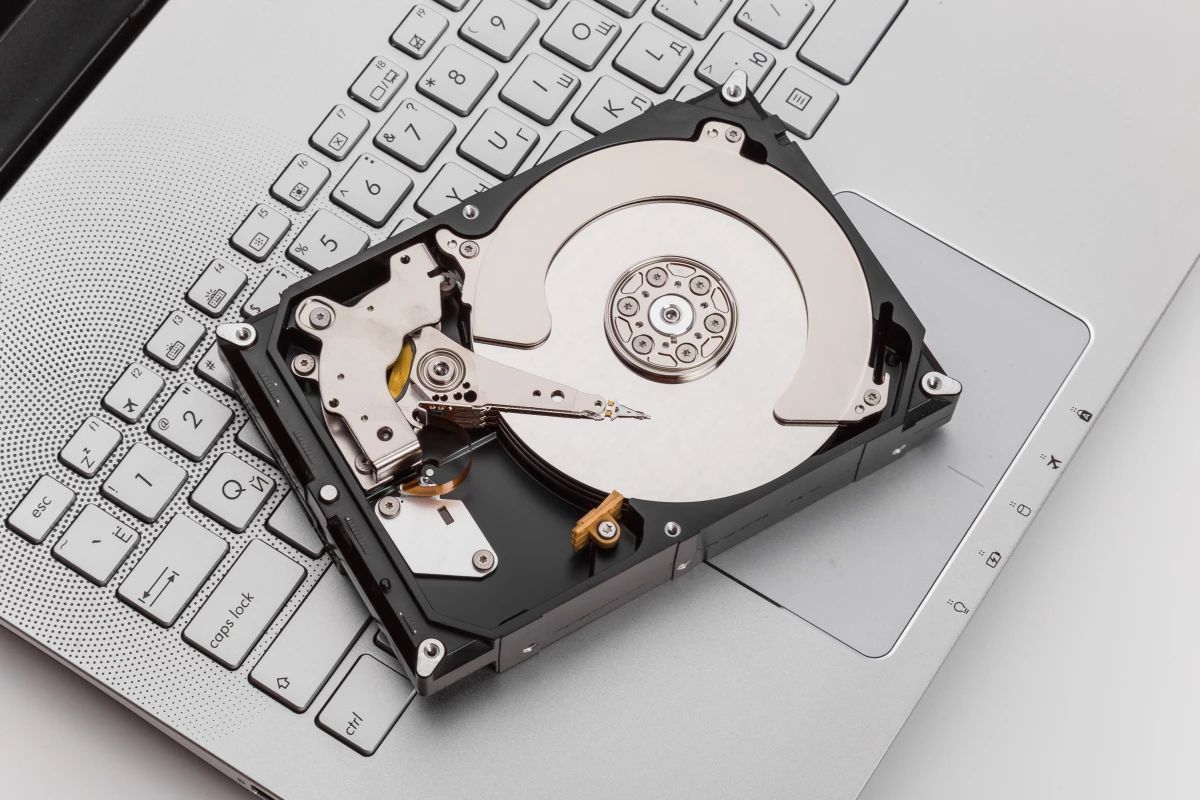
The rotational speed, also known as the spindle speed, refers to how fast the disk inside the hard drive rotates. The most common rotational speeds for consumer-grade hard drives are 5400 RPM (rotations per minute) and 7200 RPM. The higher the RPM, the faster the drive can find and retrieve data from its spinning platters.
On the other hand, the data transfer rate is the speed at which data can be read from or written to the hard disk. It is expressed in megabytes per second (MB/s) or gigabytes per second (GB/s). The data transfer rate is influenced by factors such as the interface technology (e.g., SATA, SAS) and the drive’s internal mechanisms.
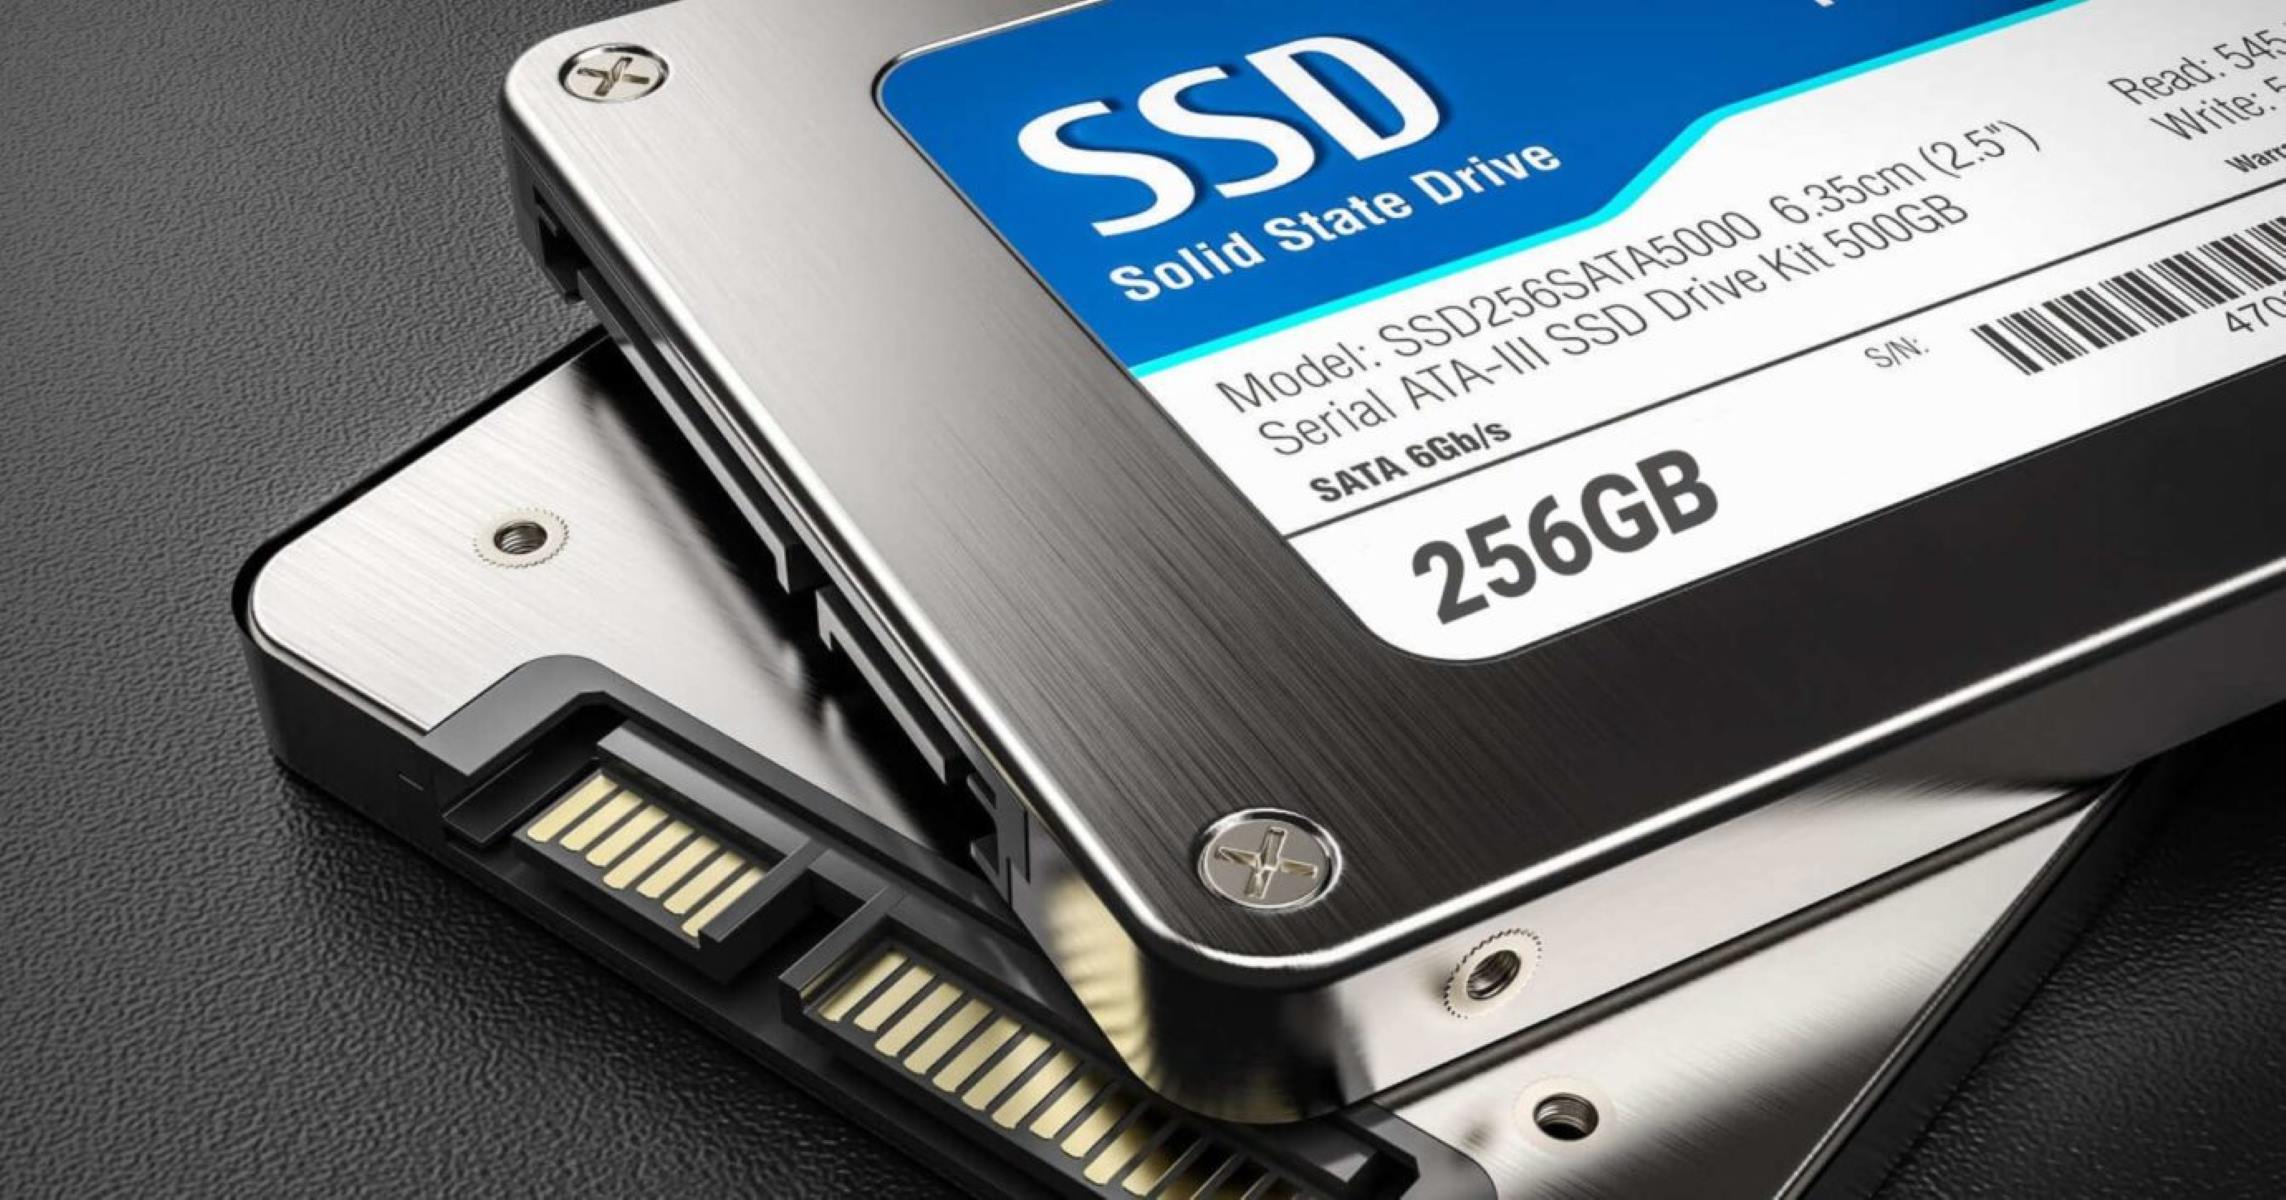
It is important to note that while improvements in hard disk drive technology over the years have led to faster drives, HDDs still lag behind solid-state drives (SSDs) in terms of speed. SSDs use flash memory to store data, eliminating the need for spinning disks and mechanical read/write heads. This translates to significantly faster data access and transfer speeds compared to traditional HDDs.
In terms of real-world performance, a faster hard disk drive means reduced boot times, faster application launches, and quicker file transfers. Conversely, a slow HDD can lead to longer load times, sluggish system performance, and frustrating delays when accessing files or programs.
By understanding the factors that affect hard disk drive speed, you can make informed decisions and implement the necessary measures to optimize your HDD’s performance. In the next section, we will delve into specific tips and techniques that will help you speed up your hard disk drive and maximize your system’s efficiency.
Tips to Speed Up Hard Disk Drive
Now that we have a basic understanding of hard disk drive speed, let’s explore some practical tips and techniques to boost the performance of your HDD. These strategies will help optimize your disk usage, reduce unnecessary overhead, and enhance overall system responsiveness. Implementing one or more of these tips can make a noticeable difference in your computer’s speed and efficiency.
- Upgrade to a Solid-State Drive (SSD): Consider upgrading to an SSD if you want a significant performance boost. SSDs have faster read and write speeds, resulting in quicker boot times, faster application launches, and improved system responsiveness. While SSDs may be more expensive than traditional HDDs, the performance benefits are well worth the investment.
- Free Up Disk Space: A cluttered hard drive can slow down performance. Delete unnecessary files and applications to free up disk space. Use a disk cleanup tool or manually delete large or unused files to optimize disk usage.
- Remove Unnecessary Startup Programs: Many programs launch automatically when you start your computer, causing slower boot times. Review the list of startup programs and disable any unnecessary ones to improve boot speed.
- Disable File Indexing: File indexing can consume valuable system resources and slow down your HDD. If you don’t frequently use the search feature, consider disabling file indexing to improve overall speed.
- Use Disk Cleanup Utility: Windows provides a built-in Disk Cleanup tool that helps remove temporary files, system cache, and other unnecessary data. Regularly run this utility to keep your hard drive optimized.
- Fragmentation and Defragmentation: Over time, files on your HDD may become fragmented, resulting in slower read and write speeds. Use the built-in defragmentation tool in your operating system to defragment your drive and improve performance.
- Disable Visual Effects: While visual effects may enhance the aesthetic appeal of your operating system, they can also consume system resources. Disable unnecessary visual effects to free up resources and improve HDD performance.
- Avoid Full Disk Encryption: Full disk encryption can provide security benefits but can also slow down your hard drive. If performance is a priority, consider using encryption selectively rather than encrypting the entire disk.
- Upgrade Your RAM: Increasing the amount of RAM in your system can improve overall performance, as it reduces the need for the hard drive to swap data to and from the disk.
- Upgrade Your Motherboard: Upgrading your motherboard to a newer model with a faster data transfer rate can significantly improve HDD performance.
By applying these tips, you can optimize your hard disk drive and enjoy a faster and more responsive computing experience. Experiment with different techniques to find the ones that work best for your system. Now that we have explored these tips, let’s conclude our article with a summary of the key takeaways.
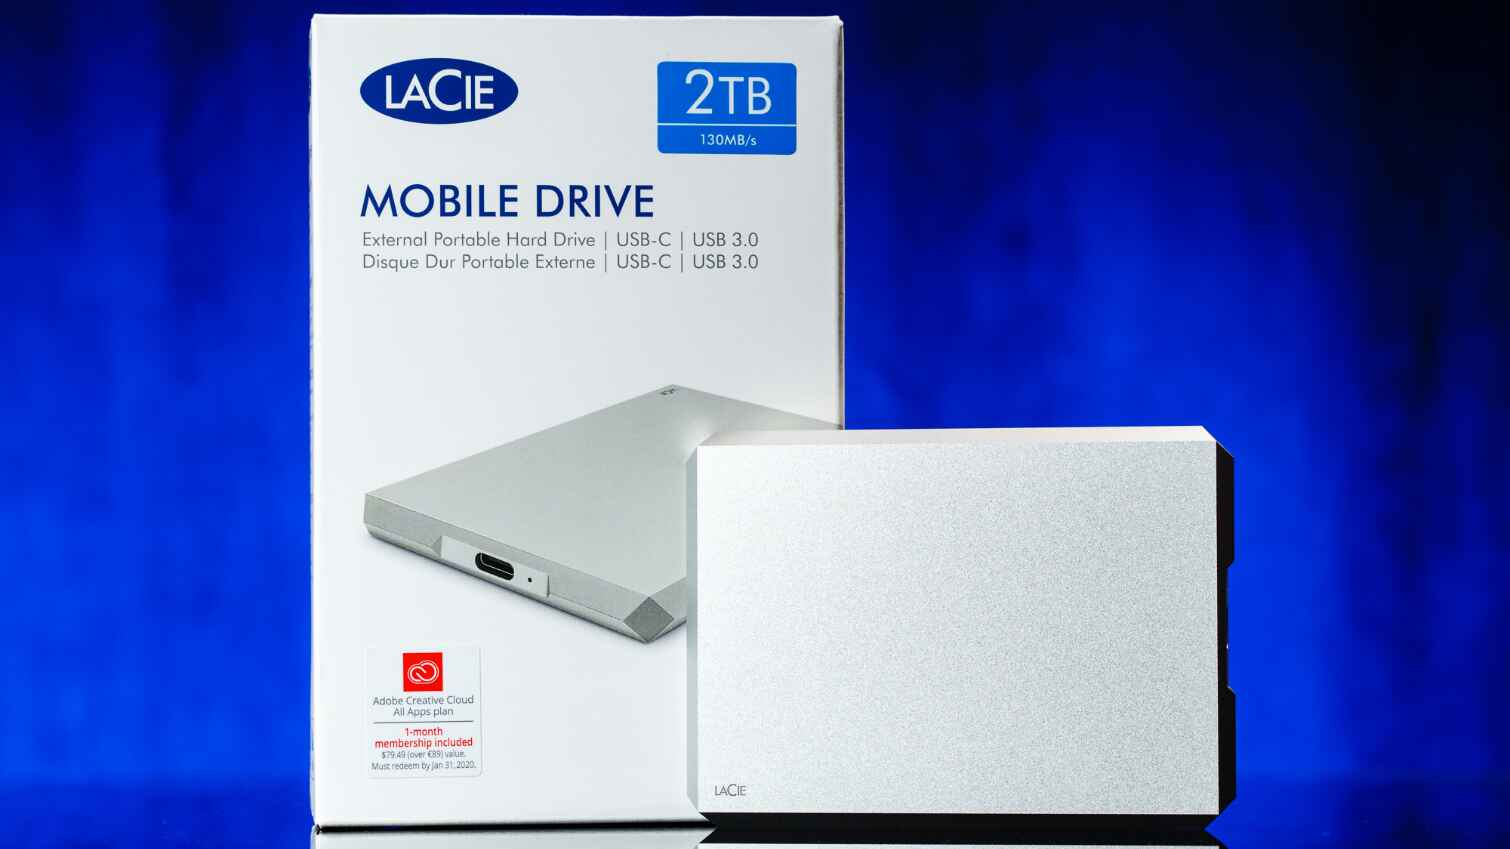
Tip 1: Upgrade to a Solid-State Drive (SSD)
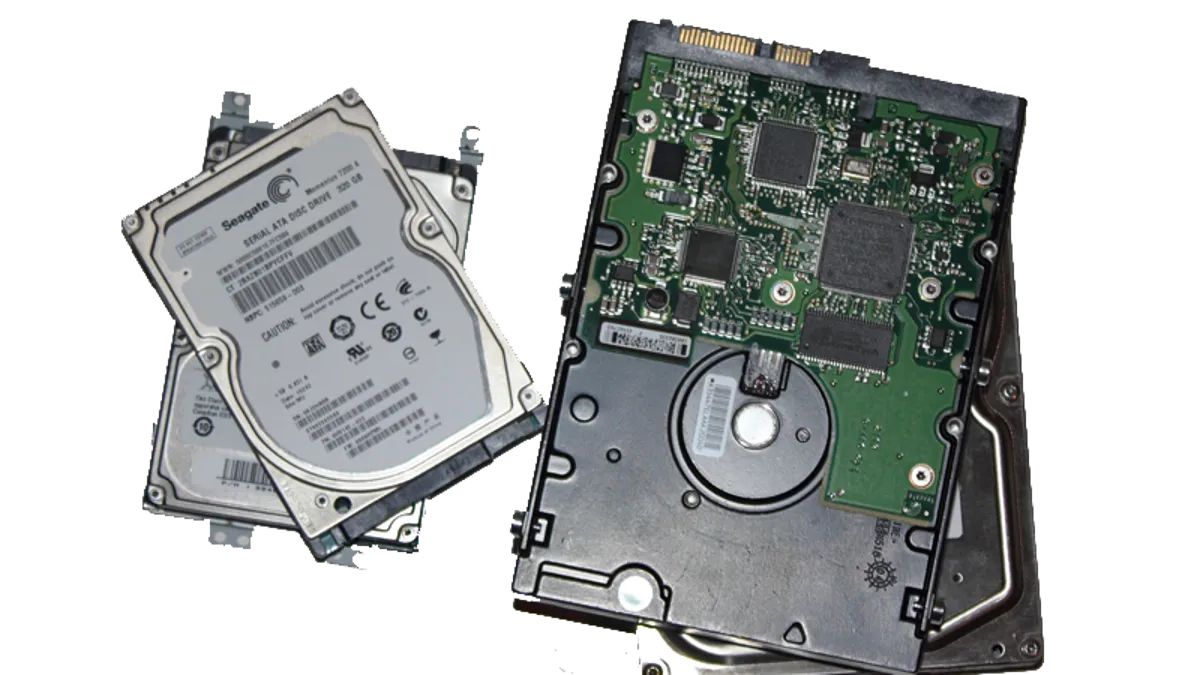
One of the most effective ways to speed up your hard disk drive is to upgrade to a solid-state drive (SSD). Unlike traditional hard disk drives (HDDs) that rely on spinning disks and mechanical read/write heads, SSDs use flash memory to store data. This eliminates the physical limitations and mechanical delays associated with HDDs, resulting in significantly faster read and write speeds.
When you switch from an HDD to an SSD, you can expect a substantial improvement in overall system performance. Boot times are drastically reduced, allowing your computer to start up in seconds rather than minutes. Launching applications becomes nearly instantaneous, allowing you to work without any frustrating delays. Additionally, file transfers are much quicker, enabling faster copying, moving, and accessing of large files.
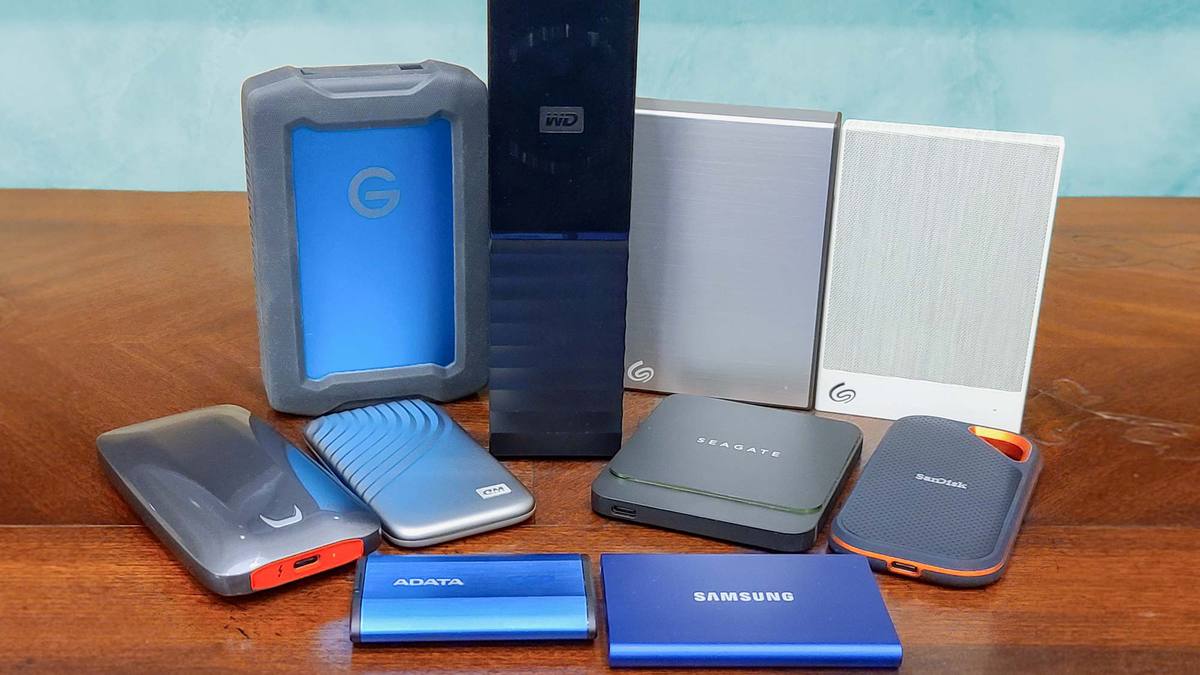
SSDs are available in various capacities to suit your storage needs, ranging from a few hundred gigabytes to several terabytes. While SSDs may be more expensive than HDDs on a cost-per-gigabyte basis, the price has significantly dropped over the years, making them more affordable for consumers. The performance benefits of SSDs certainly justify the investment, especially if you value speed and efficiency in your computing experience.
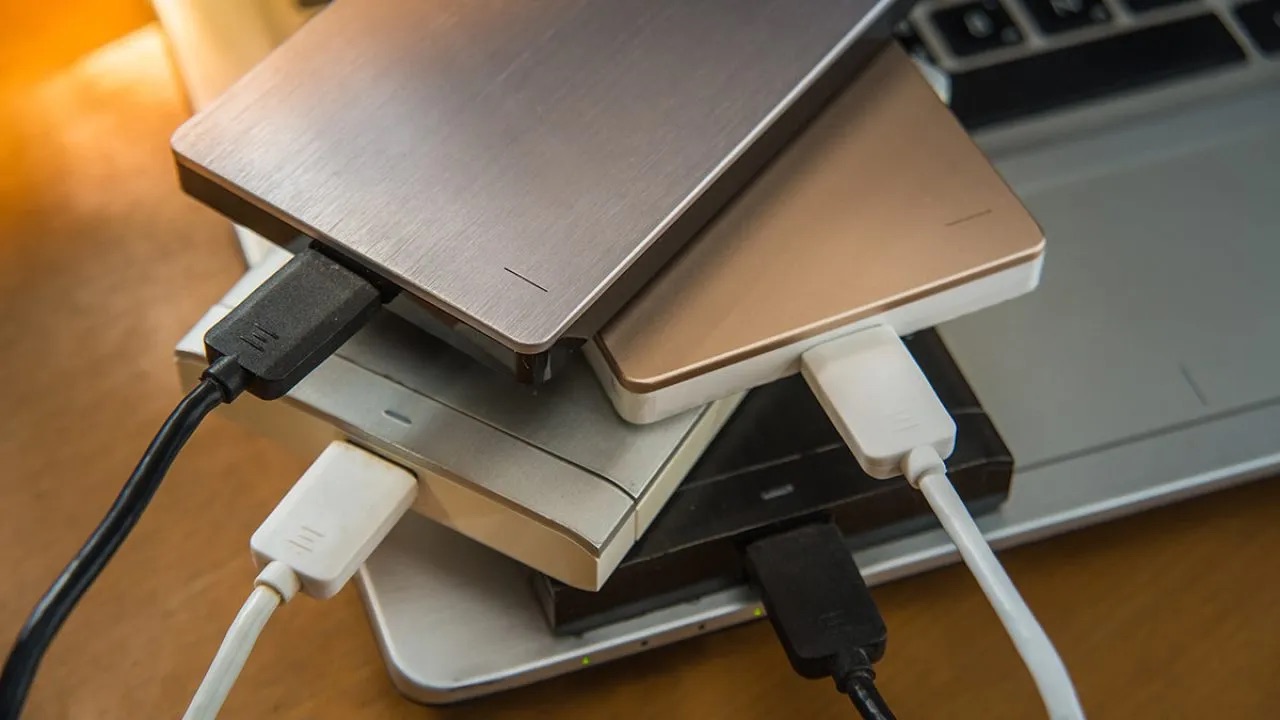
When upgrading to an SSD, you have a couple of options. You can replace your existing HDD with an SSD, transferring your operating system and files to the new drive. This method provides maximum performance benefits and is recommended for users who want to dedicate their entire storage solution to an SSD.
Alternatively, you can choose to retain your existing HDD and add a smaller capacity SSD as a secondary drive. This configuration is often referred to as a hybrid setup or dual-drive setup. You can install your operating system, frequently used applications, and files on the SSD, while using the HDD for mass storage of less frequently accessed data. This allows you to strike a balance between performance and capacity.
Regardless of the specific setup you choose, upgrading to an SSD is one of the most impactful changes you can make to speed up your hard disk drive. The performance difference is noticeable, and you’ll wonder how you ever managed with a traditional HDD. So, if you’re looking for a significant boost in performance, consider upgrading to an SSD.
Tip 2: Free Up Disk Space
One of the simplest and most effective ways to speed up your hard disk drive is to free up disk space. As you use your computer, files accumulate on your hard drive, taking up valuable space and potentially slowing down performance. By removing unnecessary files and applications, you can optimize disk usage and improve the overall speed and responsiveness of your HDD.
Start by deleting files that you no longer need. This includes old documents, duplicate files, and unnecessary downloads. Sort through your folders and delete any files that are taking up unnecessary space. Be cautious and make sure you’re not deleting any important files, as once they are deleted, they cannot be easily recovered.
In addition to deleting files manually, you can also use disk cleanup tools to help identify and remove unnecessary data. Most operating systems offer built-in disk cleanup utilities that can scan your hard drive for temporary files, system cache, and other unnecessary data. These tools can help you free up significant disk space with just a few clicks.
Another effective way to free up disk space is to uninstall unused or rarely used applications. Over time, you may accumulate a collection of software that you no longer need. By uninstalling these applications, you not only free up space but also reduce the amount of background processes that are running on your system, which can help improve overall performance.
In addition to deleting files and uninstalling applications, it’s also worth considering moving larger files, such as videos or multimedia files, to an external storage device or cloud storage. This helps keep your hard drive clutter-free and allows you to access these files when needed without compromising the performance of your HDD.
Regularly monitoring and managing your disk space is essential for maintaining optimal performance. Aim to keep at least 15-20% of your total hard drive space free for efficient operation. By regularly clearing out unnecessary files and applications, you’ll not only speed up your hard disk drive but also create a more organized and efficient computing experience.
So, take some time to clean up your hard drive and free up disk space. Your hard disk drive will thank you by running faster and more smoothly, allowing you to maximize your productivity and enjoyment while using your computer.
Tip 3: Remove Unnecessary Startup Programs
One common reason for a slow boot time and sluggish system performance is the presence of unnecessary startup programs. These are applications and services that automatically launch when you start your computer, running in the background and consuming valuable system resources. By removing unnecessary startup programs, you can significantly improve the boot time and overall speed of your hard disk drive.
Over time, as you install new software and updates, some programs may set themselves to run at startup without your knowledge. Additionally, certain manufacturers may include their own applications in the startup list, often pre-loading them to provide quick access to their services or features.
To remove unnecessary startup programs, begin by opening the Task Manager on your operating system. On Windows, you can do this by right-clicking on the taskbar and selecting “Task Manager” from the menu that appears. On macOS, go to “Applications” and then “Utilities” to find the Activity Monitor.
In the Task Manager or Activity Monitor, navigate to the “Startup” or “Login Items” tab, respectively. Here, you will find a list of programs that are set to launch at startup. Review this list carefully and disable any programs that you do not need to start automatically. Be cautious not to disable any important system processes or applications that are necessary for the proper functioning of your computer.
Disabling unnecessary startup programs can have a significant impact on your boot time. By reducing the number of programs that need to load at startup, your hard disk drive can focus on initializing the essential components of your operating system more quickly, resulting in a faster boot process.
In addition to improving boot times, removing unnecessary startup programs can also free up system resources, allowing your computer to run smoother and faster overall. With fewer programs running in the background, your hard disk drive can devote more resources to running the applications you actually need, leading to a more responsive computing experience.
Regularly reviewing and managing your startup programs is essential to maintain optimal performance. As you install new software or update existing applications, check if they have set themselves to launch at startup and disable this feature if it’s not necessary.
By removing unnecessary startup programs, you can improve the performance of your hard disk drive and enjoy a faster boot time. Your computer will feel snappier and more responsive, allowing you to dive into your tasks without any unnecessary delays.
Tip 4: Disable File Indexing
File indexing is a feature that allows your operating system to create and maintain an index of the files on your hard disk drive. This index helps speed up file searches by providing quick access to file locations and metadata. However, file indexing can consume valuable system resources and potentially slow down your hard disk drive, especially on older or slower systems.
If you rarely use the search feature on your computer or rely on third-party search tools, disabling file indexing can be a viable option to improve overall speed and performance. By turning off file indexing, you can free up system resources that would otherwise be dedicated to constantly updating and maintaining the index.
To disable file indexing, you can follow these steps:
- Open the Control Panel on your operating system.
- Navigate to the “Indexing Options” or “Search” section.
- Select the hard disk drive you want to modify.
- Click on the “Modify” or “Advanced” button.
- Uncheck the box that enables file indexing for that particular drive.
- Click “OK” or “Apply” to save the changes.
After disabling file indexing, your operating system will no longer create or update the index for the selected drive. This can lead to a more responsive hard disk drive, especially when accessing files or performing searches.
It is worth noting that disabling file indexing may slightly increase the time it takes for your system to locate specific files, especially if you rely heavily on the search feature. However, if you rarely use the search function or prefer to use other search tools, the performance benefits of disabling file indexing outweigh the potential inconvenience of longer search times.
If you decide to disable file indexing, remember to periodically clean up your disk and remove unnecessary files to ensure optimal performance. By keeping your hard disk drive organized and clutter-free, you can mitigate any potential drawbacks of disabling file indexing.
Overall, disabling file indexing is a simple and effective way to improve the speed and performance of your hard disk drive. If you find that file indexing is no longer necessary or slowing down your system, consider disabling it and enjoy a snappier computing experience.
Tip 5: Use Disk Cleanup Utility
As you use your computer, temporary files, system cache, and other unnecessary data accumulate on your hard disk drive (HDD). These files take up valuable disk space and can potentially slow down the performance of your HDD. To optimize your disk usage and improve overall speed, it is important to regularly use the built-in disk cleanup utility provided by your operating system.
Most operating systems, such as Windows and macOS, offer a disk cleanup tool that scans your hard drive for unnecessary files and allows you to delete them with a few simple clicks. This utility targets various types of files that can accumulate over time, including temporary files, system cache, old updates, and other unused data.
To use the disk cleanup utility on Windows, follow these steps:
- Open the “File Explorer” or “Windows Explorer”.
- Right-click on the hard disk drive you want to clean up.
- Select “Properties” from the context menu.
- In the properties window, click on the “Disk Cleanup” button.
- The disk cleanup utility will scan your drive and present you with a list of files that can be safely deleted.
- Select the files you want to delete, or simply click “OK” to delete all the suggested files.
On macOS, you can use the “Storage Management” tool to perform a similar cleanup. This tool can be accessed by going to “About This Mac” and clicking on the “Storage” tab.
By regularly running the disk cleanup utility, you can free up valuable disk space and improve the overall performance of your hard disk drive. This will not only help your HDD to operate more efficiently, but it will also prevent it from becoming cluttered and overloaded with unnecessary files.
In addition to the basic disk cleanup, some operating systems offer additional options to clean up specific areas such as the recycle bin, temporary internet files, and system restore points. It is advisable to explore these options and select the cleaning options that suit your needs.
While the disk cleanup utility is a great tool for removing unnecessary files, it is important to exercise caution and review the suggested files before deleting them. Ensure that you are not deleting any important files or documents that you may need in the future.
By incorporating the use of the disk cleanup utility into your regular computer maintenance routine, you can keep your hard disk drive clean and optimized, resulting in improved performance and a smoother computing experience.
Tip 6: Fragmentation and Defragmentation
Over time, as you create, modify, and delete files on your hard disk drive (HDD), data can become fragmented. Fragmentation occurs when files are scattered across different locations on the disk, rather than being stored in contiguous blocks. This fragmentation can lead to slower read and write speeds, as the HDD needs to access multiple locations to retrieve a single file.
To optimize the performance of your HDD and improve data access speed, it is recommended to regularly defragment your hard drive. Defragmentation is the process of rearranging fragmented data on your HDD, organizing it in a more contiguous manner.
On Windows, you can initiate the defragmentation process by following these steps:
- Open the “File Explorer” or “Windows Explorer”.
- Right-click on the hard disk drive you want to defragment.
- Select “Properties” from the context menu.
- In the properties window, go to the “Tools” tab.
- Under the “Optimize and defragment drive” section, click on the “Optimize” button.
- Select the hard disk drive you want to defragment and click on the “Optimize” button.
On macOS, the operating system automatically defragments files that are smaller than 20MB. If you want to defragment larger files or manually defragment your HDD, you can use third-party disk utility software.
It is important to note that newer operating systems, particularly those designed for solid-state drives (SSDs), may not require the same level of defragmentation as traditional HDDs. SSDs have a different data storage mechanism, and excessive defragmentation can actually reduce the lifespan of these drives. However, it is always helpful to check manufacturer guidelines or consult the operating system documentation to ascertain the recommended approach for optimizing SSDs.
By defragmenting your hard disk drive, you can consolidate fragmented files, reducing the time it takes for the HDD to read and write data. This can lead to faster file access and improved overall performance.
It is important to note that defragmentation can be a time-consuming process, especially for larger hard drives or heavily fragmented data. Therefore, it is recommended to schedule regular defragmentation sessions during periods when your computer is not in use, such as overnight or during weekends.
By incorporating regular defragmentation into your maintenance routine, you can ensure that your hard disk drive is operating at its optimal performance level, with data stored efficiently and ready to be accessed quickly.
Tip 7: Disable Visual Effects
While visual effects can enhance the aesthetic appeal of your operating system, they can also consume valuable system resources and potentially slow down your hard disk drive (HDD). Disabling unnecessary visual effects is a simple yet effective way to improve overall speed and performance.
When you use your computer, graphical elements such as window animations, fading effects, and transparent windows require the CPU and GPU to work harder. This can lead to increased system resource usage, resulting in slower response times and reduced HDD performance.
To disable visual effects on Windows, follow these steps:
- Right-click on the “Start” button and select “System”.
- In the System window, click on “Advanced system settings” in the left sidebar.
- Under the “Performance” section, click on the “Settings” button.
- In the Performance Options window, select the “Adjust for best performance” option to disable all visual effects.
- If you prefer to keep some visual effects, you can choose the “Custom” option and manually enable or disable specific effects.
- Click “Apply” and then “OK” to save the changes.
On macOS, you can manage visual effects through the “System Preferences” by following these steps:
- Click on the Apple menu and select “System Preferences”.
- Open the “Dock & Menu Bar” or “Accessibility” section, depending on your macOS version.
- Disable or reduce the options for visual effects such as magnification, animations, and transparency.
By disabling or minimizing visual effects, your operating system will allocate fewer system resources to graphical elements, allowing your HDD to focus on other essential tasks. This can result in a smoother and more responsive computing experience.
Additionally, reducing visual effects can also help conserve battery life on laptops and prolong the overall lifespan of your computer by reducing the temperature generated by excessive GPU and CPU usage.
While disabling visual effects can enhance system performance, it is worth noting that some users may prefer the visual enhancements that these effects provide. If you value aesthetics over performance, you can choose to keep some or all of the visual effects enabled. It’s all about finding the right balance that aligns with your preferences and computing needs.
By disabling unnecessary visual effects, you can optimize the performance of your hard disk drive and enjoy a faster and more responsive computing experience without compromising on functionality or aesthetics.
Tip 8: Avoid Full Disk Encryption
Full disk encryption is a security measure that encrypts all the data on your hard disk drive (HDD), making it unreadable to unauthorized users. While encryption provides an added layer of protection for sensitive data, it can potentially slow down your HDD and impact overall performance.
Encrypting an entire hard disk drive requires constant encryption and decryption processes when accessing files or booting up the system. These additional operations can introduce an overhead that can noticeably reduce read and write speeds, resulting in slower performance compared to an unencrypted drive.
If performance is a priority for you and the potential security benefits of full disk encryption are not necessary for your specific use case, you may consider avoiding full disk encryption. Instead, you can opt for alternative encryption methods or selectively encrypt specific files or folders that contain sensitive information.
One alternative to full disk encryption is to use a secure file or folder encryption tool. These applications allow you to encrypt individual files or directories, providing protection for specific data while leaving the rest of your hard disk drive unencrypted. This approach allows you to strike a balance between security and performance.
It is important to note that if you do decide to avoid full disk encryption, you should still take appropriate security measures to protect your data. This includes using strong and unique passwords, regularly updating your operating system and software, and employing additional security measures such as antivirus software and firewalls.
While full disk encryption may not be necessary for everyone, there are situations where it is essential, such as for individuals who handle highly sensitive or confidential information, or for devices that are at a higher risk of theft or unauthorized access. In these cases, the security benefits of full disk encryption may outweigh the potential impact on performance.
Ultimately, the decision to avoid full disk encryption should be based on your specific needs and priorities. If performance is a crucial factor for you, and the level of encryption provided by full disk encryption is not necessary, you can explore alternative encryption methods to ensure data security while maintaining optimal HDD performance.
Tip 9: Upgrade Your RAM
One of the main factors that can impact the performance of your hard disk drive (HDD) is the available random access memory (RAM) in your system. RAM serves as a temporary storage space for data that your computer needs to access quickly. When the RAM is insufficient, your HDD may need to compensate by continuously swapping data between the hard drive and the RAM, leading to slower overall performance.
Upgrading your RAM can significantly improve the speed and responsiveness of your computer. By increasing the amount of RAM, your system can hold more data in memory, reducing the reliance on the HDD for virtual memory operations. This results in faster access to frequently used files, applications, and data, leading to a snappier computing experience.
Before upgrading your RAM, it is important to verify the maximum supported RAM capacity for your computer system. This information can usually be found in the computer’s user manual or by performing a quick search for your specific model online. It is also crucial to ensure compatibility between the RAM modules and your system’s motherboard, taking into consideration factors like speed and form factor.
Once you have determined the appropriate RAM upgrade for your system, the installation process is relatively straightforward, although it may vary depending on your computer model. Generally, it involves shutting down the computer, opening the case, locating the RAM slots, and carefully inserting the new RAM modules as per the instructions or diagrams provided.
After upgrading your RAM, you should notice a significant improvement in overall system performance. Your computer will be able to handle more simultaneous tasks without slowing down, allowing for smoother multitasking and quicker program launches. Additionally, the reliance on virtual memory on the HDD will be reduced, resulting in faster and more efficient data access.
It is worth noting that while upgrading your RAM can provide noticeable performance enhancements, it is not a solution for all performance-related issues. If you are experiencing specific software or hardware-related problems, it is essential to troubleshoot and address those issues accordingly.
Overall, upgrading your RAM is an effective way to speed up your hard disk drive and enhance your computer’s performance. By increasing the available memory, you can reduce reliance on virtual memory and significantly improve data access speeds. So, if you find your computer struggling with slow performance, consider upgrading your RAM for a noticeable boost in speed and efficiency.
Tip 10: Upgrade Your Motherboard
When it comes to upgrading the performance of your hard disk drive (HDD) and your overall computer system, the motherboard plays a crucial role. The motherboard acts as a central hub, connecting various components, including the HDD, CPU, RAM, and other peripherals. Upgrading your motherboard can have a significant impact on the speed and capabilities of your HDD.
A newer and more advanced motherboard can provide several advantages that can enhance the performance of your HDD. Firstly, it may support faster data transfer rates, allowing your HDD to communicate with other components more quickly. This can lead to faster read and write speeds, resulting in improved overall system performance.
Additionally, upgrading your motherboard may allow you to take advantage of newer storage technologies. For instance, newer motherboards often feature support for faster SATA or NVMe interfaces, which can provide substantially faster data transfer speeds compared to older interfaces. This enables faster access to files and applications stored on the HDD.
Moreover, upgrading your motherboard may come with other improvements, such as better power management, increased stability, and compatibility with the latest hardware and software technologies. These enhancements can contribute to a smoother and more efficient computing experience.
It is important to note that upgrading your motherboard is a more complex and involved process compared to other upgrades. It often involves replacing the entire motherboard and may require additional changes to the CPU, RAM, and other components. Before embarking on a motherboard upgrade, it is crucial to research and ensure compatibility with your existing hardware and software.
Given the intricacies involved in upgrading a motherboard, it is advisable to seek guidance from an experienced professional or consult detailed resources specific to your motherboard model and computer system.
Upgrading your motherboard can be a significant investment, both in terms of cost and time. However, if you are looking to maximize the potential of your hard disk drive and other components, a motherboard upgrade can offer long-term benefits, allowing your HDD to operate at its full potential.
Ultimately, the decision to upgrade your motherboard should be carefully considered, taking into account your specific needs and budget. If you are seeking a substantial improvement in your HDD’s performance, as well as overall system capabilities, upgrading your motherboard can be a worthwhile investment.
Conclusion
Optimizing the performance of your hard disk drive (HDD) is essential for a smooth and efficient computing experience. By implementing various strategies and techniques, you can significantly speed up your HDD and maximize its capabilities.
We explored a range of tips and recommendations to improve HDD performance. Upgrading to a solid-state drive (SSD) is an excellent way to achieve a significant speed boost. SSDs offer lightning-fast read and write speeds and can revolutionize your computer’s overall performance.
Freeing up disk space, removing unnecessary startup programs, disabling file indexing, using the disk cleanup utility, and defragmenting your HDD are all effective ways to optimize your disk usage and enhance speed.
Furthermore, disabling visual effects, avoiding full disk encryption, upgrading your RAM, and considering a motherboard upgrade are additional strategies to boost HDD performance and improve your overall computing experience.
It is important to note that not all tips may be suitable for everyone, as individual needs and preferences can vary. Therefore, it is recommended to assess your specific requirements and choose the tips that align with your goals.
By incorporating these tips into your computer maintenance routine, you can ensure that your hard disk drive operates at its full potential. Whether you are a casual user seeking a smoother browsing experience or a professional needing to work efficiently, optimizing your HDD’s performance can contribute to increased productivity and enjoyment.
Remember to regularly evaluate the health and performance of your HDD, as technology and software advancements may require adjustments or upgrades over time. By staying proactive, you can continue to enjoy the benefits of a fast and responsive hard disk drive.