Introduction
So you’ve upgraded to a new smart TV, and now you’re itching to take full advantage of its capabilities by connecting it to the internet. With the power of the internet at your fingertips, you can stream your favorite movies and TV shows, access online services, and even browse the web right from the comfort of your couch. But how do you go about hooking up your internet to your smart TV? Don’t worry, we’ve got you covered!
In this guide, we will walk you through the step-by-step process of connecting your smart TV to the internet. Whether you’re using an Ethernet cable or a Wi-Fi connection, we’ll help you get your TV online and ready to enjoy endless entertainment options.
Before we dive into the steps, it’s important to note that the exact process may vary slightly depending on the make and model of your smart TV. However, the general principles outlined here should apply to most smart TVs on the market. Now, let’s get started!
Step 1: Gather the necessary equipment
Before you can connect your smart TV to the internet, you’ll need to make sure you have the necessary equipment. Here’s what you’ll need:
1. Internet connection: Ensure that you have an active and reliable internet connection in your home. This can be through a broadband or DSL connection.
2. Smart TV: Of course, you’ll need a smart TV that is capable of connecting to the internet. Most modern smart TVs come with built-in Wi-Fi or Ethernet connectivity options.
3. Ethernet cable (optional): If your smart TV has an Ethernet port, you can use an Ethernet cable to directly connect your TV to your router. This is a more stable and reliable connection option, especially if you have a weak Wi-Fi signal.
4. Wi-Fi network name and password: If you’re planning to connect your smart TV to the internet via Wi-Fi, make sure you have your Wi-Fi network name (SSID) and password handy. You’ll need this information during the setup process.
5. Remote control: Finally, make sure you have your smart TV’s remote control nearby. You’ll need it to navigate through the on-screen menus and perform the necessary setup steps.
By ensuring that you have these essential devices and information on hand, you’ll be well-prepared to move on to the next step. Remember, having a stable internet connection and the right equipment is crucial for a seamless smart TV internet setup process.
Step 2: Connect your Smart TV to the internet via Ethernet cable
If you prefer a reliable and high-speed internet connection, connecting your smart TV to the internet via an Ethernet cable is the way to go. Here’s how you can do it:
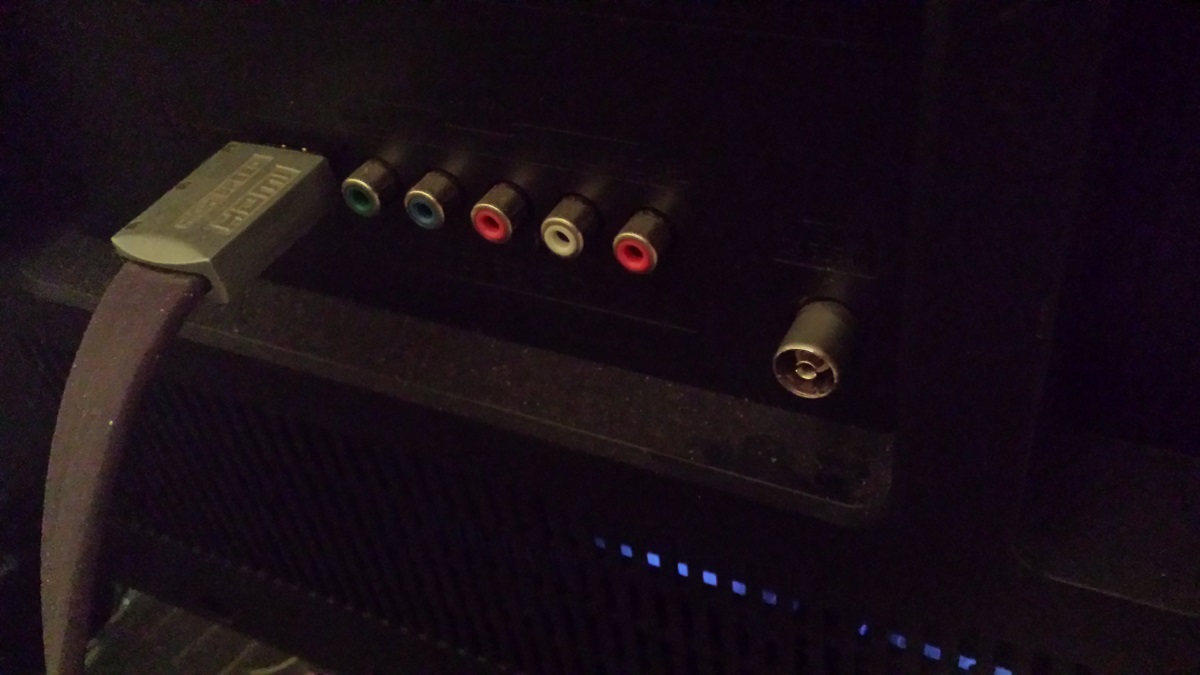
1. Locate the Ethernet port: Look for the Ethernet port on your smart TV. It is usually labeled with the word “Ethernet” or represented by an image of a computer or network cable.
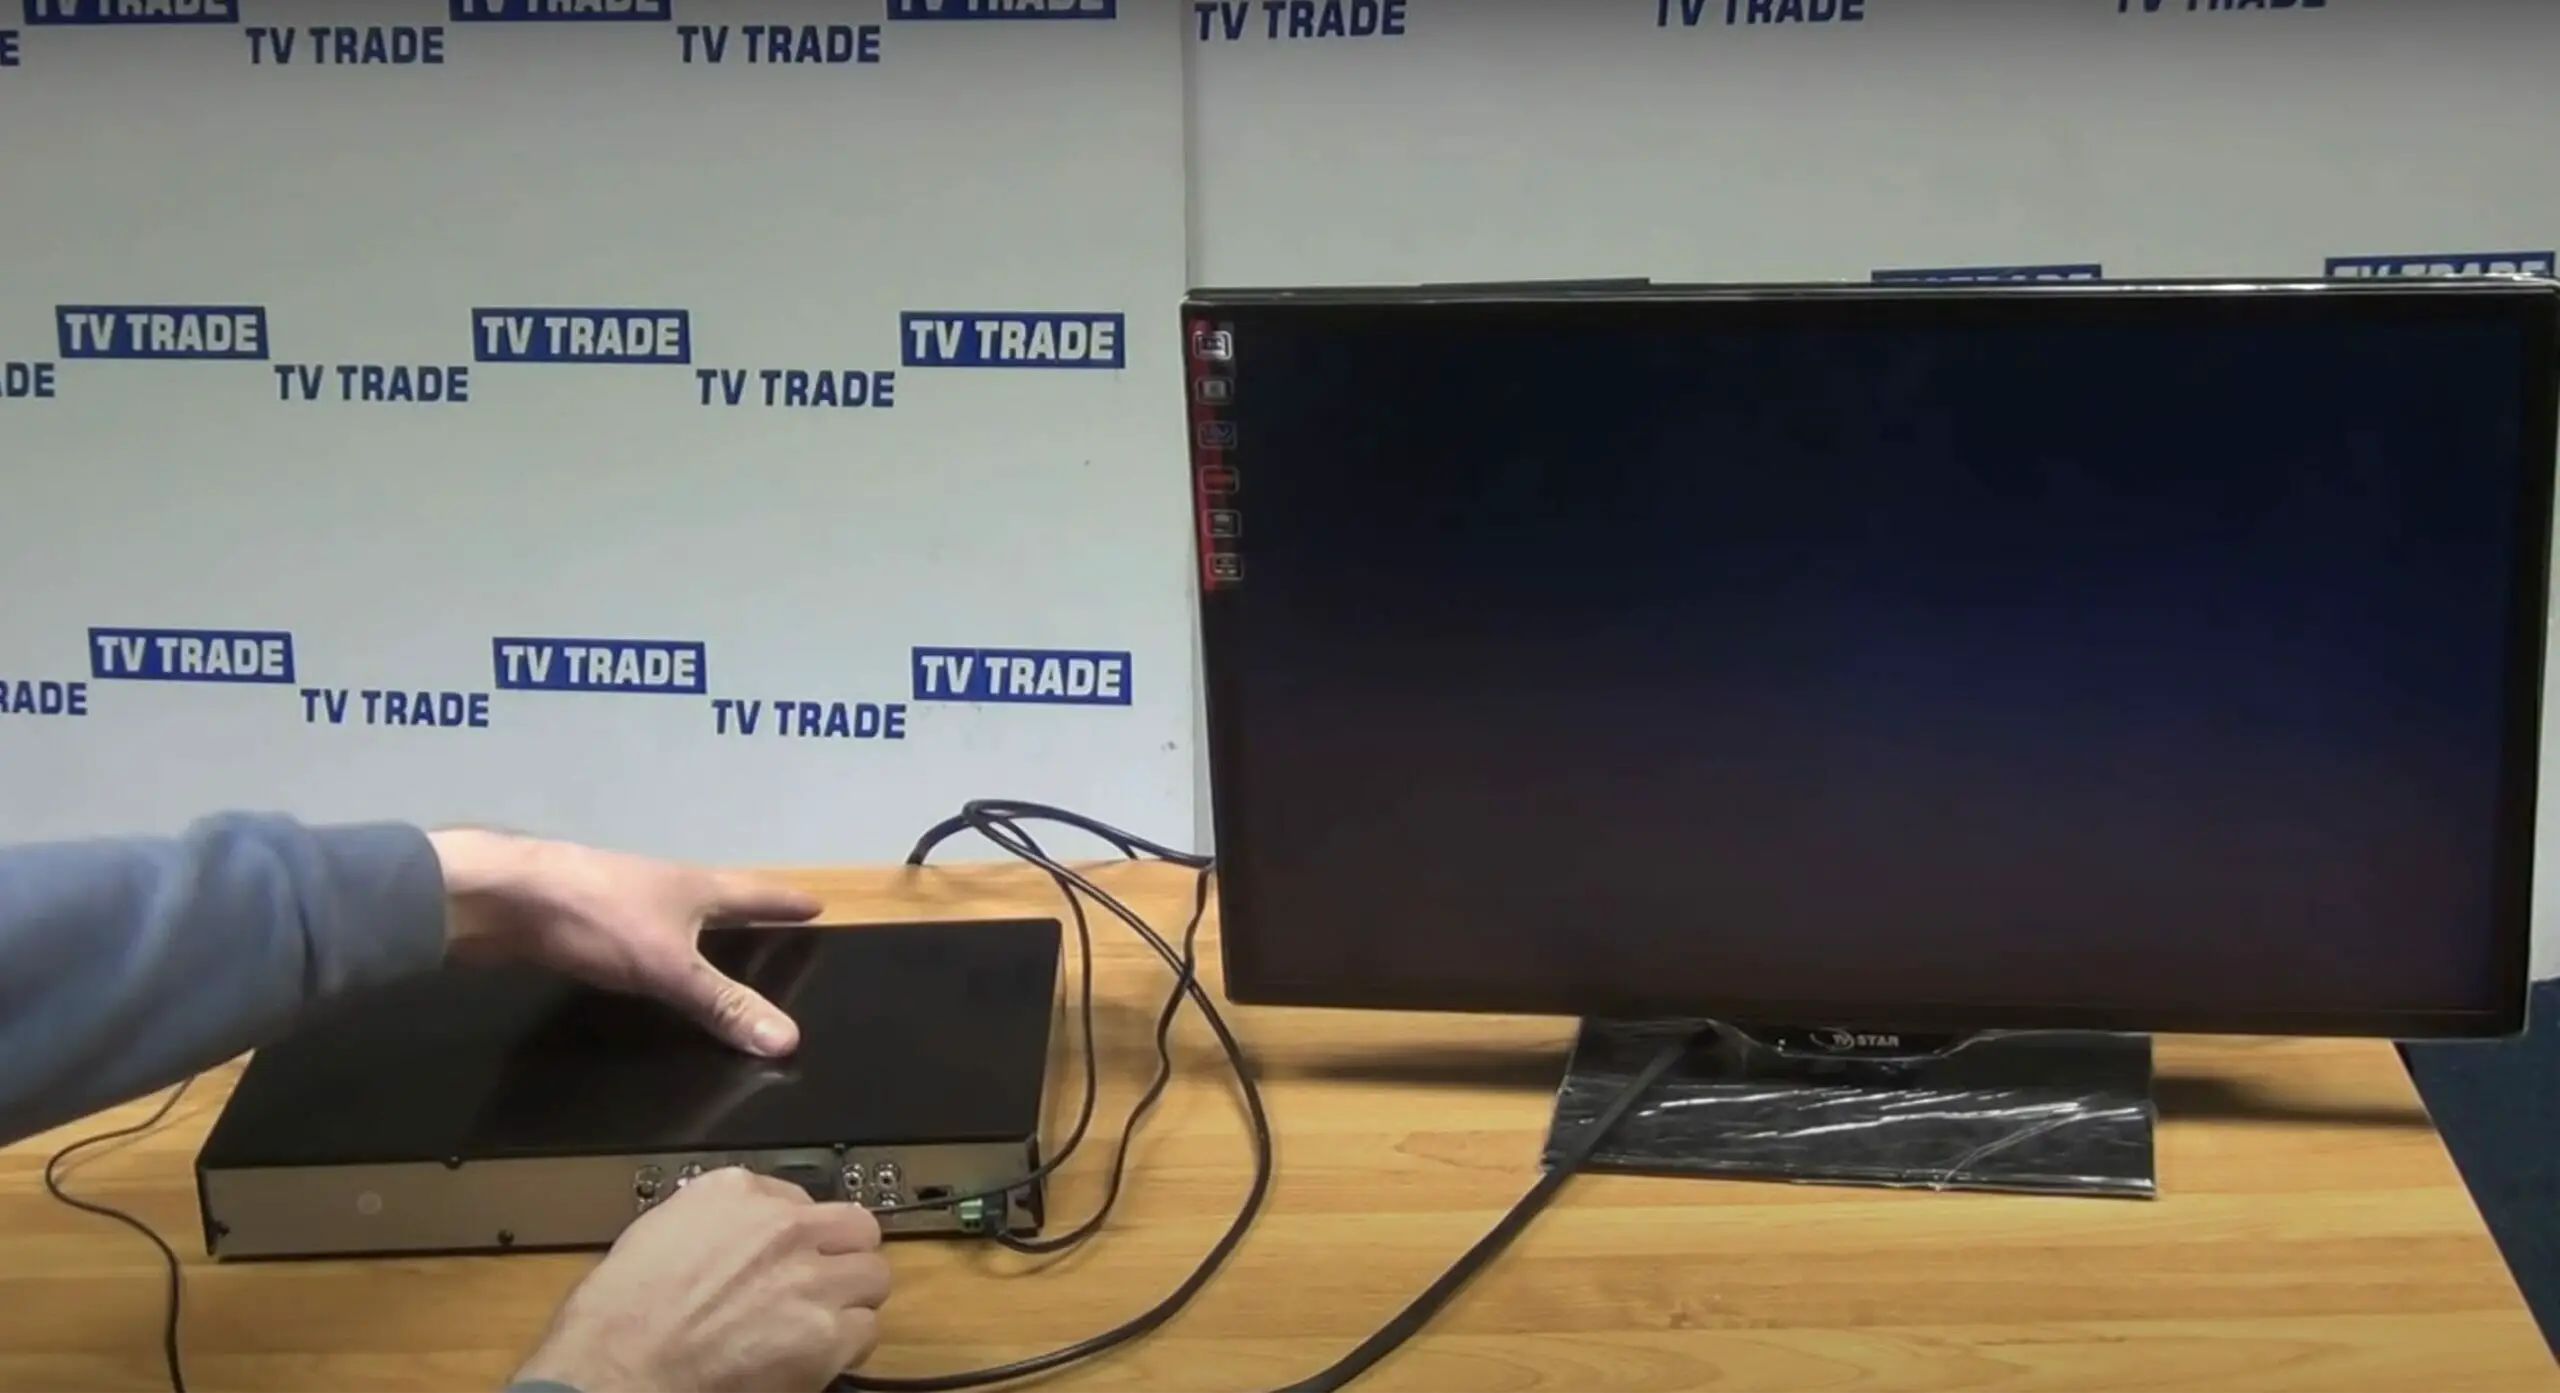
2. Connect the Ethernet cable: Take one end of the Ethernet cable and plug it into the Ethernet port on your smart TV. Then, take the other end of the cable and connect it to a free port on your router, modem, or network switch.
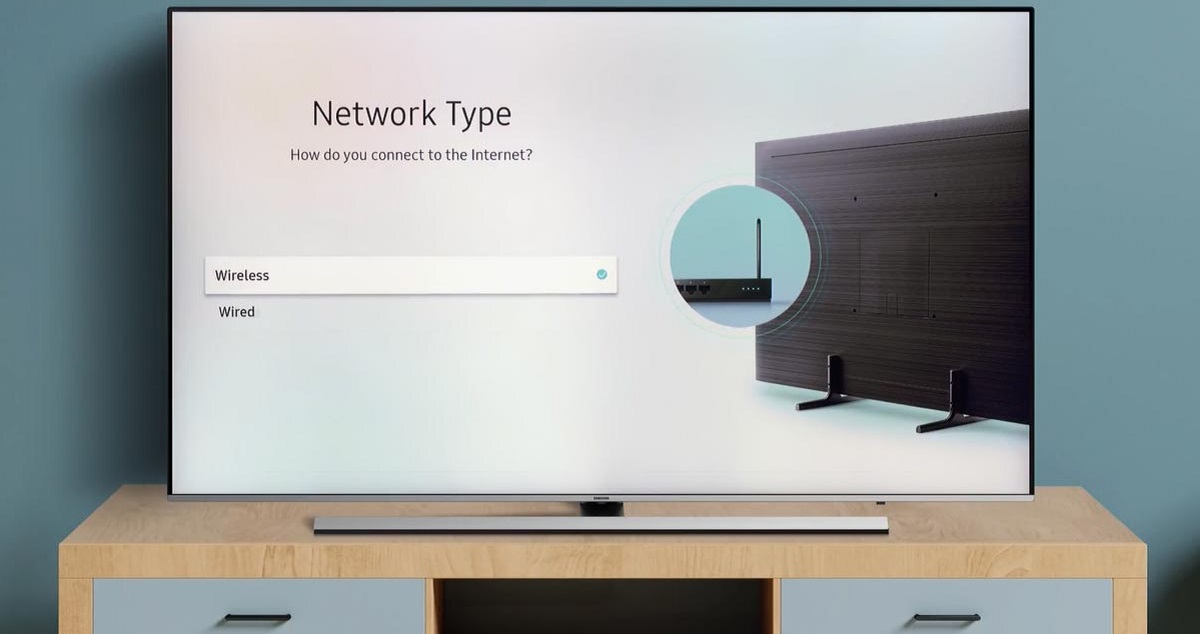
3. Configure the network settings: Once the physical connection is made, you’ll need to configure the network settings on your smart TV. Go to the settings menu on your TV and navigate to the network or internet settings. Select the option to set up a wired connection or Ethernet connection. Follow the on-screen prompts to complete the setup process.
4. Test the connection: After the network settings are configured, your smart TV will attempt to establish a connection to the internet. It may take a few moments for the TV to obtain an IP address and connect to the network. Once connected, you can test the connection by launching any internet-enabled apps or opening a web browser on your smart TV.
That’s it! You’ve successfully connected your smart TV to the internet using an Ethernet cable. This wired connection offers a more stable and reliable internet experience, especially if your Wi-Fi signal is weak or prone to interference. Now you can enjoy seamless streaming, online gaming, and access a wide range of smart TV features with ease.
Keep in mind that if you ever need to move your smart TV to a different location, you will need to disconnect the Ethernet cable and set up a new wired connection in the new location.
Step 3: Connect your Smart TV to the internet via Wi-Fi
If you prefer the convenience of a wireless connection, connecting your smart TV to the internet via Wi-Fi is a popular option. Here’s how you can do it:
1. Access the network settings: Navigate to the settings menu on your smart TV using the remote control. Look for the network or internet settings option.
2. Select the Wi-Fi network: In the network settings menu, you should see a list of available Wi-Fi networks. Select your desired Wi-Fi network from the list.
3. Enter the Wi-Fi password: If your Wi-Fi network is password-protected, the TV will prompt you to enter the password. Use the remote control to input the password and ensure that it is entered correctly.
4. Connect to the Wi-Fi network: After entering the Wi-Fi password, select the option to connect to the Wi-Fi network. Your smart TV will attempt to establish a connection to the Wi-Fi network. It may take a moment for the TV to connect and obtain an IP address.
5. Test the connection: Once connected, you can test the Wi-Fi connection by launching any internet-enabled apps or opening a web browser on your smart TV. Make sure to check that the connection is stable and that you have a strong signal strength.
That’s it! You’ve successfully connected your smart TV to the internet using Wi-Fi. With this wireless connection, you can enjoy the freedom to move your TV around without being limited by Ethernet cables. Just make sure your smart TV is within the range of your Wi-Fi router for a reliable and stable connection.
It’s worth mentioning that if you encounter any issues connecting to your Wi-Fi network, you can try restarting your router, ensuring that you’re entering the correct password, or moving your smart TV closer to the router for a better signal. Additionally, some smart TVs have a Wi-Fi troubleshooting feature that can help diagnose and resolve any connection problems.
Step 4: Troubleshooting tips in case of connection issues
Sometimes, despite your best efforts, you may encounter connection issues when trying to connect your smart TV to the internet. Don’t worry – here are some troubleshooting tips to help you get back online:
1. Check your Wi-Fi signal strength: If you’re using Wi-Fi, ensure that your smart TV is within range of your Wi-Fi router. Walls and other obstacles can weaken the signal, so try moving your TV closer to the router or using a Wi-Fi signal booster if needed.
2. Restart your devices: Occasionally, a simple restart can resolve connectivity issues. Start by turning off your smart TV, then unplug your router or modem. Wait for a minute and then plug it back in. Once the router is fully powered on, turn on your smart TV and try connecting again.
3. Check for firmware updates: Smart TVs often receive firmware updates to improve performance and fix bugs. Check the manufacturer’s website or TV settings to see if there are any available updates for your TV. Updating the firmware may address any compatibility issues and improve overall connectivity.
4. Reset network settings: If you’re still experiencing issues, try resetting the network settings on your smart TV. This will remove any previously saved network configurations and allow you to set up the connection from scratch. Refer to the TV’s manual or online support resources for instructions on how to reset network settings.
5. Ensure correct Wi-Fi password: Double-check that you’re entering the correct Wi-Fi password. Passwords are case-sensitive, so make sure the capitalization matches. If you’re unsure about the password, you can confirm it by connecting another device to the Wi-Fi network.
6. Consider a wired connection: If all else fails, you can try connecting your smart TV to the internet using an Ethernet cable. This will provide a stable and reliable connection, especially if Wi-Fi connectivity issues persist.
By following these troubleshooting tips, you can overcome common connection issues and get your smart TV back online. Remember, patience and persistence are key when dealing with technology, and don’t hesitate to reach out to your TV manufacturer’s customer support for additional assistance if needed.
Step 5: Stream and enjoy online content on your Smart TV
Now that your smart TV is connected to the internet, it’s time to make the most of its capabilities by streaming and enjoying online content. Here’s how you can do it:
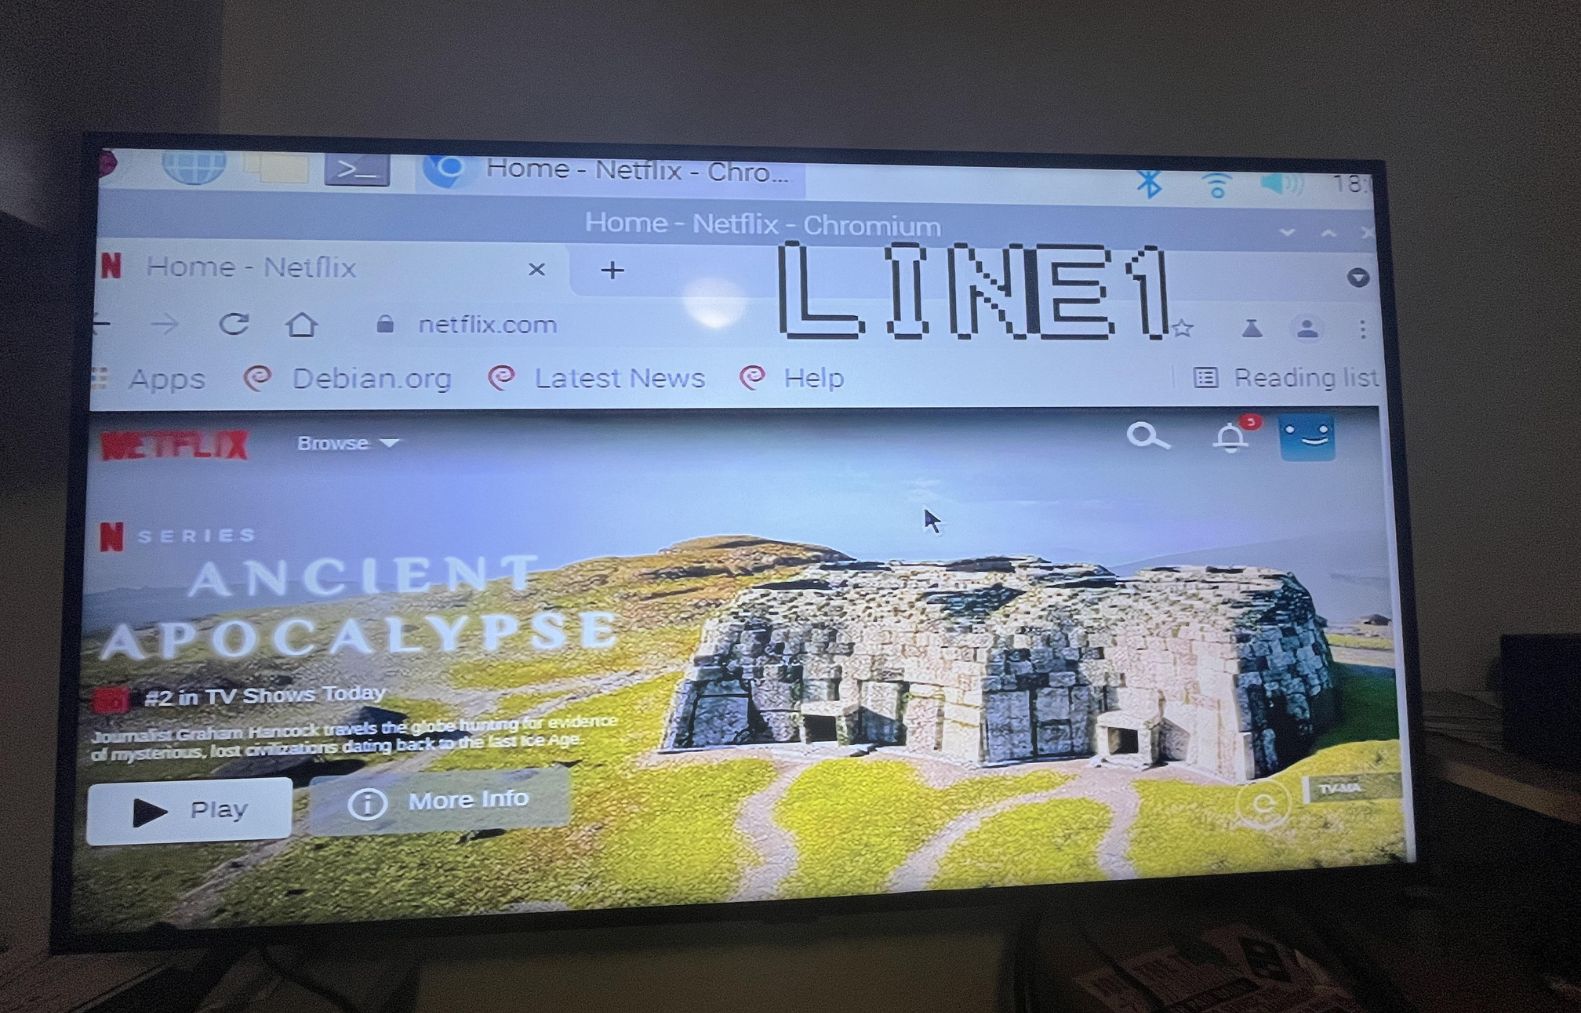
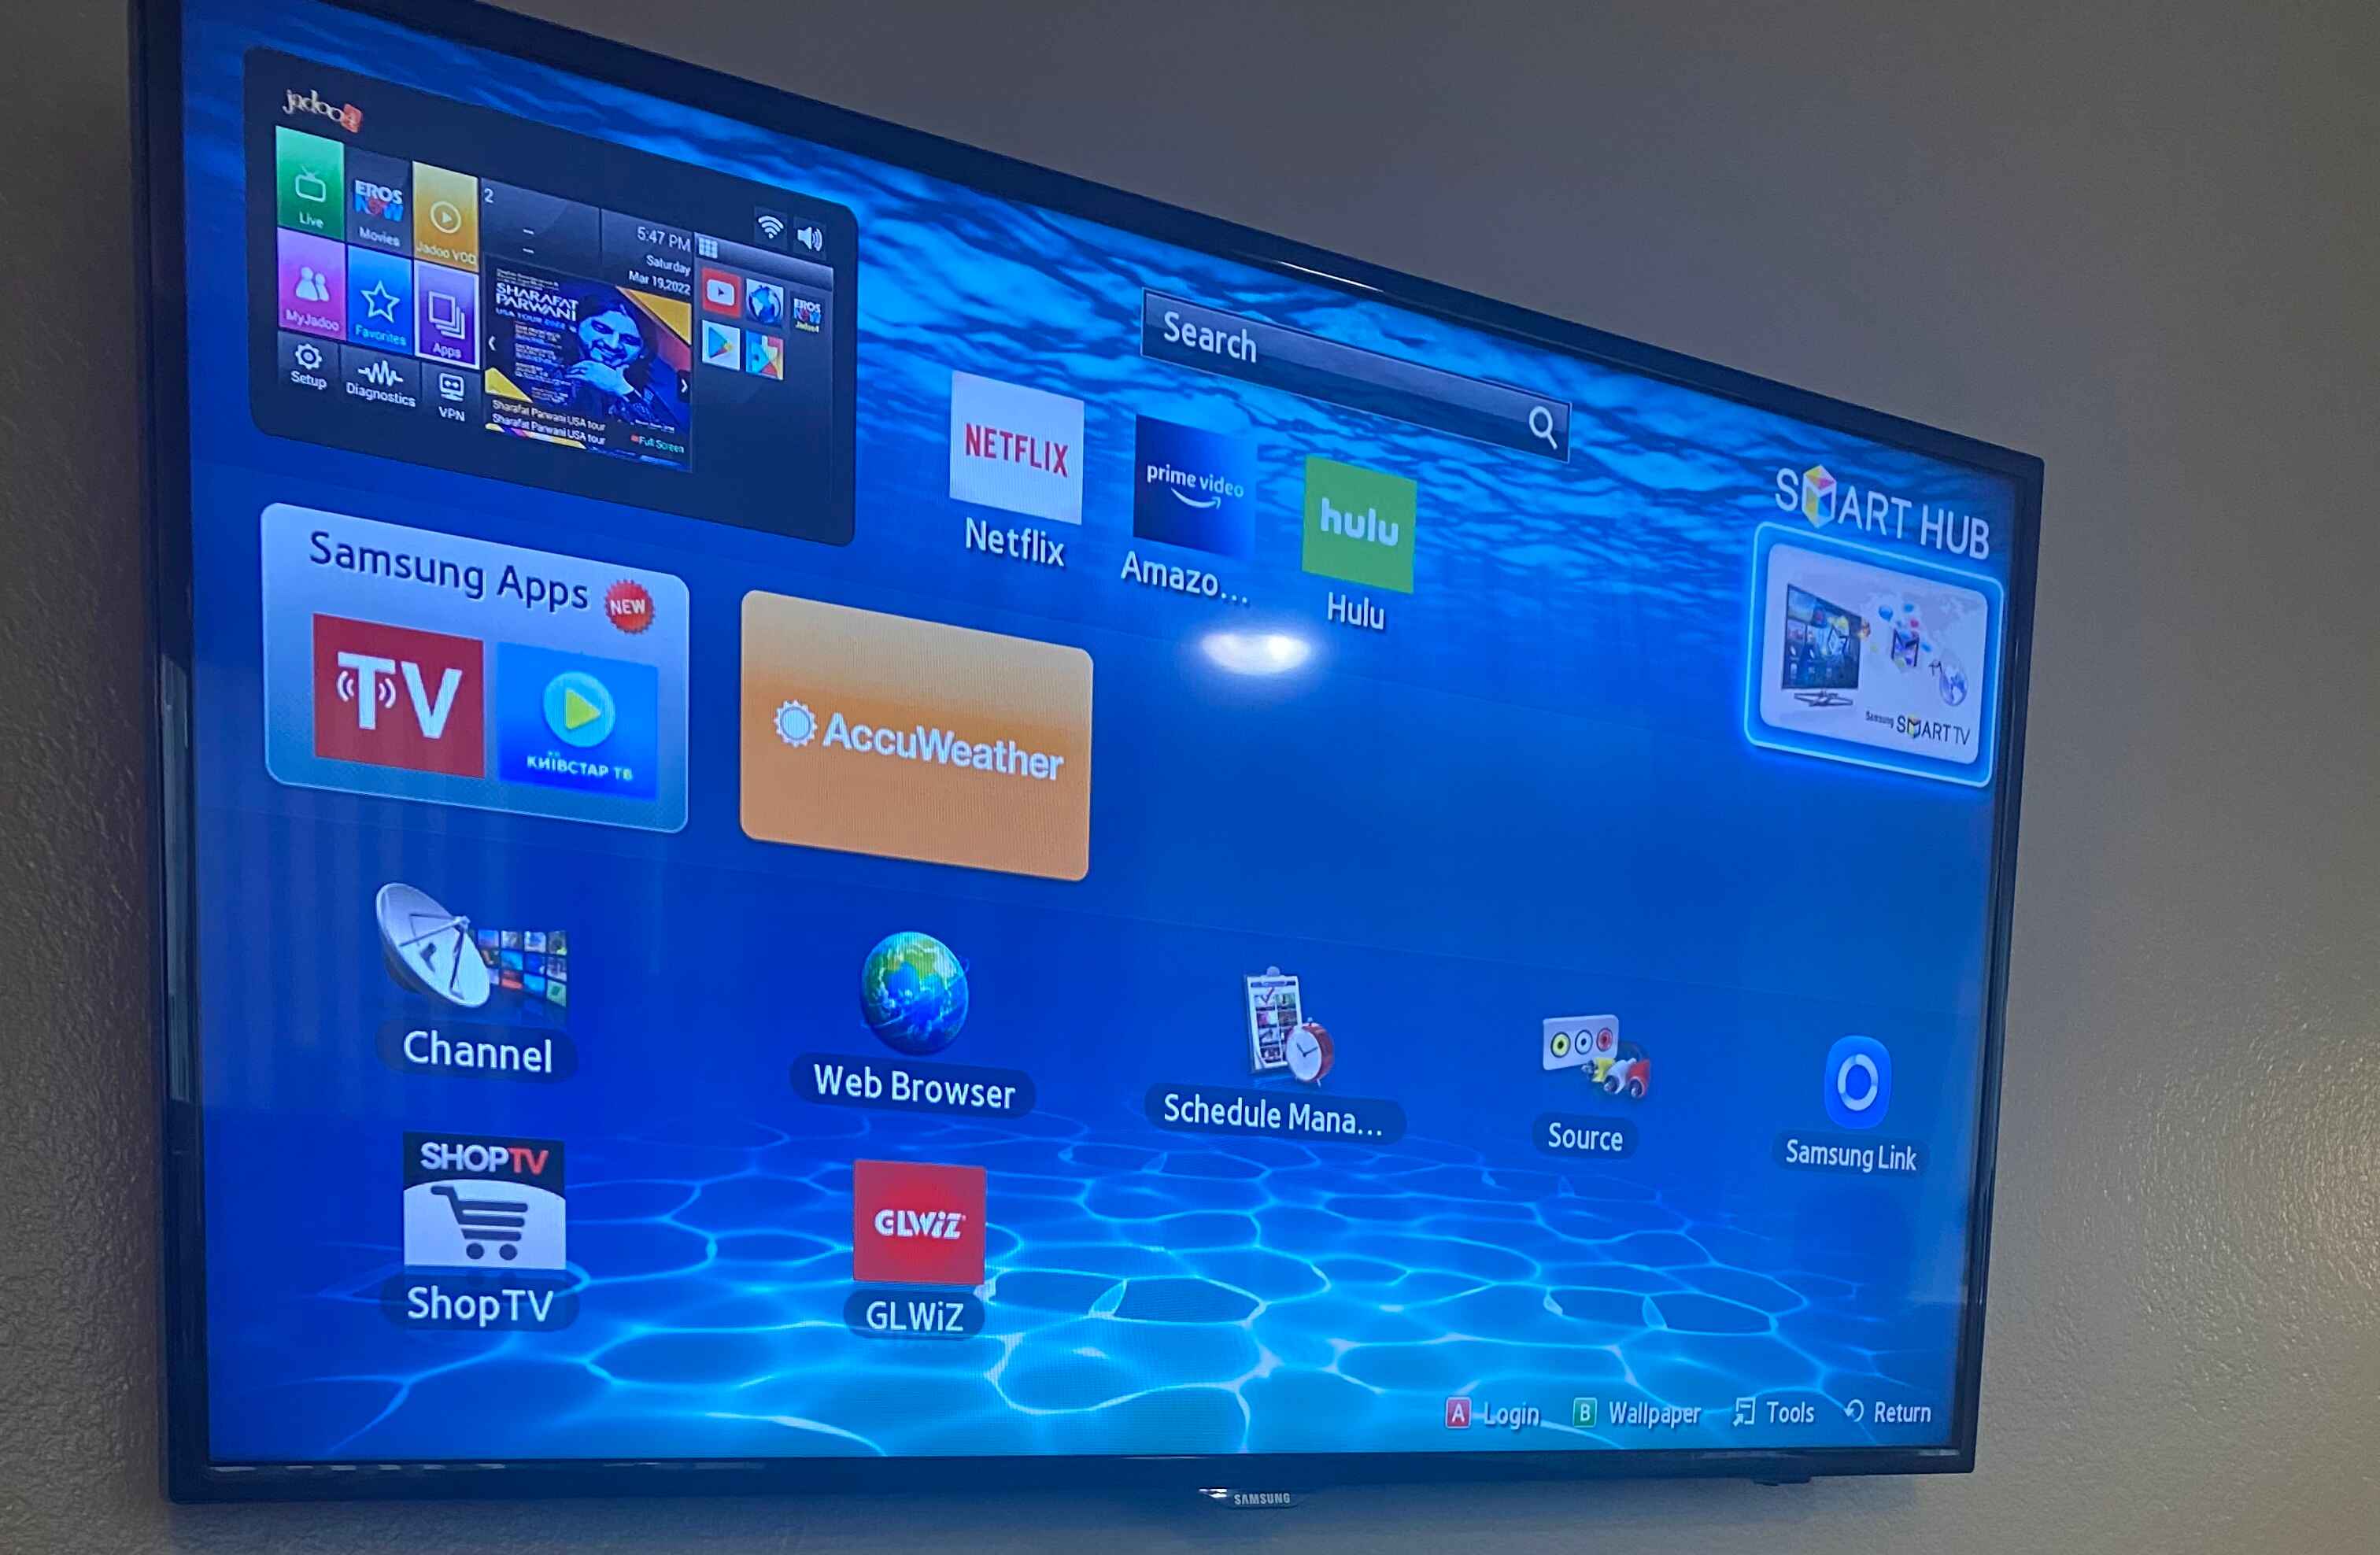
1. Explore pre-installed apps: Many smart TVs come with pre-installed apps such as Netflix, YouTube, Hulu, and more. Explore these apps to access a vast library of movies, TV shows, and videos. Use the remote control to navigate through the apps and select the content you want to watch.
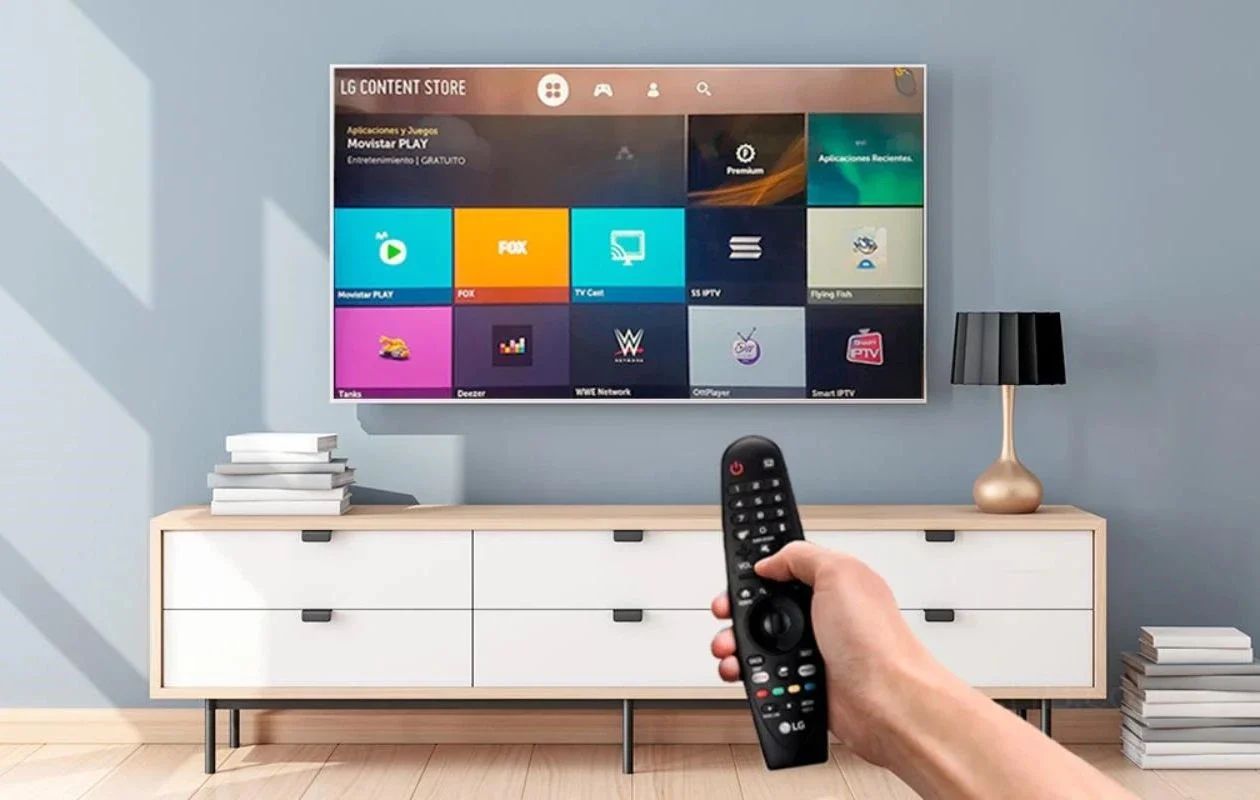
2. Download additional apps: If your smart TV doesn’t have the specific apps you want, you can often download them from an app store. Look for the app store on your smart TV and browse through the available apps. Popular app stores for smart TVs include Google Play Store, Samsung Smart Hub, and LG Content Store.
3. Sign in to your accounts: Many streaming apps require you to sign in with your account credentials to access content. Use the remote control to enter your username and password for apps like Netflix, Disney+, or Amazon Prime Video. Once signed in, you can start streaming your favorite shows and movies.
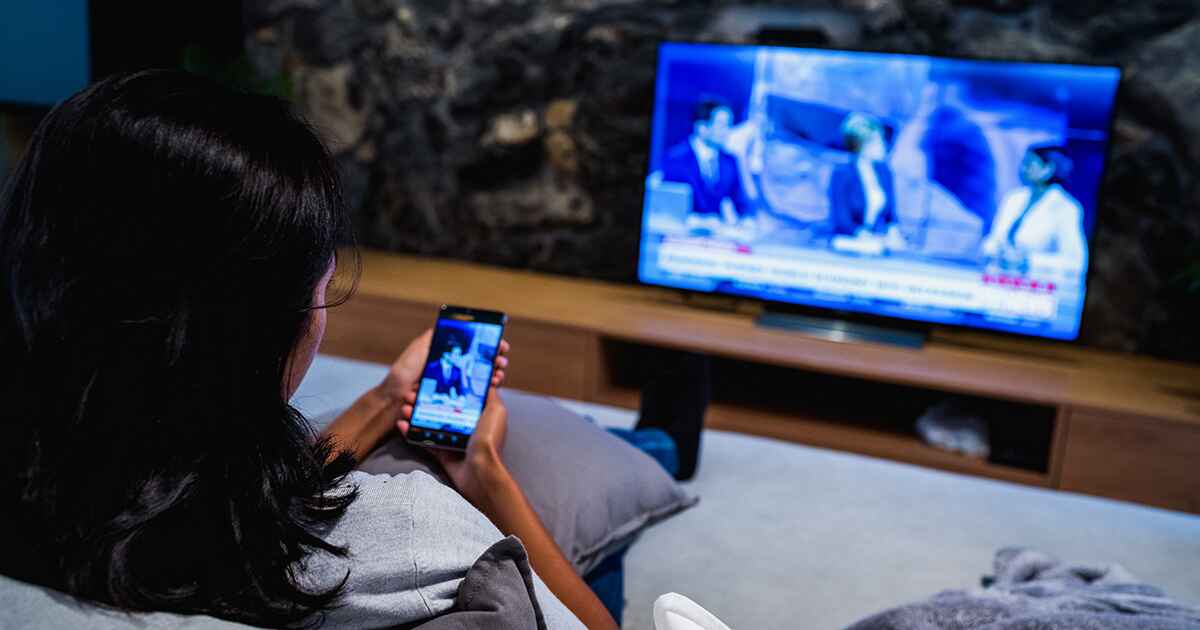
4. Cast from your mobile device: If you have a compatible smartphone or tablet, you can cast content from your device to your smart TV. Look for the casting button in supported apps and tap on it to select your smart TV as the casting device. This allows you to enjoy content from your mobile device on a larger screen.
5. Explore web browsing: Many smart TVs come equipped with web browsers, allowing you to surf the internet directly on your TV. Use the remote control to enter URLs or search queries and navigate through web pages. This can be useful for accessing websites, checking emails, or even gaming on your TV.
With these options in your arsenal, you can now immerse yourself in a world of online entertainment right from your smart TV. Whether you’re binge-watching your favorite shows, discovering new movies, or browsing the internet, your connected smart TV opens up a whole new realm of possibilities.
Remember to familiarize yourself with the features and capabilities of your specific smart TV model, as the user interface and available apps may vary. Sit back, relax, and enjoy the incredible range of entertainment options at your fingertips!
Conclusion
Congratulations! You have successfully learned how to connect your smart TV to the internet and unlock a world of entertainment possibilities. Whether you chose to use an Ethernet cable for a stable connection or opted for the convenience of Wi-Fi, you can now stream your favorite shows, access online services, and browse the web right from your couch.
By following the step-by-step instructions in this guide, you have ensured that your smart TV is connected to the internet and ready to provide you with endless hours of entertainment. Remember, each smart TV may have slight variations in its setup process, so consult your TV’s user manual or online resources for specific instructions tailored to your model.
As you explore the wide range of pre-installed apps and download additional ones, you’ll have access to a vast library of movies, TV shows, videos, and more. Take advantage of features like casting from your mobile device and web browsing on your TV to enhance your entertainment experience even further.
Should you encounter any connectivity issues along the way, don’t fret. Troubleshooting tips such as checking your Wi-Fi signal strength, restarting your devices, and updating firmware can help resolve common problems. If all else fails, you can explore the option of a wired connection for a more stable experience.
Now, it’s time to sit back, relax, and enjoy the seamless streaming, online gaming, and browsing capabilities that your smart TV offers. Ensure that you have a reliable and fast internet connection to make the most out of your entertainment experience. Happy streaming!


