Introduction
Connecting your gaming monitor to your Xbox can greatly enhance your gaming experience, offering better visuals, smoother gameplay, and reduced input lag. Whether you’re a casual gamer or a professional esports player, having the right setup can make a world of difference. In this guide, we’ll walk you through the steps of hooking up a gaming monitor to your Xbox, ensuring you get the most out of your gaming sessions.
Gone are the days when gaming consoles were limited to standard definition TVs. With the advancement in technology, gaming monitors now offer high refresh rates, low response times, and crisp resolutions, making them an ideal choice for gaming enthusiasts. By connecting your Xbox to a gaming monitor, you can take full advantage of these features and immerse yourself in your favorite games like never before.
Before we dive into the step-by-step process, it’s important to note that the methods may vary depending on the specific models of your gaming monitor and Xbox. However, the general principles remain the same, and we’ll provide you with the necessary guidance to ensure a successful setup.
So, if you’re ready to optimize your gaming experience and elevate your skills to the next level, let’s get started by gathering the necessary equipment for connecting your gaming monitor to your Xbox.
Gather the necessary equipment
Before you can connect your gaming monitor to your Xbox, you’ll need to gather the necessary equipment. Here’s what you’ll need:
- Gaming Monitor: Ensure you have a compatible gaming monitor that supports HDMI input. Look for a monitor with a high refresh rate and low response time to enhance your gaming experience.
- Xbox Console: Whether you have an Xbox One, Xbox Series X, or Xbox Series S, make sure your console is in working condition.
- HDMI Cable: You’ll need an HDMI cable to connect your Xbox to your gaming monitor. Make sure you have a high-speed HDMI cable capable of transmitting both video and audio signals.
- Power Cables: Ensure that you have the power cables for both your gaming monitor and Xbox, as they will need to be plugged into a power source.
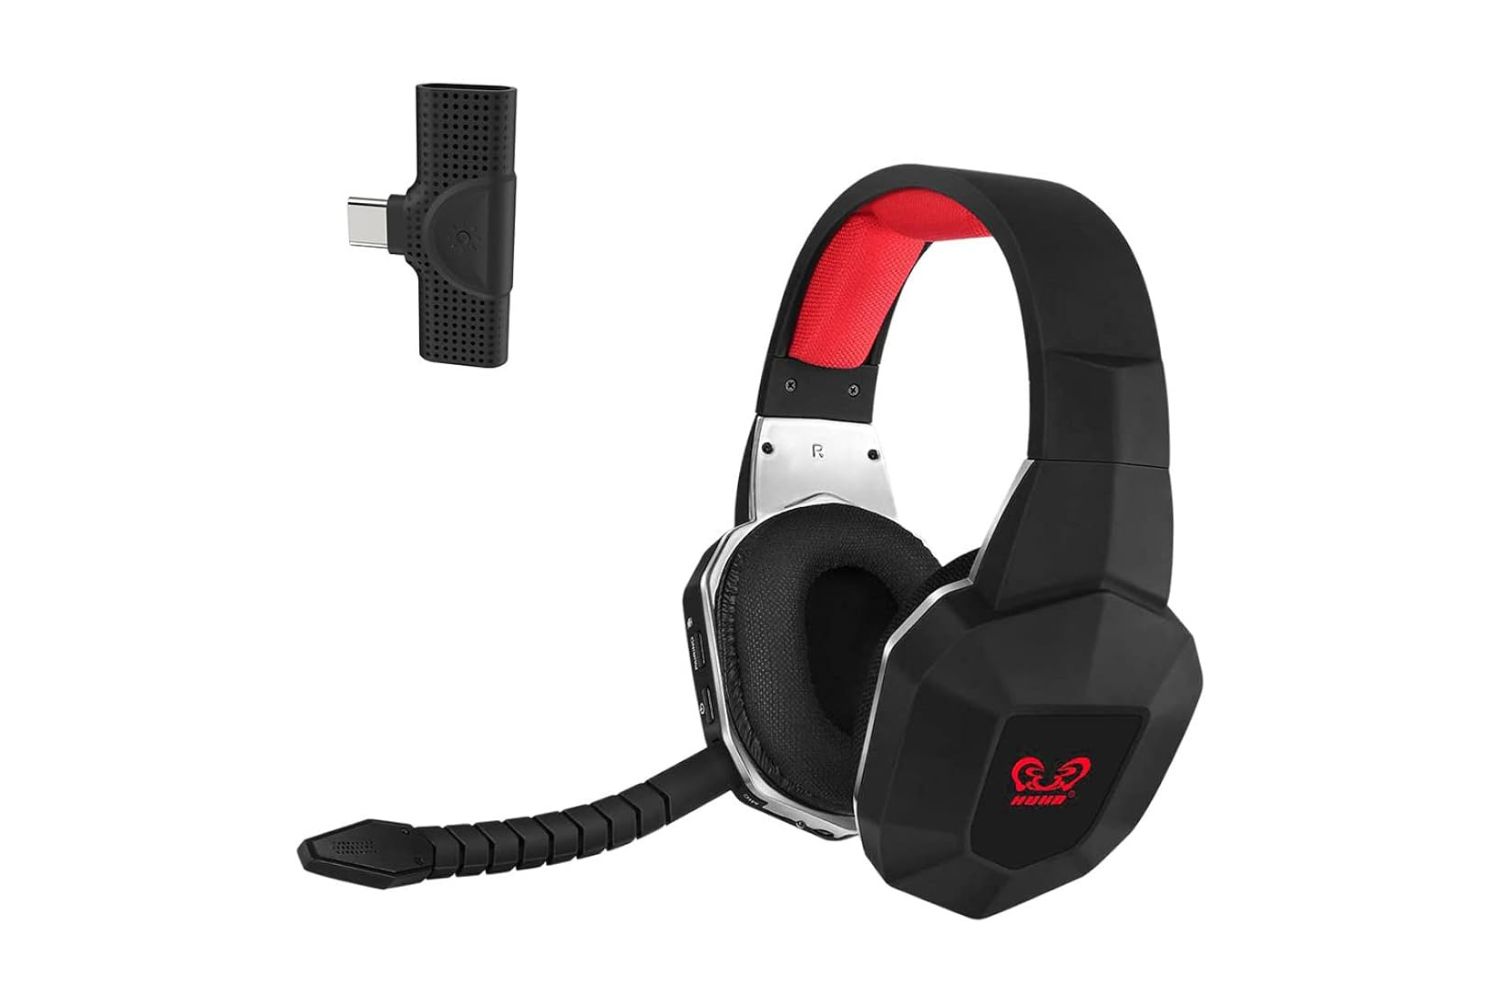
- Optional: Audio Accessories: If you prefer using external speakers or headphones for audio while gaming, make sure you have the necessary audio accessories and cables.
Once you have gathered all the required equipment, you’re ready to move on to the next step of checking the compatibility between your gaming monitor and Xbox.
Check the compatibility of your gaming monitor and Xbox
Before connecting your gaming monitor to your Xbox, it’s crucial to ensure that they are compatible with each other. Here are the key factors to consider:
Resolution: Check the maximum resolution supported by your gaming monitor and your Xbox console. Ideally, you’ll want a gaming monitor that supports at least 1080p (Full HD) resolution or higher for optimal gaming visuals.
Refresh Rate: The refresh rate determines how many times the monitor refreshes the image per second. It’s important to match the refresh rate of your gaming monitor with the capabilities of your Xbox. For example, if your Xbox supports a maximum refresh rate of 60Hz, there’s no need to invest in a gaming monitor with a higher refresh rate like 144Hz.
Response Time: The response time refers to how quickly a pixel can change from one color to another. A lower response time results in smoother and more responsive gameplay. Aim for a gaming monitor with a response time of 5ms or lower.
HDMI Compatibility: Both your gaming monitor and Xbox should have HDMI ports for seamless connectivity. Check the HDMI versions supported by your devices to ensure compatibility.
If your gaming monitor and Xbox meet these compatibility requirements, you’re ready to proceed with the setup. However, if they are not compatible, you may need to consider alternatives such as using an adapter or getting a different gaming monitor that meets the necessary criteria.
Now that you’ve confirmed compatibility, it’s time to connect your gaming monitor to your Xbox using an HDMI cable.
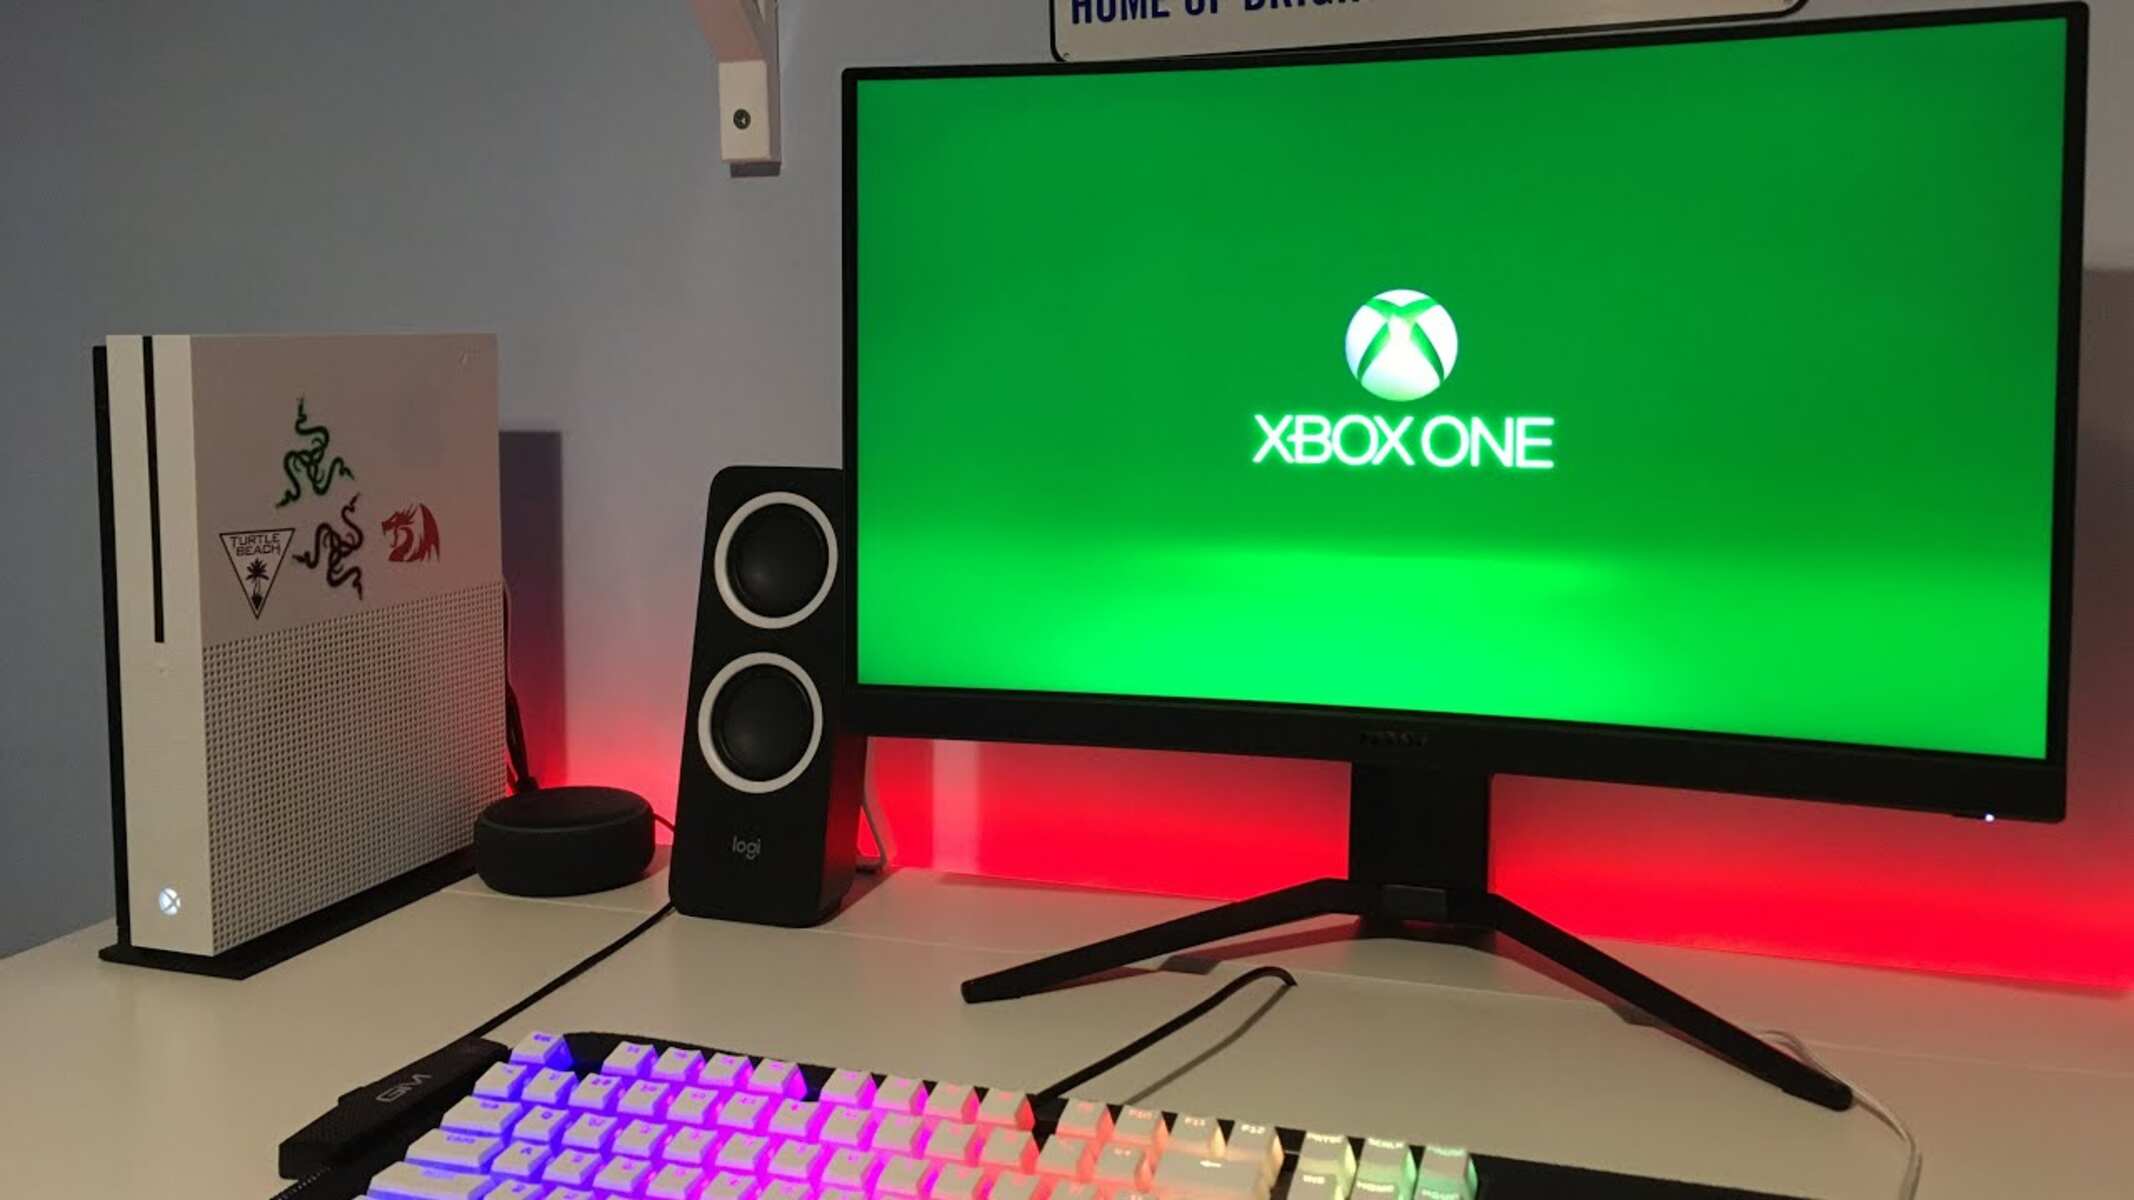
Connect the gaming monitor to Xbox via HDMI cable
Now that you have ensured the compatibility between your gaming monitor and Xbox, it’s time to connect them using an HDMI cable. Follow these steps:
- Locate the HDMI ports on both your gaming monitor and Xbox. They are usually labeled as “HDMI” and marked with a specific number.
- Take one end of the HDMI cable and insert it into the HDMI port on the back of your Xbox console.
- Connect the other end of the HDMI cable into the HDMI input port on your gaming monitor.
- Make sure the HDMI cable is securely plugged into both devices to ensure a stable connection.
- Once connected, power on your gaming monitor and Xbox using their respective power buttons or switches.
Your gaming monitor should now be displaying the output from your Xbox. If not, make sure you have selected the correct input source on your gaming monitor. Most monitors have buttons or menus to switch between different input sources. Look for an “Input” or “Source” button on the monitor or use the monitor’s onscreen display (OSD) menu to switch to the HDMI input.
With the HDMI cable properly connected and the correct input source selected, you should now have a successful connection between your gaming monitor and Xbox. However, there are a few more steps to optimize the display settings on your Xbox for the best gaming experience.
Adjust the display settings on Xbox
Once you have connected your gaming monitor to your Xbox, it’s important to adjust the display settings on your console for optimal visuals. Here’s how you can do it:
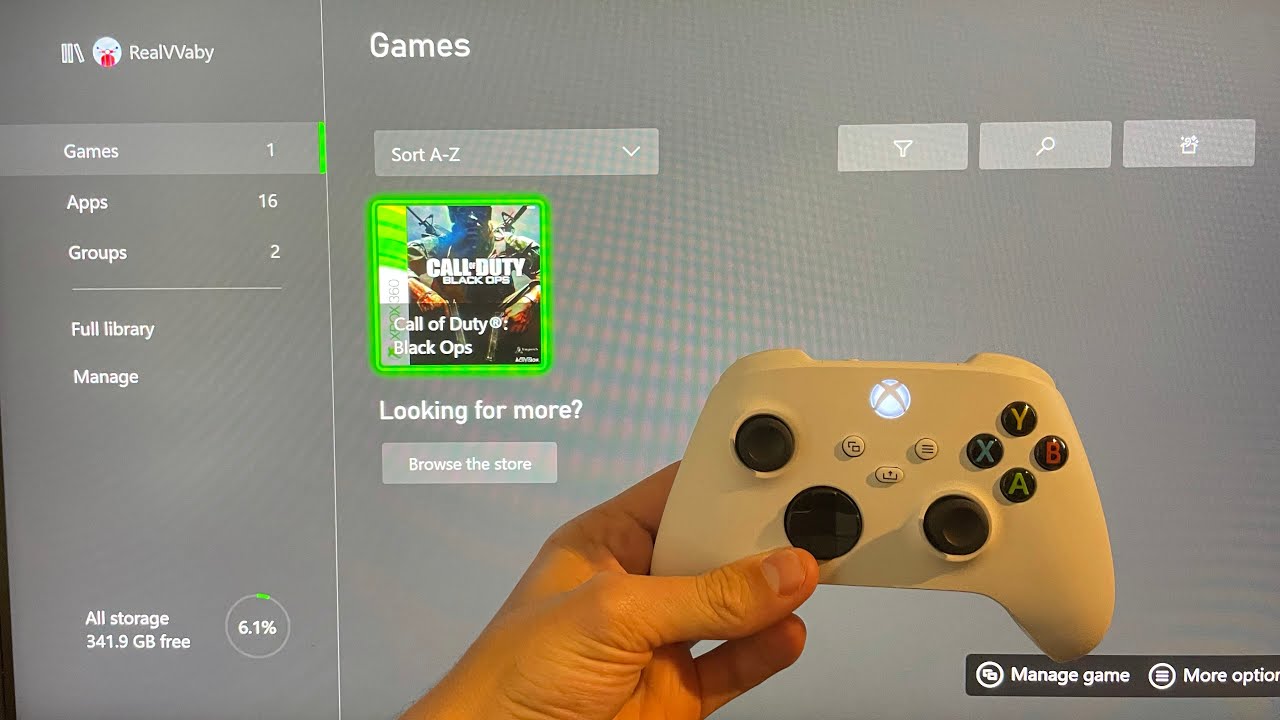
- On your Xbox, go to the “Settings” menu. You can access it by pressing the Xbox button on your controller and selecting the gear icon.
- In the “Settings” menu, navigate to the “Display & sound” section.
- Under the “Display” tab, you’ll find various options to customize your display settings.
- Adjust the “Resolution” setting to match the capabilities of your gaming monitor. Select the highest resolution that is supported by both your monitor and Xbox.
- Next, configure the “Refresh rate” setting. Set it to the maximum refresh rate supported by your gaming monitor for smoother gameplay.
- Ensure that the “Video fidelity & overscan” setting is set to “Auto-detect” to optimize the display output based on your monitor’s capabilities.
- Consider enabling features like “HDR” (High Dynamic Range) or “VRR” (Variable Refresh Rate) if your monitor supports them. These features can enhance the visual quality and reduce screen tearing.
- Once you have made the necessary adjustments, save the settings and exit the menu.
By fine-tuning the display settings on your Xbox, you can maximize the visual performance of your gaming monitor and enjoy a more immersive gaming experience. However, keep in mind that the available display options may vary depending on your Xbox model and firmware version.
Now that you have optimized the display settings on your Xbox, let’s move on to fine-tuning the monitor settings to further enhance your gaming experience.
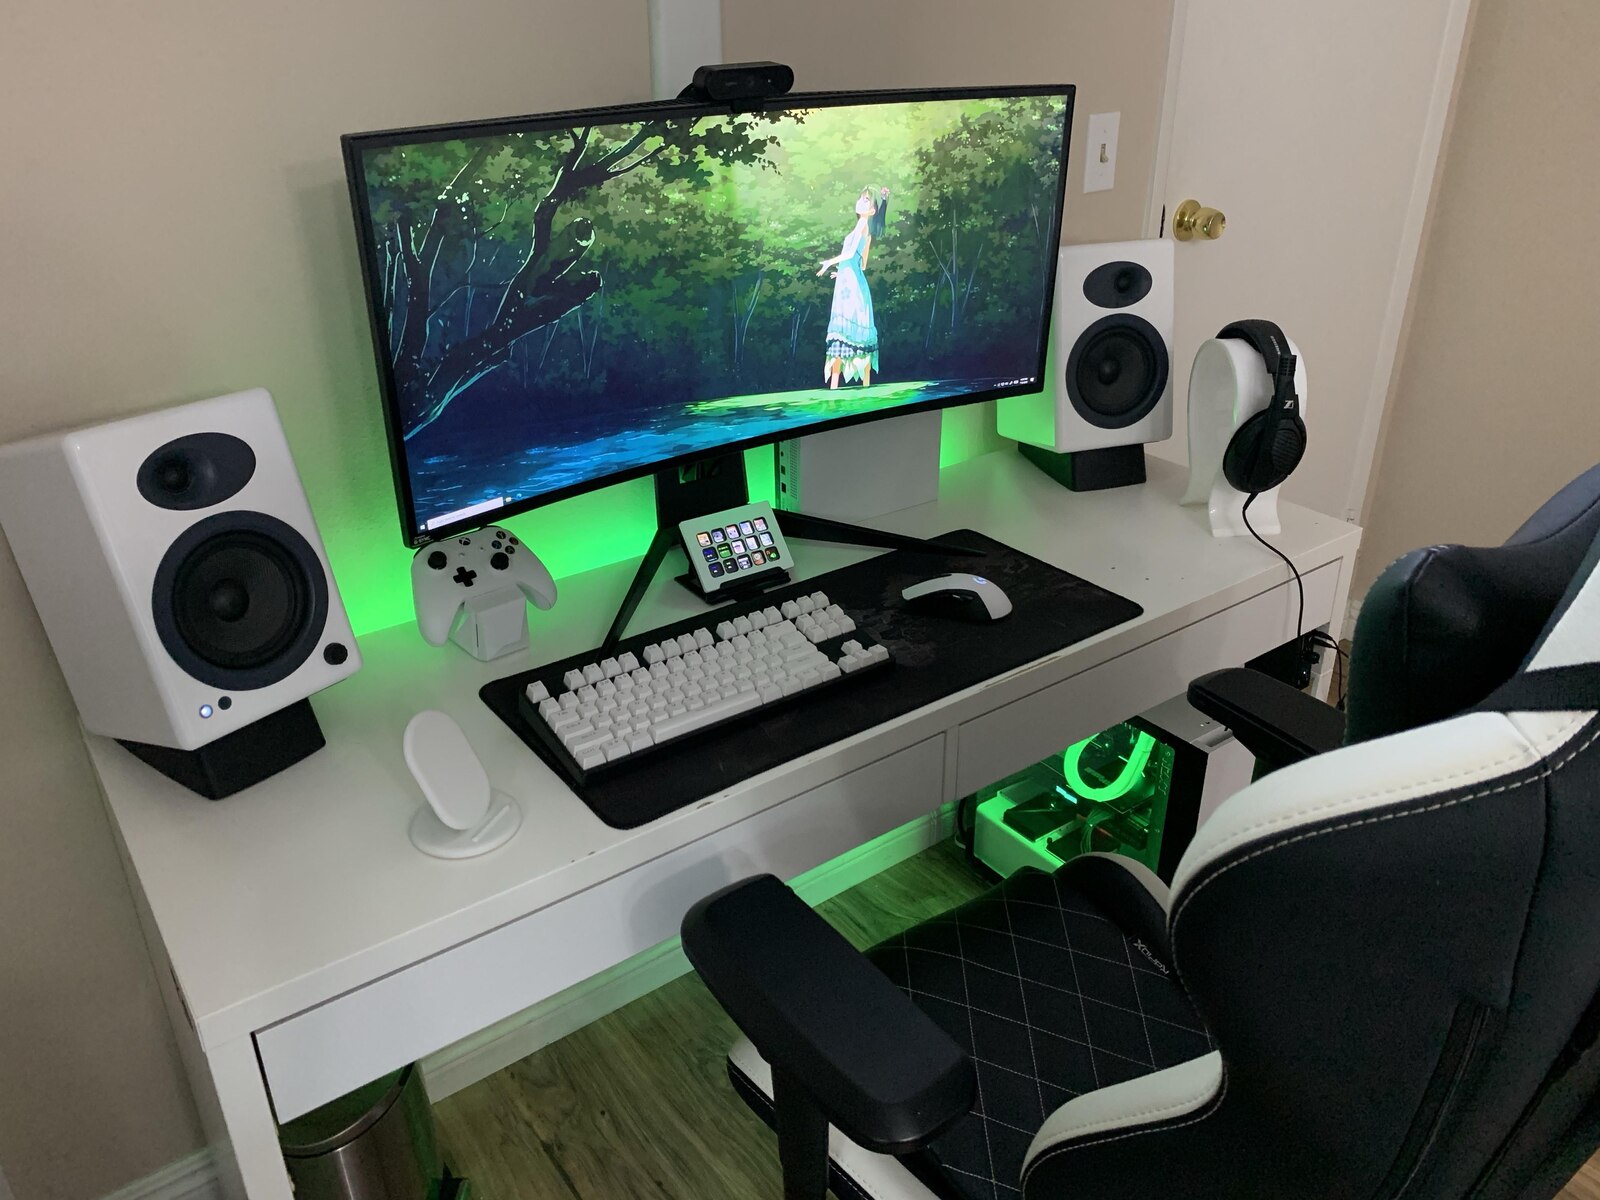
Fine-tune the monitor settings for optimal gaming experience
After adjusting the display settings on your Xbox, it’s time to fine-tune the settings on your gaming monitor to ensure an optimal gaming experience. Here are some steps you can take:
- Access the onscreen display (OSD) menu of your gaming monitor. This can usually be done using buttons located on the monitor or through a dedicated software interface.
- Explore the different settings available on your monitor, such as brightness, contrast, color temperature, and gamma.
- Adjust the brightness and contrast levels to your preference. Find a balance that allows you to see details in darker areas without washing out brighter elements.
- Experiment with the color temperature settings to find a color balance that suits your visual preferences. You can choose between preset options like “Warm,” “Cool,” or “Neutral,” or manually adjust the RGB (red, green, blue) levels for more precise color calibration.
- If your monitor has a response time setting, make sure it is set to its lowest value to minimize motion blur and ghosting during fast-paced gaming.
- Consider enabling features like “Game Mode” or “Low Input Lag” if your monitor supports them. These settings prioritize response time and reduce input lag for a more responsive gaming experience.
- Save the changes you have made and exit the OSD menu.
By fine-tuning the monitor settings, you can customize the visual output according to your preferences and the characteristics of your gaming monitor. This can result in better color accuracy, improved clarity, and reduced motion blur.
Remember, every gaming monitor is unique, and the optimal settings may vary. It’s a good idea to refer to the manufacturer’s documentation or online resources to understand the specific features and recommended settings for your monitor model.
Now that you have adjusted both the display settings on your Xbox and the monitor settings, you’re well on your way to enjoying an enhanced gaming experience. However, it’s important to be aware of common issues and troubleshooting steps in case you encounter any problems along the way.
Troubleshooting common issues
While setting up your gaming monitor with your Xbox, you may encounter some common issues. Here are a few troubleshooting steps to help you resolve them:
- No signal or black screen: If your gaming monitor displays no signal or a black screen, double-check that the HDMI cable is securely plugged into both the Xbox and the monitor. Also, ensure that you have selected the correct input source on your monitor.
- Poor image quality: If the image quality on your gaming monitor is not up to par, make sure you have selected the appropriate display settings on your Xbox, such as resolution and refresh rate. Additionally, check if your monitor’s brightness, contrast, and color settings are correctly adjusted.
- Input lag or delay: Input lag can negatively affect your gaming experience. To reduce input lag, enable the “Game Mode” or “Low Input Lag” setting on your monitor, if available. Also, disable any post-processing effects that might introduce additional latency.
- Audio issues: If you’re experiencing audio problems, check that your HDMI cable is capable of transmitting audio signals. Alternatively, you can connect external speakers or headphones directly to your Xbox’s audio output or use an HDMI audio extractor if your monitor does not have built-in speakers.
- Unsupported resolution: If your gaming monitor does not support the resolution set on your Xbox, you may experience compatibility issues or a stretched/distorted screen. In such cases, adjust the resolution on your Xbox to a supported resolution by both your monitor and console.
If you encounter any other issues that are not covered here, refer to the user manuals or online support resources for your specific gaming monitor and Xbox model. These resources often provide troubleshooting guides and solutions to common problems.
By troubleshooting and resolving any issues that arise, you can ensure a smooth and enjoyable gaming experience with your newly connected gaming monitor and Xbox.
Now you’re equipped with the knowledge to connect and optimize your gaming monitor with your Xbox. Get ready to dive into immersive gaming worlds and unleash your full potential as a gamer!
Conclusion
Hooking up a gaming monitor to your Xbox can transform your gaming experience, providing superior visuals, reduced input lag, and an overall immersive gameplay environment. By following the steps outlined in this guide, you can successfully connect your gaming monitor to your Xbox and optimize the display settings for the best gaming performance.
From gathering the necessary equipment to checking the compatibility between your gaming monitor and Xbox, each step is crucial to ensuring a seamless setup. Connecting the devices using an HDMI cable and adjusting the display settings on your Xbox will help you achieve the desired resolution, refresh rate, and video fidelity.
But the process doesn’t end there. Fine-tuning the settings on your gaming monitor, including brightness, contrast, and color calibration, further contributes to an optimal gaming experience. Additionally, troubleshooting common issues like signal loss, poor image quality, and input lag will help you overcome any potential obstacles.
Remember to consult the user manuals or online resources specific to your gaming monitor and Xbox model for detailed instructions and troubleshooting guidance. Every setup may have its unique nuances, so it’s important to adapt these general steps to your specific circumstances.
Now, armed with the knowledge and guidance provided in this guide, you’re ready to embark on an incredible gaming journey. Enjoy the enhanced visuals, smooth performance, and immersive gameplay that come from connecting your gaming monitor to your Xbox.
So, grab your controller, power on your gaming monitor and Xbox, and let the gaming adventures commence!